Introduction
Welcome to our guide on how to connect an Explorer 3000 cable box to an RCA surround sound system. If you’re looking to elevate your home entertainment experience by integrating your cable box and surround sound system, you’ve come to the right place! By following the steps outlined in this article, you’ll be able to enjoy high-quality audio while watching your favorite TV shows, movies, and sporting events.
The Explorer 3000 cable box is widely used by many cable providers and offers a range of features, while the RCA surround sound system delivers immersive audio that enhances your viewing experience. Connecting these two devices properly will allow you to enjoy cinema-like sound quality in the comfort of your own home.
In this guide, we will walk you through each step of the process, ensuring that you have all the necessary equipment and cables to make the connections. We will also provide tips for adjusting audio settings and troubleshooting any issues that may arise along the way.
Whether you’re a tech-savvy individual or a beginner looking to set up your entertainment system, this guide will help you achieve the desired outcome. So, let’s dive in and get started with connecting your Explorer 3000 cable box to your RCA surround sound system!
Step 1: Gather all necessary cables and equipment
Before you begin connecting your Explorer 3000 cable box to your RCA surround sound system, it’s important to gather all the necessary cables and equipment. Here’s a list of items you will need:
- Explorer 3000 cable box
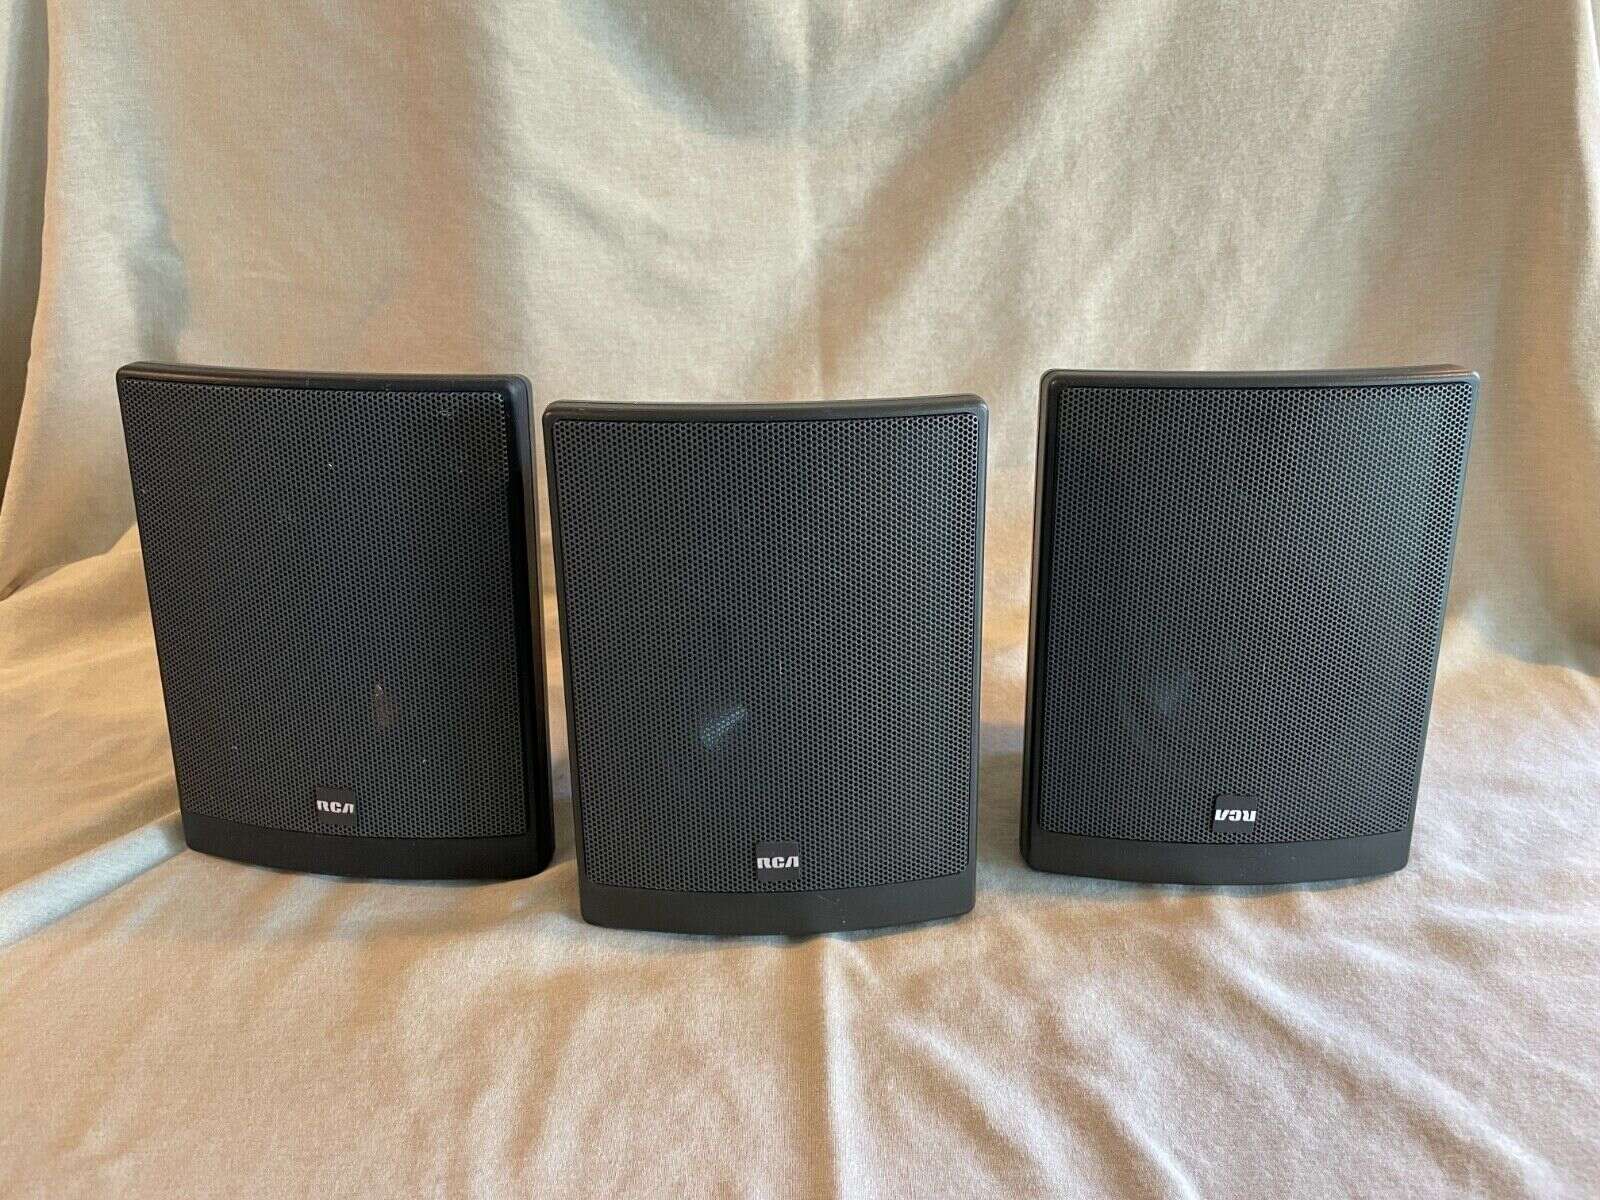
- RCA surround sound system
- HDMI cable
- Audio cables (RCA or optical)
- TV with HDMI input
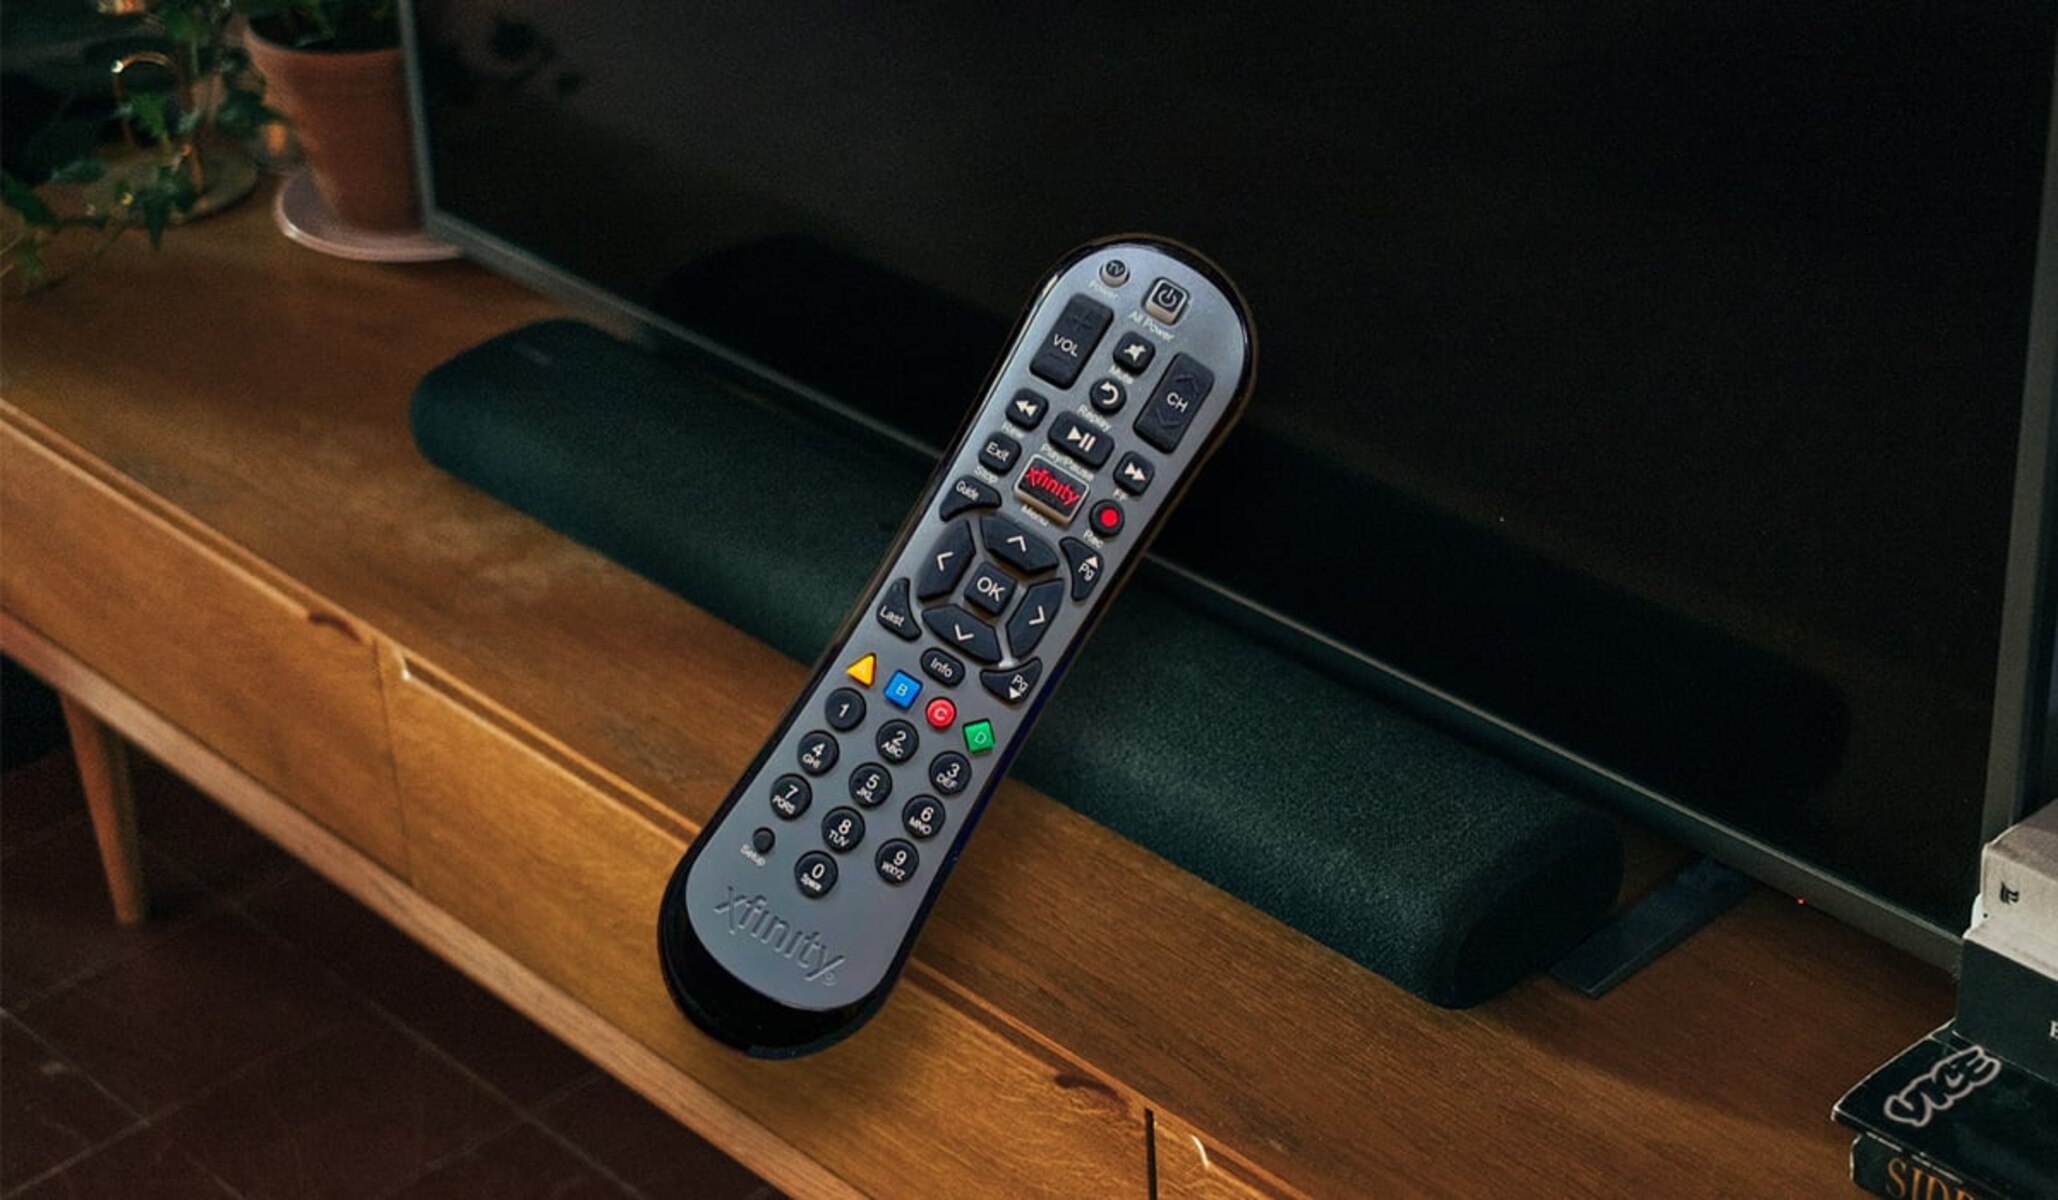
- Remote control for the cable box and surround sound system
- Power cables for the cable box and surround sound system
Make sure you have all the cables in good working condition and the correct length to reach between the devices comfortably. It’s also a good idea to check the manuals for your cable box and surround sound system to confirm the specific types of cables needed for your devices.
Once you have gathered all the necessary cables and equipment, you’re ready to move on to the next step of connecting your RCA surround sound system to your TV.
Step 2: Connect the RCA surround sound system to the TV
Now that you have gathered all the necessary cables and equipment, it’s time to connect your RCA surround sound system to your TV. Follow these steps:
- Locate the HDMI output port on the back of your RCA surround sound system and the HDMI input port on your TV.
- Plug one end of the HDMI cable into the HDMI output port on your RCA surround sound system and the other end into the HDMI input port on your TV.
- Turn on your TV and RCA surround sound system.
- Using the remote control for your TV, navigate to the input/source selection menu.
- Select the HDMI input that corresponds to the port you connected the surround sound system to. For example, if you connected it to HDMI 1, select HDMI 1 as the input source.
- Once you have selected the correct input source, you should see the RCA surround sound system menu or interface displayed on your TV screen.
By connecting your RCA surround sound system to your TV using an HDMI cable, you ensure a high-quality audio connection and minimize any audio syncing issues. HDMI cables transmit both audio and video signals, providing a convenient and straightforward setup.
Once you have successfully connected your RCA surround sound system to your TV, you’re ready to move on to the next step of connecting your Explorer 3000 cable box to your TV.
Step 3: Connect the Explorer 3000 cable box to the TV
After connecting your RCA surround sound system to your TV, the next step is to connect your Explorer 3000 cable box to your TV. Follow these steps:
- Locate the HDMI output port on the back of your Explorer 3000 cable box and the HDMI input port on your TV.
- Connect one end of the HDMI cable to the HDMI output port on your Explorer 3000 cable box and the other end to the HDMI input port on your TV.
- Make sure both the cable box and TV are turned on.
- Using your TV remote control, navigate to the input/source selection menu.
- Select the HDMI input that corresponds to the port you connected the cable box to. For example, if you connected it to HDMI 2, select HDMI 2 as the input source.
- You should now see the cable box’s interface or menu displayed on your TV screen.
By connecting your Explorer 3000 cable box to your TV using an HDMI cable, you can enjoy high-definition video and audio signals, providing an optimal viewing experience. HDMI cables also simplify the setup process by combining both audio and video signals into a single cable.
Once you have successfully connected your Explorer 3000 cable box to your TV, you’re ready to move on to the next step of connecting the cable box to your RCA surround sound system.
Step 4: Connect the cable box to the surround sound system
Now that you have connected your Explorer 3000 cable box to your TV, it’s time to connect the cable box to your RCA surround sound system. To do this, follow the steps below:
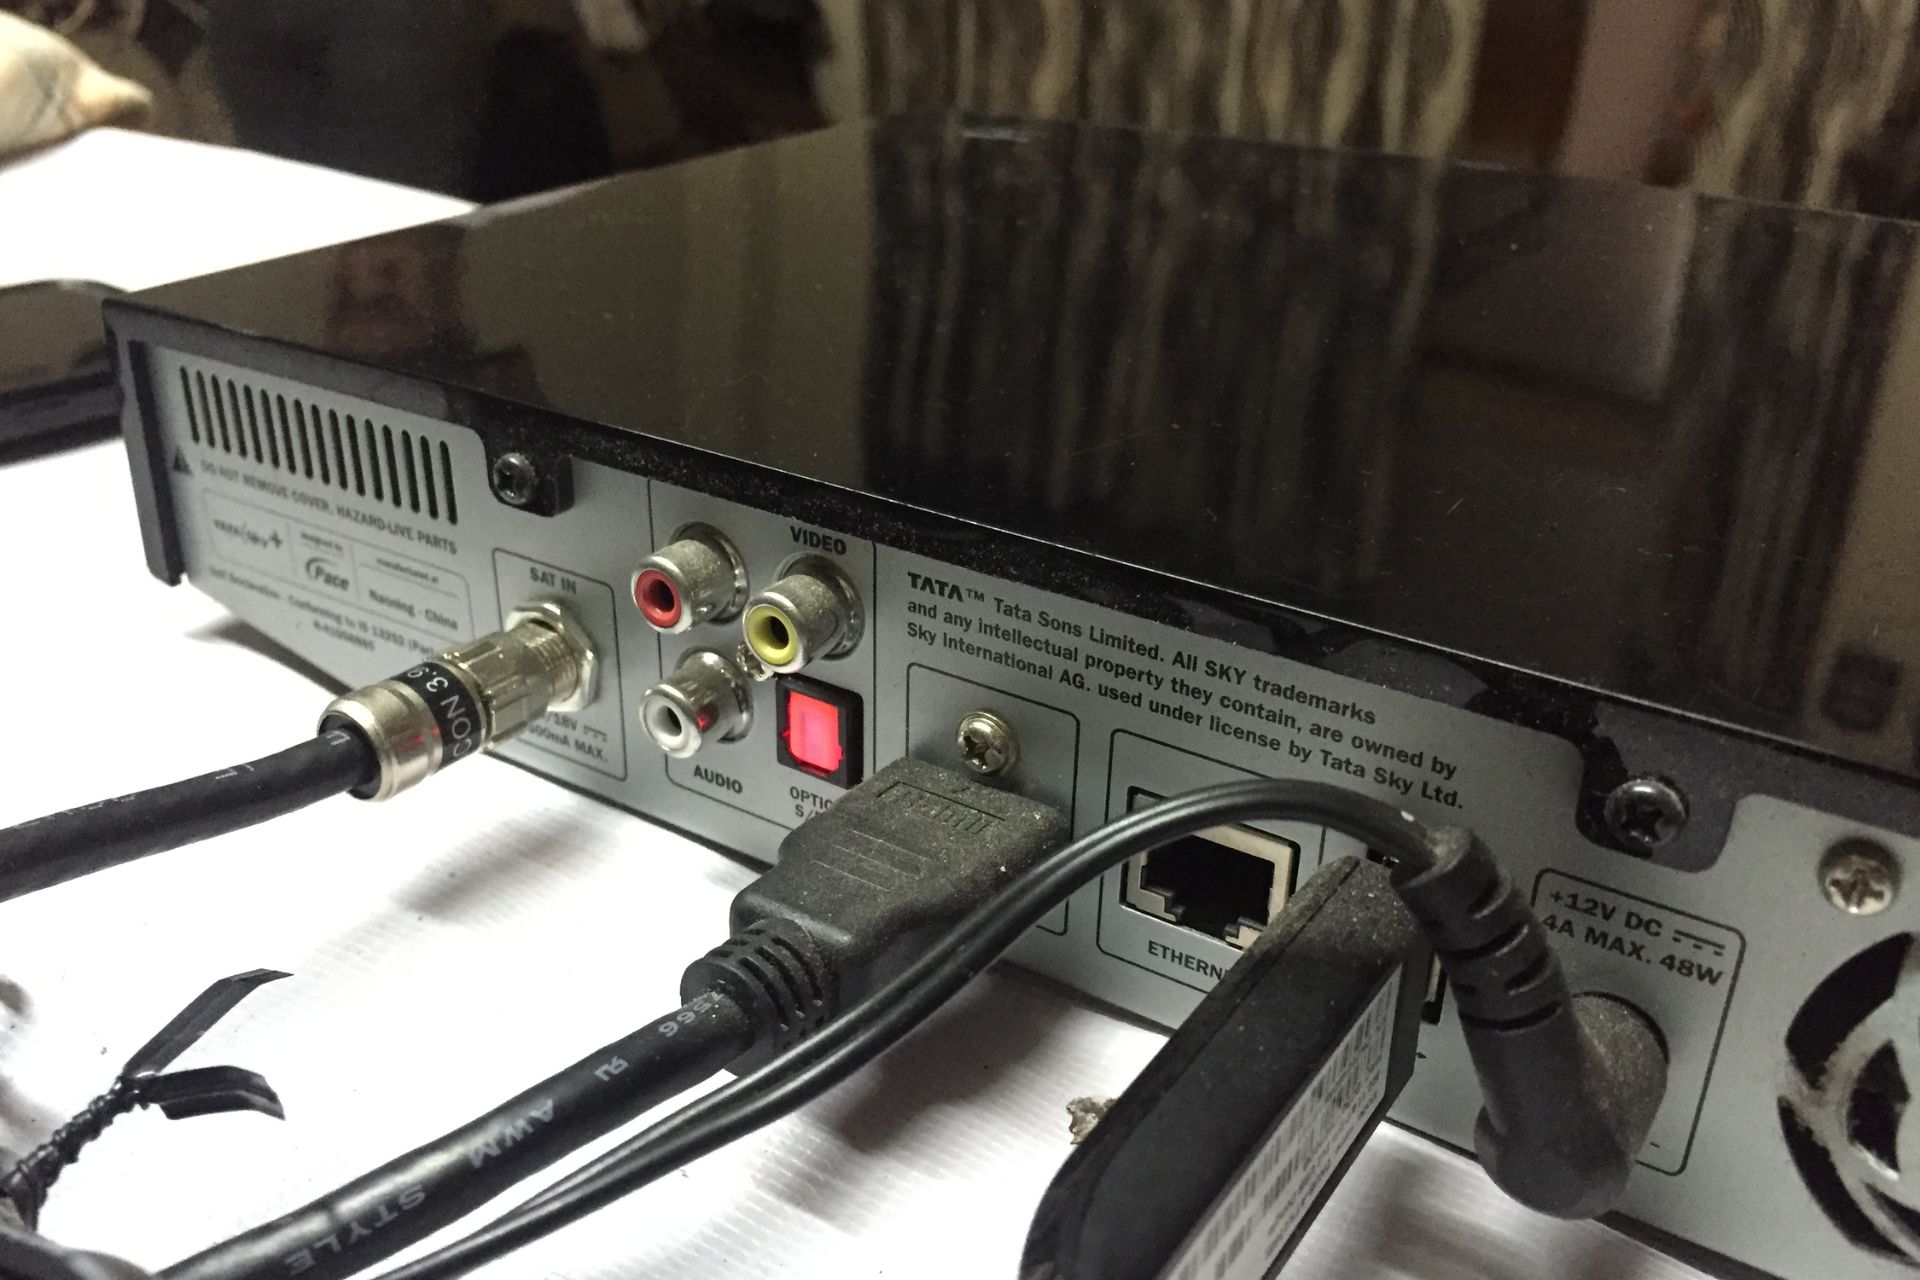
- Locate the audio output ports on the back of your cable box and the corresponding input ports on your RCA surround sound system. Depending on the available options, you can use either RCA or optical audio cables.
- If you’re using RCA cables, ensure that the red and white connectors on the cable match the color-coded audio output ports on the cable box and the RCA input ports on the surround sound system.
- If you’re using an optical audio cable, insert one end of the cable into the optical audio output port on the cable box and the other end into the corresponding input port on the surround sound system. Make sure to align the square-shaped connector with the port correctly.
- Once the cables are securely connected, turn on your RCA surround sound system and ensure it is set to the correct input source.
- On the cable box’s remote control, access the audio settings menu and select the appropriate audio output option. Choose either “RCA” or “Optical” based on the type of cable connection you have made.
By connecting your cable box to your RCA surround sound system, you can enjoy high-quality audio from your cable TV channels and other audio sources. The RCA or optical audio cables transmit the audio signals from the cable box to the surround sound system, delivering immersive sound.
Once you have successfully connected the cable box to your surround sound system, you’re ready to proceed to the next step of adjusting the audio settings on both devices.
Step 5: Adjust audio settings on the cable box and surround sound system
After connecting the cable box to your RCA surround sound system, it’s time to adjust the audio settings on both devices. Follow the steps below to optimize the sound output:
- Turn on your TV, cable box, and surround sound system if they are not already powered on.
- On your cable box remote control, access the menu or settings option. Look for the audio settings section.
- Adjust the audio output format to match your surround sound system’s capabilities. Choose either stereo or surround sound, depending on your system.
- On your RCA surround sound system remote control, locate the audio settings or sound menu.
- Select the appropriate audio input source for the cable box connection. Choose either RCA or optical, depending on how you connected the devices.
- Adjust the audio settings on your surround sound system, such as volume levels, equalizer settings, or sound modes, according to your preferences.
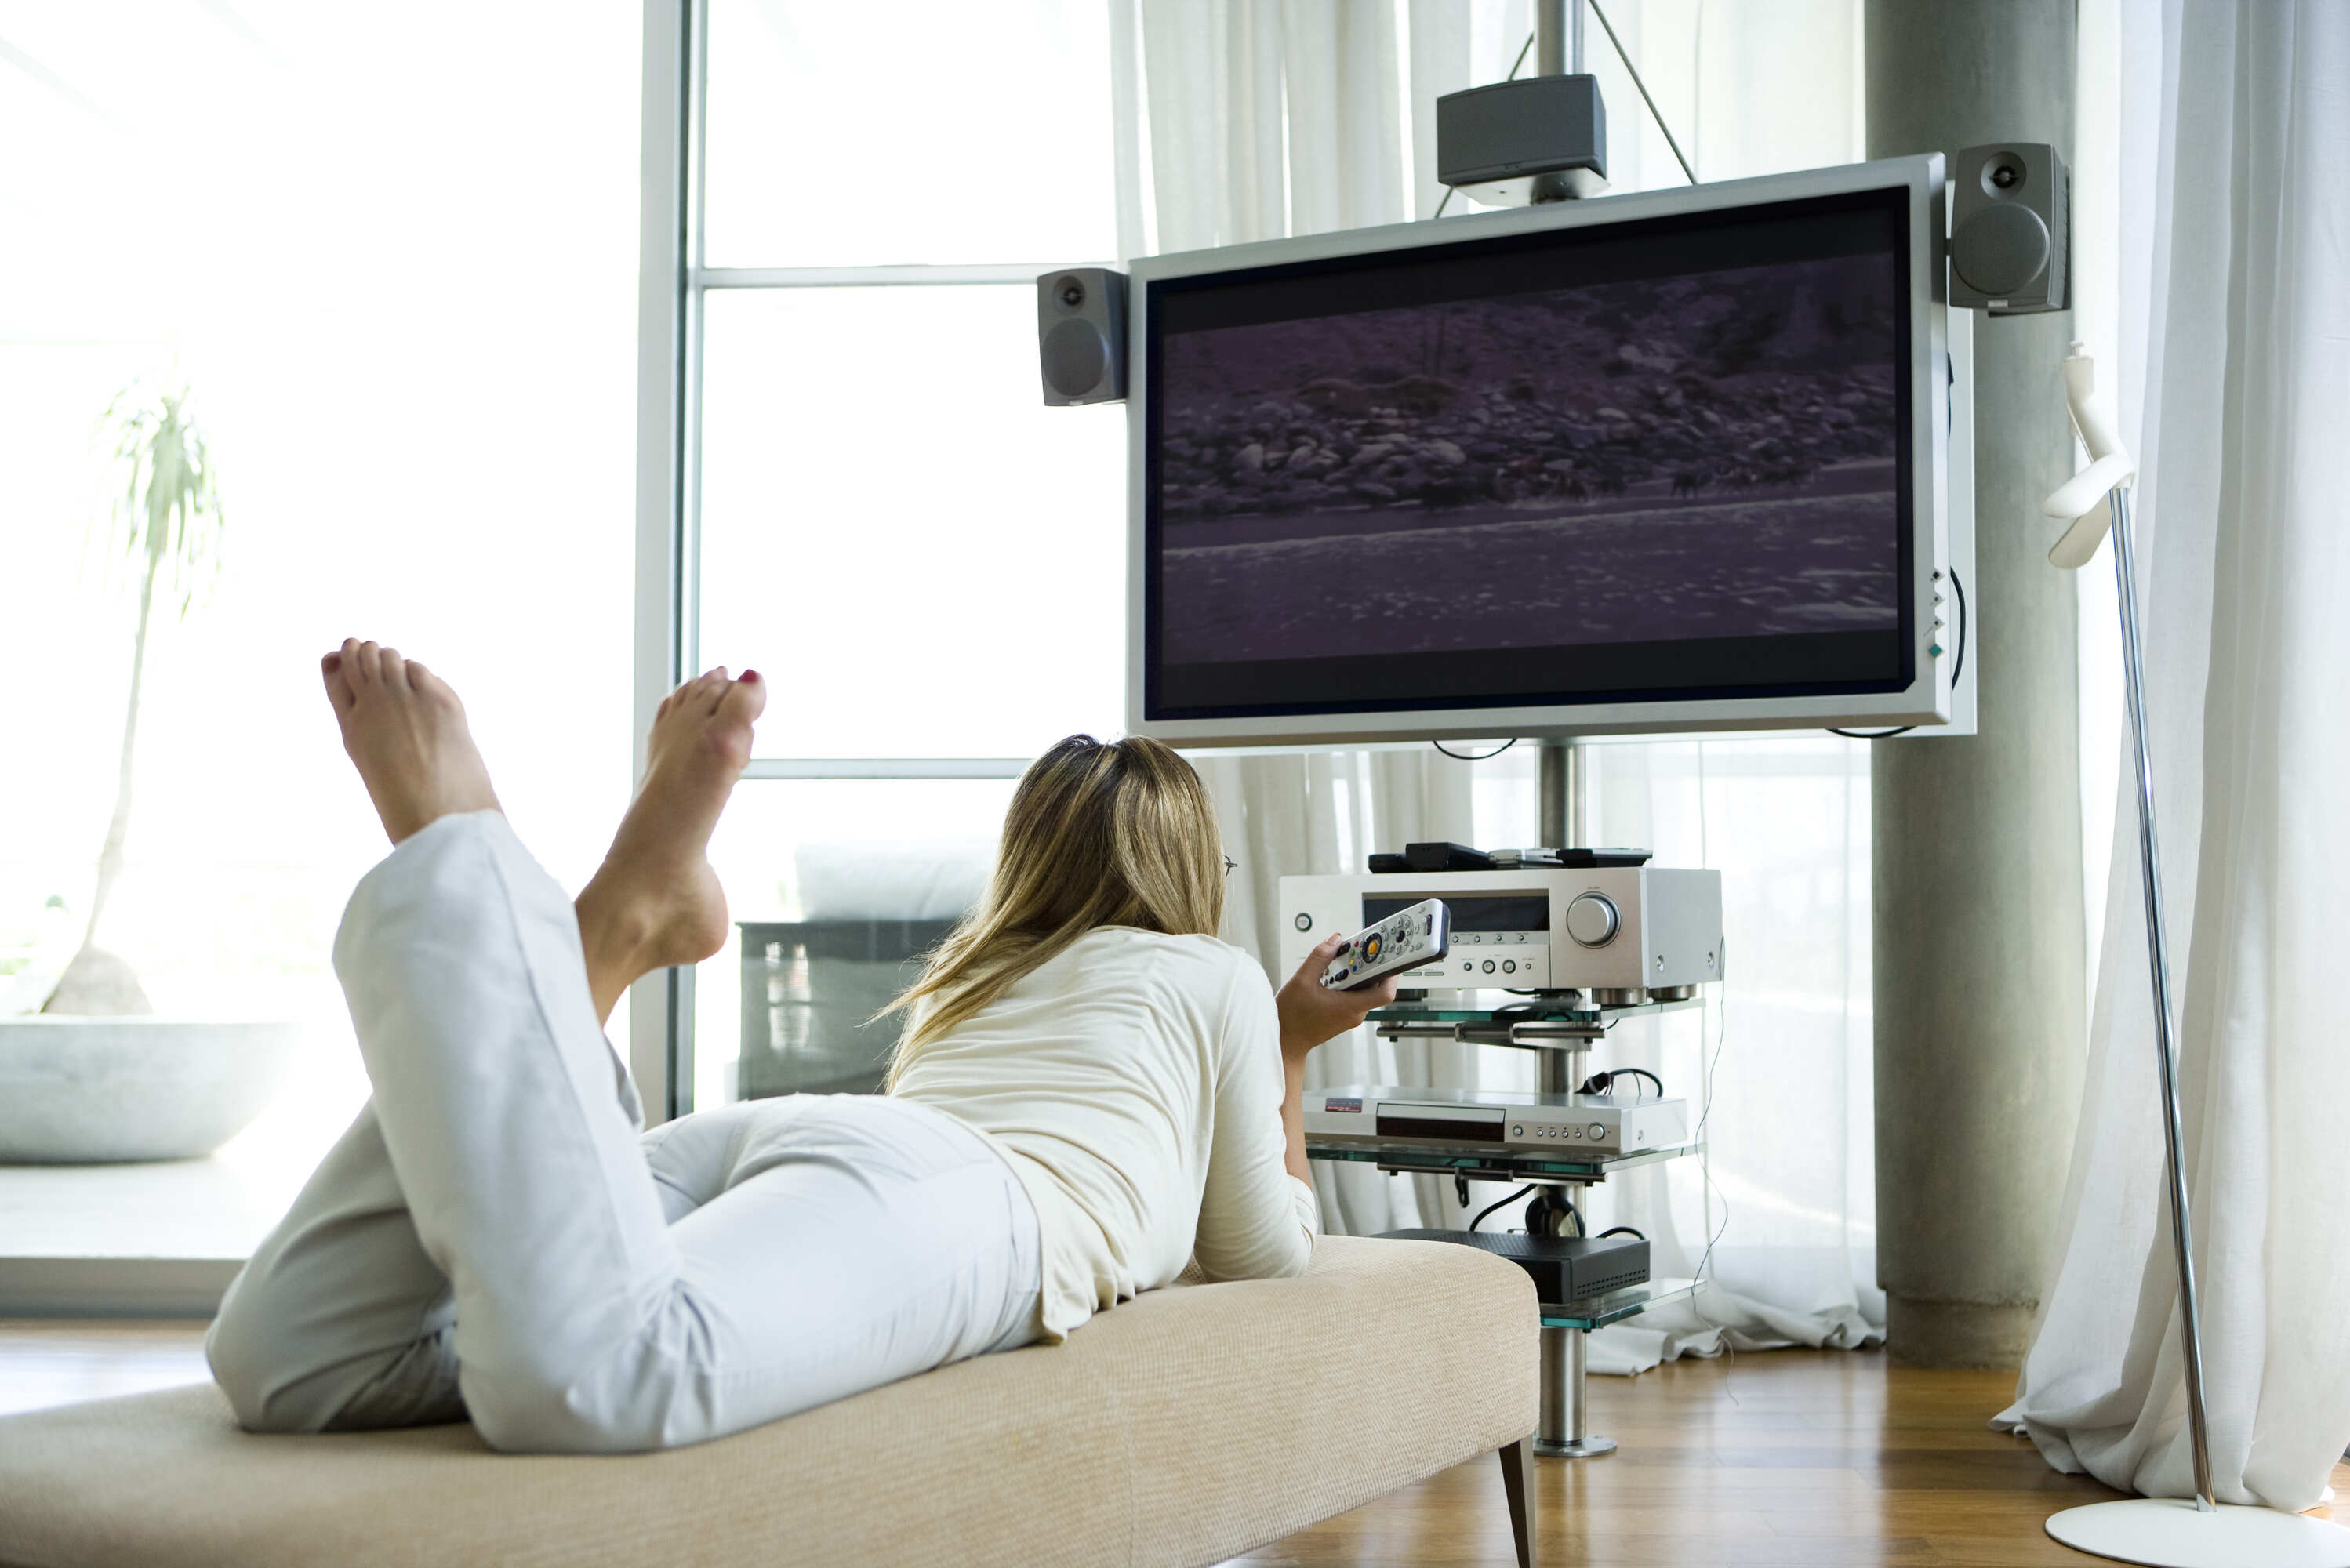
- Test the audio by playing a TV show, movie, or music. Make sure the sound is clear, balanced, and properly distributed across the speakers.
- Experiment with different audio settings to find the best combination that suits your listening preferences and the content you are watching.
By adjusting the audio settings on both the cable box and surround sound system, you can achieve optimal sound quality and ensure that the audio output is in sync with the video on your TV. Fine-tuning the settings allows you to customize the sound according to your preferences and the capabilities of your surround sound system.
Once you have adjusted the audio settings on both devices, you’re ready to move on to the final step of testing the connection and troubleshooting any potential issues.
Step 6: Test the connection and troubleshoot any issues
After completing the previous steps, it’s essential to test the connection between your cable box, surround sound system, and TV. Follow the steps below to ensure everything is working correctly:
- Choose a TV show, movie, or any other audio-visual content that you want to watch.
- Play the content on your TV and ensure that the sound is coming from your RCA surround sound system rather than the TV’s speakers.
- Verify that the sound is clear, balanced, and in sync with the video. Adjust the volume levels on your surround sound system as needed.
- Test the various audio channels by playing content with surround sound effects. Ensure that the sound is properly distributed across all the speakers.
- If you encounter any issues, first check all cable connections to ensure they are secure. Try unplugging and reinserting the cables to eliminate any loose connections.
- Ensure that all devices are powered on and set to the correct input sources. Use the respective remote controls to switch between inputs if necessary.
- If the sound is still not working correctly, restart your TV, cable box, and surround sound system. Sometimes a simple restart can resolve technical issues.
- If the problem persists, consult the user manuals for your devices or visit the manufacturers’ support websites for troubleshooting guides or contact their customer support for further assistance.
By testing the connection and troubleshooting any issues, you can ensure that your cable box, surround sound system, and TV are all functioning properly and delivering the desired audio experience. Don’t hesitate to seek assistance from the manufacturers or professionals if you’re unable to resolve any issues on your own.
Now that you have successfully connected and tested your Explorer 3000 cable box to your RCA surround sound system, you can sit back, relax, and enjoy a truly immersive audio-visual experience right in your living room!
Conclusion
Congratulations! You have successfully connected your Explorer 3000 cable box to your RCA surround sound system, bringing your home entertainment to a whole new level. By following the steps outlined in this guide, you have achieved a seamless integration of your cable box, TV, and surround sound system, allowing you to enjoy immersive audio while watching your favorite shows, movies, and sports.
Throughout this guide, we walked you through each step, from gathering the necessary cables and equipment to adjusting the audio settings and troubleshooting any potential issues. By doing so, you have ensured optimal audio performance and a satisfying viewing experience.
Remember, proper cable connections and appropriate audio settings are crucial to achieving the best sound quality. Take the time to adjust the settings on your cable box and surround sound system to suit your personal preferences and the capabilities of your audio equipment.
If you encounter any difficulties during the setup or face issues with the audio connection, don’t hesitate to consult the user manuals for your devices or reach out to the manufacturers’ customer support. They can provide valuable guidance and assistance in resolving any technical problems you may encounter.
Now, sit back, relax, and enjoy the immersive audio experience that your newly connected Explorer 3000 cable box and RCA surround sound system bring to your home. Happy watching!