Introduction
In today’s digital age, televisions have become smarter and more versatile than ever before. With the advent of Smart TVs, we now have access to a world of entertainment and online content right from the comfort of our living rooms. While Smart TVs offer a host of features and built-in apps, connecting them to a receiver can take your viewing experience to the next level.
By connecting your Smart TV to a receiver, you can unlock a multitude of benefits and open up a world of possibilities. Whether you want to enjoy the cinematic sound of your favorite movies, immerse yourself in virtual surround sound for gaming, or simply amplify the overall audio quality of your TV shows, connecting your Smart TV to a receiver can enhance your audiovisual experience like never before.
In this guide, we will walk you through the step-by-step process of connecting your Smart TV to a receiver, ensuring that you get the most out of your entertainment setup.
Benefits of Connecting Smart TV to Receiver
Connecting your Smart TV to a receiver can bring a range of benefits to your home entertainment setup. Here are some of the key advantages:
- Improved Audio Quality: By connecting your Smart TV to a receiver, you can take advantage of the receiver’s audio capabilities, which are often more robust and powerful compared to the TV’s built-in speakers. This means you can enjoy a richer and more immersive audio experience while watching movies, TV shows, or playing games.
- Enhanced Surround Sound: Many receivers come with built-in surround sound technologies, such as Dolby Digital or DTS, which can create a more realistic and immersive audio environment. By connecting your Smart TV to a receiver, you can enjoy the full benefits of these surround sound technologies, bringing your favorite movies and shows to life.
- Flexibility and Versatility: When you connect your Smart TV to a receiver, you have the flexibility to connect and control multiple audio devices, including speakers, soundbars, gaming consoles, and media players. This allows you to customize your audio setup according to your preferences and enjoy a seamless switching between different audio sources.
- Centralized Control: With a receiver, you can centralize the control of your audio system. Instead of managing different audio devices individually, you can use the receiver as a hub to control the volume, inputs, and settings for all connected devices. This simplifies the user experience and makes it easier to manage your audio setup.
- Expandability: Receivers typically offer multiple audio inputs and outputs, allowing you to easily expand and upgrade your audio system in the future. Whether you want to add more speakers for a true home theater experience or connect additional devices, a receiver provides the necessary flexibility to accommodate your evolving needs.
By harnessing the power of a receiver and connecting it to your Smart TV, you can elevate your home entertainment experience and enjoy audiovisual content like never before.
What You Will Need
Before you start connecting your Smart TV to a receiver, it is essential to gather the necessary equipment. Here’s a list of what you will need:
- Smart TV: Of course, you’ll need a Smart TV that has audio output options such as HDMI, optical, or RCA connectors. Ensure that your Smart TV supports the necessary audio output that you plan to use for connecting to the receiver.
- Receiver: You’ll need an audio receiver that matches your desired audio setup. Look for a receiver that has the appropriate audio inputs and outputs for your preferred connection method (HDMI, optical, RCA, etc.) and supports the audio technologies you want to use (such as Dolby Digital or DTS).
- Audio Cables: Depending on the audio output options available on your Smart TV and the inputs on your receiver, you might need audio cables such as HDMI cables, optical cables, or RCA cables. Ensure that you have the necessary cables with the correct connectors for your setup.
- Speaker System: If you want to enjoy enhanced audio with speakers, ensure that you have a compatible speaker system. This can range from a simple pair of stereo speakers to a full surround sound setup, depending on your preferences and budget.
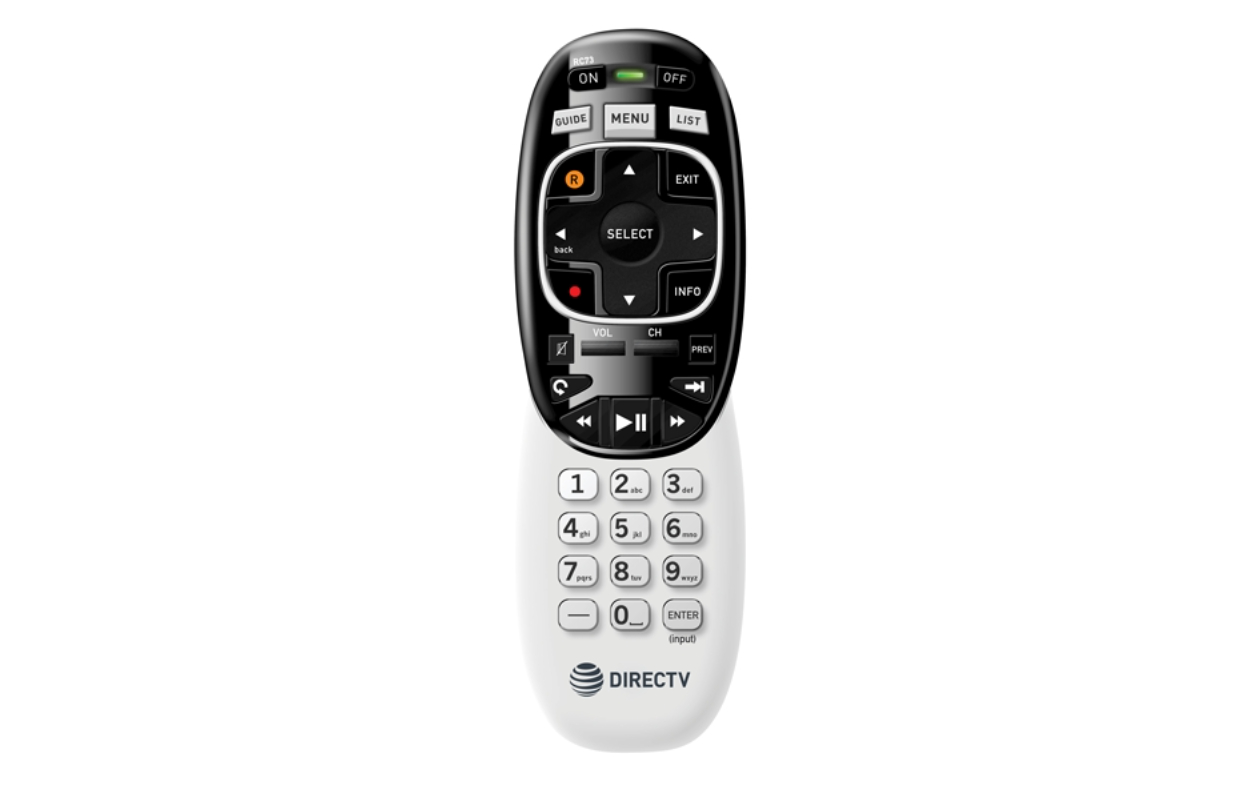
- Remote Control: If your receiver comes with a remote control, make sure you have it handy. This will allow you to control the receiver’s settings and switch between different audio sources conveniently.
It’s always a good idea to double-check the compatibility of your Smart TV, receiver, and audio cables to ensure a seamless and hassle-free connection.
Now that you have all the necessary equipment ready, let’s proceed to the step-by-step guide on connecting your Smart TV to a receiver.
Step-by-Step Guide to Connecting Smart TV to Receiver
Follow these steps to connect your Smart TV to a receiver:
- Identify the audio output options: Look for the audio output options on your Smart TV. The most common options are HDMI, optical (TOSLINK), and RCA (analog) connectors. Identify which output option is available on your Smart TV.
- Identify the audio input options on the receiver: Check the audio inputs on your receiver and ensure that it has the corresponding input option to connect to your Smart TV. Common input options include HDMI, optical, and RCA connectors.
- Choose the appropriate audio cable: Depending on the audio output on your Smart TV and the input on your receiver, select the appropriate audio cable like HDMI cable, optical cable, or RCA cable. Make sure the cable has the correct connectors on both ends.
- Connect the audio cable: Connect one end of the audio cable to the audio output port on your Smart TV and the other end to the corresponding audio input port on the receiver. Ensure a secure and snug connection.
- Configure the audio settings: On your Smart TV, go to the audio settings menu and select the audio output option that you connected to the receiver. This will route the audio from your Smart TV to the receiver.
- Connect the speakers: If you have a speaker system, connect the speakers to the appropriate output ports on the receiver. Ensure that the speakers are placed correctly for optimal audio quality.
- Power on the devices: Power on your Smart TV, receiver, and speaker system, if applicable. Make sure all devices are set to the correct input/source for audio playback.
- Test the audio: Play a test audio or video content on your Smart TV and ensure that the sound is coming through the speakers connected to the receiver. Adjust the volume and other audio settings on the receiver as needed.
- Fine-tune the settings: Explore the audio settings menu on your receiver to customize the sound according to your preferences. You can adjust the equalizer settings, enable or disable surround sound features, and more.
That’s it! You have successfully connected your Smart TV to a receiver, allowing you to enjoy enhanced audio quality and a more immersive viewing experience.
Troubleshooting Tips
While connecting your Smart TV to a receiver is usually a straightforward process, you may encounter some common issues along the way. Here are some troubleshooting tips to help you overcome any potential roadblocks:
- No audio: If you have successfully connected your Smart TV to the receiver but there is no sound, check the following:
- Ensure that the audio output on your Smart TV is set to the correct option that is connected to the receiver.
- Make sure the volume on the receiver and speakers is not muted or too low.
- Check if the audio cables are securely plugged in on both ends.
- Poor audio quality: If the audio quality is not up to par, try the following:
- Check the audio settings on your receiver and TV. Adjust the equalizer settings or select the appropriate sound mode to enhance the audio quality.
- Ensure that the cables are of good quality and not damaged. Sometimes, faulty cables can degrade the audio signal.
- Verify that your speaker system is properly set up and positioned for optimal sound performance.
- Audio delay: If you notice a delay between the audio and video, follow these steps:
- Check if there is a “lip sync” or audio delay setting on your receiver. Adjust this setting to sync the audio with the video.
- Some Smart TVs may have built-in audio delay options. Explore the TV’s audio settings and see if there is an option to adjust the audio delay.
- Ensure that the audio cables are properly connected and not loose, as loose connections can cause audio synchronization issues.
- No video signal: If you have connected all the audio cables correctly but there is no video signal on your Smart TV, try the following:
- Check the HDMI or other video cables for any damage or loose connections. Replace them if necessary.
- Ensure that the input source on your TV is set to the correct HDMI or other video input that is connected to the receiver.
- Try connecting the video cable directly from your Smart TV to the device (e.g., set-top box, Blu-ray player) to rule out any issues with the receiver.
- Consult the user manuals: If none of the above troubleshooting tips resolve your issues, refer to the user manuals of your Smart TV, receiver, and speaker system for specific troubleshooting steps and support.
By following these troubleshooting tips, you can overcome common issues and ensure a seamless connection and superior audiovisual experience with your Smart TV and receiver.
Conclusion
Connecting your Smart TV to a receiver can greatly enhance your home entertainment experience by improving audio quality, providing surround sound capabilities, and offering more control over your audio setup. By following the step-by-step guide and troubleshooting tips outlined in this article, you can successfully connect your Smart TV to a receiver and enjoy a more immersive and enjoyable audiovisual experience.
Remember to gather all the necessary equipment, including a compatible Smart TV, audio receiver, audio cables, and speaker system. Take the time to identify the audio output options on your Smart TV and the corresponding input options on the receiver. Carefully connect the audio cables and configure the audio settings on both devices.
If you encounter any issues during the setup process, refer to the troubleshooting tips provided. Check the audio and video connections, ensure proper cable connections, verify audio settings, and consult the user manuals of your devices as needed.
With a successfully connected Smart TV and receiver, you can enjoy improved audio quality, immersive surround sound, and centralized control over your audio system. Whether you’re watching movies, TV shows, or playing games, the enhanced audio experience will elevate your entertainment to new heights.
So, go ahead and connect your Smart TV to a receiver and immerse yourself in a world of captivating audio and visual experiences!


