Introduction
Welcome to this guide on how to connect a receiver to a smart TV. With the rise in popularity of smart TVs, many people are looking for ways to enhance their viewing experience by connecting an external receiver. By doing so, you can enjoy high-quality audio and video from various sources such as cable boxes, Blu-ray players, or gaming consoles. However, connecting a receiver to a smart TV may seem like a daunting task for some.
Fortunately, it’s a relatively simple process that can be done with a few easy steps. In this guide, we will walk you through the process of connecting your receiver to your smart TV using different methods, such as HDMI, RCA cables, and optical cables. Whether you’re a tech-savvy individual or a newbie in audiovisual setups, this guide is designed to help you navigate the process effortlessly.
Before we dive into the steps, it’s essential to understand the benefits of connecting a receiver to your smart TV. Firstly, it allows you to expand your audio setup and enjoy surround sound capabilities. With a receiver, you can connect additional speakers to create a more immersive home theater experience.
Secondly, a receiver acts as a central hub for all your audio and video devices. Instead of connecting each device directly to your TV, you can connect them to the receiver, simplifying the setup and making it easier to switch between different sources. This means you only need to use one HDMI or optical cable to connect your receiver to your TV, reducing cable clutter and improving the overall aesthetics of your entertainment area.
Lastly, a receiver provides various audio processing features and customization options, such as adjusting the equalizer settings, creating sound presets, and enabling various audio effects. These features can significantly enhance your audio experience, allowing you to fine-tune the sound according to your preferences.
Now that we’ve discussed the benefits, let’s move on to the different methods you can use to connect your receiver to your smart TV. Whether you have a brand-new smart TV or an older model, there’s a connection method that will suit your needs. Follow the steps in the upcoming sections based on the available ports and cables you have.
Step 1: Gather the necessary equipment
Before you start connecting your receiver to your smart TV, it’s essential to gather all the necessary equipment. Having everything ready will make the process smoother and more efficient. Here’s a list of the equipment you’ll need:
- Your smart TV: Make sure your TV is turned off and unplugged while you set up the connection.
- A receiver: This is the central device that will handle the audio signals from your various devices and send them to your speakers.
- HDMI cables: These cables will transmit both audio and video signals. Make sure you have a suitable length depending on the distance between your TV and receiver.
- RCA cables: These cables are used for analog audio connections. You might need them if your receiver or TV doesn’t have HDMI ports.
- Optical cable: This cable is another option for transmitting audio signals. It is capable of supporting high-quality audio formats like Dolby Digital.
- Audio and video sources: These can include cable/satellite boxes, Blu-ray players, gaming consoles, and any other device you want to connect to your receiver.
Once you have gathered all the necessary equipment, make sure to check if there are any specific cables or adapters required for your specific TV or receiver models. Additionally, ensure that your receiver and TV are compatible with the chosen connection method. Some older receivers or TVs may have limited connectivity options, so it’s important to verify compatibility beforehand.
It’s also a good idea to consult the user manuals for your receiver and TV. These manuals will provide detailed information about the available ports and connections on each device.
By having all the required equipment ready and understanding the capabilities of your TV and receiver, you can proceed to the next step with confidence. Keep in mind that the equipment mentioned above is for general guidance, and you might need additional or specific equipment depending on your specific setup requirements.
Step 2: Determine the appropriate connection method
Once you have gathered all the necessary equipment, the next step is to determine the appropriate connection method for your setup. The connection method will depend on the available ports on both your smart TV and your receiver. Here are the most common connection methods:
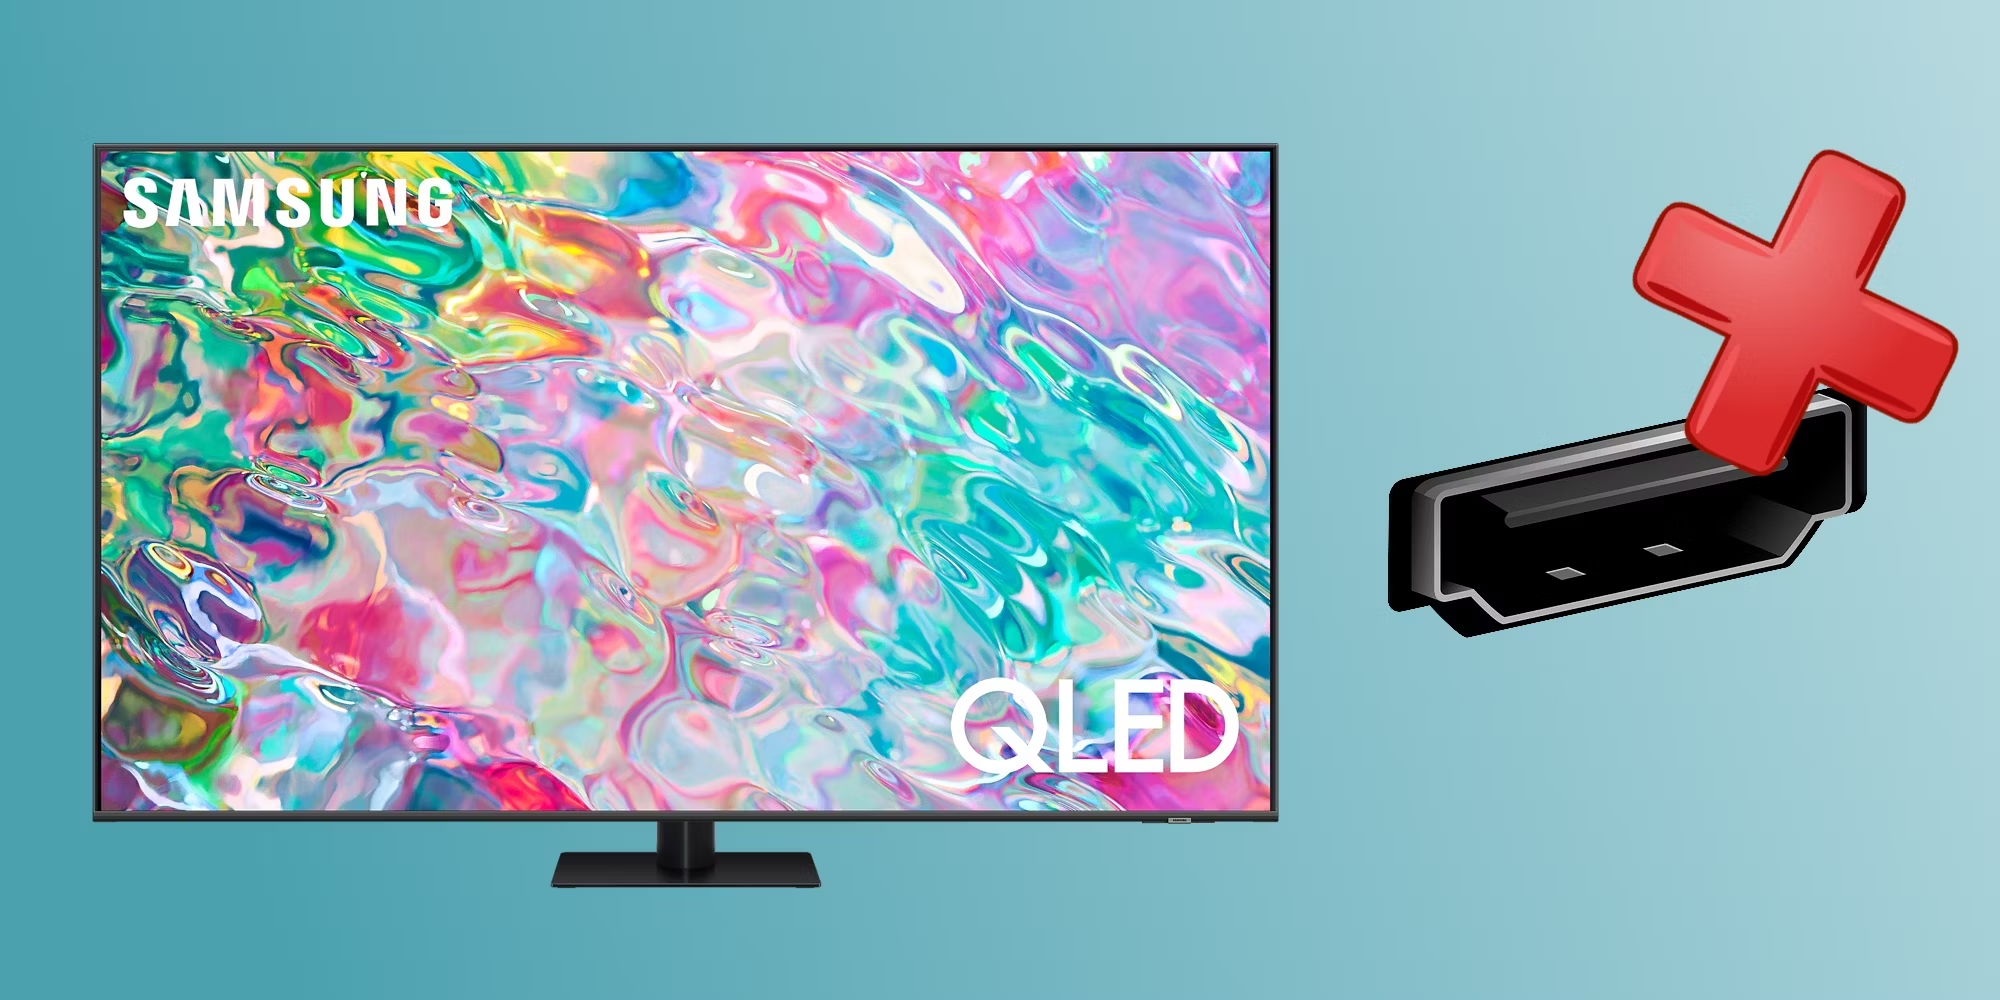
- HDMI: HDMI (High-Definition Multimedia Interface) is the preferred method for connecting a receiver to a smart TV as it supports both audio and video transmission. Most modern TVs and receivers have HDMI ports, making it a convenient and straightforward option. If both your TV and receiver have HDMI ports, this is the recommended method to achieve the best audio and video quality.
- RCA cables: RCA cables, also known as composite cables, can be used for analog audio connections. However, the use of RCA cables is becoming less common as HDMI offers a higher quality and more convenient connection method. If your smart TV or receiver does not have HDMI ports, you can use RCA cables as an alternative.
- Optical cable: An optical cable, also known as TOSLINK or S/PDIF, is another option for connecting your receiver to your smart TV. This method transmits audio signals in a digital format, supporting high-quality audio formats like Dolby Digital. If both your TV and receiver have optical audio ports, this can be an excellent choice for achieving high-quality audio.
Take a look at the available ports on both your TV and receiver to determine which connection method is suitable for your setup. Keep in mind that HDMI is generally the recommended option for its convenience and audiovisual capabilities. If your devices do not have HDMI ports or if you prefer an alternative, you can opt for RCA cables or an optical cable.
It’s worth noting that some receivers offer multiple HDMI ports, enabling you to connect multiple devices simultaneously. This allows for easy switching between different sources without constantly reconfiguring the connections. If you have multiple devices you want to connect to your receiver, ensure that your receiver has enough HDMI ports to accommodate them.
With the connection method in mind and an understanding of the available ports on your devices, you’re ready to move on to the next step: connecting the receiver to your smart TV. We’ll explore the step-by-step process for each connection method in the upcoming sections.
Step 3: Connect the receiver to the smart TV using HDMI
Connecting your receiver to your smart TV using HDMI is the preferred method as it allows for both audio and video transmission. Follow these steps to establish an HDMI connection:
- Locate the HDMI ports: Check the back or side panel of your smart TV and receiver to locate the HDMI ports. TVs usually have multiple HDMI ports, while receivers typically have HDMI input/output ports.
- Insert one end of the HDMI cable: Take one end of the HDMI cable and insert it into the HDMI output port of the receiver.
- Insert the other end of the HDMI cable: Connect the other end of the HDMI cable into one of the HDMI input ports on your smart TV.
- Turn on your devices: Plug in your TV and receiver, and turn them both on. Use the TV remote to select the appropriate HDMI input channel that corresponds to the port you connected the cable to. This will ensure that you can see the video output from the receiver on your TV.
- Configure audio settings: Go to the audio settings on your smart TV to ensure that the audio is being transmitted through the HDMI connection. Most smart TVs automatically detect the HDMI connection and output audio accordingly, but it’s always a good idea to double-check.
- Test the connection: Play a video or audio source on one of your connected devices and check if the audio and video are being transmitted to your TV through the receiver. Make sure the receiver is set to the correct input source for the device you are testing.
Once you have completed these steps, you have successfully connected your receiver to your smart TV using HDMI. This method allows for seamless transmission of audio and video signals, providing you with a high-quality audiovisual experience.
If you have multiple devices that you want to connect to the receiver, ensure that you connect each device to a separate HDMI input port on the receiver. This will allow you to easily switch between different sources using the appropriate input selection on the receiver or using your TV’s remote control.
In the event that you encounter any issues, such as no audio or video output, ensure that all cables are securely connected, and that the HDMI ports on both the TV and receiver are not damaged. You may also need to consult the user manuals for your specific devices to troubleshoot any problems.
Now that you have successfully connected your receiver to your smart TV using HDMI, you can enjoy enhanced audio and video quality for all your favorite entertainment sources.
Step 4: Connect the receiver to the smart TV using RCA cables
If your smart TV or receiver does not have HDMI ports or you prefer an analog audio connection, you can connect your receiver to your smart TV using RCA cables. Follow these steps to establish an RCA connection:
- Locate the RCA ports: Check the back or side panel of your smart TV and receiver to locate the RCA ports. RCA ports are color-coded, with red and white for the right and left audio channels, and yellow for the video channel.
- Insert one end of the RCA cables: Take the red and white RCA cables and insert them into the corresponding audio output ports on the receiver. Ensure that you match the colors correctly, with the red cable into the right audio output and the white cable into the left audio output.
- Insert the other end of the RCA cables: Connect the red and white RCA cables into the corresponding audio input ports on your smart TV. Again, make sure to match the colors correctly.
- Optional: Connect the yellow RCA cable: If you want to transmit video along with audio, insert the yellow RCA cable into the video output port on the receiver and the corresponding video input port on your TV. Not all setups require the video connection, especially if you are only using the receiver for audio.
- Turn on your devices: Plug in your TV and receiver and turn them both on. Use the TV remote to select the appropriate input channel that corresponds to the RCA input you connected the cables to. This will ensure that you can see and hear the output from the receiver on your TV.
- Configure audio settings: Access the audio settings on your smart TV to ensure that the audio is being transmitted through the RCA connection. Some TVs may automatically detect the RCA connection and output audio accordingly, while others may require manual configuration.
- Test the connection: Play an audio or video source on one of your connected devices and check if the audio is being transmitted to your TV through the receiver. Adjust the volume on both your TV and receiver to ensure the sound is clear and at the desired level.
Once you have completed these steps, you have successfully connected your receiver to your smart TV using RCA cables. While RCA cables are not as commonly used as HDMI for audiovisual connections, they can still provide a reliable analog audio connection between your devices.
Keep in mind that RCA cables only support stereo audio (two channels), so if you’re looking for a surround sound setup, HDMI or optical connections are recommended. However, if your receiver and TV do not have HDMI ports or you prefer an analog connection, RCA cables can still deliver decent audio quality.
If you have multiple devices that you want to connect to your receiver, repeat these steps for each device, connecting the RCA cables to the appropriate input and output ports on the receiver and TV.
In case you encounter any issues, such as distorted audio or no audio output, ensure that the RCA cables are securely connected, and that the RCA ports on both the TV and receiver are not damaged. You may also need to consult the user manuals for your specific devices to troubleshoot any problems.
Now that you have successfully connected your receiver to your smart TV using RCA cables, you can enjoy improved audio quality from your connected devices.
Step 5: Connect the receiver to the smart TV using optical cable
If you want to achieve high-quality audio transmission between your receiver and smart TV, using an optical cable is an excellent option. Follow these steps to establish an optical connection:
- Locate the optical ports: Check the back or side panel of your smart TV and receiver to locate the optical audio ports. These ports are usually labeled as “Optical Audio,” “TOSLINK,” or “S/PDIF.”
- Remove the dust cover: If there’s a dust cover on the optical ports, remove it gently to expose the port.
- Insert one end of the optical cable: Take one end of the optical cable and align the square-shaped connector with the optical audio output port on the receiver. Ensure that the connector is inserted straight and securely into the port.
- Insert the other end of the optical cable: Connect the other end of the optical cable into the optical audio input port on your smart TV.
- Secure the cable: Once both ends of the optical cable are properly inserted, tighten the connector screws on both the receiver and TV to secure the cable in place.
- Turn on your devices: Plug in your TV and receiver and turn them both on. Use the TV remote to select the appropriate input channel that corresponds to the optical input you connected the cable to.
- Configure audio settings: Access the audio settings on your smart TV to ensure that the audio is being transmitted through the optical connection. Some TVs may automatically detect the optical connection and output audio accordingly, while others may require manual configuration.
- Test the connection: Play an audio or video source on one of your connected devices and check if the audio is being transmitted to your TV through the receiver. Adjust the volume on both your TV and receiver to ensure the sound is clear and at the desired level.
Once you have completed these steps, you have successfully connected your receiver to your smart TV using an optical cable. Optical cables are capable of transmitting high-quality digital audio signals, including formats like Dolby Digital.
One of the advantages of using an optical cable is that it can transmit audio signals without any loss or interference, resulting in crisp and clear sound. However, note that unlike HDMI, optical cables do not transmit video signals, so you will need to use a separate connection (such as HDMI or RCA) for video.
If you have multiple devices that you want to connect to your receiver, repeat these steps for each device, connecting the optical cables to the appropriate input and output ports on the receiver and TV.
In the event that you encounter any issues, such as no audio or distorted sound, ensure that the optical cable is securely connected and that the optical ports on both the TV and receiver are not damaged. You may also need to consult the user manuals for your specific devices to troubleshoot any problems.
Now that you have successfully connected your receiver to your smart TV using an optical cable, you can enjoy immersive and high-quality audio from your connected devices.
Step 6: Configure the audio settings on the smart TV
After you have successfully connected your receiver to your smart TV using your preferred method, it’s important to configure the audio settings on your TV. This step ensures that the audio signals are being transmitted correctly through the chosen connection and that you can optimize the sound quality according to your preferences. Here’s how you can configure the audio settings on your smart TV:
- Access the settings menu: Using your TV remote, navigate to the settings menu of your smart TV. The location of the settings menu can vary depending on the TV’s make and model, but it is typically accessed through a dedicated button on the remote or through an on-screen menu.
- Locate the audio settings: Within the settings menu, find the section or tab related to audio settings. It may be labeled as “Audio,” “Sound,” or “Sound Settings.”
- Select the audio output: In the audio settings, look for the option to select the audio output. Since you have connected the receiver to your TV, choose the output option that corresponds to the connection method you used (e.g., HDMI, RCA, or optical).
- Select the desired audio format: Depending on your TV and receiver’s capabilities, you may have options to select the desired audio format. Common formats include stereo, surround sound, or various Dolby audio formats. Choose the format that best suits your audio setup and preferences.
- Adjust the sound settings: Your TV may offer additional sound settings that you can customize. These settings might include adjusting bass, treble, equalizer settings, or selecting sound presets. Take the time to explore these options and make adjustments based on your personal preferences.
- Test the audio: After configuring the audio settings, play a test audio or video file to ensure that the sound is being output through your receiver and that it matches your desired audio format and settings. Verify that the volume is balanced and adjusted appropriately.
By configuring the audio settings on your smart TV, you can ensure that the audio signals are being properly transmitted through your connected receiver. This step allows you to optimize the audio output and customize the sound according to your specific preferences.
Keep in mind that the options and settings available in the audio settings menu may vary depending on the TV’s make and model. Consult the TV’s user manual for more specific instructions and details related to your TV’s audio settings.
If you encounter any issues during the configuration process, such as no audio output or distorted sound, double-check the connection between your TV and receiver, as well as the audio settings on both devices. Be sure to consult the user manuals or online support resources for your TV and receiver if further troubleshooting is required.
Now that you have configured the audio settings on your smart TV, you’re ready to enjoy enhanced audio quality and take full advantage of your connected receiver’s capabilities.
Step 7: Test the connection and troubleshoot any issues
After connecting your receiver to your smart TV and configuring the audio settings, it’s important to test the connection and ensure that everything is working correctly. Here are the steps to test the connection and troubleshoot any potential issues:
- Choose a test source: Select a video or audio source that you want to test through your connected receiver. This can be a movie, a TV show, a music track, or any other media file that you know should produce sound.
- Play the test source: Start playing the selected test source on the device that is connected to your receiver. For example, if you have a Blu-ray player connected to your receiver, insert a Blu-ray disc and play it. Make sure the volume on your receiver and TV is set to an appropriate level.
- Check audio and video output: Pay attention to both the audio and video output. Ensure that the sound is coming through your connected receiver and that it matches the desired audio format. At the same time, monitor the TV screen to ensure that the video content is being displayed properly.
- Verify audio synchronization: Check if the audio and video remain in sync. If you notice any noticeable delays or synchronization issues between the audio and video, it may be necessary to adjust the audio delay settings on your receiver (if available) to bring them into alignment.
- Troubleshoot any issues: If you encounter any issues during the testing phase, there are a few troubleshooting steps you can take. First, check all cable connections to ensure they are secure. Make sure that the correct input sources are selected on both your receiver and smart TV. Additionally, consider restarting both devices as a simple reset can often resolve minor issues. If problems persist, consult the user manuals for your specific devices or seek online support resources for further troubleshooting guidance.
- Repeat the test with different sources: After verifying the connection with the initial test source, try playing different media files or switching to other connected devices. This will help confirm that the connection is reliable and functioning correctly with various sources.
By testing the connection between your receiver and smart TV, you can ensure that the audio and video output are as expected. Testing also provides an opportunity to address any potential issues or disruptions in the connection.
If you continue to experience problems even after troubleshooting, it may be necessary to consult a professional or reach out to the manufacturers of your devices for further assistance. They can provide specific guidance based on the make and model of your receiver and smart TV.
Remember that technology can sometimes be unpredictable, and occasional troubleshooting may be necessary. By following these steps and conducting thorough testing, you can maximize the performance of your connected devices and enjoy uninterrupted audio and video playback.
Conclusion
Connecting a receiver to a smart TV can greatly enhance your audiovisual experience by providing high-quality sound and a centralized control hub for your various devices. By following the steps outlined in this guide, you can easily and successfully connect your receiver to your smart TV using different methods such as HDMI, RCA cables, or an optical cable.
Throughout the process, it is important to gather all the necessary equipment, determine the appropriate connection method based on the available ports, and configure the audio settings on your smart TV. Additionally, testing the connection and troubleshooting any issues ensures that the audio and video output meet your expectations.
Whether you choose to use HDMI for its convenience and audiovisual capabilities, RCA cables for analog audio connections, or an optical cable for high-quality digital audio transmission, it’s essential to consider your specific setup requirements and choose the method that best suits your needs.
Remember to consult the user manuals for your specific devices for more detailed instructions, as the steps may vary depending on the make and model of your TV and receiver. Additionally, online support resources and professional assistance are available in case you encounter any difficulties during the setup process.
Once you have successfully connected your receiver to your smart TV, you can enjoy immersive audio, improved sound quality, and a more streamlined entertainment setup. Sit back, relax, and indulge in your favorite movies, shows, and music, now with enhanced audio capabilities, thanks to the seamless connection between your receiver and smart TV.