Introduction
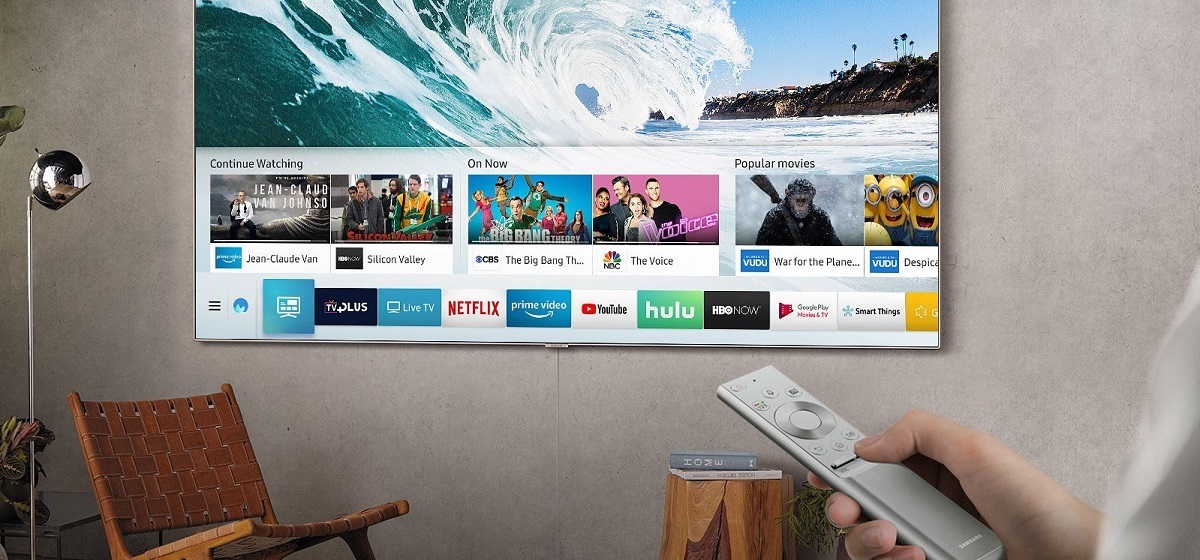
Connecting a dish to a Samsung Smart TV allows you to enjoy a wide range of channels and access a variety of entertainment options. It opens up a world of possibilities, from watching your favorite TV shows and movies to streaming content, playing games, and even browsing the internet.
Whether you’re a tech-savvy individual or a novice, the process of connecting your dish to a Samsung Smart TV may seem daunting at first. However, with a little guidance and the right steps, you’ll be able to enjoy all the benefits of satellite television in no time.
In this guide, we will walk you through the process of connecting your dish to a Samsung Smart TV, including checking your dish setup, connecting the dish receiver, configuring the dish settings, and adjusting the Samsung Smart TV settings. We will also provide troubleshooting tips to help you overcome common issues that may arise during the setup process.
Before you begin, it’s important to ensure that you have all the necessary equipment. Make sure you have your dish receiver, HDMI or AV cables, and a power source. You should also have your Samsung Smart TV remote handy, as it will be essential throughout the setup process.
Now, let’s get started with step one: checking the dish setup.
Step 1: Checking the Dish Setup
Before connecting the dish to your Samsung Smart TV, it’s crucial to ensure that your dish setup is correct. This involves verifying that your dish is properly installed, aligned, and in good working condition.
Start by physically examining the dish. Look for any signs of damage or misalignment. Check that the dish is mounted securely and that there are no obstructions such as tree branches or buildings blocking the line of sight between the dish and the satellite.
Next, check the cables connected to the dish. Make sure they are securely plugged in and free from any damage or wear. Inspect the connectors for any signs of corrosion or loose connections, as these can affect the signal quality.
You should also take a look at the dish receiver. Ensure that it is powered on and receiving power. Check the indicator lights on the receiver to confirm that it is functioning correctly. If there are any error messages displayed on the receiver, consult the user manual or contact your service provider for assistance.
Additionally, it’s important to verify that you have a valid subscription for the satellite service. Confirm that your account is active and that you have paid any necessary fees or subscriptions to access the channels you want to watch. If you are unsure about your subscription status, contact your service provider for further clarification.
By thoroughly checking your dish setup, you can avoid any potential issues and ensure a smooth connection process. Once you have verified that your dish is properly installed and functioning correctly, you’re ready to move on to the next step: connecting the dish receiver to your Samsung Smart TV.
Step 2: Connecting the Dish Receiver to Samsung Smart TV
Now that you have verified that your dish setup is in order, it’s time to connect the dish receiver to your Samsung Smart TV. Here’s how:
- Locate the HDMI or AV output on your dish receiver. Depending on the model, it may have multiple output options. Choose the appropriate one based on the available ports on your Samsung Smart TV.
- Take an HDMI or AV cable and connect one end to the output port on the dish receiver.
- Now, locate the HDMI or AV input ports on your Samsung Smart TV. These are usually found on the back or side of the TV.
- Connect the other end of the HDMI or AV cable to the corresponding input port on the Samsung Smart TV.
- Make sure the connections are secure by gently pushing the plugs into the ports.
- Next, connect the power cord to both the dish receiver and the Samsung Smart TV.
- Power on both devices and wait for them to initialize.
- On your Samsung Smart TV remote, press the “Source” or “Input” button. This will bring up a menu that allows you to select the input source.
- Using the arrow keys on the remote, navigate to the HDMI or AV input that corresponds to the port you connected the dish receiver to.
- Press the “Enter” or “OK” button to confirm the selection.
- Your Samsung Smart TV should now be displaying the content from your dish receiver. Use the dish receiver remote to navigate through channels and settings.
If you encounter any issues with the connection, double-check the cable connections and ensure that the correct input source is selected on your Samsung Smart TV. If the problem persists, refer to the troubleshooting section or consult the user manual for further assistance.
With your dish receiver successfully connected to your Samsung Smart TV, you’re now ready to move on to step three: configuring the dish settings.
Step 3: Configuring the Dish Settings
After successfully connecting the dish receiver to your Samsung Smart TV, it’s time to configure the dish settings to ensure optimal performance. Follow these steps to configure the dish settings:
- On your dish receiver remote, locate the menu button and press it to access the settings menu.
- Navigate to the “Setup” or “Installation” section using the arrow keys on the remote.
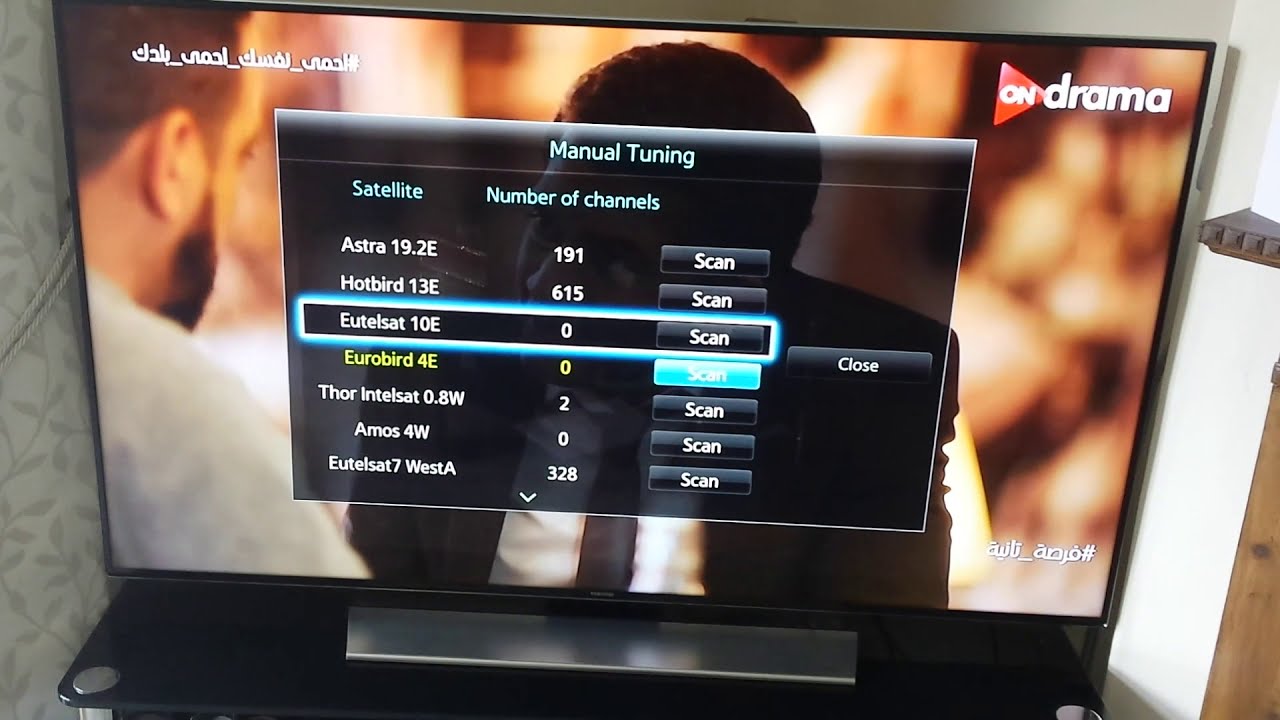
- Select “Satellite Setup” or a similar option to configure the satellite settings.
- Choose your satellite provider from the list, or manually enter the satellite parameters as provided by your service provider.
- Once the satellite is selected or the parameters are entered, the dish receiver will start scanning for available channels. This may take a few minutes, so be patient.
- Once the scanning process is complete, you will be able to access the available channels on your Samsung Smart TV. Use the channel guide or remote control to navigate through the channels.
- If you have subscribed to additional services or premium channels, you may need to activate or configure those separately. Consult the user manual or contact your service provider for guidance on how to do this.
- Take some time to explore the settings menu on your dish receiver. You can adjust various options such as picture quality, sound settings, parental controls, and more to personalize your viewing experience.
Remember to save any changes you make to the dish settings to ensure they are applied. If you experience any difficulties during the configuration process or encounter any error messages, refer to the user manual or contact your service provider for support.
With the dish settings successfully configured, you’re now ready to move on to step four: adjusting the Samsung Smart TV settings to enhance your viewing experience.
Step 4: Adjusting the Samsung Smart TV Settings
Now that your dish receiver is connected and configured, it’s time to adjust the settings on your Samsung Smart TV to enhance your viewing experience. Follow these steps to make the necessary adjustments:
- On your Samsung Smart TV remote, locate the menu or settings button and press it to access the TV settings.
- Navigate to the “Picture” or “Display” settings to adjust the visual settings. Here you can modify options such as brightness, contrast, color, and sharpness to your preferred settings.
- For optimal audio quality, go to the “Sound” settings and adjust options such as volume, equalizer settings, and audio output to enhance your audio experience.
- If your Samsung Smart TV supports internet connectivity, you may want to connect it to your home Wi-Fi network. Go to the “Network” settings and select your network to establish a connection.
- If you have streaming services or apps installed on your Smart TV, you can customize their settings in the respective app settings section.
These are just some basic adjustments you can make to improve your viewing and audio experience on your Samsung Smart TV. Feel free to explore the settings menu further to discover additional customization options such as screen mirroring, input settings, and more.
If you encounter any issues or have questions about specific settings, refer to the user manual or search for online resources specific to your Samsung Smart TV model. You can also reach out to Samsung support for assistance.
With your Samsung Smart TV settings adjusted to your liking, you’re all set to enjoy an enhanced viewing experience with your dish connected and your TV optimized.
Step 5: Troubleshooting Common Issues
While connecting a dish to a Samsung Smart TV is a straightforward process, there can be potential issues that you may encounter along the way. Here are some common problems that may arise and troubleshooting steps to help you resolve them:
- No Signal: If you see a “No Signal” message on your Samsung Smart TV, ensure that all the cables are securely connected. Check the dish receiver and TV input settings to confirm that the correct input source is selected. You may also try restarting both the dish receiver and the Smart TV.
- Poor Signal Quality: If you experience pixelation or signal dropout, check the dish alignment and make sure there are no obstructions blocking the line of sight to the satellite. Adjust the dish position if necessary. If the problem persists, contact your service provider to check for any signal issues or weather-related interference.
- Audio or Video Issues: If you’re facing audio or video problems, make sure that the audio and video cables are securely connected. Verify that the TV and dish receiver are set to the correct input source. Additionally, check the TV and receiver settings to ensure that the audio and video outputs are configured correctly.
- Remote Control Issues: If the remote control is not working, replace the batteries and ensure that there are no obstructions between the remote and the dish receiver or Smart TV. If the problem persists, try resetting the remote control by removing the batteries and pressing all the buttons for a few seconds. Then, reinsert the batteries and try again.
- Internet Connectivity Problems: If you’re having trouble connecting your Smart TV to the internet for streaming services, check your Wi-Fi network settings and ensure that you have a stable internet connection. You may also try restarting your router and reconnecting your TV to the network.
If you encounter any other issues or are unable to resolve the problem on your own, consider reaching out to your service provider or contacting Samsung support for further assistance. They will be able to provide specific troubleshooting guidance based on your equipment and setup.
By following these troubleshooting steps, you can overcome common issues and enjoy a seamless and uninterrupted viewing experience with your dish connected to your Samsung Smart TV.
Conclusion
Connecting a dish to your Samsung Smart TV opens up a world of entertainment possibilities, allowing you to enjoy a wide range of channels, shows, movies, and streaming services. By following the steps outlined in this guide, you can easily connect your dish receiver to your TV and configure the settings for optimal performance.
We started by checking the dish setup to ensure that the dish was properly installed and aligned. Then, we moved on to connecting the dish receiver to the Samsung Smart TV using the appropriate cable and input ports. After that, we configured the dish settings by selecting the satellite provider and scanning for available channels.
Next, we adjusted the Samsung Smart TV settings, including picture, sound, and network settings, to enhance your viewing experience. And finally, we discussed common troubleshooting steps to help you overcome potential issues that may arise during the setup process.
Remember, if you encounter any difficulties or require further assistance, refer to the user manual provided by your service provider or contact their support team. You can also reach out to Samsung support for specific guidance related to your Smart TV model.
With your dish successfully connected, settings configured, and any issues resolved, you can now sit back, relax, and enjoy your favorite TV shows, movies, and more on your Samsung Smart TV.