Introduction
Welcome to the world of seamless entertainment! With the advancement of technology, connecting your dish to a smart TV has become easier than ever before. Whether you want to enjoy your favorite shows, movies, or sports events with high-quality visuals and crystal-clear sound, this guide will walk you through the simple steps to connect your dish to a smart TV.
Gone are the days when you had to rely on multiple devices or cables to get your entertainment fix. By connecting your dish to a smart TV, you can access a wide range of channels and streaming services, all from the comfort of your living room. Whether you have a cable or satellite dish, this guide will help you make the most out of your smart TV capabilities.
In this guide, we will cover the essential steps required to connect your dish receiver to your smart TV. We will explore the necessary equipment, the connection process, configuring the dish settings, and pairing your dish remote with the smart TV. By the end of this guide, you’ll be enjoying your favorite shows and movies with seamless integration between your dish and smart TV.
So, if you’re ready to take your entertainment experience to the next level, grab your remote and let’s get started on connecting your dish receiver to your smart TV!
Step 1: Gather the Necessary Equipment
Before you begin the process of connecting your dish receiver to your smart TV, it’s important to gather all the necessary equipment. Here’s what you’ll need:
- Dish Receiver: Make sure you have a compatible dish receiver that supports connection to a smart TV. Check the specifications of your receiver or consult with your service provider to ensure compatibility.
- Smart TV: Ensure you have a smart TV with available HDMI ports. Most modern smart TVs come with multiple HDMI ports for connecting various devices.
- HDMI Cable: You’ll need an HDMI cable to establish a connection between your dish receiver and smart TV. Make sure you have a high-quality HDMI cable that supports the necessary resolution and audio formats.
- Internet Connection: For accessing streaming services and additional smart TV features, ensure that your smart TV is connected to the internet. This may require a wired or wireless internet connection.
- Remote Control: Keep your dish receiver remote control handy, as you may need it during the setup process.
Once you have gathered all the necessary equipment, you’re ready to move on to the next step of connecting your dish receiver to your smart TV. Make sure all the components are in good working condition and properly connected for a smooth setup process.
Step 2: Connect the Dish Receiver to the Smart TV
Now that you have gathered all the necessary equipment, it’s time to connect your dish receiver to your smart TV. Follow these simple steps to establish the connection:
1. Locate the HDMI port: On the back of your smart TV, find an available HDMI port. It is usually labeled as “HDMI” and may be numbered. Make a note of the number if there are multiple HDMI ports.
2. Connect the HDMI cable: Take one end of the HDMI cable and insert it into the HDMI port on the back of the dish receiver. Ensure that it is inserted securely.
3. Connect the other end of the HDMI cable: Now, take the other end of the HDMI cable and insert it into the HDMI port on your smart TV. Again, make sure it is securely connected.
4. Select the HDMI input: On your smart TV, use the remote control to navigate to the “Input” or “Source” button. Press the button to access the list of available input sources.
5. Choose the HDMI input: From the list of input sources, select the HDMI port to which you connected your dish receiver. This will switch your smart TV to the corresponding input channel.
6. Power on the dish receiver: On your dish receiver, press the power button to turn it on. It may take a few moments for the dish receiver to fully start up.
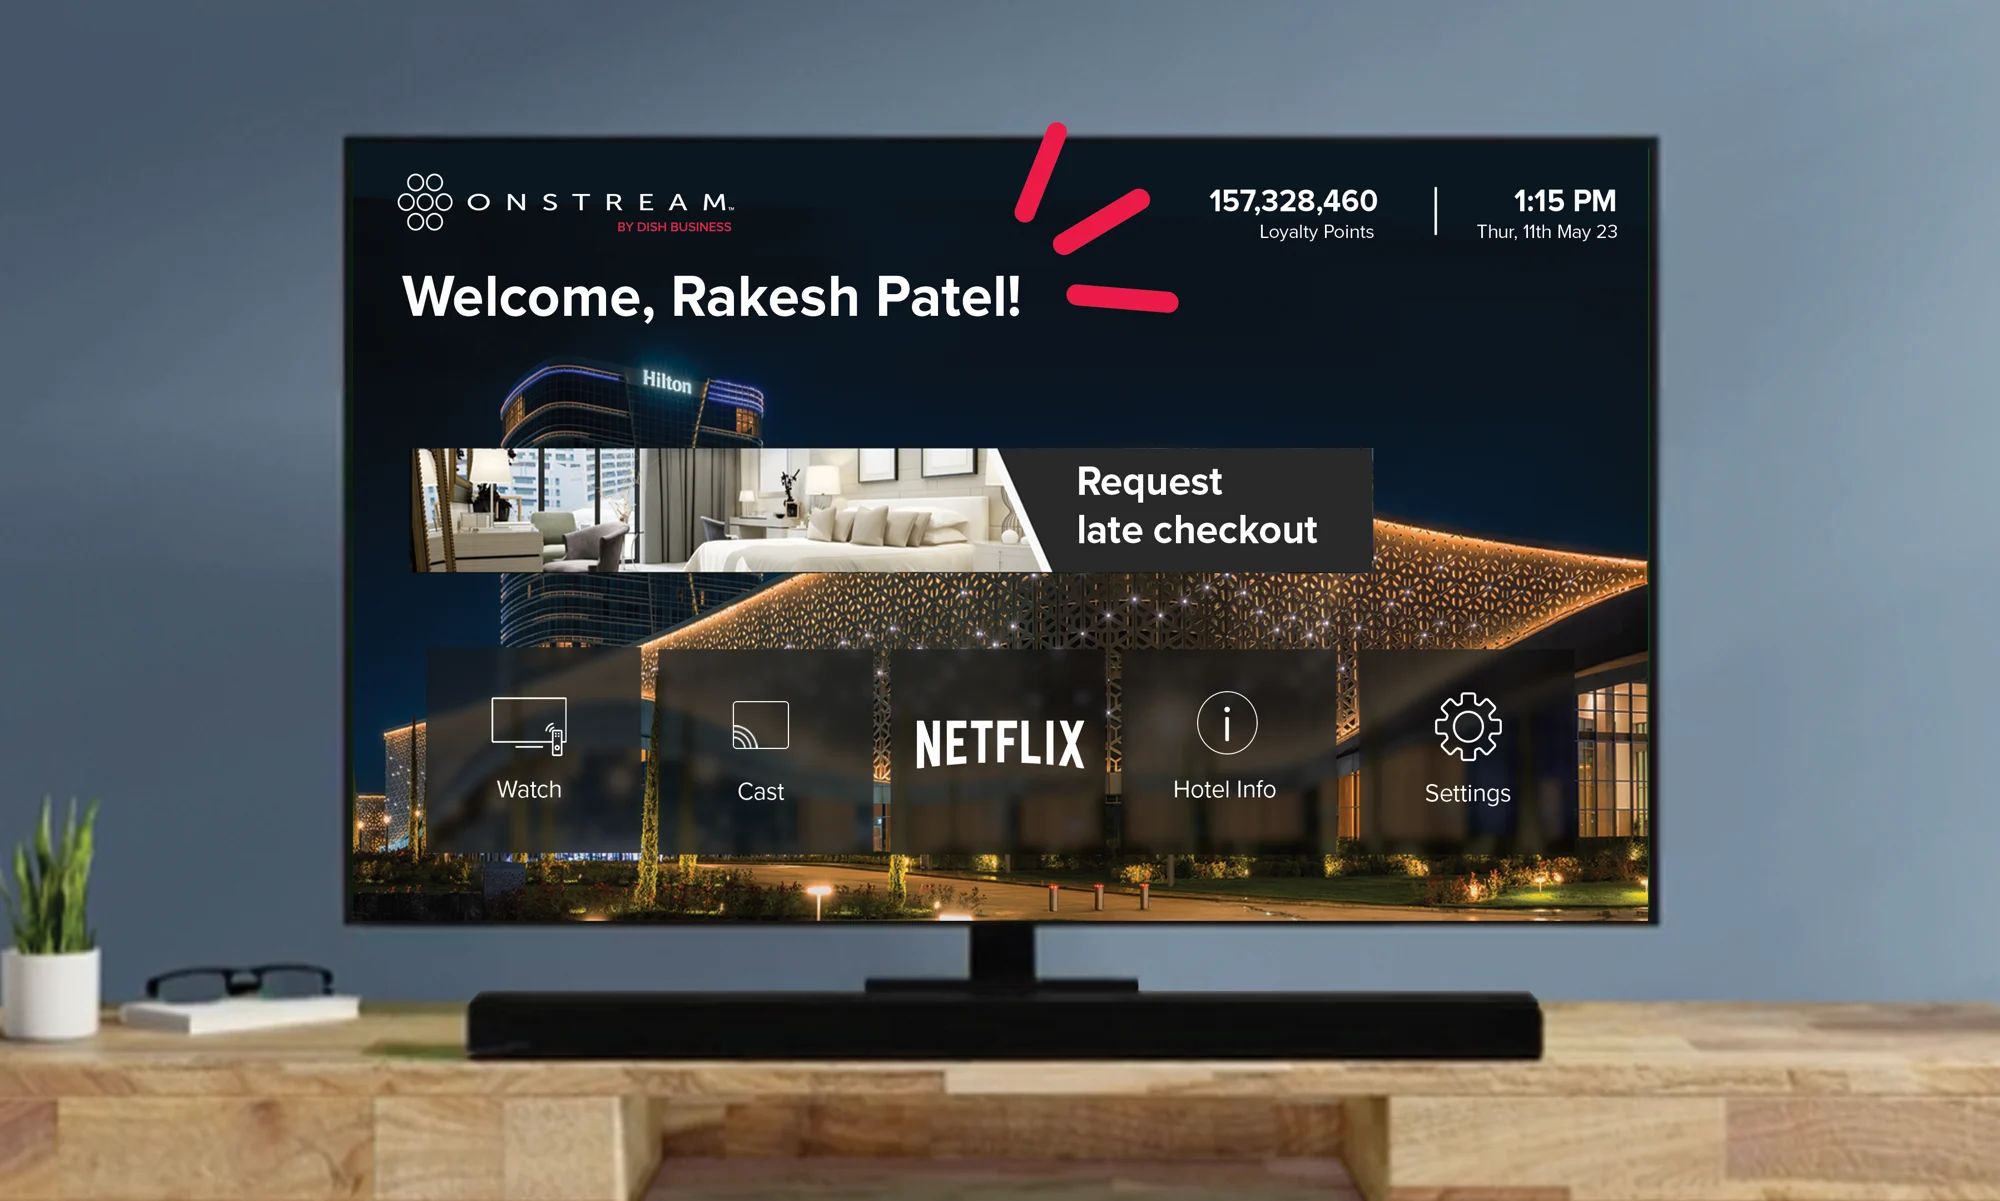
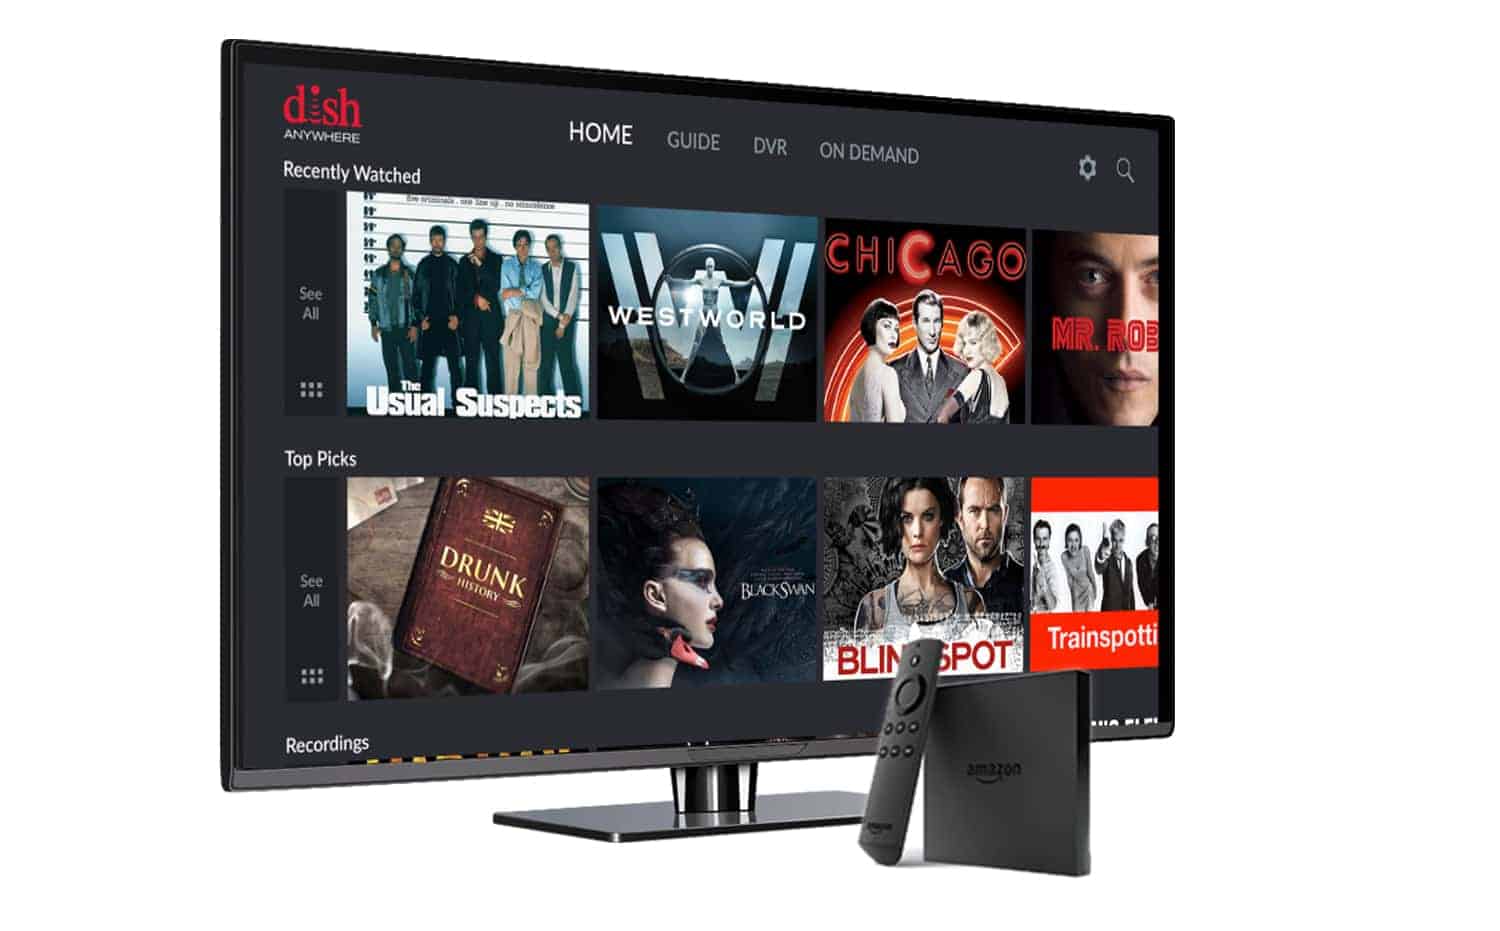
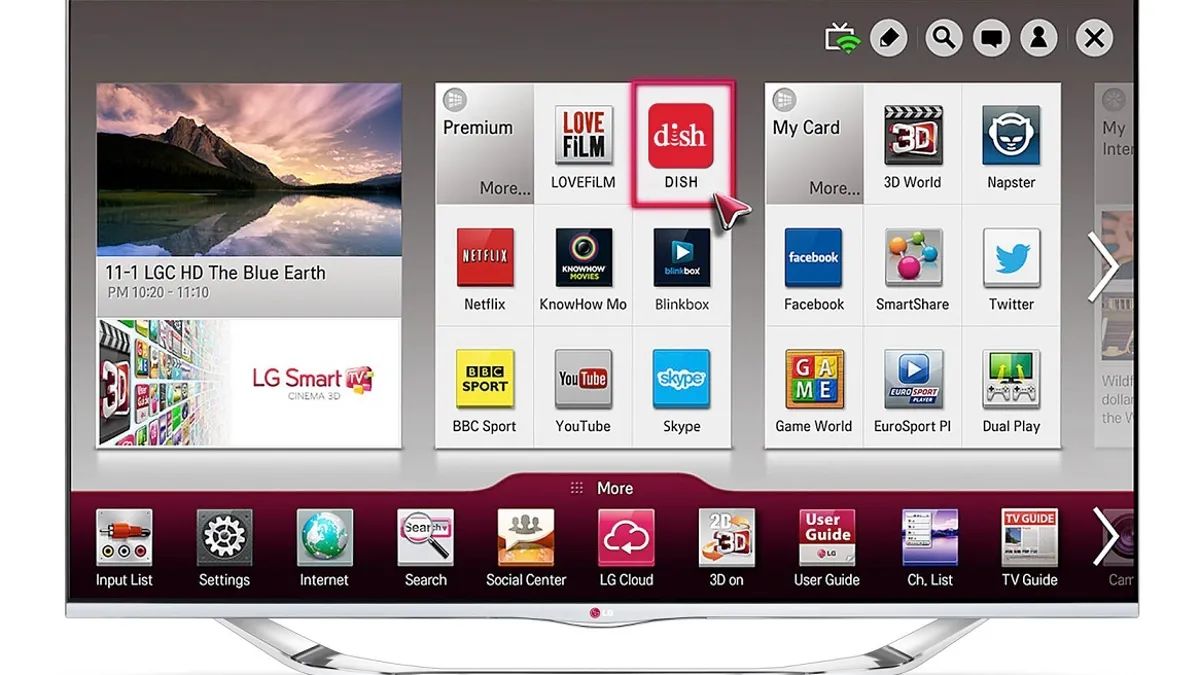
7. Verify the connection: Once your dish receiver is powered on, check your smart TV display. You should see the dish receiver’s interface or logo displayed on the screen. If not, ensure that the HDMI connection is secure and try selecting the correct HDMI input again.
8. Set the TV resolution (optional): Depending on your preferences and the capabilities of your smart TV, you may want to adjust the resolution settings. Use your smart TV’s settings menu to select the desired resolution for better picture quality.
Congratulations! You have successfully connected your dish receiver to your smart TV. Proceed to the next step to configure the dish settings and optimize your viewing experience.
Step 3: Configure the Dish Settings
With your dish receiver connected to your smart TV, it’s time to configure the dish settings to ensure optimal performance. Follow these steps to set up your dish receiver:
1. Access the dish receiver’s menu: Grab your dish receiver remote control and press the menu button. This will bring up the main menu on your TV screen.
2. Navigate to the settings: Use the arrow keys on your remote control to navigate to the settings or setup option in the menu. Press the OK or select button to enter the settings menu.
3. Choose the installation setup: In the settings menu, look for the installation or setup option. Select it to access the installation setup screen.
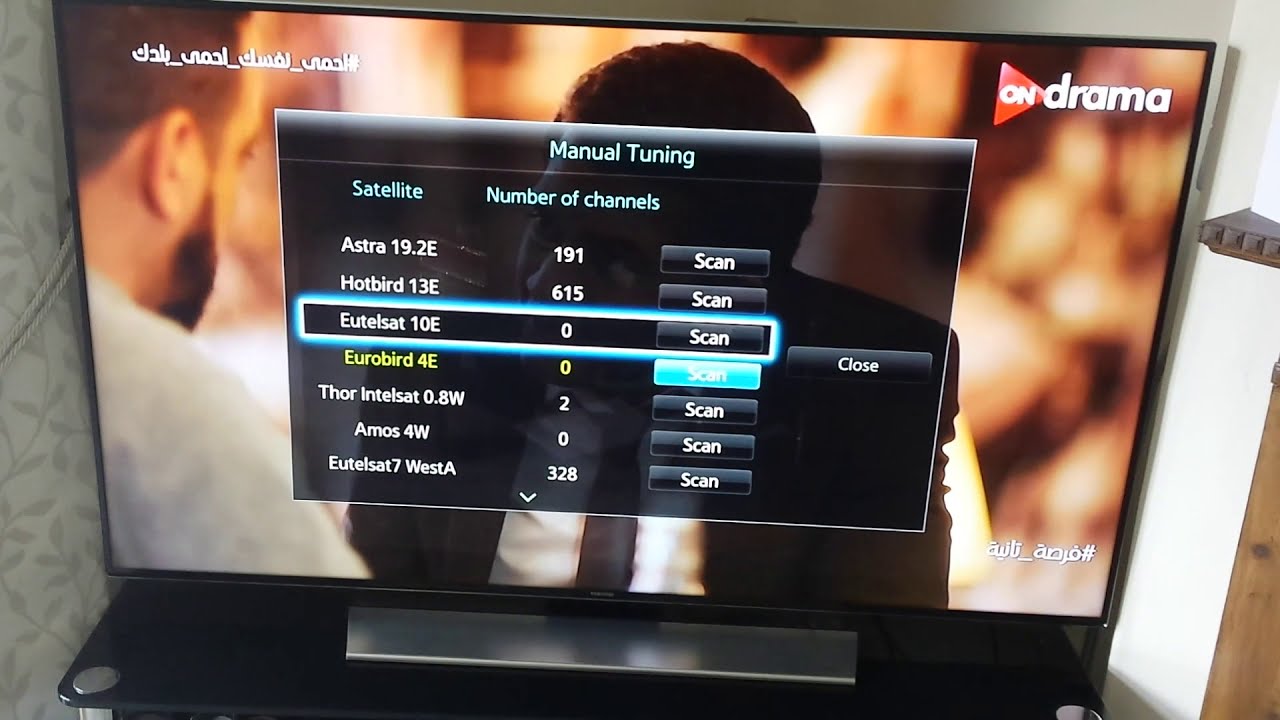
4. Select the satellite setup: Within the installation setup screen, locate the satellite setup or satellite configuration option. Choose it to start the satellite setup process.
5. Enter the necessary details: Follow the on-screen instructions to enter the necessary details for the satellite setup. This may include selecting the satellite provider, entering the dish type (like a single or multi-satellite dish), and adjusting the antenna angles if required.
6. Scan for channels: Once the satellite setup is complete, you will have the option to scan for channels. Select the option to start the channel scanning process. This may take a few minutes as the dish receiver scans for available channels.
7. Save the channel list: After the channel scan is complete, you will be prompted to save the channel list. Confirm and save the list to ensure that your dish receiver has access to all the available channels.
8. Exit the menu: Once you have completed the dish settings configuration, navigate to the exit or done option in the menu. Press the OK or select button to exit the menu and return to your normal TV viewing interface.
You have now successfully configured the dish settings on your smart TV. You can now enjoy a wide range of channels and content provided by your dish service provider. Continue to the next step to pair your dish remote with your smart TV for added convenience.
Step 4: Pair the Dish Remote with the Smart TV
Pairing your dish remote with your smart TV allows you to control both devices seamlessly. Follow these steps to pair your dish remote with your smart TV:
1. Access the dish receiver settings: Using your dish receiver remote control, press the menu button to access the dish receiver settings.
2. Navigate to the remote control settings: Within the dish receiver settings menu, look for the remote control or device settings option. Select it to enter the remote control settings.
3. Choose the remote control pairing option: Once in the remote control settings menu, locate the remote control pairing or device pairing option. Select it to initiate the pairing process.
4. Enable pairing mode: The dish receiver will now enter pairing mode and start searching for devices to pair with. Follow the on-screen instructions to enable the pairing mode on your dish remote control.
5. Activate the pairing process on the smart TV: On your smart TV, navigate to the settings menu using the TV remote control. Look for the device connection or Bluetooth settings option and select it to enter the device connection menu.
6. Scan for available devices: Within the device connection menu, choose the option to scan for available devices. Your smart TV will start searching for nearby devices, including the dish remote control.
7. Select the dish remote control: Once the scan is complete, a list of available devices will be displayed on your smart TV screen. Select the dish remote control from the list to initiate the pairing process.
8. Complete the pairing process: Follow the on-screen instructions to complete the pairing process between the dish remote control and your smart TV. This may involve entering a pairing code or confirming the connection on both devices.
9. Test the remote control: After the pairing process is complete, grab the dish remote control and test its functionality. Ensure that you can navigate through the smart TV menu, adjust the volume, and control other functions seamlessly.
Congratulations! You have successfully paired your dish remote control with your smart TV. Now, you can enjoy the convenience of controlling both devices with a single remote control. Continue to the final step to test the connection between your dish and smart TV.
Step 5: Test the Connection
Now that you have completed all the necessary steps to connect your dish to your smart TV, it’s time to test the connection and ensure everything is working as expected. Follow these steps to test the connection between your dish and smart TV:
1. Tune in to a channel: Using your dish remote control, navigate to the channel guide or channel list. Select a channel that you want to watch and make sure it loads on your smart TV screen.
2. Check picture and sound quality: Once the channel is playing, pay attention to the picture and sound quality. Ensure that the visuals are clear, and the sound is coming through without any issues. Adjust the TV settings if necessary.
3. Switch channels: Use your dish remote control to switch between different channels. Confirm that the channel switching is smooth and there is no lag or delay in the process.
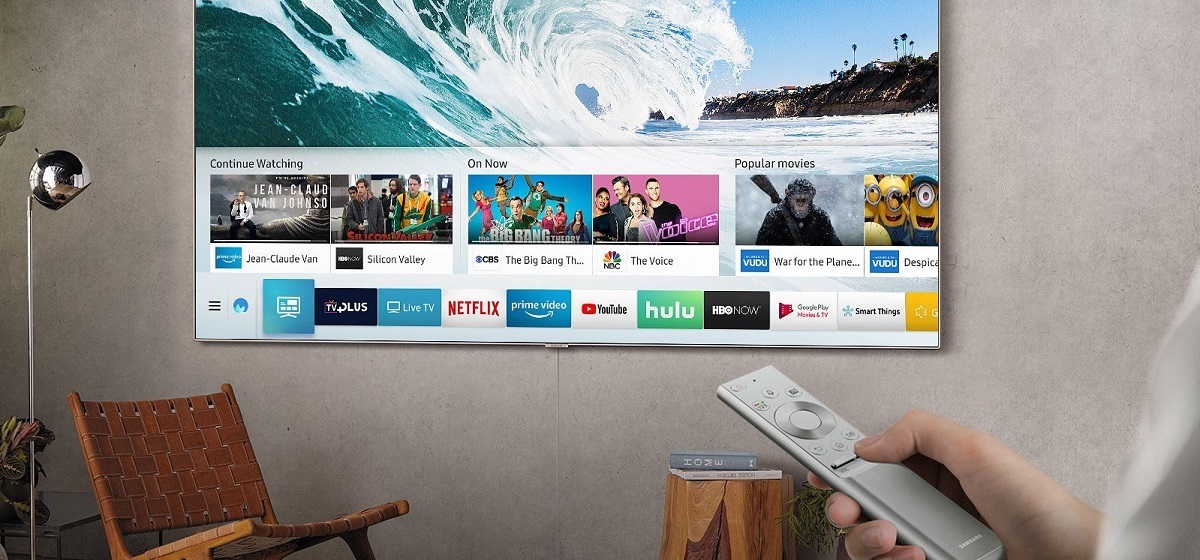
4. Access smart TV features: Explore the smart TV features and apps available on your device. Check that you can access streaming services, browse the internet, and use any other apps or features without any problems.
5. Test remote control functionality: Ensure that your dish remote control can control both the dish receiver and the smart TV. Check that you can adjust the volume, change channels, and navigate through the smart TV interface using the same remote control.
6. Test additional connections: If you have connected any other devices to your smart TV, such as a gaming console or Blu-ray player, test those connections as well. Confirm that the devices are recognized and functioning properly.
If everything is working smoothly, congratulations! You have successfully connected your dish to your smart TV and tested the connection. Now, sit back, relax, and enjoy all the entertainment options that your smart TV and dish receiver have to offer.
Conclusion
Congratulations on successfully connecting your dish to your smart TV! By following the step-by-step guide outlined in this article, you have unlocked a world of entertainment possibilities. Now, you can enjoy your favorite shows, movies, and sports events on a high-quality screen with immersive sound, all from the comfort of your living room.
Throughout this guide, we covered the necessary equipment you need to gather, the process of connecting your dish receiver to your smart TV, configuring the dish settings, pairing the dish remote control with your smart TV, and testing the connection. By following these steps, you have achieved a seamless integration between your dish and smart TV, enhancing your entertainment experience.
Remember to keep your equipment properly maintained, ensure a stable internet connection for full access to smart TV features, and regularly update and optimize your settings for the best performance.
Now, take a moment to appreciate the convenience you now have at your fingertips. You can easily switch between satellite channels, streaming services, and other smart TV features using a single remote control. Enjoy the wide range of content options available to you, and customize your viewing experience to suit your preferences.
We hope that this guide has been helpful in connecting your dish to your smart TV. If you have any further questions or encounter any difficulties, don’t hesitate to reach out to your dish service provider or consult the instruction manual of your devices for specific troubleshooting information.
Thank you for choosing to enhance your entertainment setup with the integration of your dish and smart TV. Sit back, relax, and enjoy the endless entertainment possibilities that await you!