Introduction
Introduction
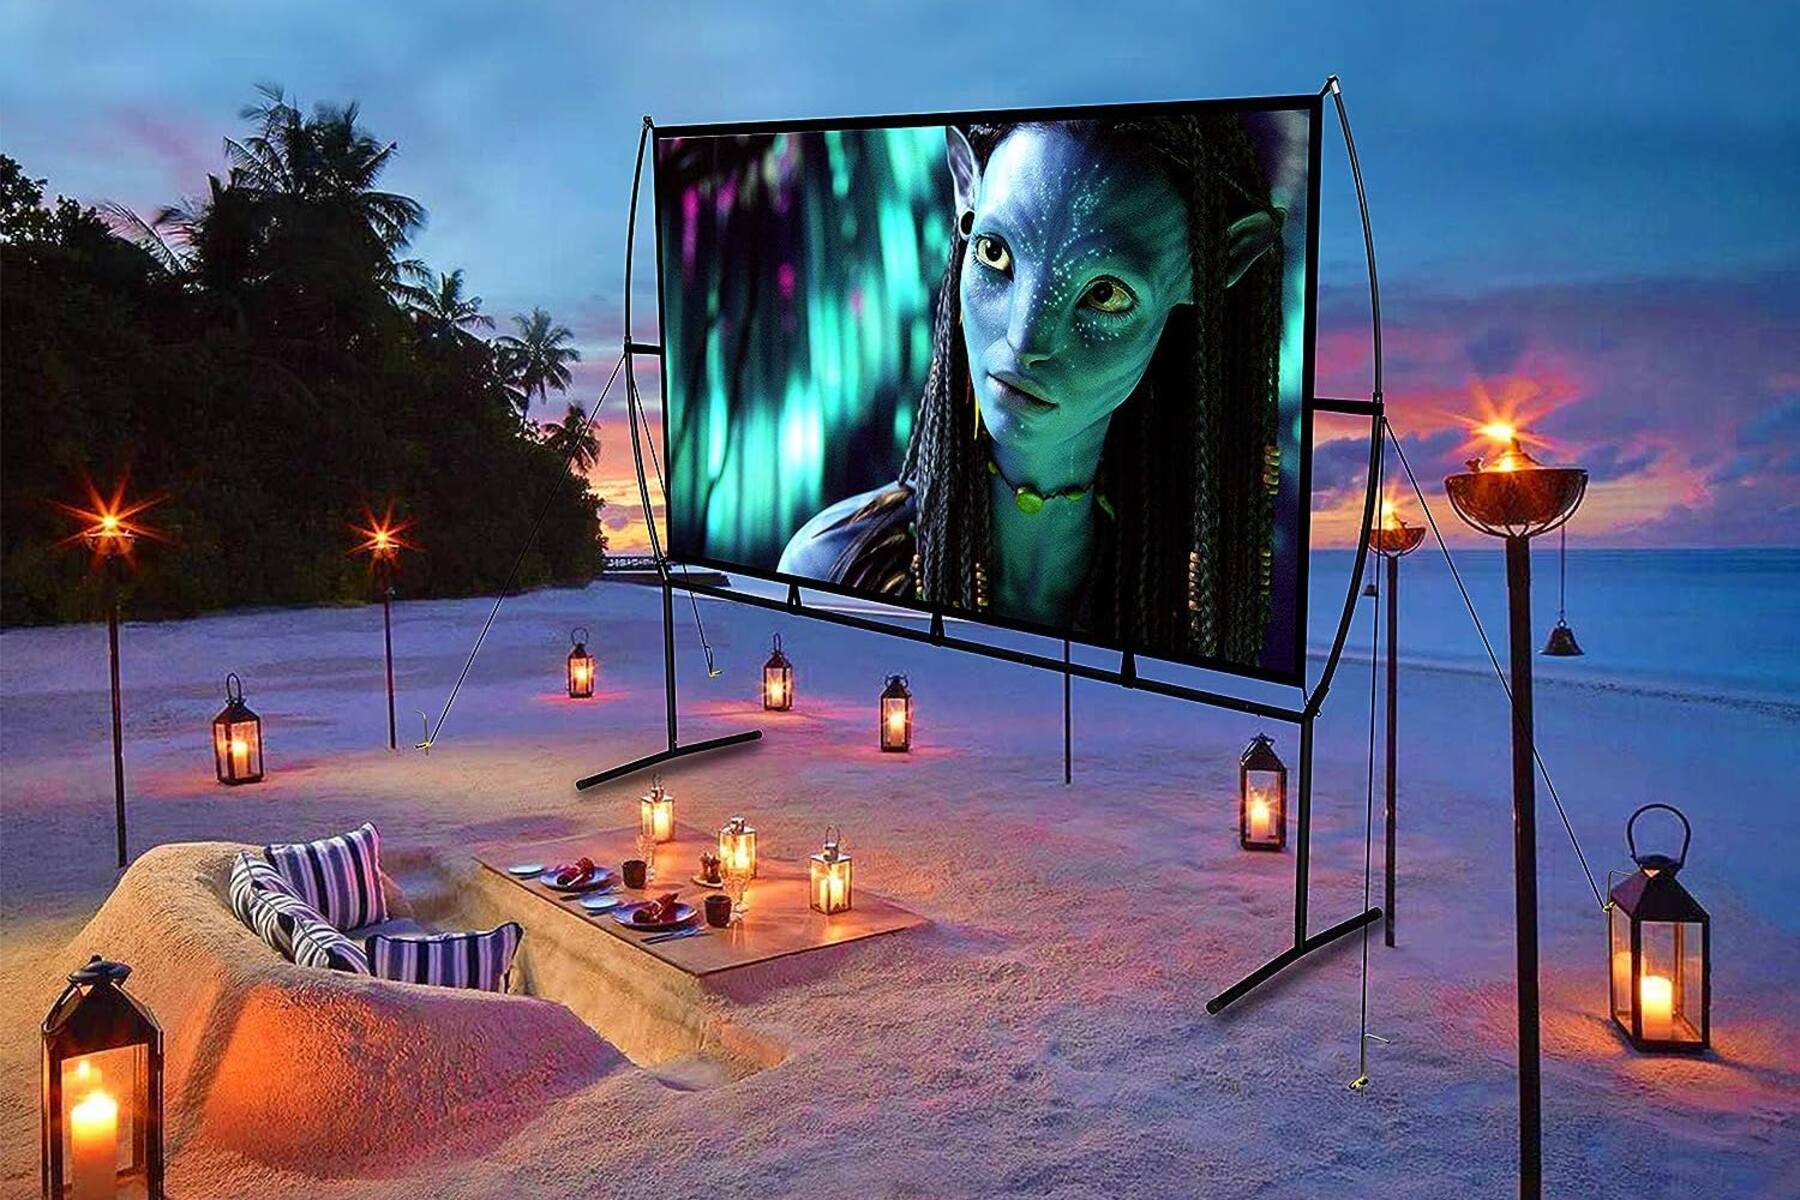
Setting up a home theater projector can transform your living space into a cinematic haven, offering an immersive viewing experience that rivals traditional movie theaters. Prewiring your home for a projector installation is a crucial step that ensures seamless integration and optimal performance. By strategically planning the wiring and infrastructure, you can create a sophisticated entertainment hub that elevates your movie nights, gaming sessions, and sports viewing.
Prewiring for a home theater projector involves several key considerations, including choosing the right location for the projector, installing electrical outlets, routing HDMI and audio cables, mounting the projector, positioning the screen, and wiring for surround sound. Each of these elements plays a vital role in creating a captivating and functional home theater environment.
In this comprehensive guide, we will delve into the essential aspects of prewiring for a home theater projector, providing valuable insights and practical tips to help you embark on this exciting endeavor. Whether you are a cinephile, a gaming enthusiast, or a homeowner seeking to enhance your entertainment space, understanding the intricacies of prewiring for a home theater projector is the first step toward achieving a remarkable audiovisual setup. Let's explore the crucial components and considerations that will pave the way for an exceptional home theater experience.
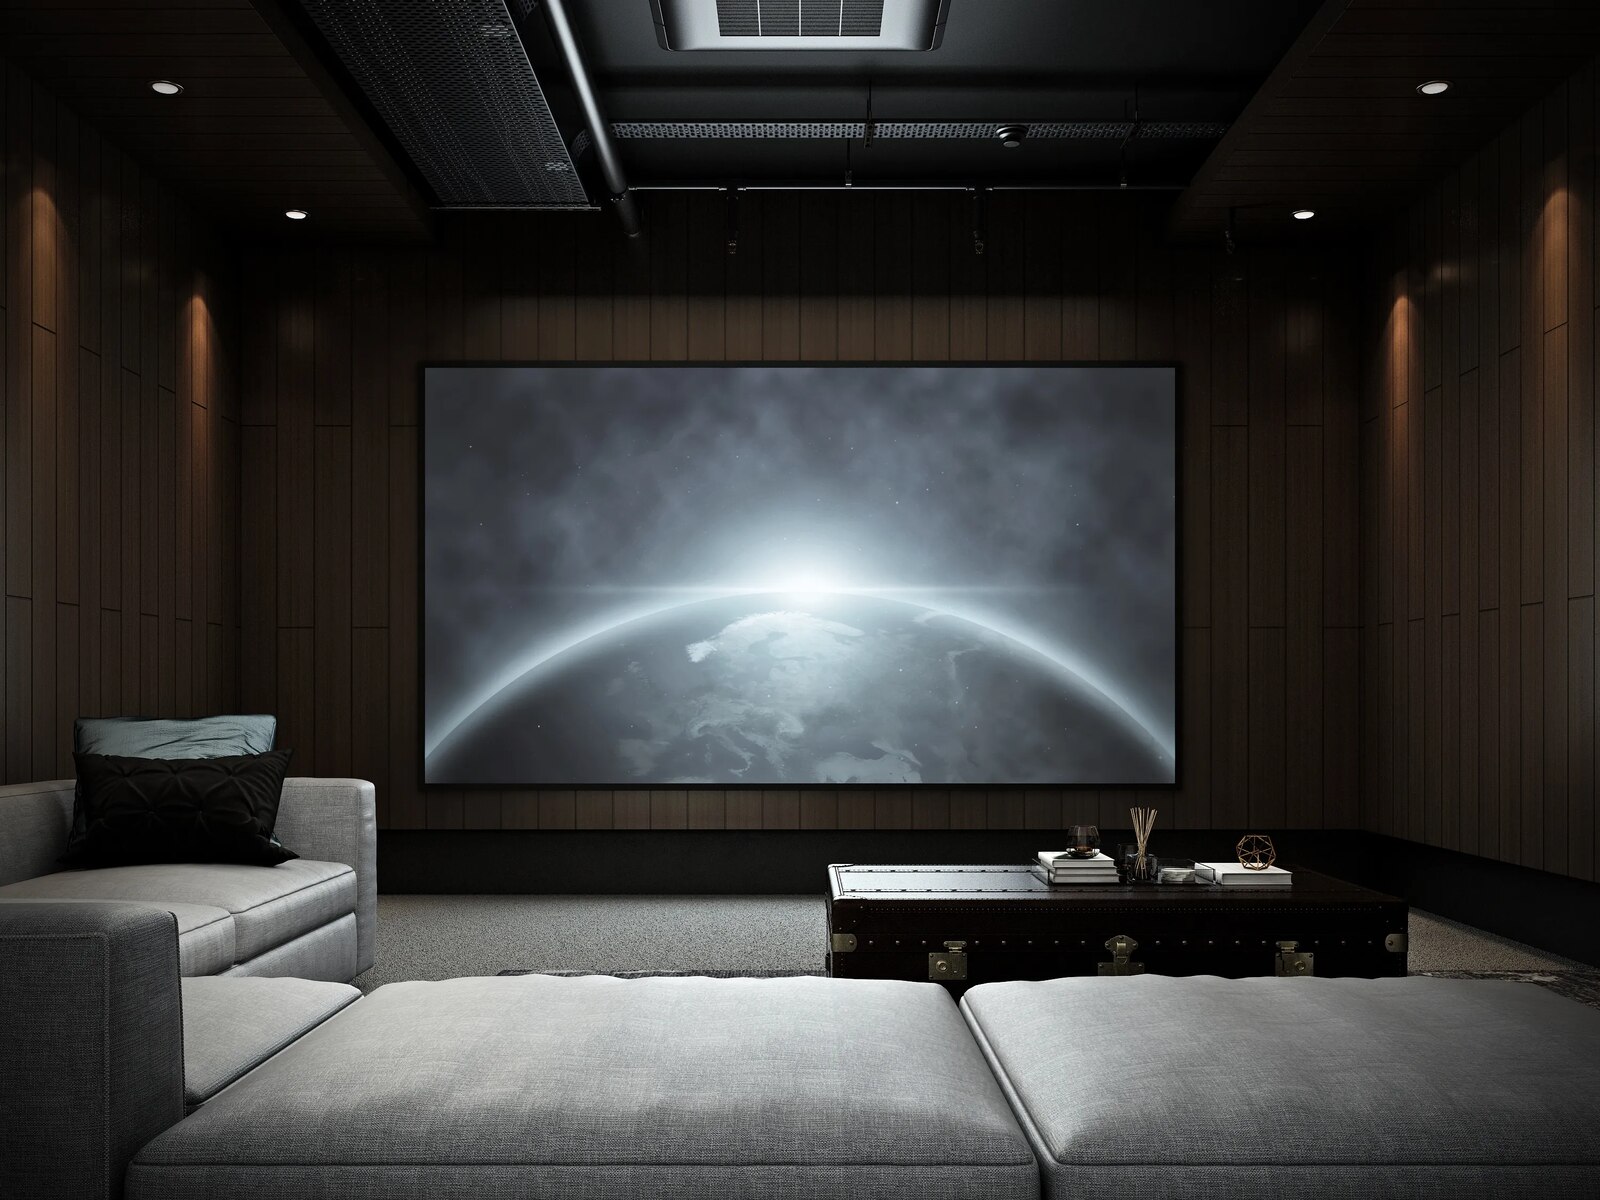
Choosing the Right Location
When prewiring for a home theater projector, selecting the optimal location for the projector itself is paramount. The chosen space should offer a blend of functionality, comfort, and visual impact, ensuring that every viewing experience is truly immersive. Here are several key factors to consider when determining the ideal placement for your home theater projector:
- Room Size and Layout: Assess the dimensions and layout of the room where the projector will be installed. Consider the viewing angles, potential obstructions, and the overall flow of the space. Ideally, the projector should be positioned in a central location that offers unobstructed sightlines from various seating positions.
- Ambient Light Control: Controlling ambient light is crucial for achieving optimal image quality. Choose a location that allows for effective light management, whether through the use of blackout curtains, window treatments, or adjustable lighting solutions. Minimizing ambient light interference will enhance the clarity and vibrancy of the projected images.
- Ceiling vs. Wall Mount: Determine whether a ceiling-mounted or wall-mounted setup is more suitable for your space. Ceiling mounting can offer a streamlined, unobtrusive installation, while wall mounting may be preferable for rooms with specific architectural features or layout constraints.
- Projection Distance and Screen Size: Calculate the throw distance required for your desired screen size, taking into account the projector’s specifications and the available space. Ensure that the chosen location allows for the appropriate projection distance to achieve the desired screen dimensions without compromising image quality.
- Accessibility and Maintenance: Consider the accessibility of the chosen location for maintenance and adjustments. Accessibility to power sources, cabling, and potential projector maintenance should be factored into the decision-making process to facilitate future upkeep and troubleshooting.
By carefully evaluating these factors, you can pinpoint the most suitable location for your home theater projector, setting the stage for a captivating and visually stunning entertainment setup. The right location serves as the foundation for an exceptional viewing experience, laying the groundwork for seamless integration and immersive entertainment.
Electrical Outlets
Ensuring adequate access to electrical power is a critical aspect of prewiring for a home theater projector. Properly placed electrical outlets not only power the projector itself but also support additional components such as media players, streaming devices, and audio equipment. Consider the following guidelines when planning the electrical outlets for your home theater projector setup:
- Location Proximity: Position electrical outlets in close proximity to the projector’s installation site to facilitate seamless connectivity without the need for lengthy and unsightly extension cords. Additionally, consider the power requirements of any supplementary equipment, such as AV receivers or streaming devices, and plan for dedicated outlets to accommodate these devices.
- Power Surge Protection: Incorporate power surge protection into the electrical outlet setup to safeguard valuable audiovisual equipment from voltage fluctuations and electrical surges. Utilizing surge-protected outlets or installing a dedicated power conditioner helps mitigate the risk of damage to sensitive electronics, providing added peace of mind.
- Concealment and Aesthetics: Conceal wiring and outlets to maintain a clean and visually appealing installation. In-wall or in-ceiling electrical outlet options can contribute to a polished and uncluttered appearance, minimizing the visual impact of power sources while preserving the overall aesthetics of the entertainment space.
- Future Expansion: Anticipate future expansion and equipment upgrades when planning the placement of electrical outlets. Consider the potential need for additional power sources to accommodate new devices or evolving technology, allowing for flexibility and scalability within the prewired infrastructure.
By strategically addressing the electrical power requirements and implementing a well-conceived outlet layout, you can establish a robust foundation for your home theater projector setup. Thoughtful placement and consideration of power needs contribute to a seamless and visually unobtrusive installation, enhancing the overall functionality and appeal of your home entertainment environment.
HDMI and Audio Cables
Efficiently routing HDMI and audio cables is a fundamental aspect of prewiring for a home theater projector, as it directly impacts the quality of the audiovisual experience and the overall aesthetics of the installation. Careful consideration should be given to cable types, signal integrity, and future expandability. Here are essential factors to keep in mind when planning for HDMI and audio cable installation:
- Cable Length and Signal Integrity: Select high-quality HDMI and audio cables that are capable of transmitting signals over the required distances without signal degradation. Consider the optimal cable lengths based on the planned routing from video sources to the projector and from audio sources to the sound system, ensuring that signal integrity is maintained throughout the setup.
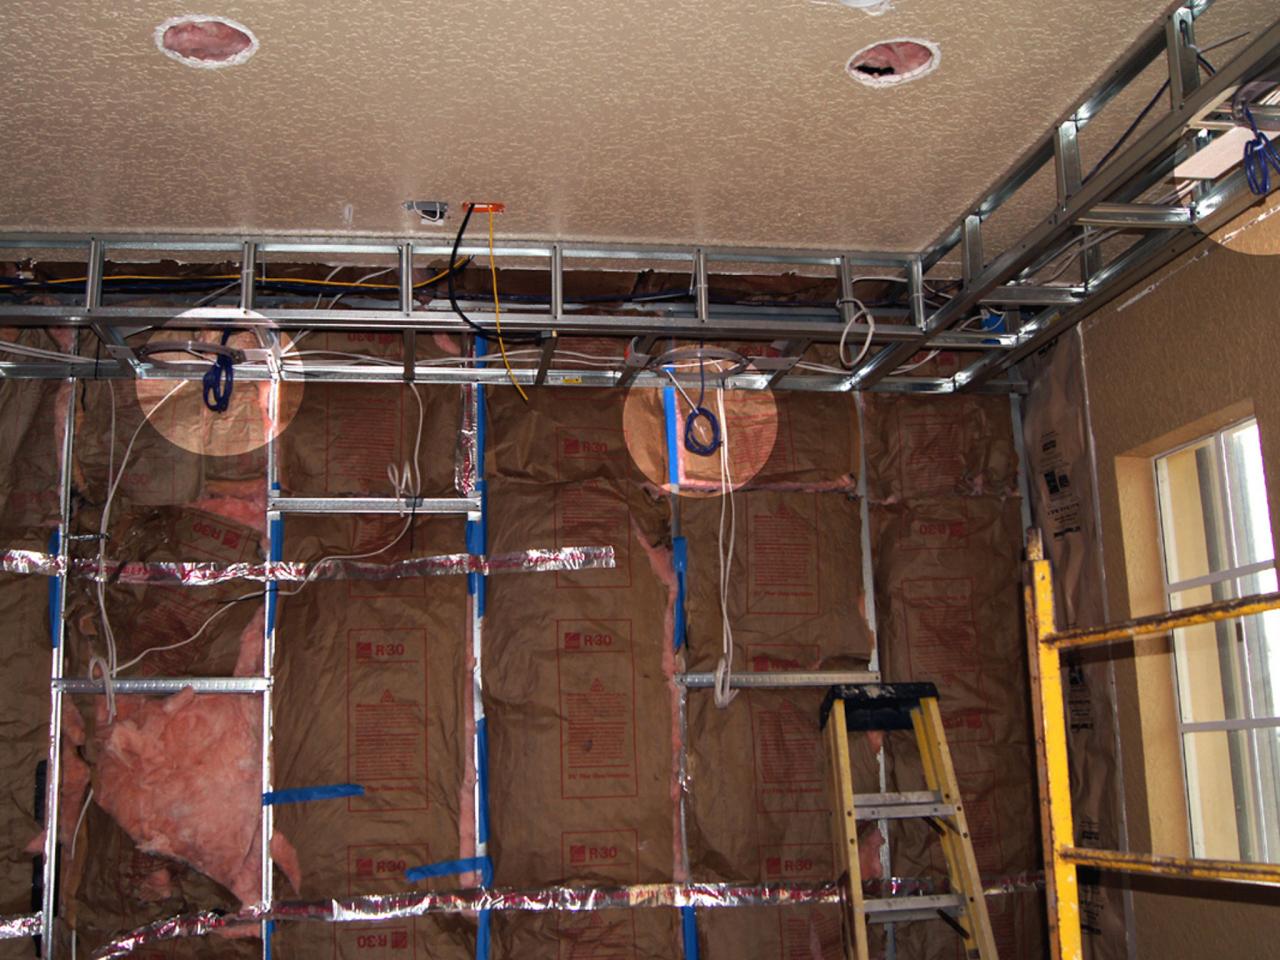
- In-Wall Cable Concealment: Conceal HDMI and audio cables within the walls or ceiling to achieve a clean and uncluttered appearance. Utilize in-wall rated cables and appropriate conduit or raceway systems to comply with building codes and ensure safe and organized cable routing, minimizing visual distractions within the entertainment space.
- Future-Proofing and Connectivity: Plan for future connectivity needs by incorporating conduit or pathways that allow for the addition or replacement of cables as technology evolves. This forward-thinking approach facilitates seamless upgrades and modifications to the audiovisual setup, accommodating emerging standards and equipment advancements.
- Audio Cable Considerations: When routing audio cables for surround sound systems or audio components, adhere to best practices for minimizing interference and maintaining audio fidelity. Proper cable management and separation from power cables help mitigate potential electromagnetic interference, preserving the clarity and purity of the audio signals.
By meticulously addressing the routing and management of HDMI and audio cables, you can establish a robust and future-ready infrastructure for your home theater projector setup. Thoughtful cable selection, concealed routing, and provisions for future expandability contribute to a visually polished and high-performance installation, enhancing the overall audiovisual experience within your home theater environment.
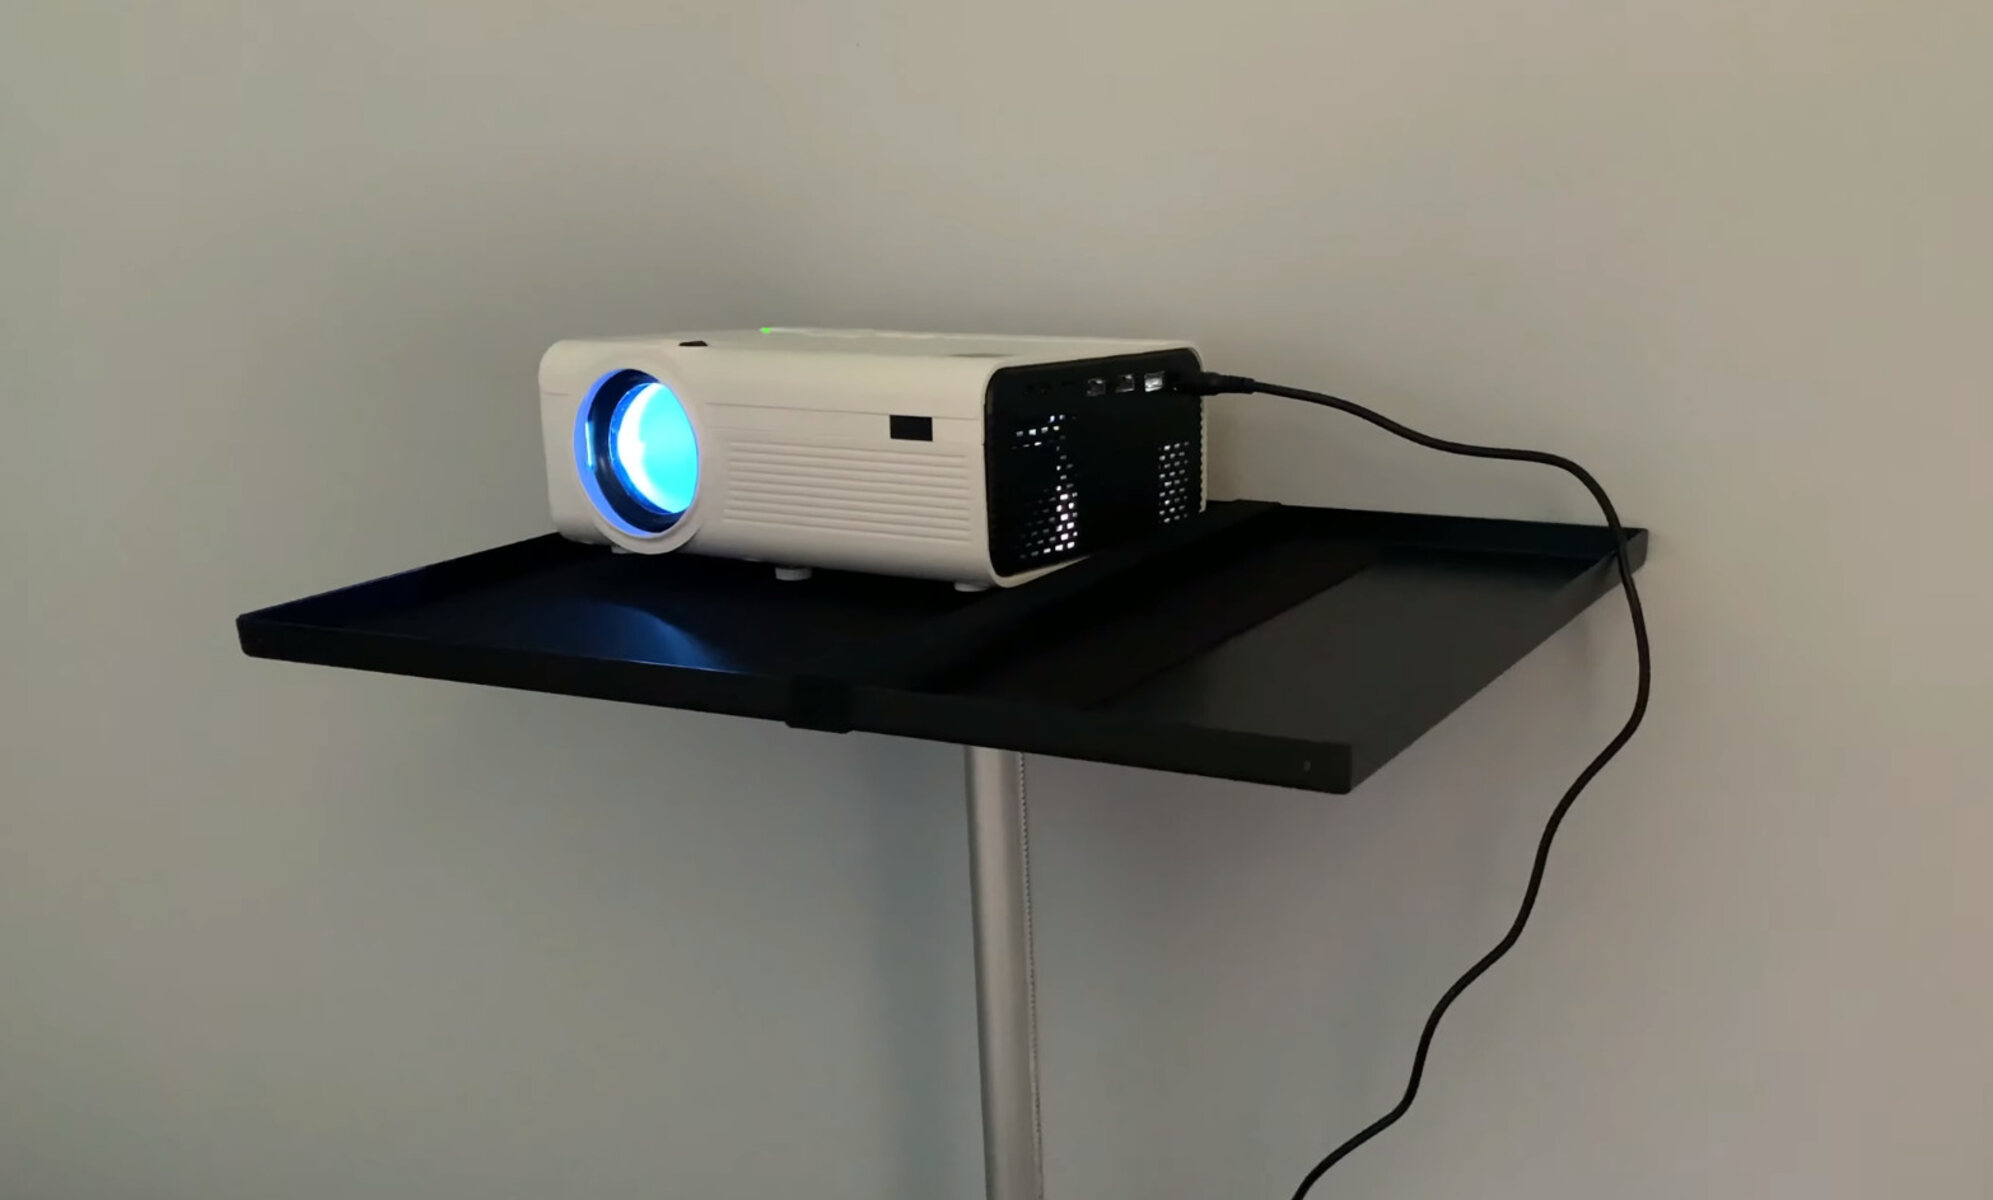
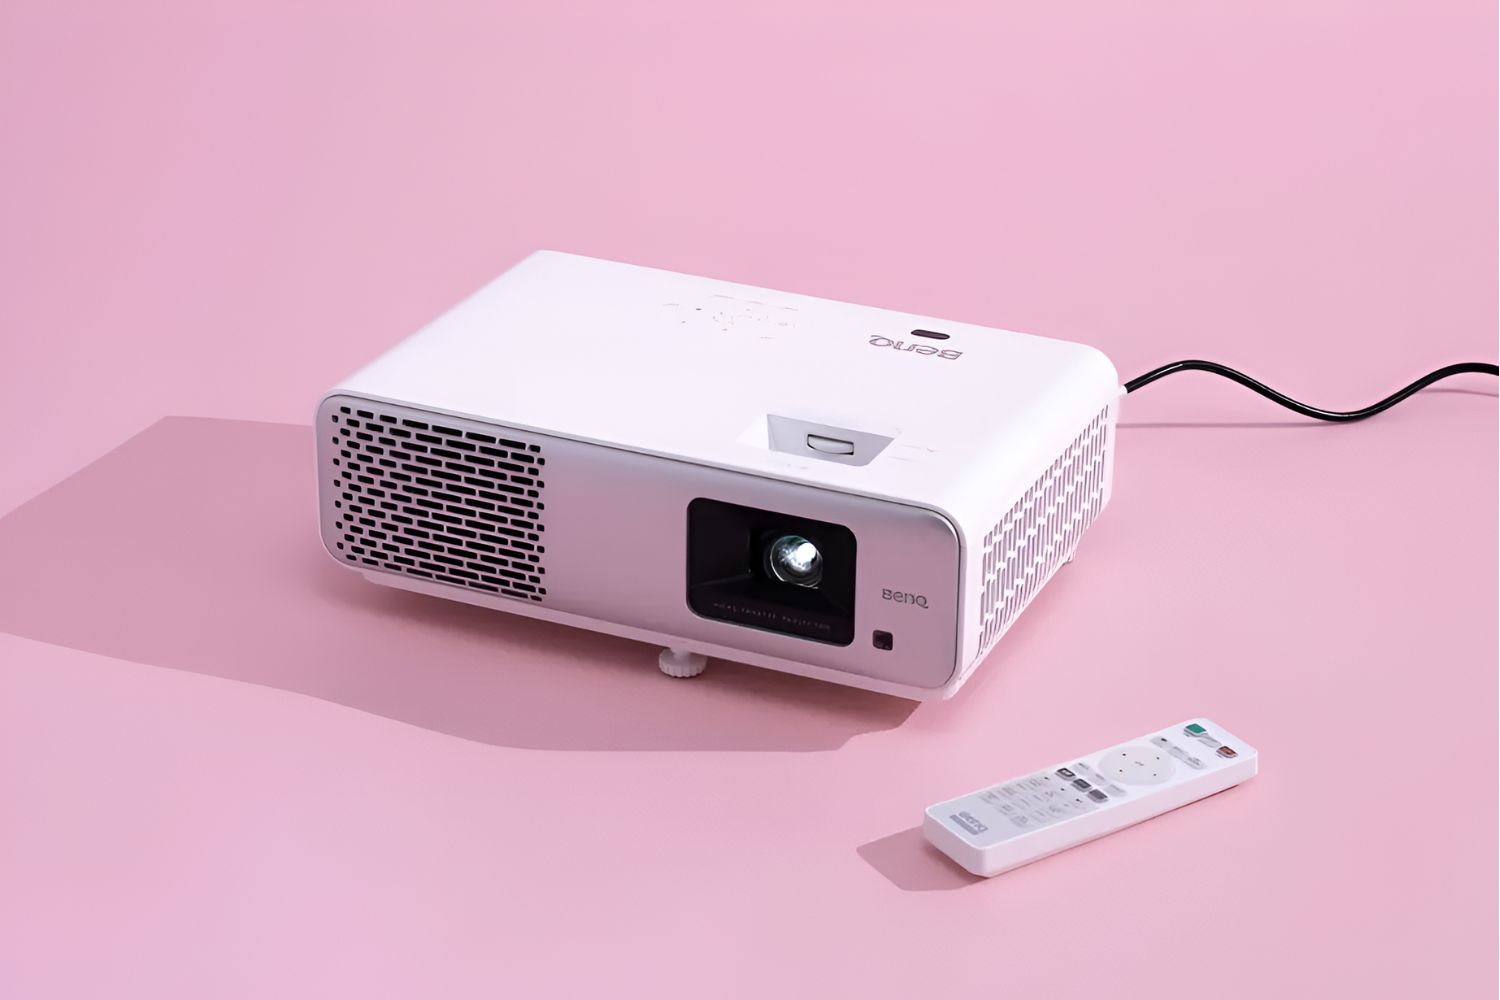
Projector Mounting
Mounting the projector in a secure and optimal position is a pivotal step in the prewiring process, directly influencing the quality of the projected images and the overall functionality of the home theater setup. Whether opting for ceiling mounting or wall mounting, careful attention to detail is essential to ensure a stable and visually unobtrusive installation. Consider the following aspects when planning for projector mounting:
- Structural Integrity and Load-Bearing Capacity: Assess the structural integrity of the mounting surface, whether it’s a ceiling or a wall, to determine its load-bearing capacity and suitability for supporting the projector mount. Consult with a professional if needed to ensure that the chosen mounting location can safely accommodate the weight and dimensions of the projector and mount.
- Optimal Projection Angles: Position the projector to achieve the desired projection angle and screen coverage. Take into account factors such as keystone correction and lens shift capabilities to fine-tune the projected image, aiming for a distortion-free and precisely aligned display on the screen.
- Cable Management: Plan for effective cable management in conjunction with the projector mounting. Conceal the power and signal cables within the walls or ceiling, utilizing appropriate cable management solutions to maintain a tidy and professional installation while minimizing cable clutter.
- Aesthetic Considerations: Strive for a visually appealing and unobtrusive projector mounting arrangement that seamlessly integrates with the surrounding decor. Select mounting hardware and finishes that complement the aesthetics of the room while ensuring a secure and stable attachment for the projector.
By meticulously addressing the mounting considerations and adhering to best practices, you can establish a secure and visually refined installation for your home theater projector. A well-executed projector mounting setup not only enhances the overall aesthetics of the entertainment space but also contributes to the optimal performance and longevity of the projection system, setting the stage for an exceptional viewing experience.
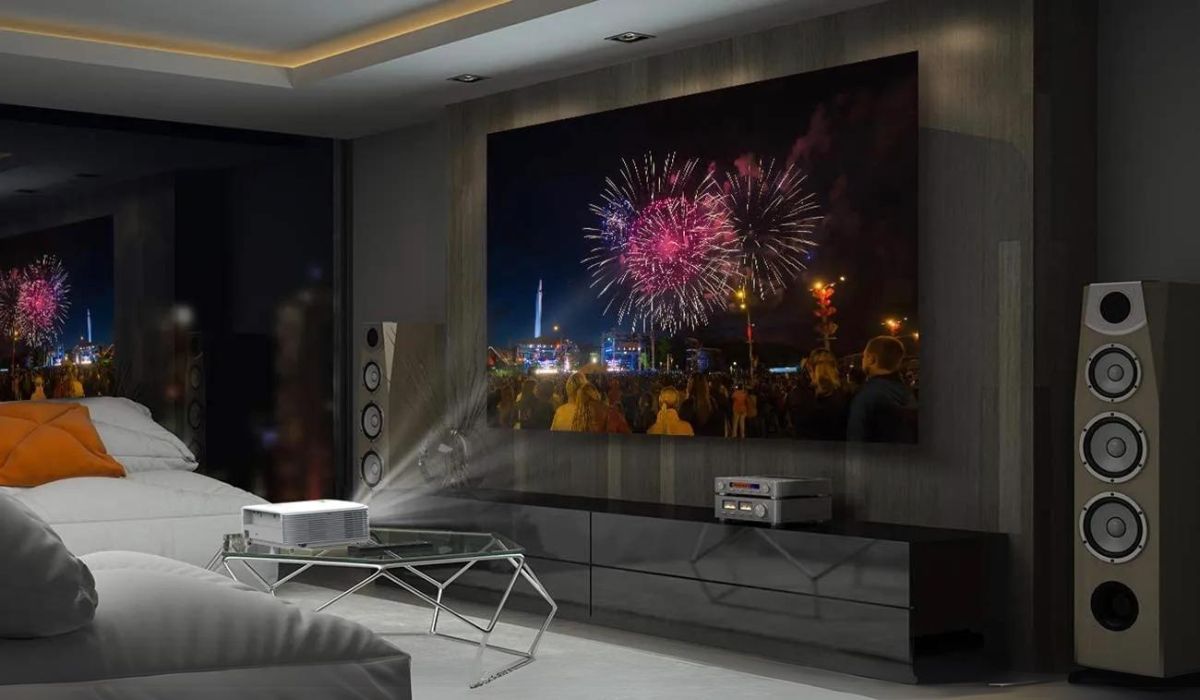
Screen Placement
Strategic placement of the projection screen is a crucial element in creating an immersive and visually captivating home theater environment. The screen’s position, size, and orientation directly impact the viewing experience, making thoughtful consideration of these factors essential during the prewiring phase. When determining the placement of the projection screen, the following considerations should be taken into account:
- Optimal Viewing Angles: Position the screen to provide unobstructed and comfortable viewing angles from various seating positions within the room. Consider the screen’s height and tilt angle to ensure that all viewers can enjoy a clear and immersive visual experience without straining their necks or eyes.
- Screen Size and Aspect Ratio: Select a screen size and aspect ratio that complements the projector’s capabilities and the dimensions of the room. The screen should be proportionate to the viewing distance and the projector’s throw capabilities, facilitating an engaging and cinematic presentation of multimedia content.
- Acoustic Transparency: If incorporating a dedicated sound system or in-wall speakers, consider utilizing an acoustically transparent screen that allows sound to pass through while maintaining visual clarity. This approach enables seamless integration of the screen with the audio components, optimizing the overall audiovisual experience.
- Ambient Light Considerations: Mitigate the impact of ambient light on the projected image by positioning the screen away from direct light sources and reflective surfaces. Implement light control measures such as curtains or blinds to enhance image contrast and minimize distractions during viewing sessions.
By carefully addressing the screen placement considerations, you can establish an optimal and visually immersive viewing environment for your home theater projector setup. Thoughtful positioning, size selection, and attention to acoustic and ambient factors contribute to a captivating and engaging cinematic experience, elevating the overall quality of your home entertainment space.
Surround Sound Wiring
Integrating a surround sound system into your home theater projector setup enhances the audio experience, immersing viewers in rich, multidimensional soundscapes that complement the visual presentation. Proper wiring and placement of the speakers are essential for achieving optimal audio performance and spatial immersion. When addressing surround sound wiring, the following considerations should guide your approach:
- Speaker Placement and Configuration: Plan the placement of surround speakers to create an enveloping audio environment. Position the front, center, and rear speakers according to industry best practices, optimizing their placement for balanced sound distribution and seamless integration with the projected visuals.
- Wire Routing and Concealment: Conceal speaker wires within the walls, ceiling, or baseboards to maintain a clean and uncluttered appearance while ensuring safe and organized wiring. Utilize in-wall rated speaker wire and appropriate conduits to comply with building codes and minimize visual distractions within the entertainment space.
- Amplifier and Receiver Connectivity: Ensure that the surround sound speakers are properly connected to the audio amplifier or receiver, adhering to the recommended wiring configurations for the specific speaker system. Verify polarity and phase consistency to guarantee accurate sound reproduction and a cohesive audio experience.
- Future-Proofing for Audio Expansion: Anticipate future audio expansion by incorporating additional wiring provisions for potential speaker upgrades or the integration of advanced audio technologies. This forward-looking approach enables seamless scalability and adaptability as your audio preferences and system capabilities evolve.
By meticulously addressing the wiring and placement of surround sound components, you can establish a dynamic and immersive audio environment that complements the visual prowess of your home theater projector setup. Thoughtful speaker placement, concealed wiring, and provisions for future audio enhancements contribute to a captivating and enveloping audiovisual experience, enriching the overall cinematic immersion within your home entertainment space.
Conclusion
Embarking on a home theater projector prewiring project presents an exciting opportunity to create a captivating and immersive entertainment space within your home. By meticulously addressing the essential components of prewiring, including projector placement, electrical outlets, HDMI and audio cables, projector mounting, screen placement, and surround sound wiring, you can lay the groundwork for a remarkable audiovisual experience that rivals the cinematic allure of traditional movie theaters.
Choosing the right location for the projector sets the stage for optimal viewing angles and visual impact, while strategic placement of electrical outlets ensures seamless connectivity and power accessibility. Efficiently routing HDMI and audio cables contributes to signal integrity and a visually unobtrusive installation, complemented by secure and aesthetically pleasing projector mounting. The placement of the projection screen and the wiring of surround sound components further enhance the immersive qualities of the home theater environment, creating a harmonious synergy between captivating visuals and enveloping audio.
As you venture into the realm of prewiring for a home theater projector, meticulous planning, attention to detail, and a forward-thinking approach are instrumental in achieving a seamless and visually refined installation. By integrating these considerations into your prewiring endeavors, you can cultivate a sophisticated entertainment hub that elevates your movie nights, gaming experiences, and multimedia presentations to new heights of audiovisual splendor.
Ultimately, the culmination of these prewiring efforts results in a transformative home theater environment that not only reflects your discerning taste for premium entertainment but also fosters memorable experiences for family, friends, and guests. Embrace the art of prewiring for a home theater projector as a creative endeavor that merges technology with aesthetics, craftsmanship with innovation, and leisure with luxury, culminating in an unparalleled audiovisual sanctuary within the comforts of your own home.