Introduction
Welcome to this step-by-step guide on how to connect your RCA home theater projector to your iPhone. If you have a projector and want to display content from your iPhone onto a bigger screen for a more immersive experience, this article is for you. Whether you’re giving a presentation, watching movies, or sharing photos with friends and family, connecting your iPhone to the projector opens up a whole new world of possibilities.
Gone are the days of straining your eyes to view content on a small smartphone screen. By connecting your iPhone to an RCA home theater projector, you can enjoy videos, games, and presentations on a much larger display. The process may seem daunting at first, but with the right equipment and a few easy steps, you’ll be up and running in no time.
Before we dive into the details, it’s important to note that there are different methods to connect your iPhone to a projector. In this guide, we’ll focus on using an RCA connection, which is a popular and widely supported option. Make sure to check your projector’s manual or do some research to ensure it has an RCA input before proceeding.
Now, let’s get started and learn how to connect your RCA home theater projector to your iPhone. With just a few simple steps, you’ll be able to enjoy your favorite content on the big screen in no time.
Step 1: Gather your equipment
Before you can connect your iPhone to an RCA home theater projector, it’s important to gather all the necessary equipment. Here’s a list of what you’ll need:
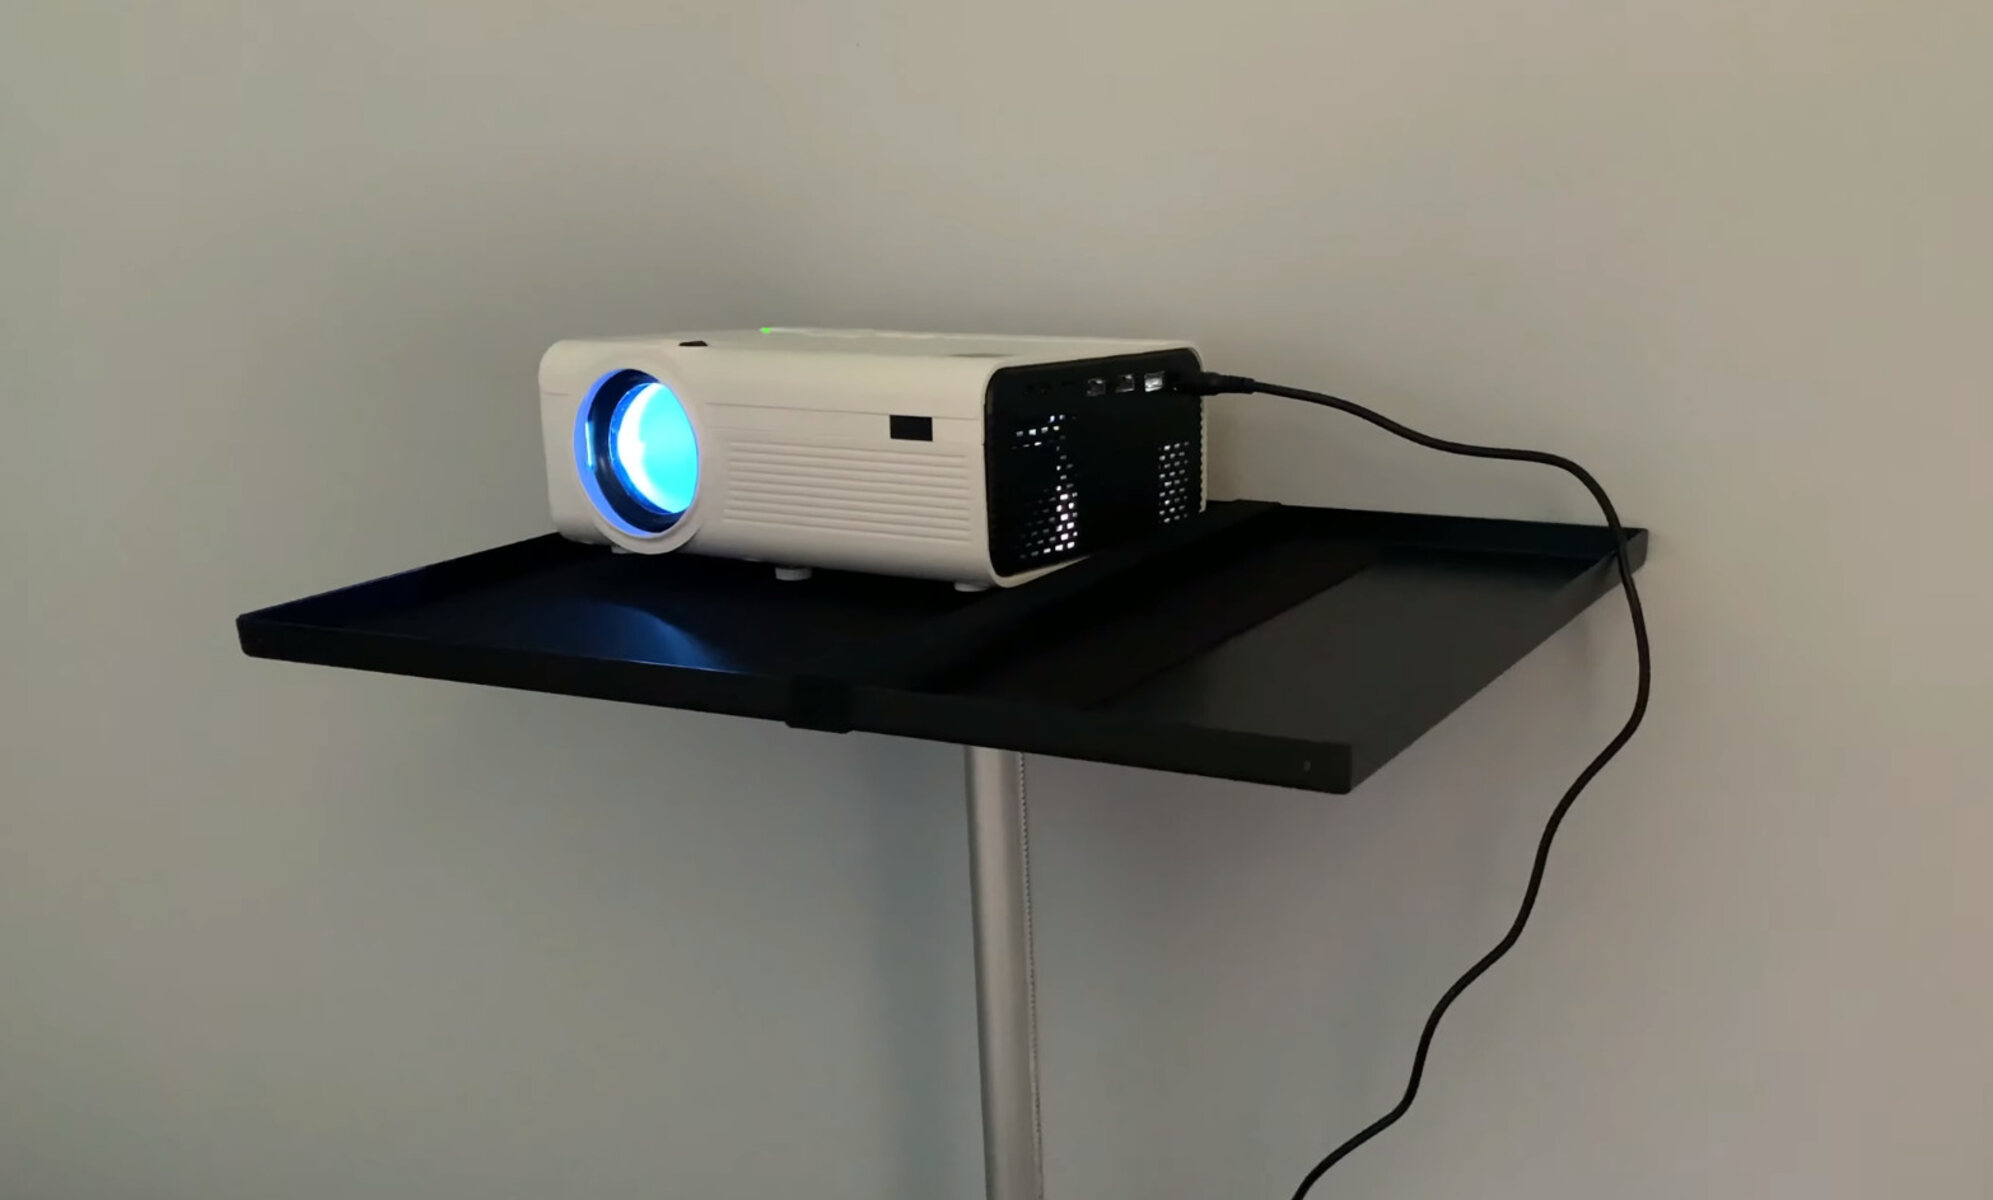
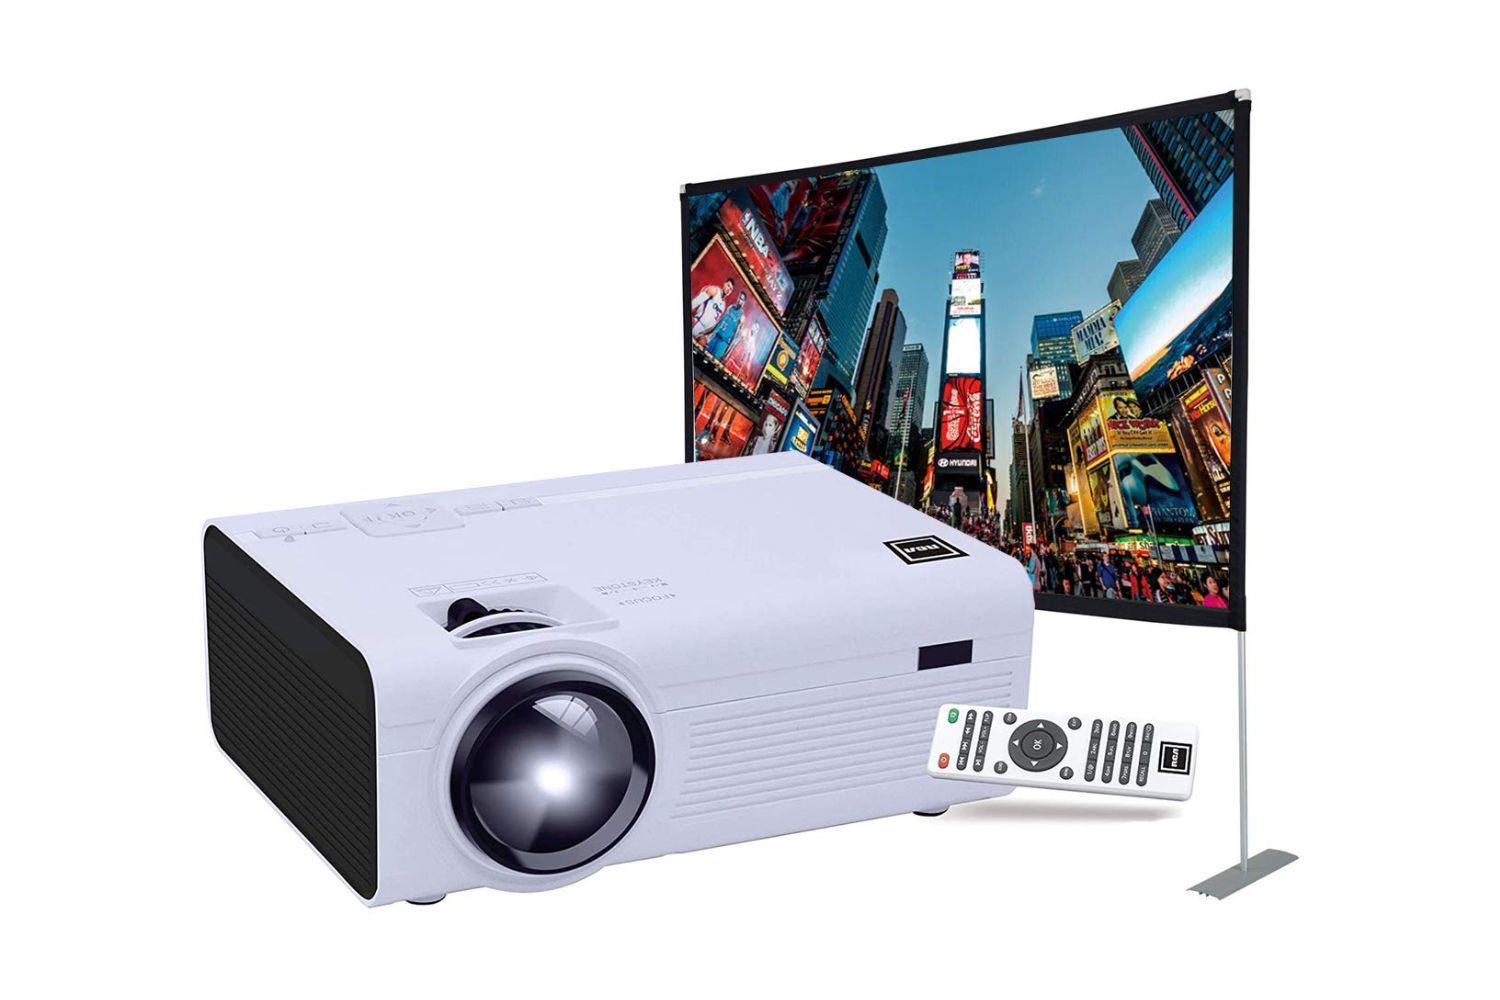
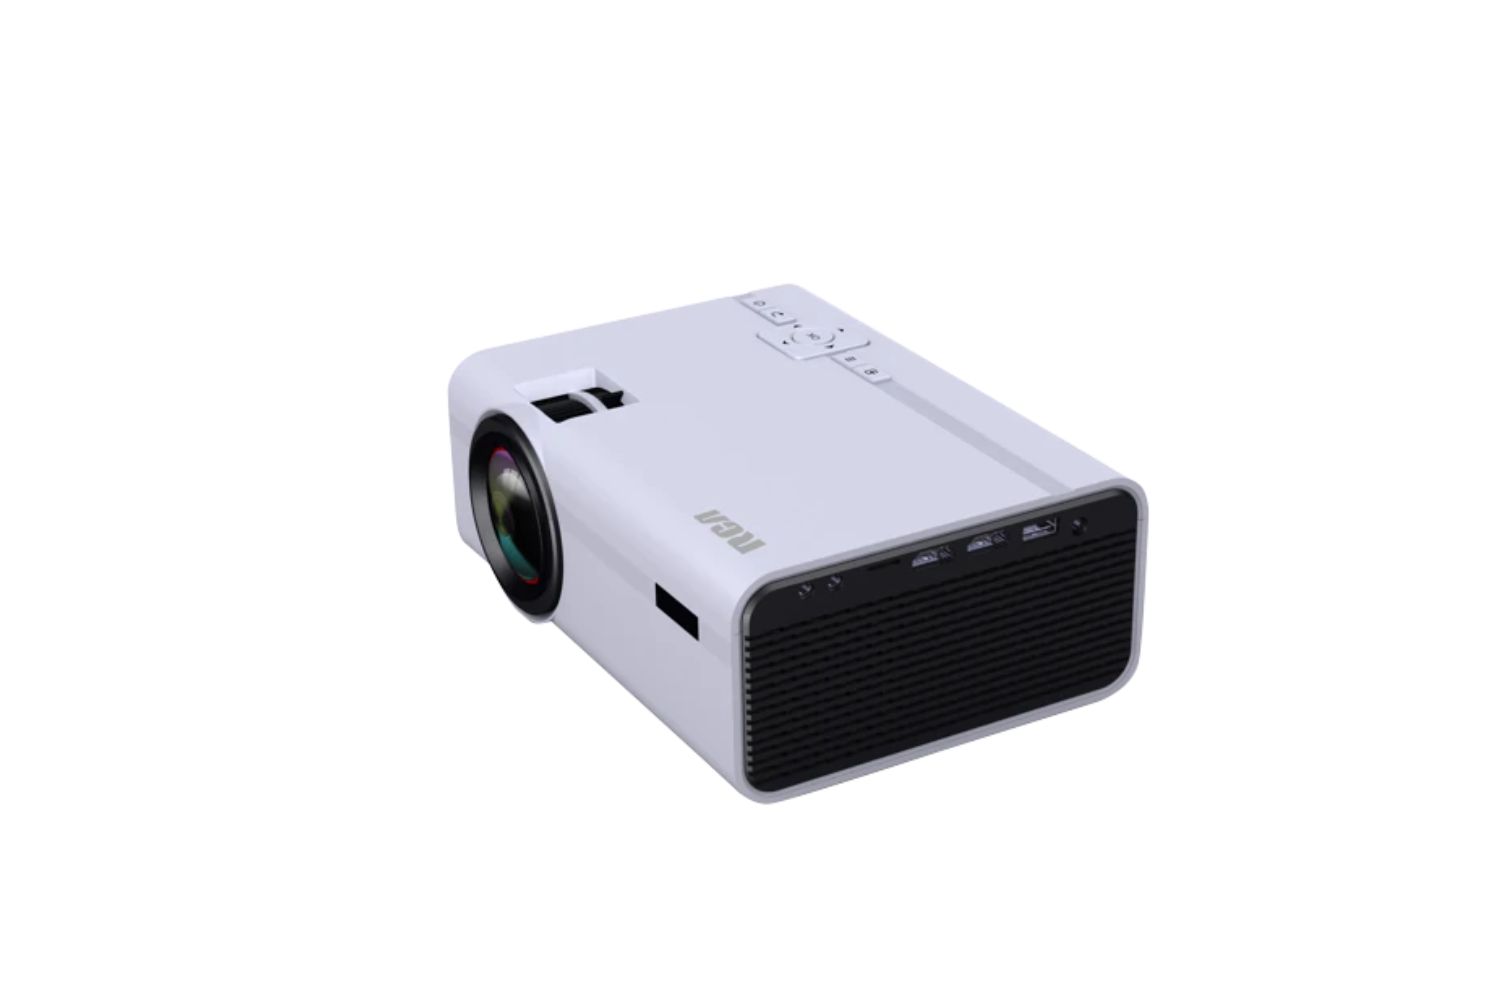
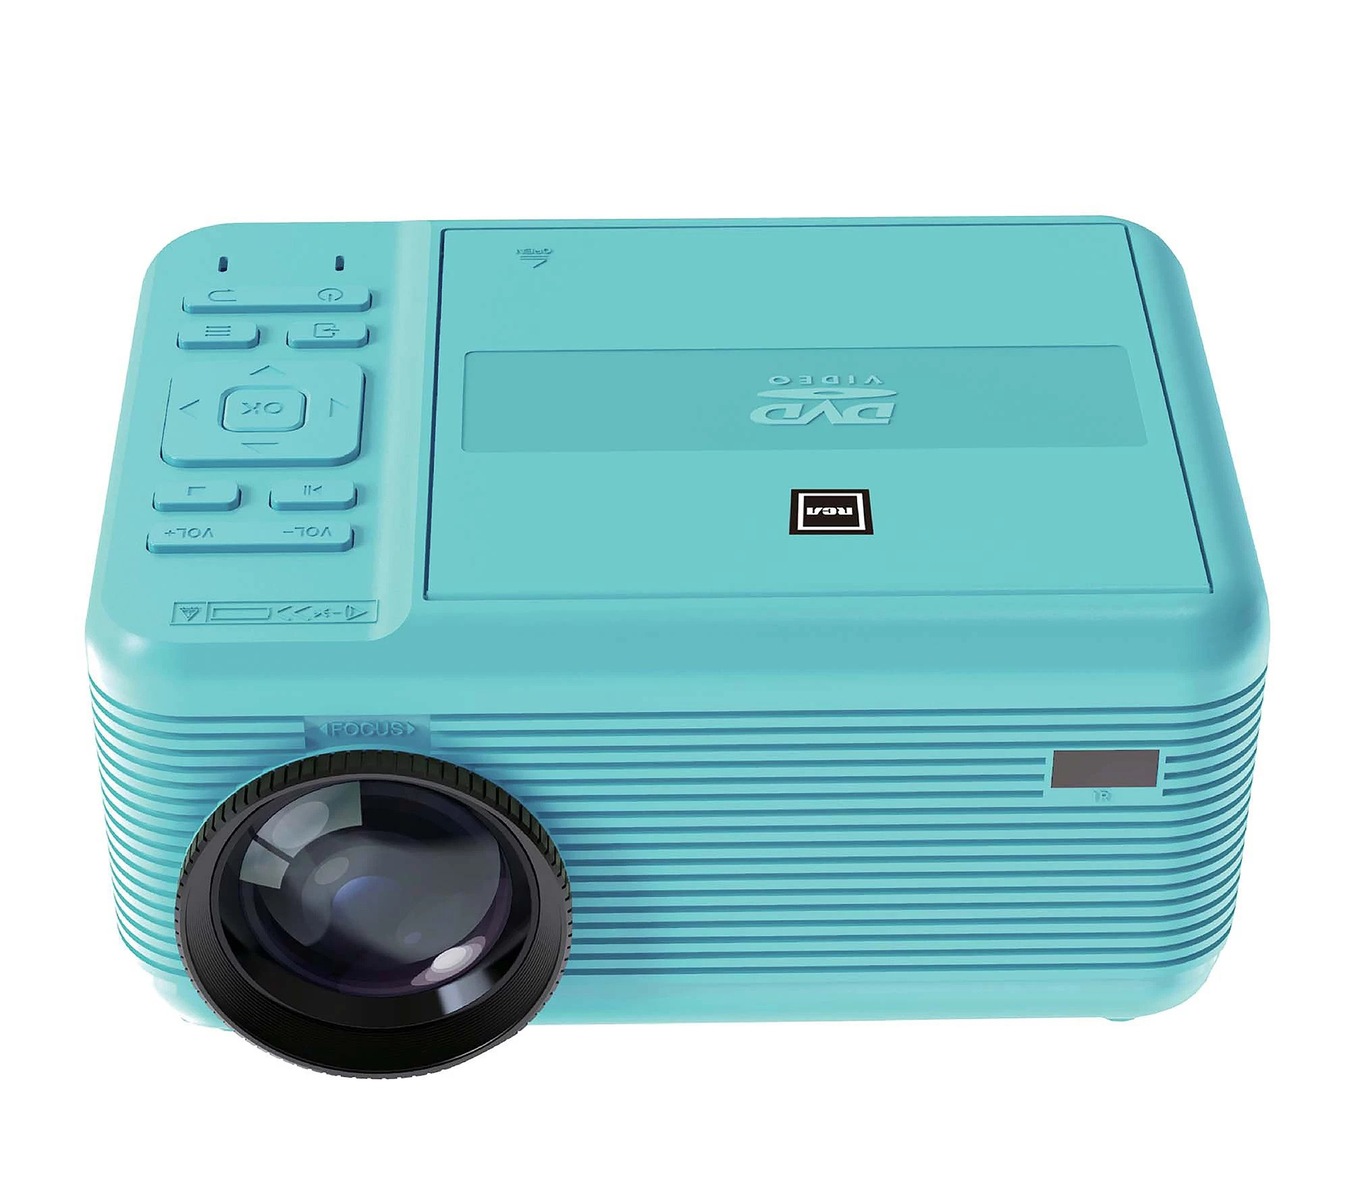
- RCA Home Theater Projector: Make sure you have a projector with an RCA input. Check the projector’s manual or specifications to confirm.
- iPhone: Any iPhone model that supports video output will work. Make sure your iPhone is fully charged or connected to a power source during the process.
- Lightning to HDMI Adapter: You’ll need a Lightning to HDMI adapter to connect your iPhone to the projector. This adapter allows you to output audio and video from your iPhone to an HDMI device, such as the projector.
- HDMI Cable: Get an HDMI cable that matches the length you need to connect the adapter to the RCA projector. Make sure the HDMI cable is in good condition and supports the necessary resolution.
- Audio Cable (optional): If you want to enhance your audio experience, consider getting an audio cable to connect your iPhone to external speakers or a sound system.
Once you have gathered all the necessary equipment, you’re ready to move on to the next step: connecting the RCA home theater projector to a power source.
Step 2: Connect the RCA projector to a power source
Now that you have gathered all the necessary equipment, it’s time to connect your RCA home theater projector to a power source. Follow these steps:
- Locate the power cord: Find the power cord that came with your RCA projector. It should have a plug on one end and a connector that goes into the projector on the other end.
- Plug it in: Connect the power cord to a power outlet or surge protector. Make sure the outlet is easily accessible and can provide a stable power source for your projector.
- Turn on the projector: Locate the power button on the projector and press it to turn on the device. Wait for the projector to start up and initialize. This may take a few moments as the projector boots up.
- Check the power indicator lights: Look for the power indicator lights on the projector. They will typically indicate whether the projector is receiving power and if it’s in standby or active mode. Refer to your projector’s manual for more details on the indicator lights.
Once you have successfully connected the RCA home theater projector to a power source and powered it on, you’re ready to proceed to the next step: connecting your iPhone to the projector.
Step 3: Connect the iPhone to the RCA projector
Now that your RCA home theater projector is powered on, it’s time to connect your iPhone to the projector. Follow these steps:
- Connect the Lightning to HDMI adapter: Take the Lightning to HDMI adapter and plug it into the Lightning port on your iPhone. Ensure that the adapter is inserted securely.
- Connect the HDMI cable: Take one end of the HDMI cable and plug it into the HDMI port on the Lightning to HDMI adapter. Ensure that the cable is inserted firmly.
- Connect the other end of the HDMI cable: Take the other end of the HDMI cable and plug it into the RCA projector’s HDMI input. Make sure it is correctly inserted into the port.
- Switch to the correct input channel: On your RCA projector, locate the input selection button or menu options. Use the remote control or the buttons on the projector to select the appropriate HDMI input channel. This may be labeled as “HDMI 1” or “HDMI 2,” depending on the projector model.
Once you have successfully connected your iPhone to the RCA home theater projector, you’re ready to proceed to the next step: adjusting the settings on your iPhone and projector.
Step 4: Adjust the settings on your iPhone and projector
After connecting your iPhone to the RCA home theater projector, it’s important to adjust the settings on both devices to ensure the best possible viewing experience. Here’s what you need to do:
- On your iPhone: Unlock your iPhone and navigate to the Control Center. Depending on your iPhone model, you can access the Control Center by swiping down from the top-right corner (iPhone X and newer) or swiping up from the bottom of the screen (iPhone 8 and older). Look for the screen mirroring option (this may be labeled as “AirPlay,” “Screen Mirroring,” or “Connect to a Device”) and tap on it. Select the option that corresponds to your RCA home theater projector’s name. Your iPhone should now be mirrored on the projector’s display.
- On the RCA projector: Use the projector’s remote control or on-screen menu to adjust the display settings. You can change the aspect ratio, brightness, contrast, and other parameters to optimize the picture quality. Refer to your projector’s manual for detailed instructions on adjusting the settings.
- Audio settings (optional): If you want to enhance the audio experience, connect your iPhone to external speakers or a sound system using an audio cable. Make sure to check the audio input options on the projector and set it accordingly to receive audio through the connected speakers.
Take your time to fine-tune the settings on both your iPhone and the RCA projector, ensuring that the display and sound quality are optimal. This will enhance your viewing experience and make the content on your iPhone truly come to life on the big screen.
Step 5: Test the connection and display your content
Now that you have adjusted the settings on your iPhone and RCA projector, it’s time to test the connection and start displaying your favorite content. Follow these steps:
- Make sure both your iPhone and the RCA projector are powered on and connected.
- Select the desired content: Open the app or content that you want to display on the big screen. It could be a movie, a presentation, a photo slideshow, or any other media.
- Enjoy your content: Once you have selected the content, it should now be mirrored on the RCA projector’s display. Sit back, relax, and enjoy your favorite movies, videos, games, or presentations on the bigger and more immersive screen.
- Control your content: Use your iPhone as a remote control to navigate through the content or adjust the volume. You can also use any connected external speakers or sound system to enhance the audio experience.
Take this opportunity to explore the various features and options available on your iPhone and the RCA home theater projector. Adjust the settings, experiment with different content, and make the most out of the enhanced viewing experience provided by the larger screen.
Remember to disconnect and power off both your iPhone and the RCA projector once you’re done using them. Safely unplug the HDMI cable and the Lightning to HDMI adapter from your iPhone to prevent any accidental damage.
Now that you have successfully connected and displayed your content from your iPhone to the RCA home theater projector, you can enjoy a more immersive and engaging multimedia experience anytime you want.
Conclusion
Connecting your iPhone to an RCA home theater projector opens up a whole new world of entertainment and productivity. By following the simple steps outlined in this guide, you can enjoy your favorite movies, videos, presentations, and more on a larger and more immersive screen.
Throughout this guide, we covered the essential steps to connect your iPhone to the RCA projector. We emphasized the importance of gathering the necessary equipment, including the Lightning to HDMI adapter and HDMI cable, and how to connect them correctly. Adjusting the settings on both your iPhone and the RCA projector ensures the best possible viewing experience, allowing you to fine-tune the display quality and audio settings.
Once you have successfully connected your iPhone to the RCA home theater projector and adjusted the settings, you can test the connection and start enjoying your content on the big screen. Whether you’re watching movies, sharing photos, giving presentations, or playing games, the immersive experience provided by the larger display will take your enjoyment to the next level.
Remember to safely disconnect and power off both your iPhone and the RCA projector when you’re done. This will help prolong the lifespan of your devices and ensure a seamless experience each time you connect them.
Now that you have the knowledge and skills to connect your iPhone to an RCA home theater projector, go ahead and start exploring the possibilities. Get ready to impress your friends, colleagues, or simply enjoy a more immersive multimedia experience in the comfort of your own home.
So, gather your equipment, connect your devices, adjust the settings, and start enjoying the big screen experience with your iPhone and the RCA home theater projector!