Introduction
Welcome to our guide on how to connect your Android phone to an RCA projector. Whether you’re looking to share photos, videos, presentations or even stream your favorite movies on a larger screen, connecting your Android phone to a projector can open up a whole new world of possibilities.
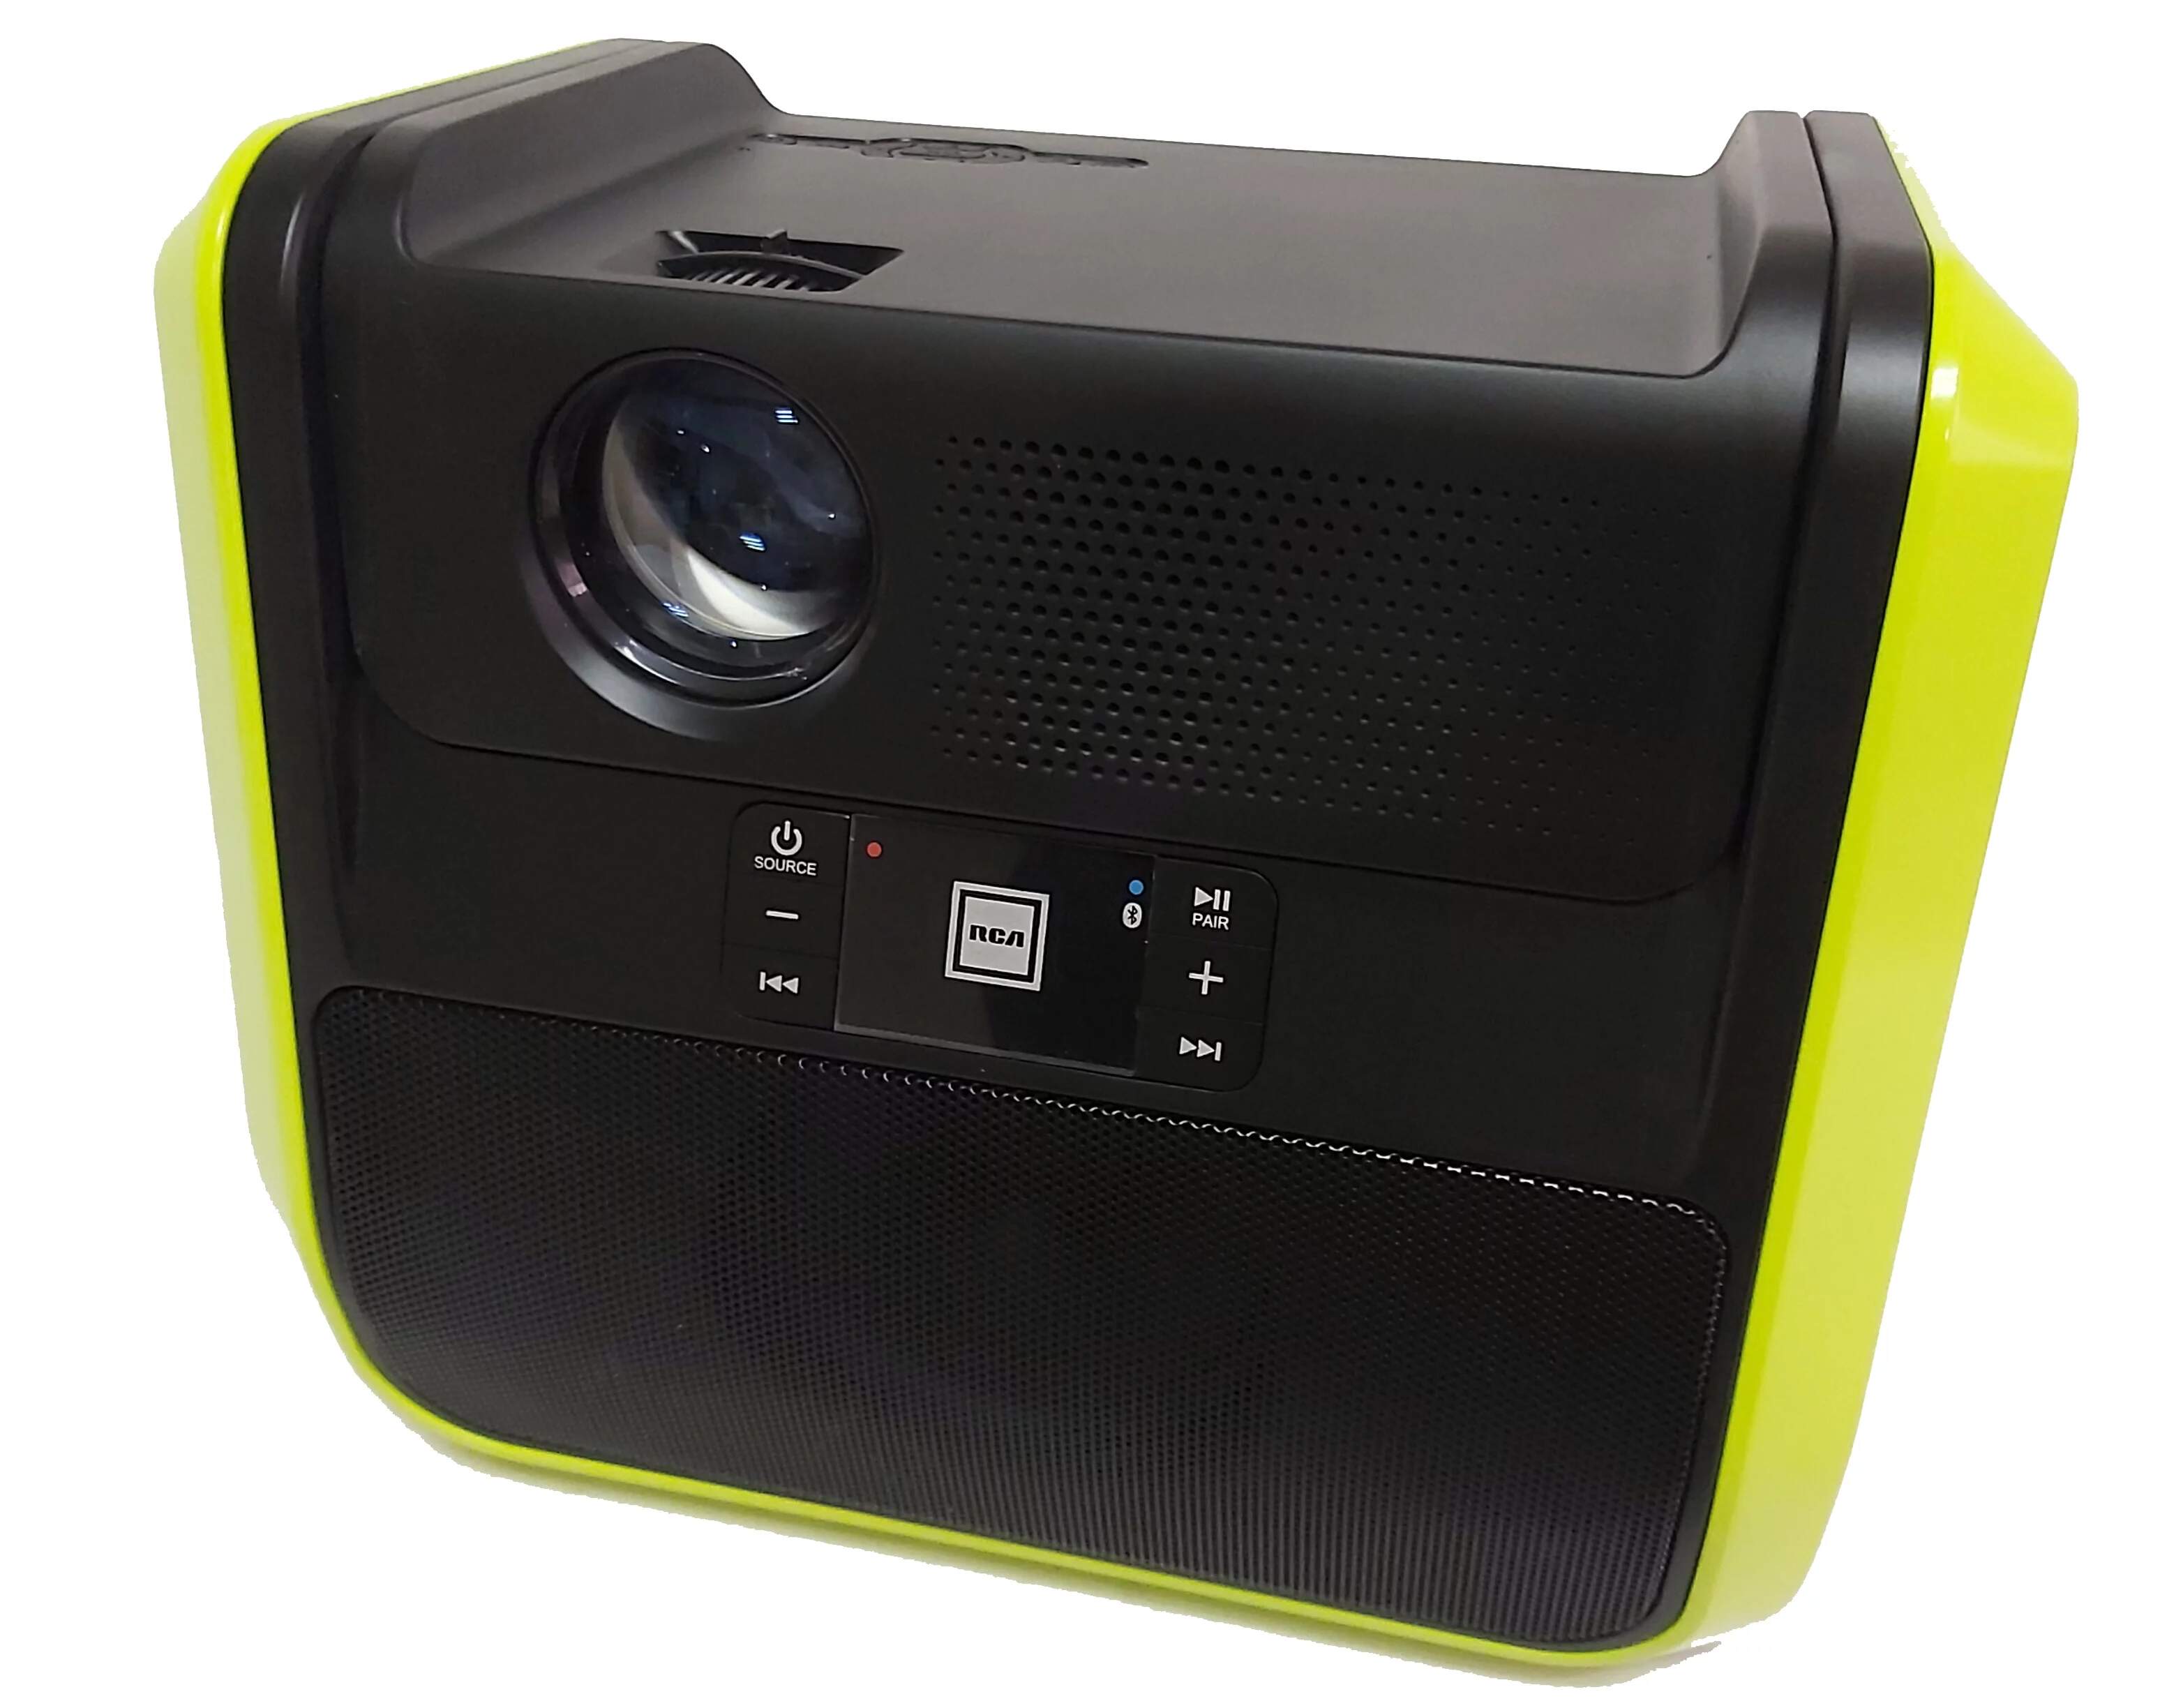
RCA projectors are versatile and popular choices for home theaters, presentations, and other multimedia purposes. They offer a range of connectivity options, allowing you to connect your Android phone to the projector using various cables and adapters.
In this guide, we will walk you through the steps to connect your Android phone to an RCA projector. We will explain the necessary equipment you’ll need and provide detailed instructions for each connection method. By following these steps, you’ll be able to enjoy your Android phone content on a big screen, whether it’s for business or leisure.
Before we begin, it’s important to note that the specific steps and requirements may vary depending on the model and brand of your RCA projector, as well as the version of Android operating system on your phone. However, the general concepts and instructions provided in this guide should be applicable to most Android phones and RCA projectors.
Now, let’s dive into the different methods you can use to connect your Android phone to an RCA projector and start enjoying your favorite content on the big screen.
Step 1: Gather the Necessary Equipment
Before you can connect your Android phone to an RCA projector, you’ll need to gather the necessary equipment. Here’s what you’ll need:
- Android Phone: Make sure you have an Android phone with a compatible operating system version. Most modern Android phones should work fine, but it’s always a good idea to check the specifications of your specific phone model.
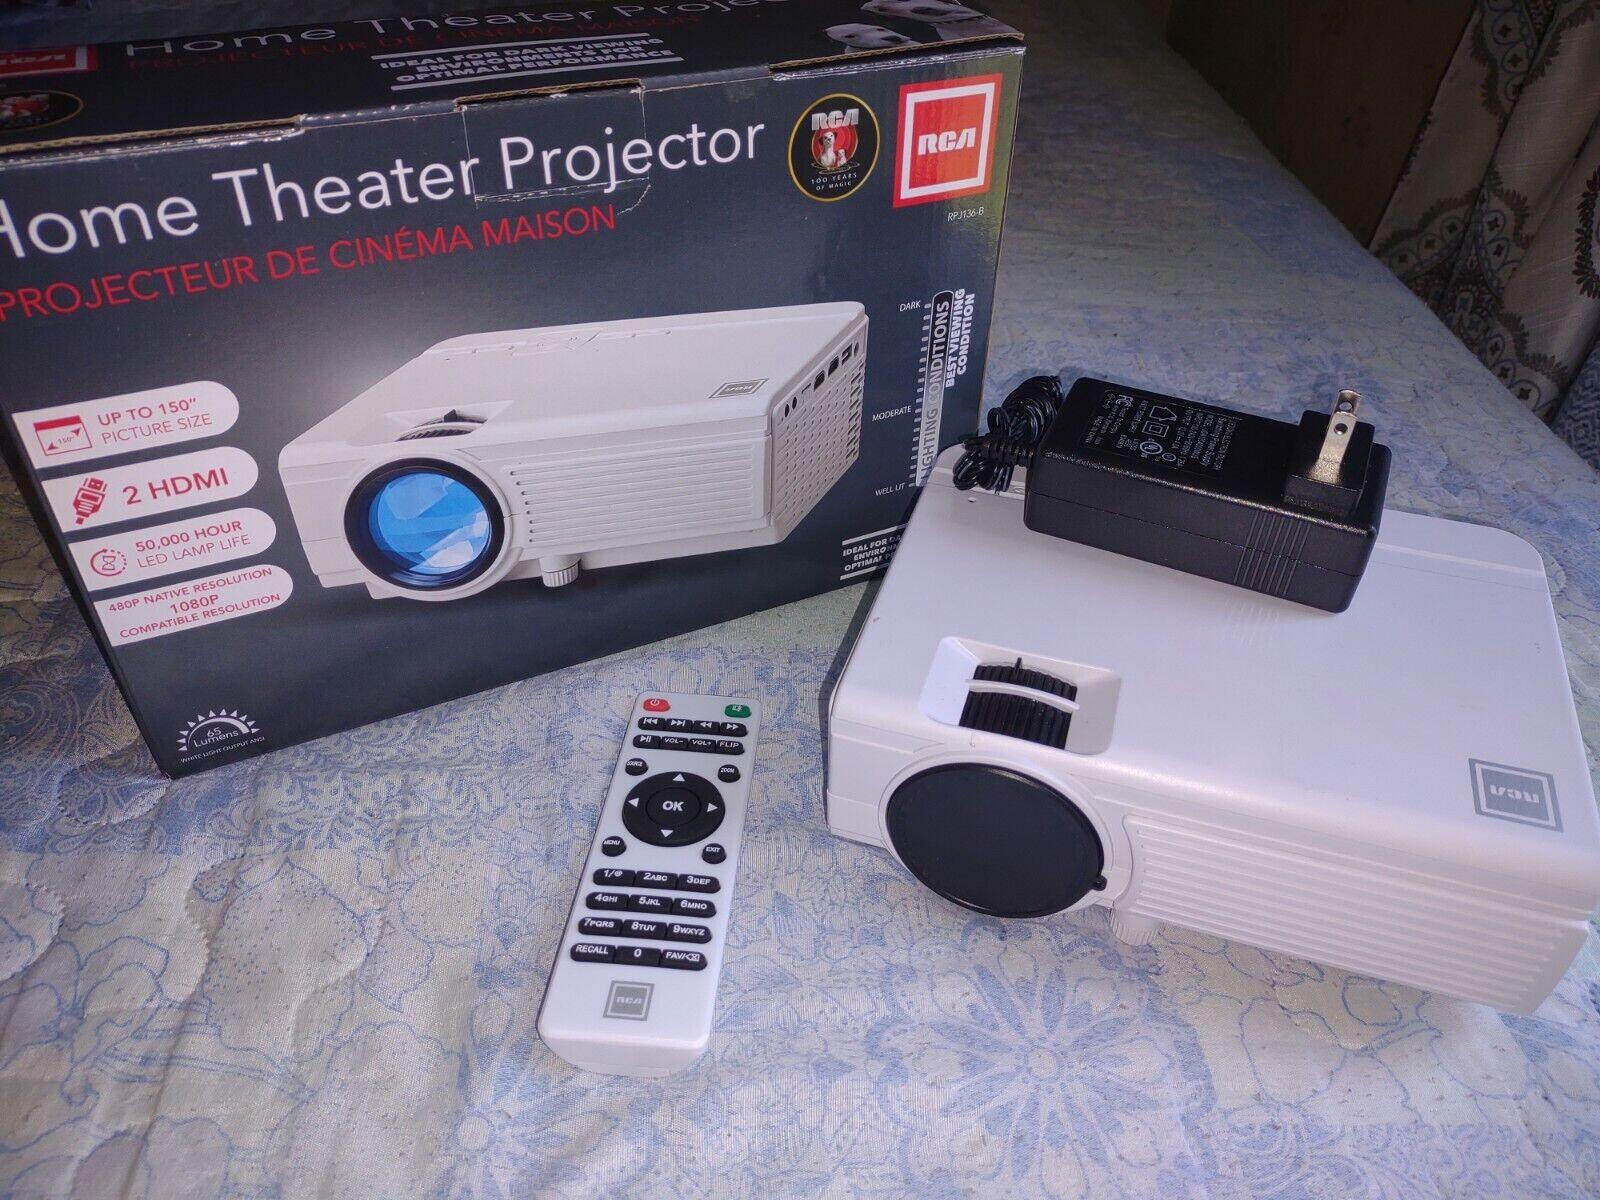
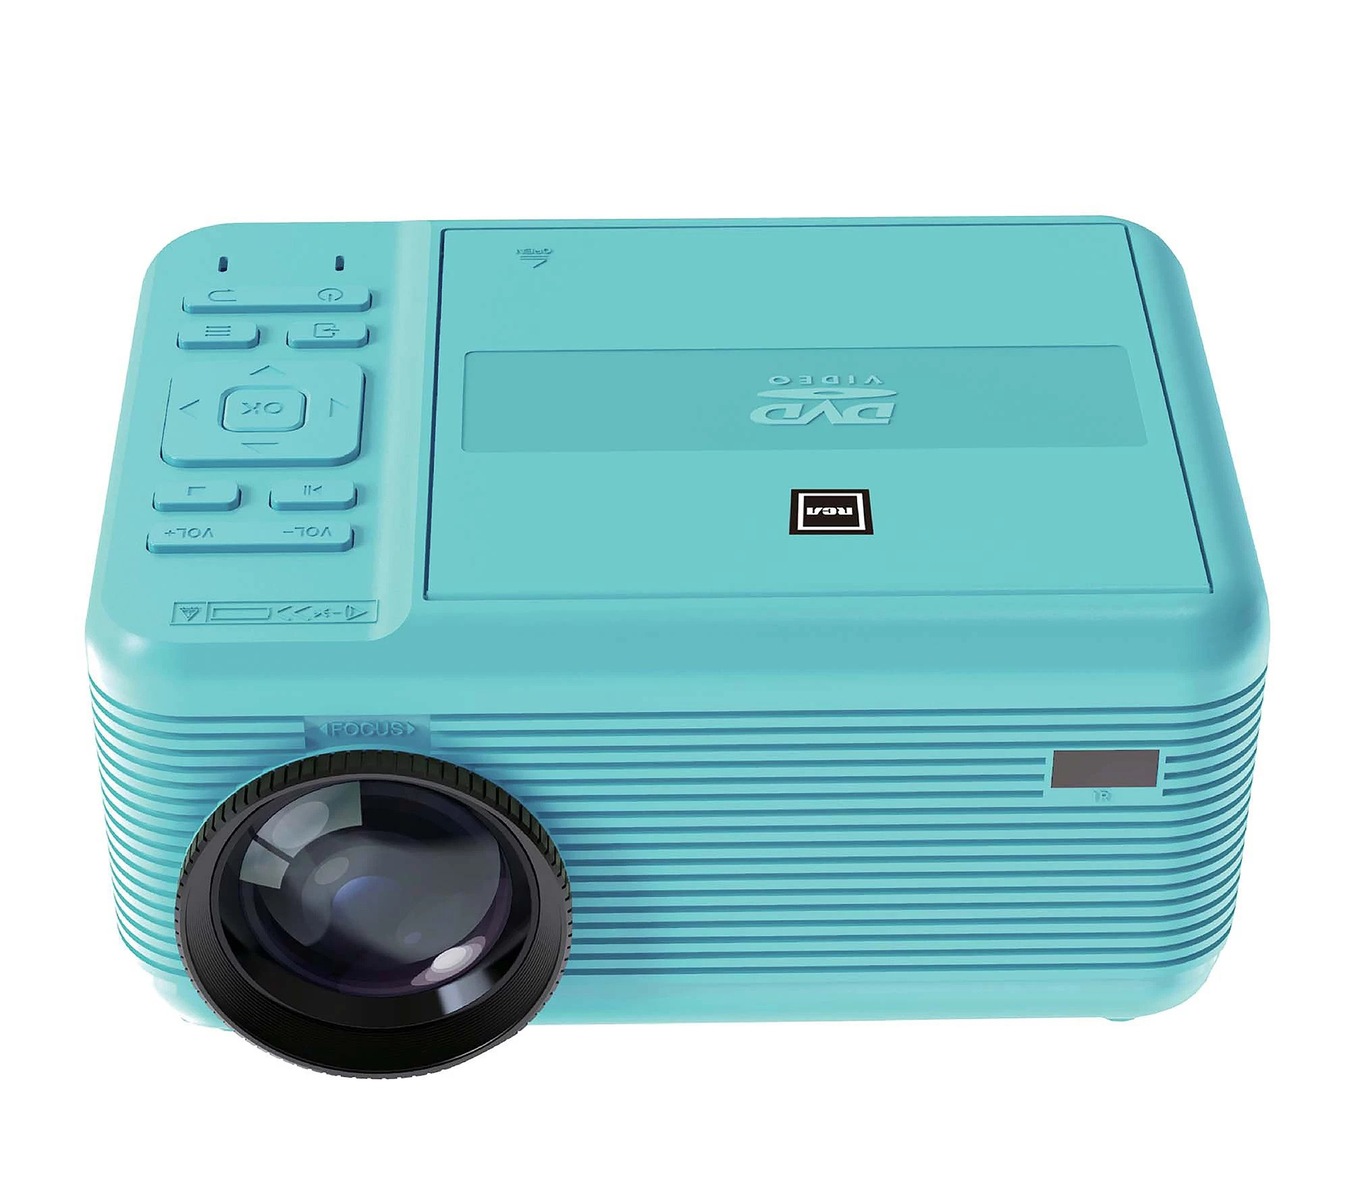
- RCA Projector: Ensure you have an RCA projector with the necessary input options to connect to your Android phone. Common input options include HDMI, USB, and VGA.
- Connection Cables: Depending on the available ports on your phone and projector, you may need one or more of the following cables:
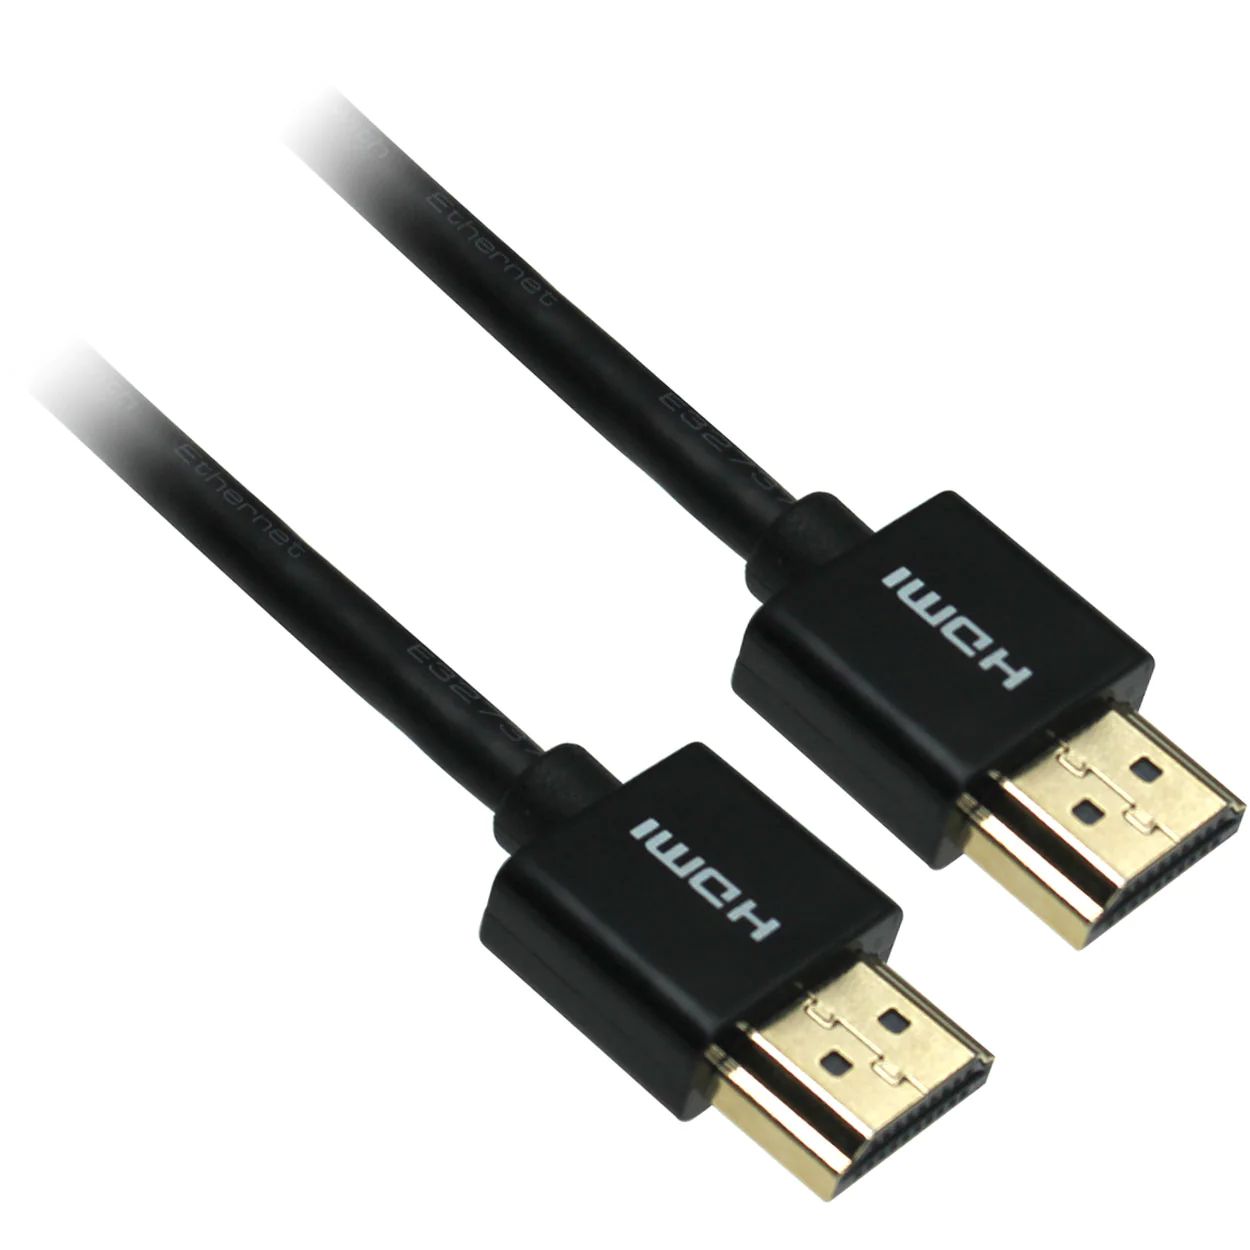
- HDMI Cable: If both your Android phone and RCA projector have HDMI ports, you’ll need an HDMI cable to connect them.
- USB Cable: Some projectors allow you to connect your Android phone directly using a USB cable. Ensure you have a compatible USB cable for this method.
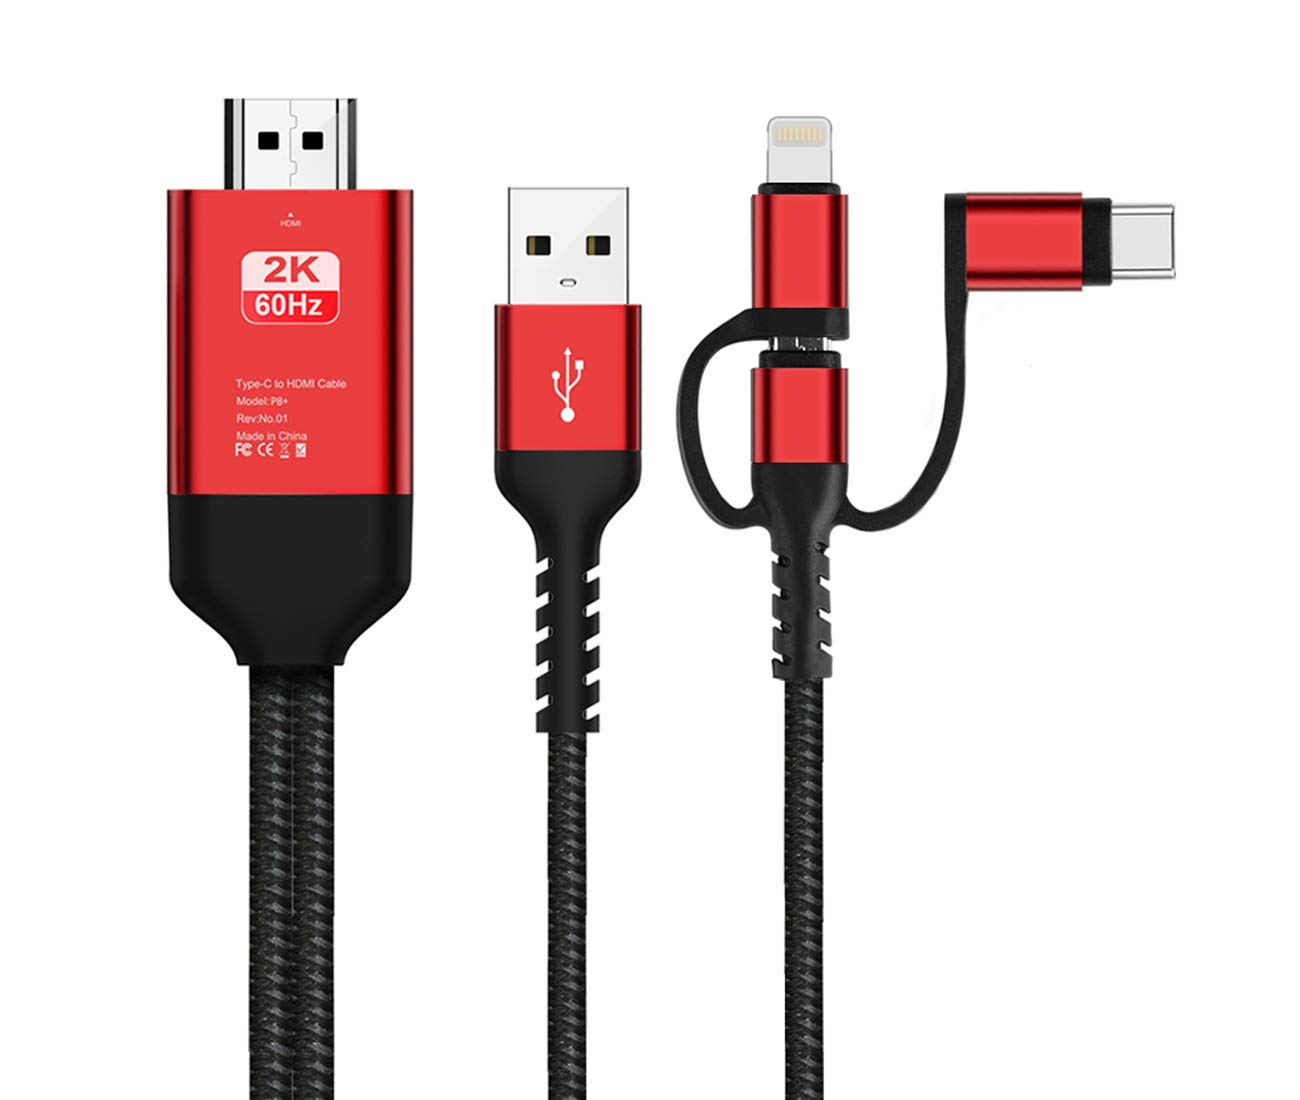
- MHL Adapter: If your phone and projector don’t have compatible ports, you may need an MHL adapter to bridge the connection. Check if your phone model is MHL compatible and purchase the adapter accordingly.
It’s crucial to ensure the cables you have are in good condition and not damaged. Faulty or low-quality cables can result in a poor connection or no connection at all. If you’re unsure about the compatibility or availability of any specific cables or adapters, refer to the user manual of your Android phone or RCA projector, or consult the manufacturer’s website for more information.
Once you have gathered all the necessary equipment, you’re ready to move on to the next steps and start connecting your Android phone to an RCA projector.
Step 2: Determine the Available Ports and Cables
Before connecting your Android phone to an RCA projector, it’s important to determine the available ports and cables on both your phone and the projector. This will help you choose the appropriate connection method and ensure compatibility. Here’s how you can do it:
- Check the ports on your Android phone: Examine the sides or bottom of your Android phone to identify the available ports. Common ports include HDMI, USB, and Type-C.
- Check the ports on your RCA projector: Look at the back or sides of your RCA projector to find the input ports. These can vary depending on the model, but common options include HDMI, USB, VGA, and AV.
- Identify the cables you have: Take a look at the cables you gathered in step 1 and match them with the available ports on both your phone and the projector. Ensure that the cables are compatible with the ports you plan to use.
If your phone and projector have compatible HDMI ports, using an HDMI cable would be the simplest and most convenient option. However, if they don’t have HDMI ports or if you want to explore other alternatives, consider the following:
- If your Android phone has a USB port: Check if your RCA projector has a USB port as well. Some projectors support USB connections, allowing you to directly connect your phone using a USB cable.
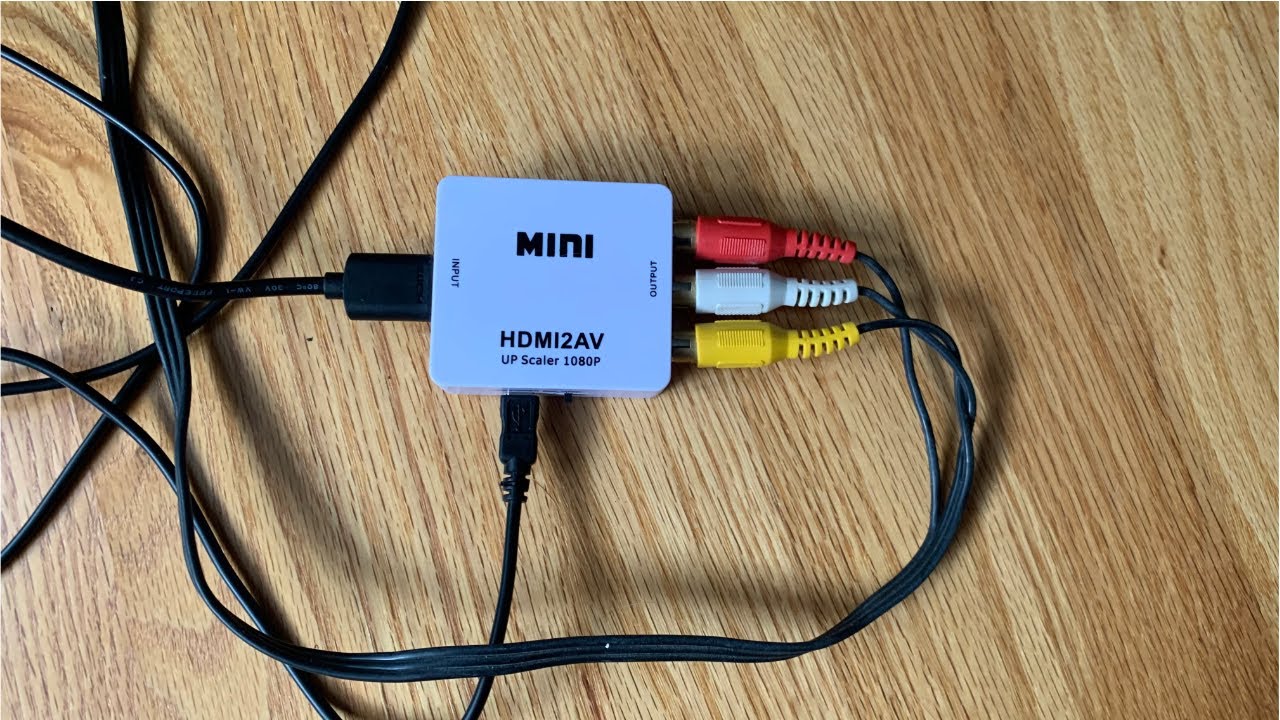
- If your Android phone and projector don’t have compatible ports: In this case, you will need an MHL (Mobile High-Definition Link) adapter. The MHL adapter connects to your phone’s charging port and converts it to an HDMI port, allowing you to connect to the projector using an HDMI cable.
By determining the available ports and cables, you can choose the most suitable method to connect your Android phone to the RCA projector. Once you have identified the right combination, you’re ready to proceed to the next steps and establish the connection.
Step 3: Connect the Phone to the Projector via HDMI Cable
If your Android phone and RCA projector have compatible HDMI ports, connecting them using an HDMI cable is the most straightforward method. Follow these steps to establish the connection:
- Power off both the phone and the projector: Before connecting any cables, ensure that both your Android phone and the RCA projector are turned off.
- Locate and connect the HDMI ports: Locate the HDMI port on both your phone and the projector. It’s usually labeled as “HDMI” or represented by an “HDMI” icon. Take one end of the HDMI cable and insert it into your phone’s HDMI port. Then, insert the other end into the projector’s HDMI port.
- Power on the devices: Turn on both your Android phone and the RCA projector. Allow them a few moments to detect and establish the HDMI connection.
- Switch the projector input: On the RCA projector’s remote control or control panel, locate the input/source button. Press it until you see the HDMI input option selected on the projector’s display. This action will ensure that the projector is receiving the signal from your Android phone.
- Unlock your phone: Unlock your Android phone and navigate to the screen or app you wish to display on the projector.
- Adjust the projector settings (if necessary): Use the projector’s menu options to adjust the display settings such as aspect ratio, brightness, and sharpness for optimal viewing experience.
- Enjoy your content on the big screen: With the HDMI connection established, your Android phone’s screen should now be mirrored or extended on the RCA projector. You can now enjoy your photos, videos, presentations, and other content on a larger display.
Remember to select the appropriate audio output source to ensure that the sound is properly played through the projector’s speakers or connected audio system. Refer to your specific Android phone and RCA projector’s user manuals for detailed instructions on adjusting the audio settings, if needed.
By following these steps, you can seamlessly connect your Android phone to an RCA projector using an HDMI cable. If you encounter any issues, ensure that the HDMI cable is properly connected, and both your phone and the projector are powered on. Additionally, double-check that the input/source on the projector is set to HDMI.
Step 4: Connect the Phone to the Projector via USB Cable
If your RCA projector supports USB connections and your Android phone has a USB port, you can connect them directly using a USB cable. Follow these steps to establish the connection:
- Power off both the phone and the projector: Before connecting any cables, ensure that both your Android phone and the RCA projector are turned off.
- Locate and connect the USB ports: Identify the USB port on both your phone and the projector. On your phone, it is usually located at the bottom or side. On the projector, it may be labeled as “USB” or “USB-A.” Take one end of the USB cable and insert it into your phone’s USB port. Then, plug the other end into the projector’s USB port.
- Power on the devices: Turn on both your Android phone and the RCA projector. Allow them a few moments to recognize the USB connection.
- Switch the projector input: Use the projector’s remote control or control panel to select the USB input/source option. This will ensure that the projector is receiving the signal from your Android phone.
- Unlock your phone: Unlock your Android phone and navigate to the screen or app you want to display on the projector.
- Adjust the projector settings (if necessary): Use the projector’s menu options to adjust the display settings, such as aspect ratio, brightness, and sharpness, for the best viewing experience.
- Enjoy your content on the big screen: With the USB connection established, your Android phone’s screen should now be mirrored or extended on the RCA projector’s display. You can now enjoy your photos, videos, presentations, and more on a larger screen.
It’s important to note that while the USB connection allows you to mirror your phone’s screen onto the projector, it may not support audio playback through the projector’s speakers. In such cases, consider using a separate audio cable to connect the phone’s audio output to an external speaker or audio system.
If you encounter any issues or have difficulty establishing the USB connection, ensure that both ends of the USB cable are securely plugged in. Also, check that your Android phone’s USB settings are set to allow data transfer or screen mirroring. These settings can typically be found in the “Developer Options” or “Connectivity” sections of your phone’s settings menu.
By following these steps, you can easily connect your Android phone to an RCA projector via a USB cable. Enjoy the convenience of sharing your phone’s content on a larger screen for an enhanced viewing experience.
Step 5: Connect the Phone to the Projector via MHL Adapter
If your Android phone and RCA projector don’t have compatible ports, you can still connect them using an MHL (Mobile High-Definition Link) adapter. The MHL adapter acts as a bridge, allowing you to connect your phone to the projector’s HDMI port. Follow these steps to establish the connection:
- Gather the necessary equipment: In addition to the MHL adapter, you will need an HDMI cable and a compatible power source for the adapter, such as a USB wall charger or power bank.
- Power off both the phone and the projector: Before connecting any cables, ensure that both your Android phone and the RCA projector are turned off.
- Connect the MHL adapter to your phone: Plug one end of the MHL adapter into your Android phone’s charging port. Make sure it fits securely to establish a stable connection.
- Connect the HDMI cable: Take the HDMI cable and connect one end to the MHL adapter’s HDMI port. Insert the other end into the HDMI port on your RCA projector.
- Connect the power source to the adapter: If your MHL adapter requires external power, connect a USB cable from a power source to the adapter’s power port. This step is necessary to provide power for the adapter to function.
- Power on the devices: Turn on both your Android phone and the RCA projector.
- Switch the projector input: Use the projector’s remote control or control panel to select the HDMI input/source option. This ensures that the projector receives the signal from your Android phone.
- Unlock your phone: Unlock your Android phone and navigate to the screen or app you want to display on the projector.
- Adjust the projector settings (if necessary): Use the projector’s menu options to adjust the display settings, such as aspect ratio, brightness, and sharpness, for optimal viewing.
- Enjoy your content on the big screen: With the MHL connection established, your Android phone’s screen should now be mirrored or extended on the RCA projector’s display. You can now enjoy your photos, videos, presentations, and more on a larger screen.
It’s important to note that not all Android phones support MHL adapters. Additionally, MHL adapters may require additional settings adjustments on your phone to enable the connection. Consult your phone’s user manual or the adapter’s instructions for any specific requirements or troubleshooting steps.
By following these steps and using an MHL adapter, you can overcome incompatible ports and connect your Android phone to an RCA projector. Enjoy the benefits of a larger display for your phone’s content, whether it’s for entertainment, presentations, or other purposes.
Step 6: Connect the Phone to the Projector via Chromecast
If you have a Chromecast device and an RCA projector with an HDMI port, you can easily connect your Android phone to the projector wirelessly. Chromecast allows you to stream content from your phone directly to the projector. Follow these steps to establish the connection:
- Ensure you have a Chromecast device: Check if you have a Chromecast device. This small dongle connects to your projector’s HDMI port and enables wireless streaming from your Android phone.
- Connect Chromecast to the projector: Plug the Chromecast device into the HDMI port on your RCA projector. Ensure that the Chromecast device is properly inserted and secure in the port.
- Power on the Chromecast and projector: Connect the Chromecast device to a power source using the provided USB cable and power adapter. Then, turn on both the Chromecast device and the projector.
- Switch the projector input: On the RCA projector’s remote control or control panel, select the HDMI input/source option corresponding to the HDMI port where the Chromecast device is connected.
- Set up Chromecast on your phone: Download and install the Google Home app from the Play Store. Open the app and follow the on-screen instructions to set up the Chromecast device. Make sure your phone and Chromecast device are connected to the same Wi-Fi network.
- Cast your phone’s screen or media: Once the Chromecast is set up, open the Google Home app, select your Chromecast device, and choose the “Cast Screen” option. Your phone’s screen will be mirrored on the RCA projector. Alternatively, you can also cast specific media, such as videos or photos, using compatible apps.
- Adjust the projector settings (if necessary): Use the projector’s menu options to adjust the display settings such as aspect ratio, brightness, and sharpness for the best viewing experience.
- Enjoy your content on the big screen: With the Chromecast connection established, your Android phone’s screen or media content should now be displayed on the RCA projector’s screen. You can enjoy streaming videos, playing games, presenting slideshows, and much more on the big screen.
Using Chromecast provides a convenient and wireless way to connect your Android phone to an RCA projector. It eliminates the need for cables and allows you to control the content from your phone. Remember to keep your phone and Chromecast device connected to the same Wi-Fi network throughout the streaming session.
It’s worth noting that some RCA projectors may have built-in support for casting technologies such as Miracast or AirPlay. If your projector supports these protocols, you can connect your Android phone using the respective casting options available on your phone.
By following these steps and utilizing Chromecast or other casting technologies, you can easily share and enjoy your Android phone’s content on a larger screen without the hassle of cables.
Step 7: Adjust the Projector Settings
After successfully connecting your Android phone to an RCA projector, it’s essential to adjust the projector settings to optimize the viewing experience. Here are some settings you may need to adjust:
- Aspect Ratio: Depending on the content you’re viewing, you may want to adjust the aspect ratio on the projector. Common options include 4:3 (standard), 16:9 (widescreen), or Auto, which automatically adjusts the aspect ratio based on the input signal.
- Brightness and Contrast: Use the projector’s menu options to adjust the brightness and contrast levels to your preference. These settings can greatly impact the clarity and visibility of the projected content.
- Sharpness: Adjust the sharpness level to enhance the text and image clarity. Be cautious not to set it too high, as it may introduce artifacts or make the content appear unnatural.
- Color Calibration: If color accuracy is important for your content, you can fine-tune the color settings on the projector to achieve the desired balance. Many projectors offer preset color modes such as Cinema, Standard, or Vivid, which you can choose based on your preferences.
- Keystone Correction: If the projector is not positioned perpendicular to the projection surface, you may need to use keystone correction to adjust the image shape and avoid distortion. Most projectors have manual or automatic keystone correction options.
- Audio Output: Depending on your setup, you may need to adjust the audio settings on the projector to ensure the sound is output through the projector’s speakers or connected audio system.
Refer to your RCA projector’s user manual for detailed instructions on accessing and adjusting these settings. The specific menu options and adjustment methods can vary depending on the model and brand.
Experiment with different settings to find the optimal configuration that suits your viewing preferences and the content you’re displaying. Keep in mind that ambient lighting conditions and the projection surface may also affect the perceived image quality.
Lastly, it’s important to note that adjusting the projector settings is a subjective process. What looks best for one person or type of content may not be ideal for others. Take the time to experiment and find the settings that deliver the desired visual quality for your specific needs.
By appropriately adjusting the projector settings, you can enhance the image quality and overall viewing experience when using your Android phone with an RCA projector.
Conclusion
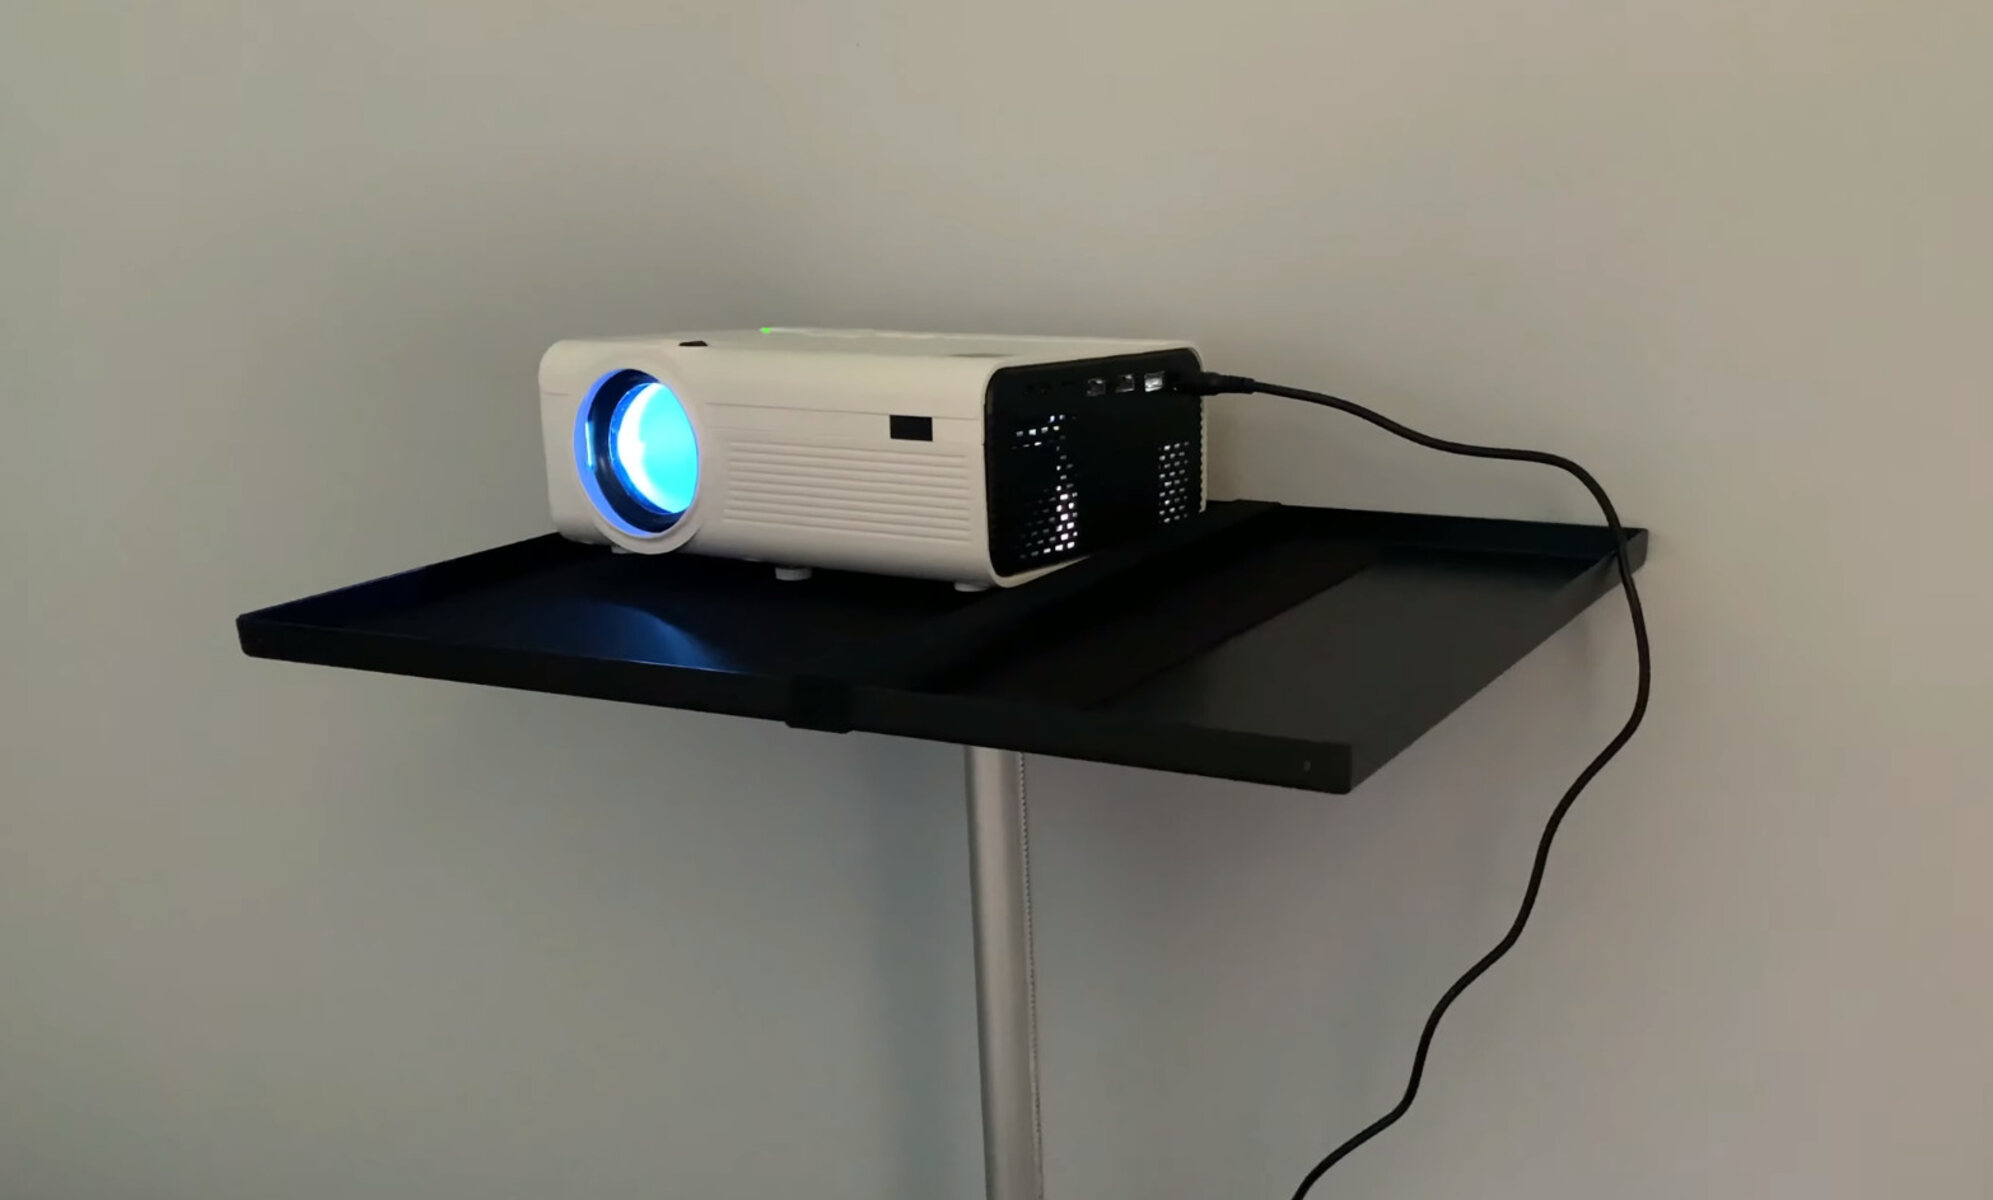
Connecting your Android phone to an RCA projector opens up a world of possibilities for sharing content and enjoying a larger display. Whether you’re presenting a slideshow, watching videos, or playing games, the ability to project your phone’s screen onto a bigger screen offers a more immersive experience.
In this guide, we’ve covered various methods to connect your Android phone to an RCA projector, including using HDMI cables, USB cables, MHL adapters, and Chromecast. Each method has its advantages and requirements, so choose the one that best suits your device compatibility and preferences.
Remember to gather the necessary equipment, determine the available ports and cables, and adjust the projector settings for optimal display. By following the steps outlined in this guide, you can successfully establish the connection between your Android phone and the RCA projector and enjoy your favorite content on a larger screen.
Keep in mind that the specific steps may vary based on the model and brand of your Android phone and RCA projector. Consult the user manuals or manufacturer’s websites for detailed instructions specific to your devices.
Now that you have the knowledge and tools to connect your Android phone to an RCA projector, why not give it a try? Enjoy the immersive experience of sharing your phone’s content on a larger screen and take your multimedia experience to the next level.