Introduction
Welcome to the beginner”s guide on how to connect your laptop to a Benq projector. Whether you”re giving a presentation for work, enjoying a movie night, or playing video games on a big screen, connecting your laptop to a projector can greatly enhance your viewing experience. Benq projectors are known for their high-quality display, making them a popular choice among professionals and home users alike.
Connecting your laptop to a Benq projector may seem daunting at first, but fear not! In this guide, we’ll walk you through the step-by-step process to ensure a seamless connection. We’ll cover everything from checking the ports on your laptop and projector to adjusting the display settings on both devices. By following these simple instructions, you’ll be able to enjoy a larger, more immersive display in no time.
Before we get started, it’s important to note that the connection process may vary depending on your specific laptop model and the type of ports available on your Benq projector. However, the general principles outlined in this guide should apply to most modern laptops and Benq projectors.
So without further ado, let’s dive into the step-by-step instructions and get you connected!
Step 1: Check the laptop and projector ports
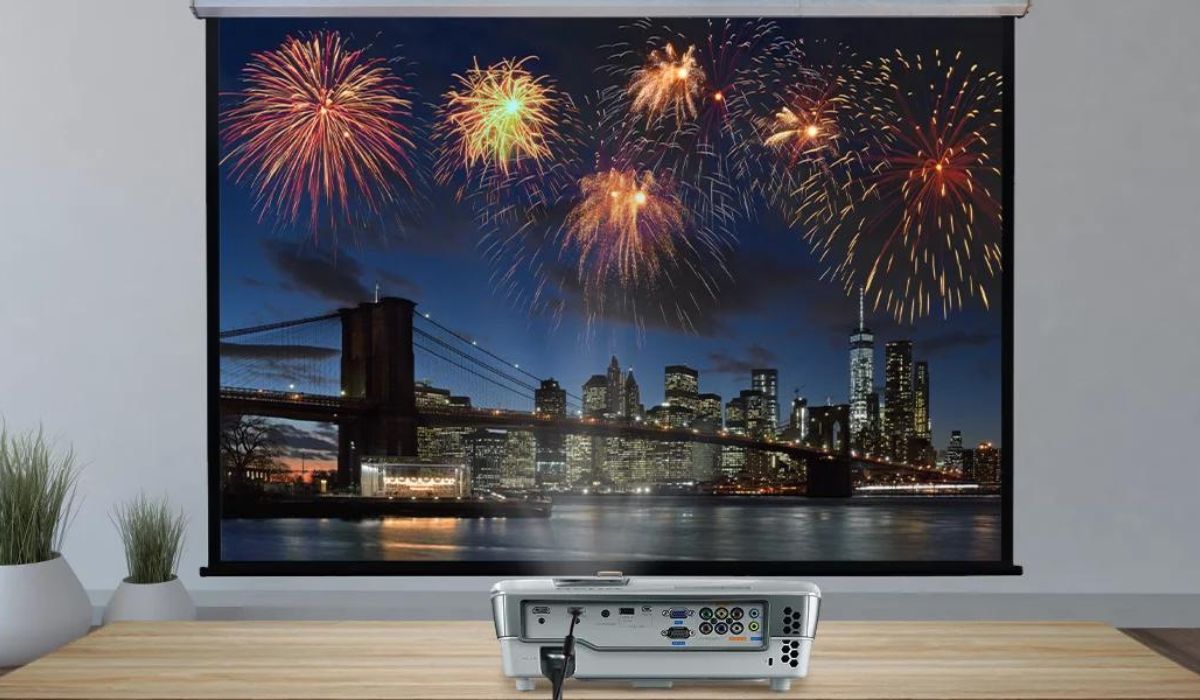
The first step in connecting your laptop to a Benq projector is to check the available ports on both devices. This will determine the type of cable or adapter you’ll need to make the connection. Most modern laptops and Benq projectors come equipped with HDMI and VGA ports, but it’s always a good idea to double-check.
On your laptop, look for the HDMI or VGA port. The HDMI port is rectangular with a smaller, trapezoid-shaped port on one side, while the VGA port has three rows of small holes. If your laptop has both HDMI and VGA ports, HDMI is usually the preferred choice as it supports higher resolution and audio transmission.
Next, locate the ports on your Benq projector. Depending on the model, you may find multiple HDMI and VGA ports, as well as other video input options like DisplayPort or DVI. Take note of the available ports and choose the one that matches the port on your laptop.
Once you’ve identified the ports on both devices, you’ll need the appropriate cable or adapter to establish the connection. If your laptop and projector have HDMI ports, an HDMI cable is the simplest and most convenient option. However, if your laptop has a VGA port or your projector only has VGA input, you’ll need a VGA cable. In some cases, you may also require additional adapters to connect different port types.
It’s a good idea to check if you have the required cable or adapter beforehand to avoid any last-minute hiccups. If you don’t have the necessary cable or adapter, you can purchase one from an electronics store or online retailer. Make sure to choose a high-quality cable or adapter to ensure a stable connection and optimal video quality.
With the laptop and projector ports checked and the appropriate cable or adapter in hand, you’re ready to move on to the next step: connecting the laptop to the Benq projector. Keep reading to learn how!
Step 2: Connect the HDMI or VGA cable
Now that you’ve identified the ports on your laptop and Benq projector, it’s time to connect them using the appropriate cable or adapter. In this step, we’ll cover how to connect your laptop to a Benq projector using either an HDMI or VGA cable.
If your laptop and Benq projector both have HDMI ports, connecting them is fairly straightforward. Take one end of the HDMI cable and insert it into the HDMI port on your laptop. Ensure that the cable is securely plugged in. Then, take the other end of the cable and insert it into the HDMI port on your Benq projector. Again, make sure the connection is secure.
If your laptop has a VGA port or your Benq projector only has VGA input, the process is a bit different. Start by taking one end of the VGA cable and inserting it into the VGA port on your laptop. Like with the HDMI cable, ensure that the connection is secure. Then, take the other end of the VGA cable and insert it into the VGA port on your Benq projector. Once again, make sure the connection is secure.
If your laptop has an HDMI port and your Benq projector only has a VGA port, you’ll need to use a VGA to HDMI adapter. Connect one end of the VGA cable to the VGA port on your laptop, and then insert the other end into the VGA input of the VGA to HDMI adapter. Next, connect the HDMI end of the adapter to your Benq projector’s HDMI port. Remember to securely plug in all the connections.
Regardless of whether you’re using an HDMI cable or VGA cable with an adapter, it’s important to ensure that the connection is snug and secure. Loose connections can result in intermittent signal or loss of video altogether. Take a moment to double-check all connections before moving on to the next step.
With the laptop and Benq projector connected, it’s time to proceed to the next step: adjusting the display settings on your laptop.
Step 3: Adjust the display settings on your laptop
After successfully connecting your laptop to the Benq projector, it’s important to adjust the display settings on your laptop to ensure optimal viewing. In this step, we’ll cover how to adjust the display settings on popular operating systems like Windows and macOS.
If you’re using a Windows laptop, right-click on the desktop and select “Display settings” from the context menu. This will open the Display settings window. Here, you can adjust various settings, such as the resolution, orientation, and multiple display options. Select the Benq projector as the primary or secondary display, depending on your preference. You may need to click on the “Identify” button to identify which display corresponds to your laptop and the projector.
If you’re using a macOS laptop, go to the Apple menu and select “System Preferences.” Then, click on the “Displays” icon. In the Display settings, you’ll be able to adjust the resolution, arrangement, and brightness of your displays. Select the Benq projector as the primary or secondary display and make any necessary adjustments to achieve the desired visual experience.
Regardless of the operating system you’re using, it’s important to set the display resolution to match the native resolution of the Benq projector for optimal image quality. This information can usually be found in the projector’s specifications or user manual. The native resolution will ensure that the content on your laptop is displayed at its best quality on the projector screen.
You may also need to make further adjustments to the display settings, such as extending or duplicating the screen, adjusting the aspect ratio, or enabling audio output through the projector. Explore the display settings options to customize the viewing experience according to your preferences.
Once you’ve adjusted the display settings on your laptop, it’s time to move on to the next step: powering on the Benq projector. Keep reading to learn more!
Step 4: Power on the projector
Now that you’ve connected your laptop to the Benq projector and adjusted the display settings, it’s time to power on the projector itself. In this step, we’ll guide you through the process of turning on the Benq projector, ensuring that it is ready to receive the signal from your laptop.
Start by locating the power button on the Benq projector. The power button is usually located on the top, front, or side of the device, depending on the model. Press the power button and wait for the projector to power on. You may hear the cooling fan start, and the projector’s indicator lights may turn on.
Keep in mind that some Benq projectors may have a standby mode or a separate standby button. If this is the case, press the standby button first to bring the projector out of standby mode, and then press the power button to turn it on fully.
Once the Benq projector is powered on, it will go through a startup sequence. This may involve displaying the Benq logo or a loading screen. Be patient and wait for the projector to fully initialize.
While the projector is starting up, you may want to take this opportunity to gather your presentation materials or prepare the content you intend to display on the projector. This way, you’ll be ready to test the connection in the next step.
Once the Benq projector has completed its startup sequence and is ready for use, it’s time to move on to the next step: selecting the correct input source on the projector. Read on to learn more!
Step 5: Select the correct input source on the projector
Now that your Benq projector is powered on, the next step is to select the correct input source for your laptop. The input source determines which port the projector will receive the signal from. In this step, we’ll guide you through the process of selecting the appropriate input source on your Benq projector.
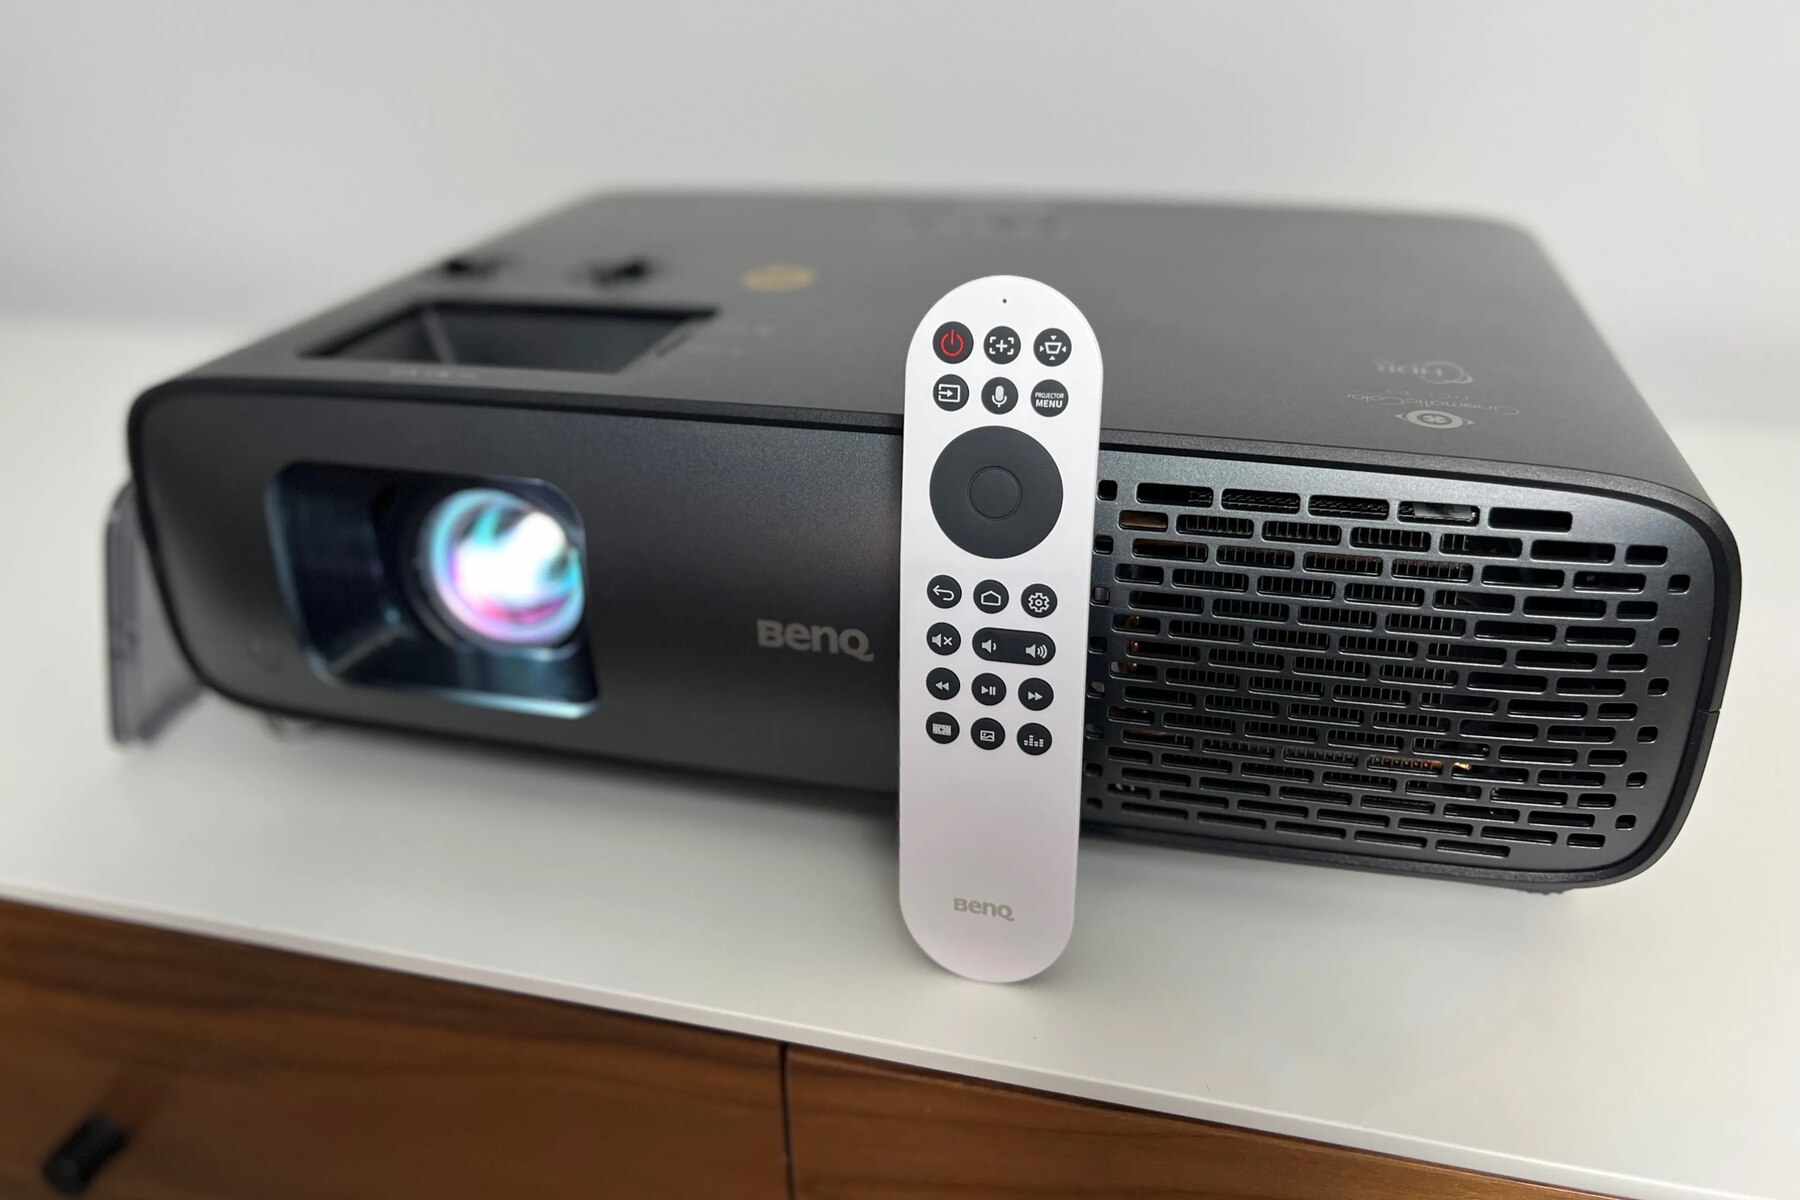
On the control panel or remote control of the projector, look for the “Input” or “Source” button. Press this button to access the input source options. The available options will vary depending on the model of your Benq projector, but commonly you’ll have choices such as HDMI, VGA, DisplayPort, and so on.
Using the navigation buttons on the control panel or remote control, select the input source that matches the port you used to connect your laptop. For example, if you connected your laptop to the HDMI port of the projector, select the HDMI input source.
Once you’ve selected the correct input source, give the projector a moment to detect the signal from your laptop. You may see a blinking light or a loading screen on the projector as it synchronizes with your laptop.
If the input source is selected correctly and the connection is secure, you should see your laptop”s display mirrored or extended on the projector screen. However, if you don’t see anything or encounter display issues, refer to the next step for troubleshooting tips.
Finally, it’s important to note that some Benq projectors have an “Auto Source” function, which automatically detects the input source. If your projector has this feature, ensure it is enabled for hassle-free source detection.
With the correct input source selected on your Benq projector, it’s time to move on to the next step: adjusting the display settings on the projector. Read on to learn how!
Step 6: Adjust the display settings on the projector
After selecting the correct input source on your Benq projector, it’s important to adjust the display settings to optimize the visual output. In this step, we’ll guide you through the process of adjusting the display settings on the projector itself.
On the projector’s control panel or remote control, look for the “Menu” or “Settings” button. Press this button to access the projector’s menu options. Navigating through the menu, locate the display settings or image settings section.
Within the display settings, you’ll typically find options to adjust the brightness, contrast, color temperature, sharpness, and other visual parameters. These settings can greatly enhance the clarity and quality of the projected image.
Start by adjusting the brightness and contrast levels to your desired preference. Increasing the brightness can make the image more vibrant, while adjusting the contrast can improve the distinction between light and dark areas. Find the optimal balance that suits your viewing environment.
Next, consider adjusting the color temperature to ensure accurate and natural colors. You can choose between presets like “Warm,” “Cool,” or “Normal,” or manually adjust the red, green, and blue color levels for a more personalized color balance.
Additionally, if your Benq projector offers a sharpness adjustment, you might want to fine-tune this setting to enhance the sharpness and clarity of text and images. Be mindful not to over-sharpen, as it can lead to unnatural artifacts.
It’s also worth exploring other display settings, such as the aspect ratio, keystone correction, or image size, depending on your specific needs and preferences.
Take your time to experiment with these settings and make adjustments according to your visual preferences and the environment in which you’re using the projector.
Keep in mind that the optimal display settings can vary depending on the content you’re projecting and the lighting conditions in the room. Feel free to revisit and fine-tune these settings if needed.
Once you’ve adjusted the display settings on the projector, it’s time to move on to the final step: testing the connection and troubleshooting if necessary. Continue reading for more information.
Step 7: Test the connection and troubleshoot if necessary
After connecting and adjusting the settings on your Benq projector, it’s time to test the connection between the laptop and the projector. In this step, we’ll guide you through the process of testing the connection and provide troubleshooting tips in case you encounter any issues.
Start by playing a video or slideshow on your laptop. Ensure that the content is displaying correctly on both your laptop screen and the projector screen. You should see the same image or video mirrored or extended on the projector screen.
If you don’t see any display on the projector screen, double-check the following:
1. Confirm that both the laptop and the Benq projector are powered on.
2. Ensure that the cable or adapter is securely plugged in on both ends.
3. Verify that you’ve selected the correct input source on the projector.
4. Try restarting your laptop and the projector.
If the above steps don’t resolve the issue, try the following:
1. Test the cable or adapter with another device to rule out any potential issues.
2. Update the graphics drivers on your laptop to ensure compatibility.
3. Try using a different HDMI or VGA port on the projector (if available).
If none of the troubleshooting steps work, consult the user manual of your laptop and Benq projector or reach out to their respective customer support for further assistance.
Once you’ve successfully tested the connection and verified that everything is working correctly, you’re ready to enjoy your laptop content on the larger screen provided by the Benq projector. Sit back, relax, and enjoy the immersive experience!
Conclusion
Connecting your laptop to a Benq projector opens up a world of possibilities, whether you’re giving a presentation, watching movies, or playing games on a larger screen. By following the step-by-step guide outlined in this article, you should be able to connect your laptop to a Benq projector with ease.
From checking the ports on both your laptop and the Benq projector to adjusting the display settings on both devices, each step is crucial in ensuring a seamless and high-quality connection. By selecting the correct input source on the projector and fine-tuning the display settings, you can optimize the viewing experience and enjoy crisp visuals.
Throughout the process, it’s important to double-check your connections, troubleshoot any issues that may arise, and consult the user manuals or customer support if needed. Remember that technology can be finicky at times, but with a little patience and perseverance, you can overcome any challenges that come your way.
Now that you have successfully connected your laptop to a Benq projector, it’s time to harness the power of a larger display. Unleash your creativity in presentations, immerse yourself in captivating movies, or enjoy the thrill of gaming on a bigger screen.
We hope this guide has been helpful in assisting you with the process of connecting your laptop to a Benq projector. Get ready to elevate your visual experience and embrace the possibilities that the combination of a laptop and a Benq projector can offer.