Introduction
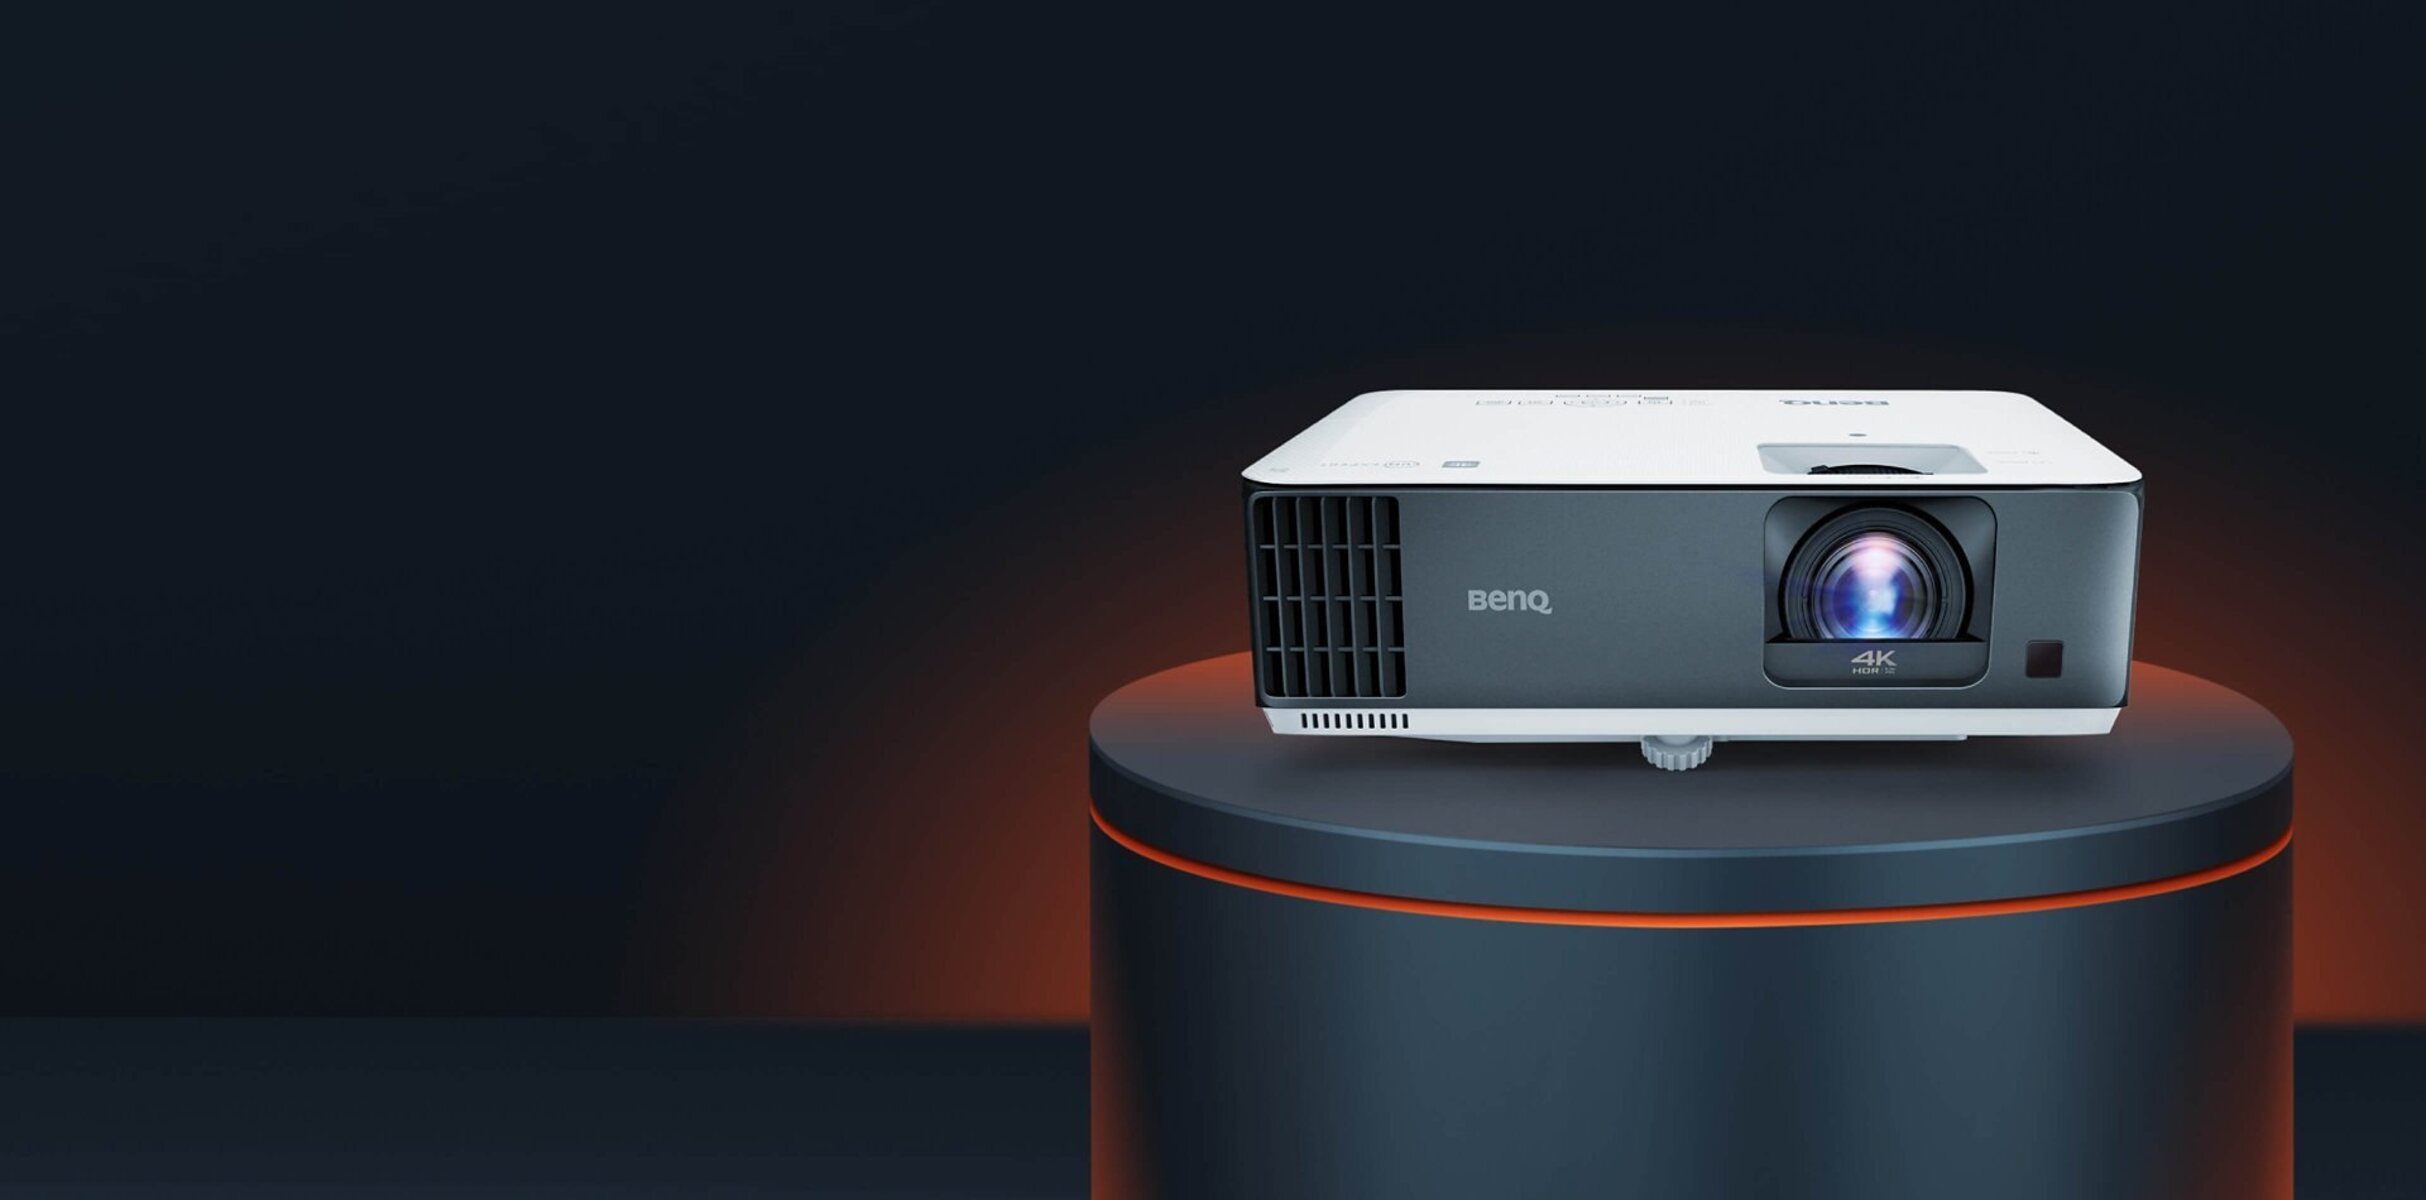
Welcome to the world of BenQ projectors! Whether you’re a business professional needing a high-quality projector for presentations, or a home theater enthusiast looking to create an immersive cinematic experience, BenQ has you covered.
BenQ projectors are renowned for their superior image quality, innovative features, and user-friendly designs. With a wide range of models to choose from, there’s a BenQ projector that can meet your specific needs and preferences.
In this article, we will guide you through the process of setting up and using your BenQ projector. You will learn how to connect your devices, adjust the projector settings, operate the projector, troubleshoot common issues, and even discover some advanced tips and tricks.
Whether you’re a beginner or an experienced user, this comprehensive guide will help you maximize the performance of your BenQ projector and make the most out of your viewing or presenting experience.
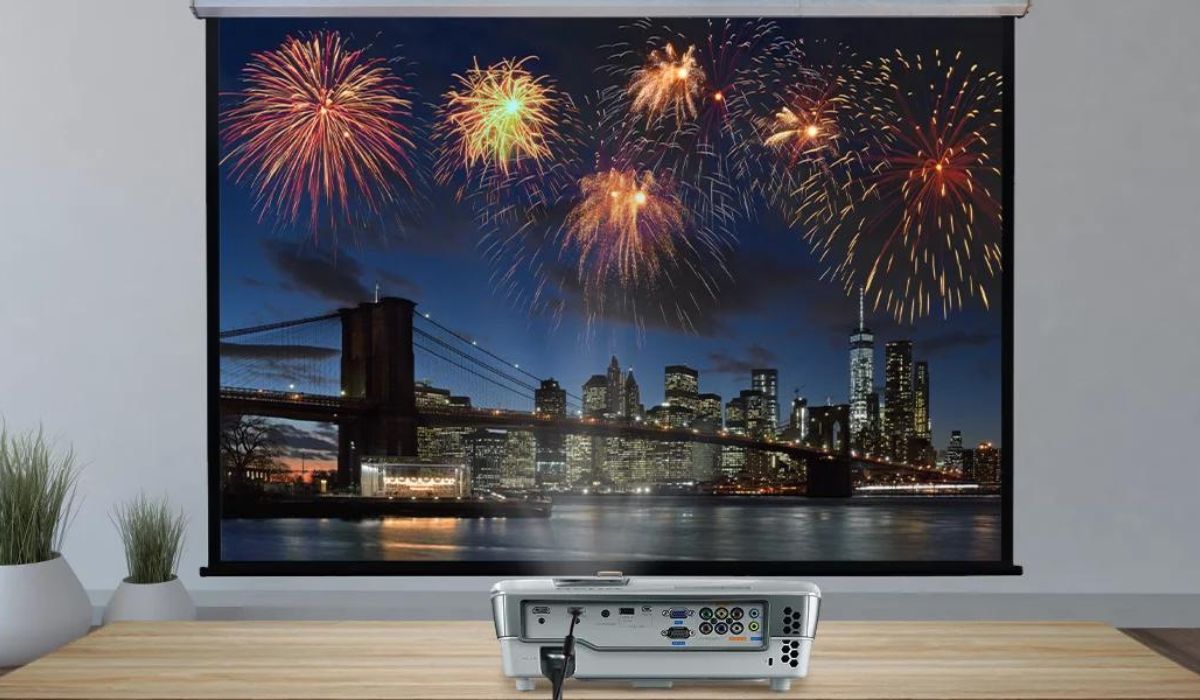
Before we delve into the technical aspects, let’s take a moment to appreciate the benefits of using a BenQ projector. Whether you’re using it for work or leisure, a BenQ projector provides a larger, more dynamic display compared to traditional screens. It allows you to enjoy movies, TV shows, games, and presentations on a massive scale, transforming any room into a captivating multimedia hub.
With BenQ projectors, you can experience stunning image clarity, vibrant colors, and sharp details that bring your content to life. Whether you’re watching a movie with friends, delivering a polished presentation to clients, or immersing yourself in epic gaming sessions, the visual impact of a BenQ projector is unrivaled.
Furthermore, BenQ projectors are built with convenience and ease of use in mind. They offer a range of connectivity options, intuitive control interfaces, and smart features that enhance your overall experience. From wireless connectivity to automatic keystone correction, BenQ projectors are designed to simplify setup and increase usability.
Now that you understand the value and potential of a BenQ projector, let’s dive into the step-by-step process of setting up and using your projector to unleash its full capabilities.
Setting Up Your BenQ Projector
Before you can start enjoying the immersive experience of your BenQ projector, you need to set it up correctly. Follow these steps to ensure a smooth and hassle-free setup:
- Choose the right location: Find a suitable location for your projector. Ideally, it should be a dark room with minimal ambient light that can interfere with the projected image. Also, ensure that there is ample space for the projector to be positioned at the desired distance from the screen or wall.
- Connect the power: Plug in the power cord of the projector to an electrical outlet. Make sure to use the appropriate voltage and comply with safety precautions.
- Connect the video source: Depending on your setup, connect your video source to the projector using the appropriate cables. Common options include HDMI, VGA, or DisplayPort. Refer to the user manual for specific instructions on connecting your devices.
- Adjust the projector height and angle: Use the adjustable feet or mount to position the projector at the right height and angle for your screen. Most projectors come with keystone correction features to help eliminate distortion caused by angled projection.
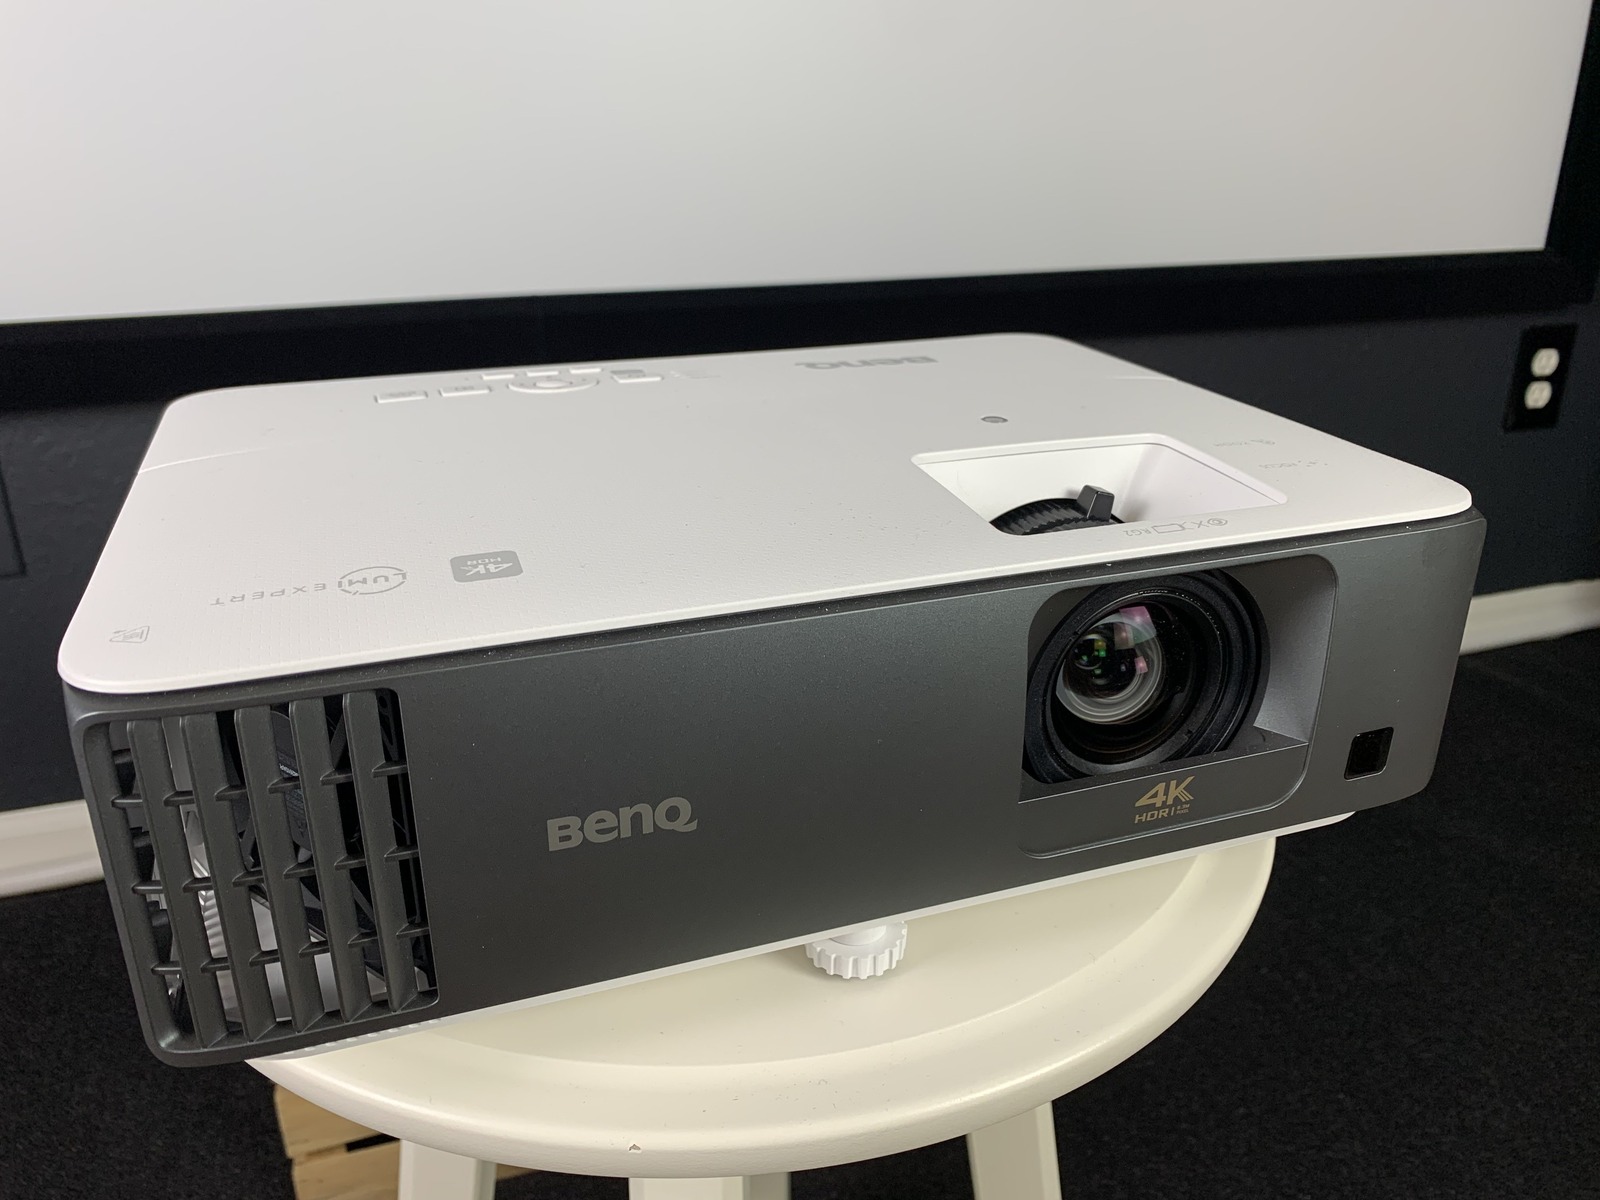
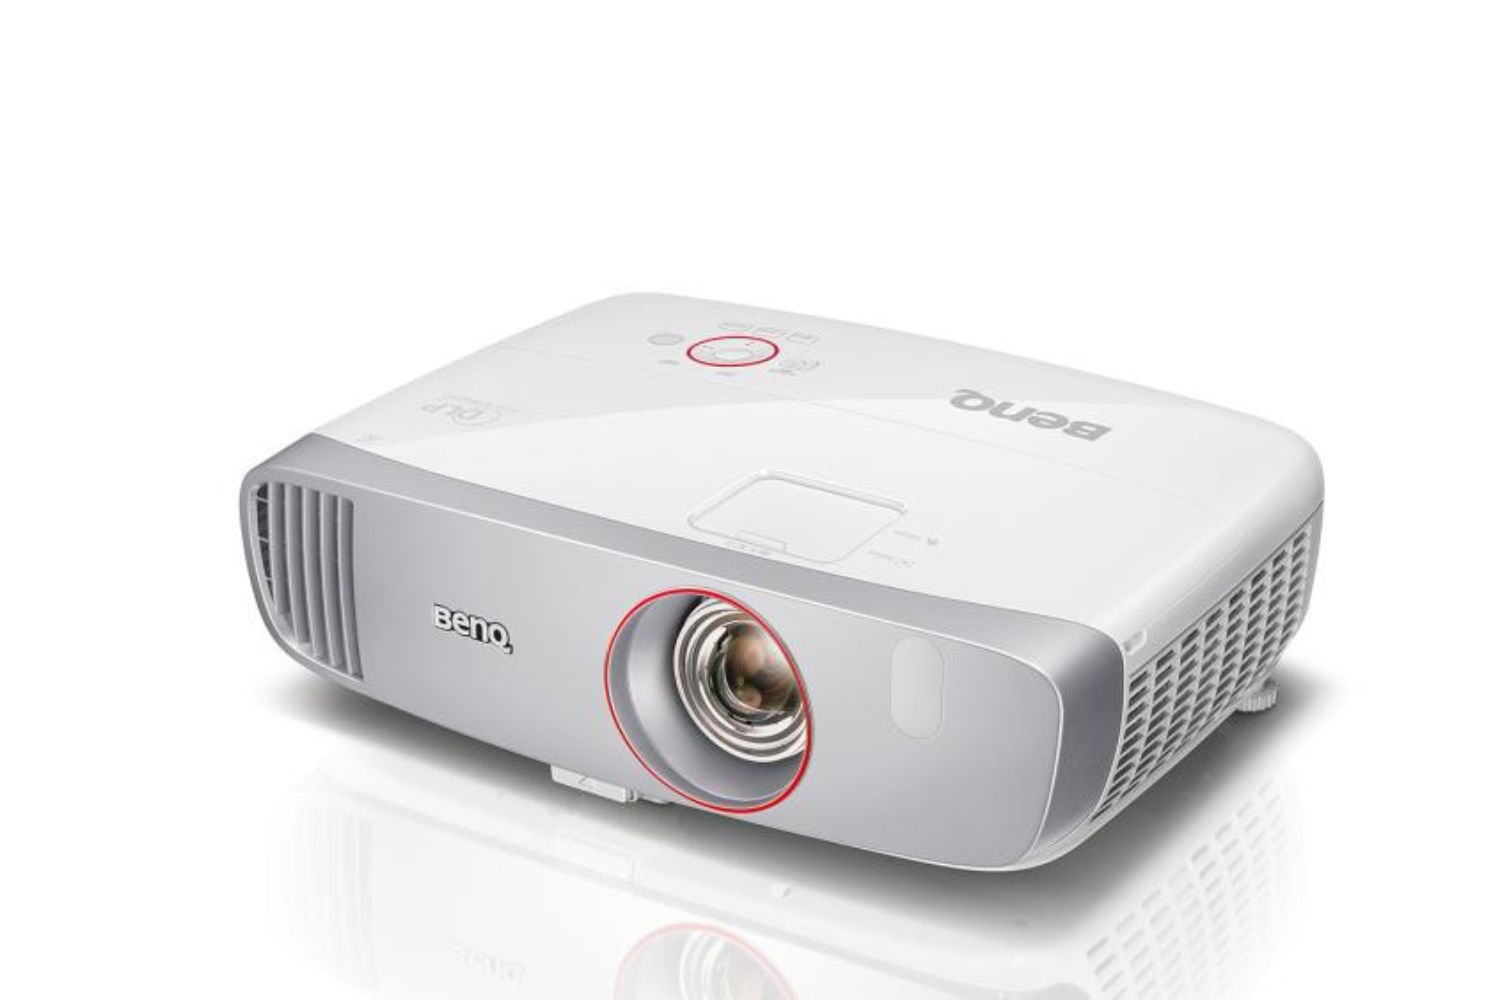
- Focus and zoom: Adjust the focus and zoom settings to achieve a crisp and clear image. Use the focus ring to sharpen the overall image, and the zoom lever or controls to adjust the size of the projected image to fit your screen.
- Screen selection: Choose a suitable screen or projection surface that complements your viewing environment. The screen should be clean, wrinkle-free, and positioned to optimize viewing angles.
- Test the image: Once everything is set up, turn on the projector and test the image quality. Make any necessary adjustments to the focus, zoom, and keystone correction until you achieve the desired image clarity.
By following these steps, you will ensure that your BenQ projector is properly set up and ready to deliver an enhanced viewing or presentation experience. Take your time to fine-tune the settings and make any necessary adjustments to optimize the image quality and overall performance of your projector.
Next, we will explore how to connect your devices to the BenQ projector, allowing you to seamlessly enjoy a wide range of multimedia content.
Connecting Your Devices
One of the great advantages of a BenQ projector is its versatility when it comes to connecting different devices. Whether you want to connect your laptop, gaming console, streaming device, or DVD player, BenQ projectors offer a variety of ports and connectivity options to accommodate your needs. Follow these steps to connect your devices:
- Identify the ports: Check the back panel or side of your BenQ projector to locate the available ports. Common ports include HDMI, VGA, USB, and audio jacks.
- Choose the appropriate cable: Depending on your device, select the appropriate cable to connect it to the projector. HDMI cables are recommended for high-definition video and audio signals, while VGA cables are suitable for analog video connections.
- Connect the cables: Insert one end of the cable into the corresponding port on your device, and the other end into the respective port on the projector.
- Configure the audio: If you want to play audio through the projector’s speakers, ensure that the audio cables are connected correctly. Alternatively, you can connect external speakers or a sound system directly to your audio device or projector.
- Power on the devices: Turn on your BenQ projector and the connected device(s). Allow them a few moments to establish a connection and initialize.
- Select the input source: Use the projector’s remote control or on-screen menu to select the input source that matches the device you wish to display. For example, if you connected a laptop via HDMI, select the HDMI input source.
- Enjoy your content: Once the devices are connected and the input source is selected, your content should be displayed on the projector. Use the device’s controls to navigate and play the desired media.
Remember to consult the user manual for your specific BenQ projector model for detailed instructions on connecting devices and adjusting settings. Additionally, some BenQ projectors offer wireless connectivity options, allowing you to connect your devices wirelessly for added convenience.
Now that your devices are connected, it’s time to explore the various projector settings that will help you optimize the image quality and customize your viewing experience.
Adjusting the Projector Settings
Once your devices are connected, you may need to adjust the settings on your BenQ projector to optimize the image quality and customize your viewing experience. Here are some important settings to consider:
- Brightness and Contrast: Adjust the brightness and contrast levels to achieve the desired level of brightness and detail in the projected image. Be mindful of the lighting conditions in your viewing environment and adjust accordingly.
- Color and Temperature: Fine-tune the color settings to ensure accurate and vibrant colors. You can adjust the color saturation, gamma, and temperature to match your preferences and the content you’re viewing.
- Aspect Ratio: Select the appropriate aspect ratio based on the content you’re watching. Common options include 4:3, 16:9, and 16:10. Adjusting the aspect ratio ensures that the image is not distorted and displayed correctly.
- Keystone Correction: If the projector is not perfectly aligned with the screen or wall, use the keystone correction feature to adjust the image and eliminate any distortions. This helps maintain a rectangular and proportionate image.
- Image Mode: BenQ projectors often come with preset image modes optimized for specific types of content, such as cinema, gaming, or presentations. Experiment with different image modes to find the one that suits your viewing preferences and the content you’re watching.
- Noise Reduction: If you notice any visual noise or artifacts in the projected image, enabling the noise reduction feature can help minimize or eliminate them, resulting in a cleaner and smoother image.
- Audio Settings: Use the projector’s audio settings to adjust the volume, balance, and equalizer settings. If you’re using external speakers or a sound system, ensure that the audio output is correctly configured to route the sound to the desired output device.
- Advanced Calibration: Depending on your BenQ projector model, you may have access to advanced calibration settings, such as gamma correction, color management, or 3D settings. Consult the user manual for detailed instructions on utilizing these features.
Take your time to experiment with these settings and fine-tune them according to your preferences and the content you’re viewing. Keep in mind that each environment and personal preference may vary, so it’s important to find the settings that deliver the best visual experience for you.
Now that we’ve covered the essentials of adjusting your projector settings, let’s move on to understanding the basic operation of your BenQ projector.
Basic Operation of Your BenQ Projector
Operating your BenQ projector is easy and straightforward. By familiarizing yourself with the basic functions and controls, you can navigate through menus, adjust settings, and enjoy your content with ease. Here are the key operations to know:
Power On and Off: Use the power button on the projector or the remote control to turn the projector on and off. Allow the projector a few moments to warm up and initialize before displaying any content.
Input Source Selection: Use the input/source button on the remote control or the projector itself to cycle through the available input sources. Select the appropriate source to display content from the connected devices.
Menu Navigation: The projector’s menu allows you to access various settings and features. Use the directional buttons on the remote control or the projector to navigate through the menu options. Press the enter/select button to confirm your selection.
Volume Control: Adjust the volume level using the volume buttons on the remote control or the projector. Increase or decrease the volume as desired for optimal audio experience.
Freeze and Blank: The freeze and blank functions allow you to freeze the current image or blank the screen temporarily. These features can be useful during presentations or when you need to pause the display without turning off the projector.
Aspect Ratio Adjustment: If the aspect ratio of your content is not matching the screen or you want to experiment with different ratios, use the aspect ratio buttons on the remote control to toggle between different aspect ratio options.
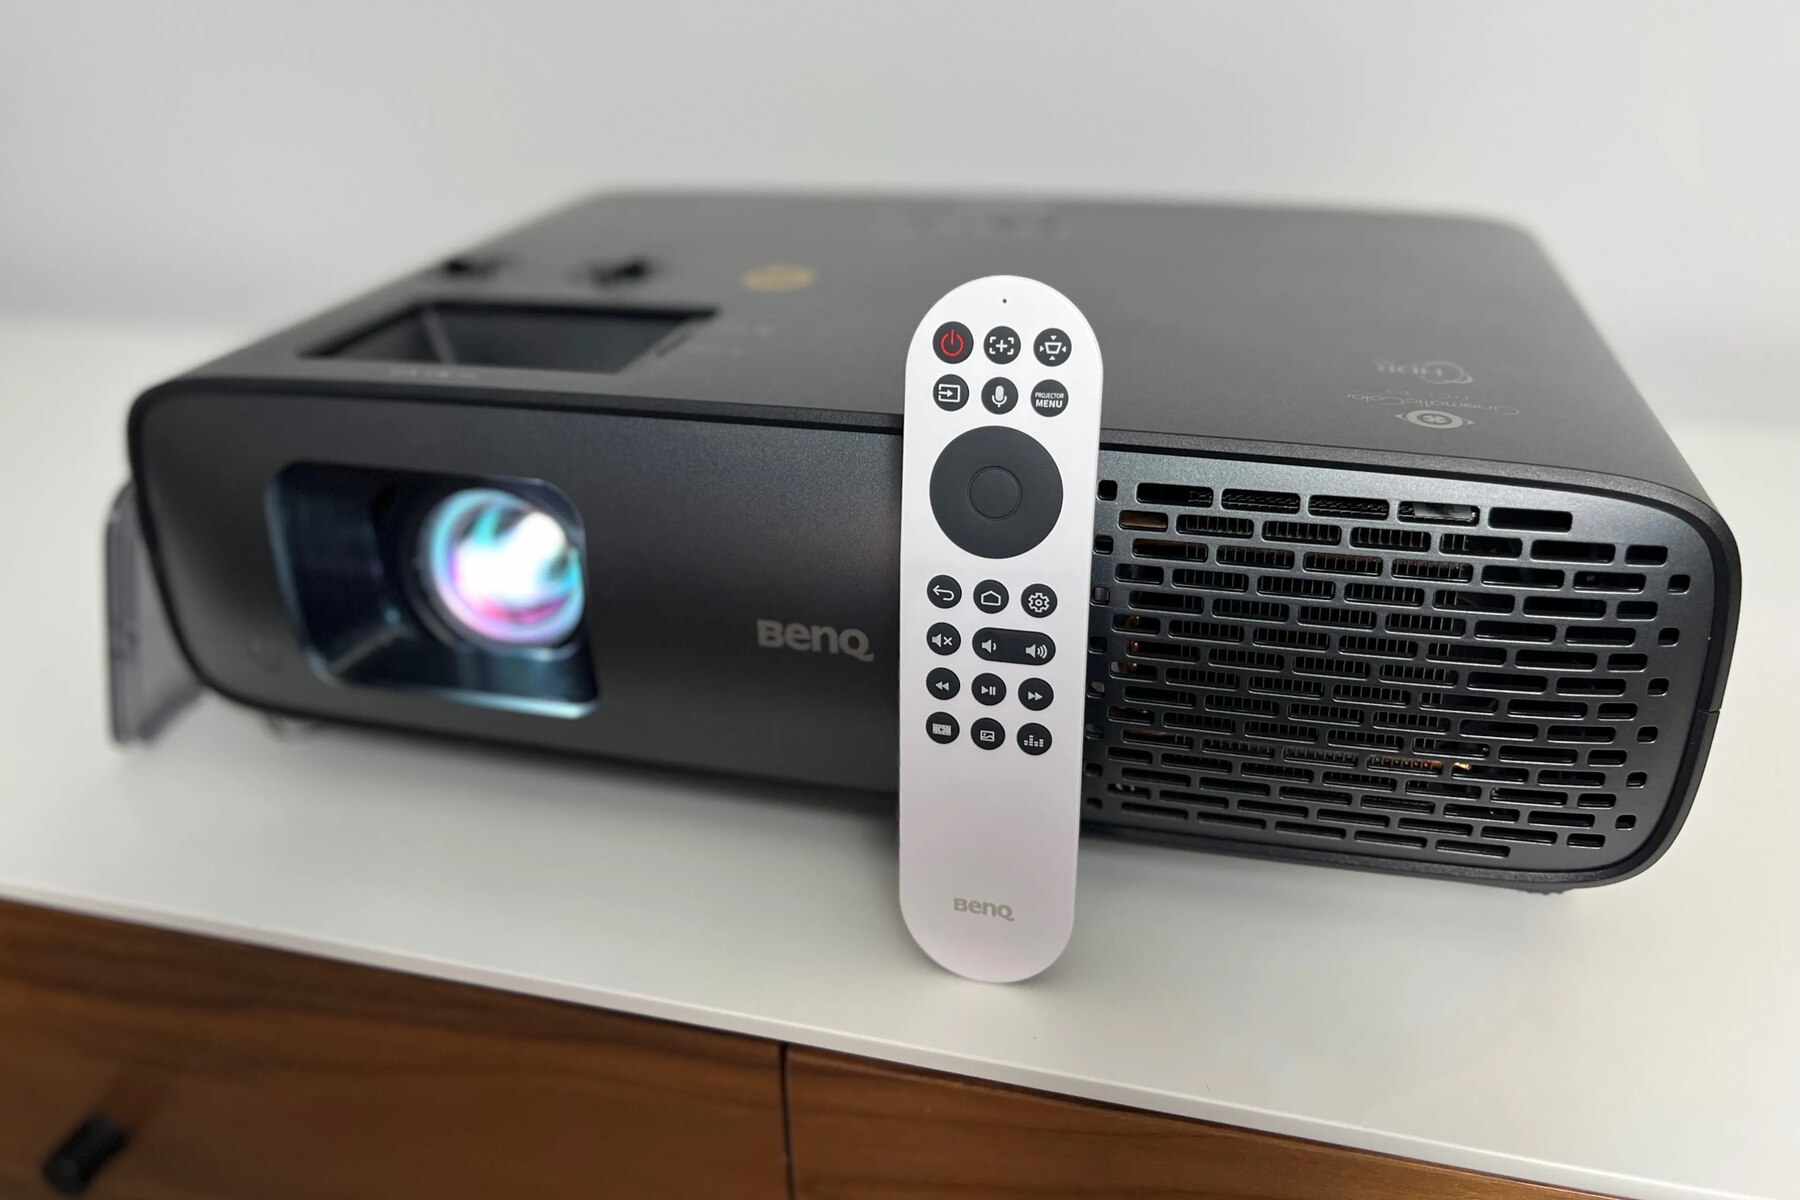
Remote Control Functionality: The remote control enables convenient access to various functions and settings. Familiarize yourself with the buttons and their corresponding functions to control the projector effortlessly.
Lamp Control: Some BenQ projectors offer lamp control options that allow you to adjust the lamp brightness or switch between different lamp modes for energy-saving purposes or optimizing the image quality.
Familiarize yourself with these basic operations to confidently navigate and control your BenQ projector. Remember to consult the user manual for your specific projector model for detailed instructions on using the remote control and accessing advanced features.
Now that you have a good understanding of the basic operation of your BenQ projector, in the next section, we will address common troubleshooting issues that you may encounter and provide solutions to resolve them.
Troubleshooting Common Issues
While BenQ projectors are generally reliable and user-friendly, you may occasionally encounter some common issues. Understanding these issues and knowing how to troubleshoot them can help you quickly resolve any setbacks and get back to enjoying your projector. Here are some common problems and their solutions:
No Picture or No Signal: If your projector is powered on but you’re not getting any picture or receiving a “No Signal” message, first check the connections between the projector and your devices. Ensure that the cables are securely connected and that the correct input source is selected. Restart both the projector and the connected device to re-establish the connection.
Poor Image Quality: If the projected image is blurry, dim, or distorted, start by checking the focus and zoom settings. Adjust them to achieve a sharper and properly sized image. If the image is still not satisfactory, check the lamp life and replace the lamp if necessary. You should also clean the projector lens and ensure that there is no dust or debris obstructing the projection.
No Sound or Low Volume: If you’re experiencing issues with sound, make sure the audio cables are connected correctly and that the audio source is selected. Check the volume settings on both the projector and the connected device, and ensure that the mute function is not enabled. If you’re using external speakers, confirm that they are properly connected and powered on.
Overheating and Auto Shutdown: If your projector is overheating and automatically shutting down, check if the ventilation and air intake/exhaust areas are clear from obstructions. Ensure that the projector is placed in a well-ventilated area and that the internal fans are working properly. If the issue persists, try reducing the brightness or using an eco mode to minimize heat generation.
Remote Control Malfunction: If the remote control is not responding, first check the batteries and ensure they are properly inserted. Verify that the remote control is within the range of the projector and that there are no obstructions blocking the signal. If needed, try re-pairing the remote control with the projector according to the instructions in the user manual.
If none of these troubleshooting steps resolve your issue, consult the user manual for your specific BenQ projector model or contact BenQ customer support for further assistance. They will be able to provide specific guidance and technical support tailored to your situation.
Now that you’re equipped with solutions to common issues, let’s explore some advanced tips and tricks to enhance your BenQ projector experience.
Advanced Tips and Tricks
Now that you’re familiar with the basics of using your BenQ projector, let’s dive into some advanced tips and tricks that can take your viewing or presenting experience to the next level:
1. Ambient Light Control: To enhance image quality in a room with ambient light, consider using blackout curtains or blinds to create a darker viewing environment. Alternatively, opt for a projector screen with ambient light rejection (ALR) properties that help minimize light interference.
2. Wireless Connectivity: If your BenQ projector supports wireless connectivity, take advantage of this feature to eliminate cable clutter and seamlessly stream content from compatible devices. Connect your smartphone, tablet, or laptop wirelessly to enjoy a hassle-free multimedia experience.
3. Gaming Optimization: If you’re a gaming enthusiast, enable gaming-specific settings on your BenQ projector. Look for features like low input lag and high refresh rates to ensure smooth gameplay and a responsive gaming experience.
4. 3D Capabilities: If your projector supports 3D content, pair it with compatible 3D glasses and enjoy an immersive three-dimensional viewing experience. Make sure to source 3D content from compatible devices or dedicated media players for optimal results.
5. Digital Lens Shift: Some BenQ projectors offer digital lens shift capabilities, allowing you to adjust the projected image vertically or horizontally without physically moving the projector. This feature is particularly useful if your installation setup needs a slight adjustment to align the image perfectly on the screen.
6. Custom Presets: Explore the advanced image settings and calibration options on your BenQ projector to create custom presets that suit your personal preferences. Fine-tuning color saturation, gamma, and other parameters can help achieve a visually pleasing and tailored viewing experience.
7. Eco Mode Activation: Activating the eco mode on your projector can extend lamp life, reduce energy consumption, and lower operating costs. This feature adjusts brightness levels to optimize efficiency without compromising image quality, making it an environmentally and budget-friendly option.
8. Update Firmware: Check for firmware updates for your BenQ projector regularly. These updates often include bug fixes, performance enhancements, and new features that can improve your overall viewing or presenting experience.
9. Ceiling Mounting: If you prefer a permanent and aesthetically pleasing installation, consider ceiling mounting your BenQ projector. This not only saves space but also allows for a clean and unobstructed projection setup. Ensure that the projector is securely mounted and that the projected image is aligned correctly.
10. Care and Maintenance: Proper care and maintenance of your BenQ projector are essential for optimal performance and longevity. Regularly clean the lens, air filters, and ventilation areas to prevent dust buildup. Follow the manufacturer’s guidelines for lamp replacement and ensure that the projector is stored in a safe and dust-free environment when not in use.
By implementing these advanced tips and tricks, you can fully maximize the capabilities of your BenQ projector and create an immersive and customized audiovisual experience.
Now, armed with all this information, you’re ready to embark on a journey of enjoying and making the most out of your BenQ projector. Have fun exploring its features and discovering new ways to elevate your viewing or presenting experiences.
Conclusion
Congratulations! You are now equipped with the knowledge and tips to set up, connect, adjust, troubleshoot, and optimize your BenQ projector. Whether you’re using it for business presentations, home theater enjoyment, or gaming adventures, your BenQ projector will provide you with a captivating and immersive visual experience.
Remember to refer back to the user manual for your specific BenQ projector model for detailed instructions and guidance. Each model may have its unique features and settings that can further enhance your experience.
By following the step-by-step setup process, connecting your devices, adjusting the projector settings, and troubleshooting common issues, you can ensure that your BenQ projector performs at its best. Additionally, exploring the advanced tips and tricks can help you tailor your viewing experience to your preferences and extract the most from your projector.
Enjoy the stunning visuals, vibrant colors, and larger-than-life entertainment provided by your BenQ projector. Whether you’re immersing yourself in a movie, delivering a captivating presentation, or engaging in intense gaming sessions, your BenQ projector is designed to elevate your audiovisual experience.
Remember to take care of your projector by regularly cleaning it, updating firmware, and following maintenance guidelines. With proper care, your BenQ projector will continue to deliver exceptional performance for years to come.
Now, sit back, relax, and let your BenQ projector transport you to a world of captivating visuals and unforgettable experiences. Cheers to your newfound projector journey!