To adjust a BenQ projector to fit screen, start by activating the built-in test pattern and then use optical lens shift and zoom to align the image before touching any digital correction. This approach preserves maximum sharpness and resolution, because digital tools like keystone correction stretch pixels and degrade picture quality, so you want to use them only after you've exhausted physical and optical adjustments.
Before you start: display the built-in test pattern
Every BenQ projector includes an internal test grid, typically accessible through the OSD (on-screen display) under a "Test Pattern" or "Display" sub-menu. Activating this pattern is the single most effective step you can take, because it gives you a reference for straight lines, corners, and edges that no external image can match. BenQ manuals recommend using this grid during setup to ensure every adjustment is precise, rather than guessing based on a movie scene or presentation slide. Display the grid now, and keep it on until you've completed all the steps below.
Position the projector and use lens shift for perfect alignment
Before powering on, calculate the throw distance, the distance from the projector lens to the screen, using your model's throw ratio, which is listed in the spec sheet. Place the projector so its lens is centered horizontally on the screen's midpoint, and at the same height as the screen's vertical center (or as close as possible). If your BenQ model has lens shift, this optical feature allows the lens assembly to move vertically and/or horizontally, enabling image alignment without physical projector movement or loss of resolution. Use the lens shift dials or buttons to nudge the entire image up, down, left, or right until the test grid's edges are parallel to the screen frame. Because lens shift moves the glass optics rather than the image digitally, you get a perfectly rectangular picture with zero pixel distortion, this is the most important step for a clean fit.
Adjust the zoom to fill the screen
Once the image is aligned via lens shift, use the manual zoom ring on the lens barrel (or the powered zoom control on the remote or OSD) to enlarge or shrink the projected image until it roughly matches the screen borders. If you zoom too far, the grid will spill over the edges, and you'll need to back off slightly.
Sharpen the image with the focus ring
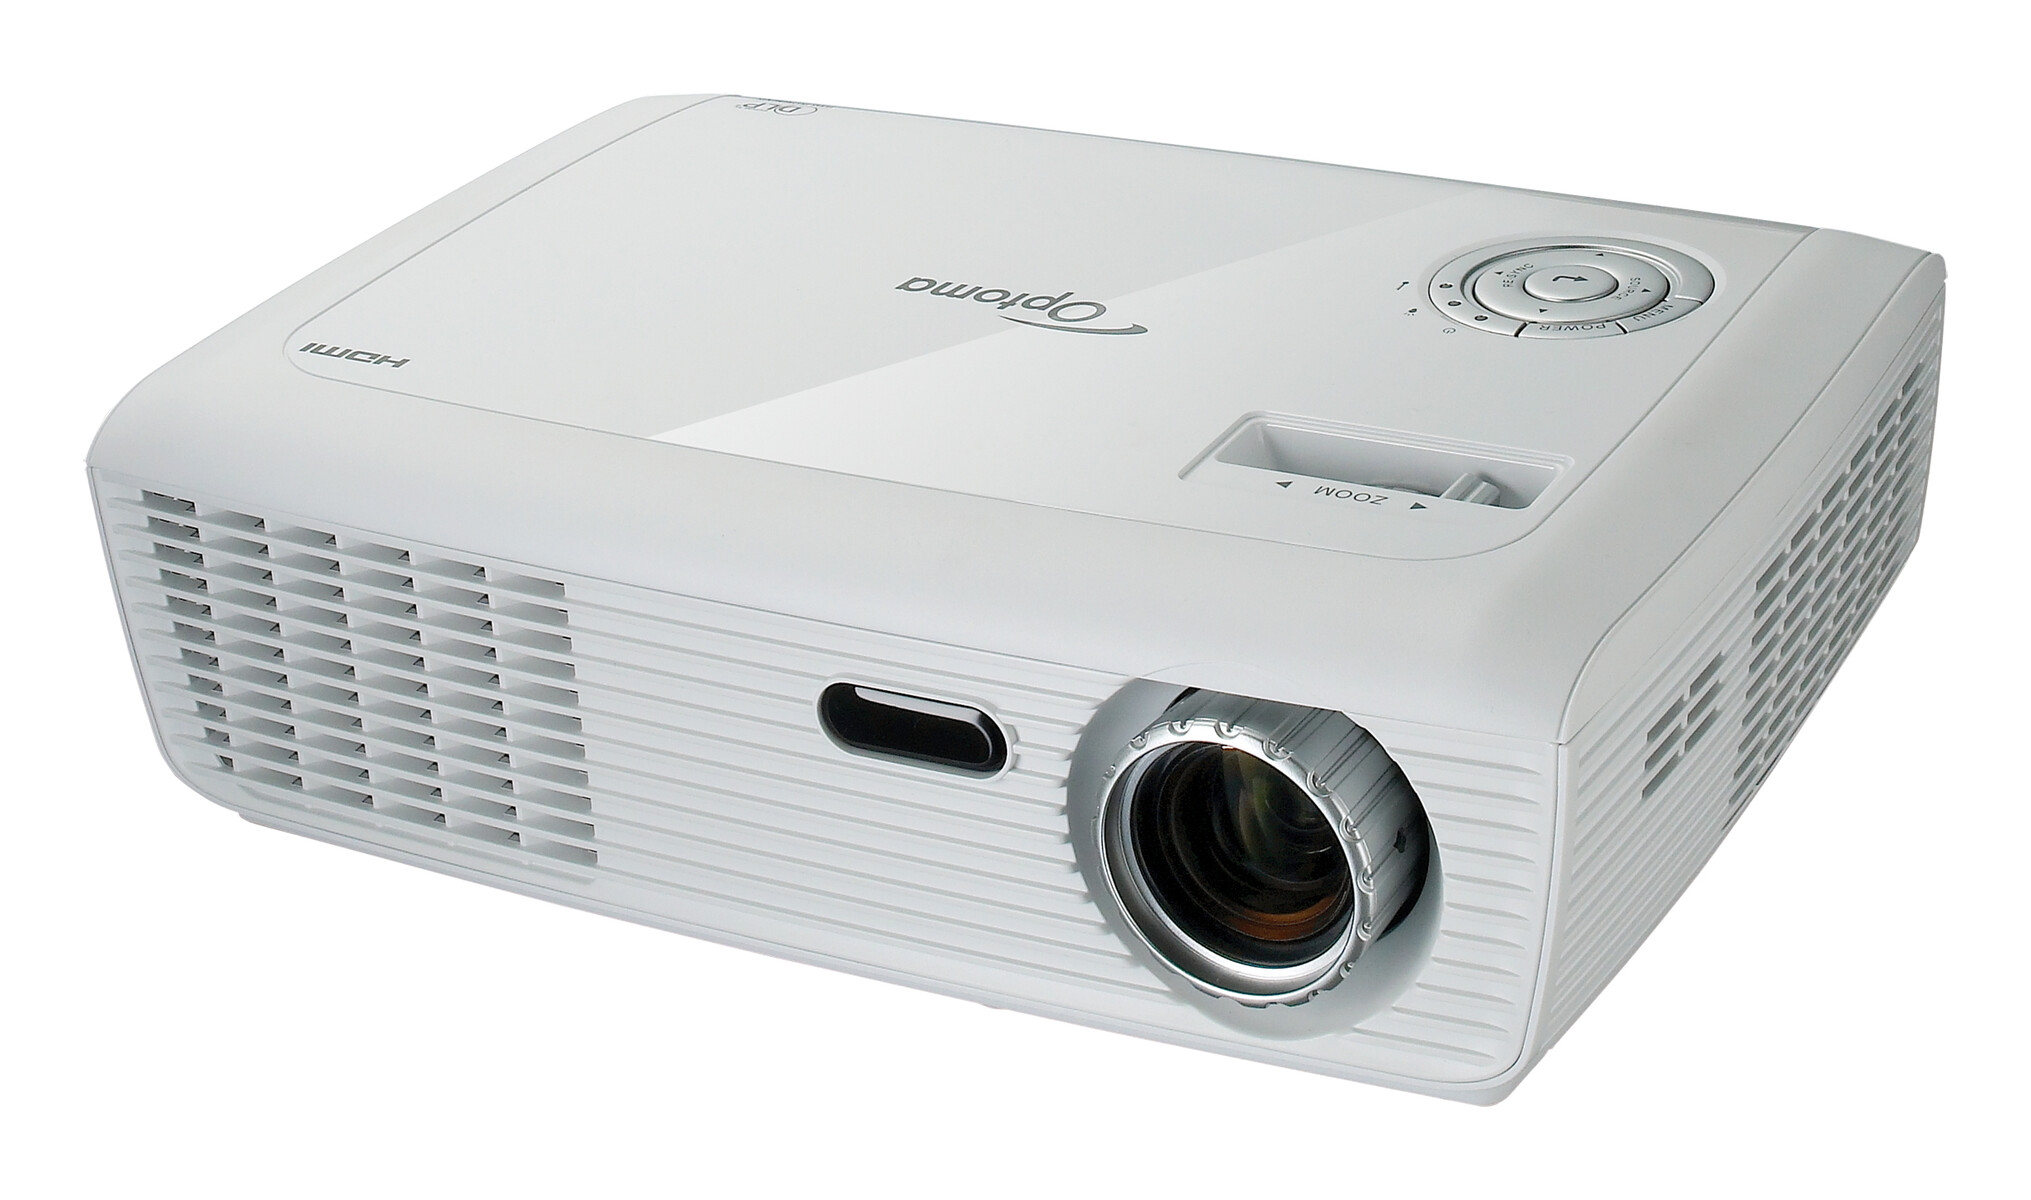
With the test pattern still displayed, locate the focus ring on the lens (or the focus control in the OSD). Turn it slowly in one direction, then the other, until the grid lines appear crisp and individual pixels are distinct. Pay special attention to the corners and edges, if the center is sharp but the edges are soft, the lens is slightly out of alignment, and you may need to recheck your projector's angle or lens shift position. For a truly accurate focus check, view the pattern from your actual seating position, not from directly in front of the projector, because the lens's depth of field can make the image appear sharper from one angle than another. When the grid lines are uniformly sharp from edge to edge, your focus is set.
Set the correct aspect ratio and use screen fill
Now match the projector's output to your screen's physical shape. Navigate to the DISPLAY menu in the OSD and select "Aspect Ratio." Choose the option that matches your screen: 16:9 for widescreen home theater, 4:3 for standard presentations, or 16:10 for many business screens. If your BenQ model is a golf simulator or newer home theater unit, it may include a "Screen Fill" feature in the Advanced Menu > Display sub-menu. Note that when Screen Fill is set to a specific ratio, the manual Aspect Ratio option becomes greyed out, that's expected, because Screen Fill takes over the aspect management.
Fine-tune the image size with digital shrink, shift, and blanking
If the image still doesn't perfectly align with the screen frame after optical adjustments, use the advanced OSD tools. Digital Shrink downscales the entire image, letting you reduce it pixel-by-pixel to fit inside the screen borders without moving the projector. Digital Shift moves the image in small increments horizontally or vertically, which is useful when lens shift has reached its limit or when your screen isn't perfectly centered. Blanking crops the edges of the image, top, bottom, left, or right, to hide overspill that can't be removed by shrinking. These tools work together: first shrink the image until it's slightly smaller than the screen, then use Shift to center it, and finally apply Blanking to trim any remaining uneven edges. Because these are digital adjustments, they do reduce resolution slightly, but they're far less destructive than keystone correction, and they give you pixel-perfect control over the final fit.
Use keystone correction only as a last resort
Keystone correction is a digital adjustment that can reduce image sharpness and clarity, especially with significant adjustments, because it digitally stretches pixels. It is best used as a last resort after physical alignment and lens shift. If you've positioned the projector as level and centered as possible, used lens shift to align the image, and adjusted zoom and focus, you should rarely need keystone at all. But if the image still has a trapezoidal shape, wider at the top than the bottom, or vice versa, then and only then should you apply keystone. Use the manual keystone controls in the OSD, or the auto keystone feature if your model has it, and apply the smallest correction possible. After each adjustment, recheck the test grid: if you need more than a few degrees of correction, your projector is too far off-axis, and you should physically reposition it rather than relying on keystone. Remember, every degree of keystone correction costs you visible sharpness, so the goal is to minimize it, not eliminate it entirely through digital means.
\nRelated reading: How To Zoom Out On Projector, How To Use Benq Projector, and How To Hack A Projector.