Introduction
Welcome to our guide on how to turn on a Benq projector! Whether you’re setting up for a business presentation, enjoying a movie night at home, or conducting a training session, knowing how to successfully power on your Benq projector is essential.
Benq projectors are known for their high-quality display, versatile connectivity options, and user-friendly interface. By following a few simple steps, you’ll be able to bring your presentations, videos, and images to life on the big screen.
In this article, we’ll walk you through the process of turning on your Benq projector, from checking the power source to adjusting the image quality. We’ll also provide troubleshooting tips for common issues you may encounter along the way. So, let’s get started!
But before we dive into the steps, it’s important to make sure you have all the necessary equipment and cables ready. You’ll need your Benq projector, a power source, and any necessary audio or video cables. Once you have everything prepared, you’re ready to begin the setup process.
Whether you’re a beginner or an experienced user, don’t worry! This guide is designed to be simple and easy to follow, even if you’ve never used a Benq projector before. So, let’s explore how to turn on your Benq projector and start enjoying your favorite content on the big screen!
Step 1: Checking the Power Source
Before powering on your Benq projector, it’s important to ensure that you have a reliable power source. This will ensure that your projector has the necessary power to operate effectively. Here are the steps to follow:
1. Locate the power cord that came with your Benq projector. It typically has a three-pronged plug and is designed to be plugged into a standard power outlet.
2. Inspect the power cord for any visible damage such as frayed wires or bent prongs. If you notice any damage, do not attempt to use the power cord, as it could pose a safety risk.
3. Find a suitable power outlet near the location where you plan to set up your projector. Ensure that the outlet is easily accessible and can provide a stable power supply.
4. Plug the power cord into the power outlet securely. Make sure that the plug is inserted fully and that there are no loose connections.
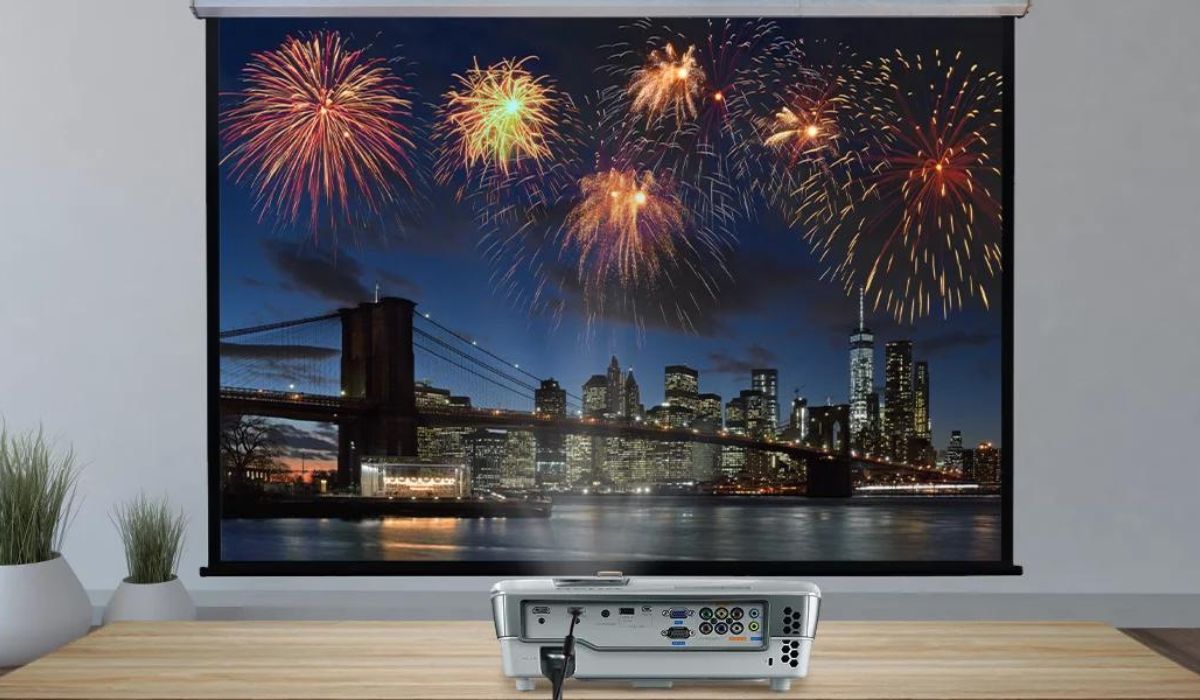
5. Connect the other end of the power cord to the power input on your Benq projector. The power input is usually located on the back or side of the projector and is labeled as “Power” or has a power symbol.
6. Once you have connected the power cord, double-check the connections to make sure everything is securely attached. Avoid placing any objects or furniture on the power cord to prevent accidental disconnection.
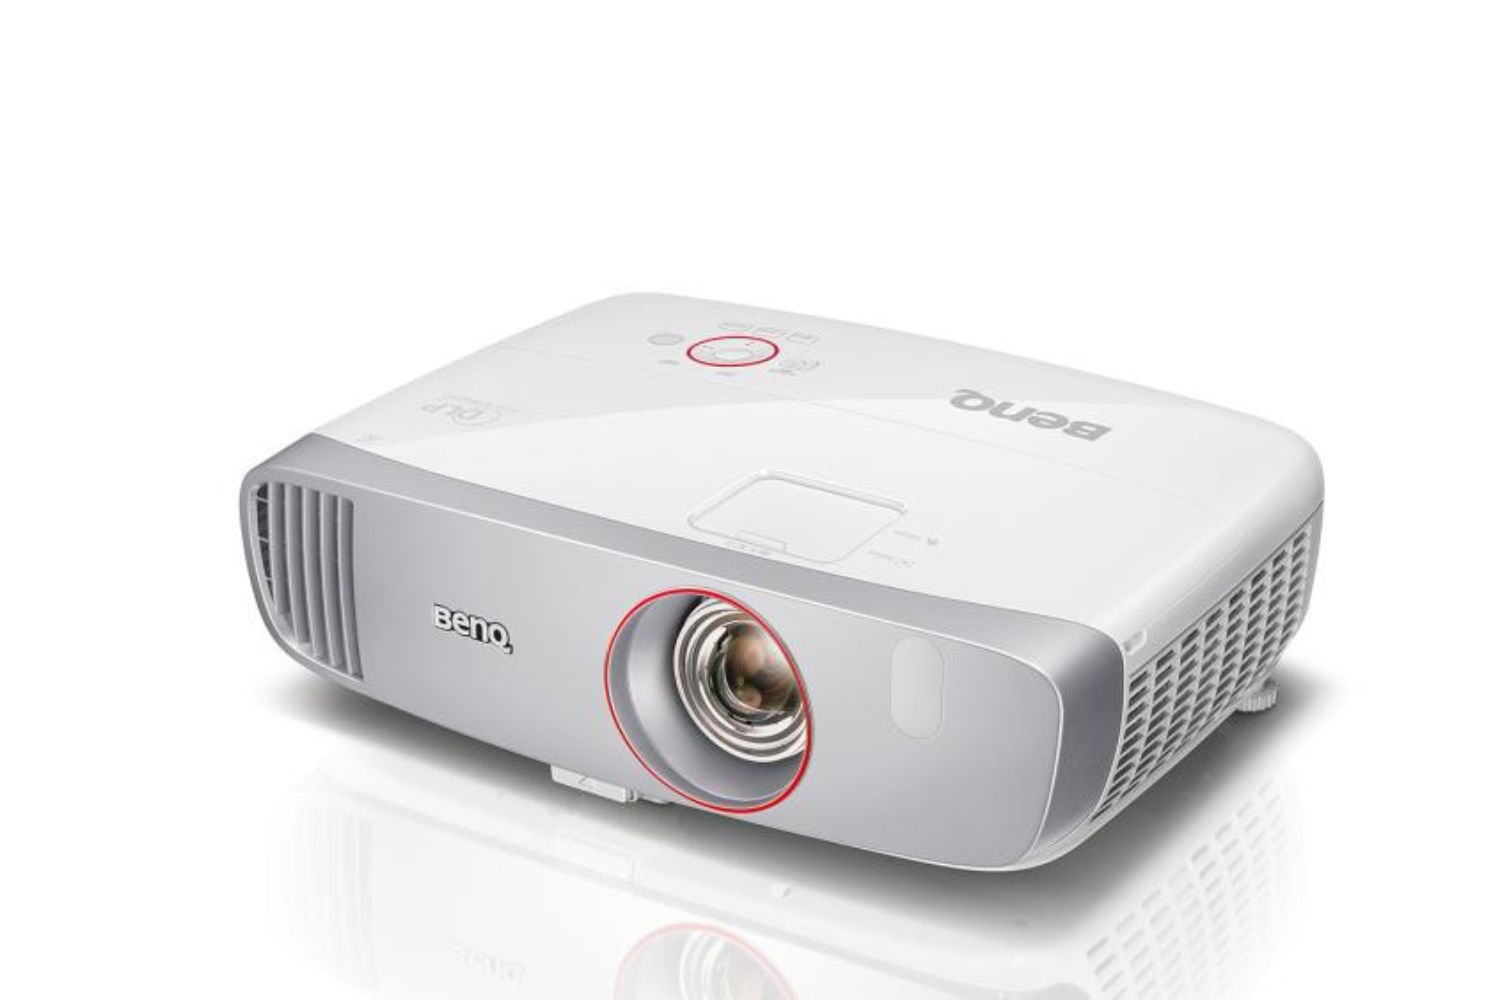
7. Now, you’re ready to power on your Benq projector. Locate the power button on the projector, which is typically located on the top or front panel.
8. Press the power button to turn on the projector. You may hear a startup sound or see indicator lights illuminate, indicating that the projector is receiving power.
9. Wait for a few seconds for the projector to initialize and warm up. During this time, the projector may display a startup logo or a blank screen.
By following these steps and ensuring a stable power source, you have now successfully completed the first step of turning on your Benq projector. Next, we’ll move on to connecting the necessary cables to get your projector ready for use.
Step 2: Connecting the Necessary Cables
Now that you have ensured a reliable power source, it’s time to connect the necessary cables to your Benq projector. These cables will allow you to transmit audio and video signals to the projector, ensuring that you can enjoy your content on the big screen. Follow these steps to make the necessary cable connections:
1. Identify the audio and video sources that you will be using with your Benq projector. This could be a laptop, DVD player, gaming console, or any other device that supports video output.
2. Obtain the appropriate cables for connecting your devices to the projector. The most common types of cables used are HDMI, VGA, and DisplayPort cables. Check the ports available on your devices and the projector to determine which cables to use.
3. Connect one end of the selected cable to the corresponding video output port on your device. For example, if you have a laptop with an HDMI port, connect one end of an HDMI cable to the laptop’s HDMI port.
4. Connect the other end of the cable to the corresponding input port on your Benq projector. The available input ports may vary depending on the model of your projector, but commonly used ports include HDMI, VGA, and DisplayPort.
5. Ensure that the connections are secure and properly aligned. Tighten any screws or latches to prevent accidental disconnection.
6. Repeat the process for any additional audio or video sources that you want to connect to your Benq projector. Consider using an audio cable if your video source requires separate audio output.
7. If you are using external speakers or a sound system, connect the audio output from your projector to the input of your audio device using an appropriate cable.
8. Once you have made all the necessary cable connections, check that all cables are securely connected and free from any kinks or damage.
Congratulations! You have now successfully connected the necessary cables to your Benq projector. The next step is to power on the projector and configure the projection settings.
Step 3: Powering on the Benq Projector
Now that you have checked the power source and connected the necessary cables, it’s time to power on your Benq projector. Follow these steps to turn on your projector:
1. Locate the power button on your Benq projector. It is usually located on the top or front panel of the projector. Take a moment to familiarize yourself with the position of the power button.
2. Ensure that all the cable connections are securely in place and that the power cord is properly plugged into a power outlet.
3. Press the power button on the projector to turn it on. You may hear a startup sound or see indicator lights illuminate, indicating that the projector is receiving power.
4. Wait for a few moments as the projector initializes. During this time, you may see a startup logo or a blank screen.
5. Once the projector has finished initializing, you will see the projector’s home screen or user interface displayed on the screen or wall. This indicates that the projector is ready for use.
6. If your projector has a remote control, you can also use it to power on the projector. Locate the power button on the remote and press it to turn on the projector.
7. Depending on the model of your Benq projector, you may have additional options or settings that you can access through the projector’s menu. Use the navigation buttons on the projector or the remote control to explore and configure these options.
By following these steps, you have successfully powered on your Benq projector. The next step is to adjust the projection settings to ensure the best possible display quality for your content.
Step 4: Adjusting the Projection Settings
After powering on your Benq projector, it’s essential to adjust the projection settings to optimize the display quality. By doing so, you can ensure that your content appears crisp, vibrant, and properly aligned. Follow these steps to adjust the projection settings:
1. Using the navigation buttons on the projector or the remote control, access the projector’s menu or settings. The location of the menu button may vary depending on the model of your Benq projector.
2. Navigate through the menu options to find the display or picture settings. Here, you can adjust parameters such as brightness, contrast, color intensity, and sharpness. Experiment with these settings to achieve the desired visual effect.
3. If your projector offers preset display modes, such as “Cinema,” “Presentation,” or “Game,” you can choose the mode that best suits your content. These preset modes adjust the projection settings automatically to optimize the display for specific use cases.
4. Pay attention to the aspect ratio settings. Choose the appropriate aspect ratio based on the content you are projecting. Common aspect ratios include 4:3 (standard), 16:9 (widescreen), and 16:10 (laptop). Selecting the correct aspect ratio will prevent the image from appearing stretched or distorted.
5. Use the keystone correction feature if needed. Keystone correction helps correct image distortion when the projector is not placed perpendicular to the screen or wall. Adjust the keystone correction option in the projector’s settings to align the image properly.
6. If your projector supports lens shift or zoom features, you can fine-tune the projection position and size. These options allow you to adjust the image without physically moving the projector.
7. It’s important to note that the optimal projection settings may vary depending on factors such as ambient lighting conditions and the type of content you are projecting. Adjust the settings according to your specific needs and preferences.
8. Take a moment to test the adjusted projection settings by projecting some content. This will allow you to assess the quality and make further adjustments if necessary.
By following these steps and fine-tuning the projection settings, you can ensure that your Benq projector delivers a visually pleasing and immersive experience. Next, let’s move on to configuring the input source for your projector.
Step 5: Configuring the Input Source
Once you have powered on your Benq projector and adjusted the projection settings, it’s time to configure the input source. This step involves selecting the correct input channel or source on your projector to ensure that the desired content is displayed. Follow these steps to configure the input source:
1. Look for the “Input” or “Source” button on the projector or the remote control. Press this button to access the input source menu.
2. Using the navigation buttons, scroll through the available input options. These may include HDMI, VGA, DisplayPort, or any other supported input sources.
3. Select the input source that corresponds to the device you want to connect to your projector. For example, if you connected your laptop using an HDMI cable, choose the HDMI input source.
4. Once you have selected the input source, wait for a few moments as the projector detects the connected device. You may see a “No Signal” message during this period.
5. If the connected device is powered on and functioning correctly, the projector will display the content from the selected input source on the screen or wall.
6. If you want to switch to a different input source, repeat the previous steps and select the desired source from the input menu.
7. Some Benq projectors offer automatic input detection, which means the projector will recognize the active input source automatically. In such cases, you may not need to manually configure the input source.
By configuring the input source correctly, you ensure that the content from your desired device is displayed on the projector. This step allows you to seamlessly switch between different devices and enjoy a hassle-free viewing experience.
Next, let’s move on to Step 6, where we’ll explore how to adjust the image quality on your Benq projector.
Step 6: Adjusting the Image Quality
After configuring the input source on your Benq projector, it’s time to fine-tune the image quality to ensure a visually appealing and immersive experience. Adjusting the image quality can help enhance sharpness, color accuracy, and overall clarity. Follow these steps to adjust the image quality on your Benq projector:
1. Access the projector’s settings menu using the remote control or the navigation buttons on the projector itself.
2. Look for the “Image” or “Picture” settings in the menu. These settings allow you to make adjustments related to brightness, contrast, color temperature, saturation, and other image-related parameters.
3. Experiment with the brightness and contrast settings to achieve the desired level of brightness and detail in the projected image. Increasing the brightness can make the image appear more vibrant, while adjusting the contrast can improve the differentiation between light and dark areas.
4. Adjust the color temperature settings to ensure accurate and natural-looking colors. Different preset options, such as “Warm,” “Cool,” or a custom color temperature, may be available. Opt for a setting that suits your preferences or the content you are projecting.
5. If your projector offers a color saturation or color intensity setting, use it to enhance or tone down the richness of the colors. Adjust this setting according to your personal preferences and the specific requirements of your content.
6. Some projectors provide additional image enhancement features, such as noise reduction or sharpness adjustment. Explore these options to further refine the image quality based on your preferences.
7. Make small incremental adjustments to each setting and observe the changes in the projected image. This will help you find the optimal balance and ensure the best possible image quality.
8. Remember to consider the ambient lighting conditions in the room where the projector is used. Adjusting the image settings accordingly can help compensate for excessive brightness or dimness in the surroundings.
By fine-tuning the image quality settings on your Benq projector, you can enjoy a more immersive and visually satisfying experience. Take the time to experiment with different settings and find the configuration that suits your preferences and the specific content you are projecting.
Great job! You’ve successfully adjusted the image quality on your Benq projector. In the next step, we’ll discuss some common troubleshooting tips to help you overcome any issues you may encounter.
Step 7: Troubleshooting Common Issues
While using your Benq projector, you may occasionally encounter common issues that can affect its performance or functionality. Fortunately, there are some troubleshooting steps you can take to resolve these issues quickly. Here are some common problems and their solutions:
1. No Power:
If your Benq projector is not powering on, check the power cord connections and ensure that the power outlet is working. Try a different power outlet or test the power cord with another device to rule out any issues. If the problem persists, reach out to Benq customer support for further assistance.
2. No Signal:
If you see a “No Signal” message on your projector’s screen, ensure that the input source is correctly selected and the device you’re connecting is powered on. Check the cable connections for any loose or damaged cables. Try using a different cable or input source to see if the issue lies with the cable or device. Also, check the projector’s input settings to confirm that it is set to the correct input source.
3. Image Quality Issues:
If you’re experiencing issues with image quality, such as blurry or distorted images, first ensure that the projection lens is clean. Wipe it gently with a microfiber cloth if necessary. Adjust the focus and keystone correction settings to enhance the clarity and alignment of the image. Review the image settings, such as brightness, contrast, and color temperature, to optimize the image quality for your specific content and environment.
4. Overheating:
If your projector becomes hot or shuts down due to overheating, make sure it is properly ventilated and not obstructed by any objects. Check the projector’s fan to ensure it is functioning properly and not blocked by dust or debris. Consider placing the projector in a cooler location or using a cooling pad if necessary.
5. Remote Control Issues:
If the projector’s remote control is not functioning, check the battery and make sure it is properly inserted. Remove any obstructions between the remote control and the projector’s receiver. If the issue persists, try replacing the remote control battery or contact Benq customer support for further assistance.
6. Unresponsive Buttons:
If the buttons on the projector itself become unresponsive, ensure that the projector is not in standby or sleep mode. Try powering off the projector and disconnecting the power cord for a few minutes before reconnecting it and powering it back on. If the issue persists, consult the user manual or reach out to Benq customer support for further guidance.
Remember, if you encounter any persistent or complex issues with your Benq projector, it’s best to refer to the user manual or contact Benq customer support for expert assistance. They will be able to provide specific troubleshooting steps or offer professional guidance tailored to your projector model and situation.
By following these troubleshooting tips, you can overcome common issues and enjoy a seamless experience with your Benq projector.
Conclusion
Congratulations! You have successfully learned how to turn on and set up your Benq projector. By following the steps outlined in this guide, you can now enjoy a captivating viewing experience on the big screen.
We covered essential aspects such as checking the power source, connecting the necessary cables, powering on the projector, adjusting the projection settings, configuring the input source, adjusting the image quality, and troubleshooting common issues. By familiarizing yourself with these steps, you can ensure that your Benq projector operates optimally and delivers exceptional visual performance.
Remember to always check the power source and make secure cable connections before turning on your projector. Take advantage of the various image adjustment options to customize the display to your preferences and specific content requirements. And in case you encounter any issues, refer to the troubleshooting tips provided to resolve them quickly and efficiently.
Keep in mind that every Benq projector model may have slight variations in terms of settings and features. It is always recommended to consult the user manual or seek assistance from Benq customer support for model-specific information and guidance.
Now, it’s time to sit back, relax, and enjoy the incredible visuals produced by your Benq projector. Whether you’re watching movies, giving presentations, or playing games, you can now experience the magic of the big screen right in the comfort of your own space. Happy projecting!