Introduction
Welcome to our guide on how to connect a laptop to a projector! Whether you’re giving a presentation, sharing videos or images, or simply need a larger screen for your laptop display, connecting it to a projector can be incredibly useful. With just a few steps, you can transform your laptop screen into a larger and more impressive display.
In today’s technology-driven world, projectors have become a staple in classrooms, boardrooms, and even homes. They provide a convenient way to showcase information, entertain, and collaborate with others. However, for those who are new to using projectors, the process of connecting a laptop to one can seem intimidating. But fear not! With our step-by-step guide, you’ll be able to connect your laptop to a projector in no time.
Before we dive into the technical details, it’s important to note that the specific steps may vary depending on the type of laptop and projector you’re using. However, the general principles remain the same. So, whether you’re using a Windows laptop, a Macbook, or a Chromebook, this guide will provide you with the foundational knowledge to connect your device to a projector.
Throughout this guide, we’ll cover everything from preparing for the connection to troubleshooting any potential issues that may arise. We’ll also discuss the different types of cables you can use to connect your laptop and provide tips on adjusting the display settings for optimal viewing. By the end, you’ll have all the information you need to confidently connect your laptop to a projector and make the most out of your presentations or multimedia experiences.
So, grab your laptop, find a projector, and let’s get started!
Preparing for the Connection
Before you connect your laptop to a projector, there are a few things you should do to ensure a smooth and hassle-free experience. Taking the time to prepare beforehand will save you time and frustration later on.
Firstly, check the compatibility between your laptop and the projector. Most laptops have a VGA, HDMI, or DisplayPort output, while projectors can have different input options. Make sure your laptop’s output matches the projector’s input for a successful connection.
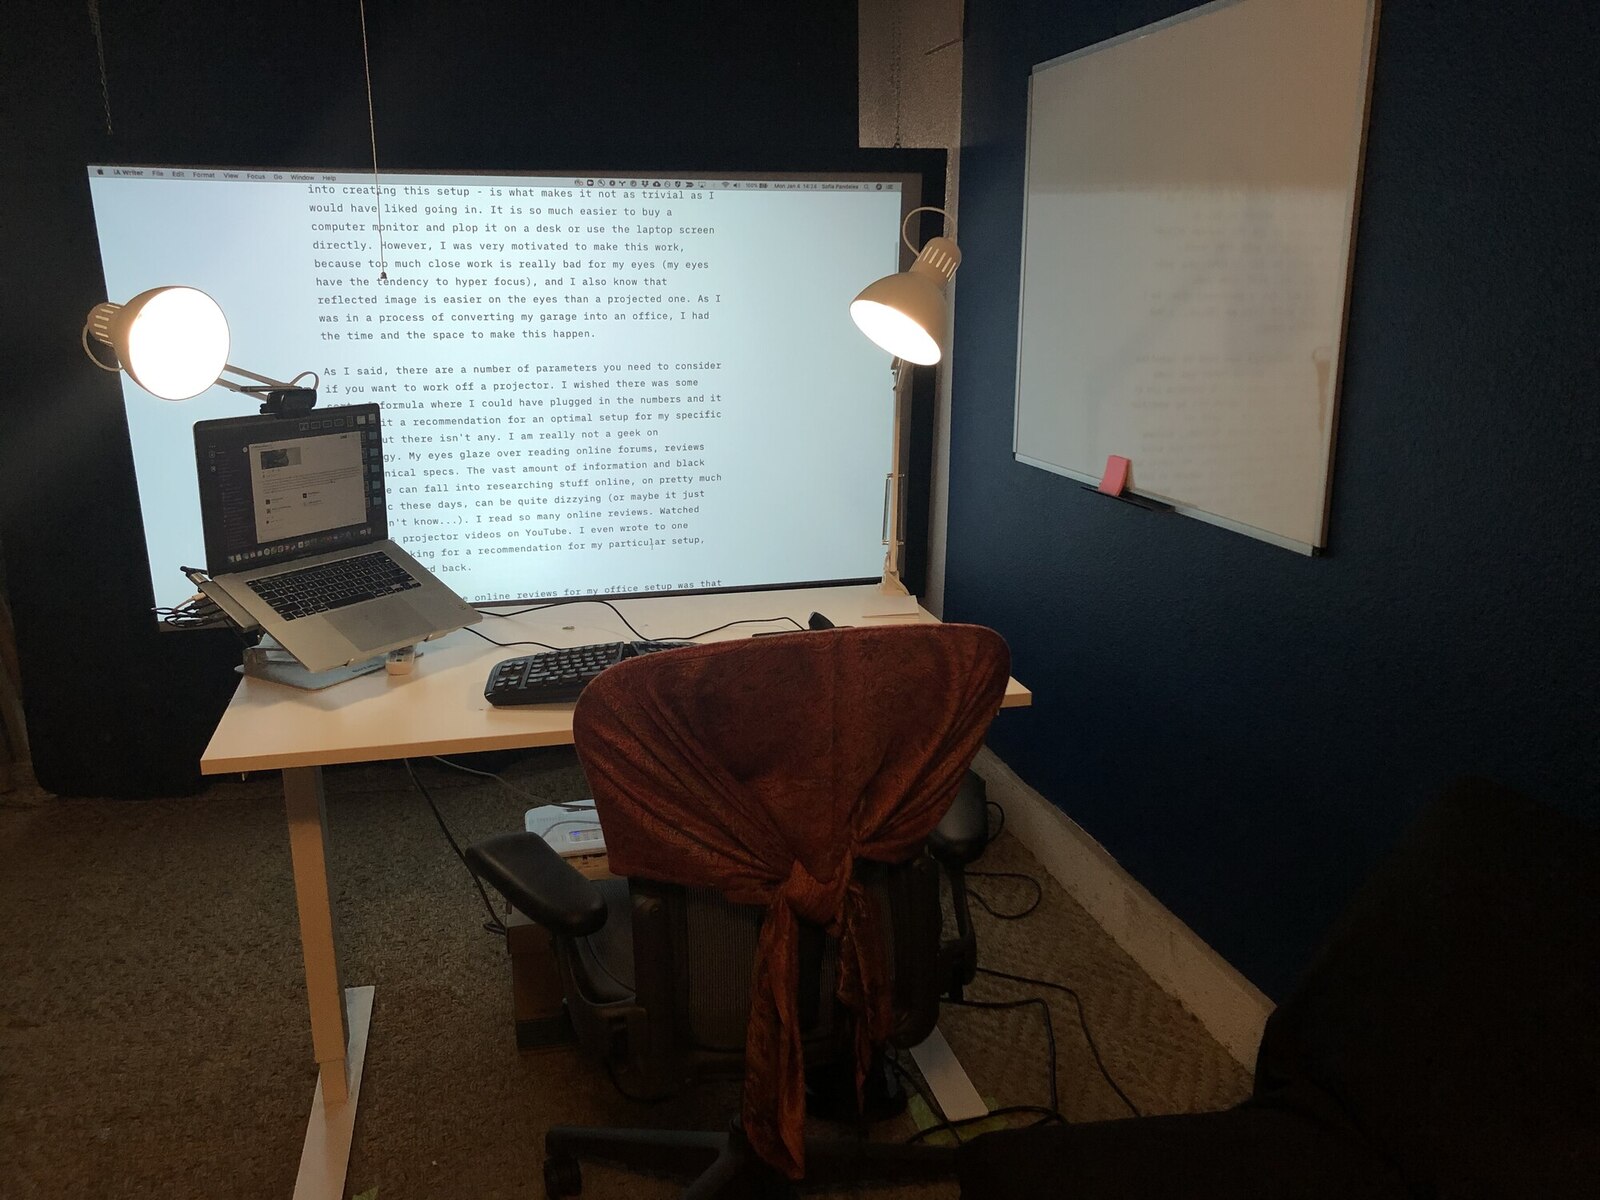
Next, find a suitable location for the projector. Consider factors such as screen visibility, room lighting, and audio requirements. Ensure the projector is positioned at an appropriate distance and angle to achieve the desired image size and clarity.
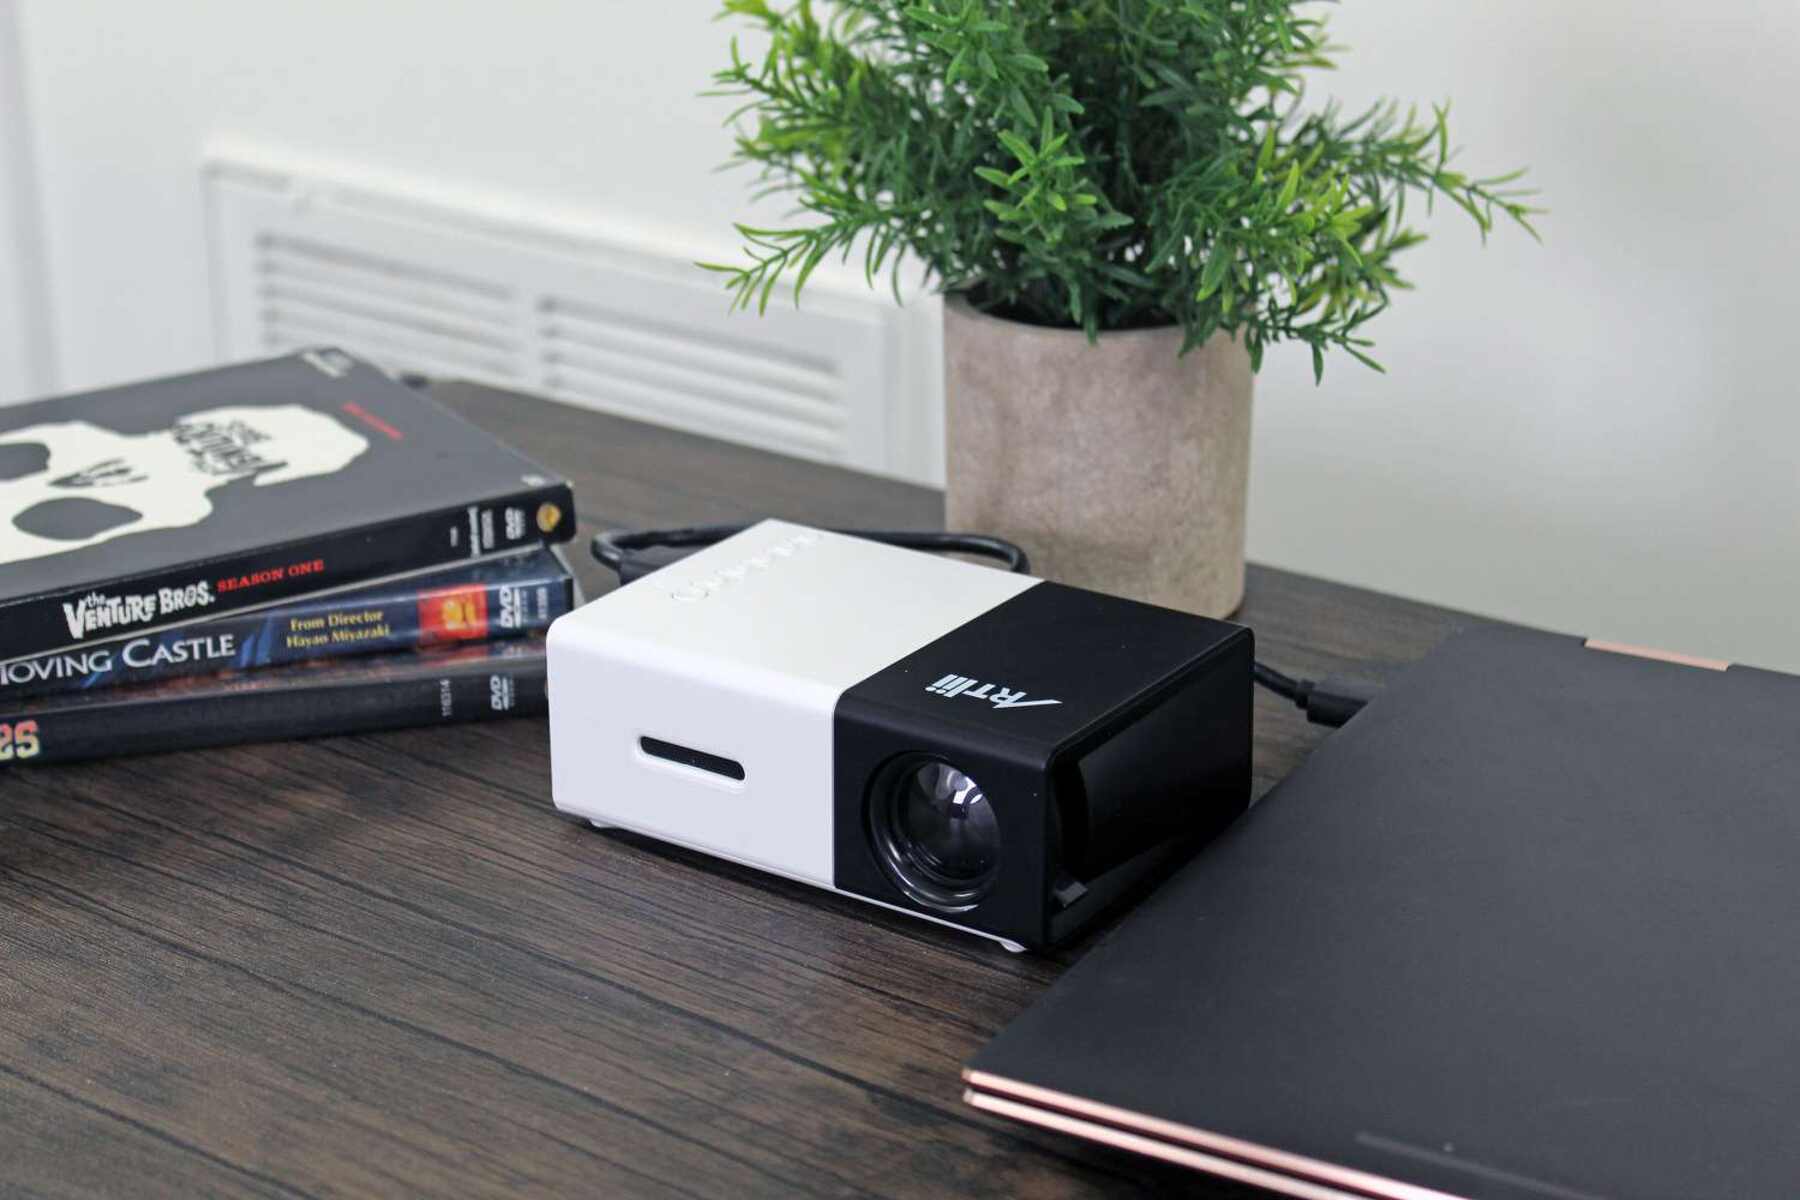
Now, gather the necessary cables for the connection. The cable you need depends on the available ports on both your laptop and the projector. The most common options are VGA, HDMI, and DisplayPort cables. If your laptop and projector have different ports, you may need an adapter to bridge the connection.
It’s also a good idea to have an extension cord on hand to ensure that the projector can be powered from a nearby electrical outlet. Additionally, consider having a backup set of cables in case the primary ones are faulty or missing.
Clear any unnecessary files and close any applications on your laptop to avoid distractions or potential performance issues during the presentation. You can even create a separate folder on your desktop with all the files and media you plan to use, making it easier to locate and access them later.
Lastly, make sure your laptop is fully charged or connected to a power source. Connecting a laptop to a projector consumes additional power, and you wouldn’t want your battery to drain in the middle of a presentation.
By taking the time to prepare and gather the necessary equipment, you’ll be ready to smoothly connect your laptop to a projector. In the next section, we’ll guide you on choosing the right cable for the connection and provide step-by-step instructions on how to establish the connection successfully.
Choosing the Right Cable
When it comes to connecting your laptop to a projector, choosing the right cable is crucial to ensure a proper and reliable connection. The cable you need depends on the available ports on your laptop and the projector.
The most common types of cables used for connecting laptops to projectors are VGA, HDMI, and DisplayPort. Let’s take a closer look at each one:
- VGA Cable: VGA (Video Graphics Array) is an analog video connection that carries video signals. It is a popular option for older laptops and projectors. To connect your laptop to a projector using a VGA cable, make sure both devices have a VGA port. Plug one end of the VGA cable into the laptop’s VGA port and the other end into the projector’s VGA port. Once connected, you may need to adjust the display settings on your laptop to enable the external display.
- HDMI Cable: HDMI (High-Definition Multimedia Interface) is a digital video and audio connection that provides high-quality signals. It is the preferred option for newer laptops and projectors. If your laptop and projector have HDMI ports, simply connect one end of the HDMI cable to the laptop’s HDMI port and the other end to the projector’s HDMI port. The connection should be recognized automatically, and you may need to adjust the display settings to ensure the proper resolution and aspect ratio.
- DisplayPort Cable: DisplayPort is a digital video and audio connection that offers high-quality performance and supports higher resolutions and refresh rates. If your laptop and projector both have DisplayPort ports, connecting them is similar to using an HDMI cable. Plug one end of the DisplayPort cable into the laptop’s port and the other end into the projector’s port. Adjust the display settings if necessary to optimize the picture quality.
In some cases, your laptop and projector may have different ports, such as VGA on the laptop and HDMI on the projector. In such situations, you will need an adapter or converter cable to bridge the connection. These adapters can be easily found at electronics stores or online, and they typically come in various combinations (e.g., VGA to HDMI, HDMI to DisplayPort).
When choosing a cable, consider the length and quality. Ensure the cable is long enough to comfortably reach between your laptop and the projector. It’s recommended to use high-quality cables for better signal transmission and to avoid any potential connectivity problems.
By selecting the appropriate cable based on your laptop and projector’s ports, you’ll be able to establish a reliable connection and enjoy a seamless projection experience. In the next section, we’ll guide you through the step-by-step process of connecting your laptop to the projector.
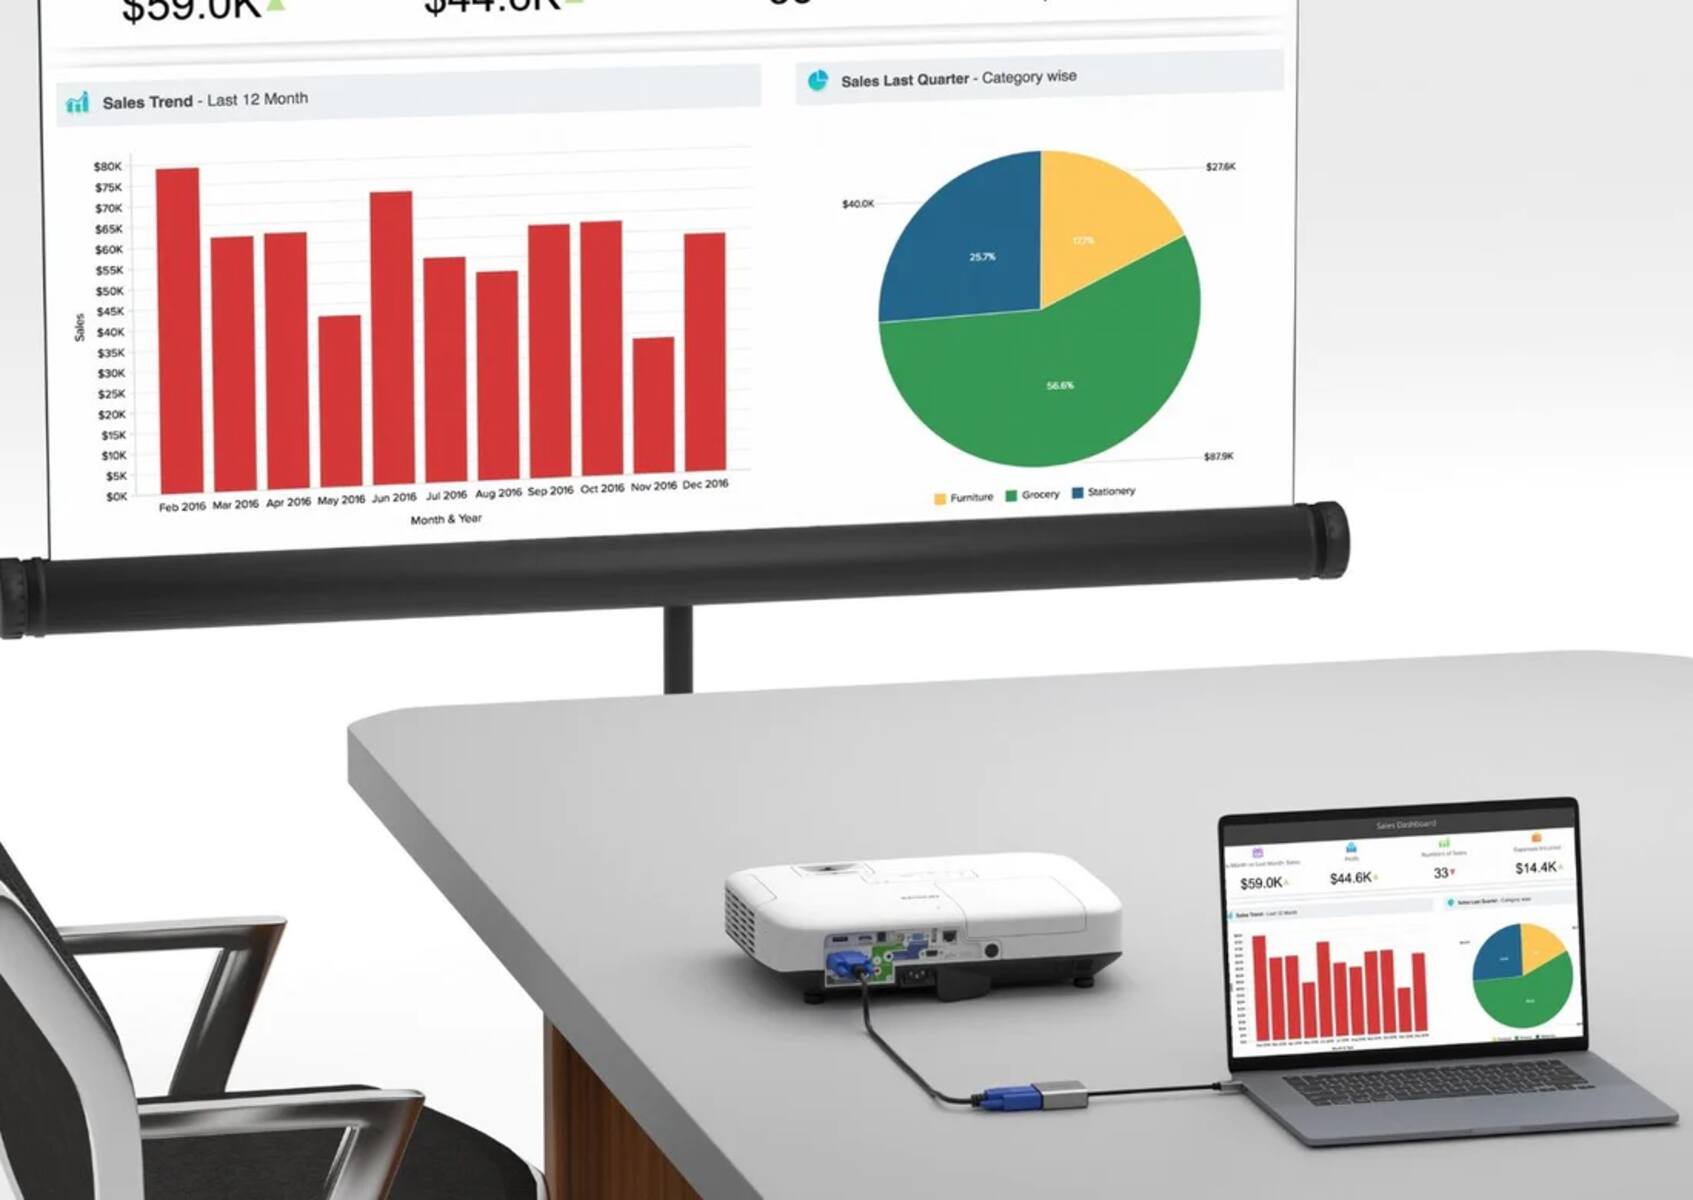
Connecting the Laptop to the Projector
Now that you have prepared your laptop and chosen the right cable, it’s time to connect your laptop to the projector. Follow these step-by-step instructions to establish a successful connection:
- Ensure that both your laptop and the projector are powered off before making any connections. This will prevent any potential damage to the devices.
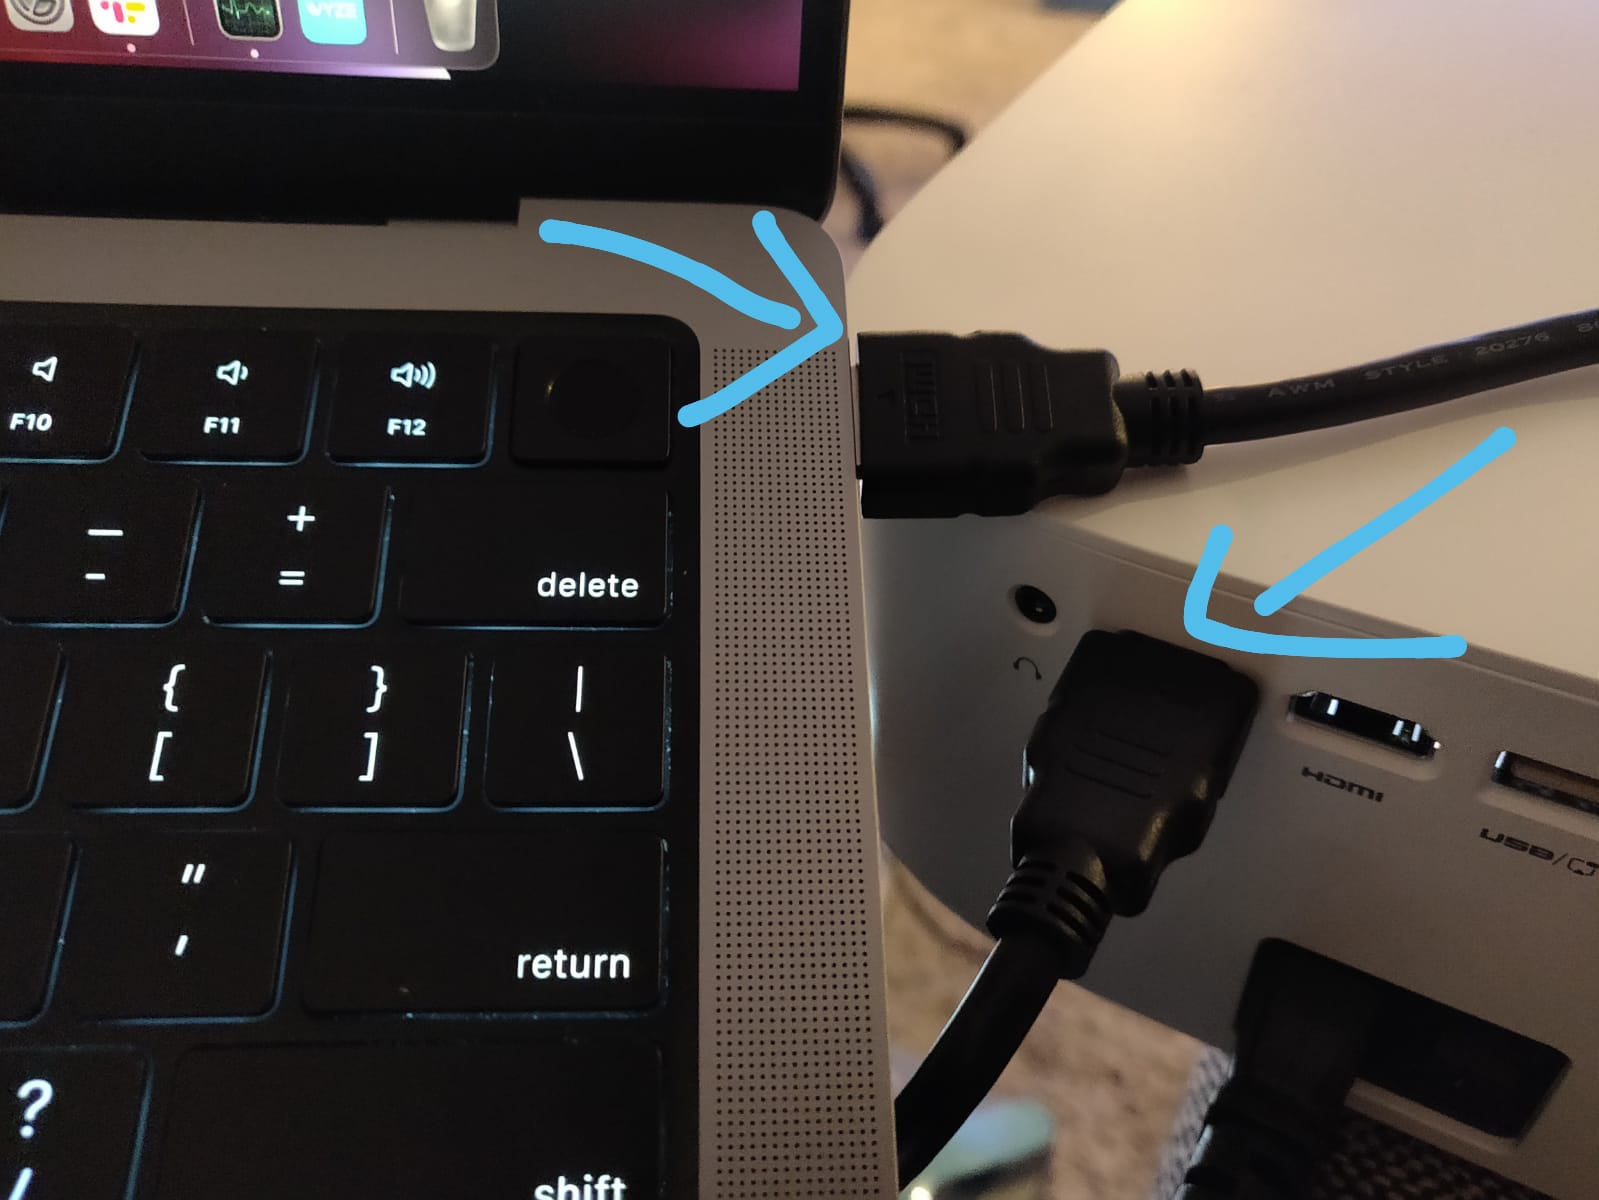
- Locate the video output port on your laptop. It may be labeled as VGA, HDMI, or DisplayPort. Connect one end of the chosen cable to this port.
- Now, locate the corresponding video input port on the projector. It should be labeled near the port itself. Take the other end of the cable and connect it securely into this port.
- If you are using an adapter or converter cable, ensure that it is securely plugged into both the laptop and the projector.
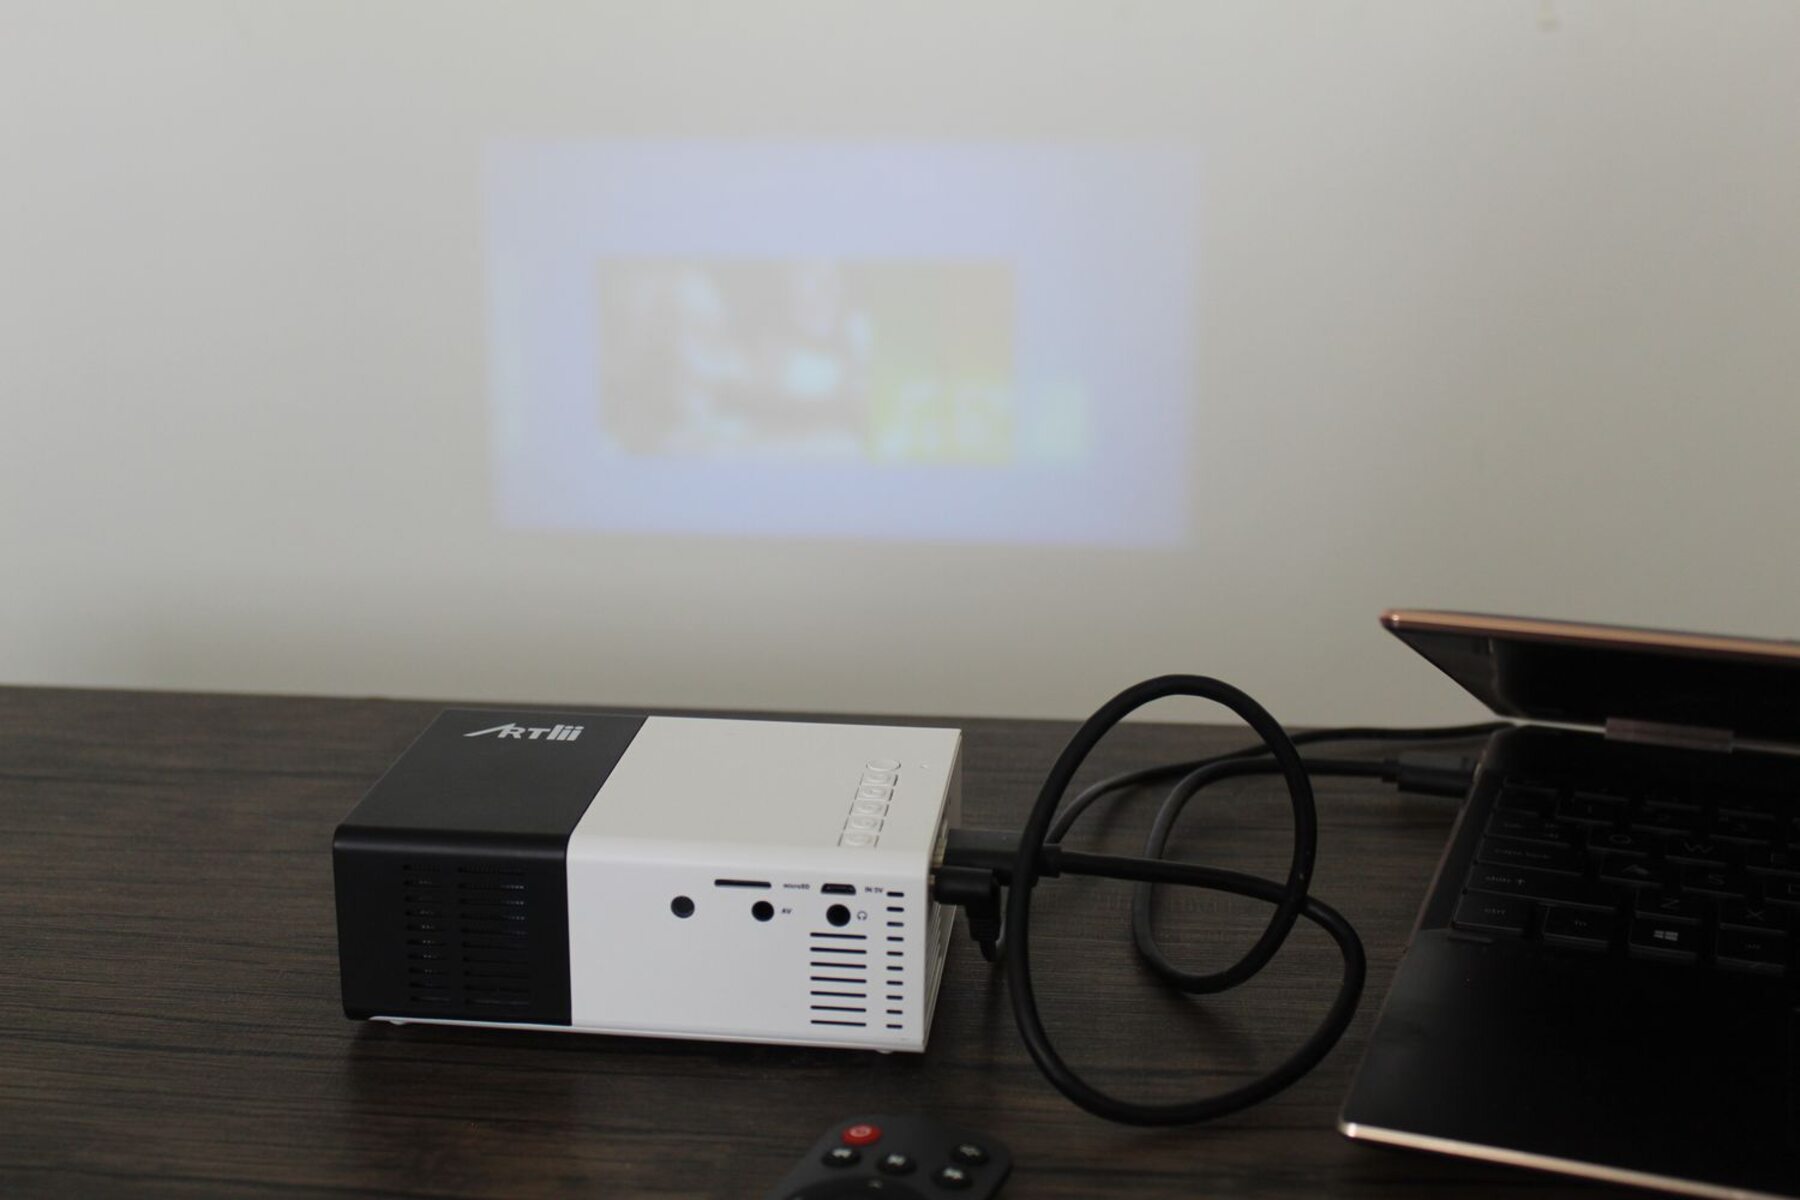
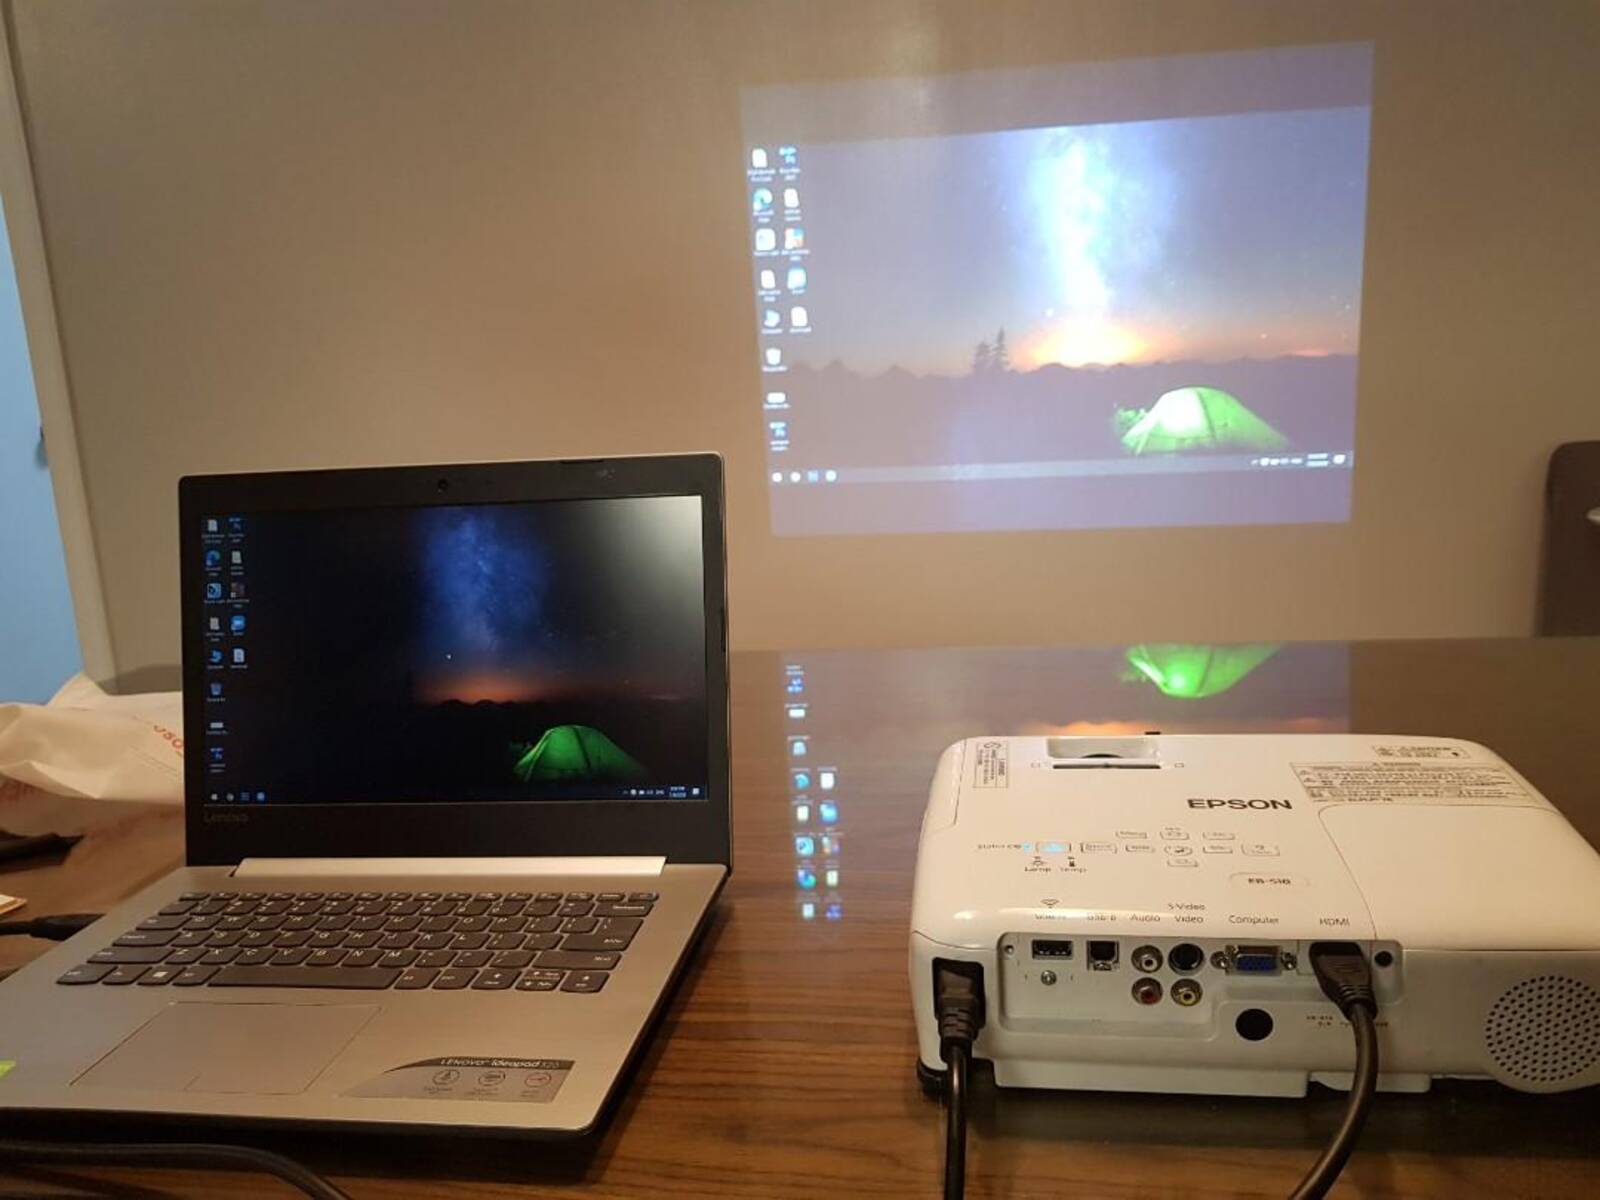
- Once all the connections are made, power on the projector first. Then, power on your laptop. The projector should detect the laptop’s signal and display the laptop’s screen.
- If the projection does not appear on the screen, you may need to select the appropriate input source on the projector. Check the projector’s menu options or use the remote control to navigate and select the correct input.
- If the projection still does not appear, try adjusting the display settings on your laptop. On Windows laptops, you can right-click on the desktop, select “Display settings,” and choose “Extend” or “Duplicate” display from the drop-down menu. On Macbooks, go to “System Preferences,” select “Displays,” and adjust the settings accordingly.
- Once the projection appears and the display settings are adjusted, you’re ready to go! You can now play your presentations, videos, or any other content on your laptop, and it will be projected onto the big screen.
Remember, the specific steps may vary slightly depending on your laptop’s operating system and the projector’s make and model. Always refer to the user manuals of your devices for any additional instructions or troubleshooting tips.
Now that your laptop is successfully connected to the projector, it’s time to ensure that the display settings are optimized for the best viewing experience. We’ll discuss this in the next section.
Adjusting the Display Settings
Once you have connected your laptop to the projector, it’s important to adjust the display settings to ensure optimal viewing. This will help you achieve the best possible image quality and resolution on the projected screen. Follow these steps to adjust the display settings:
- On your laptop, right-click on the desktop and select “Display settings” (Windows) or go to “System Preferences” and select “Displays” (Mac).
- In the display settings menu, you will see options to extend or duplicate the display. Choose the desired option based on your presentation needs:
- Extend: This option allows you to have different content displayed on your laptop screen and the projected screen. It is ideal for presentations where you want to see speaker notes or control the content privately on your laptop screen while the audience sees the projected content.
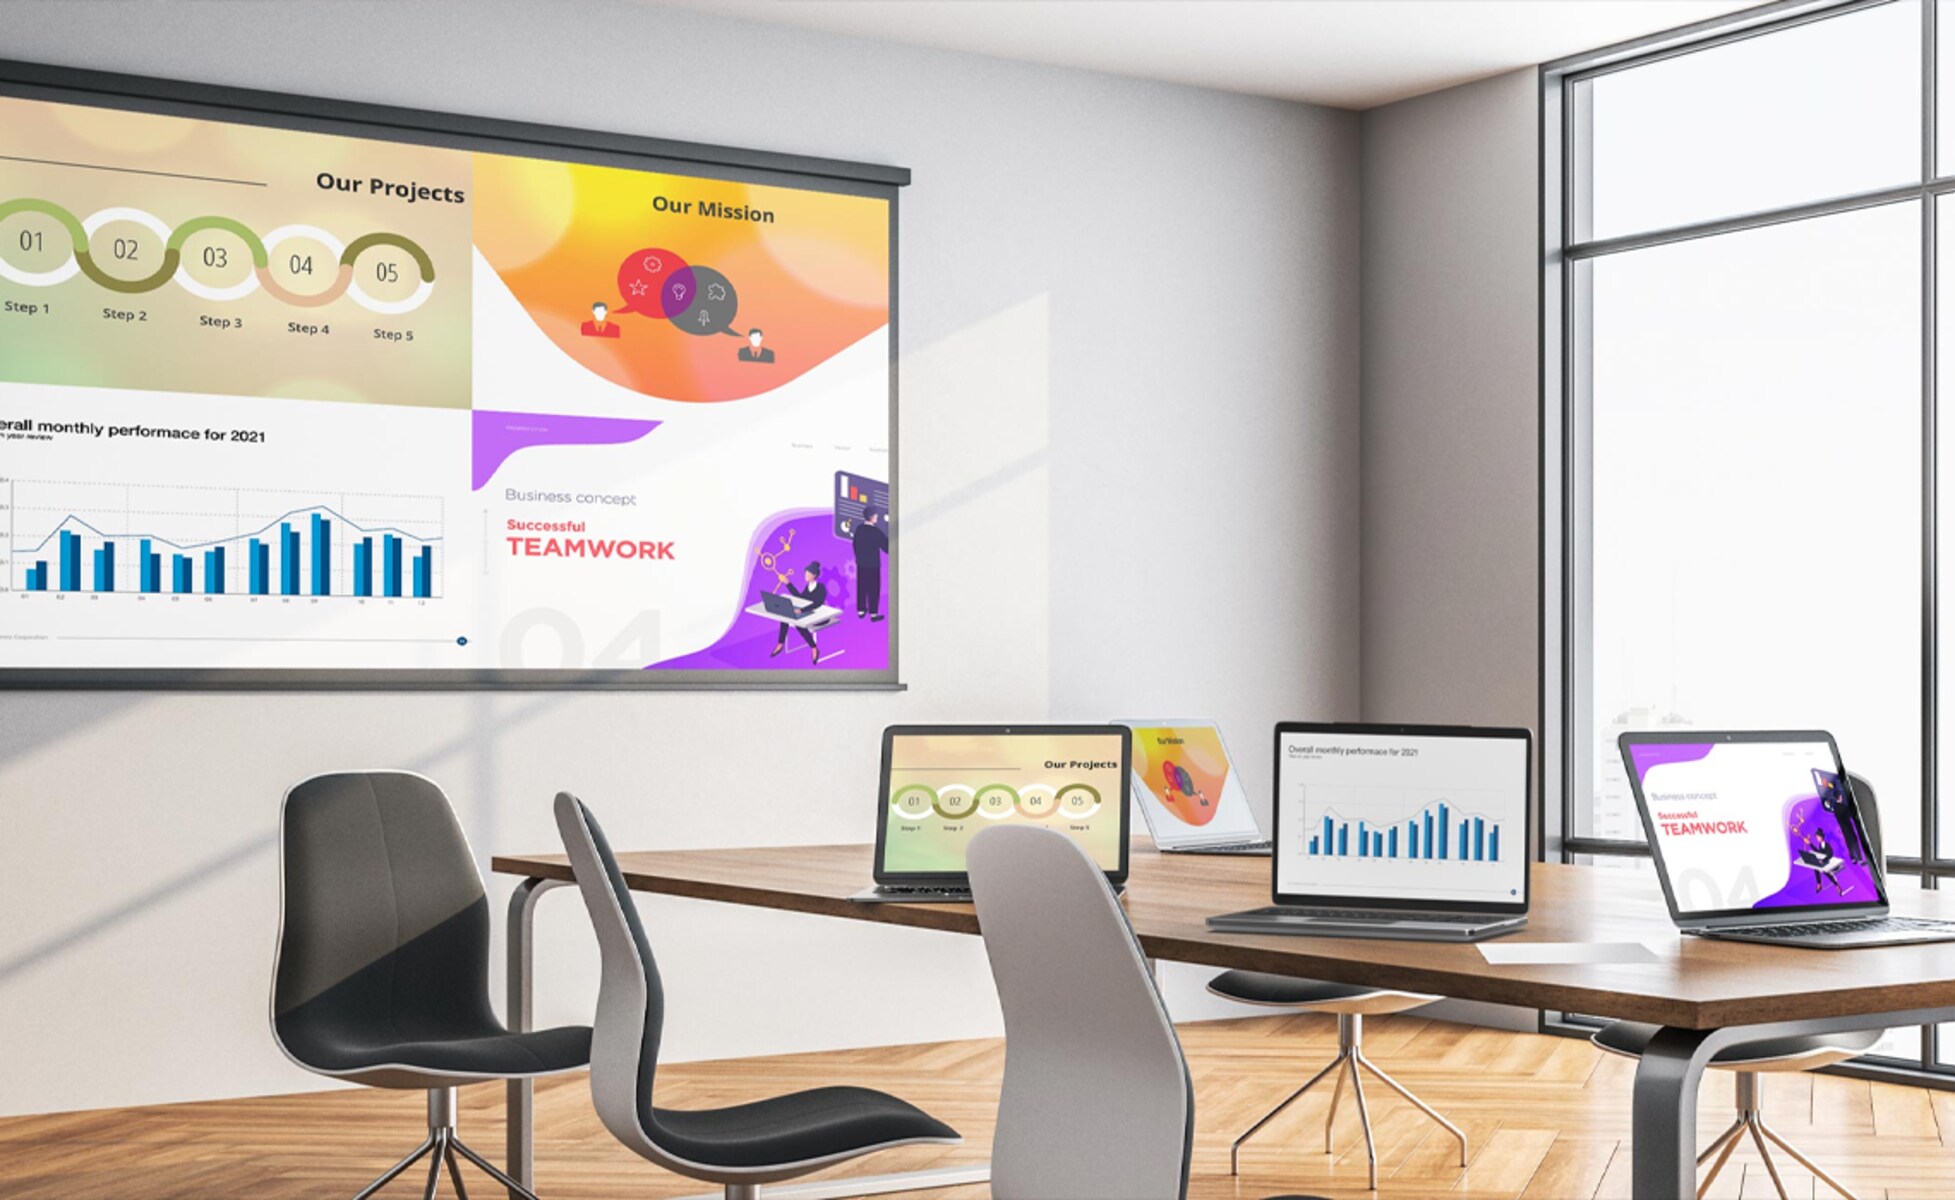
- Duplicate: This option mirrors your laptop screen onto the projected screen. Both screens will display the same content simultaneously. It is useful when you want to share the same information with everyone in the room.
- Adjust the resolution and aspect ratio settings to match the capabilities of the projector. In the display settings, you will find options to adjust the screen resolution. Choose the resolution that provides the best clarity and suits your presentation needs. Additionally, ensure that the aspect ratio is set correctly to avoid any distortions on the projected screen.
- Test the display by opening a sample presentation or media file. Pay attention to the clarity, color accuracy, and overall visibility on the projected screen. If needed, fine-tune the display settings further to achieve the desired result.
- Take note of any additional display settings that may enhance your presentation, such as screen brightness, color temperature, or screen orientation. Experiment with these settings to find the best configuration for your particular setup.
Remember to make these adjustments before starting your actual presentation to avoid any distractions or delays. It’s always a good idea to do a quick run-through of your presentation to ensure that the projected screen is displaying your content correctly.
Keep in mind that while adjusting the display settings, you may need to make changes to the laptop’s settings rather than the projector itself. The projector will display what it receives from the laptop, so most adjustments will need to be made on the laptop side.
By making these necessary display adjustments, you’ll ensure that your presentation or multimedia content is visually appealing and easy to view on the projected screen. In the next section, we’ll provide troubleshooting tips to help you address any connection issues that may arise.
Troubleshooting Connection Issues
While connecting your laptop to a projector is usually a straightforward process, you may encounter some common issues along the way. Here are some troubleshooting tips to help you address any connection issues:
- No Signal: If the projected screen remains blank and shows “No Signal,” double-check that the cables are securely connected. Disconnect and reconnect them, ensuring a tight fit. Try using a different cable or port if available. Also, make sure that both the laptop and projector are powered on.
- Wrong Input Source: If the projected screen displays an image, but it is not coming from your laptop, check the input source on the projector. Navigate through the projector’s menu options or use the remote control to select the correct input source corresponding to your laptop’s connection.
- Resolution Mismatch: If the projected screen is distorted, not fitting the screen properly, or displaying a low-resolution image, adjust the resolution settings on your laptop. Experiment with different resolutions until you find the one that best matches the capabilities of the projector.
- No Audio: If there is no sound coming from the projector, verify that the audio cable is properly connected. If you’re using an HDMI connection, ensure that the audio output is set to the HDMI option in the sound settings of your laptop. If necessary, adjust the volume settings on both the laptop and the projector.
- Intermittent Connection: If the connection drops or becomes intermittent during a presentation, check the cables for any signs of damage or looseness. Try using a different cable or port to rule out any issues with the current setup. Ensure that the laptop is not going into sleep or power-saving mode, which could disrupt the connection.
- Unsupported Resolution: If the projector displays an “Unsupported Resolution” message, it means that the selected resolution on your laptop is not supported by the projector. Lower the resolution settings on your laptop until you find a compatible resolution for the projector.
If you have followed these troubleshooting steps and are still experiencing issues, consult the user manuals of your laptop and projector for more specific troubleshooting guides. Additionally, reach out to the technical support of your laptop or projector manufacturer for further assistance.
Remember, patience and perseverance are key when troubleshooting connection issues. With some troubleshooting and adjustments, you can overcome any obstacles and enjoy a successful connection between your laptop and the projector.
Now that you are armed with troubleshooting tips, you can confidently tackle any connection issues that may arise. In the concluding section, we will recap the essential steps to connecting a laptop to a projector.
Conclusion
Connecting a laptop to a projector can open up a world of possibilities for presentations, entertainment, and collaborative work. By following the steps outlined in this guide, you can easily establish a reliable connection between your laptop and a projector, allowing you to showcase your content on a larger screen.
We began by emphasizing the importance of preparation, including checking compatibility, finding a suitable location, and gathering the necessary cables. Choosing the right cable is crucial, whether it’s VGA, HDMI, or DisplayPort, to ensure a successful connection.
Once you have connected the laptop to the projector, adjusting the display settings is essential for optimal viewing. By extending or duplicating the display, adjusting the resolution, and fine-tuning other settings, you can enhance the overall projection experience.
In the event of any connection issues, our troubleshooting tips can help you overcome common problems such as no signal, wrong input source, resolution mismatch, audio issues, intermittent connection, or unsupported resolutions. Remember to be patient and explore different solutions until you find the one that works best for your setup.
With this guide, you have gained the knowledge and confidence to connect your laptop to a projector successfully. However, it’s important to note that specific steps may vary depending on your laptop’s operating system and the projector’s make and model. Always refer to your device’s user manuals for any additional instructions or troubleshooting tips.
Now, go ahead and connect your laptop to a projector, enjoy the benefits of a larger display, and captivate your audience with impressive presentations or immersive multimedia experiences!