Benefits of using an InFocus projector with your laptop
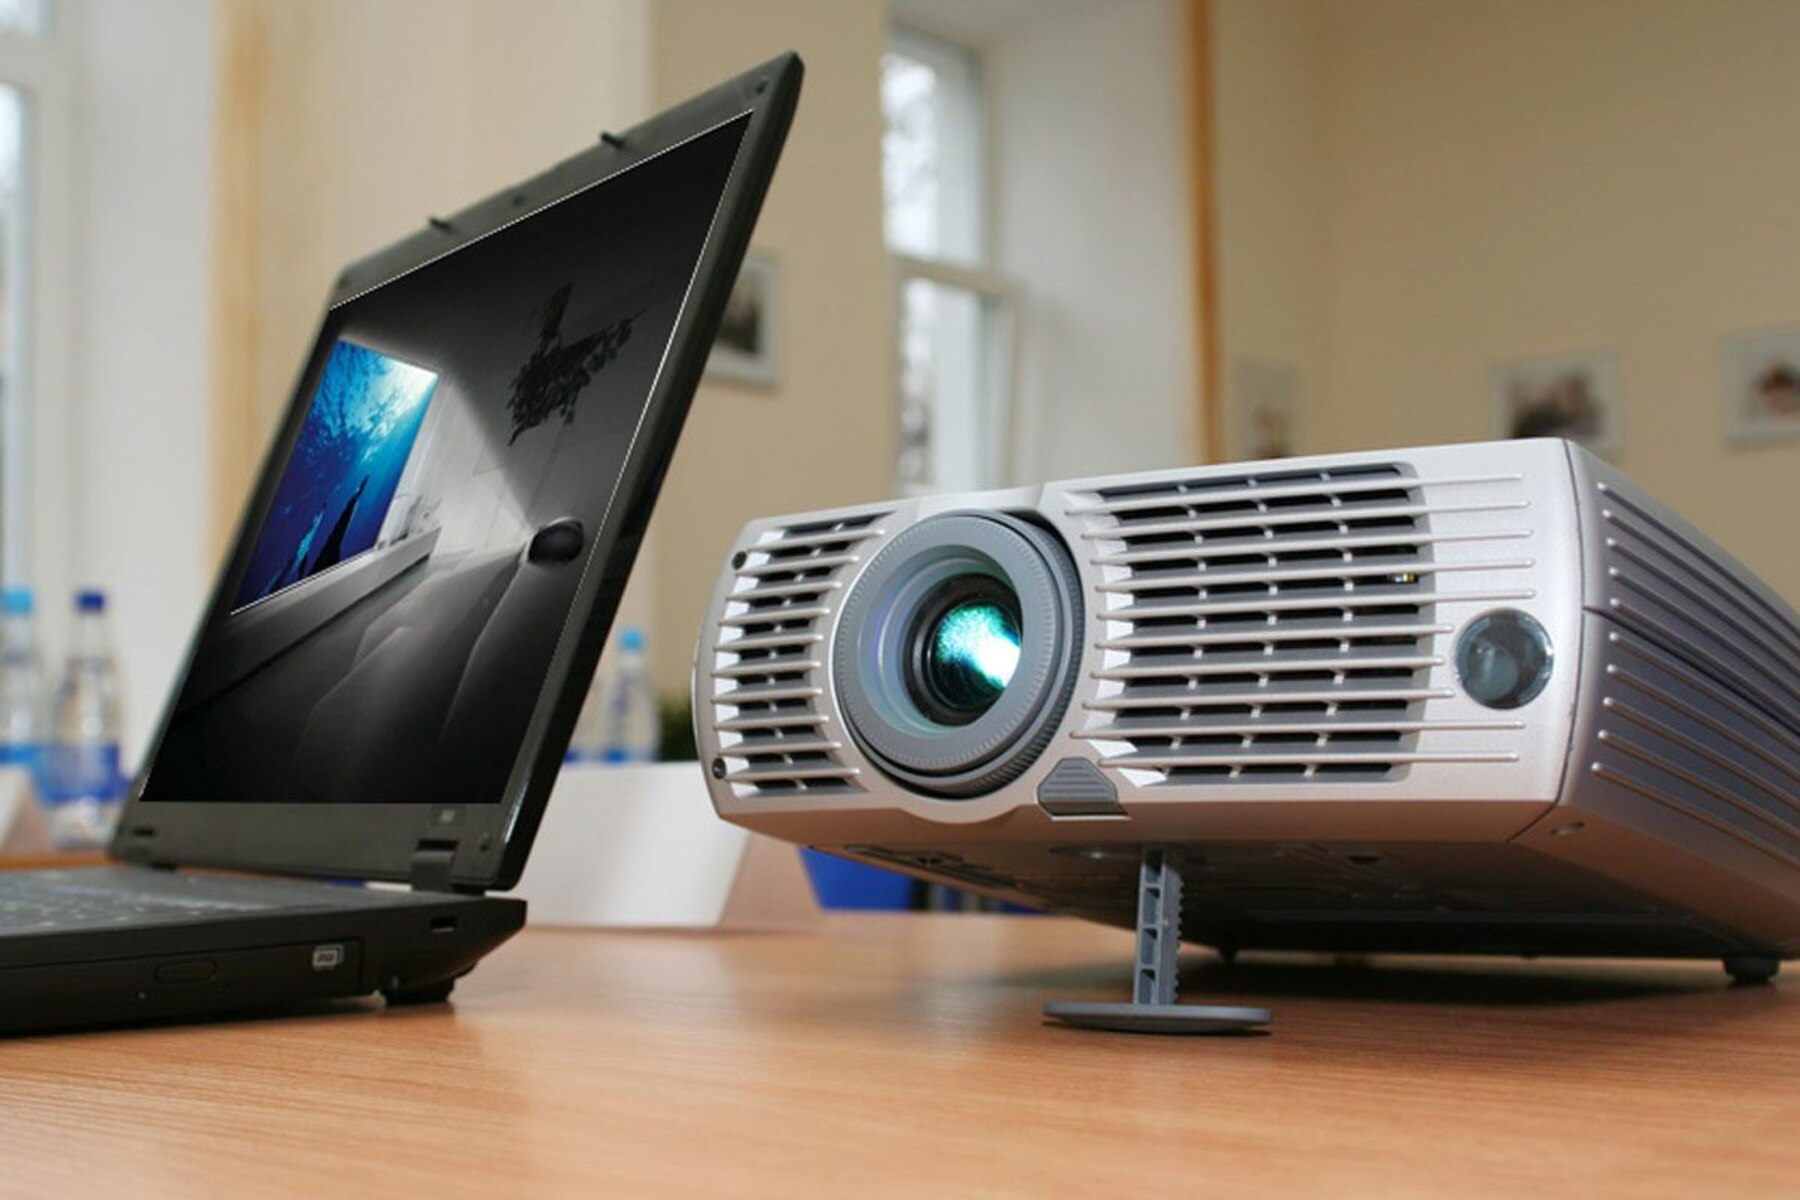
Using an InFocus projector with your laptop can greatly enhance your presentations, meetings, and entertainment experiences. The combination of these two powerful devices opens up a world of possibilities, allowing you to display your laptop’s content on a large screen with superior image quality. Here are some key benefits of using an InFocus projector with your laptop:
- Large Screen Display: One of the most noticeable advantages of using an InFocus projector with your laptop is the ability to project your content on a much larger screen. This enables better visibility for your audience, making it ideal for presentations, trainings, and educational purposes.
- Improved Visual Quality: InFocus projectors are known for their high-resolution capabilities, delivering sharp, clear, and vibrant visuals. When combined with your laptop’s graphics capabilities, you can enjoy an immersive visual experience, whether you’re watching movies or delivering visual-heavy presentations.
- Portability and Flexibility: InFocus projectors are designed to be portable, allowing you to take them anywhere you go. This means that you can easily set up a presentation or movie night wherever you are, without the need for a fixed display screen. Additionally, you have the flexibility to adjust the screen size based on your needs.
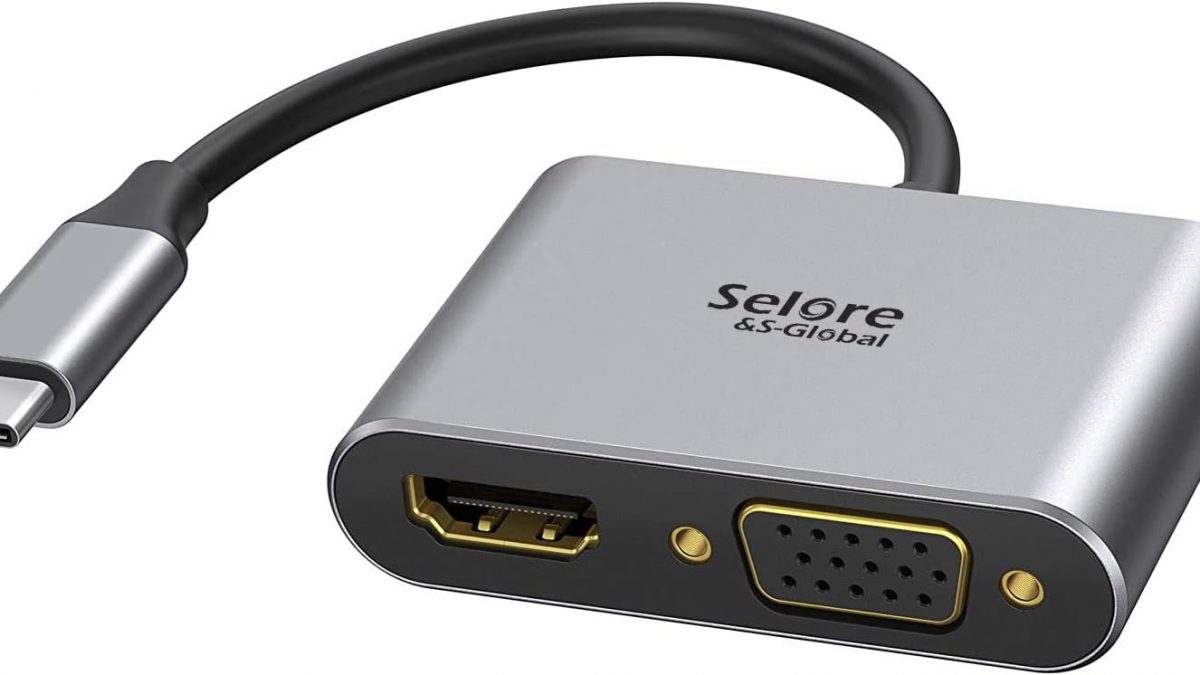
- Easy Connectivity: Connecting your laptop to an InFocus projector is a straightforward process. Most projectors have multiple input options, including HDMI, VGA, and USB, which ensure compatibility with various laptop models. This means that you won’t have to worry about compatibility issues and can quickly connect your devices to start projecting.
- Enhanced Collaboration: When presenting or working in a team, projecting your laptop’s screen onto a larger display fosters collaboration. It allows everyone in the room to have a clear view of the content being presented, facilitating discussions and enabling better participation from all attendees.
Overall, using an InFocus projector with your laptop offers numerous benefits, including a larger screen display, improved visual quality, portability and flexibility, easy connectivity, and enhanced collaboration. By leveraging the capabilities of both devices, you can elevate your presentations, movie nights, and other multimedia experiences to a whole new level.
Connecting your laptop to the InFocus projector
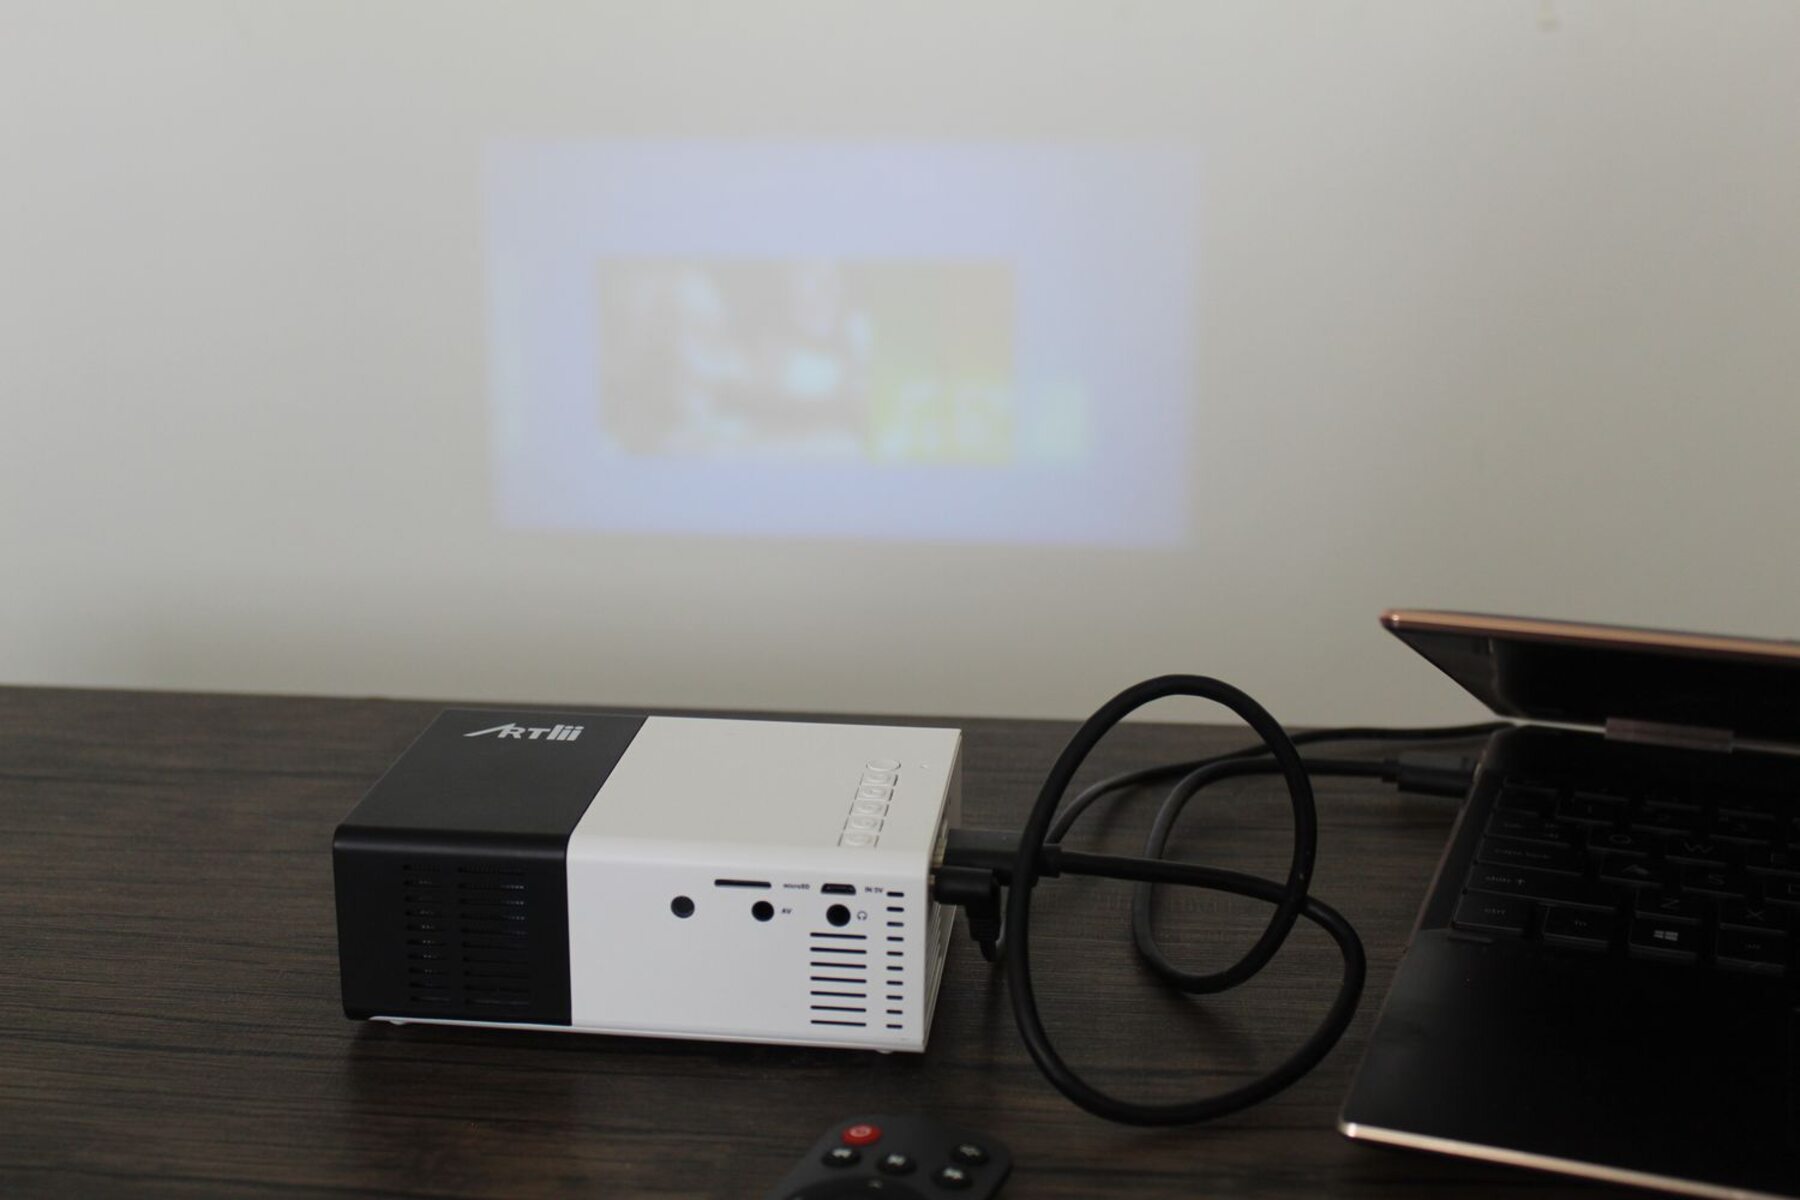
Connecting your laptop to an InFocus projector is a simple process that allows you to share your laptop’s screen on a larger display. Before you begin, ensure that both your laptop and the projector are powered on. Follow the steps below to establish a connection:
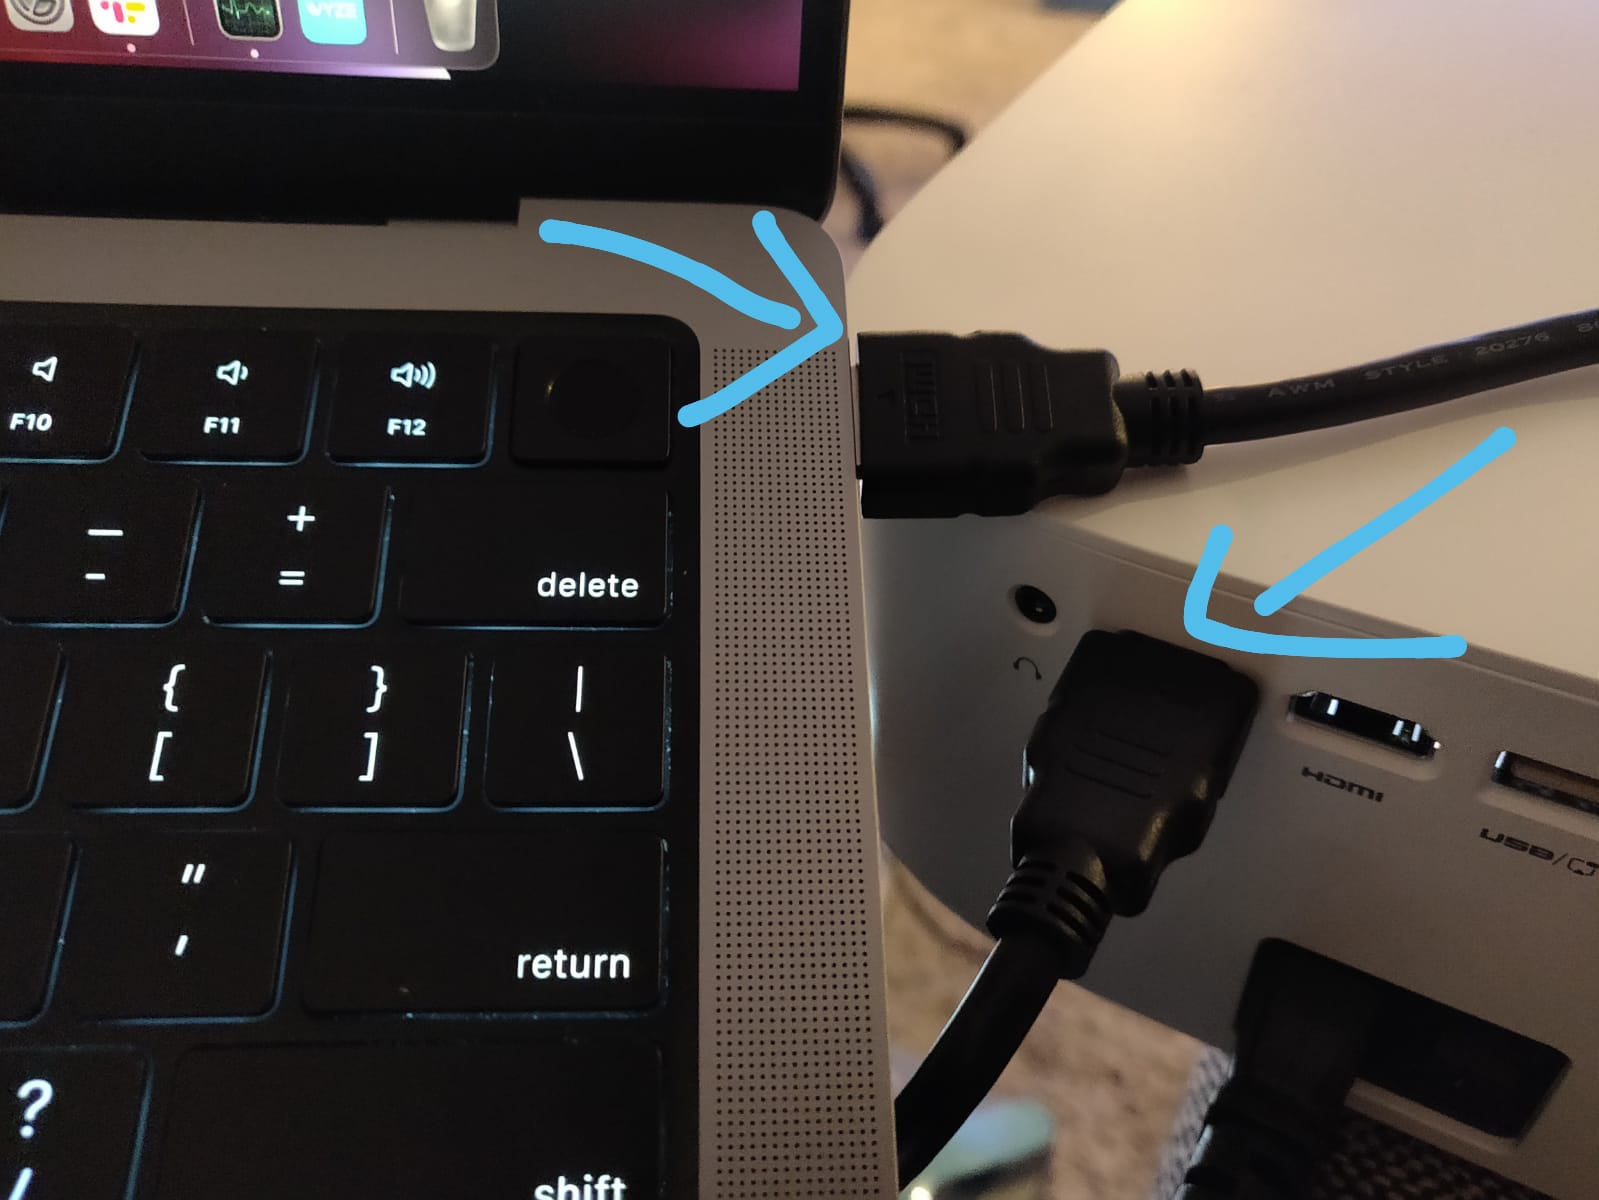
- Check the available ports: Determine the available ports on both your laptop and the InFocus projector. Common ports include HDMI, VGA, and USB. Choose the appropriate cable based on the available ports.
- Connect the cable: Connect one end of the cable to the corresponding port on your laptop and the other end to the corresponding port on the projector. Ensure that the connection is secure.
- Select the input source: On the InFocus projector, navigate to the input source selection menu. Use the projector’s remote control or buttons to select the input source that matches the port you connected the cable to (e.g., HDMI, VGA).
- Adjust display settings: On your laptop, go to the display settings. Depending on your operating system, this may be found in the Control Panel or the Settings menu. Select the option to extend or duplicate the display to the projector.
- Confirm the connection: Once the display settings are adjusted, you should see your laptop’s screen on the projector. If you encounter any issues, double-check the cable connection, ensure the correct input source is selected on the projector, and try restarting both devices if necessary.
Keep in mind that the specific steps and options may vary slightly depending on your laptop’s operating system and the model of the InFocus projector. Refer to the user manuals for both devices for detailed instructions.
Connecting your laptop to an InFocus projector opens up opportunities for more engaging presentations, larger screen entertainment, and collaborative work environments. With a few simple steps, you can establish a seamless connection and enjoy the benefits of a larger display with superior image quality.
Choosing the correct display settings on your laptop
Once you have connected your laptop to an InFocus projector, it’s important to choose the correct display settings to ensure optimal performance and visual quality. Depending on your laptop’s operating system, the steps may vary slightly, but the general process is outlined below:
- Access the display settings: Go to the Control Panel or the Settings menu on your laptop. Look for the display or graphics settings option.
- Select the projector as the display: In the display settings, you should see a list of available displays. Select the InFocus projector from the list to make it the primary or secondary display, depending on your preference.
- Choose the display mode: Most laptops offer different display modes, such as “Extend,” “Duplicate,” or “Primary Display.” Choose the mode that suits your needs. “Extend” allows you to have different content on your laptop’s screen and the projector, while “Duplicate” shows the same content on both screens. “Primary Display” makes the projector the main display and disables the laptop screen.
- Adjust the resolution: Set the resolution of the display to match the native resolution of the InFocus projector. This ensures that the content is displayed in the best possible quality. Avoid setting the resolution higher than what the projector can handle, as it may cause issues with the image clarity.
- Configure additional display settings: Depending on your laptop, you may have additional options to fine-tune the display settings. These may include adjusting the screen orientation, color calibration, or aspect ratio. Experiment with these settings to achieve the desired display quality.
It’s worth noting that the specific steps and options may vary depending on your laptop’s operating system and the graphics settings menu. If you’re unsure about how to access or modify the display settings, consult the user manual or online resources specific to your laptop.
Choosing the correct display settings on your laptop is crucial to ensure that the content is properly displayed on the InFocus projector. By adjusting the display mode, resolution, and additional settings, you can optimize the visual experience and make the most out of your laptop and projector setup.
Adjusting the resolution and screen size on the InFocus projector
After connecting your laptop to an InFocus projector, you may need to adjust the resolution and screen size to ensure the best possible display. The following steps will guide you through the process:
- Access the projector’s settings: On the InFocus projector, locate the menu button or on-screen display controls. These buttons are usually located on the top or side of the projector.
- Navigate to the display settings: Using the menu button or the on-screen display, navigate to the display settings menu. Look for options to adjust the resolution and screen size.
- Adjust the resolution: In the display settings menu, you will find different resolution options. Select the one that matches your laptop’s display resolution or the desired output resolution. It’s important to choose a resolution that the projector is capable of displaying to ensure optimal image quality.
- Set the screen size: In the display settings menu, you will also find options to adjust the screen size. Use the navigation buttons to decrease or increase the screen size according to your preferences. This allows you to customize the size of the projected image to fit your needs and the available viewing space.
- Save and apply the settings: Once you have made the necessary adjustments to the resolution and screen size, save the settings and apply them. The projector will now display the content from your laptop at the adjusted resolution and screen size.
It’s important to note that the available options and the specific steps may vary depending on the model of the InFocus projector. Refer to the user manual or the on-screen prompts for more detailed instructions specific to your projector.
By adjusting the resolution and screen size on the InFocus projector, you can ensure that the content from your laptop is displayed clearly and at the optimal size. Experiment with different settings to find the configuration that best suits your preferences and viewing environment.
Adjusting the brightness and contrast on the InFocus projector
To achieve the best image quality and ensure optimal viewing experience, it’s important to adjust the brightness and contrast settings on your InFocus projector. Here are the steps to follow:
- Access the projector’s settings: Locate the menu button or on-screen display controls on the InFocus projector. These buttons are typically located on the top or side of the projector.
- Navigate to the display settings: Use the menu button or the on-screen display controls to navigate to the display settings menu on the projector.
- Adjust the brightness: In the display settings menu, you will find an option to adjust the brightness. Increase or decrease the brightness level according to your preference and the surrounding lighting conditions. A higher brightness level is recommended for well-lit environments, while a lower level is suitable for dimly lit or dark rooms.
- Adjust the contrast: Similarly, in the display settings menu, locate the option to adjust the contrast. The contrast determines the difference between the darkest and brightest parts of the image. Adjust the contrast level to achieve a balanced and vivid image. A higher contrast level can enhance the sharpness and color contrast, but excessive contrast may result in loss of detail or exaggerated colors.
- Preview and fine-tune the settings: After adjusting the brightness and contrast, preview the changes on the projected image. If necessary, make further adjustments to ensure the image appears clear, well-defined, and visually appealing.
- Save and apply the settings: Once you are satisfied with the brightness and contrast settings, save the changes and apply them. The projector will now display the content with the adjusted brightness and contrast levels.
Please note that the exact menu options and navigation may vary depending on the model and features of your InFocus projector. Consult the user manual or on-screen prompts for specific instructions tailored to your projector.
By adjusting the brightness and contrast on your InFocus projector, you can enhance the image quality and create a more immersive visual experience. Experiment with different settings to find the balance that works best for your viewing environment and personal preferences.
Using the remote control to navigate through your laptop’s content
When using an InFocus projector with your laptop, you can conveniently navigate through your laptop’s content using the remote control that comes with the projector. This allows you to control your laptop from a distance, providing a seamless and user-friendly experience. Here’s how you can use the remote control to navigate through your laptop’s content:
- Connect the remote control: Ensure that the batteries are properly inserted into the remote control and that it is functioning correctly. In some cases, you may need to pair the remote control with the projector using the provided instructions.
- Basic navigation: The remote control usually consists of arrow keys or a joystick that allow you to navigate through menus and options. Use these keys to move up, down, left, or right, just like you would when using a mouse or trackpad on your laptop.
- Selecting options: The remote control may have a dedicated “Select” button or a central button that allows you to choose menu options, open files, or select desired settings. Press this button to make a selection on your laptop’s screen.
- Scrolling and zooming: Some remote controls have additional buttons for scrolling or zooming in and out. These buttons enable you to scroll through documents, webpages, or presentation slides, and zoom in or out on specific content.
- Launching applications: Depending on the remote control’s features, you may also be able to launch specific applications or functions on your laptop. Look for dedicated buttons or configuration options that allow you to open applications, switch between windows, or perform common tasks.
- Media controls: Many remote controls include media control buttons, such as play, pause, stop, and volume control. These buttons enable you to control media playback on your laptop, making it easy to play videos, music, or presentations.
It’s important to note that not all remote controls may have the same features, and the functionality may vary depending on the laptop model and the compatibility with the projector. Refer to the user manual or the instructions provided with your remote control for specific details on its capabilities.
Using the remote control to navigate through your laptop’s content adds convenience and flexibility to your presentation or entertainment experience. It allows you to control your laptop without being tethered to the device, providing you with the freedom to move around and interact with your content more naturally.
Troubleshooting common issues with the InFocus projector and laptop connection
While connecting your laptop to an InFocus projector usually goes smoothly, you may encounter some common issues. Here are troubleshooting tips for resolving these issues and ensuring a successful connection:
- No display on the projector: If there is no display on the projector, check that the cable connections are secure. Make sure you have selected the correct input source on the projector and that the laptop is powered on. If the issue persists, try using a different cable or connecting to a different input port on the projector.
- Poor image quality: If the image quality is poor or unclear, adjust the resolution settings on the laptop and the projector to match. Ensure that the projector lens is clean and free from dust or smudges. Additionally, adjust the brightness and contrast settings on the projector to optimize the image quality based on your viewing environment.
- No audio: If the laptop is not producing sound through the projector’s speakers, check the audio settings on the laptop. Ensure that the audio output is set to the projector and that the volume is not muted or set too low. If the issue persists, try connecting external speakers to the laptop for audio playback.
- Intermittent connection: If the connection between the laptop and the projector is intermittent, check the cable for any damage or loose connections. Try using a different cable or ensuring a snug fit between the cable and the ports. Additionally, check for any software updates for your laptop or projector that could address connectivity issues.
- Incorrect display orientation: If the content on the projected screen is not aligned correctly, adjust the display settings on the laptop. Choose the appropriate display orientation (landscape or portrait) to match the projector’s setup. If needed, use the projector’s settings to rotate or flip the image to the desired orientation.
- Unsupported resolution: If the projector does not support the resolution of your laptop, you may encounter display issues. In such cases, try setting a lower resolution on the laptop that is supported by the projector. This can usually be done in the display settings of the laptop’s operating system.
If you have followed these troubleshooting tips and are still experiencing issues, consult the user manuals for both your laptop and the InFocus projector for further guidance. You may also consider contacting the manufacturer’s customer support for additional assistance.
By addressing these common issues and following the troubleshooting tips, you can overcome any connection problems and ensure a smooth and successful experience when using your laptop with an InFocus projector.
Tips for optimizing the use of the InFocus projector with your laptop
To get the most out of your InFocus projector when using it with your laptop, consider implementing the following tips and techniques:
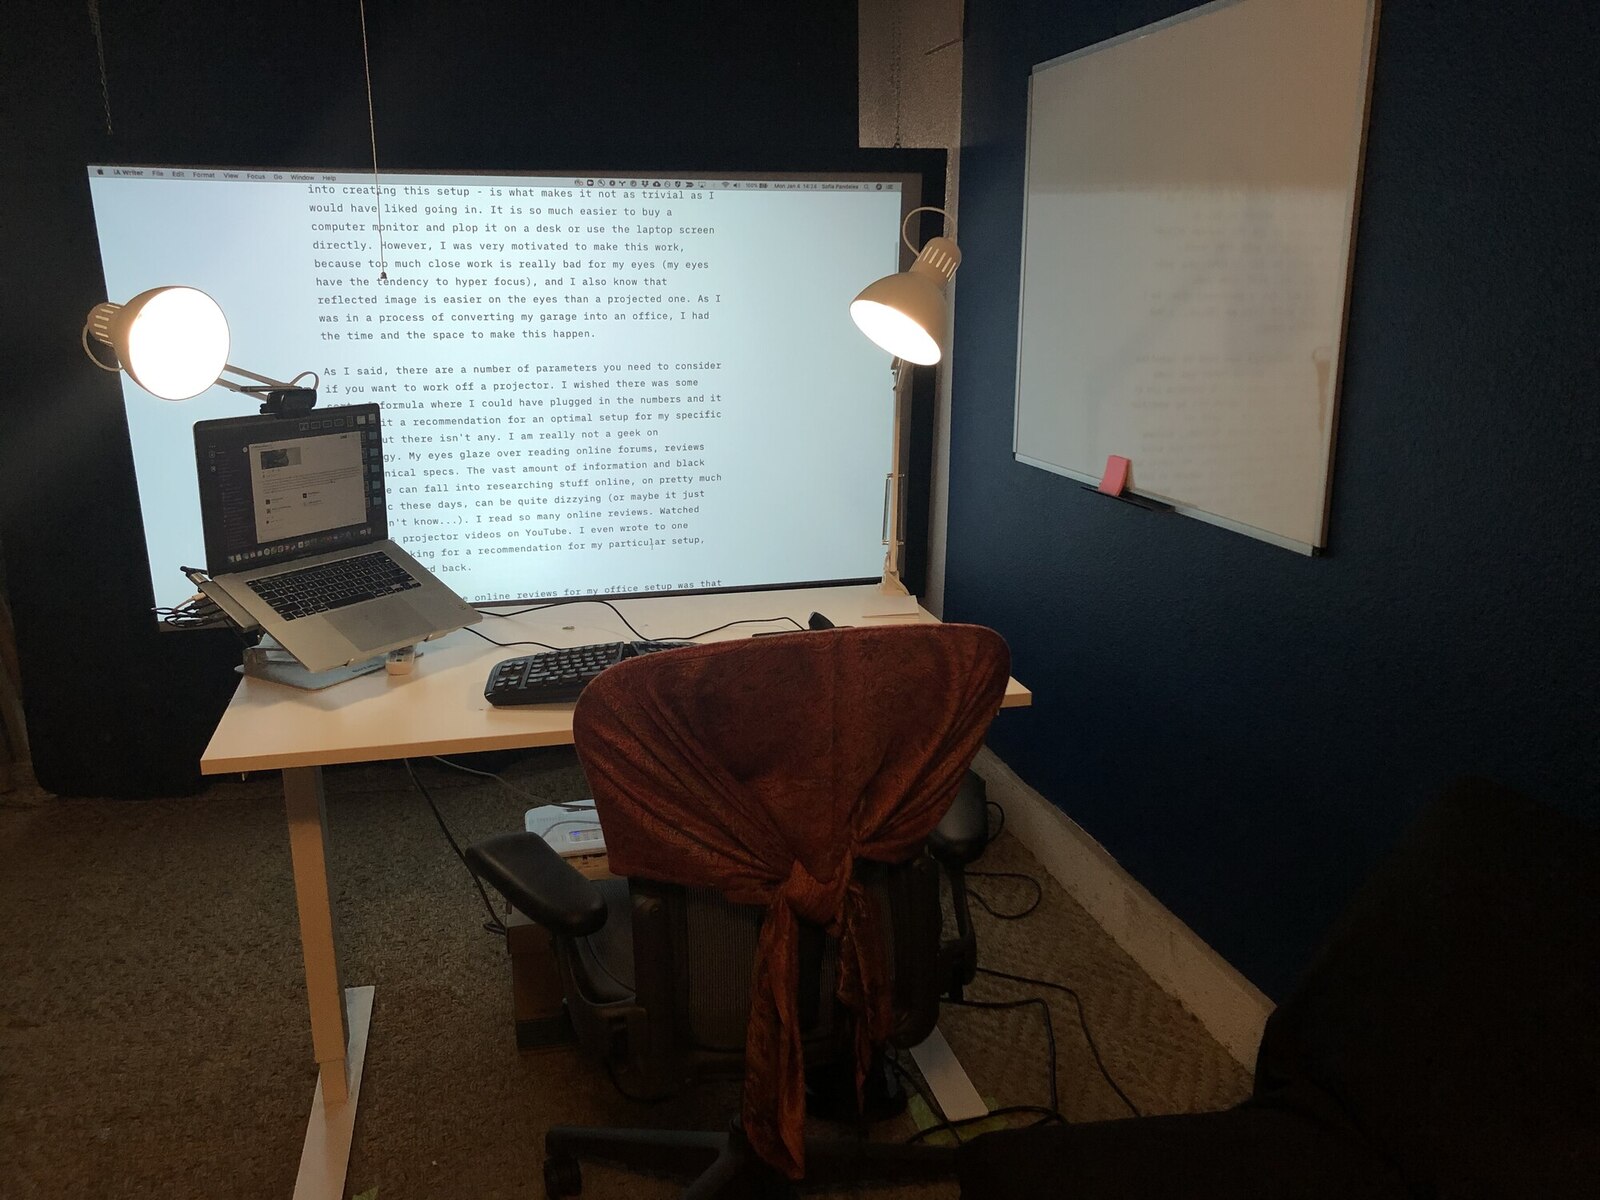
- Plan your setup: Before your presentation or movie night, plan the physical setup of your projector and laptop. Ensure that the projector is positioned correctly to achieve the desired screen size and that it is placed in an area with minimal ambient light to enhance image quality.
- Use a dedicated display mode: Experiment with different display modes on your laptop to find the one that best suits your needs. The “Extend” mode allows you to have different content on your laptop screen and the projector screen, while “Duplicate” mode shows the same content on both screens. Choose the mode that enhances your productivity or entertainment experience.
- Optimize the display resolution: Set the display resolution of your laptop to match the native resolution of the InFocus projector for the best image quality. Avoid using excessively high resolutions that the projector may not support, as this can lead to distorted or pixelated images.
- Prepare your content: Prior to your presentation, ensure that your content is compatible with the projector’s display specifications. Verify that videos and multimedia files are encoded in formats supported by the projector to avoid compatibility issues during playback.
- Minimize background applications: Close unnecessary applications and disable notifications on your laptop to optimize system performance. This helps prevent interruptions or lags during presentations or multimedia playback.
- Experiment with screen size: Adjust the screen size on the InFocus projector to fit your viewing environment and audience needs. Increase the screen size for larger audiences or smaller rooms, and reduce it for more intimate settings where a smaller display may be more appropriate.
- Utilize keyboard shortcuts or remote control: Familiarize yourself with convenient keyboard shortcuts or the remote control functions specific to your laptop and projector. These shortcuts can help you navigate through presentations or media content efficiently without needing to move closer to the laptop.
- Calibrate color and image settings: In addition to adjusting brightness and contrast, explore the color and image settings on both your laptop and the projector to achieve the desired visual experience. Calibrate the colors and image quality according to your preferences or specific content requirements.
- Keep backup cables and accessories: Always have spare cables, adapters, and other necessary accessories on hand. This helps to quickly troubleshoot any connection issues that may arise during setup or while using the projector with your laptop.
- Regularly update software and firmware: Stay up to date with the latest software and firmware updates for your laptop and InFocus projector. These updates often address performance issues, add new features, and improve compatibility with different devices.
By following these tips, you can optimize the use of your InFocus projector with your laptop, ensuring smooth operations, impressive visual quality, and a hassle-free experience for your presentations, entertainment, and collaborative work.
Conclusion
Using an InFocus projector with your laptop unlocks a world of possibilities, enhancing your presentations, entertainment experiences, and collaborative work environments. The combination of these two devices allows you to display your laptop’s content on a larger screen with superior image quality, offering numerous benefits.
By connecting your laptop to the InFocus projector and choosing the correct display settings, you can ensure that your content is presented in the best possible way. Adjusting the resolution and screen size optimizes the display, while adjusting the brightness and contrast enhances the visual quality. Utilizing the remote control provides convenient navigation through your laptop’s content, offering a seamless and user-friendly experience.
However, it’s important to be aware of common issues that may arise when using an InFocus projector with your laptop. Troubleshooting tips can help you address these issues, ranging from connection problems to image quality and audio concerns. By following these troubleshooting steps, you can overcome obstacles and ensure a successful connection.
To optimize your experience further, consider implementing tips such as proper setup planning, using dedicated display modes, preparing your content, and minimizing background applications. Experimenting with screen size, utilizing shortcuts or remote control functions, and calibrating color and image settings can enhance your visual experience. It’s also advisable to keep backup cables and regularly update software and firmware for seamless performance.
Incorporating an InFocus projector into your laptop setup opens up a world of possibilities, expanding your capacity to deliver impactful presentations, enjoy immersive entertainment, and collaborate effectively. By leveraging the capabilities of these devices and applying the tips and techniques mentioned, you can elevate your laptop and projector setup to new heights.