Introduction
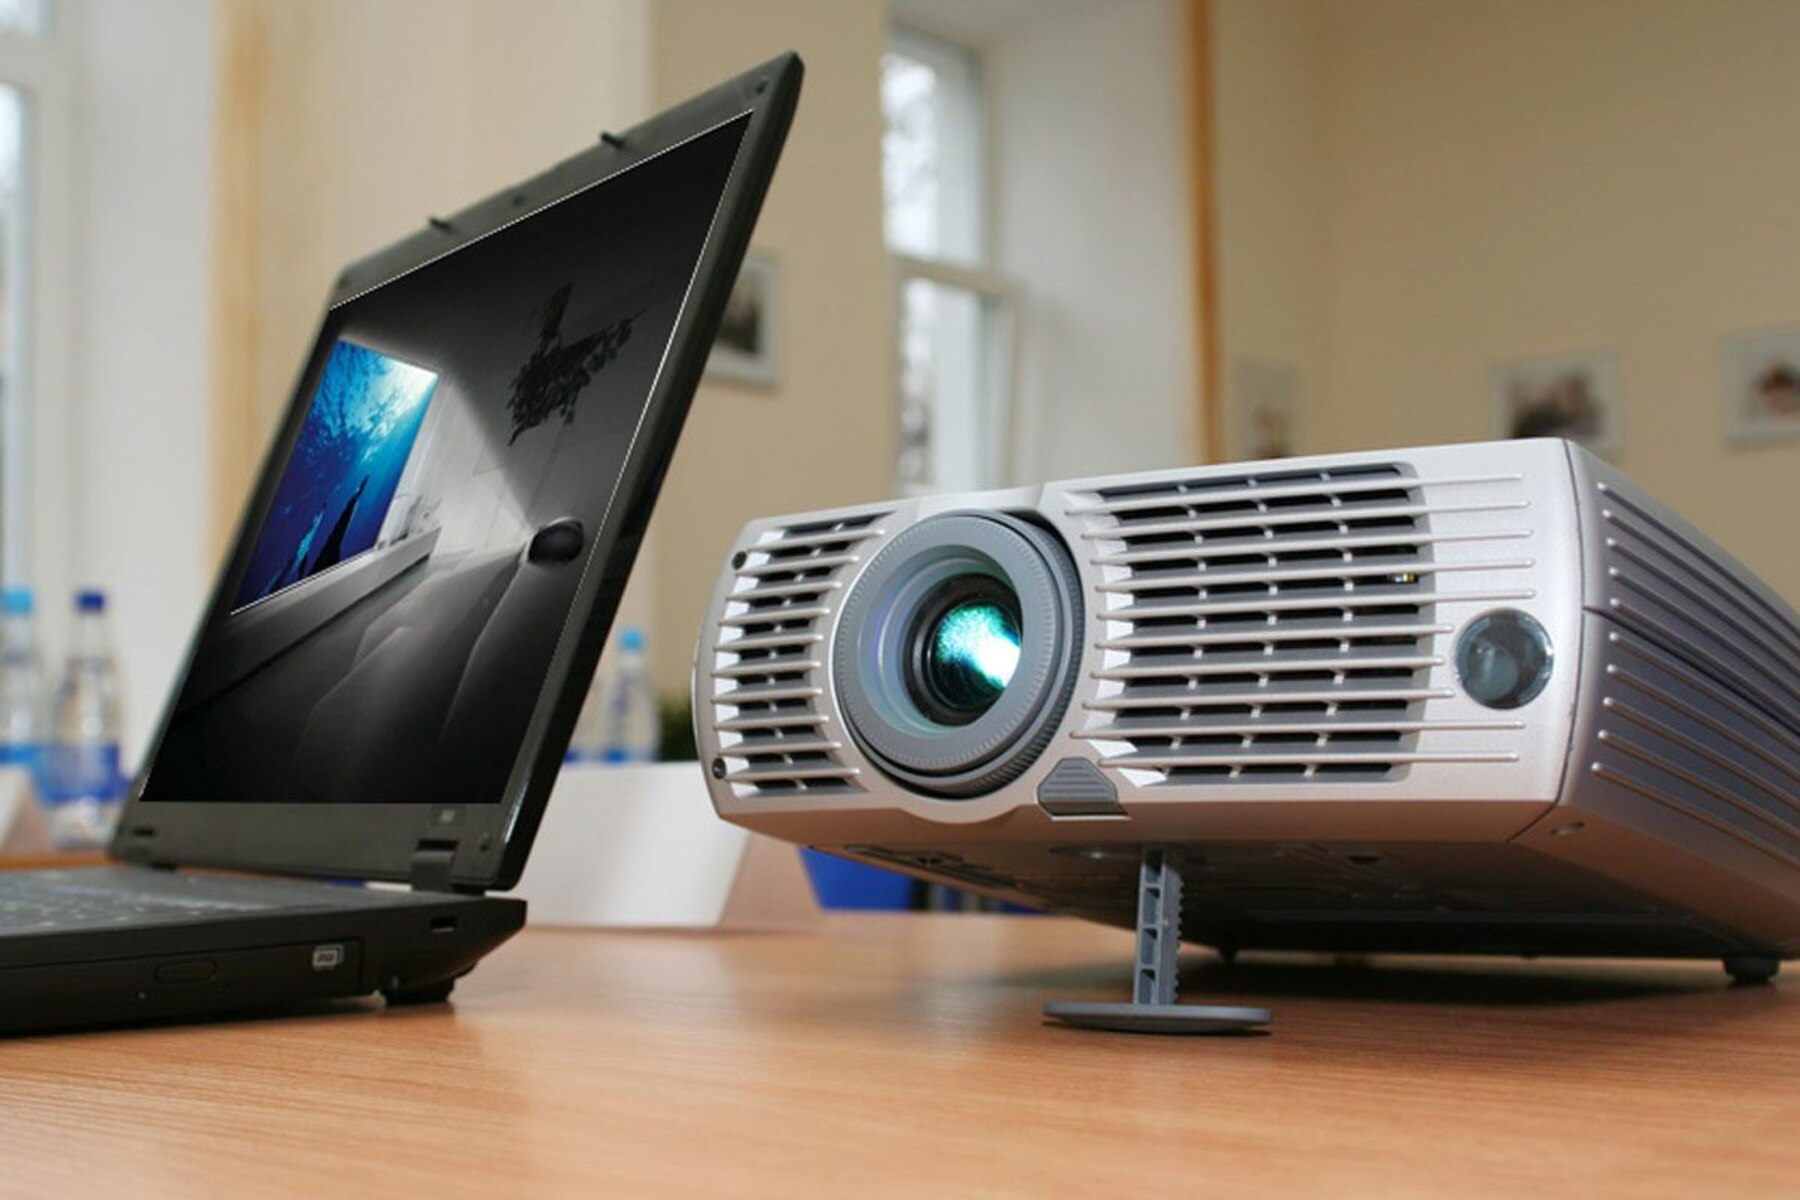
In today’s digital age, projectors have become an essential tool for presentations, meetings, and entertainment purposes. Infocus projectors are known for their high-quality display and user-friendly features. If you’re looking to connect your Infocus projector to a computer, you’ve come to the right place.
In this article, we will guide you through the step-by-step process of connecting your Infocus projector to your computer. Whether you’re using a VGA or HDMI cable, we’ll provide you with clear instructions to ensure a seamless connection.
Connecting your Infocus projector to your computer not only allows you to showcase your work on a larger screen but also enables you to enjoy movies, videos, and games with a more immersive experience. With the right connections and settings, you can transform your computer into a powerful multimedia hub.
Before we dive into the steps, it’s essential to check if you have all the necessary equipment. Make sure you have your Infocus projector, a VGA or HDMI cable, and a computer with an available VGA or HDMI port. Once you have these items ready, you can proceed to the next steps.
Now, let’s get started and learn how to connect your Infocus projector to your computer. By following these instructions, you’ll be able to enhance your presentations and enjoy multimedia content on a bigger and more immersive display.
Step 1: Check the connections
Before connecting your Infocus projector to your computer, it’s crucial to ensure that all the necessary connections are in place. This step will help prevent any potential issues and ensure a smooth and successful connection.
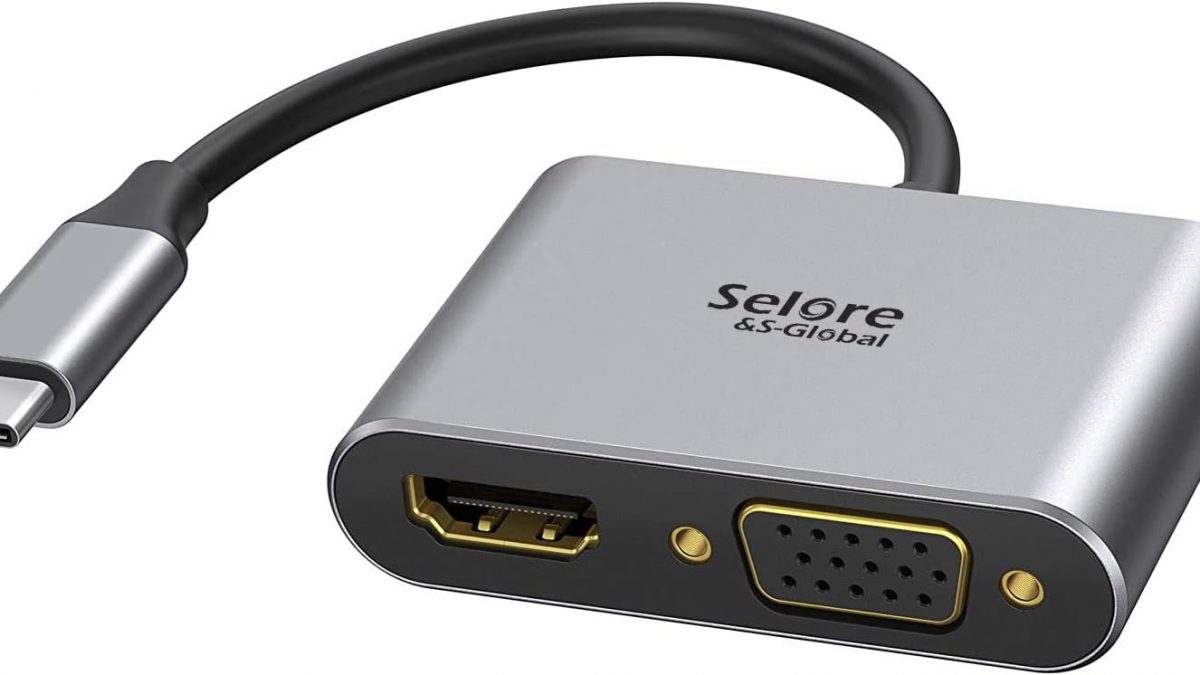
First, visually inspect your Infocus projector and locate the VGA or HDMI ports. These ports are usually found at the back or side of the projector. Identify the corresponding ports on your computer as well. The VGA port is usually blue, while the HDMI port is rectangular and has multiple pins.
Next, make sure you have the appropriate cable for your connection. If you’re using a VGA cable, check if it’s in good condition and free from any damages. Similarly, if you’re using an HDMI cable, ensure it’s compatible with both your Infocus projector and computer.
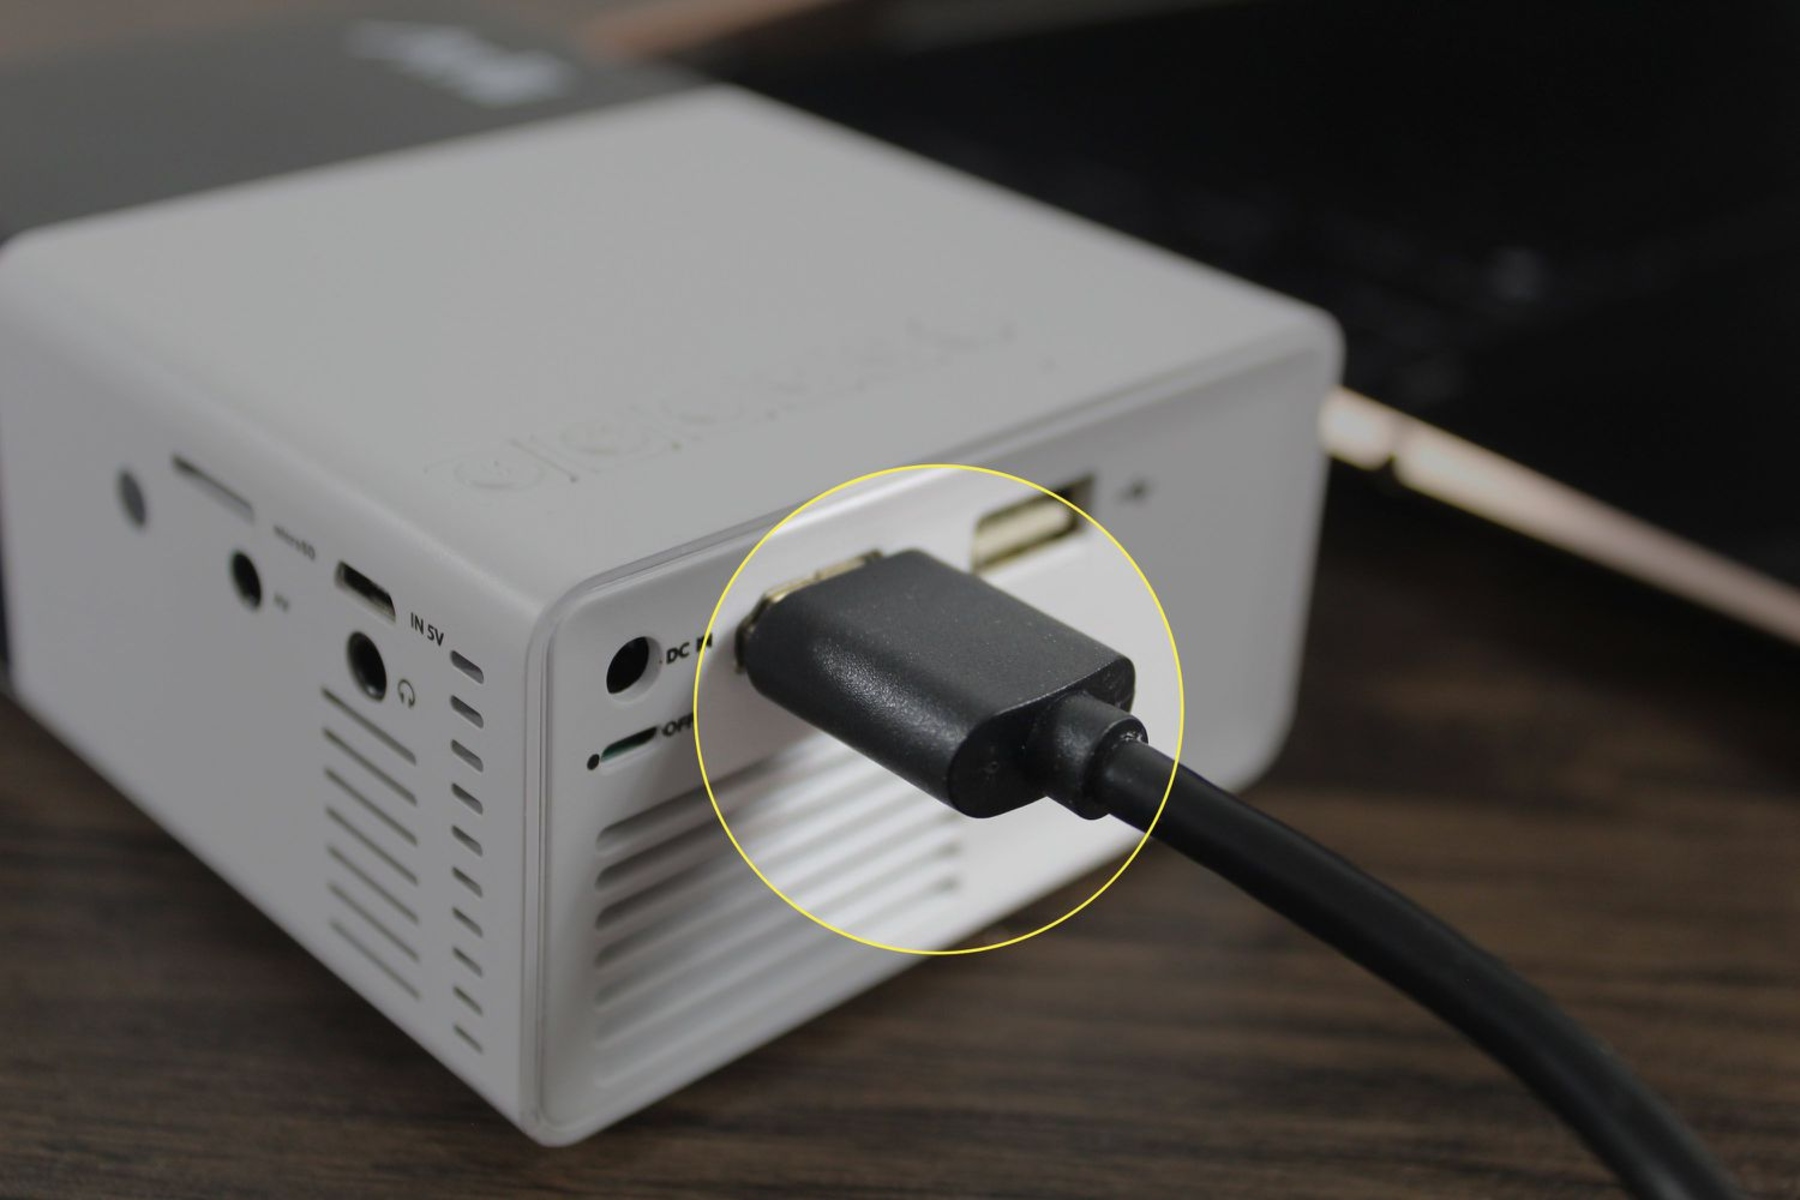
Once you have your cable ready, connect one end to the VGA or HDMI port on your Infocus projector. Ensure that the connector is properly inserted and securely tightened. Then, take the other end of the cable and connect it to the corresponding port on your computer.
After connecting the cable, gently wiggle it to make sure it’s firmly attached. Loose connections can result in a weak or intermittent signal, affecting the quality of your projection. Ensure that both ends of the cable are securely in place.
If you’re using an HDMI cable, it’s important to note that audio will also be transmitted through the cable. This eliminates the need for a separate audio connection. However, if you’re using a VGA cable, you’ll need to connect an audio cable from your computer’s audio output to the audio input on your Infocus projector if you want to play sound through the projector’s speakers.
Once you have checked and established the necessary connections, you can move on to the next step: setting the input source on your Infocus projector.
Step 2: Connect the VGA or HDMI cable
Now that you have checked the connections and ensured that the cable is securely attached, it’s time to connect the VGA or HDMI cable between your Infocus projector and computer.
If you’re using a VGA cable, locate the VGA port on your computer. It’s usually blue and has three rows of holes. Take one end of the VGA cable and insert it into the VGA port on your computer. Make sure to align the pins and gently push the connector in until it fits snugly.
On the other end of the VGA cable, locate the VGA port on your Infocus projector. Insert the VGA connector into the port, ensuring a secure fit. Again, double-check that the connector is properly aligned with the port and firmly inserted.
If you’re using an HDMI cable, the connection process is slightly different. First, find the HDMI port on your computer. It’s usually rectangular, with multiple pins and a distinctive shape. Take one end of the HDMI cable and insert it into the HDMI port on your computer. Ensure that the connector is properly aligned and firmly pushed into place.
On the other end of the HDMI cable, locate the HDMI port on your Infocus projector. It’s also rectangular and may be labeled “HDMI IN.” Insert the HDMI connector into the port, aligning the pins and gently pushing it in until it’s securely connected.
Once the VGA or HDMI cable is connected to both devices, give the cable a gentle wiggle to ensure that it’s well-seated. This will help prevent any signal loss or intermittent connectivity issues during your projection.
If you’re using a VGA cable and you want to transmit audio to your Infocus projector’s speakers, you’ll need to connect an audio cable from your computer’s audio output to the audio input on your projector. This will allow sound to be played through the projector’s speakers.
With the VGA or HDMI cable successfully connected between your Infocus projector and computer, it’s time to move on to the next step: setting the input source on your projector.
Step 3: Set the input source on the projector
After successfully connecting the VGA or HDMI cable between your Infocus projector and computer, the next step is to set the input source on your projector. This ensures that the projector recognizes the connected device and displays the content accordingly.
On your Infocus projector’s remote control or control panel, look for the “Input” or “Source” button. Press this button to access the input source options. The available input sources may vary depending on your specific Infocus model, but commonly include VGA, HDMI, and other video inputs.
Using the arrow keys on either the remote control or control panel, navigate through the input source options until you reach the appropriate input for your connected computer. If you’ve used a VGA cable, select VGA or PC. If you’ve used an HDMI cable, select HDMI or PC. Make sure to highlight and confirm the selected input source.
Once the input source is set, you may see a brief display message on your Infocus projector indicating that it’s detecting and syncing with the connected computer. Give it a few seconds to establish the connection.
If you’re not seeing any projected image or the display appears distorted, double-check the connection from your computer to the Infocus projector. Ensure that the VGA or HDMI cable is securely plugged in on both ends.
It’s also worth checking that the computer is powered on and the display output is properly configured. In the next step, we’ll guide you through the process of configuring the display settings on your computer to ensure optimal projection.
Setting the input source on your Infocus projector is an important step in establishing a seamless connection with your computer. Once you’ve completed this step, you’re ready to move on to the next one: configuring the display settings on your computer.
Step 4: Configure display settings on the computer
Now that you have set the input source on your Infocus projector, it’s time to configure the display settings on your computer. This step ensures that the computer recognizes the connected projector and adjusts the display output accordingly.
On your computer, go to the “Display Settings” or “Screen Resolution” option. The exact location may vary depending on the operating system you’re using. Look for the display settings that allow you to manage multiple displays or external monitors.
Once you’ve accessed the display settings, you should see a preview of your computer’s current display configuration. Look for the option to detect or identify displays. Click on this option to allow your computer to recognize the Infocus projector as an external display.
Next, you’ll see the detected displays listed. Select the Infocus projector from the list and choose the desired display mode. Depending on your preferences and the capabilities of your Infocus projector, you can opt for duplicate display mode (mirroring your computer screen on the projector) or extend display mode (extending your desktop across both screens).
After selecting the display mode, you may also need to adjust the screen resolution of the connected projector. Choose a resolution that is compatible with your Infocus projector and provides the best display quality. It’s recommended to use the native resolution of the projector for optimal visual performance.
Some computers may require you to click on the “Apply” or “OK” button to confirm and apply the changes. Once the settings are applied, the display output should be adjusted to suit the connected Infocus projector.
If you’re not seeing any image on the projected screen or the display appears distorted, double-check the connection from your computer to the Infocus projector and ensure that the input source is set correctly on the projector.
Configuring the display settings on your computer is an essential step to ensure that the projected image matches your desired configuration. With the display settings properly configured, you’re now ready to move on to the next step: adjusting the projection settings on your Infocus projector.
Step 5: Adjust the projection settings
With the display settings on your computer properly configured, the next step is to adjust the projection settings on your Infocus projector. This step ensures that the projected image is aligned, focused, and optimized for the best viewing experience.
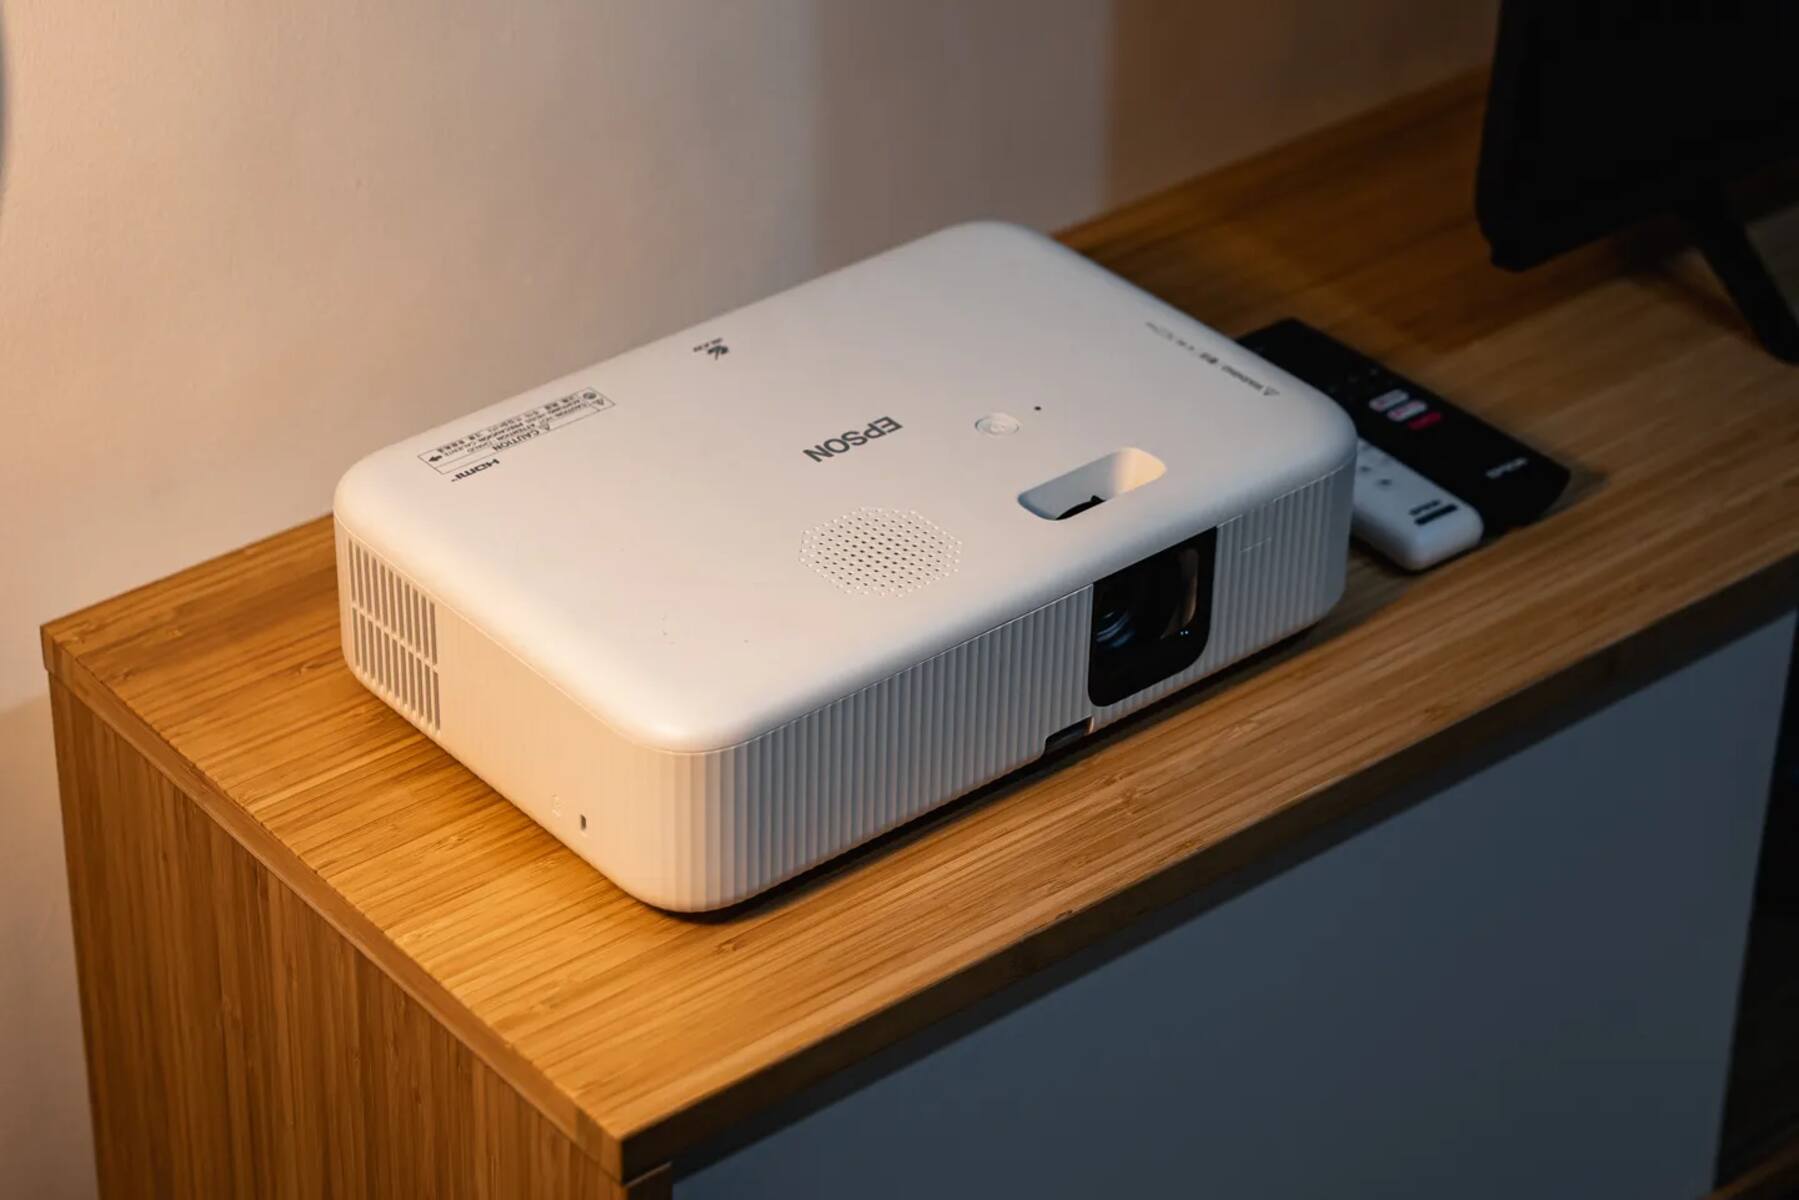
Start by turning on your Infocus projector if it’s not already powered on. Use the remote control or the control panel on the projector to access the menu options.
Within the projector menu, look for the “Projection” or “Image” settings. This is where you can adjust various aspects of the projected image, such as brightness, contrast, color temperature, and keystone correction.
Depending on your Infocus model, you may have different options and settings available to customize the projection. Take your time to explore the menu and adjust the settings according to your preferences and the environment you’re in.
Start by adjusting the brightness and contrast to achieve a clear and vibrant image. You can increase or decrease these settings to match the lighting conditions of the room. Make sure to find a balance that produces a bright and well-defined image without causing any eye strain.
Next, check the color temperature setting. This setting allows you to fine-tune the color tones of the projected image. You can choose from preset color temperature options or manually adjust the red, green, and blue levels to achieve the desired color balance.
If the projected image appears distorted or skewed, you can utilize the keystone correction feature. This allows you to correct any Keystone effect caused by the projector not being perfectly aligned with the screen. Adjust the keystone correction until the projected image appears straight and proportional.
Once you have made the necessary adjustments, take a few moments to review the projected image and ensure that it meets your expectations. If needed, you can further fine-tune the settings to achieve the desired visual quality.
Remember to save any changes you make in the projector menu to ensure that the adjusted projection settings are retained for future use.
By adjusting the projection settings on your Infocus projector, you can optimize the projected image for the best viewing experience. Now that you’ve completed this step, you’re ready for the final step: starting the projection.
Step 6: Start projecting
You’re almost there! After adjusting the projection settings on your Infocus projector, it’s time to start projecting your computer’s display onto the big screen. Follow these simple steps to begin enjoying your content on a larger scale.
Ensure that both your Infocus projector and computer are powered on and ready for use. Double-check that the VGA or HDMI cable is securely connected on both ends and that the input source is set correctly on the projector.
On your computer, open the content you want to display on the projector. It can be a presentation, a video, a document, or any other type of content you wish to share or enjoy on the larger screen.
Once your content is ready, press the “Play” or “Start” button, depending on the application or media player you’re using. The content will now be projected onto the screen through your Infocus projector.
Take a moment to ensure that the projected image is aligned properly and fits within the screen boundaries. If needed, you can adjust the projector distance or zoom settings to achieve the desired image size.
Now, sit back, relax, and enjoy your content on the big screen. Whether you’re delivering a presentation, watching a movie, or playing games, the immersive experience provided by the Infocus projector will surely enhance your enjoyment.
Don’t forget to control your content from your computer or any connected peripherals, such as a wireless mouse or keyboard, for added convenience and flexibility.
When you’re finished with your projection, properly shut down both your computer and Infocus projector. Disconnect the VGA or HDMI cable and store it securely for future use.
By following these simple steps, you can easily start projecting your computer’s display onto an Infocus projector. Enjoy the larger image size, improved visibility, and enhanced entertainment experience that the projector provides.
Congratulations! You have successfully connected and projected your computer’s display with an Infocus projector. Now you can share your presentations, videos, and other content with a larger audience or enjoy immersive entertainment right in the comfort of your own space.
Conclusion
Connecting your Infocus projector to your computer opens up a world of possibilities for presentations, entertainment, and productivity. By following the step-by-step process outlined in this article, you can easily connect the two devices and start enjoying a larger, more immersive display.
Throughout this guide, you’ve learned the importance of checking connections, connecting the VGA or HDMI cable, setting the input source on the projector, configuring the display settings on the computer, adjusting the projection settings on the projector, and finally, starting the projection. Each step is crucial to ensure a seamless and high-quality viewing experience.
Remember to check and secure the connections between your Infocus projector and computer before proceeding. Ensure that the input source is set correctly on the projector and configure the display settings on the computer to recognize and optimize the projection. Adjust the projection settings on the projector for the best image quality, and start projecting your content onto the big screen.
Whether you’re delivering a presentation in a professional setting, enjoying movies with friends, or indulging in immersive gaming sessions, the Infocus projector allows you to take your experience to the next level. The larger display size and enhanced visual performance offer an immersive and captivating experience like no other.
Now that you’ve mastered the art of connecting and projecting your computer’s display with an Infocus projector, you can confidently harness the power of this versatile device for various applications.
So, go ahead, connect your Infocus projector to your computer, and unlock a whole new world of possibilities. Amplify your presentations, elevate your entertainment, and enjoy an immersive display experience that will leave you and your audience impressed.