Introduction
Welcome to the world of Chromecast and projectors! If you’re looking for a way to enhance your viewing experience and enjoy your favorite movies, TV shows, or presentations on a bigger screen, you’ve come to the right place. In this article, we will guide you on how to use Chromecast on a projector, unlocking a whole new level of entertainment and productivity.
When it comes to streaming media from your phone, tablet, or computer to a larger display, Chromecast is a popular choice. With its easy setup and versatility, Chromecast allows you to cast your favorite content onto your TV, and yes, even onto a projector. Whether you’re hosting a movie night with friends or delivering a professional presentation, Chromecast can turn your ordinary projector into a smart projector.
Before we dive into the nitty-gritty of setting up and using Chromecast with a projector, let’s first understand what Chromecast and projectors are.
Chromecast: Chromecast is a streaming device developed by Google. It plugs into the HDMI port of your display and allows you to stream multimedia content from your phone, tablet, or computer to your TV or projector. It essentially acts as a bridge between your smart device and the larger screen, enabling you to enjoy your favorite apps, movies, and more on a bigger display.
Projectors: Projectors are devices that display images or videos onto a larger surface, typically a wall or a screen. They are commonly used for home theater setups, outdoor movie nights, and business presentations. Unlike TVs, projectors require an external source to display content, such as a DVD player, cable box, or streaming device like Chromecast.
Now that we have a basic understanding of Chromecast and projectors, let’s jump into the process of setting up Chromecast and connecting it to your projector. With a few simple steps, you’ll be ready to cast your favorite content onto the big screen in no time.
What is Chromecast and Projector?
Before we delve into the details of using Chromecast with a projector, it’s essential to understand the fundamentals of both Chromecast and projectors.
Chromecast: Chromecast is a streaming device developed by Google. It is a small dongle that plugs into the HDMI port of your TV or projector, allowing you to cast content from your mobile device or computer directly onto the larger screen. Chromecast is compatible with various apps, such as Netflix, YouTube, Spotify, and more. By using the apps on your phone or computer as the control device, you can easily select and cast your favorite shows, movies, music, and videos onto the big screen.
Chromecast devices come in different forms, including Chromecast (2nd generation), Chromecast Ultra, and Chromecast with Google TV. The Chromecast Ultra and Chromecast with Google TV offer additional features like 4K resolution support and built-in Google Assistant for voice control.
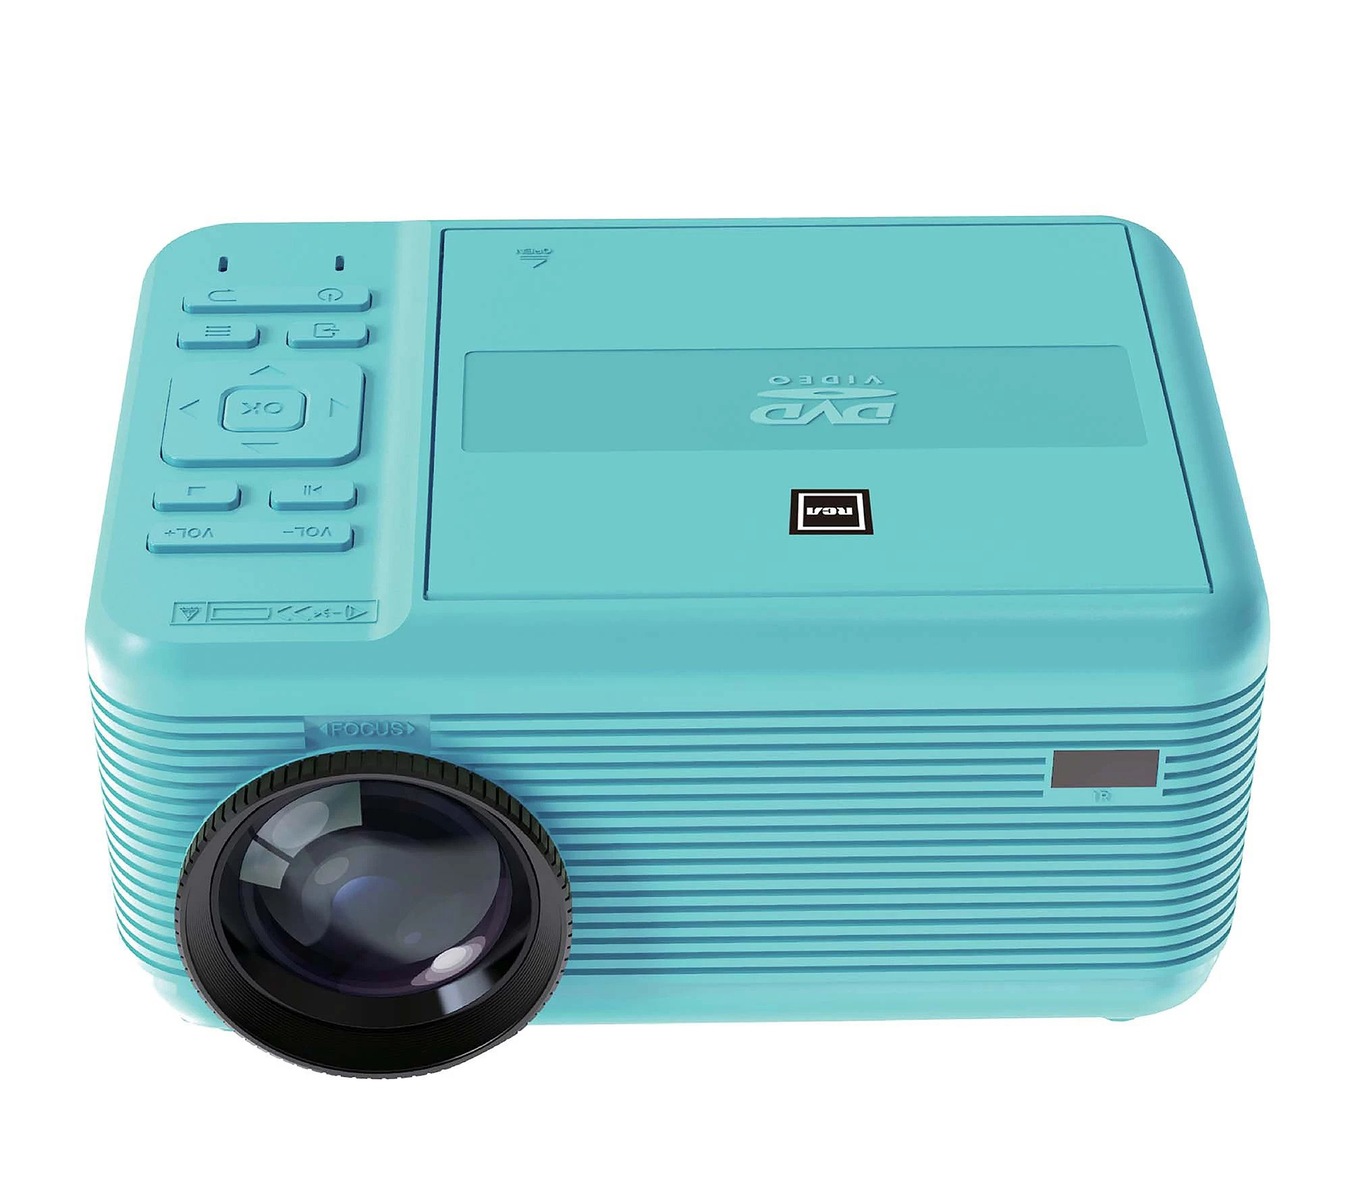
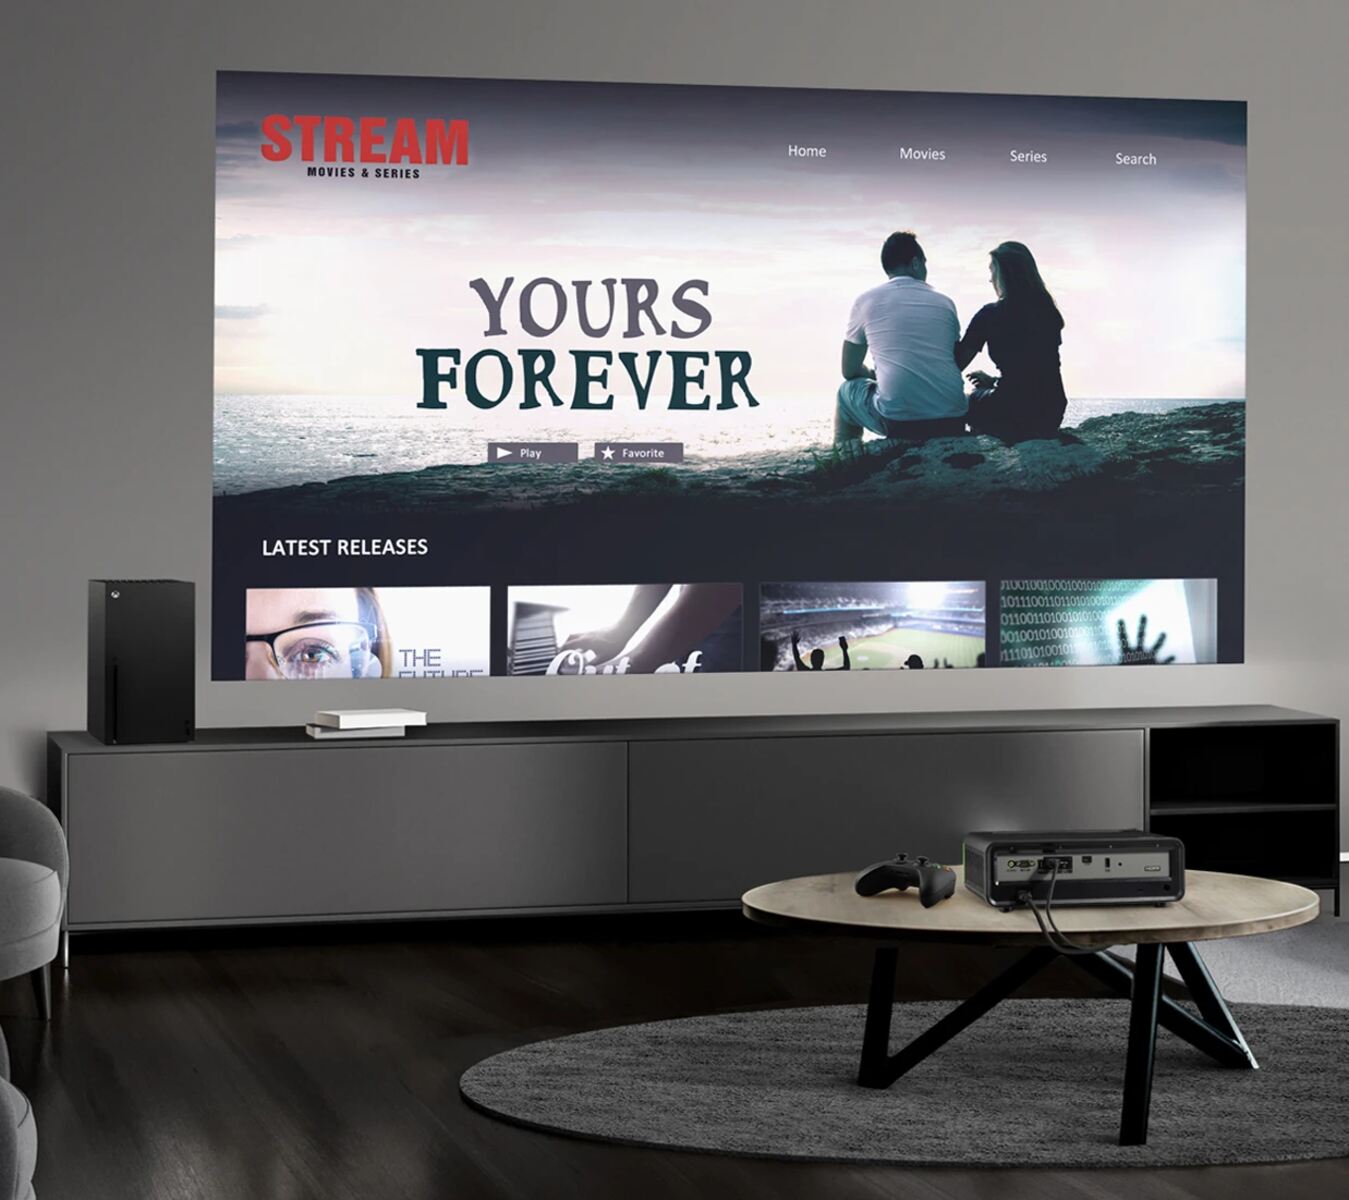
Projectors: A projector is a device that allows you to display images, videos, or presentations on a larger surface, such as a wall, screen, or whiteboard. Projectors have become increasingly popular for home entertainment, gaming, and business purposes. They provide a cinematic experience by projecting high-resolution images or videos onto a larger canvas.
Projectors can be categorized into two main types: home theater projectors and portable projectors. Home theater projectors are designed for dedicated home theater setups and offer higher image quality and contrast ratio. On the other hand, portable projectors are compact, lightweight, and ideal for on-the-go entertainment or business presentations.
A projector requires an external source to display content. In the case of Chromecast, it acts as that source. By connecting Chromecast to your projector, you transform it into a smart projector, enabling you to stream content from various apps and devices.
Now that we have a clear understanding of both Chromecast and projectors, let’s move on to the next section and learn how to set up Chromecast and connect it to your projector.
Setting Up the Chromecast
Setting up your Chromecast is a straightforward process that only requires a few simple steps. Before you begin, make sure you have the following:
- A Chromecast device
- A TV or projector with an available HDMI port
- A stable Wi-Fi connection
- A smartphone, tablet, or computer with the Google Home app installed
Now, let’s proceed with the setup:
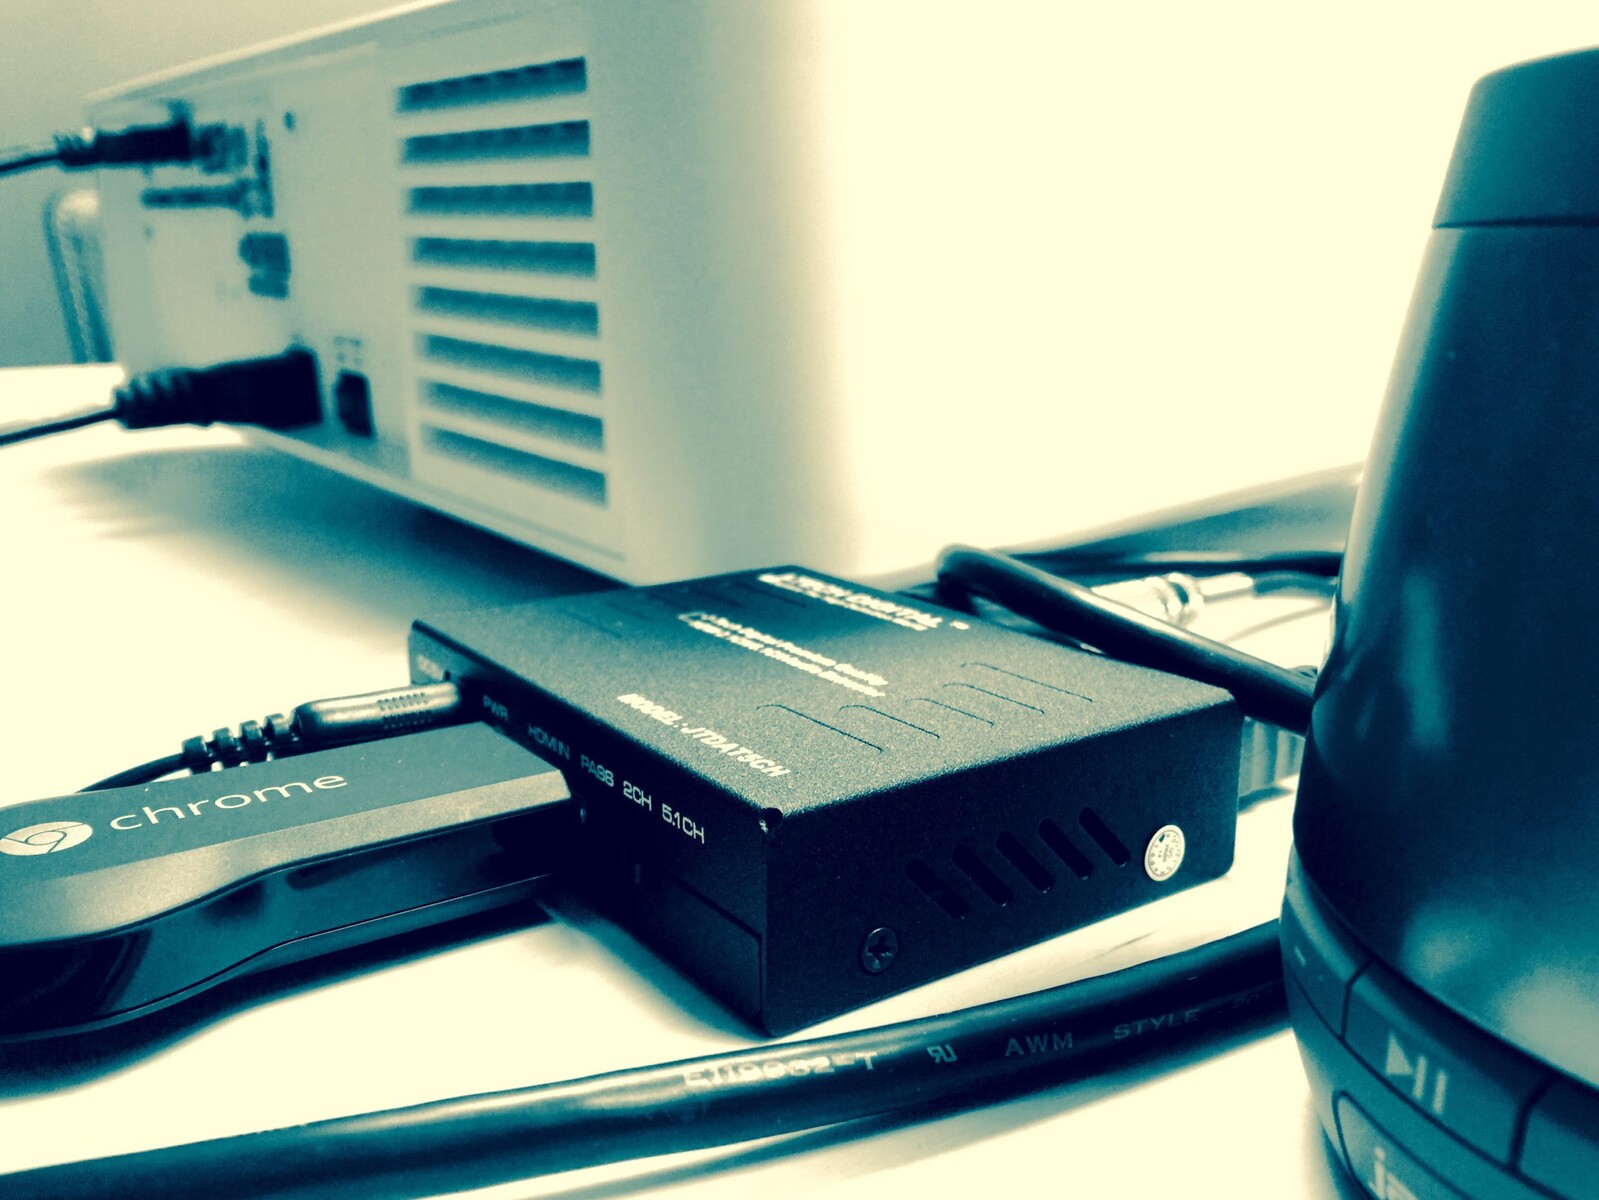
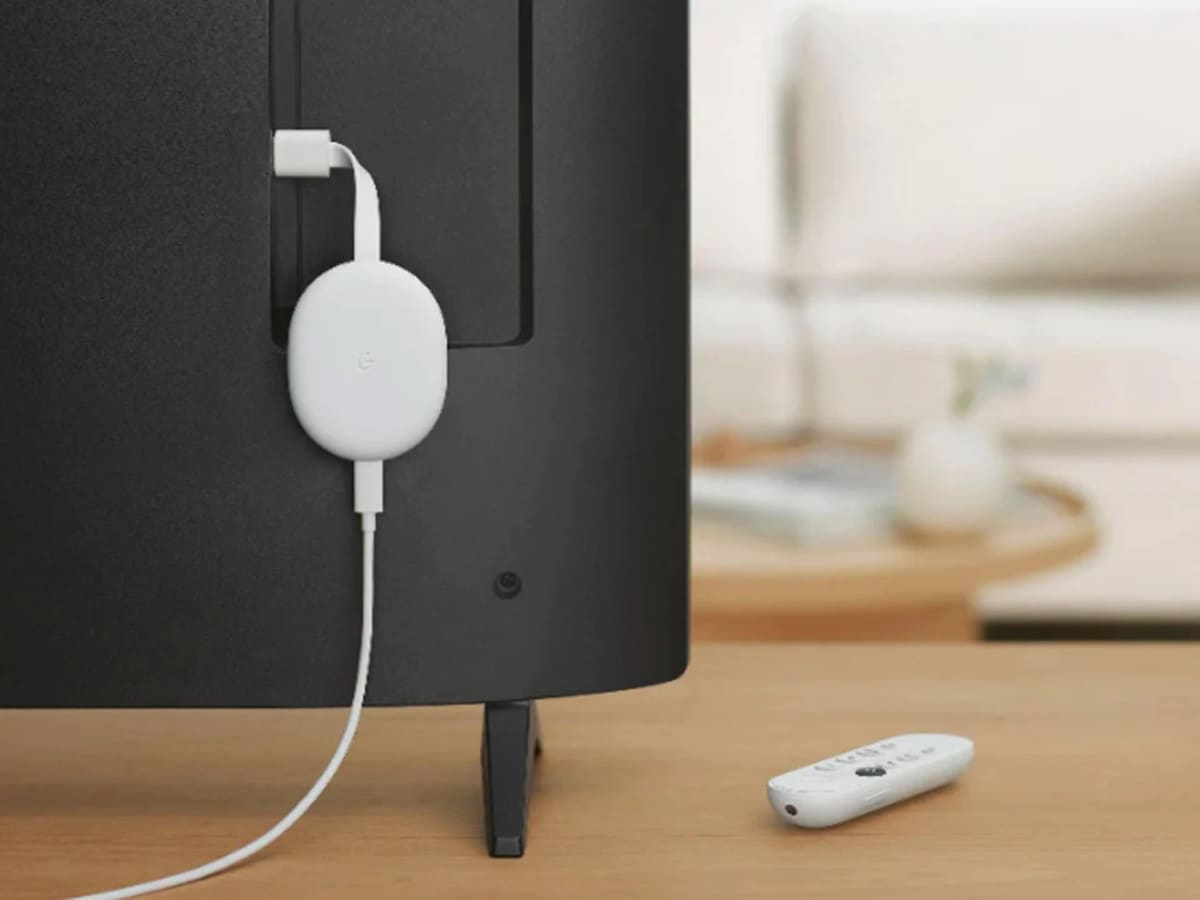
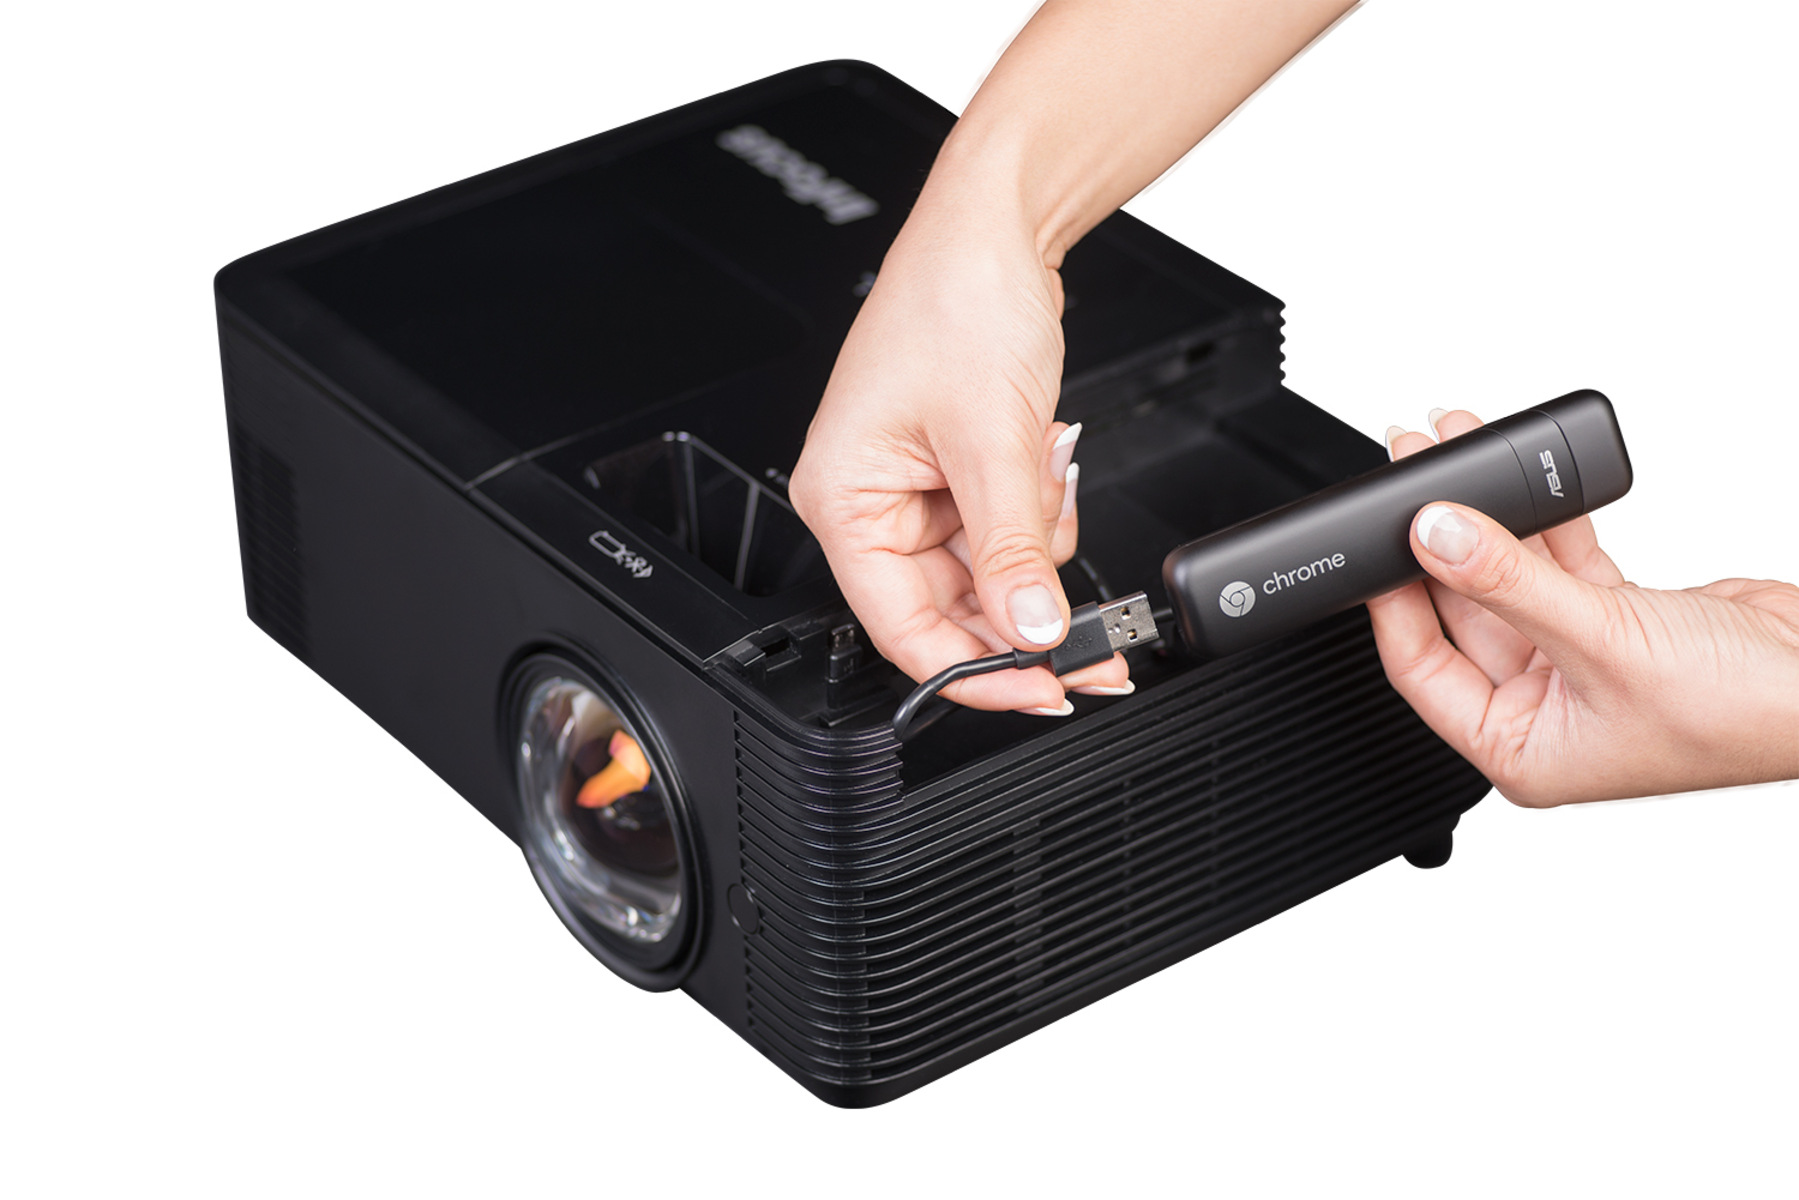
- Connect the Chromecast to your TV or projector: Plug the Chromecast device into an available HDMI port on your TV or projector. If your TV or projector doesn’t have an HDMI port, you may need to use an HDMI to VGA converter or similar adapter.
- Power up the Chromecast: Connect the USB power cable that came with the Chromecast to a USB port on your TV or use the provided power adapter to plug it into a power outlet. Once connected, your Chromecast should have power.
- Select the correct input source: Use your TV or projector’s remote to switch to the input source where you connected the Chromecast device.
- Download and open the Google Home app: Install the Google Home app on your smartphone, tablet, or computer. Open the app and sign in with your Google account or create a new one if you don’t have one already.
- Set up the Chromecast on the app: The Google Home app will automatically detect any nearby Chromecast devices. When prompted, select the Chromecast you want to set up and follow the on-screen instructions to complete the setup process.
- Connect the Chromecast to your Wi-Fi network: During the setup process, you will be prompted to connect your Chromecast to your Wi-Fi network. Make sure to select the correct network and enter the password if required.
- Update the Chromecast if needed: After connecting to the Wi-Fi network, your Chromecast may require a firmware update. If prompted, follow the instructions to update the device.
Once the setup process is complete, you’re ready to connect your Chromecast to the projector and start enjoying your favorite content on the big screen. In the next section, we’ll discuss how to connect Chromecast to the projector and configure it for optimal performance.
Connecting Chromecast to the Projector
Now that you have successfully set up your Chromecast, it’s time to connect it to your projector. Follow these steps to get started:
- Ensure your projector is turned off: Before making any connections, make sure your projector is powered off to avoid any potential damage to the devices.
- Locate the HDMI input on your projector: Depending on the model, the HDMI input may be labeled as “HDMI,” “HDMI In,” or something similar. Take note of the HDMI port number or label for future reference.
- Connect the Chromecast to the projector: Take the HDMI cable that came with your Chromecast and plug one end into the HDMI output port on the Chromecast device. Then, connect the other end firmly into the HDMI input port of your projector.
- Power on the projector: Turn on your projector and set it to the appropriate input source that corresponds to the HDMI port you connected the Chromecast to. Use the projector’s remote or on-screen menu to navigate the input selection.
- Check for the Chromecast setup screen: Once the projector is powered on and set to the correct input source, you should see the Chromecast setup screen displayed on the projector. If you don’t see anything, make sure the Chromecast device is securely connected and try switching to a different HDMI input on the projector.
- Use the Google Home app to continue setup: Open the Google Home app on your smartphone, tablet, or computer, and follow the prompts to complete the setup process for your Chromecast. Make sure to select the appropriate Chromecast device detected by the app.
- Verify the connection: Once the setup process is complete, the Chromecast is successfully connected to your projector. You can now start casting content from your mobile device or computer onto the projector’s screen.
It’s important to note that the specific steps may vary slightly depending on the projector model and Chromecast device you are using. Always refer to the user manual for your specific devices if you encounter any difficulties during the connection process.
Now that your Chromecast is connected to the projector, let’s move on to the next section where we’ll discuss how to configure Chromecast on the projector for optimal performance and settings.
Configuring Chromecast on the Projector
Once you have successfully connected your Chromecast to the projector, it’s time to configure the settings to ensure optimal performance and an enjoyable viewing experience. Here are the steps to configure Chromecast on the projector:
- Open the Google Home app: Launch the Google Home app on your smartphone, tablet, or computer that is connected to the same Wi-Fi network as your Chromecast and projector.
- Select your Chromecast device: In the Google Home app, you will see a list of available devices. Tap on your Chromecast device to access its settings.
- Access the settings menu: Once you’re on the Chromecast device settings page, you can access various options and configurations. Tap on the gear icon or the settings option to proceed.
- Configure network settings: In the settings menu, you can check the network settings of your Chromecast. Make sure it is connected to your desired Wi-Fi network and has a stable internet connection.
- Adjust display settings: Depending on your specific projector and preferences, you may want to adjust the display settings of your Chromecast. This includes selecting the correct screen resolution, aspect ratio, and overscan settings for a properly scaled and centered image on the projector’s screen.
- Enable guest mode: If you wish to allow others to cast to your Chromecast without being connected to your Wi-Fi network, you can enable guest mode. This can be useful when hosting events or sharing content with friends and colleagues.
- Customize ambient mode: Chromecast devices that support ambient mode allow you to display images, artwork, or useful information on the screen when it is not actively casting. You can customize the content and appearance of the ambient mode to your liking.
- Set default streaming apps: You can specify which streaming apps you want to use as the default for casting content to the projector. This allows for easier and quicker access to your preferred media sources.
Remember, the specific settings and options available may vary depending on the Chromecast device model and firmware version. Take the time to explore the different settings in the Google Home app and customize them based on your preferences.
With your Chromecast now configured on the projector, you are all set to enjoy a wide variety of content on the big screen. In the next section, we’ll discuss how to use Chromecast with the projector to cast your favorite shows, movies, and more.
Using Chromecast with the Projector
Now that your Chromecast is set up and configured on the projector, it’s time to explore the exciting possibilities of using Chromecast to cast your favorite content on the big screen. Here’s how to use Chromecast with the projector:
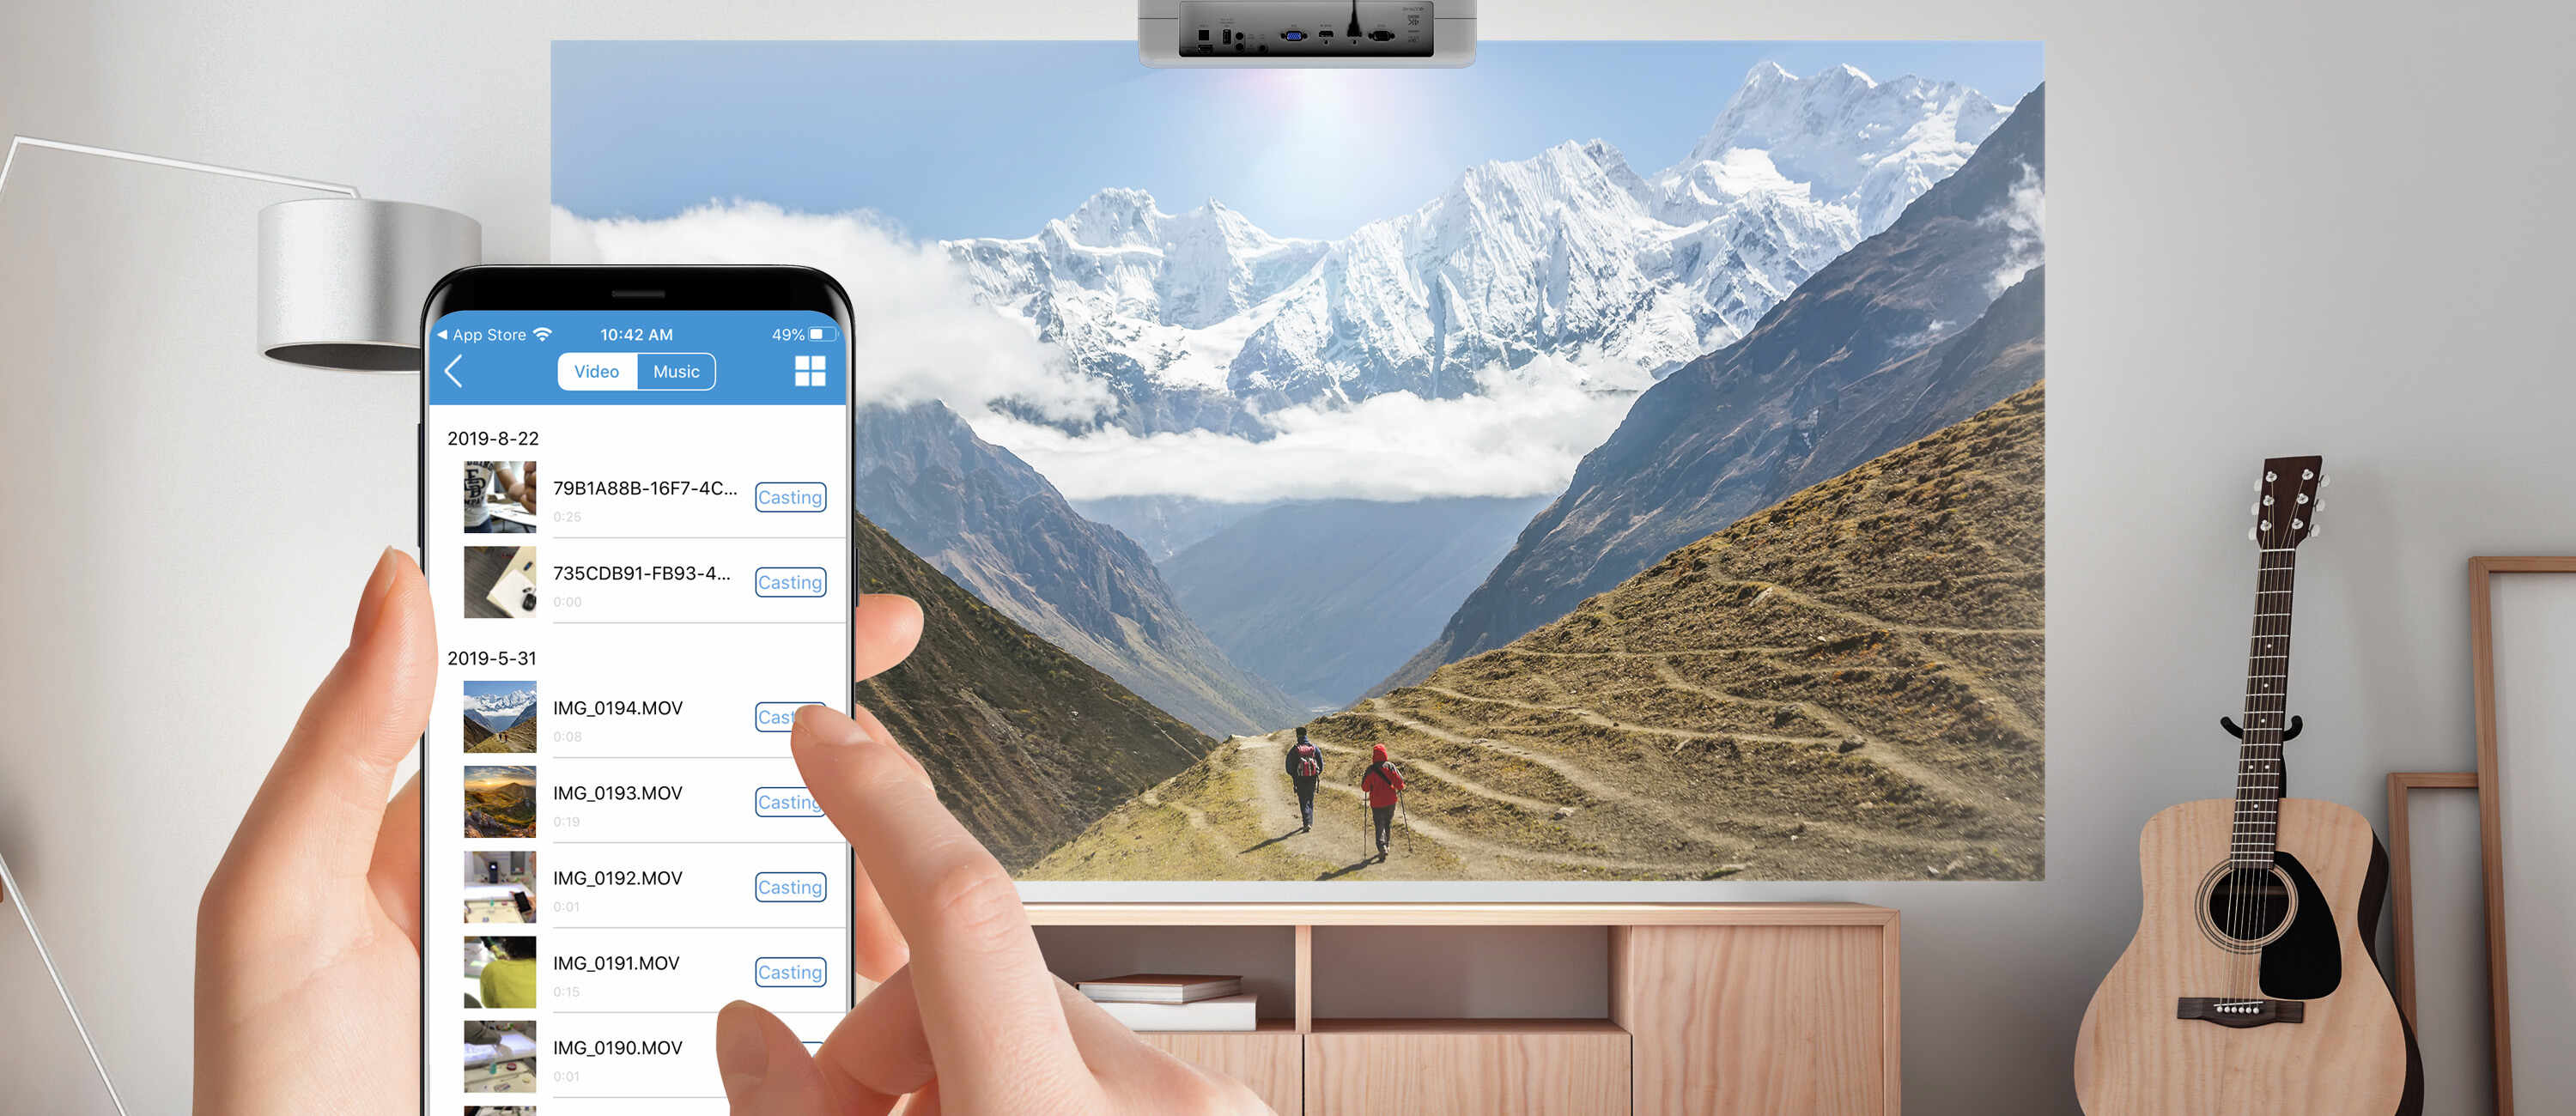
- Launch a compatible app: On your smartphone, tablet, or computer, open a streaming app that is compatible with Chromecast, such as Netflix, YouTube, Disney+, or Spotify.
- Select the content: Choose the movie, TV show, music, or video you want to cast onto the projector’s screen. Look for the Cast icon, which typically resembles a square with Wi-Fi waves, within the app’s interface.
- Tap the Cast icon: When you locate the Cast icon, tap on it to bring up the list of available devices. Select your Chromecast device from the list.
- Enjoy the content on the big screen: Once connected, the content you selected will start playing on the projector’s screen. You can control playback, volume, and other settings directly from your mobile device or computer.
- Explore additional features: Chromecast offers features like screen mirroring, where you can mirror the display of your device onto the projector’s screen. This is useful for sharing presentations, photos, or browsing the web on a larger scale.
- Disconnect or switch devices: When you’re done casting or want to switch to a different device, simply tap on the Cast icon again and select “Stop Casting” or choose a different device to cast to.
With Chromecast, you can enjoy a seamless streaming experience, wirelessly casting content from various apps and devices directly to your projector. Whether you’re hosting a movie night, giving a presentation, or simply relaxing with your favorite entertainment, Chromecast provides a convenient solution for casting media onto the big screen.
Remember to keep your Chromecast, projector, and streaming apps up to date to access the latest features and improvements. Additionally, ensure you have a stable Wi-Fi connection for smooth and uninterrupted casting.
In the next section, we’ll address some common troubleshooting tips for any issues you may encounter when using Chromecast with a projector.
Troubleshooting Common Issues
While using Chromecast with a projector is generally a seamless experience, you may encounter some common issues along the way. Here are some troubleshooting tips to help you resolve these issues:
- No signal on the projector: Ensure that the connections between the Chromecast device and the projector are secure. Double-check the HDMI cable and make sure it is properly plugged in. Also, verify that the projector is set to the correct input source.
- Poor or no audio: Ensure that the audio settings on your Chromecast and projector are properly configured. Check the volume settings on your mobile device or computer and make sure they are not muted. You can also try adjusting the audio output settings within the streaming app that you are using.
- Intermittent or buffering playback: If you’re experiencing buffering or intermittent playback, it could be due to a weak Wi-Fi signal. Ensure that your Chromecast, mobile device, and router are all in close proximity to enhance the Wi-Fi signal strength. If possible, connect your Chromecast and mobile device to your Wi-Fi router using the 5GHz band for a more stable connection.
- Device not appearing in the Cast menu: If your Chromecast device is not appearing in the Cast menu of your streaming app, make sure your mobile device or computer is connected to the same Wi-Fi network as your Chromecast and projector. You can also try restarting both your Chromecast and streaming device to refresh the connection.
- Chromecast not connecting to Wi-Fi: If your Chromecast is not connecting to Wi-Fi, ensure that you’re entering the correct Wi-Fi password during the setup process. If you’re using a dual-band router, make sure your Chromecast is compatible with the selected band. You may also try restarting your Chromecast and router to resolve any connectivity issues.
- App compatibility issues: Some streaming apps may have limitations or restrictions when it comes to casting to a projector using Chromecast. If you encounter any compatibility issues, check the support documentation or contact the app’s customer support for further assistance.
If you have tried these troubleshooting steps and are still experiencing issues, it’s advisable to consult the user manuals for your Chromecast, projector, and streaming apps. They may provide more specific troubleshooting steps for your specific devices.
By following these troubleshooting tips, you can overcome common issues and enjoy a smooth and hassle-free Chromecast experience with your projector.
Finally, let’s wrap up this article with a quick recap of what we’ve covered.
Conclusion
Congratulations! You’ve now learned how to use Chromecast with a projector, unlocking a whole new world of entertainment and productivity. By following the steps outlined in this article, you can easily set up your Chromecast, connect it to the projector, and start casting your favorite content onto the big screen.
Chromecast offers a seamless and convenient way to stream media from your mobile device or computer directly to your projector. Whether you’re hosting a movie night, delivering a business presentation, or enjoying your favorite TV shows, Chromecast provides a wireless and hassle-free solution.
Remember to properly set up and configure your Chromecast on the projector to ensure optimal performance. Take advantage of the various settings and features available in the Google Home app to customize your casting experience to suit your preferences.
If you encounter any issues during the setup or while using Chromecast with the projector, refer to the troubleshooting tips provided in this article. Most common issues can be easily resolved by checking connections, adjusting settings, or optimizing your Wi-Fi network.
Now that you have the knowledge and skills to use Chromecast with a projector, it’s time to start enjoying a larger-than-life viewing experience. Gather your friends and family, fire up your favorite streaming apps, and sit back as you immerse yourself in a cinematic experience right in the comfort of your own home or office.
Happy casting!