Introduction
Welcome to the world of high peak mini projectors! In today’s technology-driven society, having a portable projector can open up a whole new realm of possibilities for entertainment, work, and education. Whether you’re looking to enjoy a movie night in your backyard, deliver a captivating presentation during a business meeting, or display photo slideshows at a family gathering, a high peak mini projector is an excellent solution.
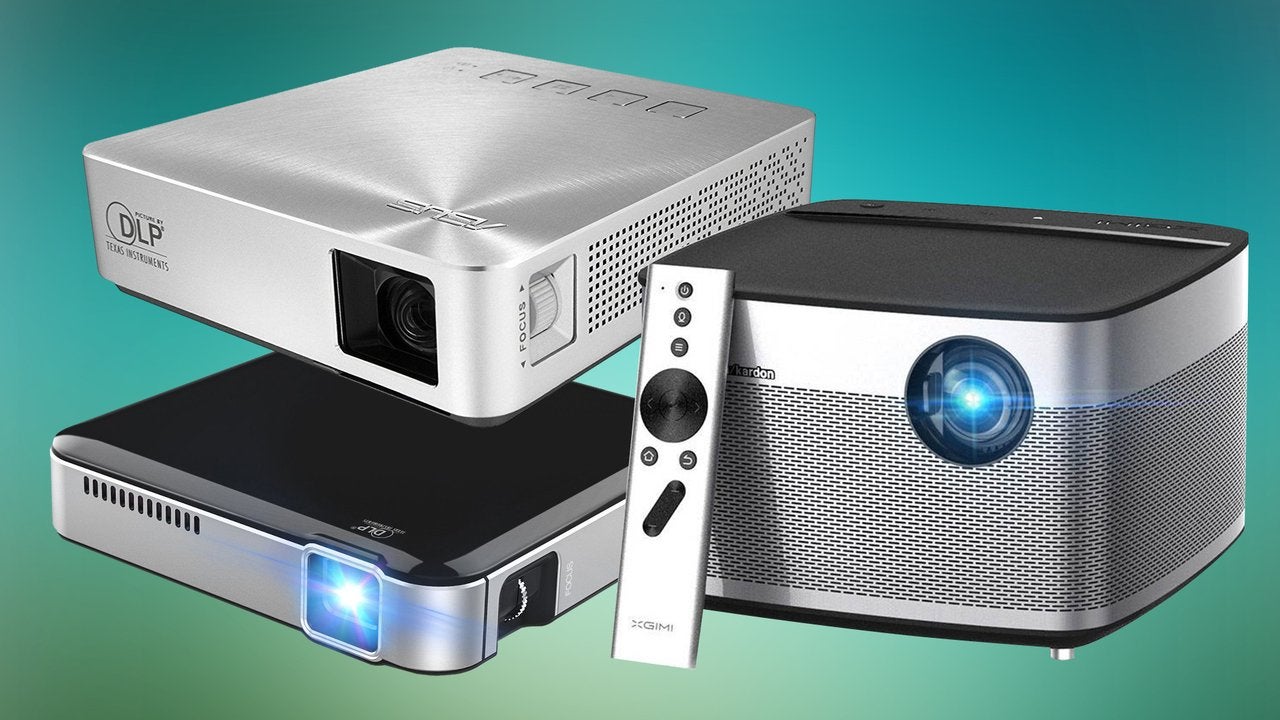
Mini projectors are compact and lightweight, making them easy to carry around and set up anywhere you desire. They provide a convenient way to enjoy your favorite media on a much larger screen than your phone or tablet. In addition, these projectors offer various connectivity options, allowing you to connect them to a range of devices such as laptops, smartphones, gaming consoles, and more.
With this guide, we will walk you through the process of using a high peak mini projector effectively and getting the most out of its features. Whether you’re a first-time user or someone looking to expand your knowledge, this guide will provide you with the necessary techniques to use your mini projector with confidence and ease.
From connecting your mini projector to adjusting the focus and brightness, to playing videos, photos, and audio – we’ll cover everything you need to know to get started. We’ll also provide tips on troubleshooting common issues that may arise, ensuring a smooth and enjoyable projector experience.
So, if you’re ready to unlock the full potential of your high peak mini projector, let’s dive right in and get started on this exciting journey!
Getting Started
Before you start using your high peak mini projector, it’s important to understand the basic setup process. Here are the steps to get started:
- Choose a suitable location: Find a well-lit area with a blank wall or a projector screen where you can set up your mini projector. Ensure that there’s enough space for the projection and that the distance between the projector and the screen is appropriate.
- Unbox the projector: Carefully unpack your high peak mini projector and take out all the accessories included in the package, such as the power cord, HDMI cable, remote control, and user manual.
- Power up the projector: Connect the power cord to the projector and plug it into a power outlet. Once connected, press the power button to turn on the projector.
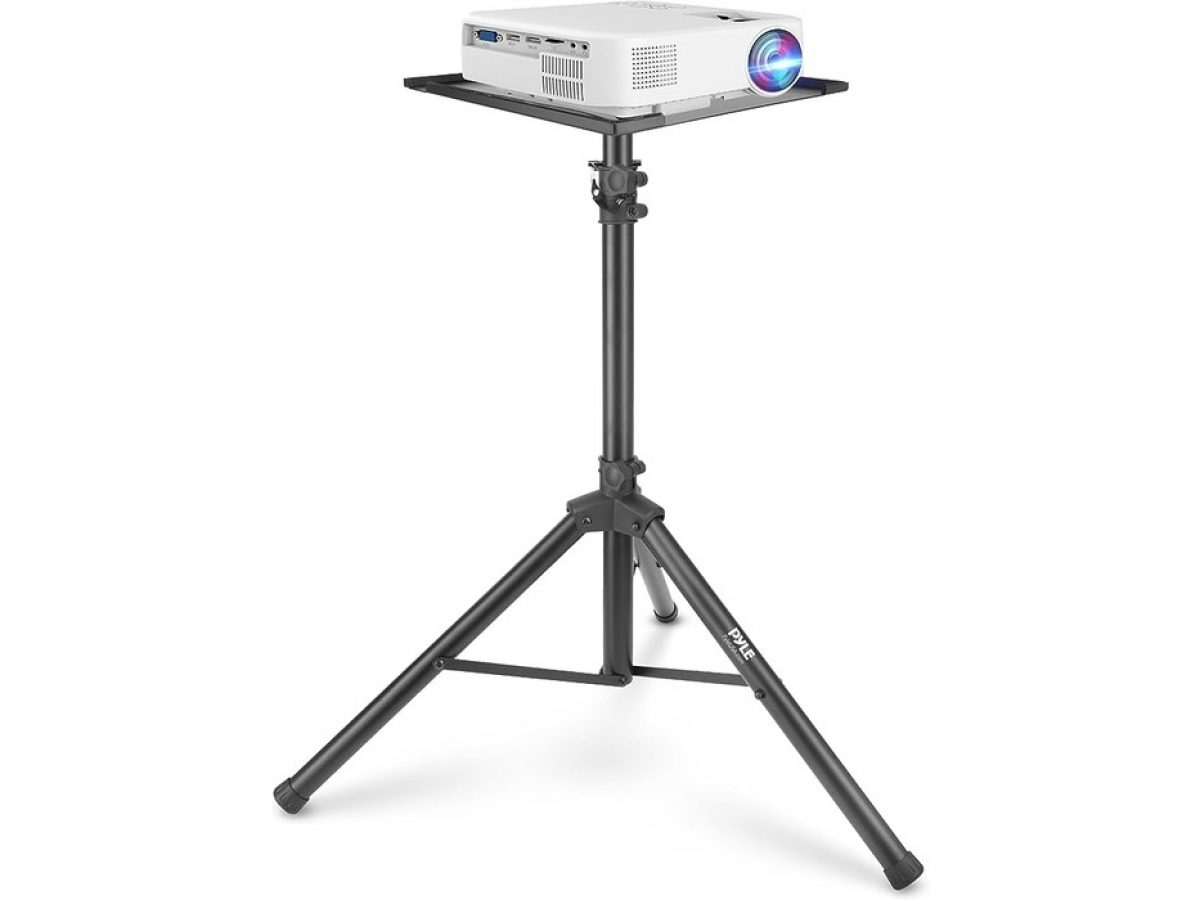
- Adjust the projection angle: Most mini projectors come with an adjustable kickstand or tripod mount that allows you to change the projection angle. Adjust it accordingly to ensure the projected image is straight and well-aligned with the screen.
- Choose the input source: Use the input source button on the projector or the remote control to select the appropriate input source. This can be HDMI, USB, VGA, or any other compatible input option depending on the connections available on your mini projector.
- Connect the device: Depending on the input source you’ve chosen, connect your device to the mini projector using the respective cable. For example, if you’re using HDMI, connect one end of the HDMI cable to your device and the other end to the HDMI port on the mini projector.
- Power on the device: Turn on the device you’ve connected to the mini projector, such as a laptop or smartphone. Make sure the device’s display settings are configured to output the screen to an external display.
- Adjust the projector settings: Navigate through the projector’s menu using the buttons on the device or the remote control to customize settings such as brightness, contrast, aspect ratio, and language preferences.
- Test the projection: With everything set up, play a sample video or display a test image to ensure the projection is working correctly and aligned properly on the screen. Make any necessary adjustments to the angle or focus for optimal viewing.
By following these simple steps, you’ll be well on your way to enjoying the benefits of your high peak mini projector. In the next sections, we’ll delve deeper into the various functions and features of the projector to enhance your viewing experience.
Connecting to a Device
One of the key features of a high peak mini projector is its ability to connect to a wide range of devices. Whether you want to mirror your smartphone screen, display content from your laptop, or connect a gaming console, there are multiple options available to suit your needs. Here’s how you can connect your mini projector to different devices:
- Connecting to a laptop or computer: The most common method is to use an HDMI cable. Simply connect one end of the HDMI cable to the HDMI output port on your laptop or computer and the other end to the HDMI input port on the mini projector. Once connected, select the HDMI input source on the projector, and you should see your laptop or computer screen projected onto the big screen.
- Connecting to a smartphone or tablet: To connect your smartphone or tablet, you’ll need a compatible adapter or cable. For iPhones or iPads, you can use a Lightning to HDMI adapter. For Android devices, you can use a Micro USB or USB-C to HDMI adapter. Connect one end of the adapter or cable to your device and the other end to the HDMI input port on the mini projector. Select the HDMI input source on the projector, and you’ll be able to mirror your device’s screen.
- Connecting to a gaming console: If you’re a gaming enthusiast, you can connect your gaming console to the mini projector for an immersive gaming experience. Use an HDMI cable to connect the gaming console to the HDMI input port on the projector. Select the HDMI input source, and you’ll be ready to play games on a larger screen.
- Connecting to a DVD player or Blu-ray player: If you want to watch movies or TV shows from a DVD or Blu-ray player, connect the player to the mini projector using an HDMI cable. Make sure to select the HDMI input source on the projector, and you’ll be able to enjoy your favorite movies on a bigger screen.
- Connecting to a USB device: Some mini projectors come with a USB port, allowing you to directly connect a USB flash drive or hard drive to play media files. Insert the USB device into the USB port on the projector, navigate to the media files on the projector’s interface, and play them accordingly.
These are just a few examples of how you can connect your high peak mini projector to various devices. Consult the user manual provided with your projector to explore additional connectivity options or specific instructions for your particular model. With the versatile connectivity options available, you can easily project content from your favorite devices and enjoy an enhanced viewing experience.
Adjusting the Focus
Getting the right focus on your high peak mini projector is essential to ensure a clear and sharp projection. Fortunately, adjusting the focus is a straightforward process. Follow these steps to achieve optimal focus:
- Start by projecting a test image or video onto your screen. This can be a simple white screen or any image that allows you to easily identify the level of focus.
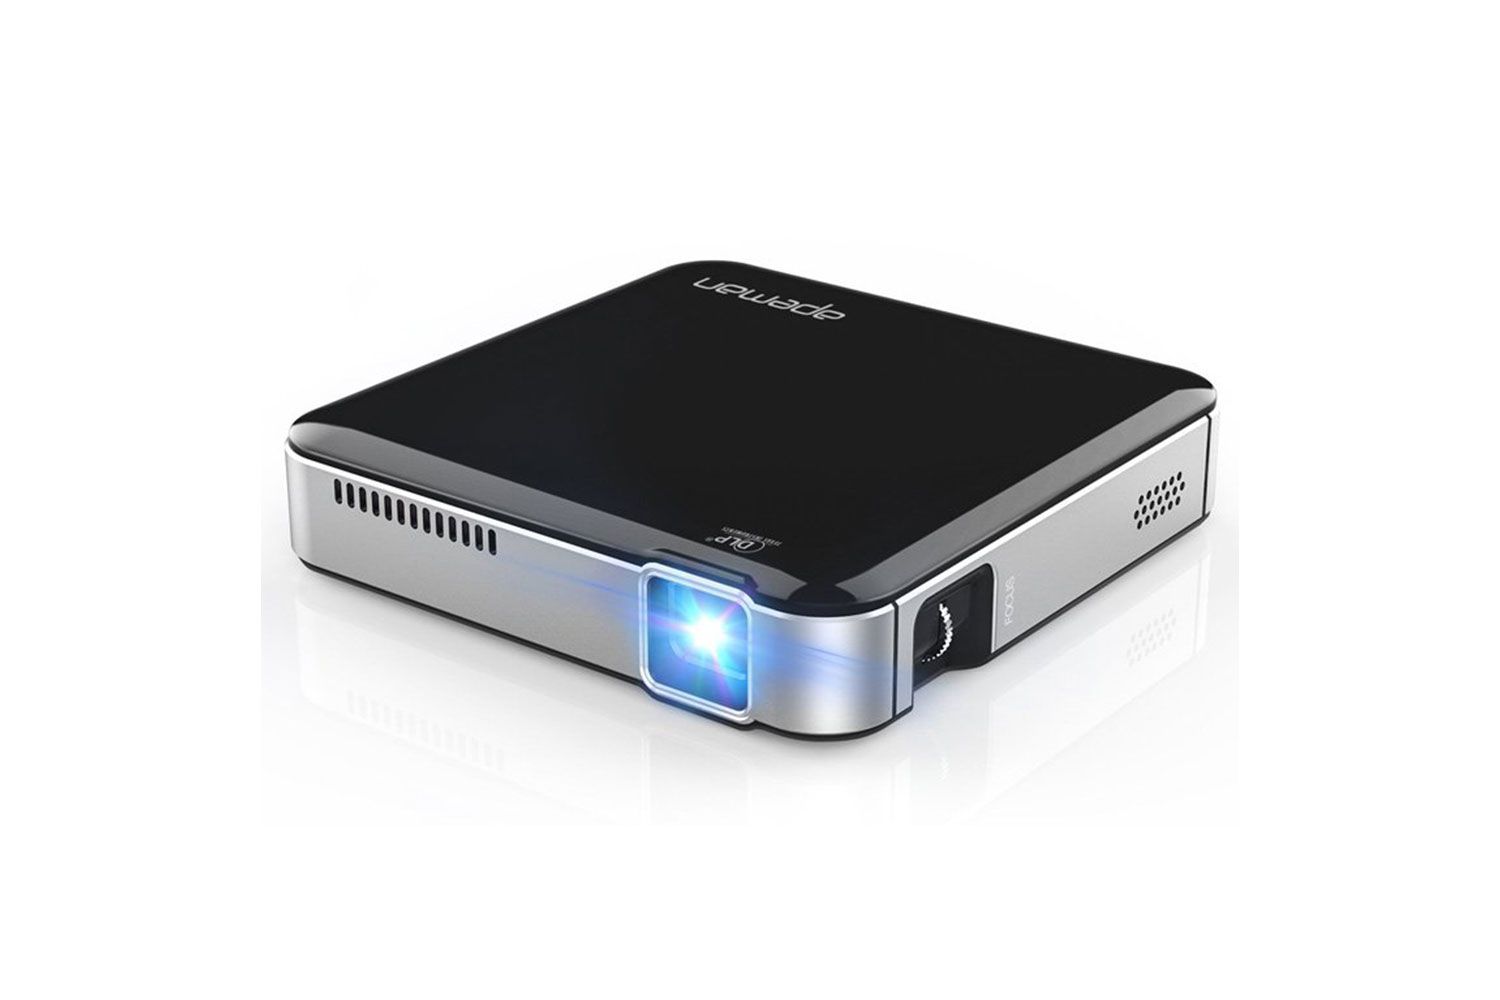
- Locate the focus ring or control on your mini projector. It is typically located near the lens or on the top or side of the projector.
- Rotate or slide the focus ring or control to adjust the focus of the projected image. Turn it clockwise or counterclockwise until the image appears sharp and clear.
- Keep adjusting the focus as needed until you’re satisfied with the clarity of the projection. Take your time and make small adjustments to find the sweet spot.
- If your mini projector has an auto-focus feature, you can activate it to automatically adjust the focus for you. Consult the user manual to find out how to enable and use the auto-focus function.
- Ensure that the projector is positioned and aligned correctly with the screen. Improper positioning or alignment can affect the focus and clarity of the projection.
It’s important to note that the distance between the projector and the screen can also impact the focus. Refer to the user manual or specifications of your specific mini projector to determine the optimal distance range for achieving the best focus. Experiment with different distances to find the ideal combination of distance and focus for your setup.
By taking the time to properly adjust the focus, you can enjoy a crisp and detailed projection. Whether you’re watching movies, delivering presentations, or showcasing photos, achieving the right focus will greatly enhance your overall viewing experience.
Setting up the Screen
Properly setting up the screen for your high peak mini projector is crucial for a great viewing experience. Here are some steps to help you set up the screen:
- Choose a suitable location: Select a location with enough space to accommodate the screen size and ensure proper viewing angles for your audience.
- Decide on the screen type: You can use a blank wall, a projection screen, or even a white sheet as your screen. Just ensure that the surface is smooth and free from wrinkles or blemishes to ensure a clear and crisp projection.
- Mount the screen (if applicable): If you have a portable or retractable projection screen, follow the manufacturer’s instructions to set it up securely. Make sure it’s positioned at the desired height and angle.
- Position the screen: Place your screen in the desired location, ensuring that it’s level and centered in relation to the projector. Use a spirit level or a measuring tape to ensure accuracy.
- Adjust the screen size: Depending on the distance between the projector and the screen, you may need to adjust the screen size. Some mini projectors have zoom or keystone correction features that allow you to make manual adjustments to the screen size and shape.
- Test the projection: Once the screen is set up, project a test image or video onto it. Check for any distortions or misalignments and make the necessary adjustments to achieve a properly centered and aligned projection.
- Consider ambient lighting: Ambient lighting can affect the quality of your projection. Dim the lights or draw curtains to minimize ambient light interference. If there’s still too much light, consider using a light-rejecting screen or using the projector in a darker environment.
- Secure the screen (if necessary): If you’re using a makeshift screen like a white sheet, make sure it’s securely fastened to prevent it from moving or falling during the projection.
Remember, the screen setup can greatly impact the quality and enjoyment of your projection. Take the time to properly position and align the screen, adjust the size and shape, and optimize the lighting conditions to enhance the overall viewing experience.
Adjusting the Brightness
Adjusting the brightness of your high peak mini projector is essential to achieve optimal image quality in different lighting conditions. Here’s how you can adjust the brightness:
- Locate the brightness control or setting on your mini projector. This can usually be found in the settings menu or on the projector itself.
- Access the brightness control by navigating through the projector’s menu using the buttons on the device or the remote control.
- Adjust the brightness level based on your specific needs. You can increase the brightness for well-lit environments or decrease it for darker settings.
- Take into account the ambient lighting conditions of your viewing area. If there’s too much ambient light, you may need to increase the brightness to compensate.
- Be mindful of the projection surface and its reflective properties. A high-gain projection screen can enhance the brightness, while a low-gain screen may require increasing the projector’s brightness setting.
- Use the projector’s built-in picture modes or presets to find a balance between brightness, contrast, and color accuracy. Experiment with different modes to determine the one that best suits your needs.
- Consider using a neutral gray filter or screen material to maintain accurate colors while increasing brightness.
- Keep in mind that excessively high brightness levels can negatively affect color accuracy and overall image quality. It’s essential to find the right balance to avoid washed-out or overexposed visuals.
- Regularly clean the projector’s lens and ventilation openings to ensure maximum brightness and prevent overheating.
By adjusting the brightness settings on your high peak mini projector, you can optimize the image quality and ensure an enjoyable viewing experience. Experiment with different brightness levels in different lighting conditions to find the perfect balance that suits your specific needs.
Using the Remote Control
The remote control is a convenient and efficient way to navigate through the settings and features of your high peak mini projector. Here are some tips to help you make the most of your remote control:
- Familiarize yourself with the buttons: Take a moment to familiarize yourself with the different buttons on the remote control. Each button represents a specific function or feature of the projector.
- Power management: The remote control usually has a power button to turn the projector on and off. Use it to easily control the power status of your projector.
- Navigating menus: The remote control typically includes buttons for navigation, such as arrow keys or a joystick. Use these buttons to navigate through the projector’s menu and settings.
- Selecting input sources: Many mini projectors allow you to switch between different input sources. The remote control usually has dedicated buttons to cycle through the available input sources, making it easy to connect and switch between devices.
- Brightness and volume controls: Adjusting the brightness and volume is often done using dedicated buttons on the remote control. Use these buttons to increase or decrease the brightness or volume level to your preference.
- Zoom and keystone correction: Some mini projectors offer zoom and keystone correction features. If your projector supports these functions, the remote control may have buttons to adjust the zoom level or correct any keystone distortion.
- Shortcut buttons: Depending on the model of your projector, the remote control may include dedicated shortcut buttons for popular functions. These buttons can provide quick access to specific features, such as picture modes, image adjustments, or playback controls.
- Range and line of sight: Ensure that the remote control is within the range of the projector and has a clear line of sight to the projector’s IR receiver. This will ensure reliable and responsive control.
- Make use of the user manual: If you’re unsure about the functionality of specific buttons or features on the remote control, refer to the user manual provided with your mini projector. It will provide detailed information on how to navigate and utilize the remote control effectively.
By mastering the use of the remote control, you can easily navigate through the projector’s settings and features, making it a seamless and user-friendly experience. Take advantage of the convenience it offers to enhance your control over the projector and customize your viewing experience.
Playing Videos
One of the main attractions of a high peak mini projector is the ability to play videos on a larger screen. Here’s how you can enjoy your favorite videos using your mini projector:
- Prepare your video content: Ensure that your video files are compatible with the projector. Most mini projectors support common video formats such as MP4, AVI, MKV, and MOV. If needed, convert the video files to a compatible format before transferring them to a device or storage medium.
- Connect the device: Connect your laptop, smartphone, or other media devices to the mini projector using the appropriate cables such as HDMI or USB. Make sure the devices are properly connected and select the correct input source on the projector.
- Choose a media player: Use a media player on your device or the mini projector’s built-in media player to play the videos. Popular media players include VLC, Windows Media Player, and MX Player.
- Navigate to the video: Locate the video file within the media player’s library or file explorer. Use the remote control or device controls to select and start playing the video.
- Adjust playback settings: Use the media player’s controls to adjust the playback settings as needed. This includes options such as play, pause, rewind, fast forward, and volume control.
- Utilize subtitle options: If your video has subtitles, ensure that the subtitle file (commonly in SRT or SUB format) is in the same folder as the video file. Enable subtitles within the media player settings to display them while the video is playing.
- Customize video settings: Explore the video settings within the media player to adjust the brightness, contrast, color, and other visual parameters to suit your preference and optimize the viewing experience.
- Enjoy the video: Sit back, relax, and enjoy watching your videos on the larger screen provided by the high peak mini projector.
- Use external streaming devices: If you prefer streaming content, connect devices such as a Chromecast, Fire TV Stick, or Roku to the mini projector. This allows you to stream online videos from platforms like Netflix, Hulu, or YouTube directly on the projector.
Whether it’s watching movies, TV shows, or online videos, your high peak mini projector can transform your viewing experience by providing a cinematic feel in the comfort of your own home. Enjoy the immersive experience and explore the full potential of your mini projector for video playback.
Playing Photos
With a high peak mini projector, you can bring your cherished photos to life on a big screen, creating a stunning visual display. Here’s how you can play photos using your mini projector:
- Prepare your photo collection: Organize your photos and ensure they are in a compatible format such as JPEG or PNG. If necessary, resize or compress the photos to optimize their display on the projector.
- Transfer photos to a device: Transfer the photos to a device that can be connected to the mini projector, such as a laptop, smartphone, or USB flash drive. Make sure the device is properly connected to the projector.
- Choose a photo player: Utilize a photo player application on your device or the built-in photo player of the mini projector. Some common photo players include Windows Photo Viewer, Google Photos, and media player apps with photo slideshow features.
- Navigate to the photo collection: Open the photo player and navigate to the folder or gallery containing the desired photos. Use the remote control or device controls to select and start displaying the photos in a slideshow or individually.
- Customize slideshow settings: Adjust the settings within the photo player to customize the slideshow experience. This includes options such as transition effects, slide duration, and background music.
- Manually navigate through photos: If you prefer, manually navigate through the photos using the controls provided by the photo player. Use the remote control or device controls to scroll through the photo collection and display individual photos.
- Enable photo captions: Some photo players allow you to add captions or descriptive text to your photos. If desired, enable this feature to enhance the storytelling aspect of your photo display.
- Display photos in collages or grids: Certain photo players offer the option to display multiple photos simultaneously in collages or grids. Explore these features to create visually appealing compositions from your photo collection.
- Share memories with loved ones: Gather friends and family around to share the joy and memories captured in your photos. The large screen provided by the mini projector allows everyone to appreciate the details and emotions within each photo.
- Consider using external devices: If you prefer showcasing photos from online platforms, connect devices like a Chromecast or Fire TV Stick to the mini projector. Use apps like Google Photos or social media platforms to stream and display your photos on the projector.
By using your high peak mini projector to play photos, you can create a captivating visual experience that celebrates your memories in a grand way. Whether it’s reminiscing through old photographs or sharing recent adventures, let the power of the projector elevate your photo display to new heights.
Listening to Audio
Listening to audio with your high peak mini projector can elevate your overall viewing experience and create a more immersive environment. Here’s how you can enhance your audio experience when using a mini projector:
- Internal speakers: Most mini projectors come equipped with built-in speakers. These speakers are convenient for basic audio playback and provide sound output without the need for additional devices.
- Connect external speakers: For a more immersive audio experience, consider connecting external speakers to your mini projector. Use the audio output ports on the projector to connect external speakers, soundbars, or a home theater system. This allows you to enjoy richer and more detailed sound.
- Use a Bluetooth speaker: If your mini projector supports Bluetooth connectivity, you can pair it with a Bluetooth speaker or wireless headphones. This eliminates the need for cables and provides more flexibility in audio placement.
- Adjust audio settings: Explore the audio settings on your mini projector to customize the sound output to your liking. You can usually adjust volume levels, bass, treble, and other audio parameters to create the desired audio experience.
- Sync audio and video: Ensure that the audio is properly synchronized with the video on your mini projector. Delayed audio can be distracting and diminish the overall viewing experience. Use any available audio delay settings or adjust the audio playback device’s settings to synchronize audio and video seamlessly.
- Use media player apps: If you’re playing videos or photos with audio, use media player apps that support audio playback. These apps often have audio-specific features such as equalizer settings, audio enhancement, and subtitle synchronization.
- Create a surround sound experience: For a more immersive audio experience, position the speakers strategically around the room. This creates a surround sound effect, placing you right in the middle of the action and enhancing the realism of the audio.
- Consider ambient noise: Take into account any ambient noise in your viewing environment, such as fans or background chatter. Adjust the volume levels accordingly to ensure clear and audible audio.
- Use audio sources independently: Some mini projectors allow you to use the audio output independently from the projector’s video output. This enables you to connect the audio output to a separate sound system while using the projector solely for video projection.
- Test audio quality: Before starting your viewing session, play a sample audio/video clip to test the audio quality and make any necessary adjustments to optimize it for your environment.
By taking advantage of the audio capabilities of your high peak mini projector, you can create a more immersive and enjoyable viewing experience. Experiment with different audio setups and settings to find the perfect balance between visuals and sound for an unforgettable entertainment experience.
Using the Speaker
The built-in speaker of your high peak mini projector allows you to enjoy audio playback without the need for additional external speakers. Here’s how you can make the most of the projector’s speaker:
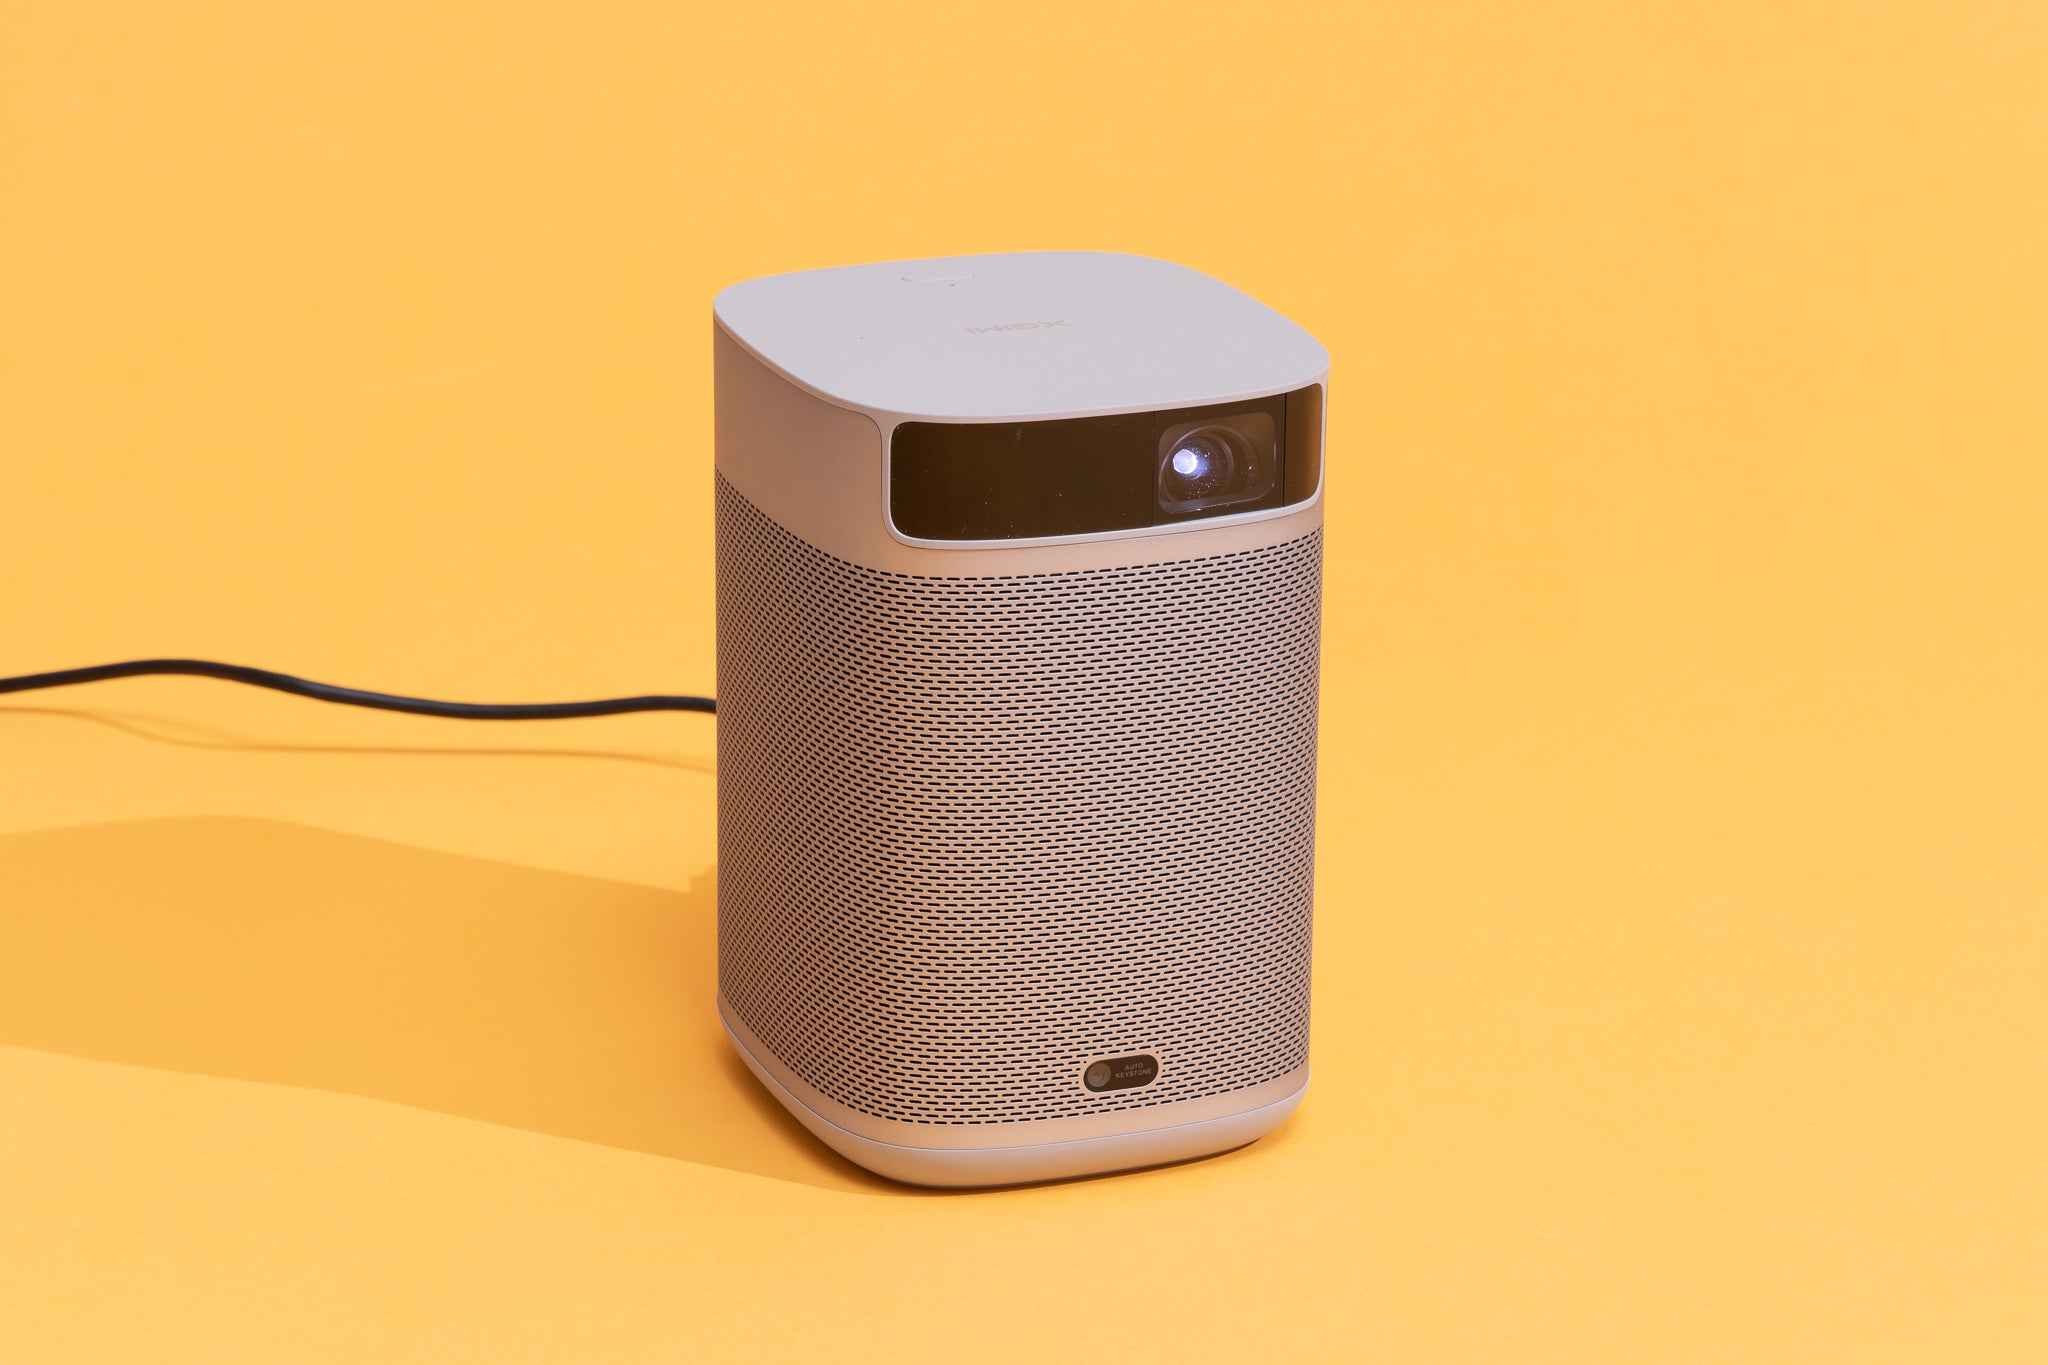
- Locate the built-in speaker: Identify the positioning of the speaker on your mini projector. It is typically located on the front, sides, or bottom of the device.
- Ensure proper positioning: Position the projector in a way that allows the sound to be projected towards the audience. Avoid blocking the speaker with objects or placing the projector on a soft surface that can muffle the sound.
- Adjust the volume: Use the projector’s controls, remote control, or on-screen menu to adjust the volume. Increase or decrease the volume level to your preferred audio output.
- Experiment with audio settings: Some mini projectors offer audio customization settings, such as equalizers or audio presets. Explore these options to optimize the sound quality according to your preferences.
- Consider ambient noise: Take into account any background noise in your viewing environment. Adjust the volume levels accordingly to ensure clear and audible sound, especially in noisy surroundings.
- Use for small gatherings: The built-in speaker is suitable for small gatherings and intimate settings where moderate sound amplification is needed. It provides convenience and simplicity, eliminating the need for additional audio devices.
- Enhance audio through positioning: Experiment with the placement of the projector to maximize the audio quality. Placing the projector on a hard and reflective surface can help bounce the sound towards the audience, improving clarity and volume.
- Utilize sound projection techniques: Consider placing the projector near a wall or corner to create a natural amplification effect, enhancing the perceived sound quality.
- Ensure proper ventilation: As the speaker is located within the projector, ensure that the cooling system has proper ventilation. Avoid blocking the ventilation openings to prevent overheating and potential damage to the speaker or projector.
- Manage expectations: Keep in mind that the built-in speaker of a mini projector is often designed for basic audio output. While it can provide adequate sound for casual viewing, consider upgrading to external speakers or audio systems for a more immersive audio experience.
The built-in speaker of your high peak mini projector is a convenient option for enjoying audio playback during your projection sessions. With proper placement and volume adjustment, it can provide satisfactory sound quality for smaller gatherings and personal use. However, for a more immersive and enhanced audio experience, consider using external speakers or audio systems alongside your mini projector.
Connecting External Devices
Your high peak mini projector offers versatile connectivity options, allowing you to connect a wide range of external devices for an enhanced viewing experience. Here’s how you can connect external devices to your mini projector:
- Laptops and computers: Connect your laptop or computer to the mini projector using an HDMI cable. Ensure that the laptop’s display settings are configured to output the screen to an external display.
- Smartphones and tablets: Connect your smartphone or tablet to the mini projector using the appropriate adapter or cable. This can be an HDMI adapter for iPhones or iPads, or a Micro USB/USB-C to HDMI adapter for Android devices.
- Gaming consoles: Connect your gaming console, such as PlayStation or Xbox, to the mini projector using an HDMI cable. This allows you to enjoy a larger gaming screen and immerse yourself in the gaming experience. Make sure to select the correct HDMI input source on the projector.
- DVD or Blu-ray players: Connect a DVD or Blu-ray player to the mini projector using an HDMI cable. This enables you to watch movies or TV shows on a bigger screen. Select the HDMI input source on the projector and play the discs on the connected player.
- USB storage devices: Some mini projectors feature USB ports, enabling you to directly connect USB flash drives or hard drives to the projector. Navigate to the media files on the projector’s interface and play them accordingly.
- Streaming devices: Connect devices like Chromecast, Fire TV Stick, or Roku to the mini projector. This allows you to stream online videos from platforms like Netflix, Hulu, or YouTube directly on the projector. Connect the streaming device to the projector using the HDMI input source.
- External speakers or audio systems: For enhanced audio quality, connect external speakers or audio systems to the mini projector. Use the audio output ports on the projector to connect speakers, soundbars, or a home theater system. This significantly improves the overall sound experience.
- Additional storage devices: Attach additional storage devices, such as an external hard drive or USB stick, to the mini projector to expand its storage capacity and access a larger collection of media files.
- Wireless connectivity: Some mini projectors support wireless connectivity options, such as Wi-Fi or Bluetooth. These allow you to wirelessly connect compatible devices to the projector, enabling seamless sharing of content without the need for cables.
- Consult the user manual: Every mini projector model may have specific connectivity options and instructions. Refer to the user manual provided with your projector to explore additional connectivity options or for specific instructions related to your device.
With the flexible connectivity options available on your high peak mini projector, you can easily connect and enjoy content from a variety of external devices. Whether it’s laptops, gaming consoles, streaming devices, or speakers, the ability to connect external devices enhances the versatility and functionality of your mini projector.
Troubleshooting
While using your high peak mini projector, you may occasionally encounter some issues that impact its performance. Here are some common troubleshooting tips to help resolve these issues:
- No power or no display: Check if the projector is securely connected to a power source. Ensure that the power outlet is working by plugging in a different device. If the projector has a power indicator light, ensure that it is turned on. Additionally, confirm that the input source is selected correctly on the projector.
- Poor image quality or distorted projection: Check the focus and adjust it accordingly using the focus ring or control. Ensure that the projector is positioned at the proper distance from the screen. Clean the projector lens and ensure that there are no obstructions or debris blocking the lens. Also, adjust the brightness and contrast settings to optimize the image quality.
- No sound or audio issues: Check the volume settings on both the projector and the connected device or external speakers. Ensure that the audio cables are securely connected and not damaged. Verify that the audio source (e.g., media player app, device settings) is not muted or set to low volume. If using external speakers, ensure they are powered on and properly connected to the projector.
- Connectivity issues: Double-check the cables and connection points, ensuring they are securely plugged in. Try using a different cable or adapter to rule out any issues with the current connection. If using wireless connectivity, ensure that the projector and the connected device are on the same network and have a stable connection. Reset or power cycle the devices if needed.
- Remote control not working: Check that the batteries in the remote control are fresh and properly inserted. Ensure that there are no obstructions between the remote control and the projector’s receiver. Point the remote control directly at the projector, within its specified range. If possible, try using the control buttons on the projector itself as an alternative.
- Overheating: If you notice the projector becoming excessively hot, it may be overheating. Ensure that the projector has proper ventilation and is not placed on soft surfaces like bedding or carpets that can block airflow. Clean the projector’s ventilation openings and remove any dust or debris that may be obstructing them. Consider reducing the brightness or allowing the projector to cool before resuming use.
- Unsupported file formats or playback issues: Check the compatibility of the media files with the projector and ensure they are in a supported format. Update the firmware of the projector to ensure compatibility with the latest media formats. Use a different media player app or device to play the files if the current one is experiencing issues. Convert the files to a supported format if necessary.
- Unresponsive or frozen projector: If the projector becomes unresponsive or freezes, try resetting or power cycling it. Disconnect the power source, wait for a few seconds, and then reconnect it. If the issue persists, consult the user manual for specific troubleshooting steps or contact the manufacturer’s customer support for further assistance.
Remember, if the troubleshooting steps mentioned above do not resolve the issue, it is recommended to consult the user manual provided with your high peak mini projector or contact the manufacturer for further assistance. They can provide you with specific troubleshooting guidance based on your projector model and resolve any technical issues you may encounter.
Conclusion
Using a high peak mini projector opens up a world of possibilities for entertainment, work, and education. Whether you want to enjoy movies on a big screen, deliver impactful presentations, showcase photo collections, or immerse yourself in gaming, a mini projector offers convenience and flexibility.
Throughout this guide, we’ve covered various aspects of using a high peak mini projector. We started by introducing the benefits of mini projectors and the versatility they bring to your multimedia experience. We then delved into the process of getting started with your projector, including connecting to devices, adjusting focus and brightness, setting up the screen, and using the remote control for seamless navigation.
We explored how to play videos and photos, ensuring that you can enjoy your favorite multimedia content on a bigger scale. We discussed options for listening to audio, whether it’s utilizing the built-in speaker or connecting external speaker systems for a more immersive sound experience. Additionally, we highlighted the various external devices you can connect to your mini projector, expanding its capabilities and enhancing your viewing pleasure.
In the troubleshooting section, we provided solutions to common issues that may arise while using your mini projector. By following these troubleshooting tips, you can resolve any technical difficulties and ensure smooth and uninterrupted projection sessions.
Remember, the key to maximizing your mini projector’s performance lies in experimenting, adjusting settings, and finding what works best for your unique preferences and viewing environment. Whether it’s movie nights at home, presentations in the office, or sharing memories with loved ones, your high peak mini projector can transform the way you experience media.
We hope that this guide has equipped you with the knowledge and confidence to make the most of your high peak mini projector. Embrace the power and versatility of this compact device, and unlock a new level of entertainment and productivity.