Introduction
Welcome to our guide on how to set up a high peak projector! Whether you’re preparing for a movie night in your backyard or giving a professional presentation, a high peak projector can elevate your visual experience. Setting up a projector may seem daunting at first, but with the right guidance, it can be a straightforward process.
In this article, we will provide you with step-by-step instructions to help you unbox, connect, position, and optimize your high peak projector. From adjusting the focus and keystone to connecting the video source, we’ve got you covered. By the end of this guide, you’ll be ready to immerse yourself in stunning visuals and bring your content to life.
Before we dive into the setup process, let’s take a moment to understand what a high peak projector is. A high peak projector is a portable device that uses light and lenses to project images onto a screen or surface. It’s the perfect solution for large gatherings, outdoor events, and professional presentations.
Now, let’s get started and learn how to set up your high peak projector step by step. By following these instructions, you’ll have your projector up and running in no time!
Step 1: Unpack the High Peak Projector
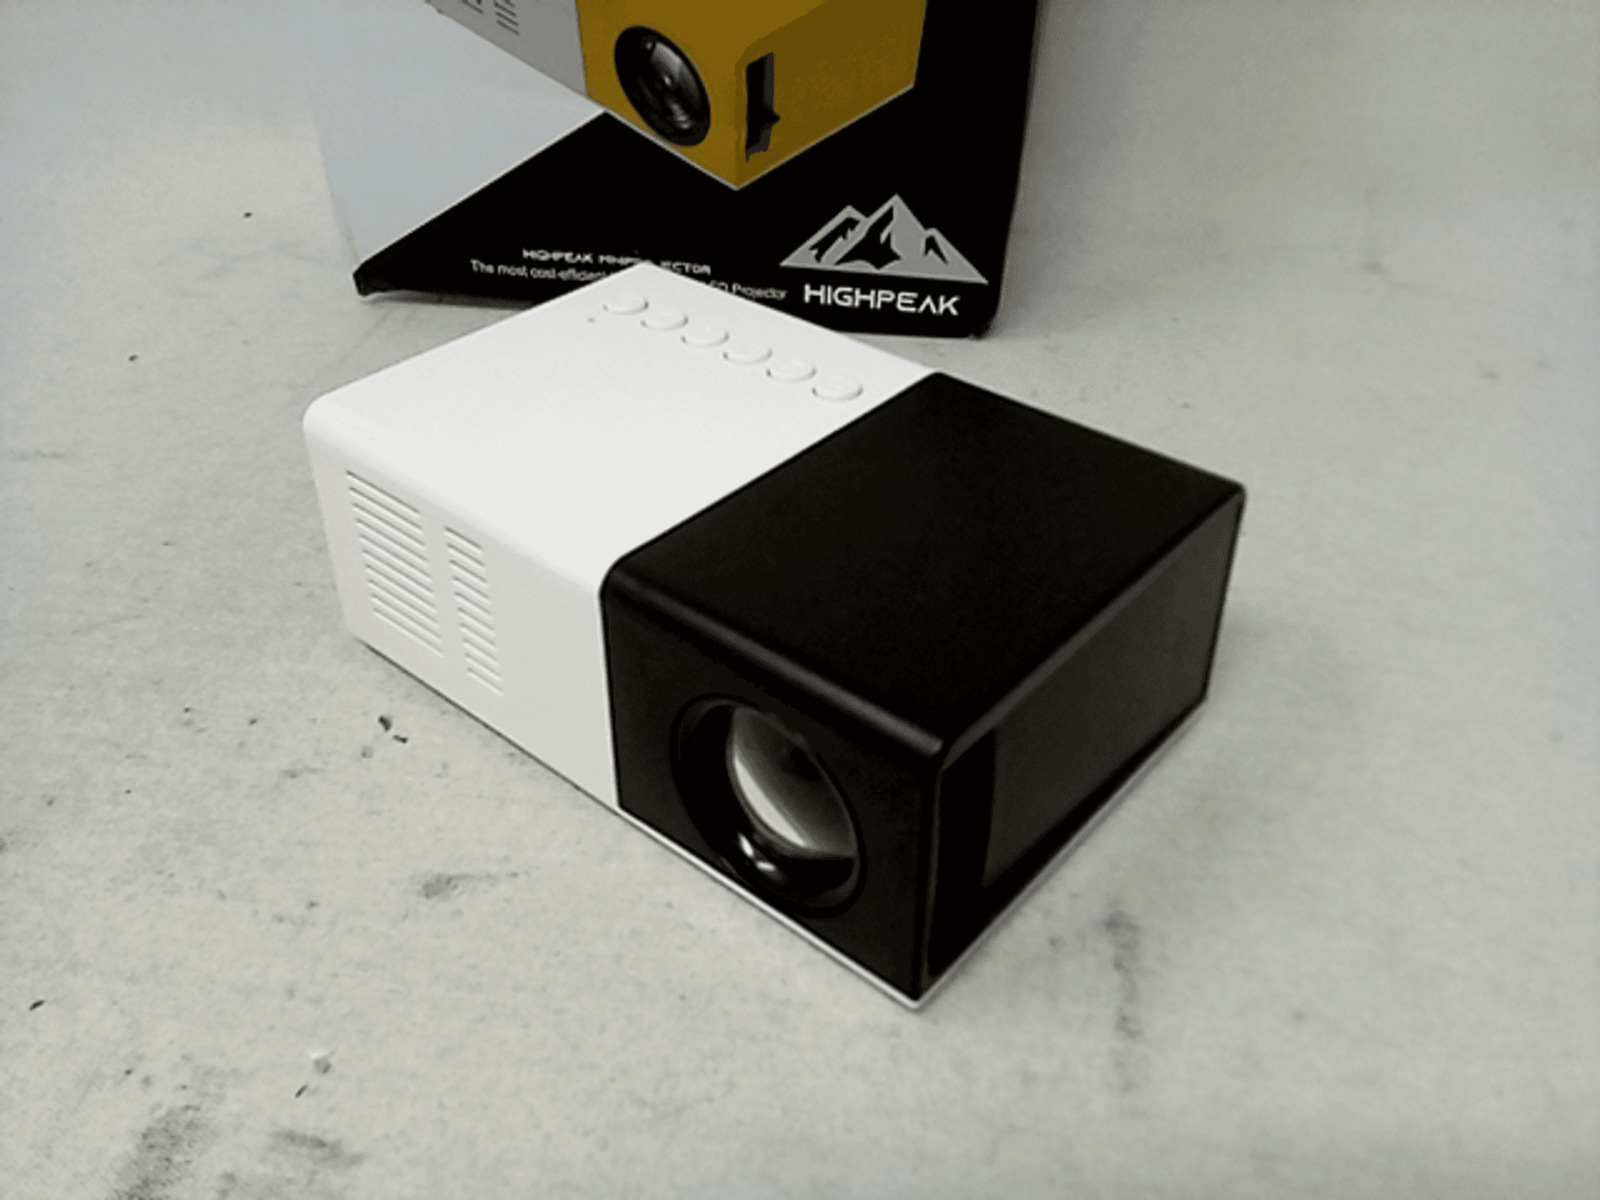
Before you can begin setting up your high peak projector, you need to unpack it carefully. Start by finding a clean and spacious area where you can lay out all the components. Here’s how to unpack your projector:
- Remove the projector from its packaging box, making sure to handle it with care. Place it on a soft, clean surface to avoid scratching or damaging the device.
- Take out any accessories or cables that may have been included in the box. These could include a power cord, remote control, HDMI cable, and user manual.
- Inspect the projector for any visible signs of damage or defects. If you notice any, contact the manufacturer or retailer for assistance.
- Check the user manual for any additional setup instructions or safety precautions specific to your model. Familiarize yourself with the various ports, buttons, and features on the projector.
Unpacking your high peak projector sets the foundation for a successful setup. Take your time to ensure that all components are in good condition and ready for use. Once unpacked, you’re ready to move on to the next step.
Step 2: Connect the Power Cord
Now that you’ve unpacked your high peak projector, it’s time to connect the power cord. The power cord is essential for providing electricity to the projector and allowing it to function properly. Follow these steps to connect the power cord:
- Locate the power input port on the back or side of the projector. It is usually labeled as “Power” or has a power icon.
- Take one end of the power cord and insert it into the power input port of the projector. Make sure it is inserted securely and fully into the port.
- Plug the other end of the power cord into a nearby power outlet. Ensure that the power outlet is easily accessible and can supply the necessary voltage for the projector.
- Once the power cord is connected, switch on the power outlet to provide electricity to the projector.
- Look for a power indicator light on the projector. It should illuminate, indicating that the projector is receiving power.
It’s important to use the power cord provided with your high peak projector or a compatible replacement. Using incorrect or incompatible power cords may lead to power issues or damage the projector.
With the power cord connected and the projector powered on, you’re ready to move on to the next step in setting up your high peak projector.
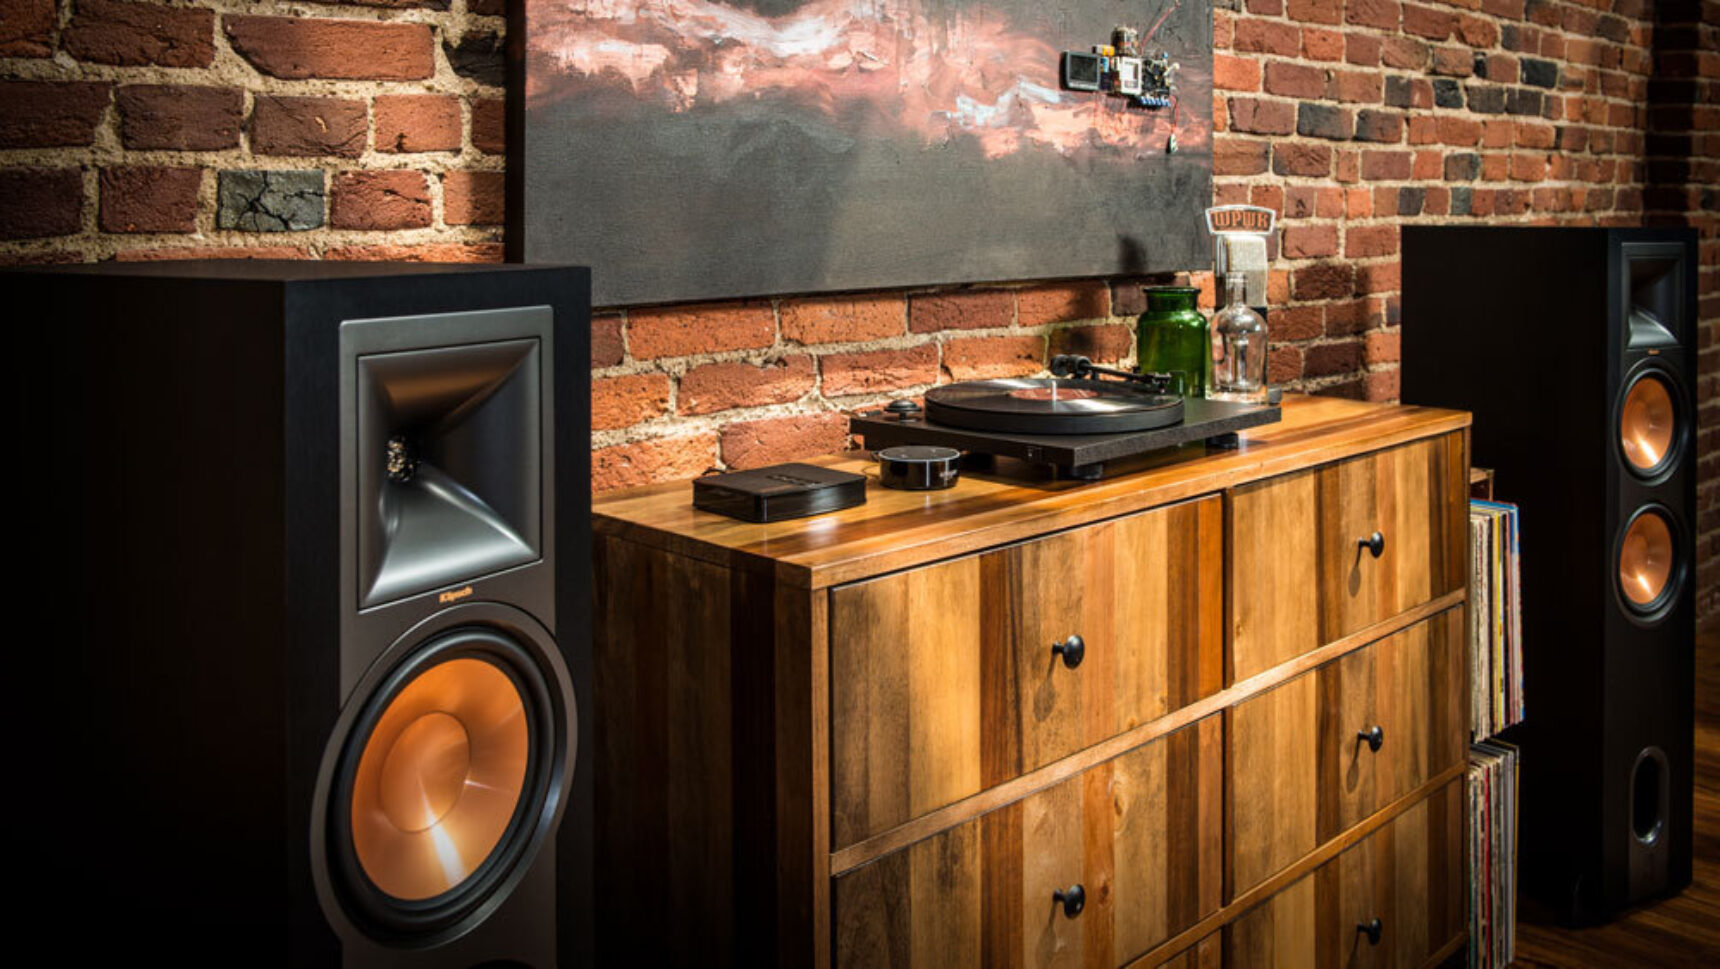
Step 3: Position the Projector
Now that your high peak projector is powered on, it’s time to position it for optimal viewing. The positioning of the projector plays a crucial role in the quality and visibility of the projected images. Follow these steps to properly position your projector:
- Select the desired location for the projector. It can be on a table, mounted on the ceiling, or placed on a projector stand. Ensure that the location is stable and provides a clear line of sight to the projection surface.
- If placing the projector on a table or stand, position it at a suitable height and angle to align with the projection surface. Consider using adjustable legs or a tripod to fine-tune the height and angle if necessary.
- If mounting the projector on the ceiling, refer to the user manual or follow the manufacturer’s recommended instructions for installation. Take into account the projection distance, ceiling height, and angle to ensure an optimum viewing experience.
- Make sure that the projector is at a suitable distance from the projection surface. Refer to the user manual for the recommended projection distance based on the desired screen size.
- Once positioned, adjust the projector’s tilt and swivel if needed to align the projected image with the projection surface.
When positioning the projector, consider factors such as ambient lighting, screen size, and viewing angles. Minimize light sources that may cause glare or wash out the projected image, and position the projector in a way that allows viewers to comfortably see the screen without straining their necks or eyes.
By carefully positioning your high peak projector, you will maximize the visual impact and ensure a comfortable viewing experience for yourself and your audience.
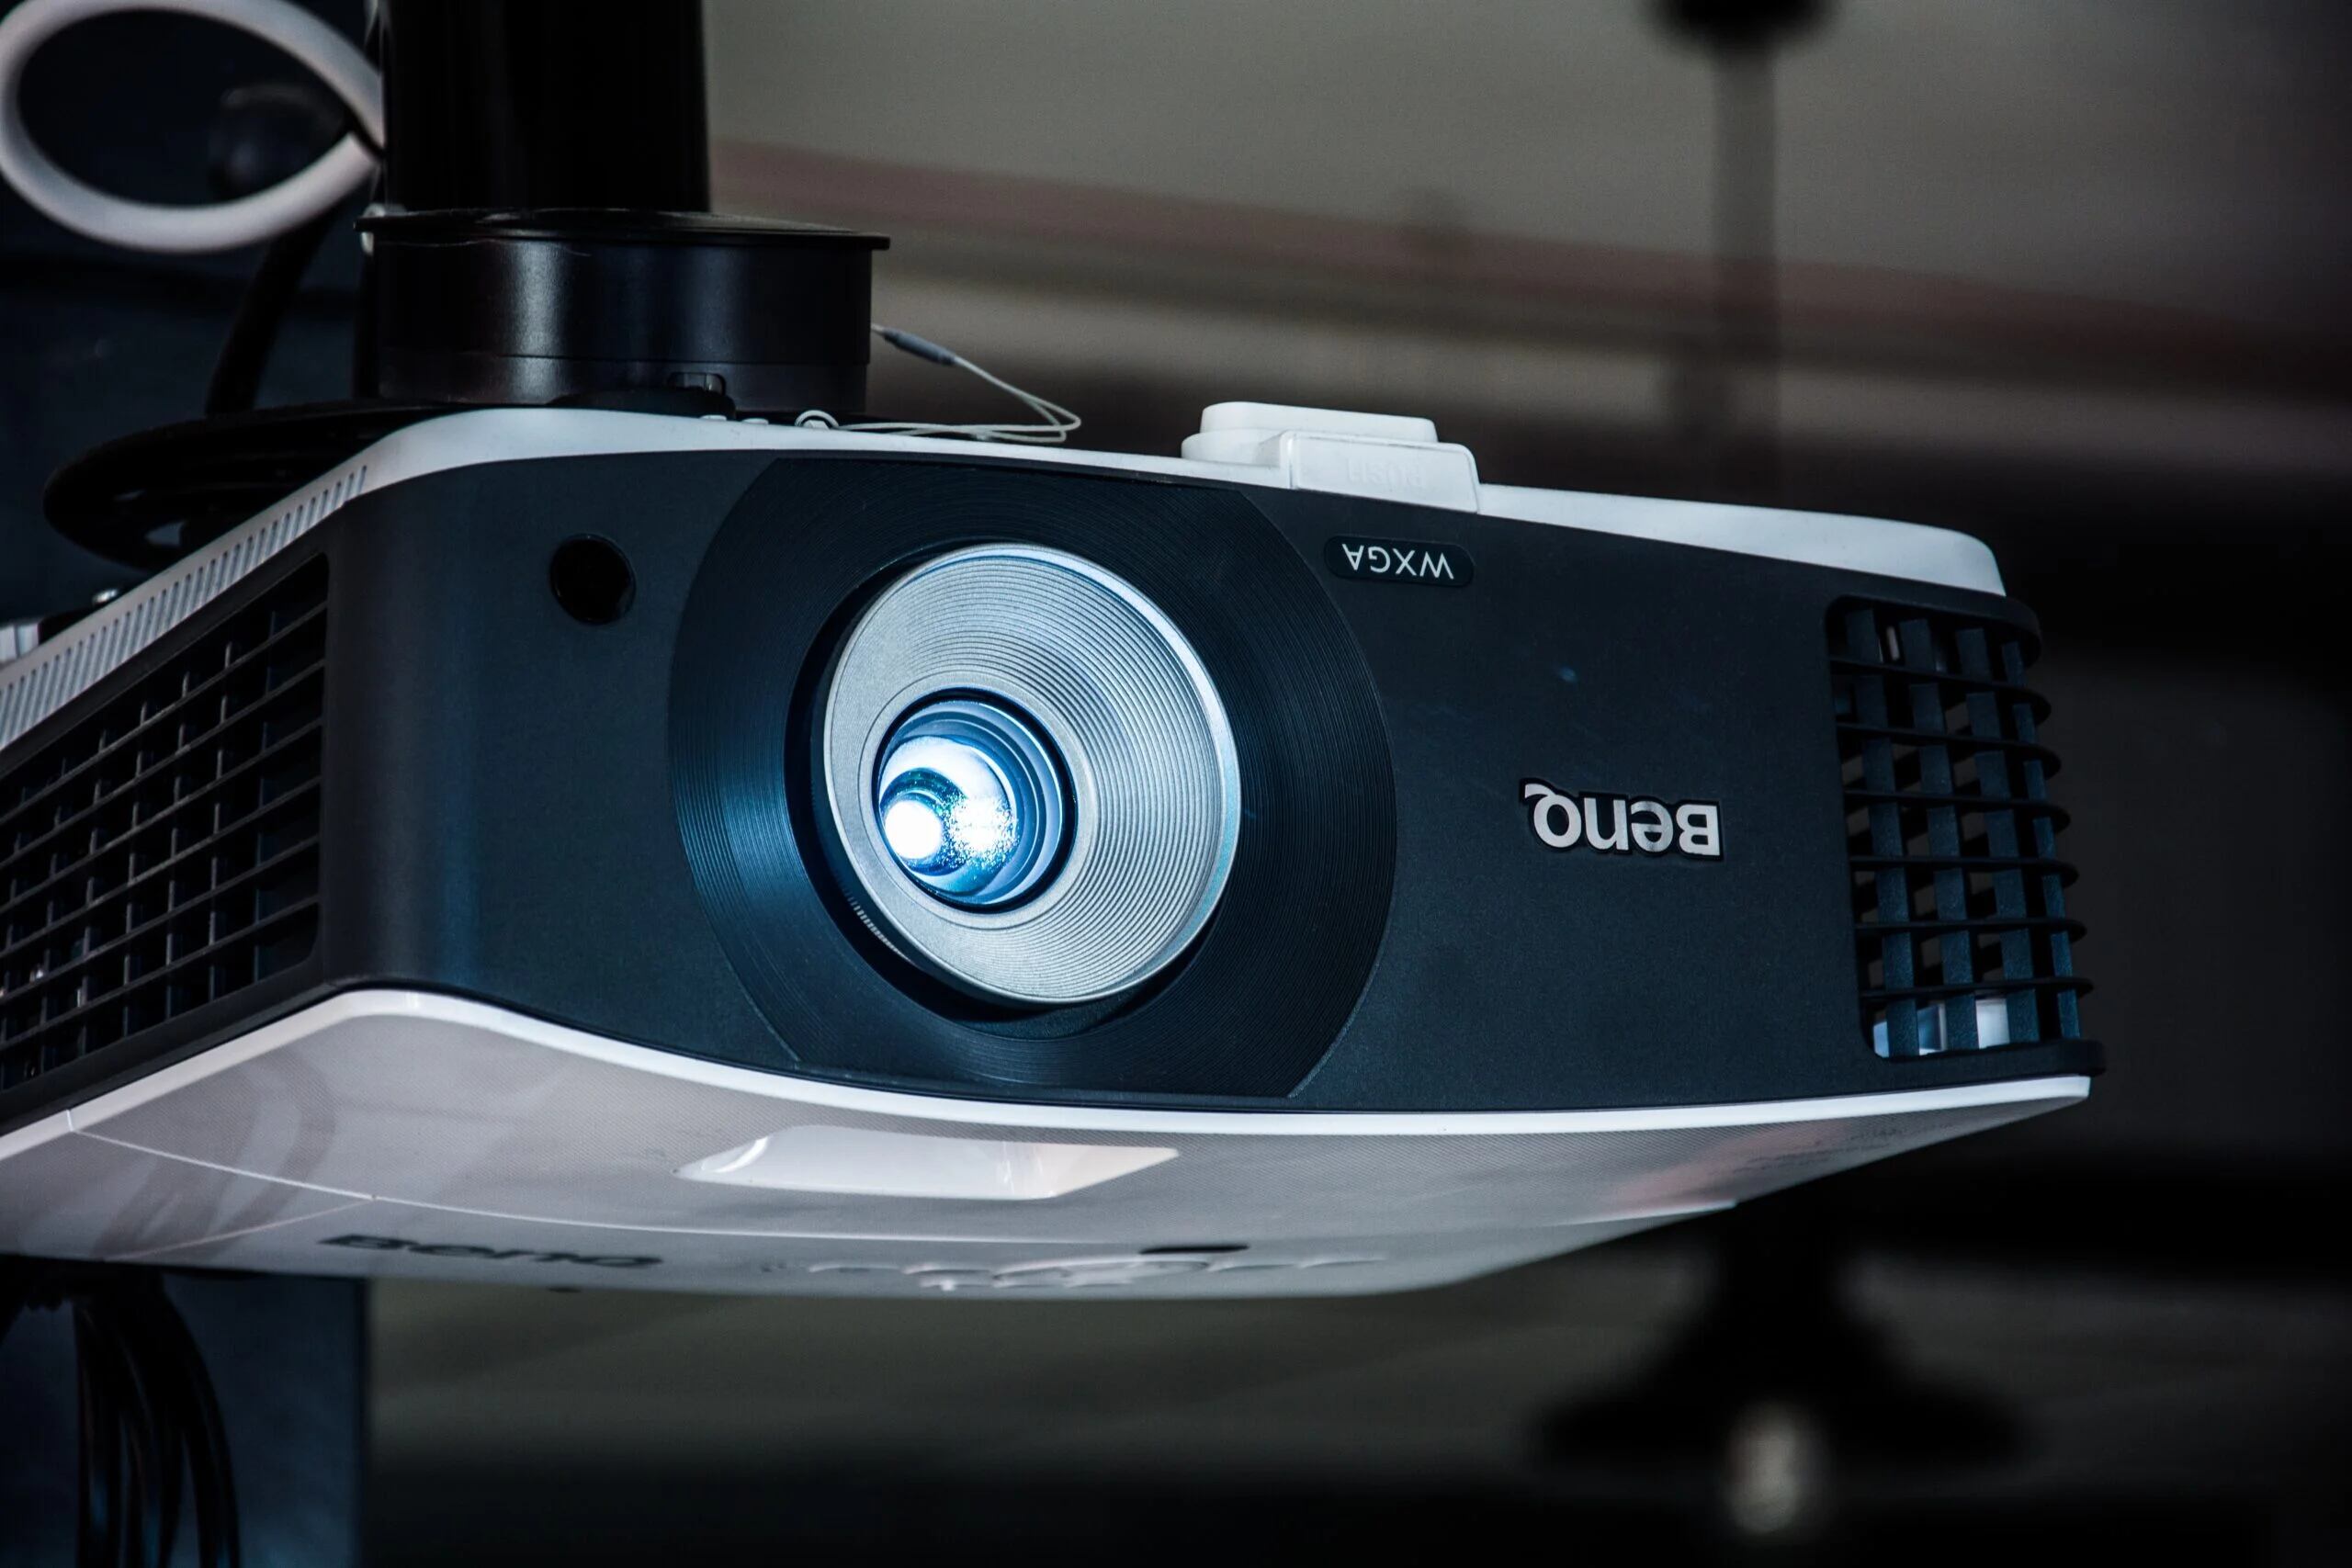
Step 4: Adjust the Focus and Keystone
After positioning your high peak projector, the next step is to adjust the focus and keystone settings. These adjustments are crucial for ensuring a crisp and distortion-free image. Follow these steps to fine-tune the focus and keystone:
- Locate the focus ring or dial on the projector lens. It is usually labeled “Focus” or has a symbol representing focus.
- Turn the focus ring or dial clockwise or counterclockwise to adjust the focus until the projected image appears sharp and clear.
- If the projected image appears distorted or skewed, you will need to adjust the keystone correction. Most projectors have built-in keystone correction features that allow you to digitally correct the shape of the image.
- Find the keystone adjustment controls in the projector’s menu or on the remote control. These may be represented as keystone icons or labeled as “Keystone” or “Image Correction”.
- Use the keystone adjustment controls to align the vertical and horizontal lines of the projected image. Make small adjustments until the image appears straight and properly proportioned.
- While adjusting the keystone, try to avoid extreme corrections as they may introduce image distortion. Aim for a balance between correcting the keystone and maintaining image quality.
Take the time to carefully adjust the focus and keystone settings to achieve the best visual quality for your projected content. It’s essential to ensure that the projected image is sharp, clear, and properly aligned with the projection surface.
With the focus and keystone adjustments made, you’re now ready to move on to the next step and connect the video source to your high peak projector.
Step 5: Connect the Video Source
Now that you have adjusted the focus and keystone settings, it’s time to connect the video source to your high peak projector. Whether you want to watch movies, display presentations, or stream content, connecting the video source is an essential step. Follow these instructions to connect the video source:
- Identify the video output port on your video source device, such as a laptop, DVD player, or streaming device. Common video output ports include HDMI, VGA, or DisplayPort.
- Choose the appropriate video cable that matches the video output port on your video source device. For example, if your video source device has an HDMI output, use an HDMI cable.
- Connect one end of the video cable into the video output port on your video source device. Ensure that it is securely plugged in.
- Locate the corresponding video input port on your high peak projector. It may have HDMI, VGA, or other input ports. Refer to the user manual for the specific location.
- Connect the other end of the video cable into the video input port on the projector. Again, ensure that it is securely connected.
- If your projector has multiple video input ports, select the appropriate input source using the projector’s menu or remote control.
- Power on your video source device and the high peak projector.
Once the video source is connected and powered on, the projected image should appear on the screen. If not, check the video source settings and ensure that the correct input source is selected on the projector. Additionally, ensure that the video source device is outputting a compatible resolution for the projector.
With the video source connected, you are now ready to enjoy your favorite content on the big screen using your high peak projector.
Step 6: Adjust the Screen Size and Distance
Once you have connected the video source to your high peak projector, it’s important to adjust the screen size and distance for optimal viewing. The screen size and distance will determine the overall viewing experience and ensure that your content is displayed properly. Follow these steps to adjust the screen size and distance:
- Measure the available space where you plan to project the images. This will help you determine the maximum screen size that can fit within your desired area.
- Refer to the user manual or online resources to find the recommended projection distance for your specific projector model. This information will help you determine how far to position the projector from the screen.
- Calculate the throw distance based on the recommended projection distance and desired screen size. The throw distance is the distance between the projector and the screen. Ensure that you have enough space to achieve the desired screen size.
- Position the projector at the calculated throw distance. Adjust the distance until the projected image fills the screen evenly and appears sharp.
- Use any zoom or lens shift features on your projector, if available, to further fine-tune the screen size and projection alignment.
- If the projected image appears too large or small, adjust the projector’s zoom or the distance between the projector and the screen.
- Make sure the projector is perpendicular to the projection surface to avoid any distortion or skewing of the image.
- Utilize the built-in aspect ratio settings on the projector or video source to match the screen aspect ratio. This will ensure that the projected image is properly proportioned.
By adjusting the screen size and distance, you can create an immersive viewing experience that best suits your preferences and the available space. Take your time to find the optimal balance between screen size, projection distance, and image quality.
With the screen size and distance properly set, you’re now ready to move on to the next step and test the functionality of your high peak projector.
Step 7: Test the Projector
After adjusting the screen size and distance, it’s important to test your high peak projector to ensure everything is working correctly before your main event. Testing the projector allows you to make any necessary adjustments and ensures a smooth experience for your audience. Follow these steps to test the projector:
- Ensure that all connections to the projector are secure and properly plugged in, including the power cord and video cables.
- Power on the high peak projector and the connected video source device.
- Select the appropriate input source on the projector to match the video source device you’re using.
- Play a test video or display a test pattern from your video source device to check the image quality, color reproduction, and clarity.
- Observe the projected image on the screen. Pay attention to any distorted images, color accuracy, sharpness, and brightness.
- Make adjustments as necessary. Use the projector’s controls or the remote control to modify settings like brightness, contrast, or image presets to achieve the desired image quality.
- Check for any visible artifacts, such as pixelation, blurring, or flickering, that may indicate signal or hardware issues.
- Ensure the audio is working properly by playing a video with sound from the video source device and verifying that it is coming through the projector’s built-in speakers or external audio system.
- Test any additional features or functions of your high peak projector, such as 3D capability or networking options, if applicable.
Take the time to thoroughly test your projector and make any necessary adjustments to ensure the best possible visual and audio experience. It’s better to identify and resolve any issues during the testing process rather than during the main event.
Once you are satisfied with the test results and the projector is functioning as expected, you’re ready to enjoy your favorite movies, presentations, or other content on the big screen using your high peak projector.
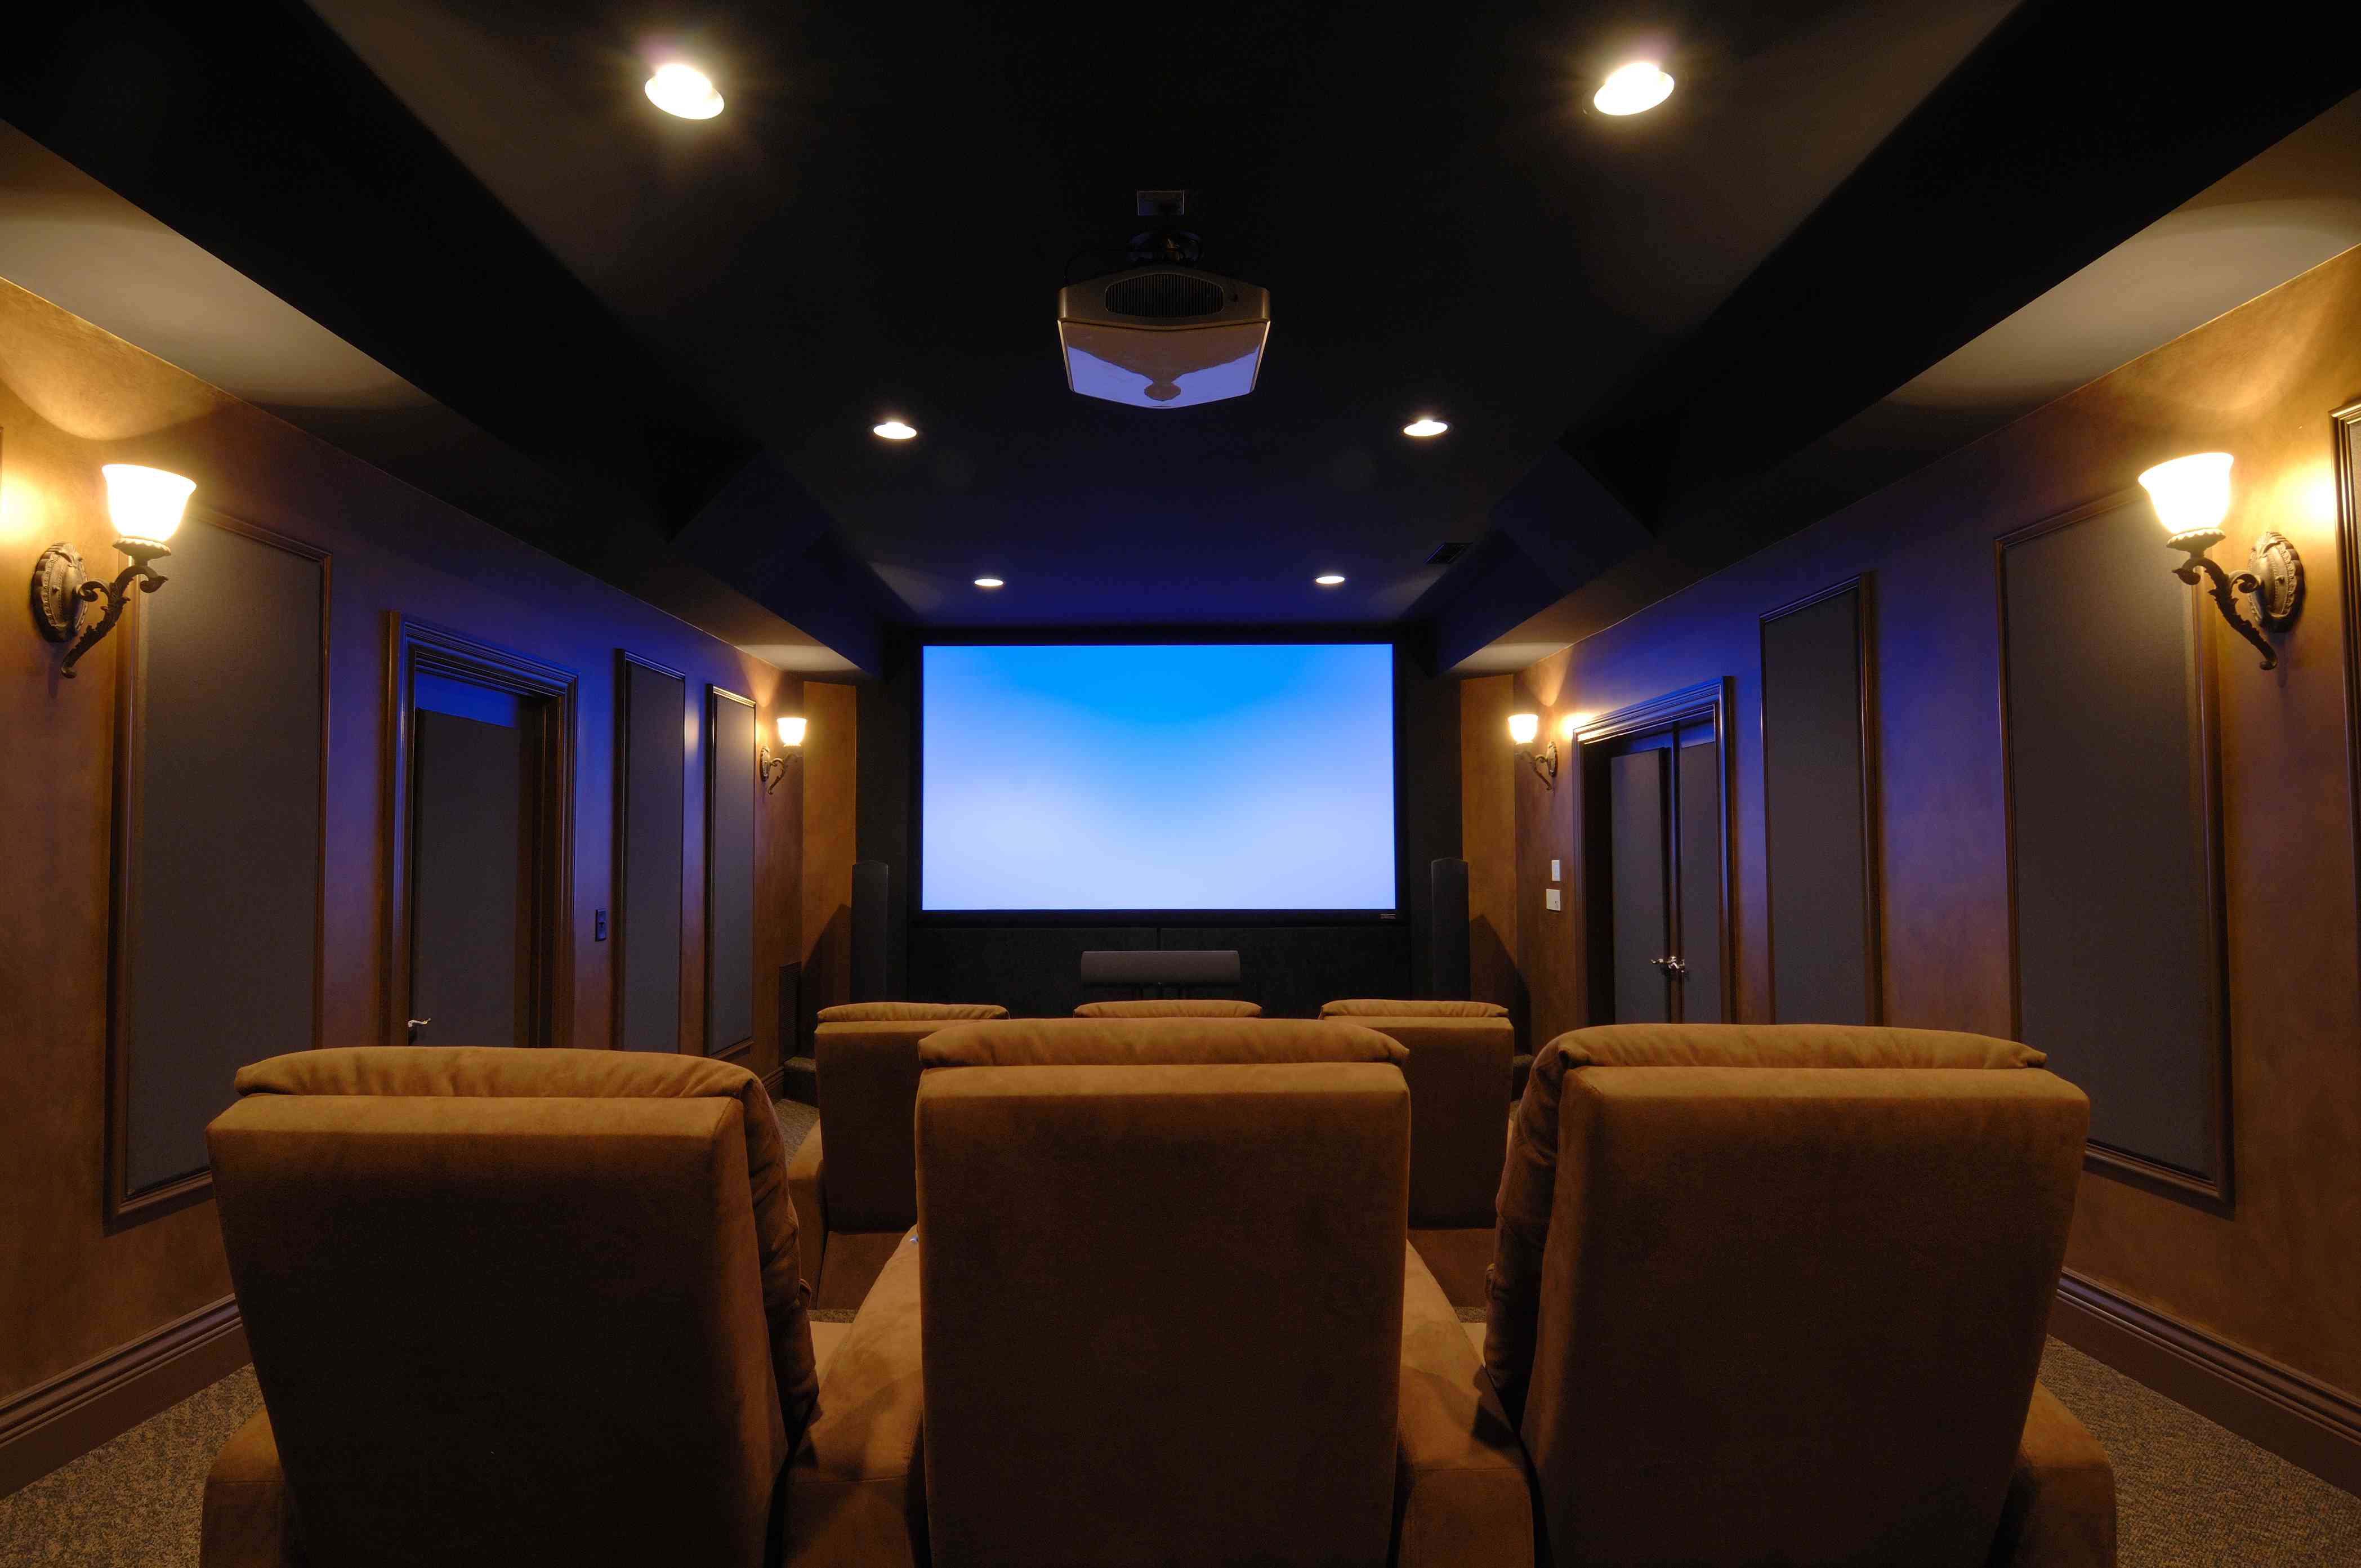
Step 8: Mount the Projector (Optional)
If you prefer a more permanent and aesthetically pleasing setup, you have the option to mount your high peak projector. Mounting the projector on the ceiling or wall can save space and provide a clean, clutter-free look. Follow these steps to mount your projector:
- Choose a suitable location on the ceiling or wall where you want to mount the projector. Ensure it is a sturdy surface that can support the weight of the projector and any additional mounting hardware.
- Check the user manual or manufacturer’s guidelines for specific instructions on how to mount your particular projector model. Different projectors may have different mounting mechanisms.
- Obtain the necessary mounting hardware, such as a ceiling mount kit or wall mount bracket. These can typically be purchased separately or included with the projector, depending on the model.
- Follow the manufacturer’s instructions to attach the mounting bracket or mount plate to the projector. This usually involves attaching the bracket to the bottom of the projector using the provided screws.
- Locate the mounting position you have selected and use a stud finder or other appropriate tools to ensure you are mounting the projector securely to a stud or support structure.
- Drill pilot holes into the ceiling or wall at the desired mounting location, following the instructions provided with the mounting hardware.
- Attach the mounting bracket or mount plate to the ceiling or wall using the appropriate screws or bolts. Ensure they are securely fastened to provide stability for the projector.
- Gently lift and mount the projector onto the installed bracket or mount plate, making sure it is securely attached and leveled.
- Adjust the projector’s alignment and angle as necessary to ensure the projected image is aligned with the screen or projection surface.
- Secure any additional cables or wiring for a neat and organized appearance.
Note: If you are not confident in your ability to safely mount the projector, it is recommended to seek professional assistance.
Mounting your high peak projector is an optional step, but it can significantly enhance the overall setup and create a sleek, professional look. It also helps to prevent accidental bumps or damage to the projector.
With the projector securely mounted, you can now enjoy a hassle-free and visually immersive experience with your high peak projector.
Conclusion
Congratulations! You have successfully learned how to set up and install your high peak projector. By following these step-by-step instructions, you can now enjoy your favorite movies, presentations, or content on the big screen with immersive visuals and enhanced viewing experiences.
Throughout the setup process, we covered important steps such as unpacking the projector, connecting the power cord, positioning the projector, adjusting the focus and keystone, connecting the video source, adjusting the screen size and distance, testing the projector, and optional mounting.
Remember to refer to the user manual provided with your high peak projector for specific instructions and additional features that may be unique to your model.
By setting up your high peak projector correctly, you can optimize the visual quality, maximize the screen size, and fine-tune the settings for an extraordinary viewing experience. Whether you’re creating a home theater, hosting outdoor movie nights, or delivering professional presentations, your high peak projector is ready to deliver stunning visuals in any setting.
Enjoy your new high peak projector and the endless possibilities it brings to your entertainment and presentations. Sit back, relax, and let the captivating images transport you to a whole new level of visual enjoyment.