Introduction
Connecting your phone to a mini projector opens up a whole new world of entertainment and productivity. Whether you want to share photos and videos, give presentations, or enjoy your favorite movies on a larger screen, the process is simple and straightforward. In this guide, we will walk you through the steps to connect your phone to a mini projector and make the most of this convenient setup.
The advancement in technology has made it possible for our phones to be more than just communication devices. They have become powerful multimedia tools that store our memories and keep us entertained. However, sometimes the small screen of a phone doesn’t do justice to the content we want to enjoy or share. That’s where a mini projector comes in handy. It allows you to project your phone’s screen onto any flat surface, giving you a larger and more immersive viewing experience.
Before we delve into the steps of connecting your phone to a mini projector, it’s important to note that the process may vary slightly depending on the make and model of your phone and projector. However, the general principles remain the same. So, whether you have an iPhone, Android device, or any other type of smartphone, you can follow these steps to connect it to a mini projector.
Step 1: Gather the necessary equipment
Before you can connect your phone to a mini projector, you will need to gather a few essential items. Here is a list of equipment you will need:
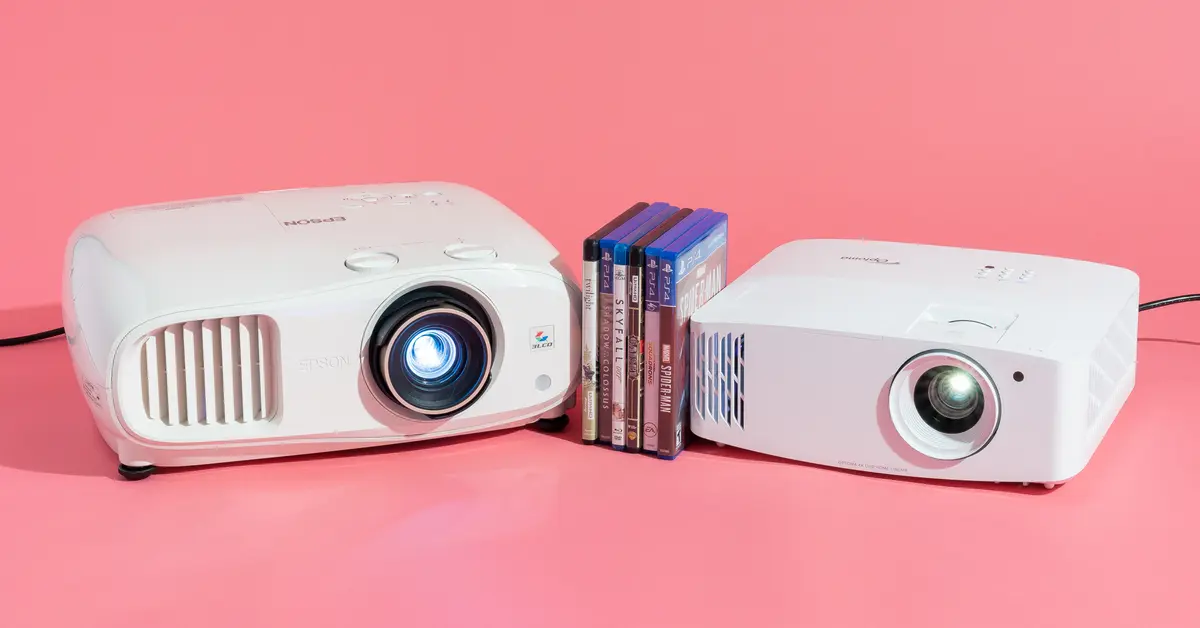
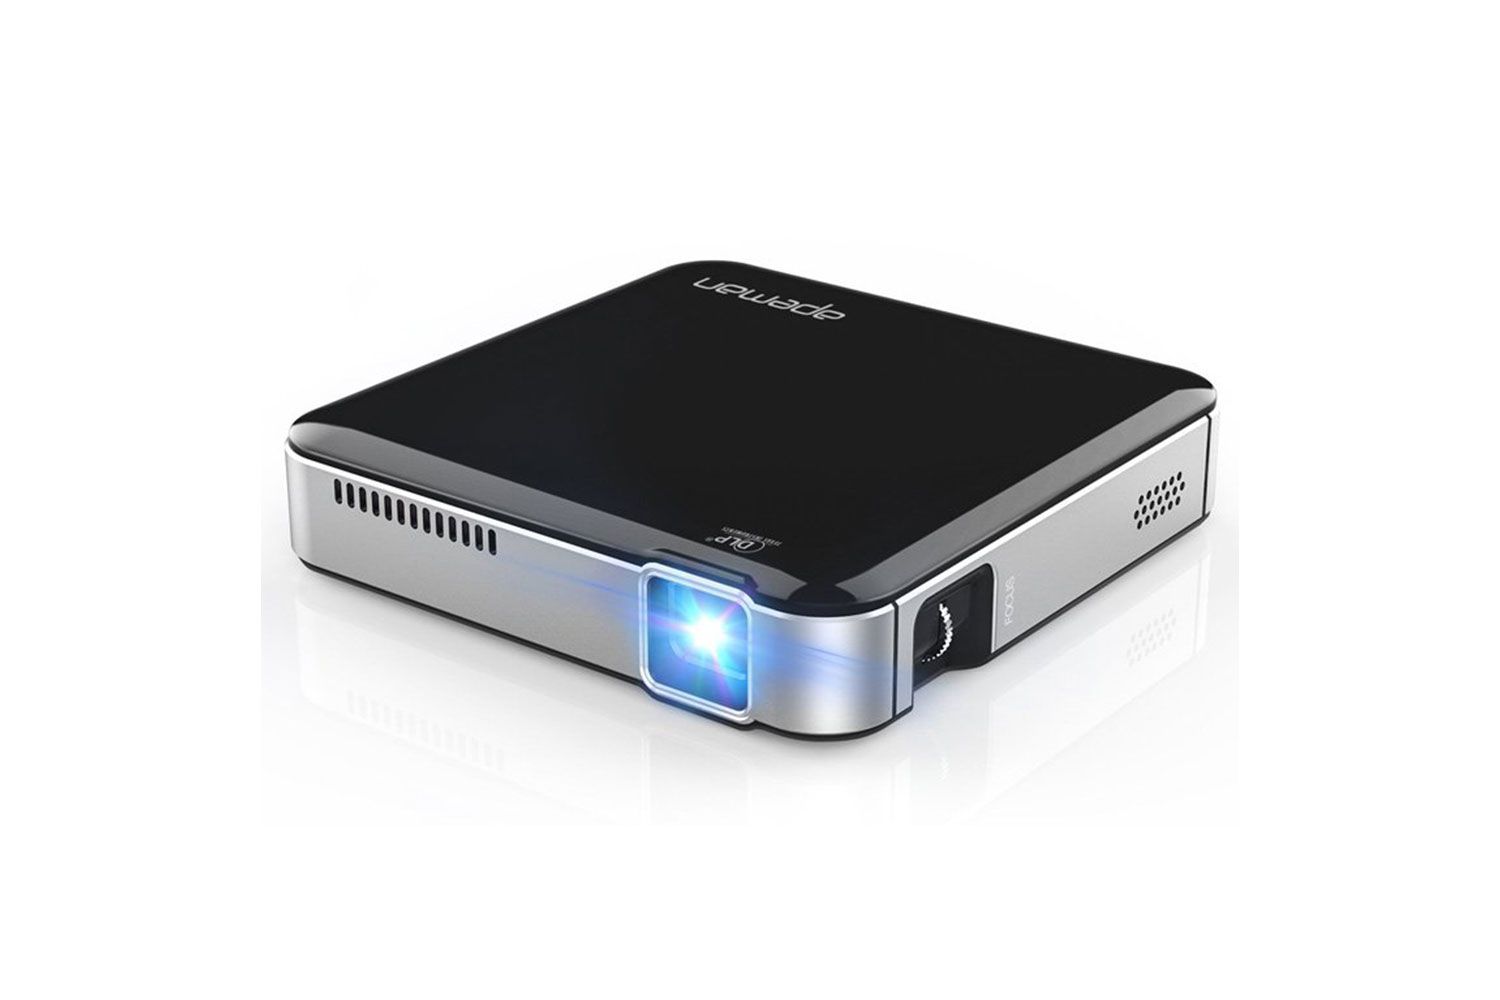
- A mini projector: Choose a portable mini projector that suits your needs. There are various options available on the market with different features and price ranges.
- Your phone: Ensure that your phone is fully charged and compatible with the mini projector. Most smartphones, including iPhones and Android devices, can be connected to a mini projector.
- An HDMI or USB cable: Check the ports on both your phone and the mini projector to determine whether you need an HDMI cable or a USB cable for the connection.
- An adapter (if necessary): Depending on the ports of your phone and mini projector, you might need an adapter to connect the HDMI or USB cable. Adapters are readily available and can be purchased online or at electronics stores.
- A stable surface or tripod: To ensure a steady projection, place the mini projector on a stable surface or use a tripod if one is available.
Once you have collected all the necessary equipment, you are ready to move on to the next step: checking the compatibility of your phone and projector. Remember to double-check the compatibility requirements specified by the manufacturer of your mini projector to ensure seamless connectivity and optimal performance.
Step 2: Check the compatibility of your phone and projector
Before proceeding with the connection, it is important to ensure that your phone and mini projector are compatible with each other. Here are a few things to consider:
- Operating System Compatibility: Check if your phone’s operating system (such as iOS or Android) is supported by the mini projector. Most projectors are designed to work with a wide range of devices, but it’s always a good idea to verify compatibility.
- Connection Ports: Look for the available connection ports on both your phone and the mini projector. Common ports include HDMI, USB, and USB-C. Make sure that the mini projector has a port that matches the one on your phone.
- Resolution Support: Consider the resolution capabilities of both your phone and the mini projector. It’s best to choose a projector that supports the resolution of your phone’s screen to ensure crisp and clear image quality.
- Additional Features: Some mini projectors offer wireless connectivity options, such as Bluetooth or Wi-Fi. Check if your phone supports these features, as they can provide more convenient and flexible connectivity options.
If you are unsure about the compatibility of your phone and mini projector, consult the user manuals or contact the manufacturer for further information. It’s always better to be certain before making any connections to avoid any potential issues or damage to the devices.
Once you have confirmed that your phone and mini projector are compatible, you are ready to proceed to the next step: connecting your phone to the mini projector using an HDMI or USB cable.
Step 3: Connect your phone to the mini projector using HDMI or USB
Now that you have ensured the compatibility of your phone and mini projector, it’s time to make the physical connection. Follow these steps to connect your phone to the mini projector:
- Identify the appropriate connection port on both your phone and the mini projector. This is usually an HDMI or USB port.
- If you are using an HDMI cable, plug one end of the cable into the HDMI port on your phone and the other end into the HDMI port on the mini projector. Make sure the connections are secure.
- If your phone and mini projector have USB ports, use a USB cable to connect them. Insert one end of the USB cable into the USB port on your phone and the other end into the USB port on the mini projector.
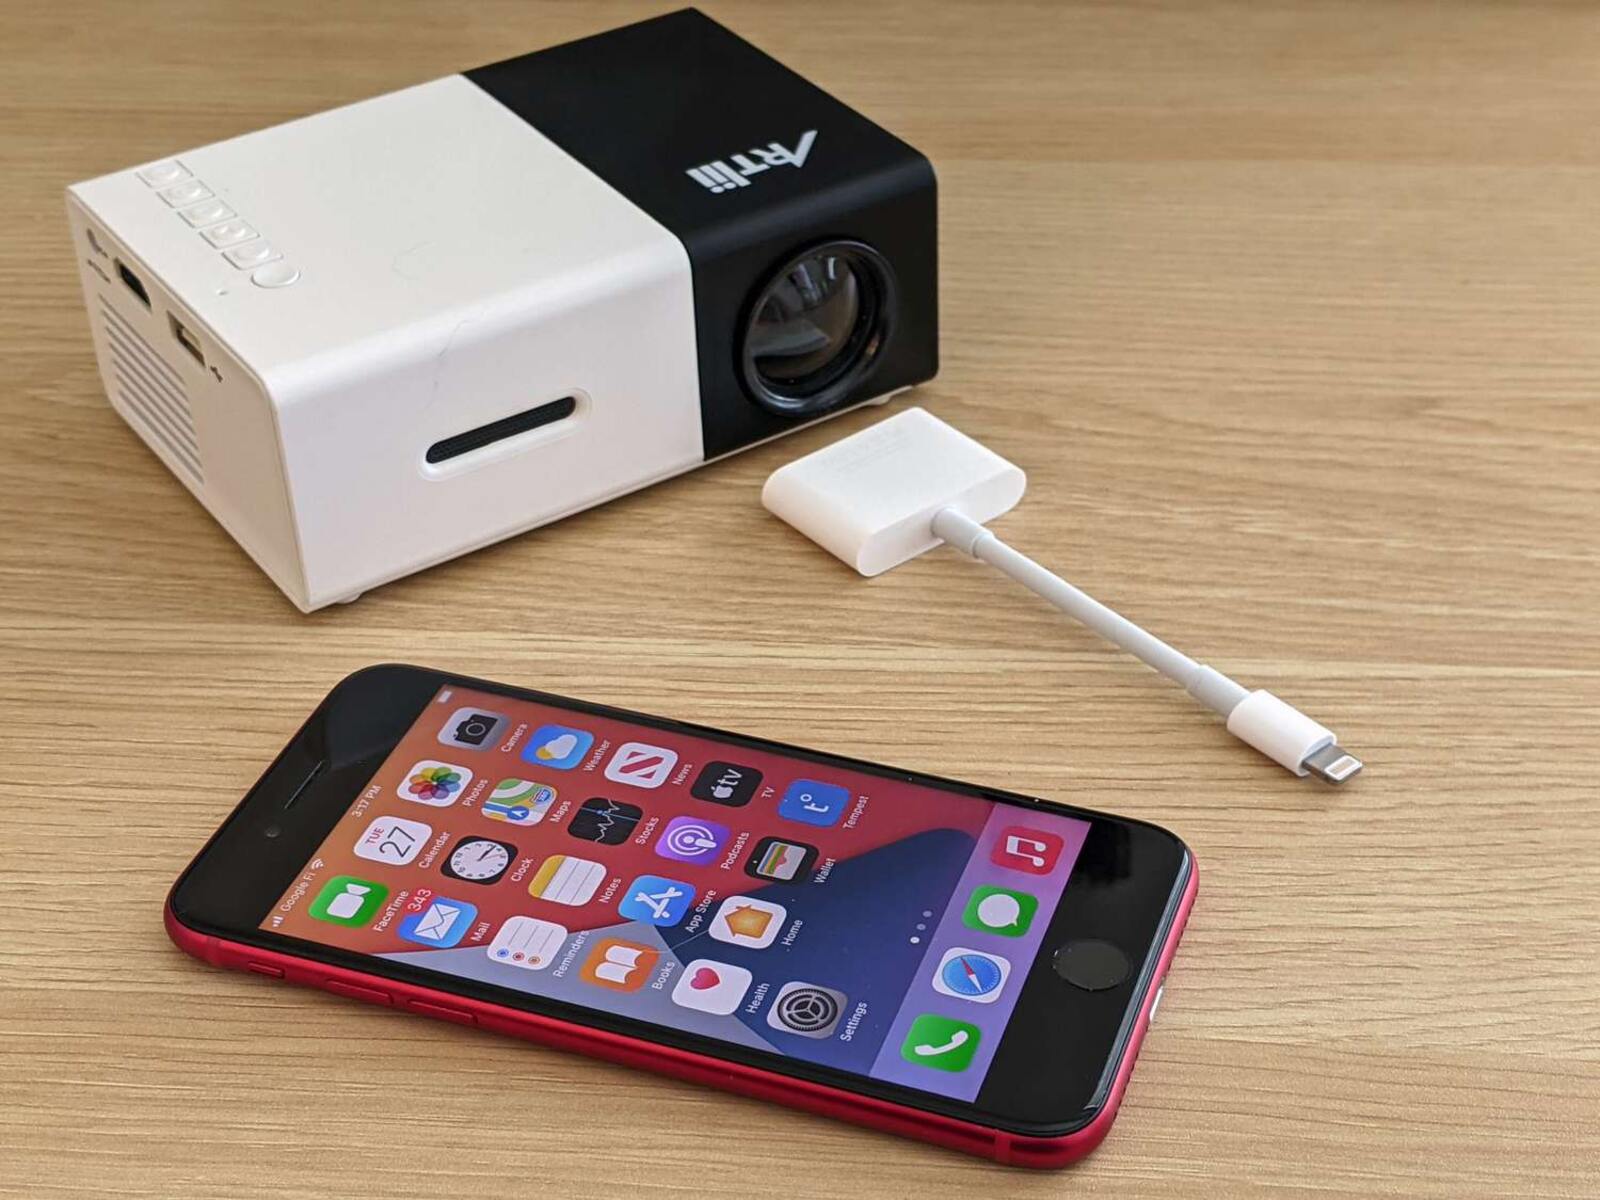
- If your phone has a USB-C port, you may need an adapter to connect it to the mini projector. Ensure that the adapter is compatible with both your phone and the projector, and then follow the same steps as mentioned above.
- Once the connections are made, power on both your phone and the mini projector.
After connecting your phone to the mini projector, it may take a few moments for the devices to recognize each other. Be patient while they establish a successful connection.
Once the connection is established, you should see the content from your phone being projected onto the screen or surface connected to the mini projector. You can now use your phone as you normally would, and the content will be mirrored on the larger display.
If you encounter any issues with the connection, double-check the cable connections and ensure that the devices are powered on and set to the correct input source. Make sure to consult the user manuals of your phone and mini projector if you need further assistance.
Now that you’ve successfully connected your phone to the mini projector, it’s time to move on to the next step: adjusting the display settings on your phone and projector to optimize the viewing experience.
Step 4: Adjust the display settings on your phone and projector
Once you have connected your phone to the mini projector, it’s important to ensure that the display settings are optimized for the best viewing experience. Follow these steps to adjust the settings on both your phone and projector:
- On your phone, navigate to the display settings. This can usually be found in the “Settings” app under the “Display” or “Screen” section.
- Adjust the screen orientation to match the projected image. You can choose between portrait or landscape mode, depending on the orientation of your mini projector setup.
- Check the resolution settings and make sure they are set to the appropriate level. It’s recommended to use the native resolution of the mini projector for optimal clarity and sharpness.
- Explore other display settings, such as brightness, contrast, and color temperature, to adjust the image quality according to your preferences.
- On the mini projector, locate the on-screen menu or settings panel. This is usually accessible through the projector’s remote control or control buttons on the device itself.
- Adjust the projection mode to match your setup. You may have options like front projection, rear projection, or ceiling projection, depending on the mini projector model.
- Explore additional settings on the mini projector, such as keystone correction, aspect ratio, and image flip, to ensure the projected image is properly aligned and scaled.
- Make sure to save and apply any changes made to the display settings on both your phone and the mini projector.
By adjusting the display settings on both your phone and projector, you can enhance the image quality and ensure that the content is properly displayed on the big screen. Take some time to experiment and find the settings that work best for your specific setup and preferences.
With the display settings optimized, you are now ready to enjoy your phone’s content on the big screen. Whether you want to watch movies, share presentations, or view photos and videos, the larger projection will provide a more immersive and enjoyable experience.
Finally, let’s move on to the last step: enjoying your phone’s content on the big screen and making the most out of your connected setup.
Step 5: Enjoy your phone’s content on the big screen
Now that you have successfully connected your phone to the mini projector and adjusted the display settings, it’s time to sit back, relax, and enjoy your phone’s content on the big screen. Here are some tips to enhance your experience:
- Watch Movies and Videos: Stream your favorite movies or videos from apps like Netflix, YouTube, or Hulu onto the larger screen. With the immersive projection, you can enjoy a cinematic experience from the comfort of your own home.
- Share Presentations: If you need to deliver a presentation or share a slideshow, connect your phone to the mini projector and make an impactful impression. Your audience will be able to see your content clearly and appreciate the level of professionalism.
- Play Mobile Games: Take mobile gaming to the next level by projecting the game onto the big screen. You can enjoy a more immersive and engaging gaming experience, especially for multiplayer games with friends and family.
- View Photos and Videos: Share your precious memories with friends and family by displaying your photos and videos on the big screen. Relive your favorite moments and create a nostalgic atmosphere with the larger projection.
- Presentation and Web Browsing: Browse the internet, access social media, or give online presentations by mirroring your phone’s screen on the mini projector. This is particularly useful for collaborative work or when you need a larger display for multitasking.
Remember to adjust the volume settings on either your phone or the mini projector, depending on which device you want the sound to come from. You can also connect external speakers or a sound system for an enhanced audio experience.
Additionally, make sure to position the mini projector and adjust the screen size and focus to achieve the desired image size and clarity. Experiment with different viewing distances and angles to find the optimal setup for your specific preferences and space.
By following these steps and making the necessary adjustments, you can fully enjoy your phone’s content on the big screen. Take advantage of the convenience and flexibility that the connected setup provides, and explore a whole new level of entertainment, productivity, and engagement.
Conclusion
Connecting your phone to a mini projector opens up a world of possibilities for entertainment, productivity, and sharing content on a larger screen. By following the steps outlined in this guide, you can easily connect your phone to a mini projector and enjoy a more immersive viewing experience.
In the beginning, we discussed the necessary equipment required, including a mini projector, compatible phone, connection cables, adapters (if needed), and a stable surface or tripod. Checking the compatibility of your phone and mini projector was emphasized to ensure a seamless connection.
We then walked through the process of physically connecting your phone to the mini projector using either an HDMI or USB cable and adjusting the display settings on both devices. This step is crucial to ensure optimal image quality and alignment on the big screen.
Finally, we highlighted the importance of enjoying your phone’s content on the big screen. Whether it’s watching movies, sharing presentations, playing games, or viewing photos and videos, the larger projection provides a more immersive and enjoyable experience.
Remember to explore the various possibilities that this setup offers, experiment with different settings, and tailor the experience to your preferences and needs. With the right setup, you can transform your phone into a versatile multimedia tool that allows you to share and enjoy content on a grand scale.
So, embrace the power of connectivity, make the most out of your phone’s capabilities, and let the mini projector bring your content to life on the big screen. Whether you’re at home, in the office, or on the go, connecting your phone to a mini projector is a convenient and exciting way to enhance your viewing experience.