Introduction
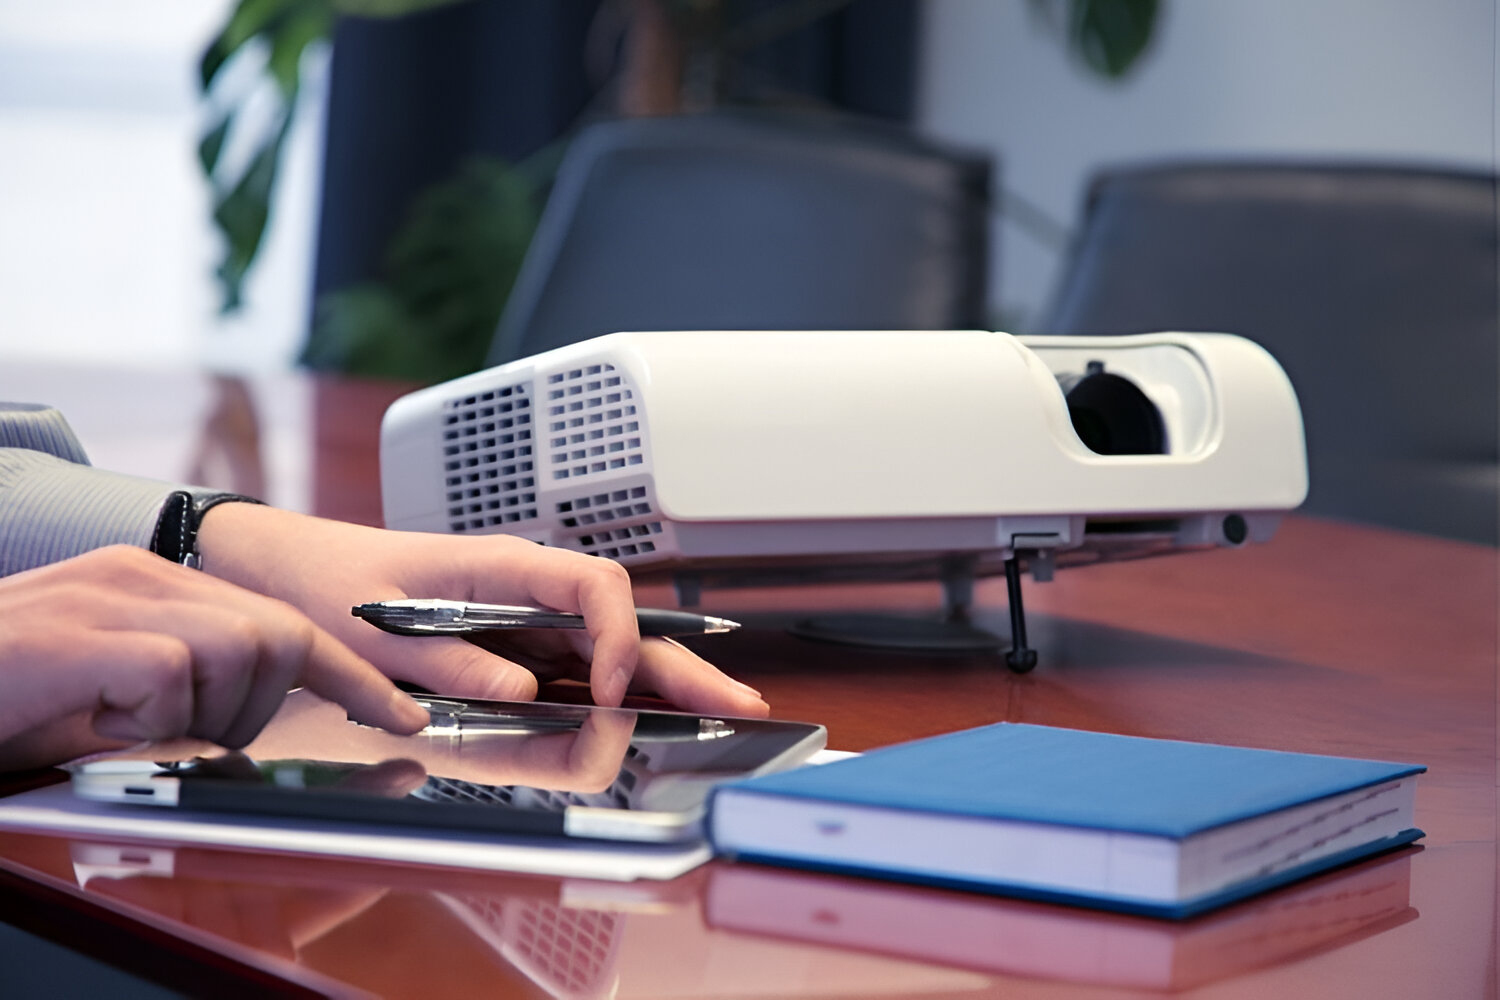
Welcome to our article on how to screen mirror to a projector. In today’s digital age, screen mirroring has become an essential feature that allows you to share your device’s screen with a larger display, such as a projector. Whether you want to deliver a presentation, watch videos, or enjoy your favorite apps on a bigger screen, screen mirroring provides a convenient and immersive experience.
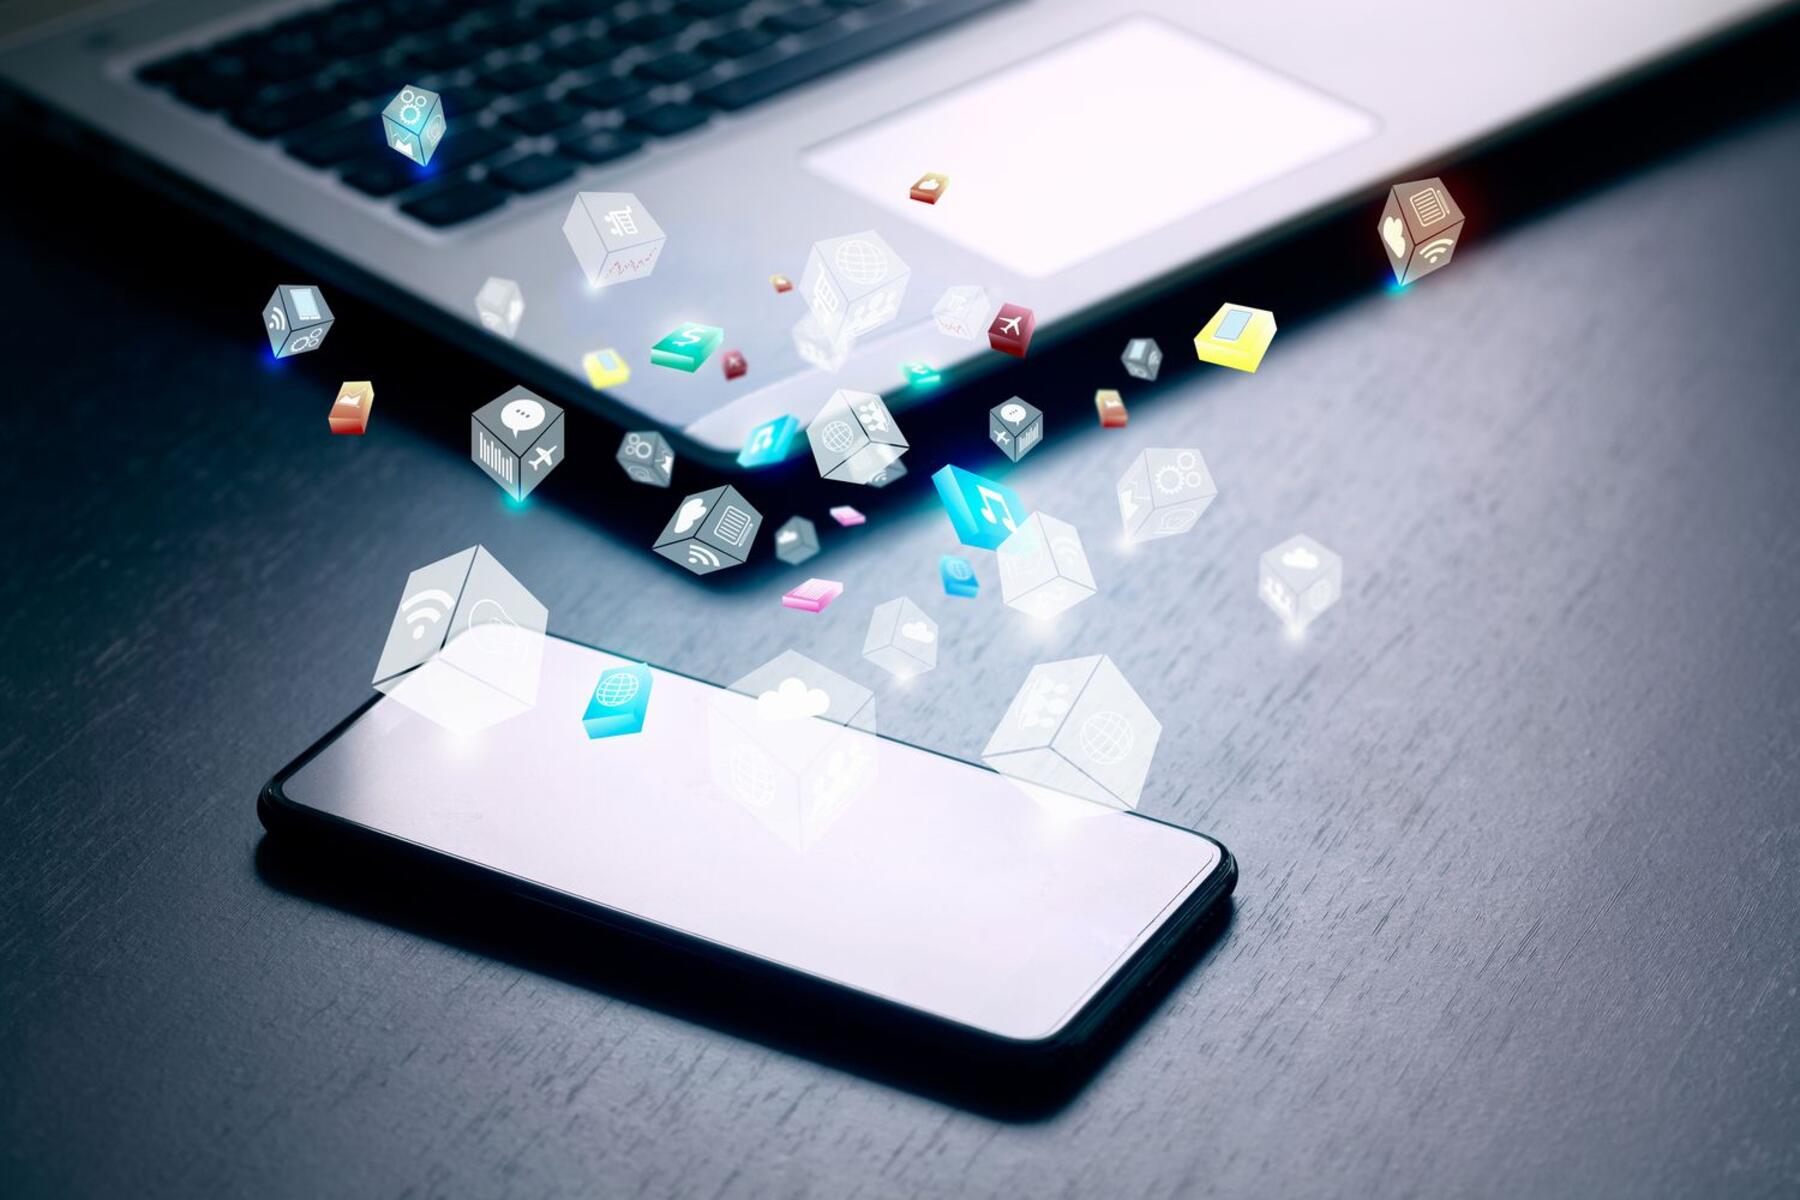
Screen mirroring, also known as screen casting or screen sharing, enables you to replicate your smartphone, tablet, or computer display onto a projector without the need for cables or complicated setups. This technology has revolutionized the way we consume media and share content in various professional and personal settings.
In this article, we will dive into the benefits of screen mirroring to a projector, explore the compatibility and requirements for screen mirroring, and guide you through the process of connecting your device to a projector using different methods. We will also provide troubleshooting tips for common issues you may encounter along the way.
Whether you are a business professional looking to deliver a compelling presentation, an educator wanting to engage your students, or simply a movie enthusiast seeking a cinematic experience, screen mirroring to a projector can enhance your content sharing capabilities and take your visual experience to the next level.
So, if you are ready to unlock the full potential of your device by wirelessly mirroring it to a projector, read on to discover the various options available and how to get started.
What is Screen Mirroring?
Screen mirroring refers to the technology that allows you to replicate the screen of your device, such as a smartphone, tablet, or computer, onto a larger display, typically a projector or a television. It enables you to share the content, videos, photos, presentations, or any other media from your device onto a bigger screen in real-time.
Screen mirroring involves transmitting audio and video signals from your device to the projector, creating a seamless and immersive viewing experience. It essentially mirrors everything you see on your device’s screen onto the projector, eliminating the need for additional cables or adapters.
Screen mirroring is particularly useful in a variety of scenarios. For professionals, it allows you to deliver impactful presentations, showcasing your ideas and data on a large screen to a wider audience. Teachers can also leverage screen mirroring to enhance classroom activities, making it easier for students to follow along and engage with the material being presented.
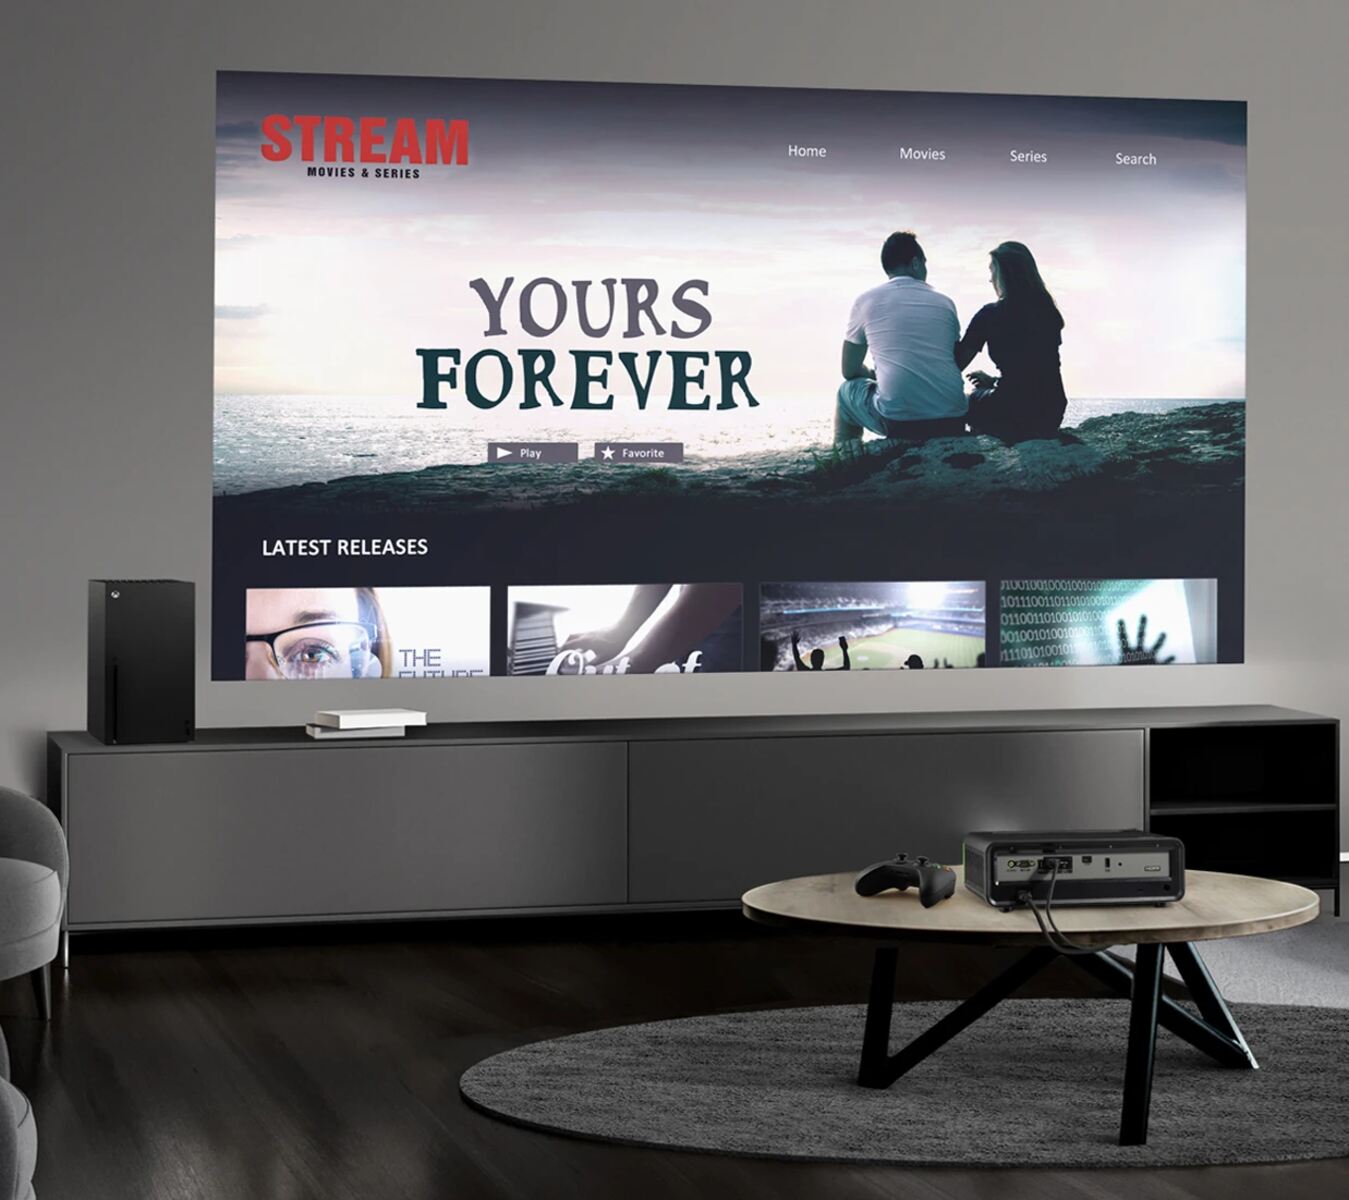
Moreover, screen mirroring can be a great entertainment tool. You can enjoy your favorite apps, movies, or games on a bigger screen, enabling a more immersive and enjoyable experience. Whether you want to watch Netflix, YouTube, or play mobile games, screen mirroring to a projector can transform your entertainment setup.
Another valuable aspect of screen mirroring is the ability to share memories with family and friends. You can effortlessly showcase your vacation photos or videos on a larger screen, allowing everyone to relive the moments together. Screen mirroring is also handy for online video calls, enabling you to connect with loved ones on a bigger display.
Overall, screen mirroring opens up a world of possibilities for sharing and experiencing content. It provides a more engaging and dynamic way to interact with your device, expanding its capabilities beyond the limitations of its built-in screen. Whether for work or leisure, screen mirroring to a projector is a valuable feature that enhances both productivity and entertainment.
Benefits of Screen Mirroring to a Projector
Screen mirroring to a projector offers a range of benefits and advantages that enhance your overall viewing experience and productivity. Let’s explore some of the key benefits:
1. Larger Display:
Screen mirroring allows you to enjoy content on a much larger display compared to the screen of your device. Whether you’re watching videos, browsing photos, or delivering presentations, the increased screen size provided by the projector enables better visibility and engagement.
2. Enhanced Viewing Experience:
A projector provides a cinematic experience, immersing you in the content you’re consuming. Whether it’s watching movies, playing games, or giving presentations, screen mirroring to a projector amplifies the visual impact and makes the content more captivating.
3. Convenience and Flexibility:
Screen mirroring eliminates the need for physically connecting cables between your device and the projector, providing a hassle-free and wireless way to showcase your content. It offers flexibility in moving around while maintaining a stable connection, enabling you to interact with your device more freely.
4. Improved Collaboration and Communication:
Screen mirroring to a projector enhances collaboration and communication in various settings. During meetings or presentations, you can share your screen and visually explain ideas, data, and visuals to your audience, fostering better understanding and engagement. In educational settings, teachers can use screen mirroring to actively involve students in the learning process.
5. Easy Setup and Accessibility:
Setting up screen mirroring with a projector is generally straightforward, requiring minimal technical knowledge. Once configured, you can quickly connect your device to the projector whenever needed, making it easy to access and utilize the projector’s capabilities on-demand.
6. Versatility:
Screen mirroring allows you to use your device as a multifunctional tool that can cater to various needs. Whether it’s a business presentation, an educational session, or a casual movie night, you can effortlessly switch between different types of content and seamlessly connect your device to the projector for a versatile experience.
7. Cost and Space Efficiency:
Investing in a projector for screen mirroring can be a cost-effective solution compared to purchasing larger displays or multiple devices. Additionally, projectors occupy less space compared to bulkier television screens, making them suitable for both small and large rooms.
Overall, screen mirroring to a projector delivers numerous benefits, ranging from an immersive viewing experience to improved collaboration and convenience. Whether for work, education, or entertainment, embracing screen mirroring technology can significantly enhance your digital interactions and make your content-sharing endeavors more enjoyable.
Compatibility and Requirements for Screen Mirroring
Before embarking on the journey of screen mirroring to a projector, it’s essential to ensure compatibility and meet the necessary requirements. Here are the key considerations:
1. Device Compatibility:
First and foremost, you need to ensure that your device supports screen mirroring. Most modern smartphones, tablets, and computers have built-in screen mirroring capabilities. However, it’s crucial to check the specifications and functionalities of your device to confirm compatibility.
2. Operating System:
The operating system of your device plays a crucial role in determining its compatibility with screen mirroring. For example, Android devices often utilize Google’s Cast technology, while Apple devices rely on AirPlay. Ensure that your device’s operating system is compatible with the screen mirroring technology you plan to utilize.
3. Projector Compatibility:
Not all projectors are equally compatible with screen mirroring. Some projectors are specifically designed to support wireless screen mirroring technologies such as Miracast, AirPlay, or Chromecast, while others may require additional adapters or dongles. It’s important to check the specifications of your projector to ensure compatibility with your device and the screen mirroring technology you intend to use.
4. Network Connectivity:
For wireless screen mirroring, a stable network connection is crucial. Ensure that both your device and the projector are connected to the same Wi-Fi network to facilitate a seamless connection. A strong and stable Wi-Fi signal is necessary to avoid disruptions during the screen mirroring process.
5. Software and App Requirements:
In some cases, you may need to install specific software or apps on your device to enable screen mirroring. For instance, Android devices may require the installation of a screen mirroring app, while Apple devices may need the appropriate AirPlay-compatible software. Be sure to check the app requirements and compatibility before proceeding with screen mirroring.
6. Cables and Adapters:
If you are opting for wired screen mirroring, you will need the necessary cables and adapters to connect your device to the projector. HDMI cables are commonly used for this purpose, but you may also require additional adapters or dongles, depending on the connection ports available on your device and the projector.
By considering these compatibility and requirement factors, you can ensure a smooth and successful screen mirroring experience. Be sure to check the specifications of your devices, understand the necessary connections, and choose the appropriate screen mirroring technology that suits your needs.
Connecting Your Device to the Projector
Connecting your device to a projector for screen mirroring can be done in several ways, depending on the available ports and the screen mirroring technology you plan to use. Let’s explore three common methods:
Option 1: Using an HDMI Cable:
If both your device and the projector have HDMI ports, using an HDMI cable is a straightforward and reliable method for screen mirroring. Simply connect one end of the HDMI cable to the HDMI port on your device and the other end to the HDMI input port on the projector. Ensure that your device’s display output is set to the HDMI input, and you should see your device’s screen mirrored on the projector.
Option 2: Using an Adapter or Dongle:
If your device does not have an HDMI port, you can utilize an adapter or dongle to connect it to the projector. For example, if your device has a USB-C port, you can use a USB-C to HDMI adapter to establish the connection. Similarly, if your device has a Lightning port (Apple devices) or a Micro-USB port, there are adapters available that can convert these ports to HDMI. Connect the adapter to your device and then use an HDMI cable to connect the adapter to the projector’s HDMI input port.
Option 3: Using Wireless Screen Mirroring:
Wireless screen mirroring is a popular and convenient option that eliminates the need for cables. If both your device and the projector support wireless technologies such as Miracast, AirPlay, or Chromecast, you can establish a wireless connection for screen mirroring. Activate the screen mirroring function on your device and select the respective projector from the available list of devices. Ensure that both your device and the projector are connected to the same Wi-Fi network for a successful connection.
It’s important to note that the specific steps and instructions may vary depending on your device’s operating system and the screen mirroring technology being used. Refer to the user manual or online resources for your device and projector to obtain detailed instructions on how to connect your particular devices.
Once you have successfully connected your device to the projector, you can navigate through your device’s screen and enjoy the mirrored content on the larger display. Whether you’re delivering a presentation, sharing media, or engaging in other activities, screen mirroring allows you to fully utilize the capabilities of the projector and enhance your overall multimedia experience.
Option 1: Using an HDMI Cable
Using an HDMI cable is a popular and reliable method to connect your device to a projector for screen mirroring. This method is widely used because it offers high-quality audio and video transmission without any noticeable lag. Follow the steps below to connect your device to the projector using an HDMI cable:
Step 1: Check the Ports
Ensure that both your device and the projector have an HDMI port. Most modern devices, such as smartphones, tablets, and laptops, come equipped with an HDMI port. The projector should also have an HDMI input port, usually labeled as “HDMI In”.
Step 2: Prepare the HDMI Cable
Obtain an HDMI cable with the appropriate connectors for your device and the projector. Standard HDMI cables have the same type of connector on both ends, but ensure that the cable length is sufficient to reach from your device to the projector.
Step 3: Connect the Cable
Connect one end of the HDMI cable to your device’s HDMI output port and the other end to the HDMI input port on the projector. Make sure to firmly insert the connectors into the ports to establish a secure connection.
Step 4: Set the Input Source
On the projector, use the remote control or the control panel buttons to select the appropriate HDMI input source for the connected device. This input source may be labeled as “HDMI” or correspond to the specific HDMI port you used.
Step 5: Switch on the Devices
Switch on your device and the projector. Depending on the devices, the screen mirroring may automatically initiate, or you may need to adjust your device’s display settings to enable the mirroring.
Step 6: Adjust Display Settings
On your device, go to the display settings to ensure that the output is being directed to the HDMI port. Adjust the display resolution and aspect ratio as needed to match the projector’s capabilities for an optimal viewing experience.
Step 7: Test the Connection
With the HDMI cable properly connected and the settings adjusted, you should now see your device’s screen mirrored on the projector. Test the connection by navigating through your device’s screen and verifying that the mirrored content is visible on the projector’s screen.
Using an HDMI cable is a simple and effective way to connect your device to a projector for screen mirroring. This method ensures high-quality audio and video transmission, making it suitable for a wide range of applications, including presentations, multimedia playback, and more.
Option 2: Using an Adapter or Dongle
If your device does not have an HDMI port, you can still connect it to a projector for screen mirroring by using an adapter or dongle. This method allows you to convert your device’s existing port, such as USB-C, Micro-USB, or Lightning, into an HDMI output. Here’s how to use an adapter or dongle for screen mirroring:
Step 1: Identify Your Device’s Port
Determine the type of port available on your device. Common options include USB-C, Lightning (for Apple devices), or Micro-USB. This will help you choose the appropriate adapter or dongle.
Step 2: Purchase the Adapter or Dongle
Based on your device’s port, acquire the corresponding adapter or dongle that can convert the port into HDMI output. For example, if your device has a USB-C port, you will need a USB-C to HDMI adapter.
Step 3: Connect the Adapter or Dongle
Connect one end of the adapter or dongle to your device’s port. Ensure a secure connection, as a loose connection can affect the screen mirroring quality. On the other end of the adapter or dongle, plug in an HDMI cable.
Step 4: Connect the HDMI Cable to the Projector
Take the other end of the HDMI cable and connect it to the HDMI input port on the projector. Make sure both ends are securely connected to avoid any signal loss or disconnection during screen mirroring.
Step 5: Set the Input Source
Using the projector’s remote control or control panel buttons, select the appropriate HDMI input source that corresponds to the HDMI port used for the connection. It may be labeled as “HDMI” or numbered to coincide with the desired HDMI input port.
Step 6: Power On the Devices
Power on your device and the projector. Depending on the specific devices, the screen mirroring may begin automatically, or you may need to adjust the display settings on your device to enable screen mirroring.
Step 7: Adjust Display Settings
On your device, navigate to the display settings and ensure that the output is directed to the connected adapter or dongle for screen mirroring. Adjust the display resolution and aspect ratio as needed to match the projector’s capabilities.
Step 8: Test the Connection
With the adapter or dongle properly connected and the settings adjusted, you should now see your device’s screen mirrored on the projector’s display. Test the connection by navigating through your device’s screen and confirming that the mirrored content is visible on the projector.
Using an adapter or dongle allows you to overcome the lack of an HDMI port on your device and connect it to a projector for screen mirroring. It expands the compatibility and versatility of your device, enabling you to enjoy your content on a larger screen.
Option 3: Using Wireless Screen Mirroring
Wireless screen mirroring offers a convenient and cable-free method to connect your device to a projector. By utilizing wireless technology, such as Miracast, AirPlay, or Chromecast, you can mirror your device’s screen onto the projector effortlessly. Here’s how to set up and use wireless screen mirroring:
Step 1: Check Compatibility
Ensure that both your device and the projector support the same wireless screen mirroring technology. Common wireless screen mirroring technologies include Miracast (supported by many Android devices), AirPlay (used by Apple devices), and Chromecast (compatible with various devices across different platforms).
Step 2: Connect to the Same Wi-Fi Network
Make sure that both your device and the projector are connected to the same Wi-Fi network. This network connection allows for seamless communication between the devices during wireless screen mirroring.
Step 3: Activate Screen Mirroring
On your device, enable the screen mirroring function by accessing the settings or control center. Depending on the operating system and device, the screen mirroring option may be labelled as “Cast,” “Smart View,” “Screen Share,” or something similar.
Step 4: Select the Projector
Once screen mirroring is activated on your device, you should see a list of available devices to connect to. Choose the name of the projector or the specific device representing it on the list.
Step 5: Establish the Connection
Initiate the connection between your device and the projector by selecting the appropriate option on your device’s screen. The devices will establish a wireless connection, allowing your device’s screen to be mirrored on the projector.
Step 6: Navigate and Interact
You can now navigate through your device’s screen as usual, and the mirrored content will be visible on the projector’s display. Use your device to interact with the content, such as swiping, typing, or playing videos, and the actions will be replicated on the projector’s screen.
Step 7: Adjust Display Settings
If necessary, adjust the display settings on your device, such as resolution or screen orientation, to optimize the visual output on the projector’s screen. This ensures that the mirrored content appears accurately and is visually appealing.
Wireless screen mirroring provides the freedom to connect your device to a projector without any physical connections. It allows for a more flexible and dynamic screen sharing experience, making it suitable for various applications, including presentations, media playback, and collaborative work.
Setting up Wireless Screen Mirroring on Different Devices
Wireless screen mirroring is compatible with various devices, including smartphones, tablets, and computers. While the specific steps may vary based on the operating system and the wireless screen mirroring technology used, here’s a general guide on how to set up wireless screen mirroring on different devices:
For Android Devices:
1. Ensure that your Android device and the projector support the Miracast technology.
2. Access the settings menu on your Android device.
3. Look for the screen mirroring or cast option. It may be located under the “Display” or “Connectivity” section.
4. Tap on the screen mirroring option and enable it.
5. Your Android device will scan for nearby devices available for screen mirroring.
6. Select the name of the projector or the specific device representing it to initiate the connection.
7. Once the connection is established, your Android device’s screen will be mirrored on the projector.
For Apple Devices (iOS/iPadOS):
1. Ensure that your Apple device and the projector support AirPlay technology.
2. On your Apple device, swipe down from the top-right corner to access the Control Center.
3. Look for the screen mirroring or AirPlay option, typically represented by the screen mirroring icon.
4. Tap on the screen mirroring option and select the name of the projector or the specific device representing it.
5. Enter the code displayed on the projector if prompted.
6. After verification, your Apple device’s screen will be mirrored on the projector.
For Computers (Windows/Mac):
1. Ensure that your computer and the projector are connected to the same Wi-Fi network.
2. On your computer, open the system settings or control panel.
3. Look for the “Display” or “Screen Mirroring” settings.
4. Depending on your system, you may find a built-in screen mirroring or casting option. If not, consider installing third-party screen mirroring software.
5. Activate the screen mirroring function and select the name of the projector or the specific device representing it.
6. Your computer’s screen will then be mirrored on the projector, displaying the same content.
Note: The above steps are a general guideline, and the specific instructions may differ based on the device’s manufacturer, operating system version, and the wireless screen mirroring technology being used. Refer to the user manual or online resources related to your specific device and projector for more detailed instructions.
By following these steps tailored to different devices, you can set up wireless screen mirroring and enjoy the convenience of sharing your screen on a larger display with ease.
Troubleshooting Common Issues
While screen mirroring to a projector is usually a straightforward process, there may be instances where you encounter common issues. Here are some troubleshooting tips to help you resolve these issues:
No Connection:
If you are unable to establish a connection between your device and the projector, try the following:
- Ensure that both your device and the projector are connected to the same Wi-Fi network.
- Restart both your device and the projector to refresh the network connections.
- Check if your device’s screen mirroring option is enabled and functioning properly.
- Verify that the projector’s firmware is up to date, as outdated firmware can cause compatibility issues.
Poor Signal or Lagging:
If you experience a poor signal or lag during screen mirroring, try these steps:
- Move your device closer to the Wi-Fi router to strengthen the signal.
- Reduce any potential sources of interference, such as other electronic devices or physical barriers.
- Check the internet speed and bandwidth of your Wi-Fi network, as a slow connection can result in lag.
- Consider upgrading your Wi-Fi router to a more advanced model for better signal stability.
Mirrored Display Issues:
If you encounter problems with the mirrored display, consider the following solutions:
- Adjust the display settings on your device to match the projector’s native resolution and aspect ratio.
- Ensure that your device’s screen orientation is set correctly to avoid a distorted mirrored display.
- Check for any software updates on your device and install them, as they may address display-related issues.
- Inspect the HDMI cable or adapter for any damage or loose connections and replace them if necessary.
Audio Connectivity:
If audio is not being transmitted during screen mirroring, try these troubleshooting steps:
- Ensure that the volume is turned up on both your device and the projector.
- Verify that the correct audio output source is selected on your device.
- Check the HDMI cable or adapter for any audio-related issues, such as loose connections or faulty cables.
- Adjust the audio settings on your device to ensure that sound is being transmitted through the HDMI connection.
If you encounter persistent issues that cannot be resolved using these troubleshooting tips, consider consulting the user manuals or contacting the customer support of your device and projector for further assistance. They can provide specific guidance tailored to your devices and help troubleshoot any compatibility or technical problems.
By addressing common issues and applying these troubleshooting techniques, you can overcome obstacles and ensure a smooth screen mirroring experience with your projector.
Final Thoughts and Recommendations
Screen mirroring to a projector offers a versatile and immersive way to share and enjoy content on a larger display. Whether you’re delivering presentations, engaging in interactive classroom sessions, or simply enjoying movies and videos, screen mirroring enhances your viewing experience. Here are some final thoughts and recommendations to consider:
1. Know Your Device and Projector:
Understanding the capabilities and compatibility of your device and projector is crucial. Be aware of the specific screen mirroring technologies supported by your devices and ensure that they are compatible with each other. This knowledge will help you choose the appropriate connection method and troubleshoot any issues that may arise.
2. Choose the Right Screen Mirroring Method:
Consider your needs, preferences, and available resources when selecting the screen mirroring method. HDMI cables offer reliable and high-quality connections, while adapters and dongles provide compatibility with devices lacking HDMI ports. Wireless screen mirroring offers convenience and flexibility but may require a stable network connection.
3. Optimize Your Setup:
Ensure that your wireless network is stable with adequate signal strength if you opt for wireless screen mirroring. Place your device and projector within range of the Wi-Fi signal to prevent signal dropouts. Use high-quality HDMI cables and adapters to maintain optimum audio and video transmission for wired connections.
4. Check for Software Updates:
Regularly check for software updates for your devices, including smartphones, tablets, computers, and projectors. Updating to the latest firmware can enhance compatibility, improve performance, and resolve any known issues related to screen mirroring functionality.
5. Test and Prepare in Advance:
Before important presentations or events, test the screen mirroring setup to ensure everything is functioning correctly. This allows you to identify and address any potential issues beforehand, ensuring a seamless and successful screen mirroring experience during your actual session.
6. Keep an Eye on Power and Battery Levels:
Ensure that your device and projector are adequately powered and have sufficient battery levels. Screen mirroring can consume significant power, especially for wireless connections. Consider charging your devices or using a power source to avoid interruptions during screen mirroring sessions.
Screen mirroring to a projector offers limitless possibilities for sharing and enjoying content on a larger scale. By following the steps and recommendations outlined in this article, you can make the most of this technology and elevate your presentations, entertainment, and collaborative experiences.
Now, it’s time to explore the world of screen mirroring and discover the enhanced possibilities it brings to your digital interactions. Embrace the power of screen mirroring to unlock a richer and more immersive visual experience with your projector.