Introduction
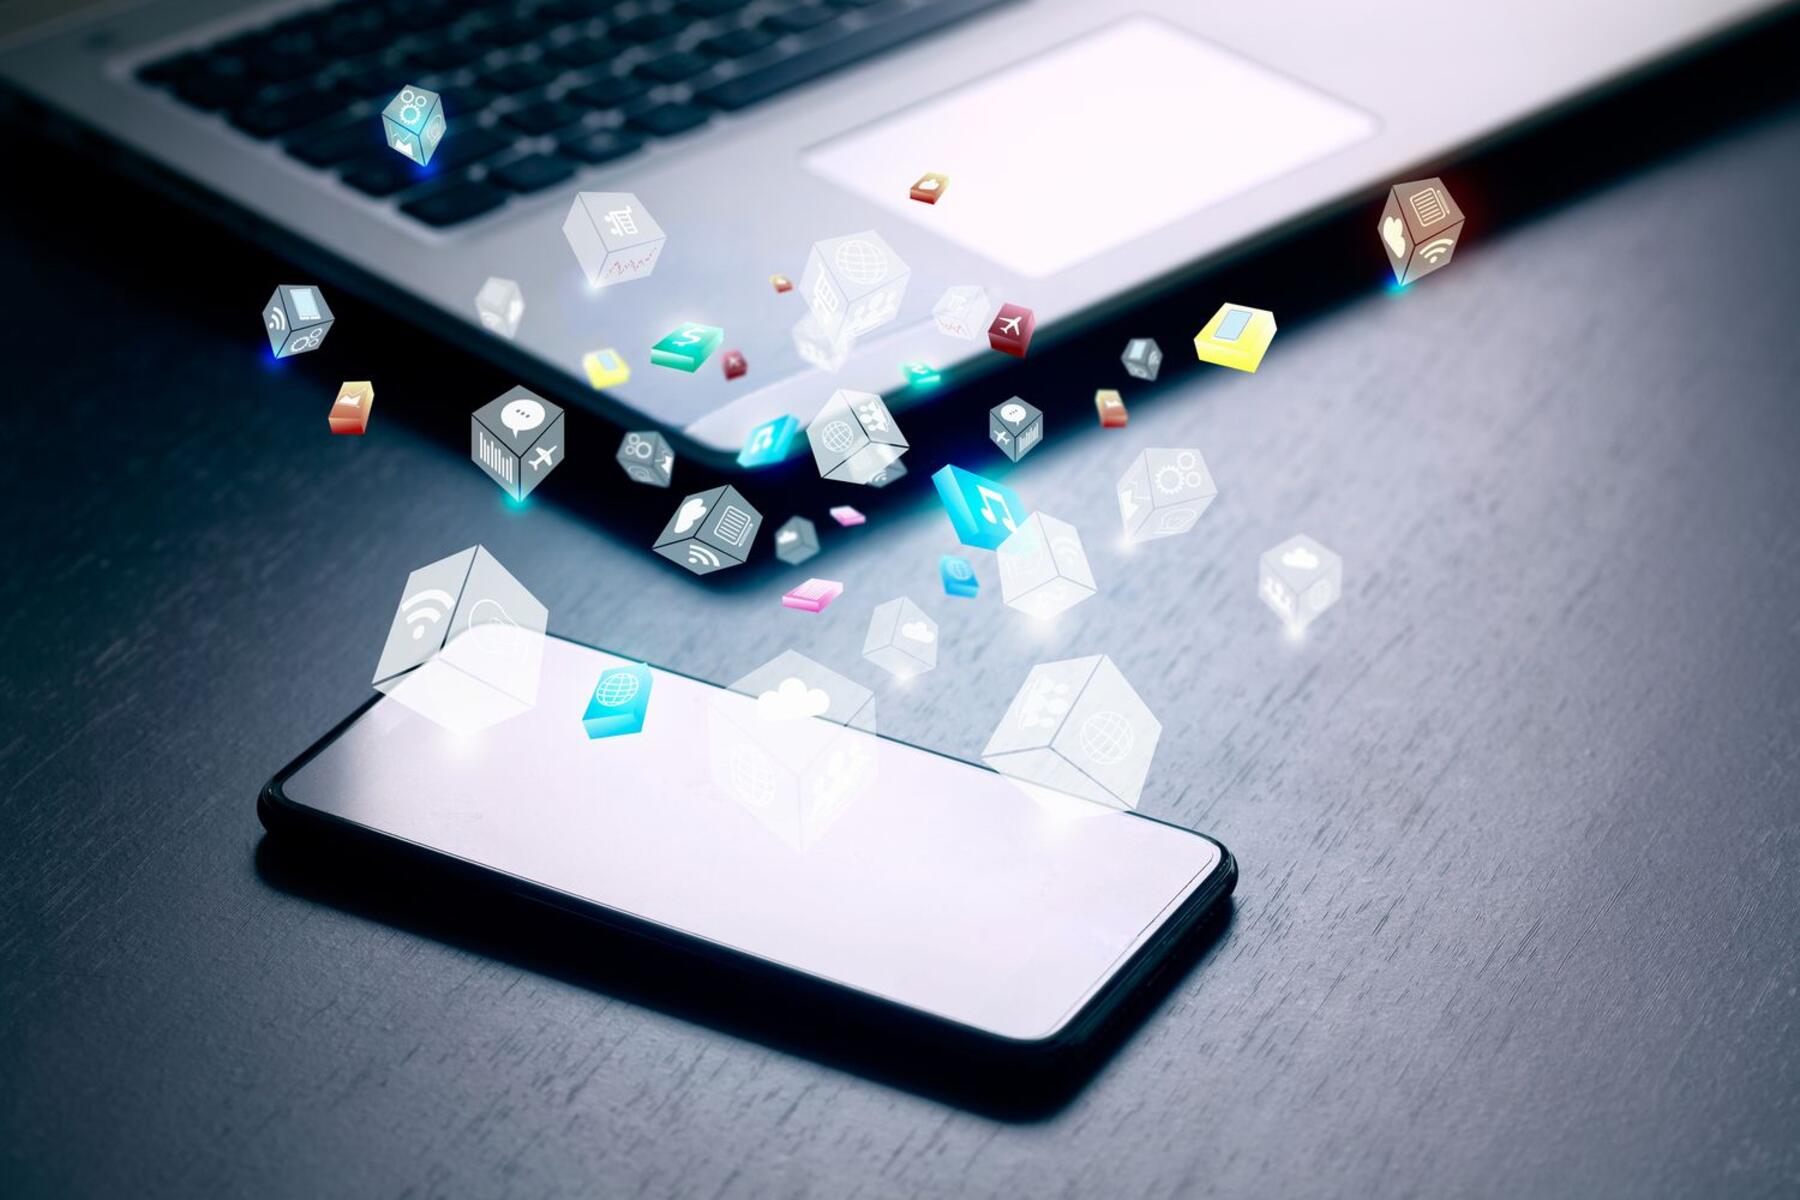
Welcome to the world of connectivity! With the advancements in technology, it has become easier than ever to connect your Android phone to a projector and enjoy a big screen experience. Whether you want to watch your favorite movies, showcase presentations, or simply share photos and videos with a larger audience, connecting your Android phone to a projector can open up a whole new world of possibilities.
Before we dive into the steps, it is essential to ensure that your Android phone is compatible with connecting to a projector. Most newer Android phones come equipped with the necessary hardware and software capabilities to connect to a projector, but it’s always a good idea to check the specifications of your device to be certain.
Once you’ve confirmed the compatibility of your Android phone, the next step is to choose the right projector. There are various types of projectors available in the market, ranging from portable mini projectors to full-size high-definition projectors. Consider factors such as image quality, brightness, resolution, connectivity options, and your specific needs before making a decision.
Now let’s explore the different methods you can use to connect your Android phone to a projector. Each method varies in terms of the required equipment and setup, so choose the one that suits your preferences and available resources.
Step 1: Check the compatibility of your Android phone
Before connecting your Android phone to a projector, it is crucial to verify that your device supports this functionality. While most modern Android phones offer projector connectivity options, it’s always best to double-check to avoid any compatibility issues.
To do this, follow these simple steps:
- Open the “Settings” app on your Android phone.
- Scroll down and look for the “Display” or “Connectivity” option.
- Tap on “Display” or “Connectivity” to access the settings.
- Look for the “Wireless Display” or “Cast Screen” option.
If you see the “Wireless Display” or “Cast Screen” option, it indicates that your Android phone supports projector connectivity. However, if you don’t find these options, it’s likely that your device does not have this feature.
It’s essential to note that different manufacturers may use different terminology for projector connectivity in their settings. For example, some devices may use terms like “Smart View,” “Screen Mirroring,” or “Miracast.” If you can’t find the exact options mentioned above, search for any similar options that indicate display projection or wireless casting.
Additionally, make sure that both your Android phone and the projector are connected to the same Wi-Fi network. This is necessary if you plan to connect wirelessly using methods such as Miracast or Chromecast.
Once you’ve confirmed the compatibility of your Android phone, you’re ready to proceed to the next step and connect it to a projector. In the following steps, we will explore different methods to connect your Android phone, allowing you to choose the one that suits your preferences and available resources.
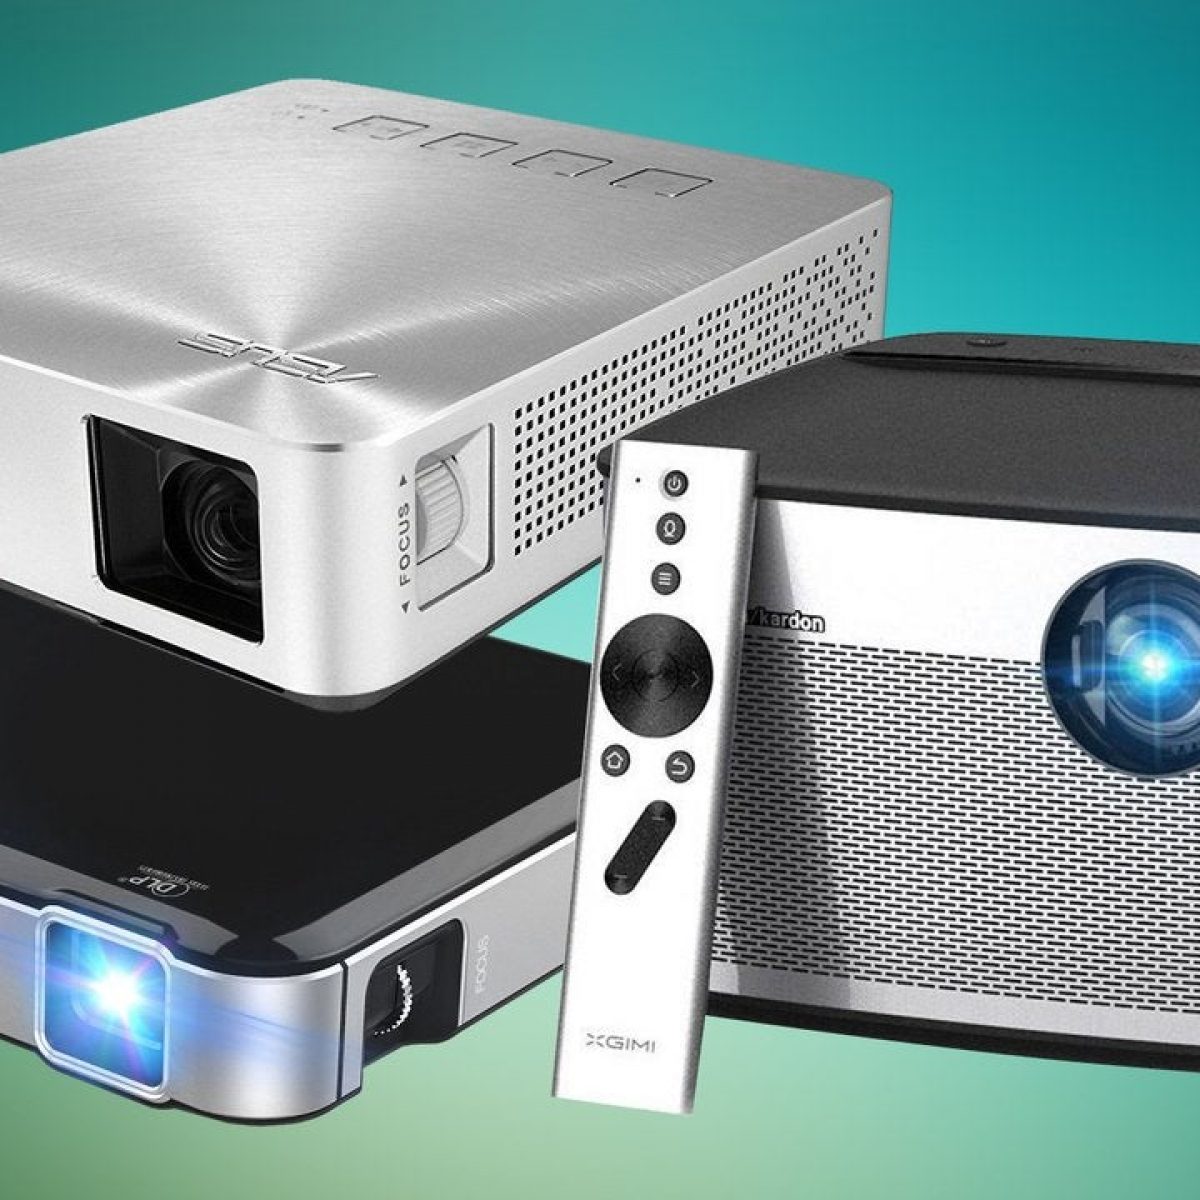
Step 2: Choose the right projector
Now that you’ve confirmed the compatibility of your Android phone, it’s time to choose the right projector for your needs. With several options available in the market, selecting the perfect projector can greatly enhance your viewing experience.
Consider the following factors when choosing a projector:
- Image Quality: Look for projectors that offer high-definition (HD) or even 4K resolution for crisp and clear visuals. Consider the brightness level as well, especially if you plan to use the projector in well-lit environments.
- Connectivity Options: Ensure that the projector offers the necessary connectivity options for connecting to your Android phone. The most common connection method is through an HDMI cable. However, projectors with wireless capabilities such as Bluetooth or Wi-Fi are also available.
- Portability: If you intend to use the projector on the go or in different locations, consider a portable projector that is lightweight and easy to carry. There are compact and battery-powered options available that offer convenience and flexibility.
- Budget: Set a budget for your projector purchase and explore models within that price range. Keep in mind that projectors with advanced features may be more expensive, but they can provide a superior viewing experience.
Furthermore, read reviews and compare specifications of different projector models to make an informed decision. Look for reliable brands that offer good customer support and warranty options for added peace of mind.
By considering these factors, you can choose a projector that aligns with your requirements and elevates your Android phone’s visual capabilities. Once you’ve selected the right projector, you’re ready to move on to the next step and connect it to your Android phone.
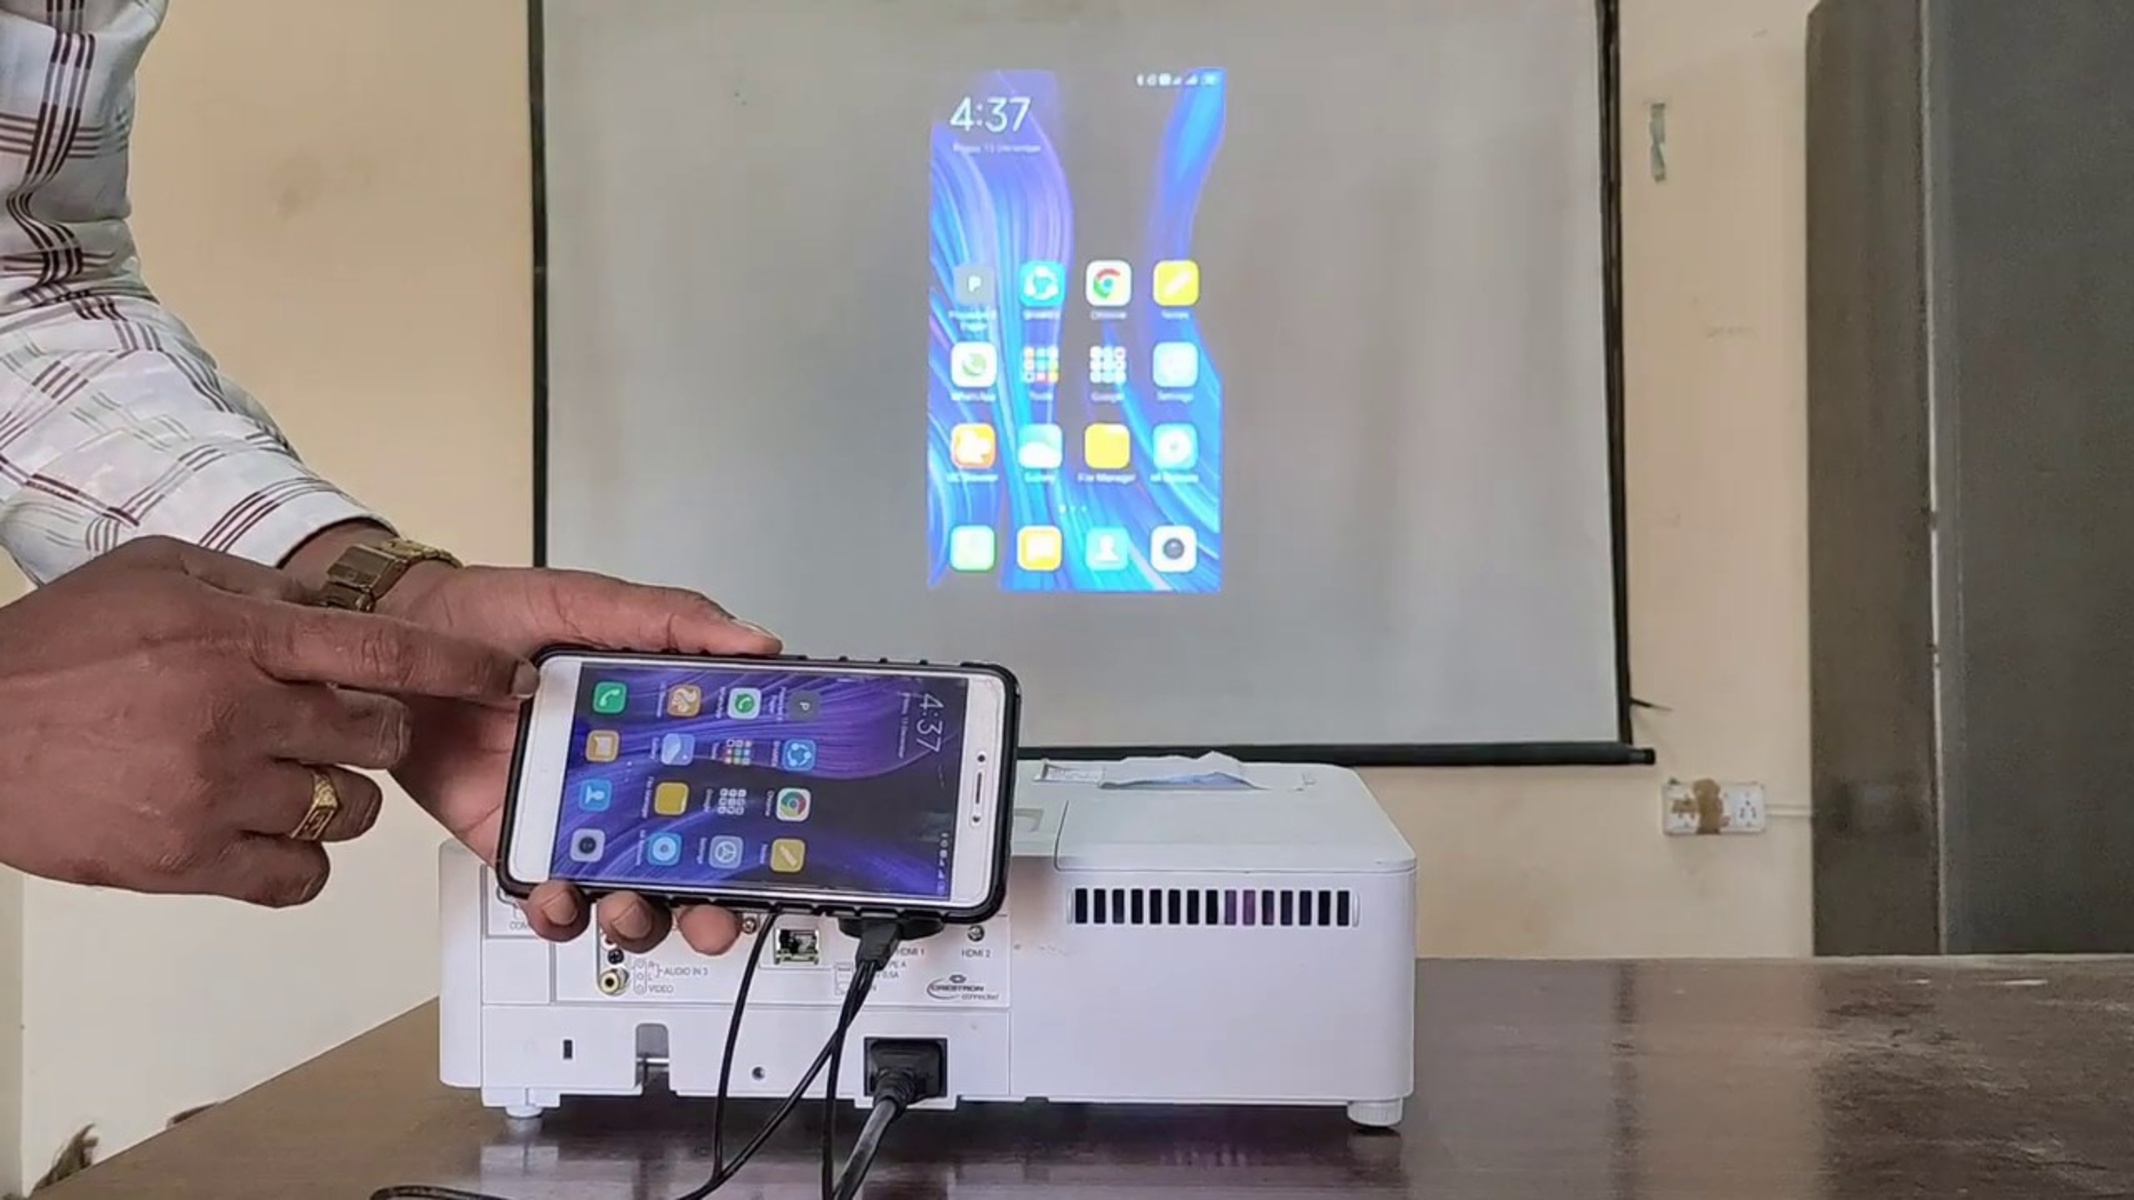
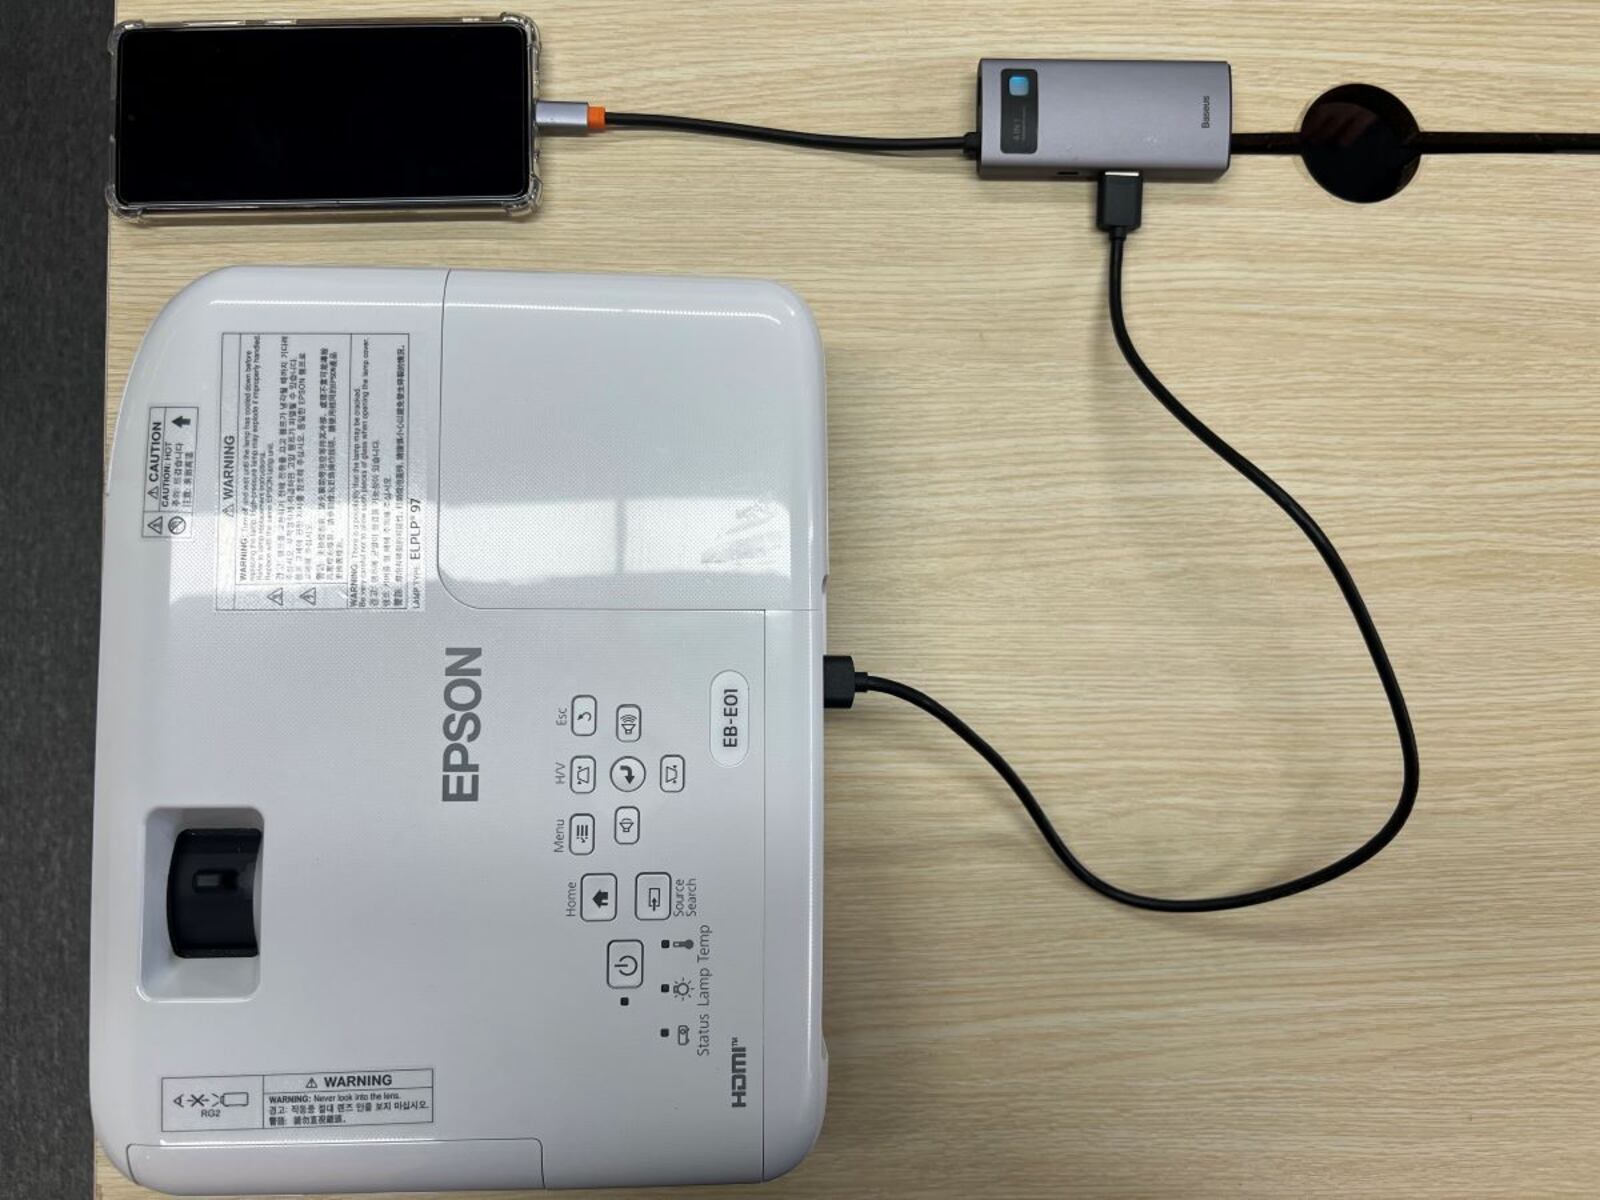
Step 3: Connect the projector and Android phone via HDMI cable
One of the simplest and most reliable methods to connect your Android phone to a projector is by using an HDMI cable. This method allows for a direct connection, ensuring high-quality audio and video transmission.
Follow these steps to connect the projector and your Android phone via an HDMI cable:
- Check if your Android phone supports HDMI output. Most modern Android phones come with a USB Type-C port that supports HDMI output. If your phone has a different port, you may need an adapter to connect the HDMI cable.
- Connect one end of the HDMI cable to the HDMI output port on your Android phone or adapter.
- Connect the other end of the HDMI cable to the HDMI input port on the projector.
- Turn on both the Android phone and the projector.
- Using the projector’s remote or menu interface, select the HDMI input as the source.
- On your Android phone, the screen should automatically mirror on the projector display. If not, go to your phone’s settings and look for the Display options. Enable screen mirroring or HDMI output.
- You should now see your Android phone’s screen projected on the projector. You can navigate through your phone and use it as you normally would, and the content will be mirrored on the big screen.
Remember to adjust the projector settings such as aspect ratio and display mode according to your preference for the best viewing experience.
This method is straightforward and provides a reliable connection for streaming videos, playing games, or showcasing presentations from your Android phone. However, it’s important to note that this method requires an available HDMI port on both the phone and the projector, so ensure your devices have this feature before proceeding.
Now that you’ve successfully connected your Android phone to the projector using an HDMI cable, you’re ready to enjoy a larger-than-life display for all your multimedia content.
Step 4: Use a wireless adapter for connecting projector and Android phone
If you prefer a wireless solution for connecting your Android phone to a projector, using a wireless adapter is an excellent option. A wireless adapter allows you to mirror your phone’s screen onto the projector without the need for any cables.
Here are the steps to connect the projector and your Android phone using a wireless adapter:
- Purchase a compatible wireless adapter that supports screen mirroring. There are several options available in the market, such as Google Chromecast, Miracast adapters, and Apple TV.
- Connect the wireless adapter to the HDMI port on the projector.
- Power on the projector and switch its input source to the HDMI port where the adapter is connected.
- Plug the wireless adapter into a power source, either through a USB port or a power outlet, depending on the adapter’s requirements.
- On your Android phone, go to the Settings menu and look for the option to enable screen mirroring or casting. The location of this option may vary depending on your phone’s manufacturer and Android version.
- Select the wireless adapter from the list of available devices. Your Android phone will establish a wireless connection with the adapter.
- You should now see your Android phone’s screen mirrored on the projector display. Use your phone as you normally would, and the content will be projected in real-time on the big screen.
It’s important to note that the specific steps may vary slightly depending on the wireless adapter you are using. Refer to the manufacturer’s instructions for detailed setup and troubleshooting guidelines.
Using a wireless adapter offers convenience and flexibility, allowing you to freely move around during presentations or enjoy seamless streaming of multimedia content. However, make sure that both your Android phone and the wireless adapter are connected to the same Wi-Fi network for a stable connection.
By following these steps, you can easily connect your Android phone to a projector wirelessly, providing a hassle-free and more engaging viewing experience.
Step 5: Connect projector and Android phone using Miracast
Miracast is a wireless display technology that allows you to mirror the screen of your Android phone onto a compatible projector without the need for any additional hardware. It utilizes Wi-Fi Direct to establish a direct connection between your phone and the projector.
Follow these steps to connect the projector and your Android phone using Miracast:
- Ensure that both your Android phone and the projector support Miracast. Most modern Android phones and projectors with Wi-Fi capabilities have Miracast support.
- Turn on the projector and switch its input source to the appropriate HDMI port.
- On your Android phone, swipe down from the top of the screen to access the notification shade.
- Look for the “Screen Mirroring,” “Smart View,” or similar option. The location of this option may vary based on the Android version and manufacturer.
- Tap on the “Screen Mirroring” or “Smart View” option to enable it.
- After turning on the screen mirroring feature, your Android phone will search for nearby Miracast-enabled devices.
- Select the projector from the list of available devices. Your Android phone will establish a direct connection to the projector via Wi-Fi Direct.
- Once the connection is established, your Android phone’s screen will be mirrored on the projector display.
You can now navigate through your phone and use it as usual, and the content will be projected in real-time on the big screen.
It’s important to note that the specific steps may vary slightly depending on your Android phone’s manufacturer and the Android version you are using. If you encounter any issues, refer to your phone’s user manual or contact the manufacturer’s support for assistance.
Miracast offers a convenient and wireless way to connect your Android phone to a projector. It eliminates the need for cables or additional adapters, providing a seamless and hassle-free experience for sharing your phone’s screen with a larger audience.
Now that you are familiar with connecting your Android phone to a projector using Miracast, you can conveniently enjoy multimedia content on the big screen with ease.
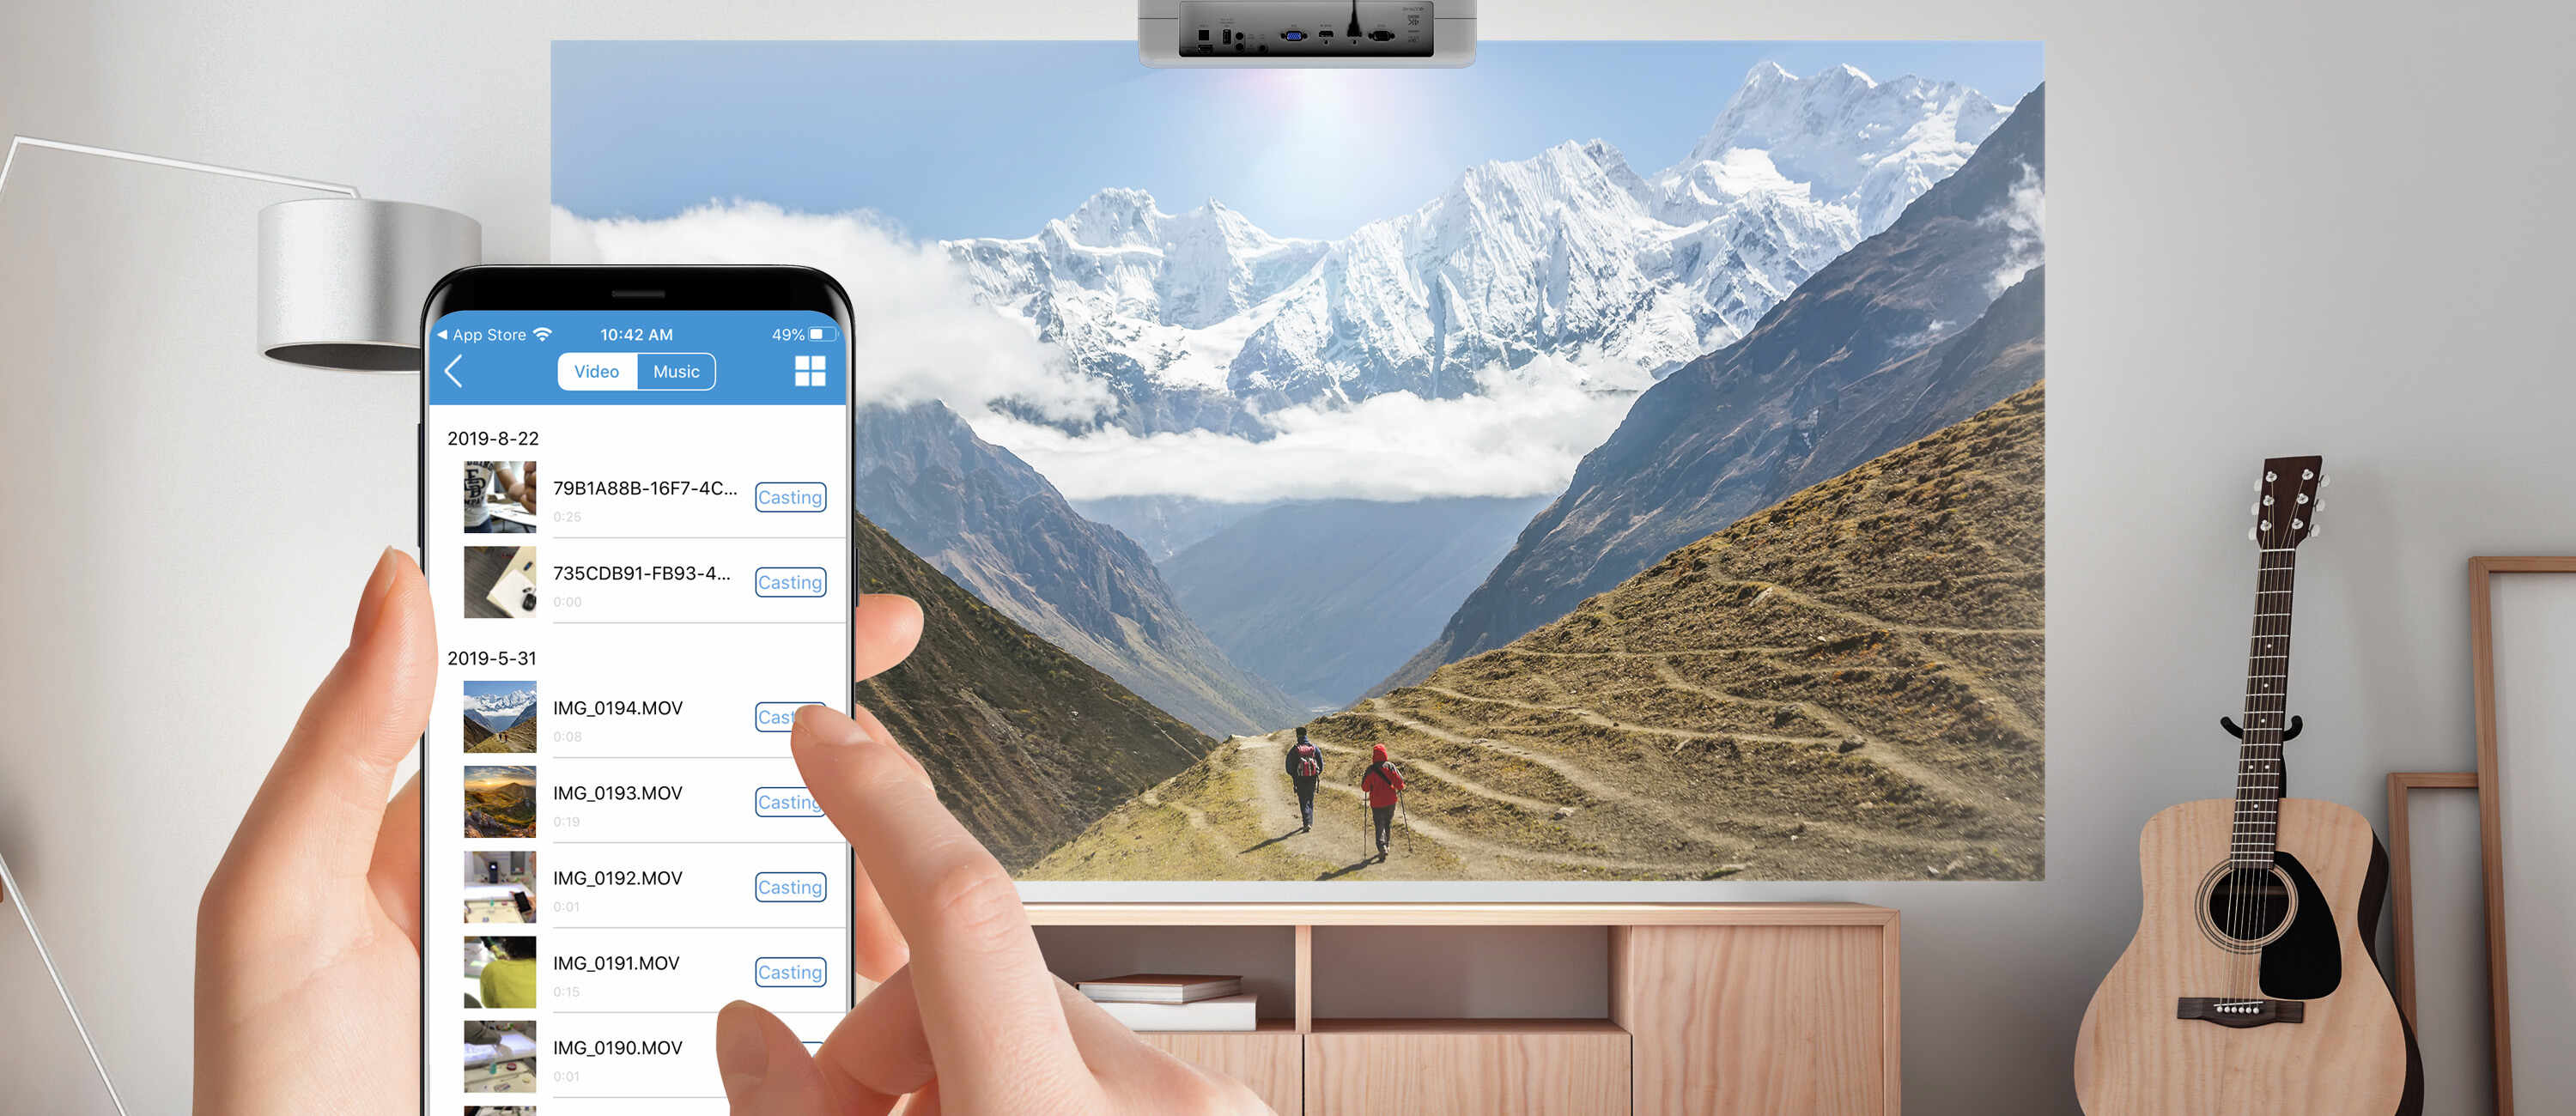
Step 6: Connect projector and Android phone using Chromecast
If you have a Chromecast device, you can easily connect your Android phone to a projector wirelessly. Chromecast is a media streaming device that plugs into your projector’s HDMI port, allowing you to stream content from your phone to the projector with just a few simple steps.
Follow these steps to connect the projector and your Android phone using Chromecast:
- Plug the Chromecast device into an available HDMI port on the projector.
- Make sure both the Chromecast device and the projector are powered on.
- On your Android phone, download and install the Google Home app from the Google Play Store.
- Open the Google Home app and follow the on-screen instructions to set up your Chromecast device.
- Once the setup is complete, open the app or streaming service that you want to cast from on your Android phone.
- Look for the Cast icon, usually located in the top-right or bottom-right corner of the app.
- Tap on the Cast icon, and it will search for available devices.
- Select your Chromecast device from the list of available devices.
- Your Android phone’s screen will now be mirrored on the projector display through the Chromecast device.
You can now enjoy streaming videos, playing games, or showcasing presentations directly from your Android phone, and they will appear on the big screen in real-time.
It’s worth mentioning that Chromecast supports a wide range of apps and streaming services, allowing you to access a variety of content. Additionally, you can also mirror your entire Android phone’s screen using the cast feature, giving you the flexibility to display any app or content on the projector.
If you encounter any issues during the setup or casting process, refer to the Chromecast documentation or contact Google Support for further assistance.
By utilizing Chromecast, you can effortlessly connect your Android phone to a projector wirelessly, expanding your viewing possibilities and providing a more immersive experience for your multimedia content.
Conclusion
Connecting your Android phone to a projector opens up a world of possibilities, allowing you to enjoy a big screen experience for watching movies, giving presentations, or sharing multimedia content with a larger audience. In this guide, we explored various methods to connect your Android phone to a projector.
We started by ensuring the compatibility of your Android phone and selecting the right projector based on your needs and preferences. We then discussed the steps for connecting the projector and your Android phone using an HDMI cable, providing a reliable and direct connection for high-quality audio and video transmission.
For those who prefer a wireless solution, we covered the steps for connecting the projector and your Android phone using a wireless adapter. This method eliminates the need for cables and offers convenience and flexibility in streaming content.
Additionally, we explored the options of using Miracast and Chromecast for wireless connectivity. Miracast allows for direct screen mirroring between your Android phone and the projector through Wi-Fi Direct, while Chromecast provides a seamless streaming experience through the use of a media streaming device.
By following these steps and selecting the appropriate method based on your available resources and preferences, you can easily connect your Android phone to a projector and enjoy a larger-than-life display.
Remember to adjust the projector settings, ensure a stable Wi-Fi connection, and explore the diverse features and capabilities offered by your Android phone and projector combination to maximize your viewing experience.
Whether you’re enjoying a movie night at home, delivering a professional presentation, or simply sharing memories with friends and family, connecting your Android phone to a projector can elevate your visual experience and make a lasting impression.