Introduction
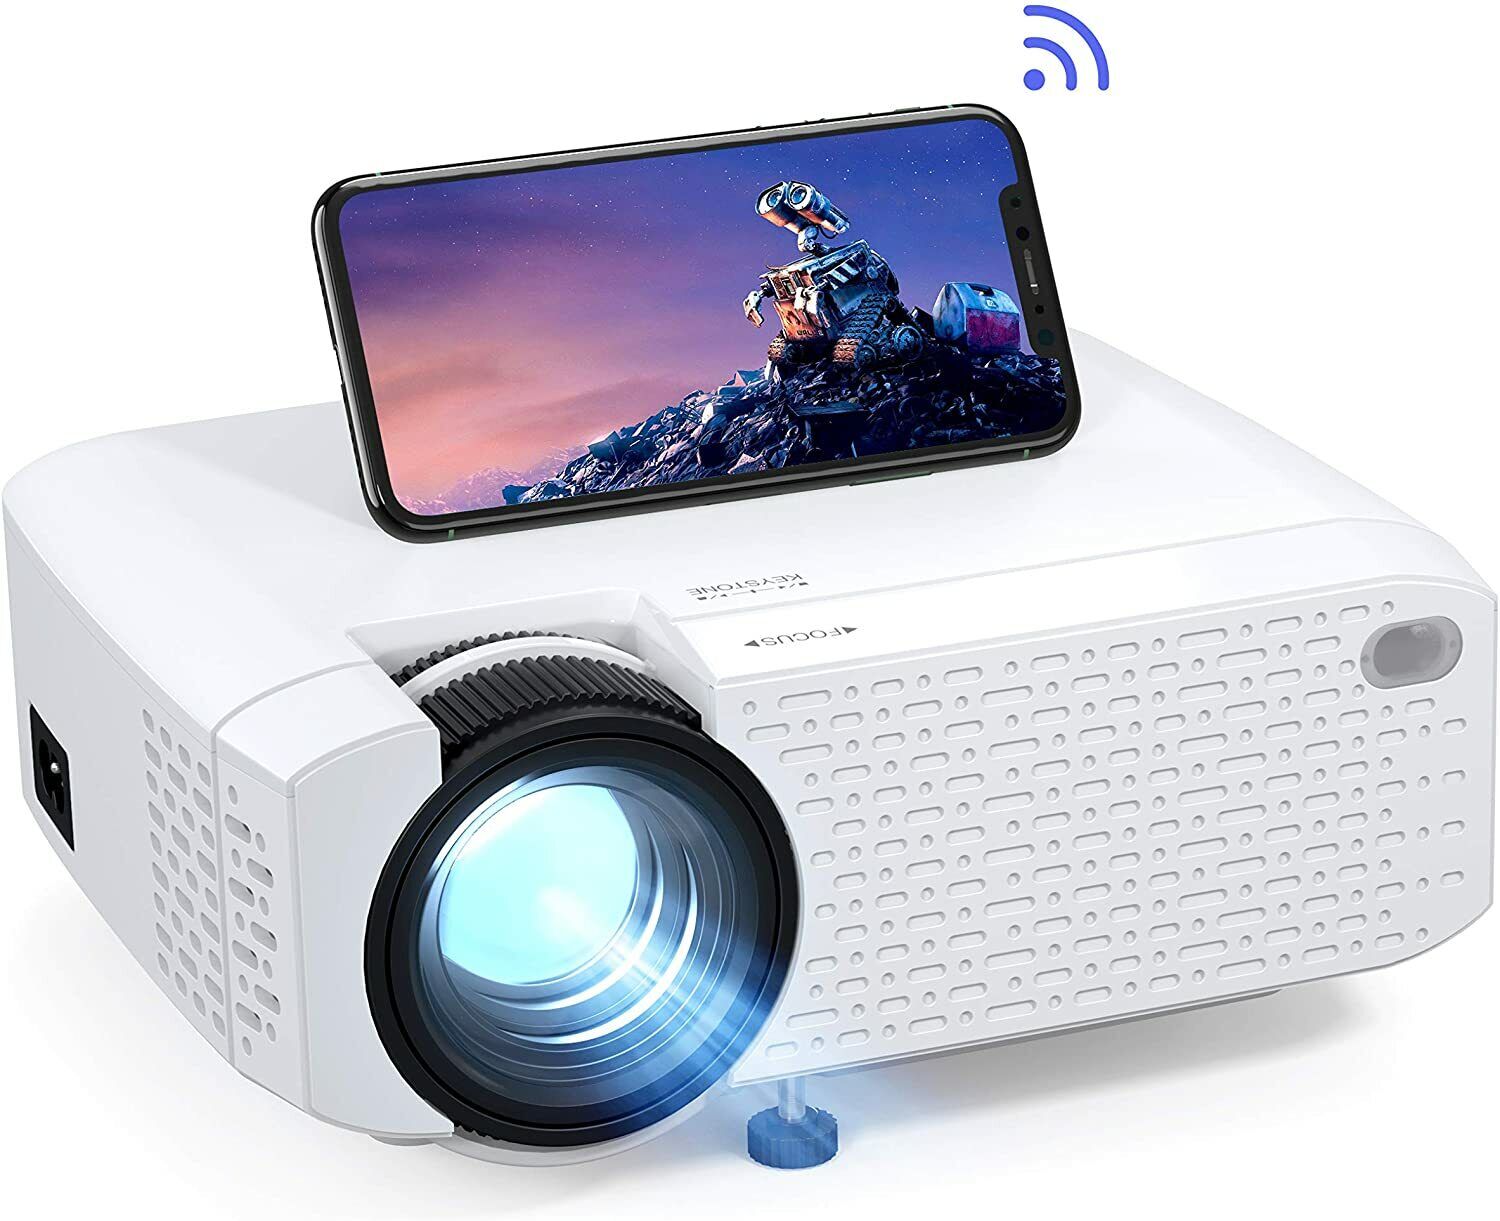
Connecting a projector to a tablet wirelessly opens up a world of possibilities for presentations, movies, and sharing content on a larger screen. With advancements in technology, it has become easier than ever to connect these devices without the need for cables or complicated setups.
Whether you are a student, professional, or simply want to stream your favorite TV shows and movies on a bigger display, the process of connecting a projector to a tablet wirelessly can be a game-changer. It enables seamless screen mirroring and projection, allowing you to enjoy a more immersive viewing experience.
In this article, we will guide you through the steps to connect a projector to a tablet wirelessly. We will cover the compatibility and requirements you need to ensure a successful connection. Additionally, we will walk you through the process of downloading and installing the necessary apps, as well as configuring the settings for optimal display.
By the end of this guide, you’ll have all the knowledge you need to effortlessly connect your projector and tablet and start enjoying content on a larger scale.
So, let’s dive in and explore the step-by-step process of connecting a projector to a tablet wirelessly!
Step 1: Check Compatibility and Requirements
Before attempting to connect your tablet wirelessly to a projector, it’s crucial to ensure compatibility and gather the necessary requirements.
First, check if your tablet supports wireless projection. Most modern tablets, such as iPads, Android tablets, and Windows tablets, have built-in capabilities for wireless screen mirroring. However, it’s still worth verifying this information in your tablet’s user manual or by doing a quick online search.
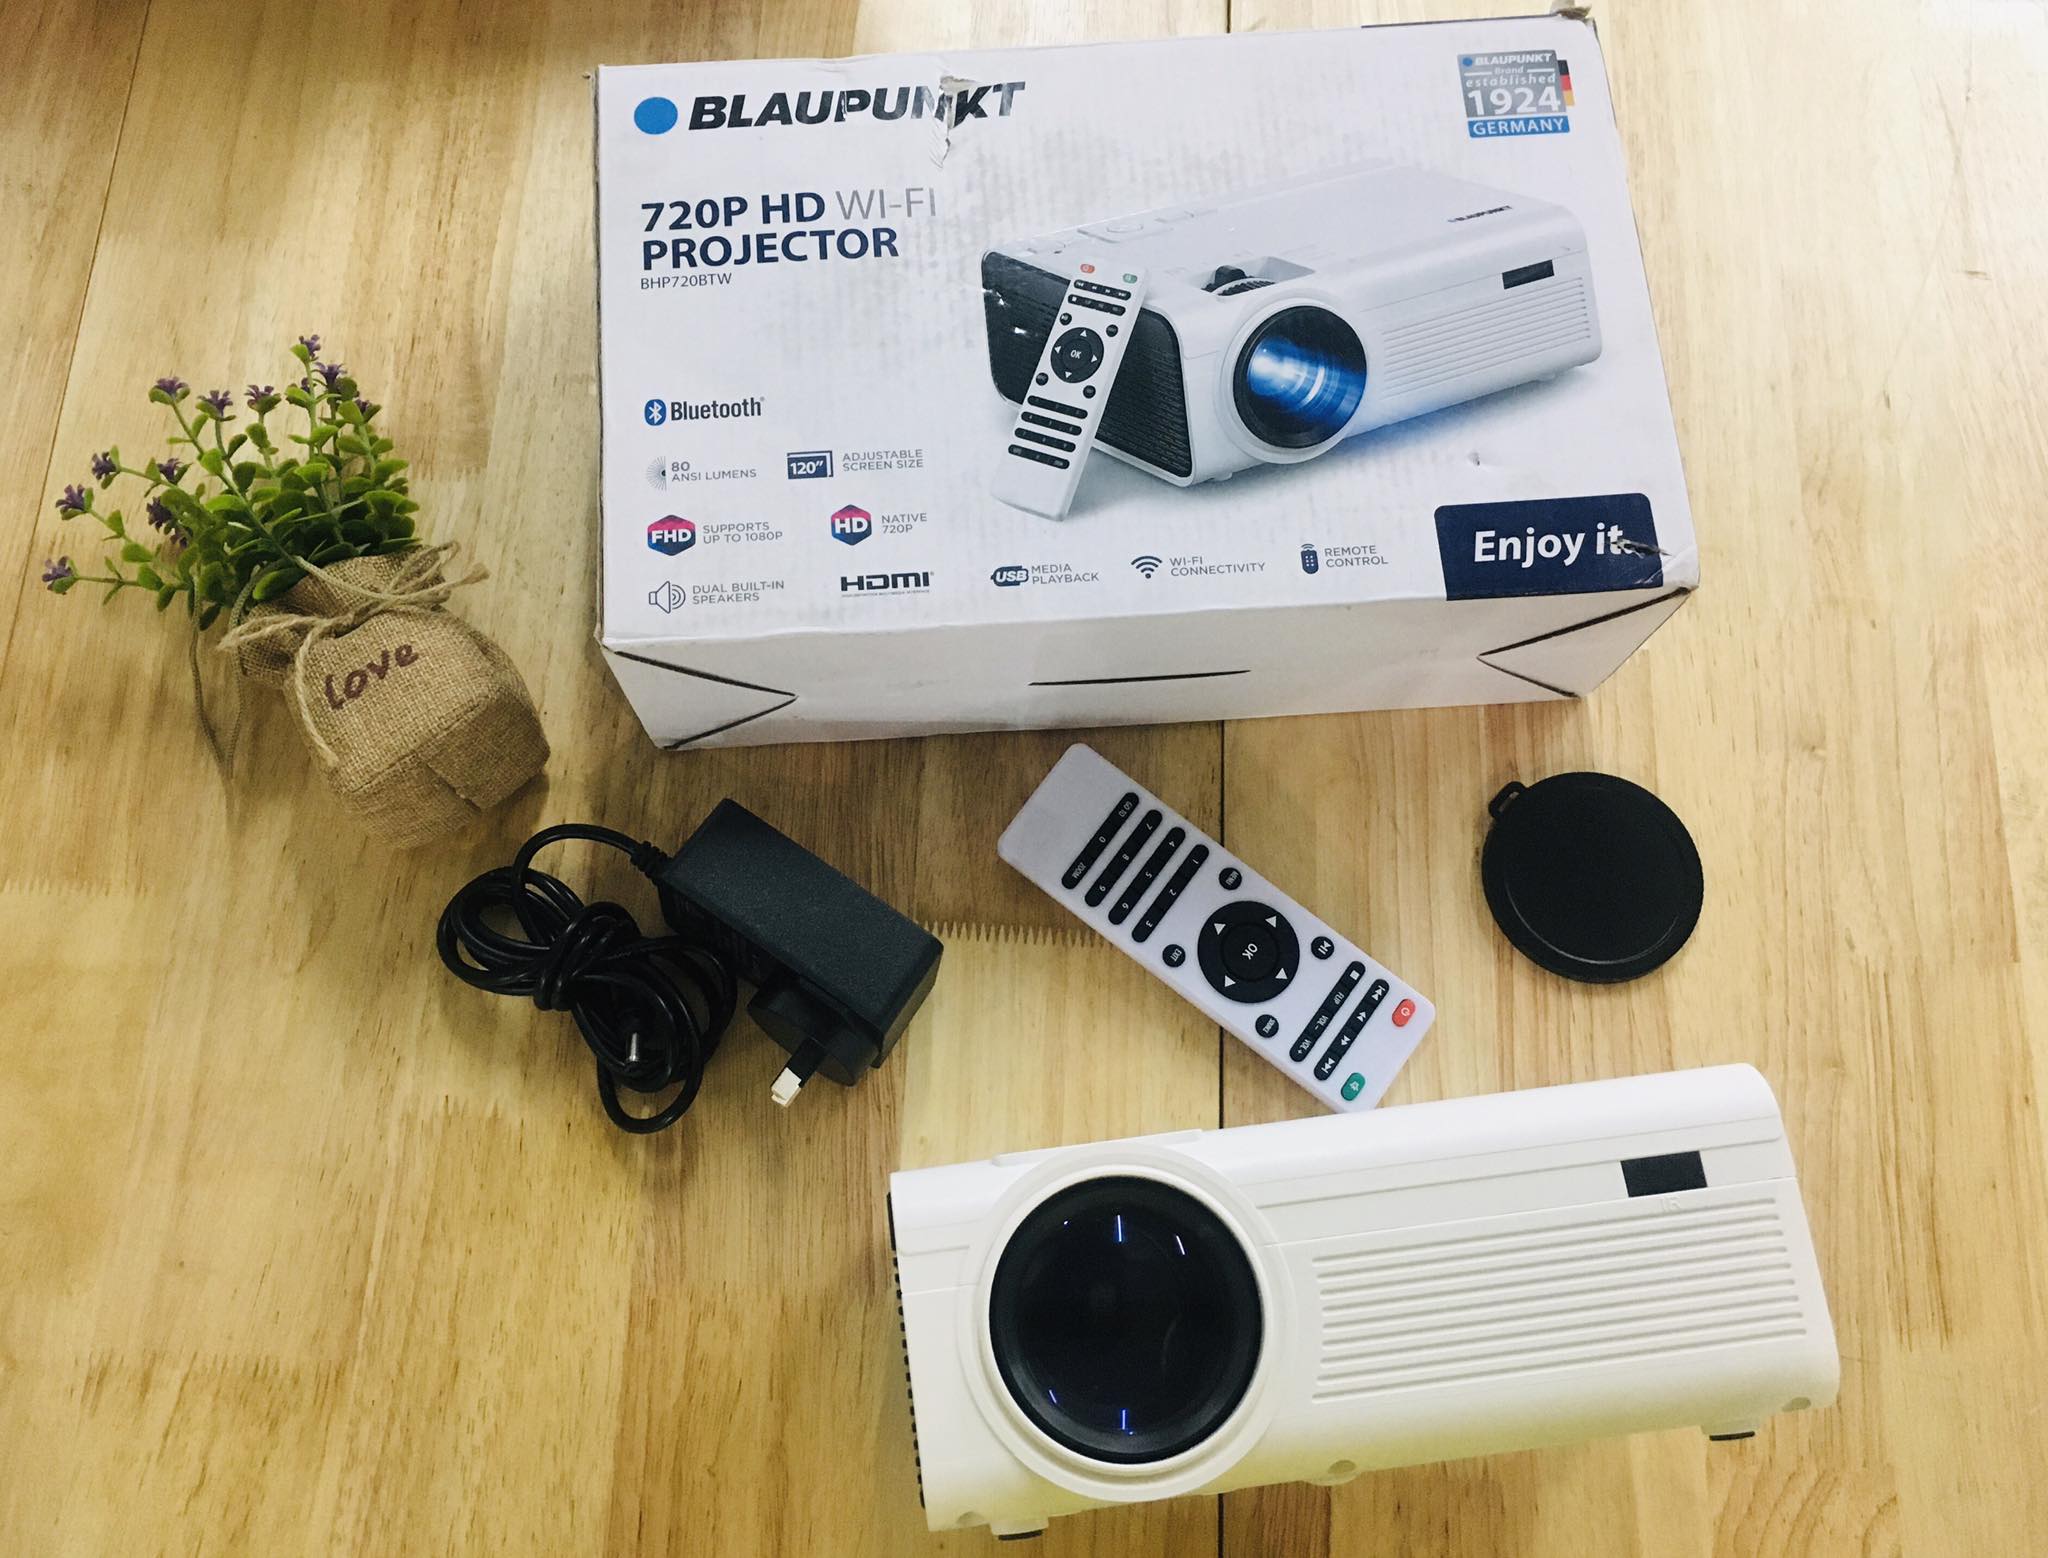
Next, confirm that your projector has wireless connectivity features. Many projectors today come with built-in Wi-Fi or Bluetooth capabilities specifically designed to connect with tablets and other devices. Ensure that your projector has these features to enable wireless connection.
Now, let’s move on to the requirements. One of the essential requirements is a stable Wi-Fi network. Both your tablet and projector need to be connected to the same Wi-Fi network to establish a wireless connection. This ensures seamless communication between the devices.
Make sure that your Wi-Fi network is reliable and has a strong signal in the area where you plan to use the projector. Weak Wi-Fi signals can cause interruptions and affect the quality of the wireless connection.
Additionally, ensure that your tablet and projector are within a reasonable range of the Wi-Fi router. Being too far away from the router can also impact the strength of the wireless signal, leading to connectivity issues.
Lastly, consider the power source. Since both the tablet and the projector will be involved in the wireless connection, make sure they are fully charged or connected to a power source. This ensures that the devices don’t run out of battery during the connection process.
By checking the compatibility of your tablet and projector, and gathering the necessary requirements, you are setting yourself up for a successful wireless connection. Now that we have ensured compatibility and gathered the requirements, let’s move on to the next step: connecting the projector to the same Wi-Fi network as the tablet.
Step 2: Connect the Projector to the Same Wi-Fi Network as the Tablet
Before you can wirelessly connect your tablet to a projector, it is essential to ensure that both devices are connected to the same Wi-Fi network. This step allows seamless communication between your tablet and the projector.
To connect the projector to the Wi-Fi network, follow these steps:
- Turn on the projector and navigate to the settings menu.
- Look for the Wi-Fi or Network settings option and select it.
- Scan for available Wi-Fi networks and select your desired network from the list.
- If prompted, enter the Wi-Fi network password to establish the connection.
- Once connected to the Wi-Fi network, the projector will display a confirmation message or symbol indicating a successful connection.
Now that the projector is connected to the Wi-Fi network, we can proceed to the next step: downloading and installing the projector app on your tablet.
It’s important to note that this step may differ slightly depending on the make and model of your projector. Refer to the projector’s user manual for specific instructions on connecting to a Wi-Fi network.
By connecting the projector to the same Wi-Fi network as your tablet, you are establishing the foundation for a wireless connection between the devices. With this step complete, we can now move on to the next step: downloading and installing the projector app on your tablet.
Step 3: Download and Install the Projector App on Your Tablet
In order to connect your tablet wirelessly to a projector, you will need to download and install a projector app on your tablet. This app acts as a bridge between the tablet and the projector, allowing for seamless screen mirroring and projection.
Follow these steps to download and install the projector app:
- Open the app store on your tablet. For iOS devices, it’s the App Store, while for Android devices, it’s the Google Play Store.
- In the search bar, type in the name of the projector app you want to use. There are various projector apps available, such as “Projector Quick Connection” or “Epson iProjection”.
- Select the app from the search results and tap on the “Install” or “Get” button to begin the installation process. You may need to enter your app store account password or use biometric authentication for iOS devices.
- Once the app is installed, locate it on your tablet’s home screen or in the app drawer and tap on it to launch the app.
It’s important to choose a projector app that is compatible with both your tablet and the specific make and model of your projector. Read the app’s description and reviews to ensure it meets your requirements and has positive user feedback.
Some projector apps also offer additional features like remote control functionality or advanced settings. Take time to explore the app and familiarize yourself with its options and settings.
With the projector app successfully downloaded and installed on your tablet, we can now proceed to the next step: launching the app and locating the projector.
Note: The steps for downloading and installing a projector app may vary slightly depending on your tablet’s operating system and the app store you are using. Follow the prompts and instructions specific to your device to complete the installation.
Step 4: Launch the Projector App and Locate the Projector
After successfully downloading and installing the projector app on your tablet, it’s time to launch the app and locate the projector. The app will help you establish a wireless connection between your tablet and the projector, allowing for seamless screen mirroring and projection.
Here’s how to launch the projector app and locate the projector:
- Locate the projector app on your tablet’s home screen or in the app drawer and tap on it to launch the app.
- Once the app is open, it will automatically start searching for available projectors on the same Wi-Fi network.
- Wait for the app to complete the scanning process. It may take a few seconds to a minute depending on your network speed.
- Once the scanning is complete, the app will display a list of available projectors. Look for the specific model of your projector in the list and tap on it to select it.
- If necessary, you may be prompted to enter a passcode or PIN to connect to the projector. Refer to your projector’s user manual for the correct passcode or PIN.
Some projector apps may also provide additional features such as advanced settings or customization options. Take a moment to explore the app’s interface and familiarize yourself with its functionalities.
Once you have successfully located and selected the projector on the app, you are now ready to establish a wireless connection between your tablet and the projector. In the next step, we will guide you through the process of connecting the tablet to the projector wirelessly.
Note: The steps for launching the projector app and locating the projector may vary depending on the specific app you are using. Refer to the app’s documentation or help section for instructions specific to your chosen app.
Step 5: Connect the Tablet to the Projector Wirelessly
With the projector app launched and the specific projector selected, it’s time to establish a wireless connection between your tablet and the projector. This step allows you to seamlessly mirror or project your tablet’s screen onto the larger display of the projector.
Follow these steps to connect your tablet to the projector wirelessly:
- In the projector app, look for the “Connect” or “Connect to Projector” button and tap on it. This will initiate the connection process.
- Wait for the app to establish a connection between your tablet and the projector. The app may display a loading screen or provide a progress indicator during this process.
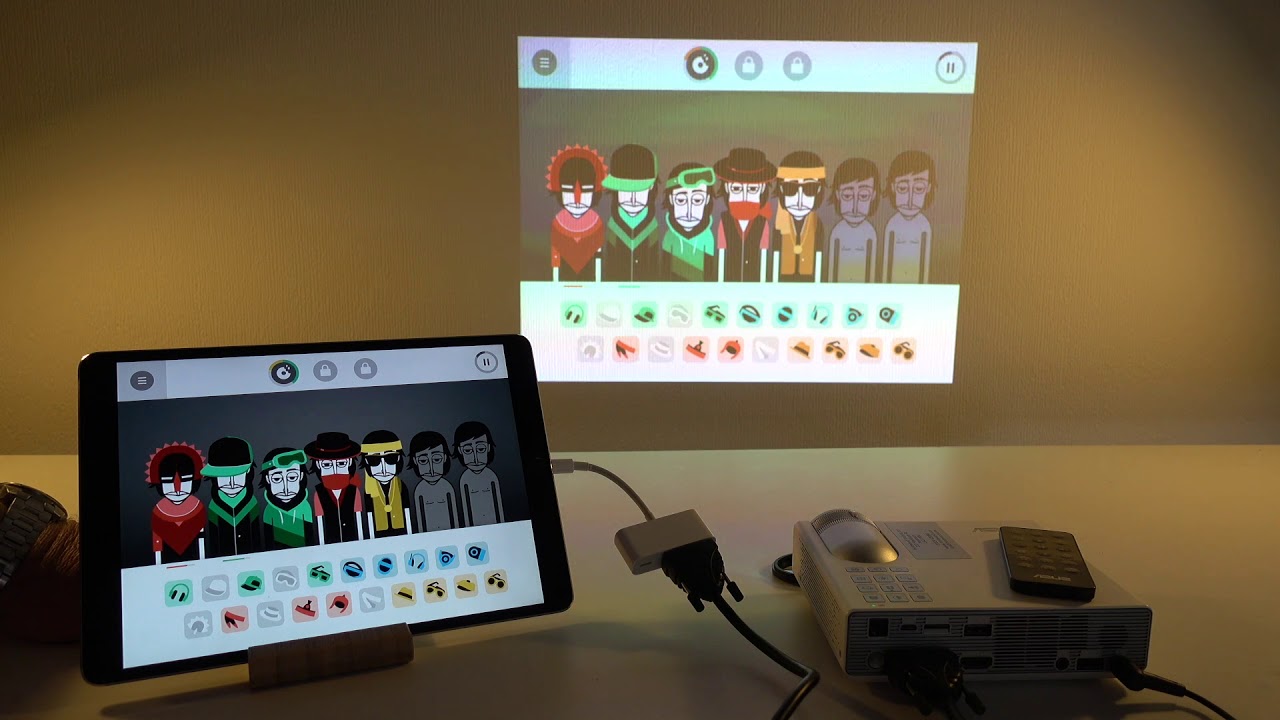
- Once the connection is established, your tablet’s screen will begin to mirror on the projector’s display. You should see an exact replica of your tablet’s screen on the larger projector screen.
- At this point, you can navigate through your tablet’s apps, open presentations, or play videos, and they will be displayed on the projector.
If you encounter any connectivity issues during this process, such as the tablet failing to connect to the projector, ensure that both devices are still connected to the same Wi-Fi network. You may need to restart the app or restart both the tablet and the projector to establish a fresh connection.
It’s worth noting that some projector apps may offer additional features for enhanced functionality. These features can include options for adjusting the display settings, orientation, or aspect ratio to match your preferences.
Once you have successfully connected your tablet to the projector wirelessly, you can move on to the next step: adjusting the settings and display options for optimal viewing.
Note: The steps for connecting the tablet to the projector wirelessly may vary slightly depending on the projector app you are using. Refer to the app’s documentation or help section for instructions specific to your chosen app.
Step 6: Adjust the Settings and Display Options
Once you have successfully connected your tablet wirelessly to the projector and the screen mirroring or projection has started, it’s time to adjust the settings and display options for optimal viewing. This step allows you to customize the output on the projector to match your preferences and ensure the best possible viewing experience.
Here are some settings and display options you can consider adjusting:
- Brightness and Contrast: Depending on the lighting conditions in your environment, you may need to adjust the brightness and contrast settings to improve visibility and image quality on the projector.
- Resolution: Check the resolution settings on both your tablet and the projector app. Ensure that they are set to a resolution that is supported by both devices and provides a clear and sharp display.
- Orientation: You can adjust the orientation of the screen on the projector by rotating it clockwise or counterclockwise. This feature allows you to display content in landscape or portrait mode, depending on your needs.
- Aspect Ratio: Consider the aspect ratio of your tablet’s screen and the projector’s display. Adjust the aspect ratio settings on the projector app to match, ensuring that the content is not stretched or distorted on the larger screen.
- Sound and Audio Output: If you want to amplify the sound from your tablet, check the audio settings on both the tablet and the projector app. You may need to adjust the volume levels or choose the audio output source to optimize the audio experience.
Take some time to explore the settings and options available in the projector app. Depending on the app you are using, you may have access to additional features such as screen recording, annotation tools, or remote control functionalities.
Additionally, make sure to position the projector in a suitable location and adjust the distance and angle of projection to obtain the desired image size and clarity. Consider using a projection screen or a blank wall for better image reflection.
By adjusting the settings and display options, you can optimize the viewing experience and ensure that the content displayed on the projector aligns with your preferences and requirements.
In the next step, we will guide you through the process of starting the mirroring or projection of your tablet screen on the projector.
Note: The available settings and display options may vary depending on the projector app you are using. Refer to the app’s documentation or help section for specific instructions related to adjusting settings and display options.
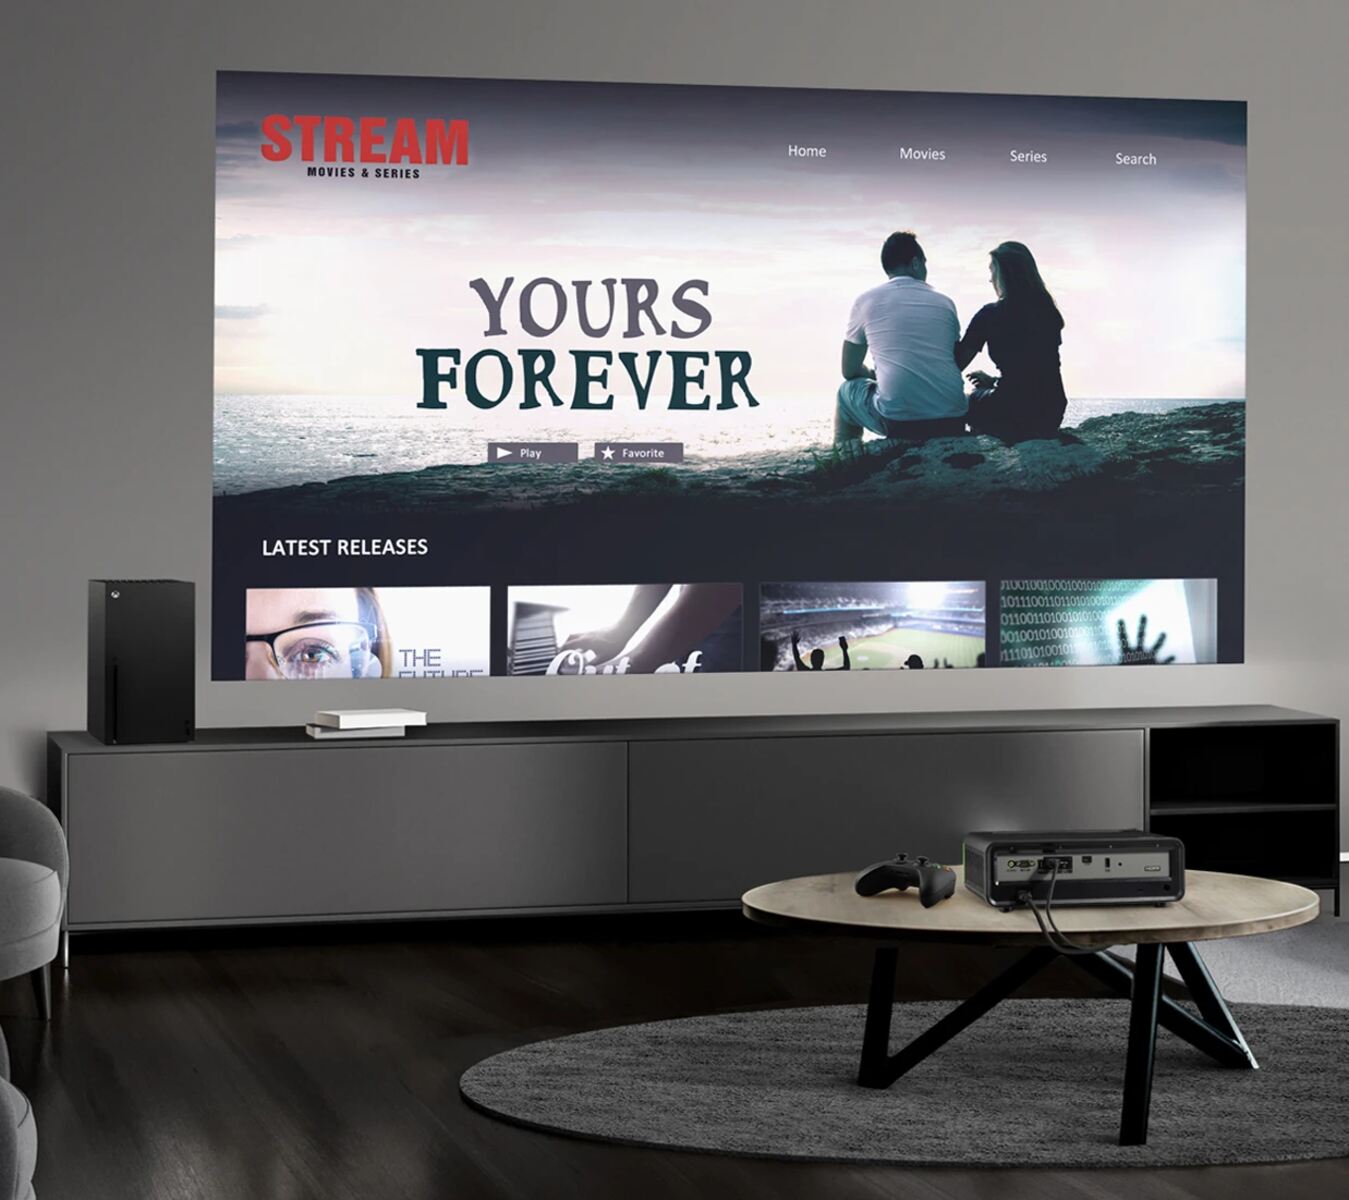
Step 7: Start Mirroring or Projecting Your Tablet Screen on the Projector
After adjusting the settings and display options to your preferences, it’s time to start mirroring or projecting your tablet screen on the projector. This step allows you to share your tablet’s content, such as presentations, videos, or images, on the larger screen for a more immersive viewing experience.
Follow these steps to start mirroring or projecting your tablet screen on the projector:
- Ensure that the wireless connection between your tablet and the projector is still active and stable.
- On your tablet, open the app or content that you want to display on the projector.
- As you navigate through the app or play a video, the content will automatically mirror or project in real-time onto the projector screen.
- You can control the playback, swipe through slides, or interact with the content on your tablet as usual, and it will be reflected live on the projector.
Enjoy exploring different apps, watching videos, or delivering presentations on the larger screen of the projector. This wireless connection allows you the freedom to move around and interact with your content without being tethered by cables.
During the mirroring or projection process, ensure that your tablet is placed within a reasonable distance from the projector for a stable wireless connection. Avoid obstructions or interference that may disrupt the connection or cause lag in the display.
Remember to adjust the volume and audio settings on both the tablet and the projector app to ensure an optimal audio experience. You can also connect external speakers or audio devices to the projector for enhanced sound quality, if desired.
When you are finished using the projector, you can simply disconnect the wireless connection or exit the app on your tablet to end the mirroring or projection. Follow the instructions provided by the projector app to properly disconnect or exit the connection.
With the mirroring or projection of your tablet screen successfully underway, you can now enjoy your content on a larger scale and share it with an audience or immerse yourself in a more cinematic experience.
Note: The process of starting the mirroring or projection of your tablet screen may vary slightly depending on the projector app you are using. Refer to the app’s documentation or help section for specific instructions related to starting and ending the mirroring or projection process.
Conclusion
Connecting a projector to a tablet wirelessly opens up a world of possibilities for presentations, movies, and sharing content on a larger screen. By following the step-by-step guide outlined in this article, you can easily connect your tablet to a projector wirelessly and enjoy a seamless screen mirroring or projection experience.
First, make sure to check the compatibility of your tablet and projector, ensuring that both devices have the necessary wireless capabilities. Additionally, gather the requirements, such as a stable Wi-Fi network, a charged tablet, and a nearby power source for the projector.
Next, connect the projector to the same Wi-Fi network as your tablet, allowing for smooth communication between the devices. Download and install a projector app on your tablet that is compatible with your tablet and projector model.
Once the app is installed, launch it and locate the projector on the same Wi-Fi network. Establish a wireless connection between your tablet and the projector by following the app’s prompts or entering any required passcodes.
Adjust the settings and display options to your preferences, including brightness, resolution, aspect ratio, orientation, and audio output. Ensure that the projector is positioned correctly and the projection distance is appropriate for your viewing needs.
Finally, start mirroring or projecting your tablet screen onto the projector and enjoy your content on a larger scale. Control playback, swipe through slides, or interact with your content on the tablet as usual, and see it mirrored or projected in real-time on the projector screen.
Remember to disconnect the wireless connection or exit the app when you are finished using the projector. Familiarize yourself with the specific instructions provided by the projector app to ensure a proper disconnection.
With the ability to connect your tablet wirelessly to a projector, you can enhance your presentations, enjoy immersive movie nights, share content with others effortlessly, or simply indulge in a larger display for your favorite apps and games.
So, embrace the wireless connectivity and step into a world of expanded visual experiences with your tablet and projector!