Introduction
Welcome to our guide on how to connect a tablet to a projector! Whether you’re giving a presentation, watching a movie, or sharing photos and videos with a larger audience, connecting your tablet to a projector can greatly enhance the visual experience. It allows you to display your tablet’s screen on a larger display, making it ideal for business meetings, classroom presentations, or even home entertainment.
Before we dive into the step-by-step process, it’s important to note that the method of connecting a tablet to a projector may vary depending on the tablet model and the type of projector you have. In this guide, we’ll provide you with general instructions that are applicable to most tablets and projectors. However, we recommend referring to your tablet’s user manual and the projector’s documentation for specific instructions tailored to your devices.
In the following sections, we’ll walk you through the process of connecting your tablet to a projector, from checking compatibility to adjusting settings. So, grab your tablet and projector, and let’s get started!
Step 1: Check your tablet and projector for compatibility
Before you connect your tablet to a projector, it’s important to ensure that both devices are compatible with each other. This will help you avoid any compatibility issues and ensure a successful connection.
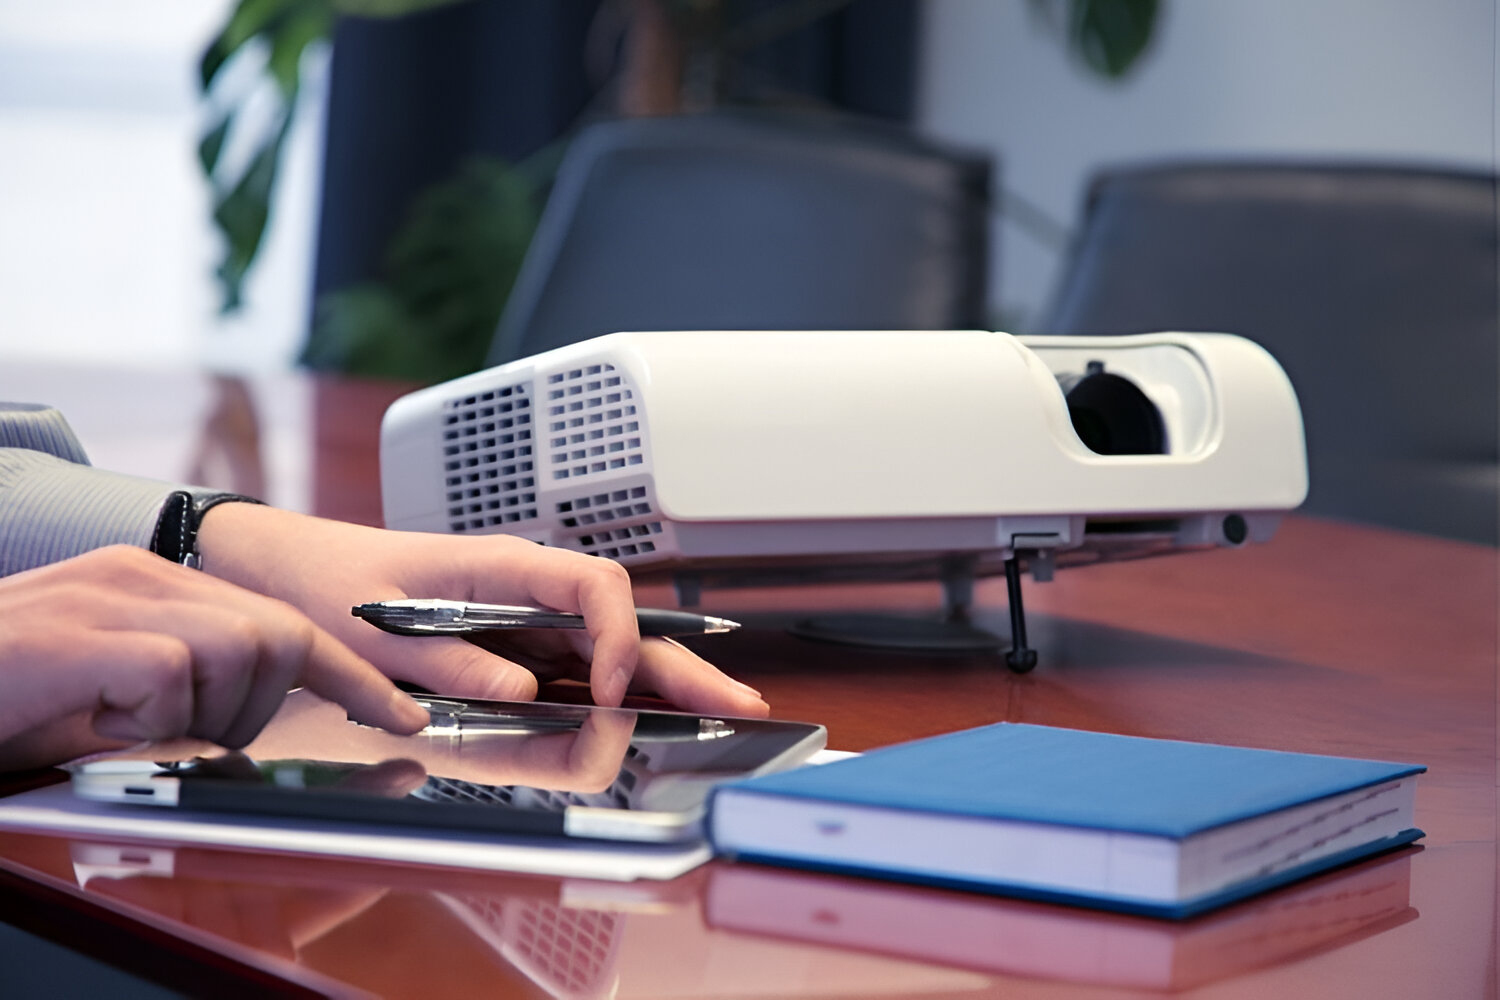
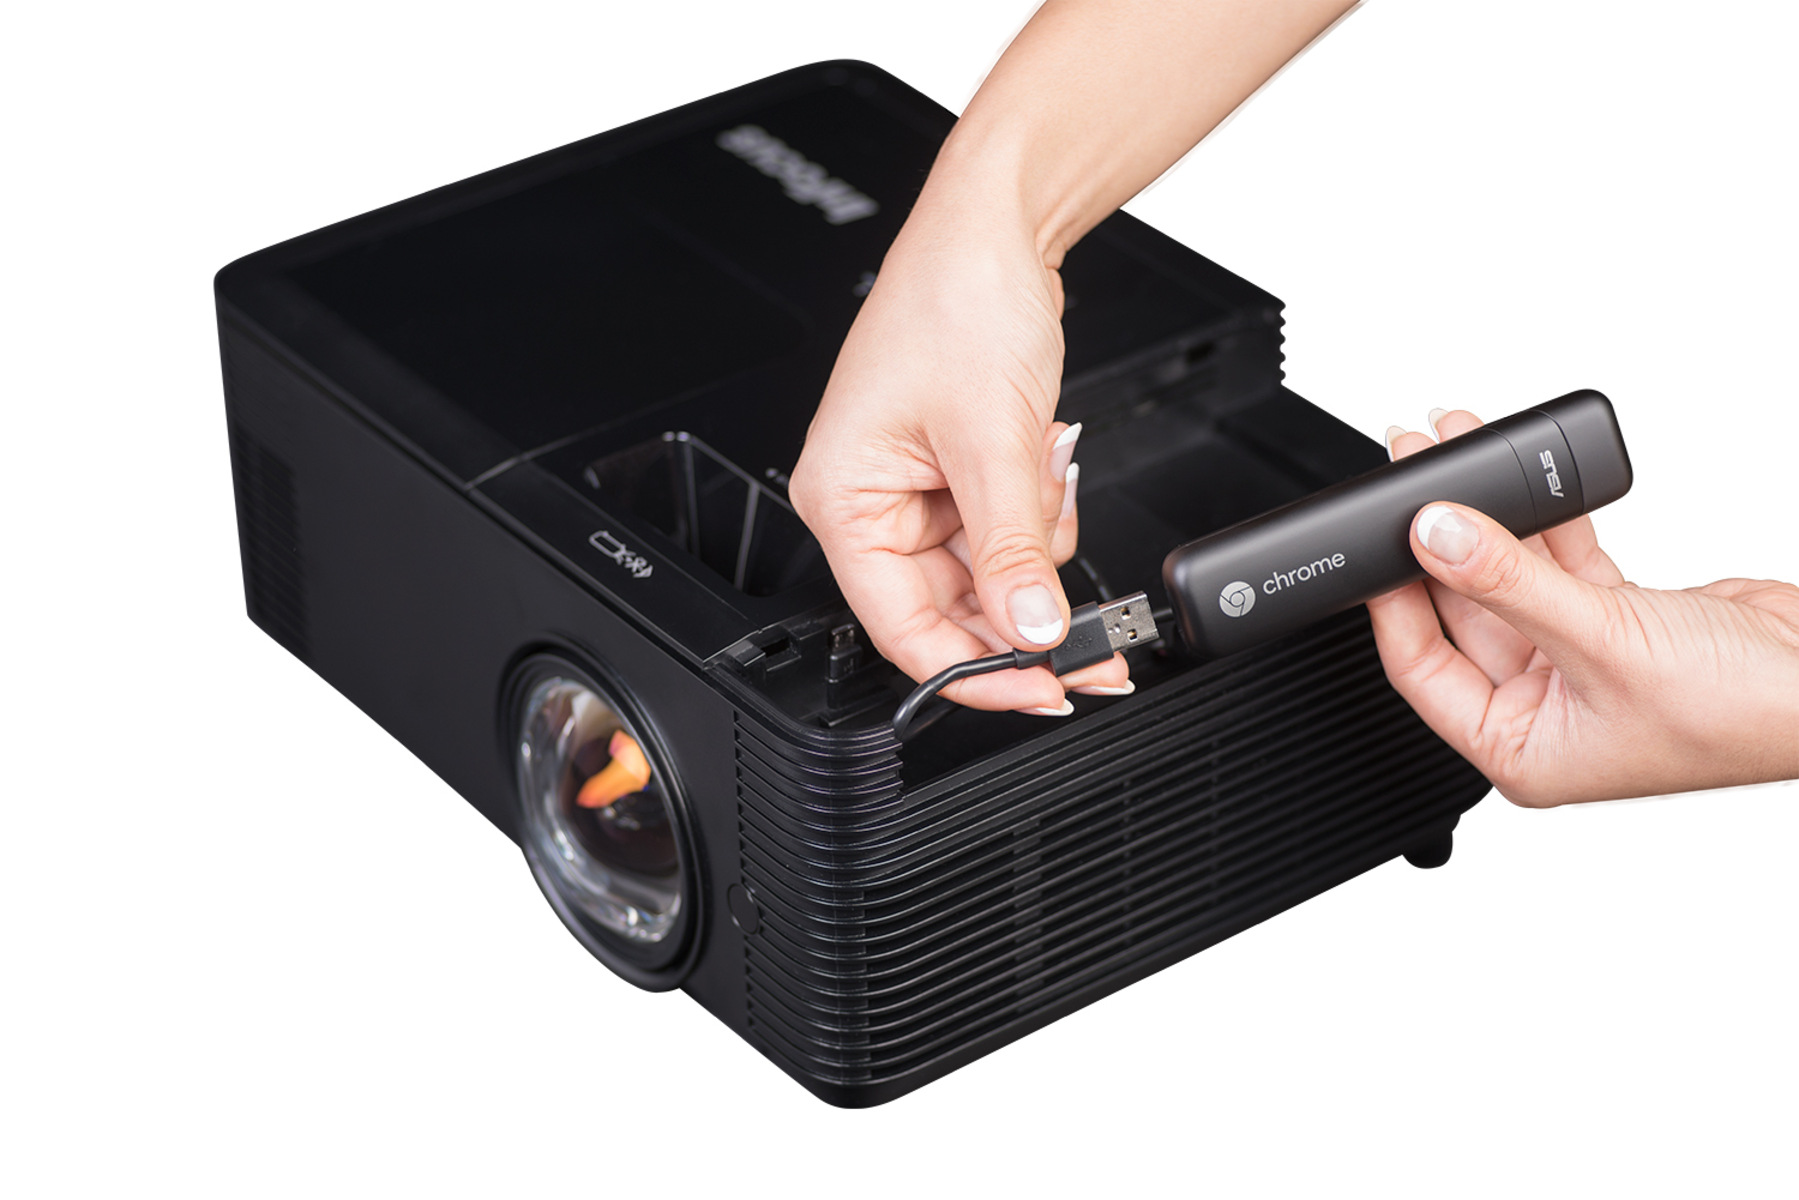
First, check the ports available on your tablet. Most tablets come with either a micro HDMI or USB-C port, which allows you to connect it to an external display like a projector. Identify the port on your tablet and take note of the type.
Next, examine the ports on your projector. The most common port found on projectors is the HDMI port, which is compatible with most tablets. However, some projectors may have different types of ports such as VGA, DVI, or DisplayPort. Make sure that your projector has a port that matches the port on your tablet.
If your tablet and projector have different types of ports, you may need an adapter or converter to make the connection. Adapters are readily available in electronics stores or online, and they can help bridge the gap between different port types.
Furthermore, consider the supported resolutions and aspect ratios of both your tablet and projector. It’s important to ensure that they are compatible to avoid image distortions or black bars on the projected screen. Refer to the user manuals or specifications of your tablet and projector to confirm their supported resolutions and aspect ratios.
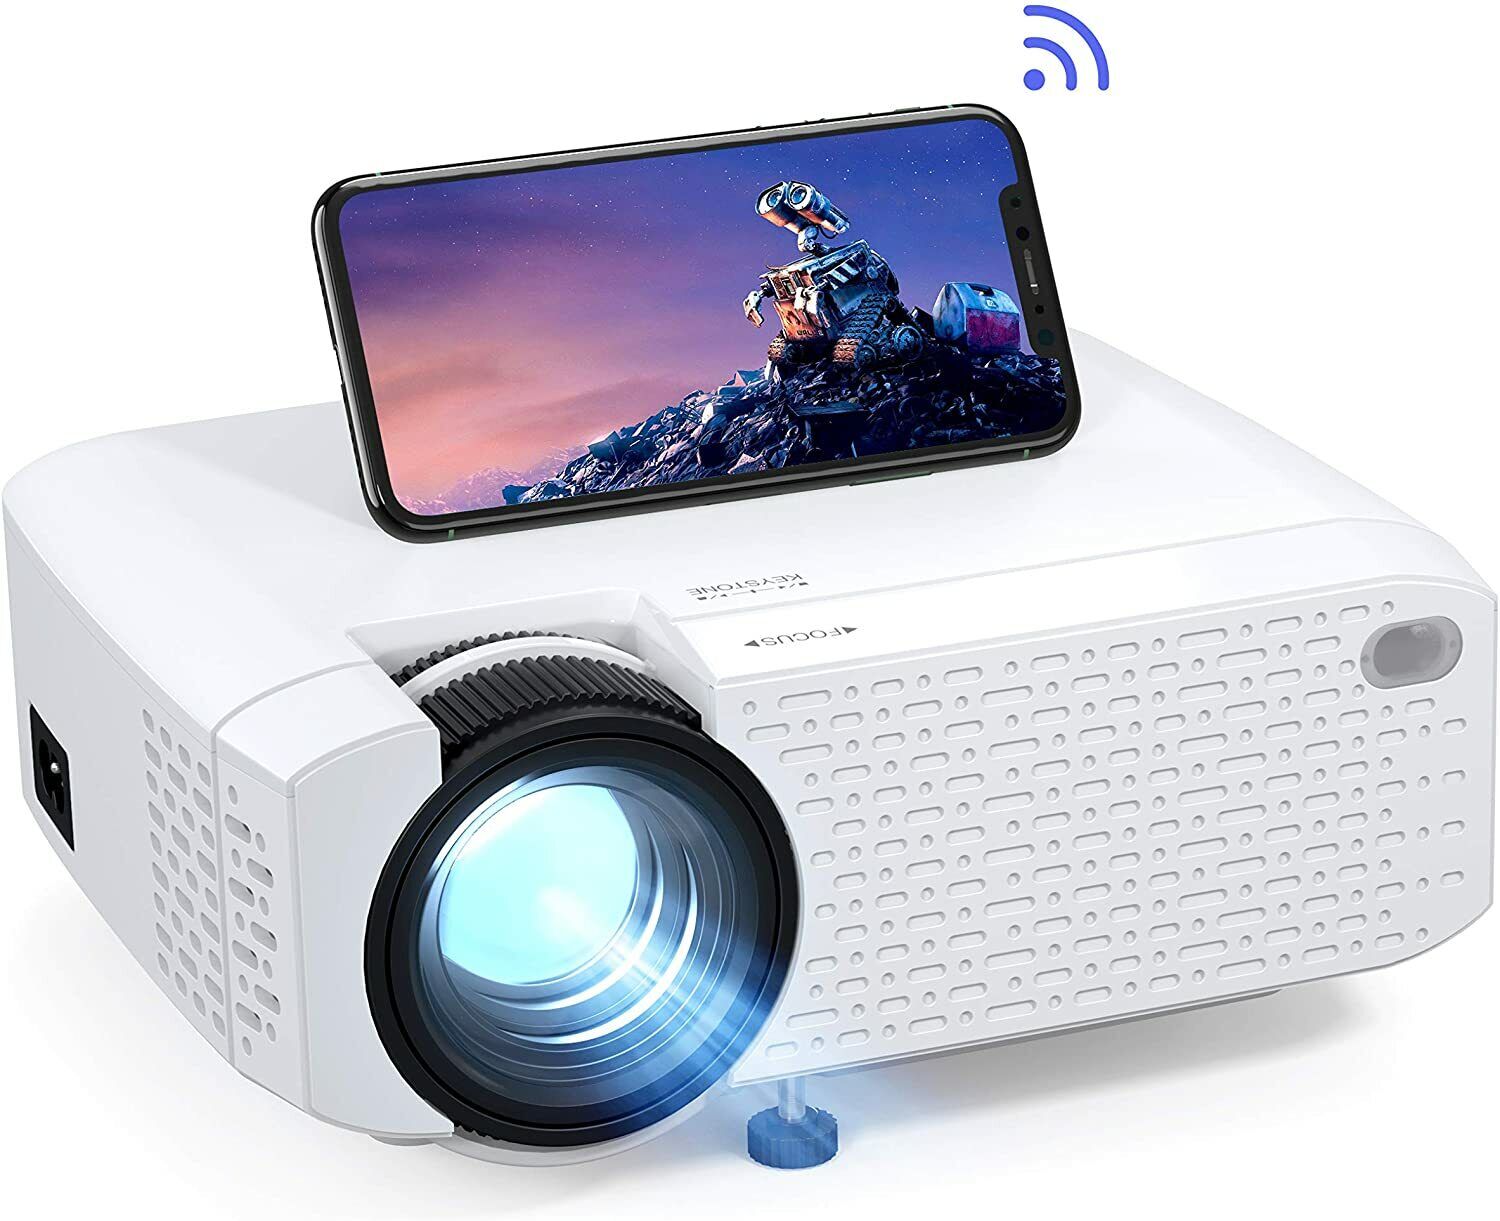
Lastly, check if your tablet supports screen mirroring or casting. This feature allows you to wirelessly display the contents of your tablet onto the projector. Some tablets have built-in screen mirroring capabilities, while others require third-party apps or devices to enable this functionality. Determine if your tablet supports screen mirroring and explore the available options for wireless connectivity.
By checking the compatibility between your tablet and projector, you can ensure a smooth connection and enjoy a seamless multimedia experience. In the next step, we’ll guide you through the preparations needed to connect your tablet to the projector.
Step 2: Prepare your tablet and projector
Now that you’ve checked the compatibility between your tablet and projector, it’s time to prepare both devices for the connection. These preparations will help ensure a successful and hassle-free connection.
First, make sure that your tablet and projector are both powered off. This precaution will prevent any potential damage to the devices or the cables during the setup process.
Next, locate the appropriate cable or adapter that you will use to connect your tablet to the projector. If your tablet has a micro HDMI port, you will need a micro HDMI to HDMI cable. If your tablet uses a USB-C port, you will need a USB-C to HDMI adapter or cable. If you’re using an adapter, connect one end of the cable to the adapter and the other end to the appropriate port on your tablet.
Similarly, locate the HDMI port on your projector and connect the other end of the cable to it. Make sure the connection is secure and snugly fitted into the ports. If your projector has other types of ports, such as VGA or DVI, use the appropriate cable or adapter to connect the devices.
If you’re using wireless screen mirroring or casting, ensure that both your tablet and the projector are connected to the same Wi-Fi network. This step is crucial for establishing a connection between the devices. Refer to your tablet’s user manual or the projector’s documentation for instructions on enabling and configuring screen mirroring or casting.
Before powering on the devices, double-check the input source or input channel on the projector. Ensure that it is set to the appropriate input source, which should match the port you connected your tablet to (e.g., HDMI 1, VGA, etc.). This step will ensure that the projector receives the signal from your tablet.
Once you’ve completed these preparations, you’re ready to move on to the next step and establish the physical connection between your tablet and the projector. Stay tuned!
Step 3: Connect the tablet to the projector
With your tablet and projector prepared, it’s time to establish the physical connection between the two devices. Follow these steps to connect your tablet to the projector:
- Start by powering on your projector and allowing it to fully boot up.
- Once the projector is on, turn on your tablet.
- Use the remote control or the control panel on the projector to navigate to the input source or input channel settings. Select the input source that corresponds to the port you connected your tablet to (e.g., HDMI).
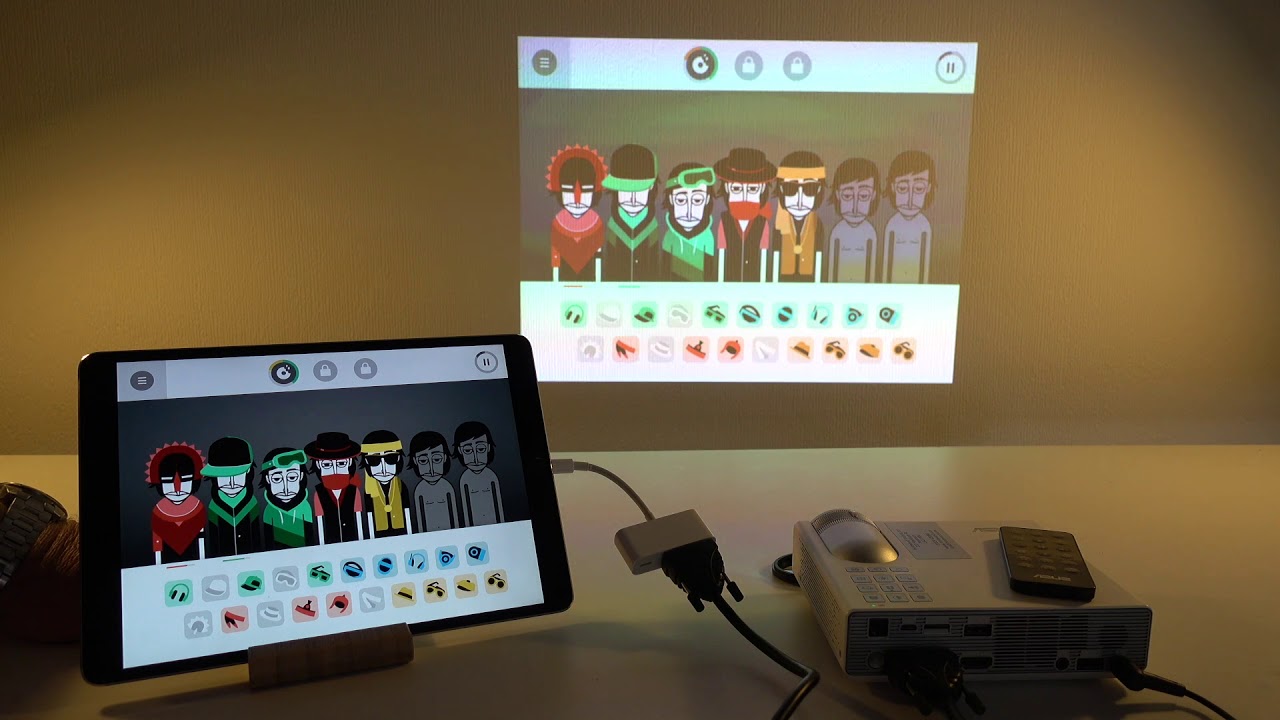
- If you’re using a cable for the connection, ensure that both ends of the cable are securely plugged into the appropriate ports on the tablet and the projector.
- If you’re using wireless screen mirroring or casting, open the settings on your tablet and navigate to the screen mirroring or casting feature. Follow the on-screen instructions to connect your tablet to the projector.
- Once the physical connection or wireless connection is established, wait for a few seconds for your tablet and projector to recognize each other. This process may vary depending on your devices.
- On your tablet, you may be prompted to select the display mode. Choose the appropriate option based on your preference:
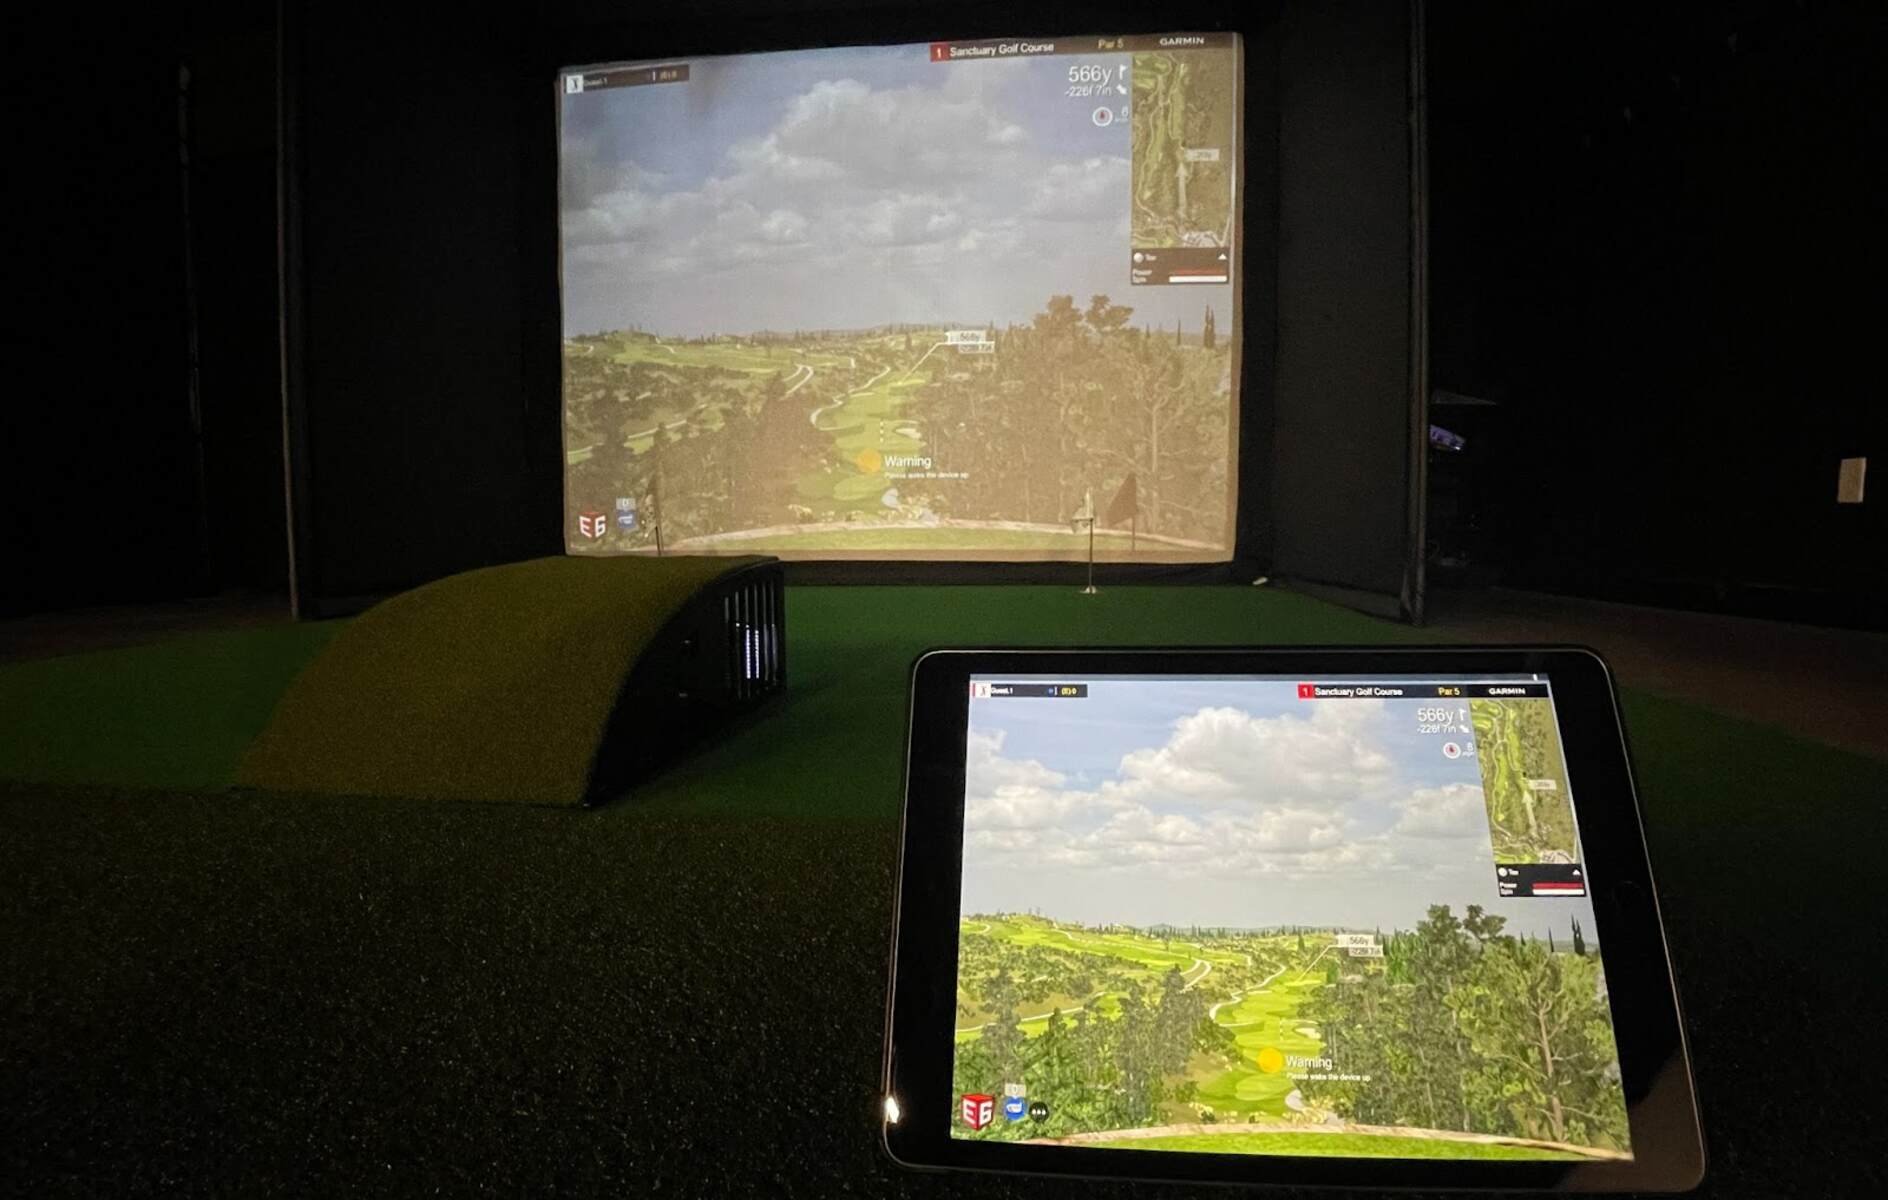
- Clone mode: This mode mirrors your tablet’s screen onto the projector, displaying the same content on both devices.
- Extended mode: This mode extends your tablet’s screen onto the projector, creating an extended desktop across both devices. You can drag windows and apps between the tablet and the projector.
- Second screen only mode: This mode turns off the tablet’s display and uses only the projector as the primary display.
- Once you’ve selected the desired display mode, your tablet’s screen should now be visible on the projector. Adjust the projector settings as needed to optimize the display quality.
Congratulations! You have successfully connected your tablet to the projector. Now it’s time to move on to the next step and adjust the settings on your tablet and projector to ensure the best possible viewing experience.
Step 4: Adjust the settings on your tablet and projector
Now that your tablet is connected to the projector, it’s important to adjust the settings on both devices to optimize the viewing experience. Follow these steps to adjust the settings:
- Start by accessing the display settings on your tablet. This can typically be found in the “Settings” app or by swiping down from the top of the screen and selecting the “Display” option.
- Within the display settings, you may find options to adjust the resolution, screen orientation, brightness, and other display-related settings. Take some time to experiment with these settings to ensure that the content is displayed correctly and suits your preferences.
- On the projector, locate the settings menu using the remote control or the control panel on the device. Look for options related to image quality, aspect ratio, keystone correction, and other display settings.
- Adjust the projector settings to fine-tune the image being projected. This may involve tweaking the brightness, contrast, sharpness, and color settings to achieve the desired visual quality.
- If necessary, make sure to align the projected image correctly on the screen or surface you’re projecting onto. Some projectors have manual or automatic keystone correction features to help eliminate distortion caused by the angle of projection.
- Additionally, you may want to adjust the audio settings on both the tablet and the projector, especially if you’re using the projector’s built-in speakers. Ensure that the audio output is directed to the correct source and adjust the volume levels as needed.
- Take the time to preview the projected image and make any necessary adjustments to create a visually appealing and well-aligned display.
By adjusting the settings on both your tablet and projector, you can optimize the display quality and ensure an enjoyable viewing experience. Once you’re satisfied with the settings, it’s time to move on to the final step and test the connection between your tablet and projector.
Step 5: Test the connection
After connecting your tablet to the projector and adjusting the settings, it’s crucial to test the connection to ensure everything is working as expected. Follow these steps to test the connection:
- Begin by selecting a video, presentation, or any other content on your tablet that you want to display on the projector.
- Play the selected media or open the desired application to start displaying the content on your tablet’s screen.
- As the content is playing on your tablet, verify that it is being mirrored or projected onto the larger screen connected to the projector. Confirm that the image and video quality appear clear, vibrant, and without any distortions or artifacts.
- Check the audio output to ensure that the sound is coming from the correct source, whether it’s the tablet’s speakers or the projector’s built-in speakers.
- Test the responsiveness of the touch screen on your tablet to ensure that it still functions properly, even when the screen is being displayed on the projector. This step is important for interactive presentations or applications that require touch input.
- If you need to switch between different applications or content on your tablet, navigate through them and verify that the changes are reflected on the projected screen without any lag or delay.
- While testing the connection, it’s also a good idea to walk around the room to ensure that the wireless screen mirroring or casting remains stable and that the connection does not get interrupted.
- If you encounter any issues during the testing phase, refer back to the previous steps to make sure the cables, adapters, and settings are properly configured.
Once you’ve successfully tested the connection and everything is working as expected, you’re ready to enjoy your tablet’s content on the larger display provided by the projector. Whether it’s for business presentations, educational purposes, or entertainment, having the ability to connect your tablet to a projector opens up a world of possibilities.
Conclusion
Connecting your tablet to a projector can greatly enhance your multimedia experience, whether you’re delivering a presentation, enjoying a movie night with friends, or sharing photos and videos with a larger audience. By following the steps outlined in this guide, you can successfully connect your tablet to a projector and enjoy the benefits of a larger display.
First, it’s important to check the compatibility between your tablet and projector to ensure they have matching ports and supported resolutions. Preparing both devices by powering them off and gathering the necessary cables or adapters is key to a smooth setup process.
Connecting your tablet to the projector involves physically plugging in the appropriate cables or establishing a wireless connection through screen mirroring or casting. Once connected, adjusting the settings on both the tablet and the projector will help optimize the display quality and audio output.
Testing the connection is a crucial step to verify that the content from your tablet is being correctly projected onto the larger screen. This includes checking the image and video quality, audio output, responsiveness of the touch screen, and smoothness when switching apps or content.
By successfully following these steps, you can confidently connect your tablet to a projector and unlock a range of possibilities for work, education, and entertainment. So, grab your tablet, set up your projector, and start enjoying a larger and more immersive visual experience!