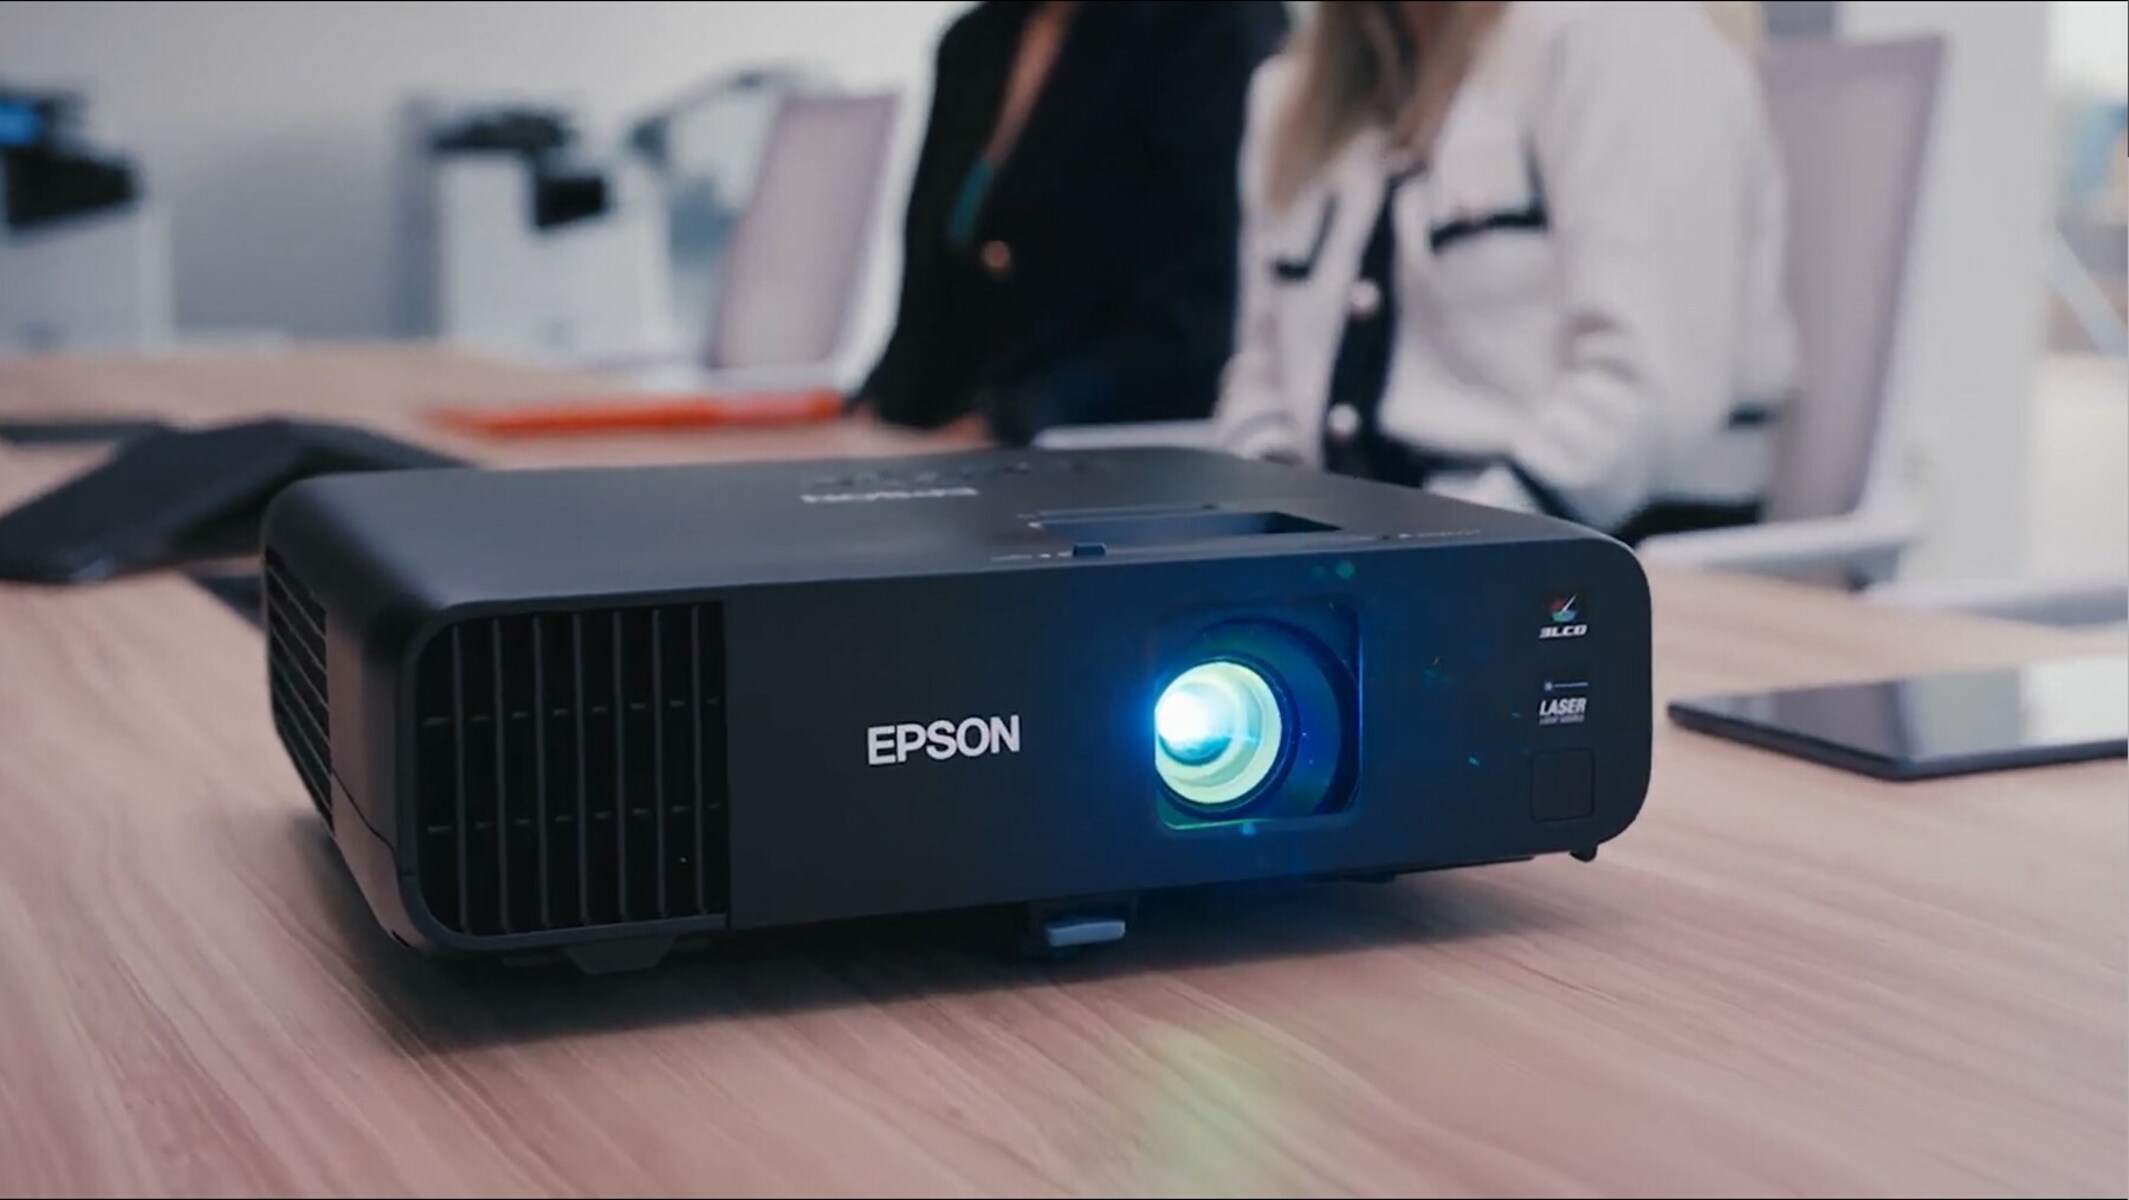
Introduction
Welcome to the world of wireless connectivity with Epson projectors! Connecting your device to an Epson projector wirelessly can bring a whole new level of convenience and flexibility to your presentations, meetings, or entertainment experiences. Gone are the days of dealing with tangled cords and limited mobility.
In this article, we will guide you through the process of connecting to an Epson projector wirelessly. Whether you’re using a laptop, smartphone, or tablet, our step-by-step instructions will help you seamlessly connect your device to the projector and start enjoying the benefits of wireless projection.
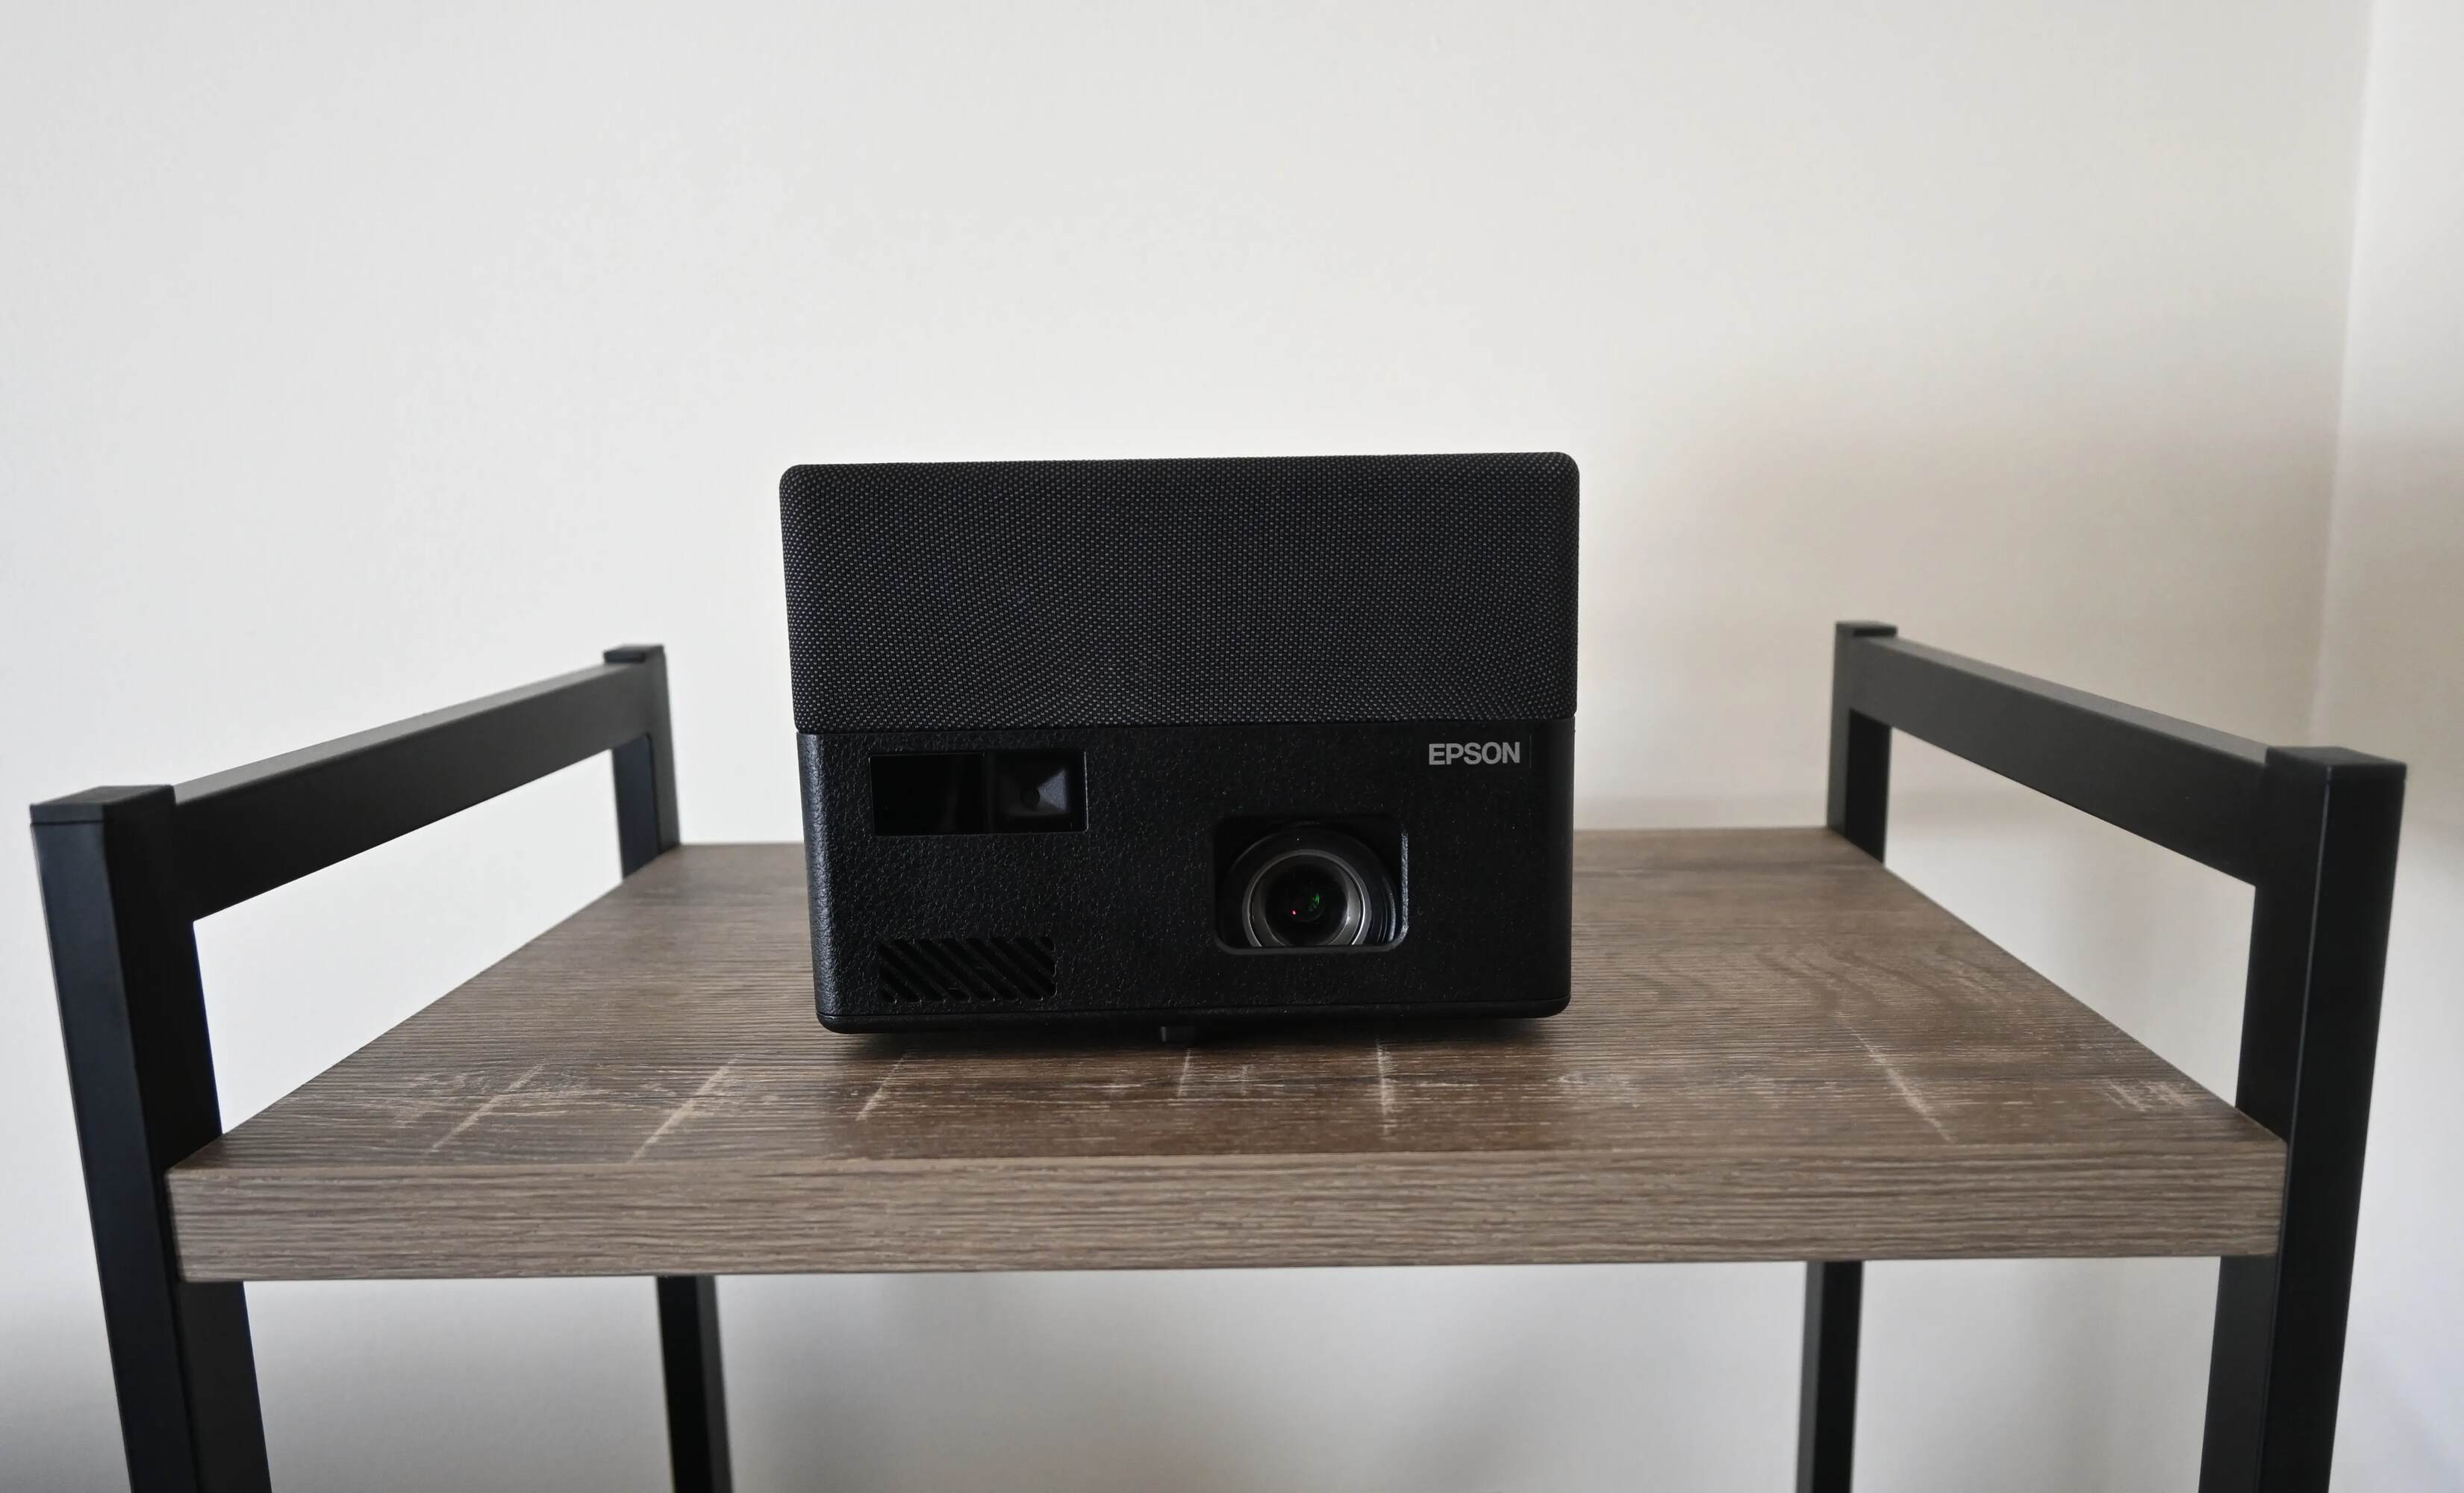
Before we dive into the steps, it’s important to ensure that your device and Epson projector are compatible with wireless connectivity. Most modern Epson projectors come with built-in wireless capabilities, but it’s always a good idea to check the specifications and user manual of your specific model.
Once you’ve confirmed compatibility, the next step is to install the Epson iProjection app on your device. This app acts as a bridge between your device and the projector, allowing you to wirelessly transmit your content to the big screen.
After installing the app, both the projector and your device need to be connected to the same wireless network. This enables them to communicate with each other and establish a connection. Once the connection is established, you can launch the Epson iProjection app and start selecting your projector from the detected devices.
With the projector selected, you can then connect to it and adjust the necessary settings for an optimal viewing experience. Whether you’re giving a presentation, sharing photos, or streaming videos, you can now do it hassle-free and wirelessly using your Epson projector.
So, without further ado, let’s proceed to the step-by-step guide on connecting to an Epson projector wirelessly. Say goodbye to cables and hello to wireless freedom!
Step 1: Checking Compatibility
Before you begin the process of connecting your device to an Epson projector wirelessly, it’s crucial to confirm that both your device and the projector are compatible with wireless connectivity.
Most modern Epson projectors come equipped with wireless capabilities, allowing you to connect your laptop, smartphone, or tablet without the need for any additional cables. However, it’s always recommended to check the specifications and user manual of your specific Epson projector model to ensure compatibility.
To determine compatibility, look for key features such as built-in Wi-Fi or wireless LAN. These features indicate that the projector is capable of establishing a wireless connection with external devices. Additionally, verify if the projector supports the Epson iProjection app, which is necessary for wireless connectivity.
It’s also important to check if your device has the necessary requirements to connect wirelessly to the projector. Typically, smartphones, tablets, and laptops with Wi-Fi capabilities are compatible with Epson projectors. Ensure that your device’s operating system is compatible with the Epson iProjection app, as it may have specific compatibility requirements.
If you are unsure about the compatibility of your device or the Epson projector, you can always refer to the respective manufacturer’s websites or contact their customer support for detailed information.
Remember, ensuring compatibility is an essential first step to establishing a successful wireless connection between your device and the Epson projector. By verifying the compatibility of both the projector and your device, you can proceed with confidence and enjoy the benefits of wireless projection.
Step 2: Installing the Epson iProjection App
Once you have confirmed the compatibility of your device and the Epson projector, the next step is to install the Epson iProjection app on your device. This app acts as a bridge between your device and the projector, enabling wireless communication and seamless projection.
To get started, follow these steps:
- Open the app store on your device. Depending on your device’s operating system, you may need to access either the Google Play Store (Android), App Store (iOS), or Microsoft Store (Windows).
- Search for “Epson iProjection” in the app store’s search bar.
- Locate the official Epson iProjection app and click on the “Install” or “Get” button to initiate the installation process.
- Wait for the app to download and install on your device. The duration may vary depending on your internet speed.
- Once the installation is complete, locate the app on your device’s home screen or app drawer and tap on it to launch.
It’s worth noting that the Epson iProjection app is available for various operating systems, including Android, iOS, and Windows. Ensure that you download the appropriate version for your specific device.
Additionally, make sure that your device is connected to a stable internet connection during the installation process to avoid any interruptions.
The Epson iProjection app provides a user-friendly interface and offers various features to enhance your wireless projection experience. From projecting documents and presentations to sharing photos and videos, the app enables you to easily and wirelessly transmit your content to the connected Epson projector.
With the Epson iProjection app successfully installed on your device, you’re now ready to move on to the next step of connecting the projector and the device to the same network.
Step 3: Connecting the Projector and the Device to the Same Network
Now that you have installed the Epson iProjection app, the next step is to connect both the Epson projector and your device to the same wireless network. This is necessary for them to discover and communicate with each other.
Follow the steps below to connect the projector and device to the same network:
- Turn on your Epson projector and wait for it to fully boot up.
- Using the remote control or the buttons on the projector, navigate to the settings or network menu.
- Locate the Wi-Fi or wireless LAN settings and choose the option to connect to a wireless network.
- A list of available wireless networks should appear. Select your desired network from the list.
- If your network is secured with a password, you will be prompted to enter the password. Use the remote control or the projector’s keypad to input the password and confirm the connection.
- Wait for the projector to establish a connection with the wireless network. This may take a few moments.
- On your device, go to the Wi-Fi settings and connect to the same wireless network that the projector is connected to.
It’s crucial to ensure that both the projector and your device are connected to the same network to facilitate seamless communication. Connecting them to different networks or having one wired and one wireless connection may prevent them from discovering each other.
If you encounter any difficulties during the process, refer to the user manual of your Epson projector for specific instructions on connecting to a wireless network.
Once both the Epson projector and your device are successfully connected to the same network, you’re ready to move on to the next step of launching the Epson iProjection app.
Step 4: Launching the Epson iProjection App
With the Epson iProjection app installed on your device and both the projector and device connected to the same network, you’re now ready to launch the app and initiate the wireless connection.
Follow these steps to launch the Epson iProjection app:
- Locate the Epson iProjection app on your device’s home screen or app drawer.
- Tap on the app icon to open it.
- Upon launching the app, you may be prompted to grant permissions for the app to access certain features on your device, such as the camera or storage. Grant the necessary permissions to proceed.
- Once the app opens, you will be presented with the main interface. The app should automatically detect the available Epson projectors on the network.
If the Epson projector is not automatically detected, ensure that both the projector and the device are connected to the same network. You may also try restarting both the projector and the device to establish a fresh connection.
Once the Epson projector is successfully detected by the app, you’re one step closer to wirelessly connecting your device and projecting your content.
The Epson iProjection app offers a range of features and settings to enhance your wireless projection experience. From adjusting display settings to accessing your multimedia files, you can conveniently control and customize the projected content through the app’s intuitive interface.
It’s worth noting that the specific features and options available in the app may vary depending on your device’s operating system and the capabilities of your Epson projector model. Take some time to explore the app and familiarize yourself with its functionalities.
With the Epson iProjection app launched and the projector detected, you’re ready to move on to the next step of selecting the projector within the app and establishing the wireless connection.
Step 5: Selecting the Projector
Now that the Epson iProjection app is launched and the available projectors are detected, the next step is to select the specific Epson projector that you want to connect with.
Follow these steps to select the projector within the Epson iProjection app:
- In the Epson iProjection app, you should see a list of detected projectors. These projectors may be identified by their model names or IP addresses.
- Tap on the name or icon of the desired Epson projector from the list. This will select the projector for the wireless connection.
If you have multiple projectors available, ensure that you select the correct Epson projector that corresponds to the physical projector you want to connect with. The selected projector will be highlighted or indicated in the app interface.
It’s important to note that if no projectors are appearing in the app, make sure that both the projector and the device are connected to the same network and are powered on. You may also try restarting both devices to refresh the connection.
Once you have successfully selected the Epson projector within the app, you’re now ready to establish the wireless connection and start projecting your content. The next step will guide you through the process of connecting to the selected projector.
Take a moment to ensure that you have selected the correct projector and that the desired settings or options are available for your wireless projection needs.
With the projector selected, you’re one step closer to enjoying the benefits of wireless projection with your Epson projector. The next step will guide you through the process of connecting to the selected projector and adjusting the necessary settings for an optimal viewing experience.
Step 6: Connecting to the Projector
With the Epson iProjection app launched and the desired projector selected, it’s time to establish the wireless connection between your device and the Epson projector. This step will allow you to transmit your content wirelessly and project it onto the big screen.
Follow these steps to connect to the selected Epson projector:
- In the Epson iProjection app, look for the “Connect” or “Connect to Projector” button. Tap on it to initiate the connection process.
- The app will attempt to establish a connection with the selected projector. This may take a few moments.
- If prompted, enter a four-digit connection code on your device. This code may be displayed on the projector screen or provided in the projector’s documentation.
- Wait for the connection to be established. Once connected, the app will display a confirmation message, and the projected content will appear on the Epson projector screen.
If the connection is unsuccessful, double-check that both the projector and the device are connected to the same network and have a stable internet connection. You may also try restarting both devices to refresh the connection.
It’s important to note that the connection process may differ slightly depending on your device’s operating system and the specific Epson projector model. Refer to the app’s instructions or the projector’s user manual for more detailed guidance if needed.
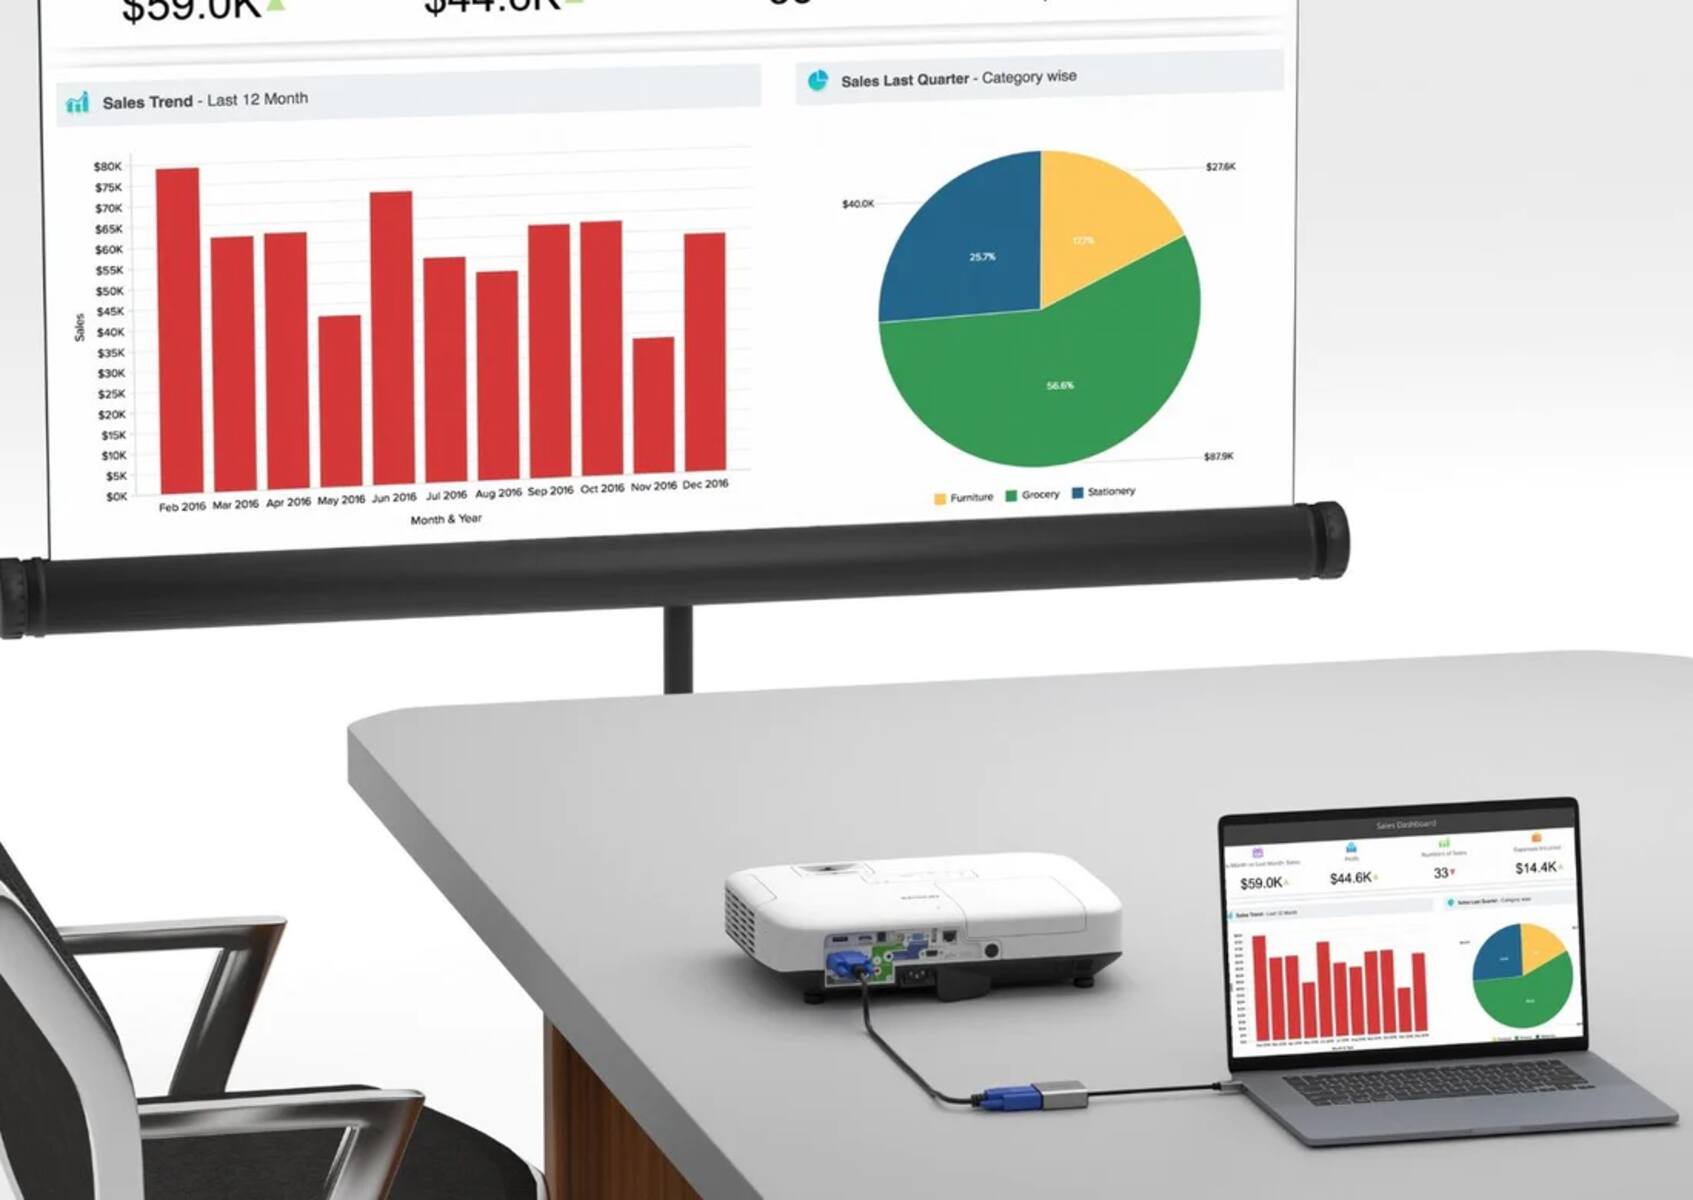
Once the connection is successfully established, you can start wirelessly projecting your content onto the big screen. Whether it’s a presentation, spreadsheet, photo slideshow, or video, you can enjoy the flexibility and convenience of wireless projection with your Epson projector.
Take some time to explore the available features and settings within the Epson iProjection app to optimize your projection experience. You may have options to adjust the aspect ratio, screen layout, display mode, and other settings based on your preferences.
With the device successfully connected to the Epson projector, you’re now ready to move on to the final step of adjusting the projector settings for an optimal viewing experience.
Step 7: Adjusting the Projector Settings
After successfully connecting your device to the Epson projector wirelessly, it’s time to fine-tune the projector settings for an optimal viewing experience. Adjusting the settings can help enhance the image quality, optimize the display, and tailor it to your specific needs.
Here are some key settings you can consider adjusting:
- Brightness and Contrast: Use the projector’s settings menu or remote control to adjust the brightness and contrast levels to your desired preference. Finding the right balance can significantly impact the clarity and visibility of the projected content.
- Screen Size and Position: Depending on the projection surface and the distance between the projector and the screen, you may need to adjust the screen size and position. This can be done by physically moving the projector or using the keystone correction or zoom function available on some Epson projector models.
- Color and Picture Modes: Epson projectors often offer different picture modes and color settings that can help enhance the color accuracy, saturation, and overall visual quality. Experiment with these settings to find the one that suits your preferences and the type of content you are projecting.
- Sound and Audio: Some Epson projectors have built-in speakers, while others may require external speakers for audio playback. Adjust the volume and audio settings accordingly to ensure optimal sound quality for your presentation or multimedia content.
- Advanced Settings: Explore the projector’s advanced settings menu, as it may offer additional options to fine-tune the image quality, adjust the color temperature, reduce noise, or enable special features like 3D projection.
Every Epson projector model may have slightly different settings and options available, so it’s essential to consult the projector’s user manual for specific guidance. Additionally, take time to experiment with the settings and observe the changes on the projected screen to find the configuration that best suits your needs.
Remember to consider the viewing environment, lighting conditions, and the type of content you are projecting when adjusting the settings. This will help you create an immersive and visually appealing experience for your audience.
Once you have optimized the projector settings to your satisfaction, you are now ready to enjoy seamless wireless projection at its finest. Sit back, relax, and immerse yourself in the content displayed on the big screen, all thanks to your wireless connection with the Epson projector.
Conclusion
Congratulations! You have successfully learned how to connect to an Epson projector wirelessly. By following the step-by-step guide outlined in this article, you can now enjoy the convenience and flexibility of wirelessly projecting your content onto the big screen.
Starting with the compatibility check, you ensured that both your device and the Epson projector were suitable for wireless connectivity. You then installed the Epson iProjection app, an essential tool for establishing the wireless connection.
After connecting the projector and your device to the same network, you launched the Epson iProjection app and selected the desired projector. With the connection established, you were able to adjust the settings to optimize the viewing experience.
Wireless projection with an Epson projector offers a multitude of benefits. You can present seamlessly without being restricted by tangled cables or limited mobility. It is also great for sharing photos, videos, and other multimedia content in a convenient and hassle-free manner.
Remember to consult the user manual of your specific Epson projector model for detailed instructions and information on advanced features and settings.
Now that you’re equipped with the knowledge of how to connect to an Epson projector wirelessly, it’s time to put it into practice. Whether you’re in a professional environment, educational institution, or simply enjoying entertainment at home, wireless connectivity with an Epson projector opens up a world of possibilities.
So, go ahead and set up your wireless connection, launch the Epson iProjection app, and start projecting your content wirelessly. Enjoy the convenience, freedom, and high-quality visuals that Epson projectors provide.
Thank you for reading this guide, and we hope it has been helpful in enhancing your projection experience with Epson projectors.