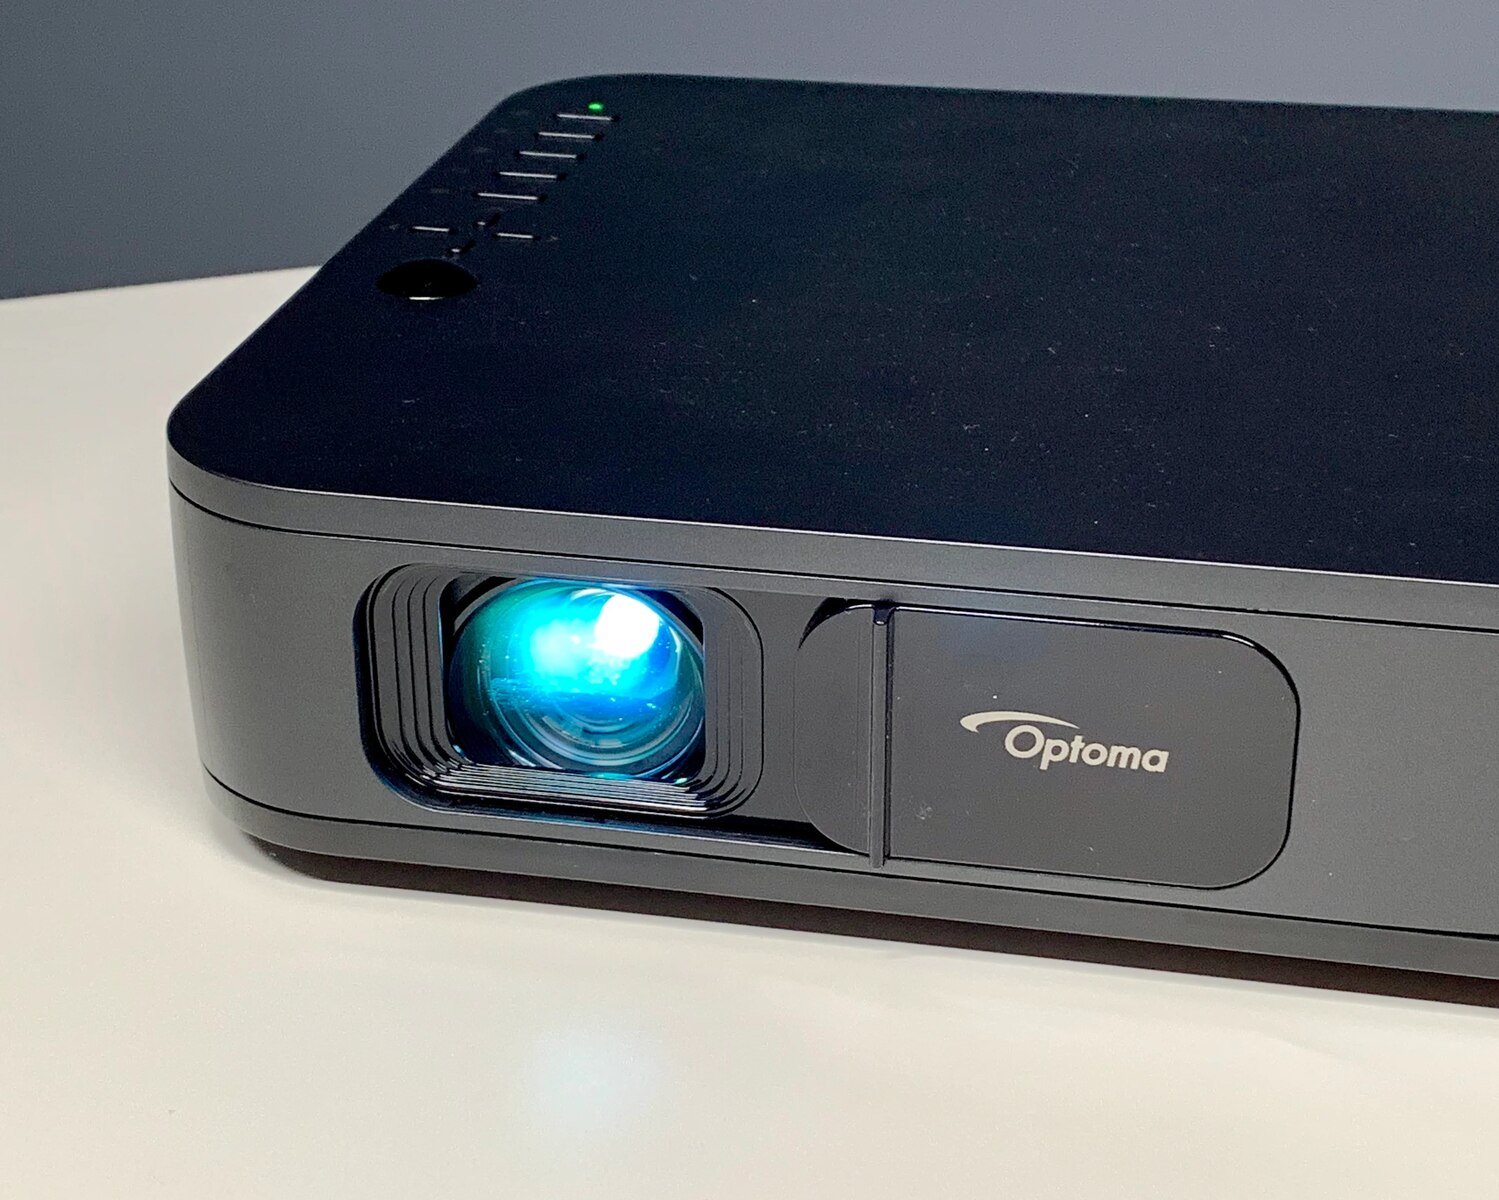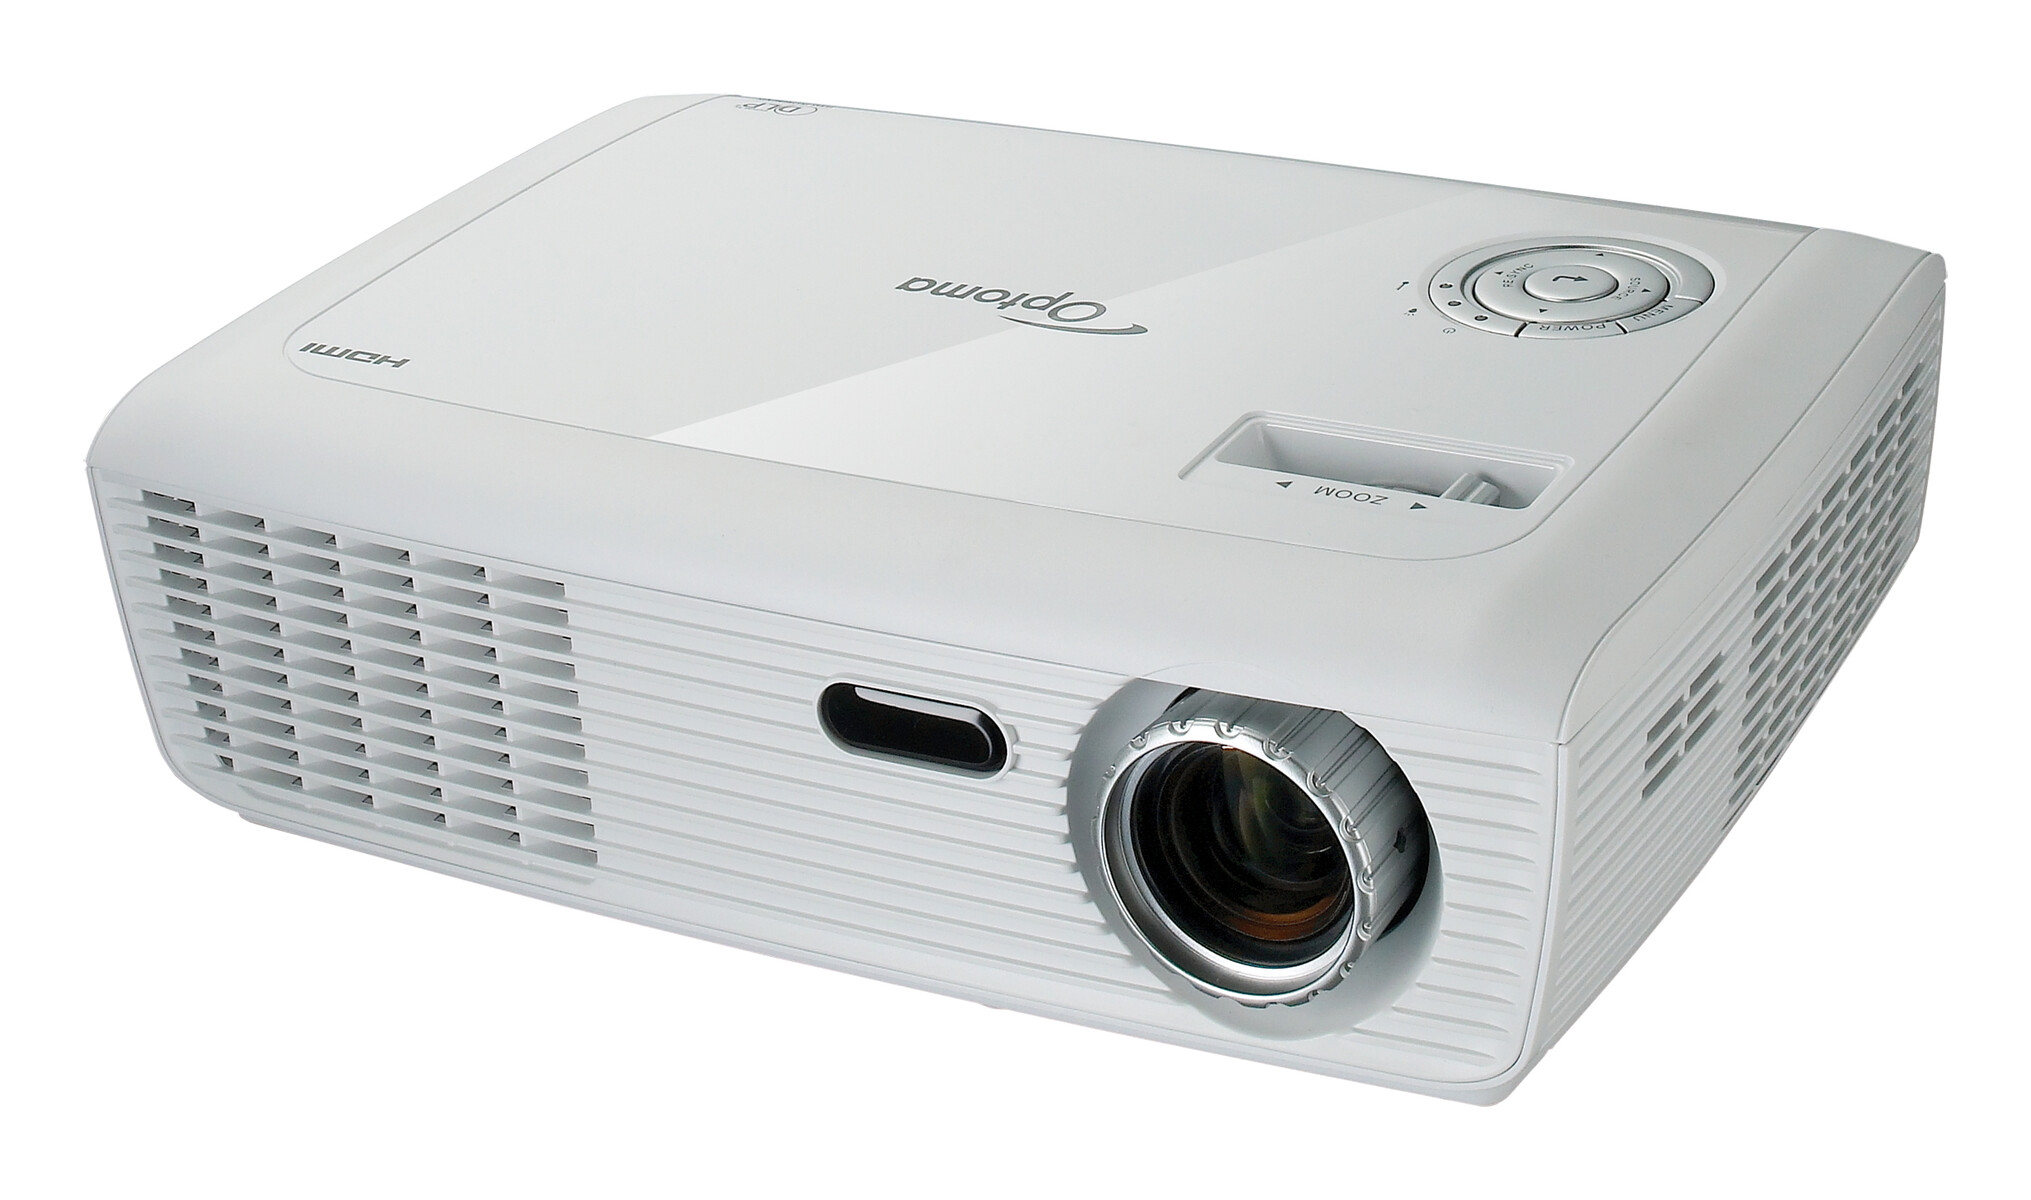
Introduction
Connecting your phone to an Optoma projector opens up a world of possibilities, allowing you to enjoy your favorite content on a larger screen. Whether you want to share photos, watch videos, or give an important presentation, connecting your phone to a projector can enhance the viewing experience and make it more engaging for your audience.
However, before diving into the steps of connecting your phone to an Optoma projector, it’s essential to ensure compatibility between your phone and the projector. Not all phones have the necessary capabilities to connect directly to a projector, so it’s important to check for compatibility before proceeding.
In this guide, we will cover the step-by-step process of connecting your phone to an Optoma projector. We will explore both wired and wireless options, so you can choose the one that best suits your needs. Whether you have an iPhone or an Android device, these instructions will help you establish a connection and start enjoying your content on a larger screen.
So, get ready to unlock the full potential of your phone and projector combo. Let’s dive into the instructions and get you connected!
Step 1: Checking Compatibility
Before attempting to connect your phone to an Optoma projector, it’s crucial to ensure that your phone is compatible with the projector. Not all phones have the necessary features and technologies to establish a direct connection. Here’s what you need to check:
- Phone’s Operating System: Check if your phone is running on a compatible operating system. Optoma projectors usually support both iOS (iPhone) and Android devices.
- Connectivity Options: Determine the connectivity options available on your phone. Optoma projectors often support various connection methods such as HDMI, USB, and wireless (Wi-Fi and Bluetooth).
- Screen Mirroring Support: Verify if your phone supports screen mirroring. This feature allows you to replicate your phone’s display on the projector.
- Adapter Requirements: Find out if you need any specific adapters to connect your phone to the projector. For example, some phones may require a USB-C to HDMI adapter for a wired connection.
To check your phone’s compatibility, you can refer to the user manual or visit the manufacturer’s website for more information. Additionally, you can search for your phone’s model and compatibility with Optoma projectors online to find relevant forums and discussions.
Remember, compatibility may vary depending on the specific model of your phone and projector. It’s always a good idea to double-check and ensure that you have the necessary technology and connections before proceeding with the connection process.
Step 2: Prepare Your Phone and Projector
Before connecting your phone to an Optoma projector, it’s important to prepare both your phone and the projector to ensure a smooth and successful connection. Follow these steps to get everything ready:
- Check Projector Power: Ensure that the Optoma projector is powered on and connected to a power source. This step is essential to establish a connection between your phone and the projector.
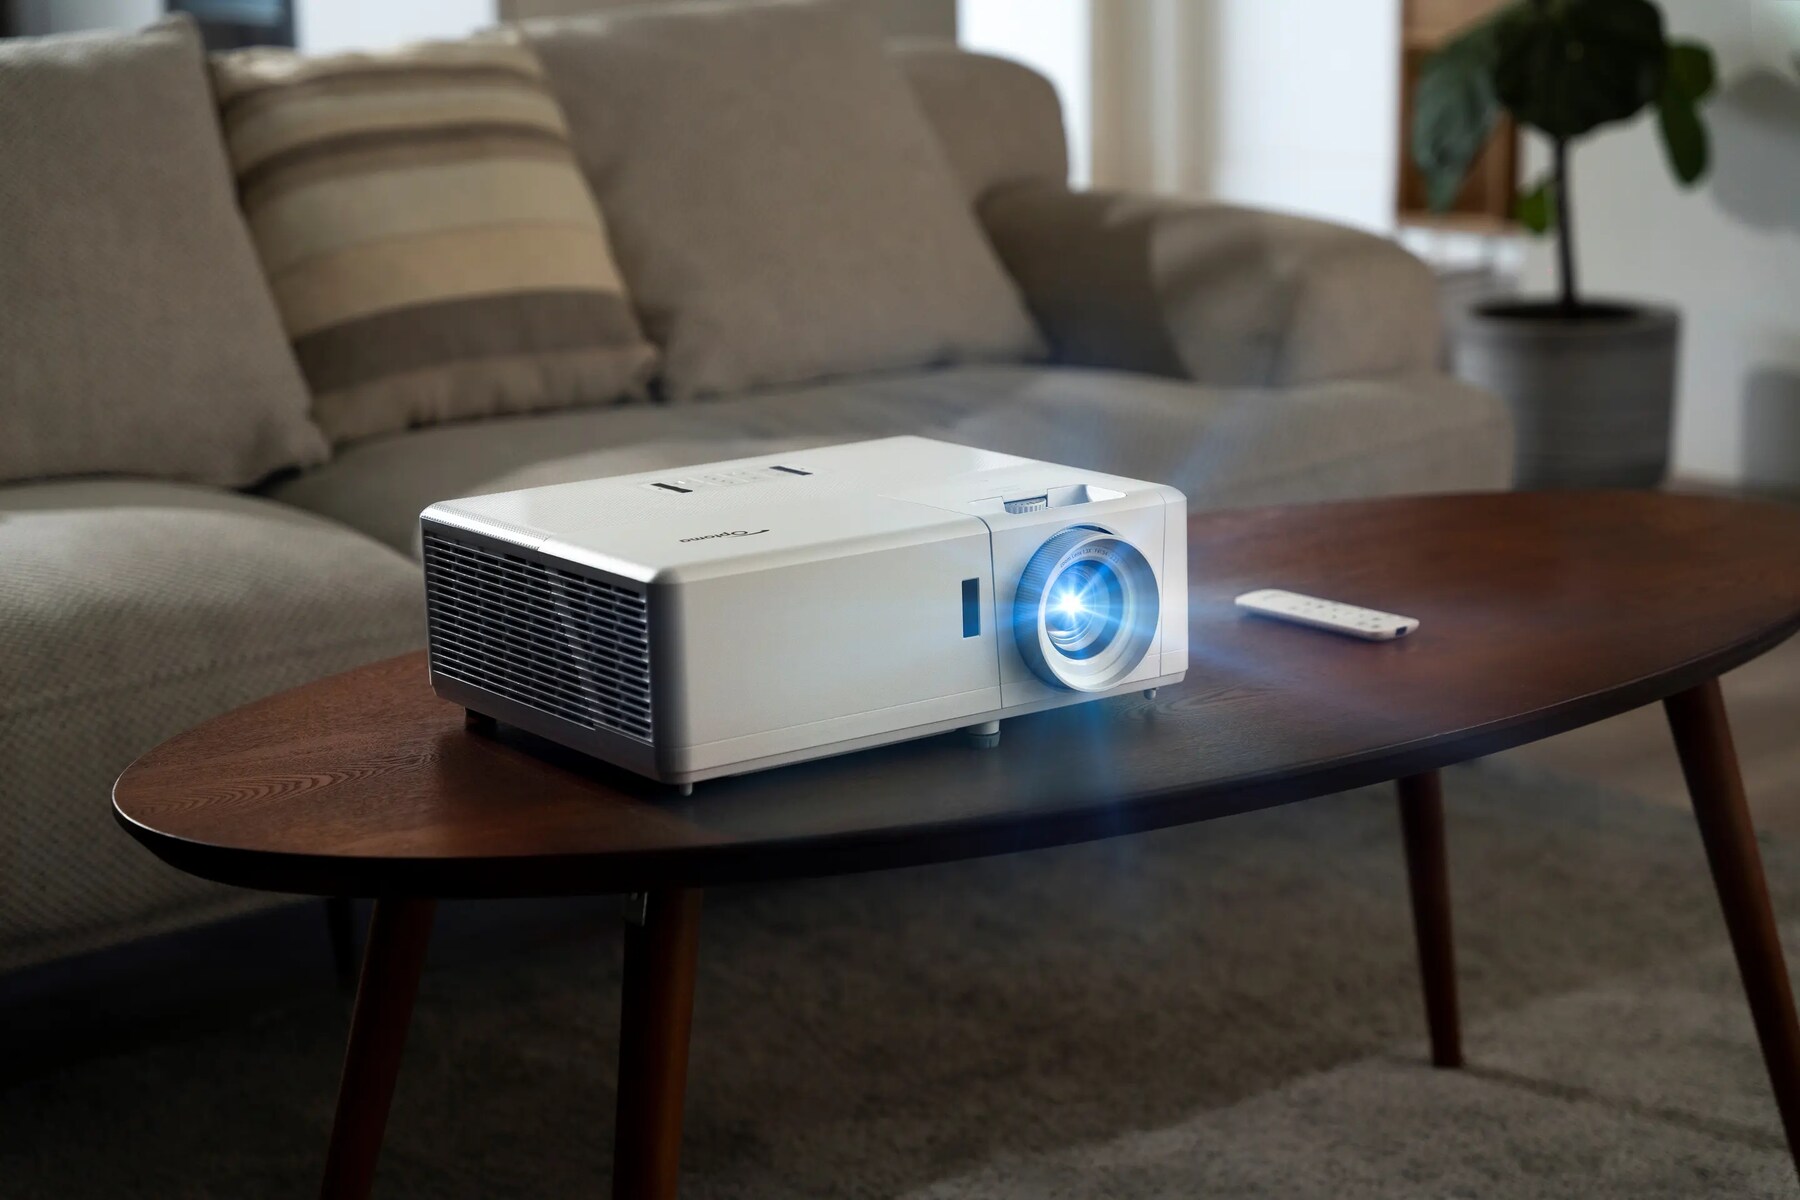
- Connect Projector to Display: Connect the Optoma projector to a display surface, such as a whiteboard or projection screen. Make sure that the projector is positioned at an appropriate distance and angle for optimal viewing.
- Charge Your Phone: Make sure your phone has enough battery power or connect it to a charger to avoid interruptions during the connection process. A fully charged phone ensures a stable connection throughout your viewing or presentation.
- Enable Wi-Fi or Bluetooth: If you plan to connect wirelessly, ensure that Wi-Fi or Bluetooth is enabled on both your phone and the Optoma projector. Consult the user manual or on-screen instructions to enable these features.
- Prepare Cables and Adapters: If you’re opting for a wired connection, gather the necessary cables and adapters. For example, if your phone has a USB-C port, you may need a USB-C to HDMI adapter. Having the right cables and adapters on hand will facilitate the connection process.
By preparing your phone and projector before attempting to connect them, you minimize potential issues and ensure a seamless connection experience. Taking the time to complete these initial steps will help in avoiding unnecessary delays or technical difficulties during the actual connection process.
Step 3: Connecting With a Cable
If you prefer a reliable and direct connection, you can connect your phone to an Optoma projector using a cable. Here’s how:
- Choose the Right Cable: Identify the correct cable for your phone and Optoma projector. Common cable options include HDMI, USB-C, or Lightning for iPhone. Ensure that the cable is in good condition and supports both audio and video transmission.
- Connect the Cable to Your Phone: Attach one end of the cable to the appropriate port on your phone. For example, if you’re using an HDMI cable, connect it to the HDMI port on your phone.
- Connect the Cable to the Projector: Connect the other end of the cable to the corresponding port on the Optoma projector. Depending on the model, this might be an HDMI or USB port. Ensure a secure connection on both ends.
- Adjust Projector Input: On the Optoma projector, select the correct input source. For example, if you connected your phone through an HDMI cable, switch the projector input to HDMI.
- Configure Phone Display Settings: Go to your phone’s display settings and adjust the resolution and aspect ratio if necessary. Set the screen mirroring or external display option to the connected projector.
- Start Playback or Presentation: Once the connection is established, start playing the desired content on your phone or begin your presentation. The Optoma projector should mirror or display the content from your phone.
By following these steps, you can reliably connect your phone to an Optoma projector using a cable. This method ensures a stable connection and prevents any potential issues that may arise with wireless connections. Enjoy your videos, photos, or presentations on the big screen with clear and vibrant visuals.
Step 4: Connecting Using Screen Mirroring
If you prefer a wireless connection and your phone supports screen mirroring, you can connect it to an Optoma projector without the need for cables. Here’s how to do it:
- Enable Wi-Fi or Bluetooth: Ensure that both your phone and Optoma projector have Wi-Fi and/or Bluetooth capabilities. Enable these features on both devices.
- Access Screen Mirroring on Your Phone: On your phone, go to the settings menu and navigate to the screen mirroring or casting option. This may be located under the “Display” or “Advanced” settings, depending on the phone’s manufacturer and operating system.
- Pair Your Phone with the Optoma Projector: Once in the screen mirroring settings, search for available wireless devices. Select your Optoma projector from the list of devices to establish a connection.
- Enter PIN or Confirm Connection: Depending on the devices, you may be required to enter a PIN or confirm the connection on both your phone and the Optoma projector. Follow the provided instructions to complete the pairing process.
- Start Mirroring: After the connection is established, your phone’s screen will be mirrored on the Optoma projector. Any activity on your phone, such as playing videos, sharing photos, or presenting slides, will be visible on the projector.
- Adjust Display Settings (if needed): If necessary, adjust the display settings on your phone or the Optoma projector to optimize the visuals, such as resolution, brightness, or aspect ratio.
Screen mirroring provides the convenience of wirelessly connecting your phone to an Optoma projector, allowing you to move freely during presentations or enjoy content without the hassle of cables. Ensure a stable Wi-Fi or Bluetooth connection for the best screen mirroring experience.
Step 5: Troubleshooting Tips
Sometimes, despite following the steps outlined above, you may encounter connectivity issues or other challenges when connecting your phone to an Optoma projector. Here are some troubleshooting tips to help you resolve common problems:
- Check Cable Connections: If you are using a cable, ensure that it is securely connected to both your phone and the Optoma projector. Sometimes, loose connections can result in no display or poor quality.
- Restart Your Devices: Restart both your phone and the Optoma projector to refresh their settings. This can often resolve minor glitches or conflicts that may be causing connectivity issues.
- Verify Compatibility: Double-check the compatibility between your phone and the Optoma projector. Ensure that your phone’s operating system, screen mirroring support, and connectivity options align with the projector’s requirements.
- Update Software: Make sure that both your phone and the Optoma projector have the latest software updates installed. Outdated software can sometimes cause compatibility issues.
- Check Wi-Fi/Bluetooth Signal: If you’re using wireless screen mirroring, ensure that the Wi-Fi or Bluetooth signal is strong and stable. Weak connectivity can result in lag or dropped connections.
- Use a Different Cable or Adapter: If you’re experiencing issues with a physical connection, try using a different cable or adapter to rule out any potential problems with the equipment.
- Restart Wi-Fi/Bluetooth: If the wireless connection is unstable, restart the Wi-Fi or Bluetooth features on your phone and the Optoma projector. This can help re-establish a more reliable connection.
- Consult User Manuals or Support: If you’ve tried troubleshooting on your own and still cannot establish a connection, refer to the user manuals for both your phone and the Optoma projector. Alternatively, reach out to the manufacturer’s support team for further assistance.
By following these troubleshooting tips, you can overcome common connectivity issues and ensure a successful connection between your phone and the Optoma projector. Remember, each situation can be unique, so don’t hesitate to explore further assistance if needed.
Conclusion
Connecting your phone to an Optoma projector allows you to enjoy a larger screen experience and share content with others. Whether you prefer a wired connection for reliability or wireless screen mirroring for convenience, the steps provided in this guide will help you establish a seamless connection.
Remember to check the compatibility between your phone and the Optoma projector before attempting to connect them. This ensures that you have the necessary technology and connections for a successful connection. Prepare your phone and projector by powering them on, connecting cables or enabling wireless features, and adjusting display settings.
If you opt for a cable connection, choose the appropriate cable for your phone and connect it to both the phone and the Optoma projector. Adjust the projector input and phone display settings, then start enjoying your content on the big screen.
If you prefer wireless screen mirroring, enable Wi-Fi or Bluetooth on both devices, pair them, and start mirroring your phone’s screen on the Optoma projector. Take advantage of the freedom to move around and present or enjoy content wirelessly.
If you encounter any issues during the connection process, refer to the troubleshooting tips provided to resolve common problems. Check cable connections, restart devices, update software, ensure a stable Wi-Fi or Bluetooth signal, or consult user manuals and support for further assistance.
By following these steps, you can confidently connect your phone to an Optoma projector and enhance your viewing or presentation experience. Enjoy the immersive visuals and share your content with others on the big screen.