Introduction
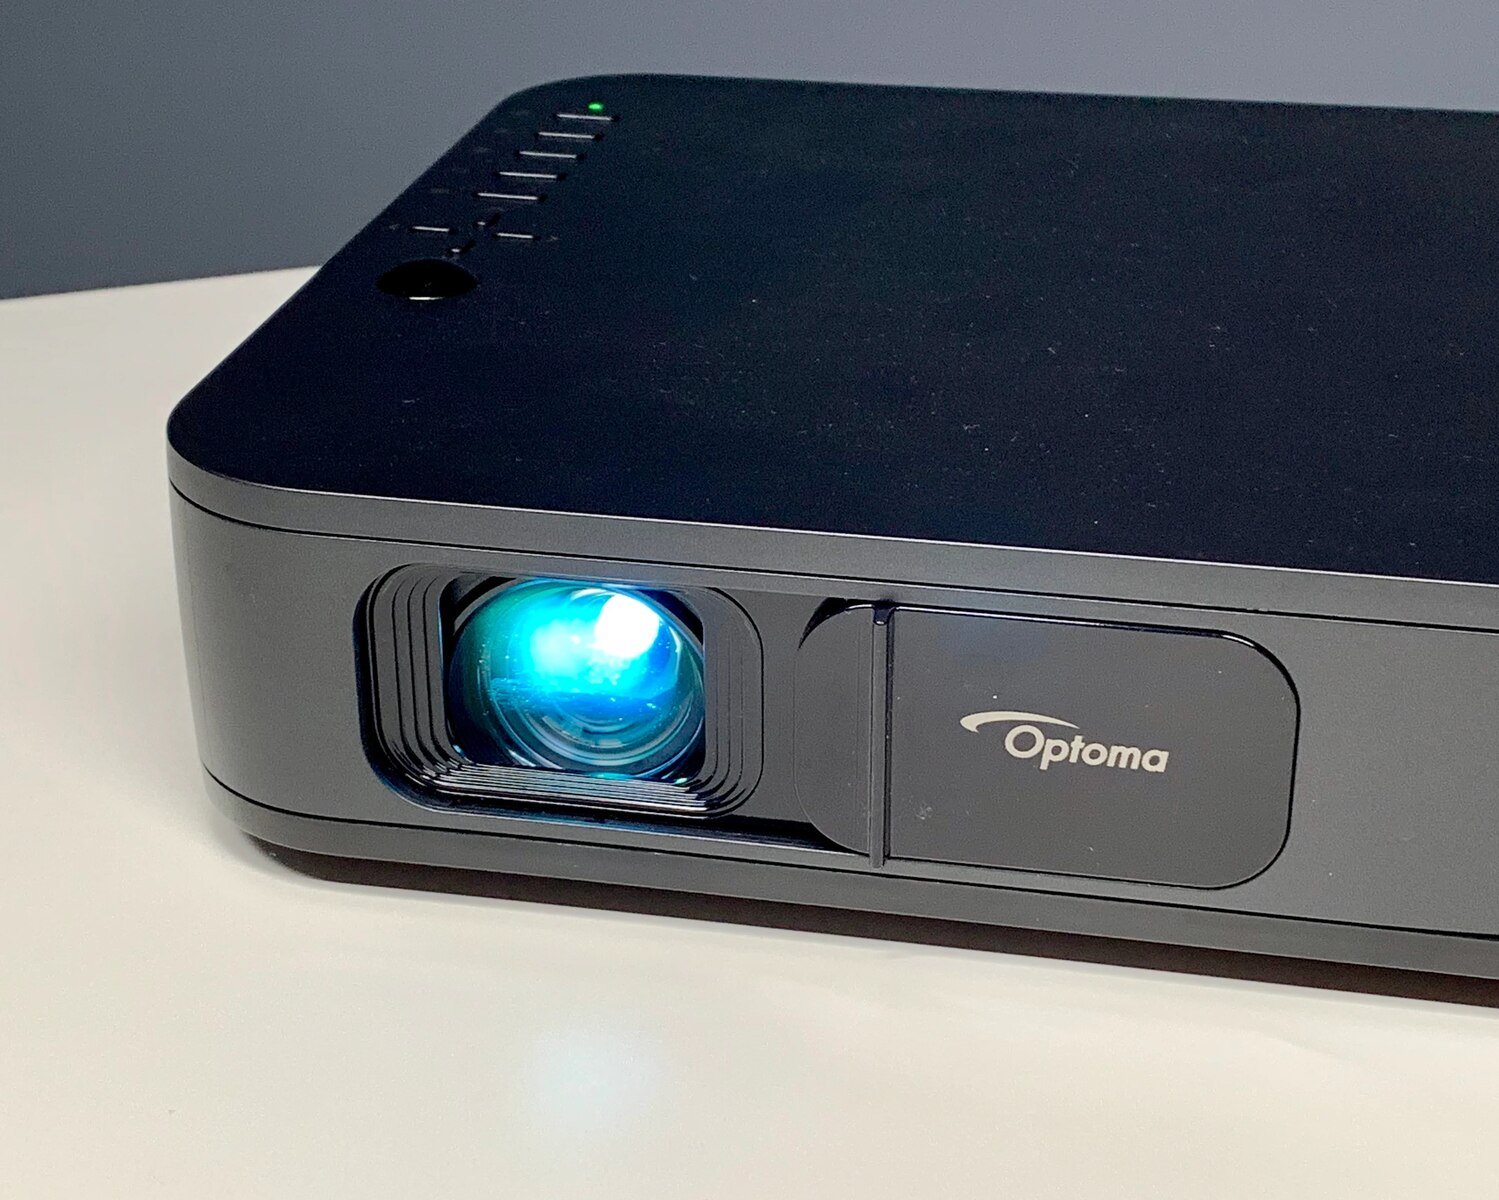
Are you struggling to flip the image on your Optoma projector? Well, you have come to the right place. In this article, we will walk you through the step-by-step process of flipping the image on your Optoma projector, ensuring that you can enjoy your presentations, movies, or games with the correct orientation.
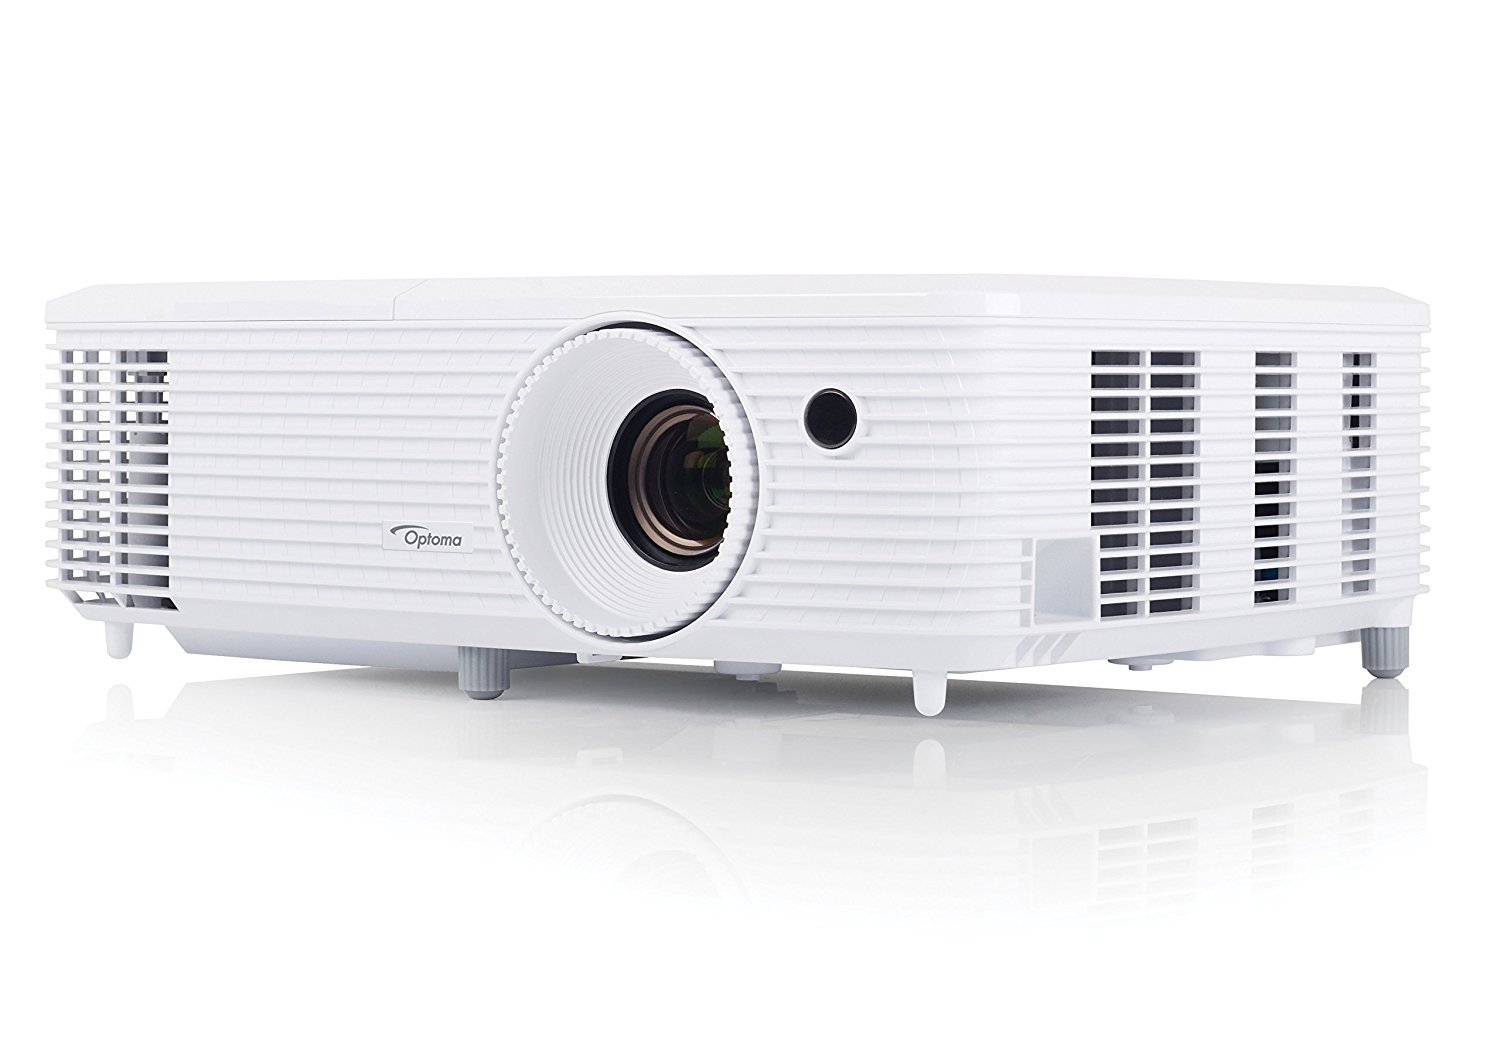
Optoma projectors are known for their high-quality visuals and versatile features, making them a popular choice for home theaters, classrooms, and business presentations. However, if the image is displaying upside down or reversed, it can be quite frustrating. Thankfully, flipping the image on an Optoma projector is a simple task that can be easily done with a few adjustments in the projector settings.
Whether you are a tech-savvy professional or a casual user, our guide will provide you with the necessary steps to flip the image on your Optoma projector. So, grab your projector remote and let’s get started!
Understanding the Optoma Projector
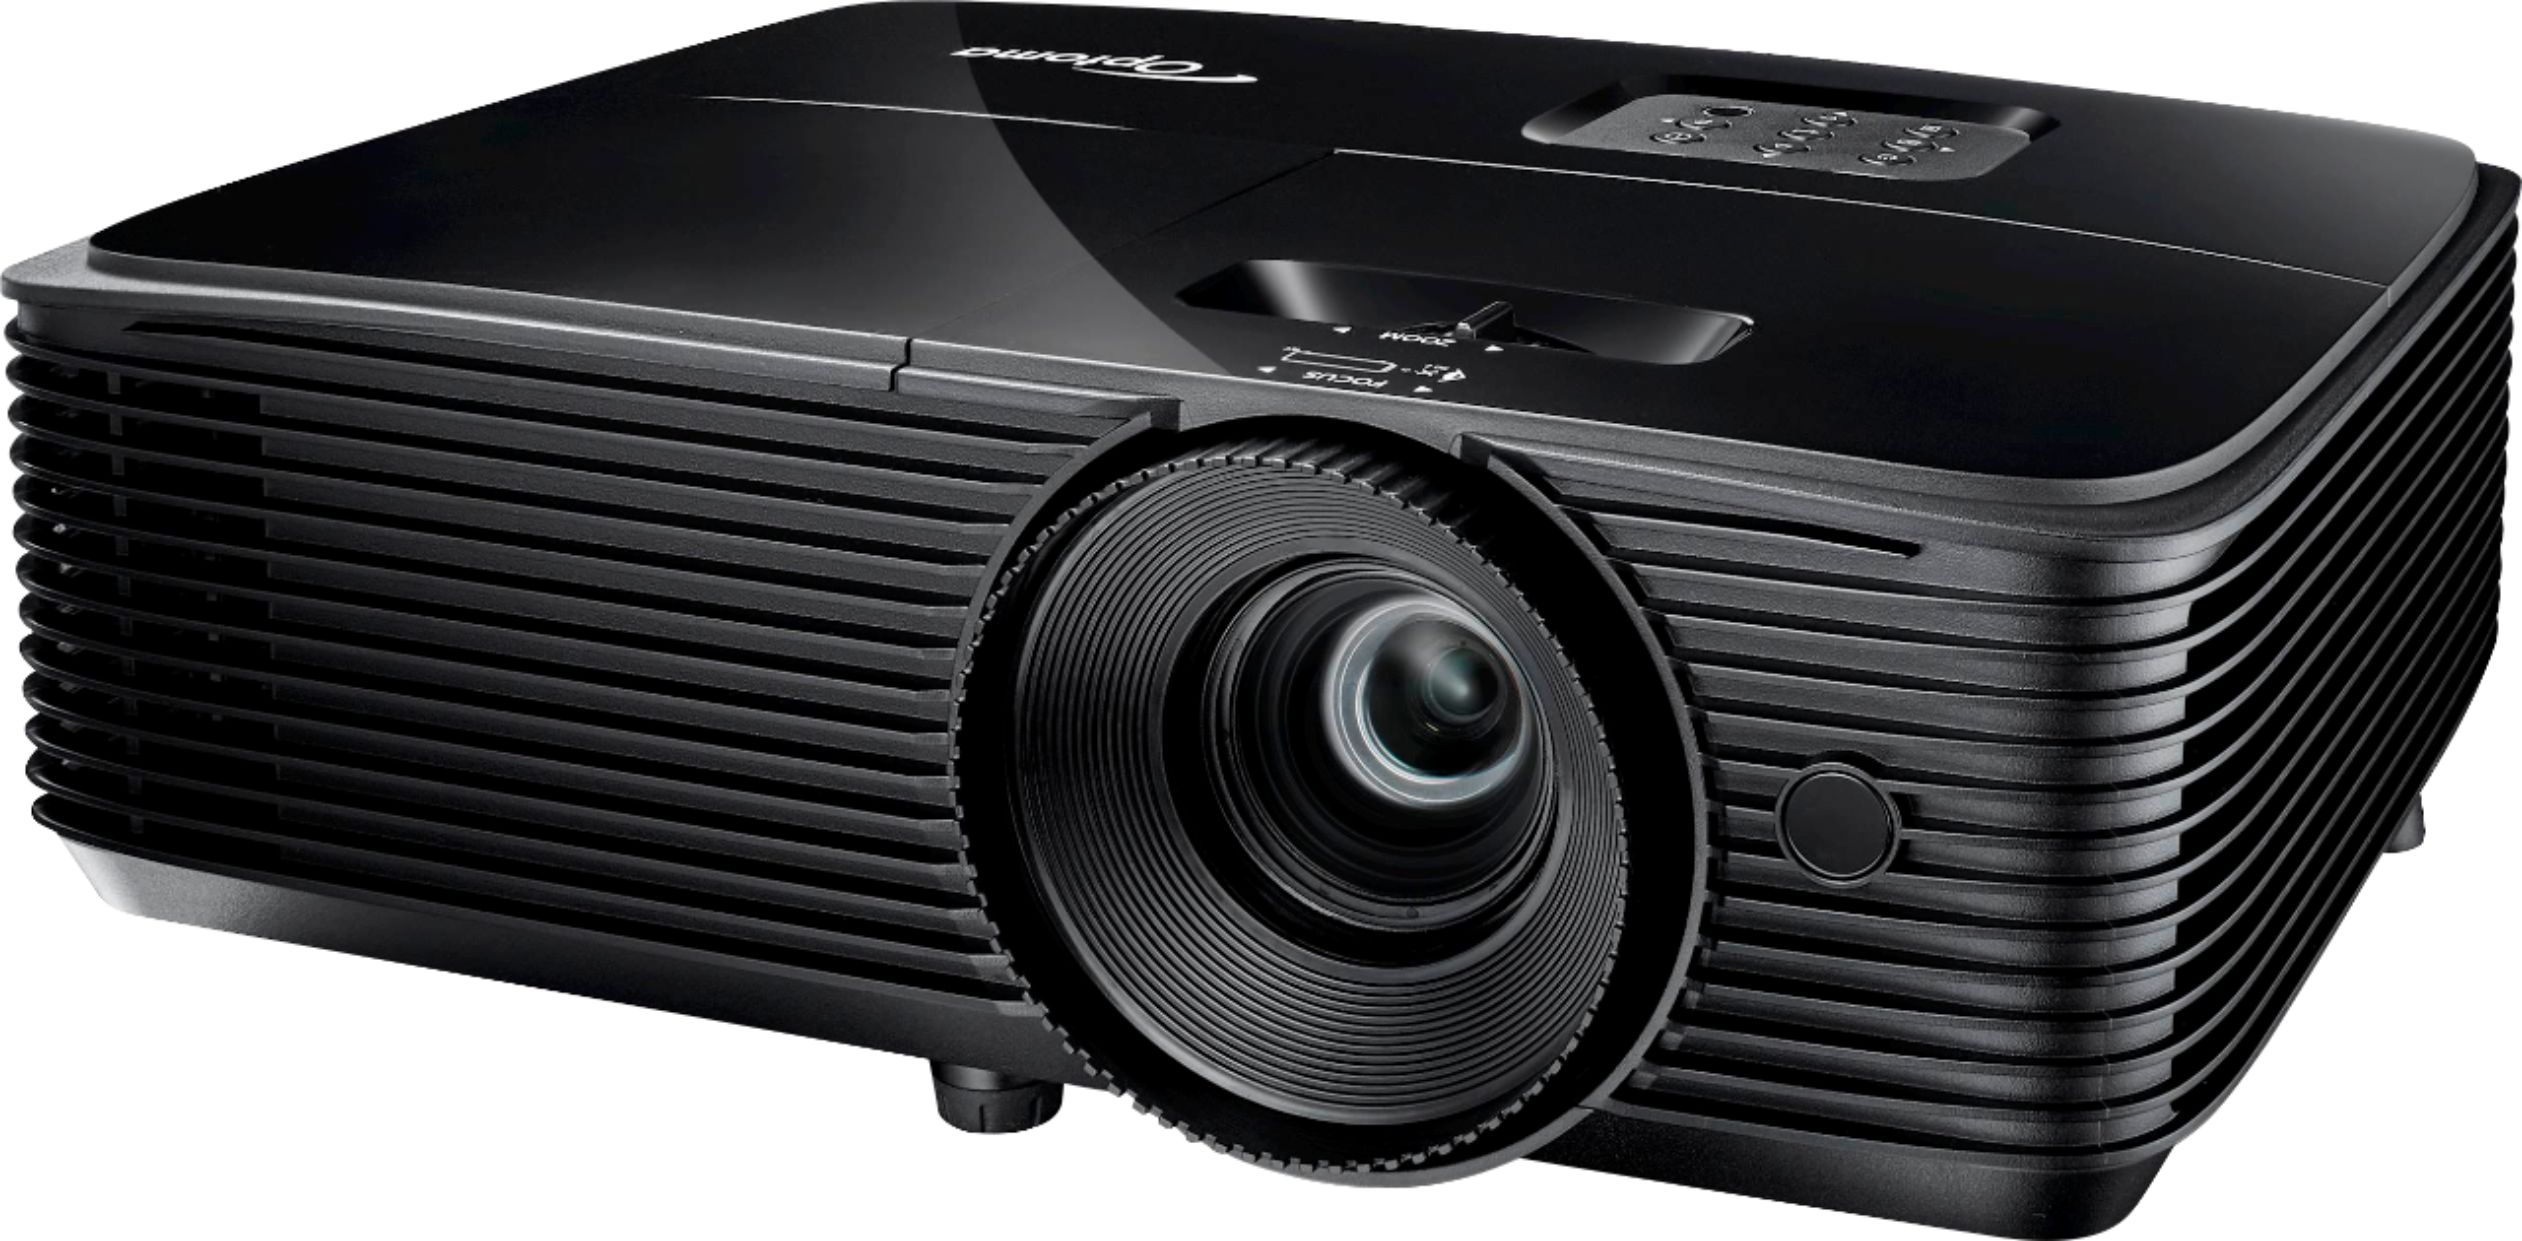
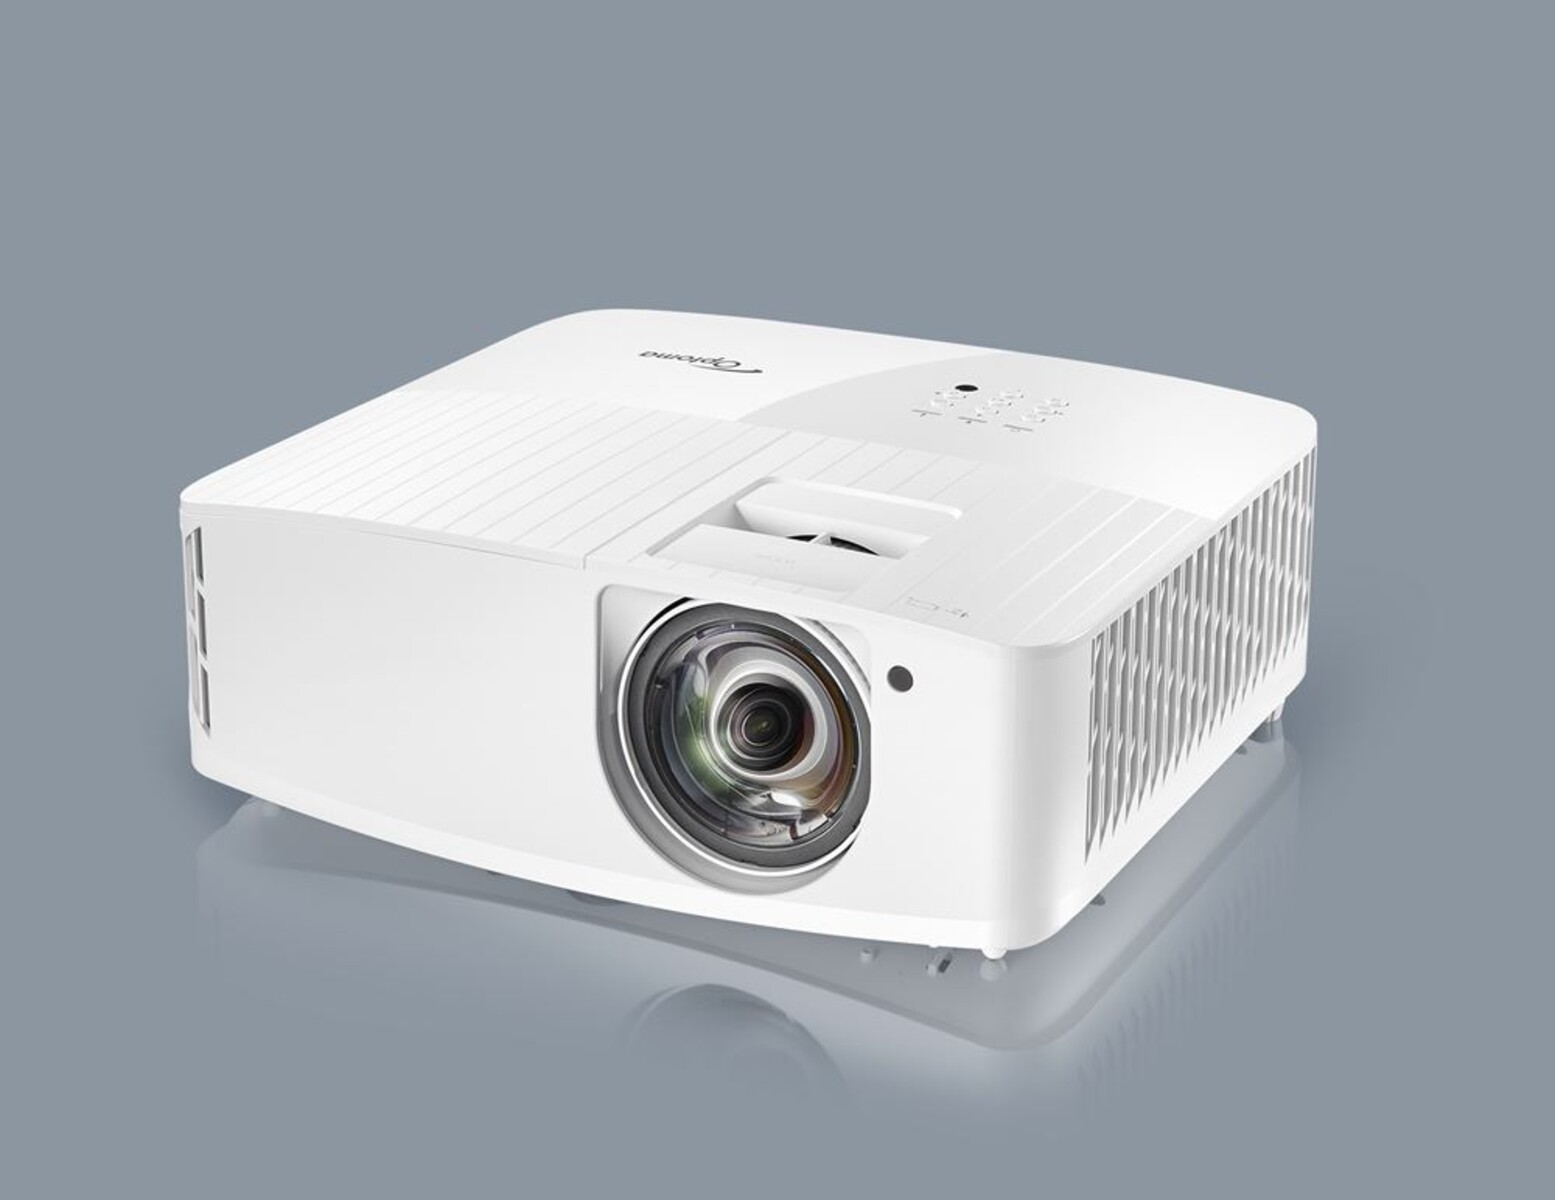
Before delving into the process of flipping the image on your Optoma projector, it’s important to familiarize yourself with the basic components and features of the projector. This understanding will not only make the troubleshooting process easier but also help you navigate through the projector settings more confidently.
The Optoma projector is equipped with various inputs and outputs that allow you to connect different devices such as laptops, gaming consoles, and DVD players. These inputs typically include HDMI, VGA, USB, and audio connections. Ensure that your input device is properly connected to the corresponding input port on the projector.
Additionally, Optoma projectors have an on-screen menu system that can be accessed through the remote control or control panel on the projector. This menu system provides a range of options to customize the projector settings, including image orientation, aspect ratio, brightness, and contrast. Understanding how to navigate this menu system is crucial for adjusting the image settings as needed.
Another important aspect to consider is the type of projection technology used in your Optoma projector. Optoma projectors utilize various technologies such as DLP (Digital Light Processing) or LCD (Liquid Crystal Display). Each technology offers unique advantages and may have slightly different settings, so it’s essential to consult the user manual or the manufacturer’s website for specific instructions regarding image adjustments.
Lastly, it’s worth mentioning that Optoma projectors come in different models, each with its specific features and capabilities. While the basic steps for flipping the image remain consistent, there might be slight variations in the menu options or remote control layout. Therefore, it’s advisable to refer to the user manual or online resources for your specific projector model for precise instructions.
Now that you have a better understanding of the Optoma projector and its key features, let’s proceed to the step-by-step process of flipping the image and resolving any orientation issues you might encounter.
Steps to Flip Image on Optoma Projector
Flipping the image on your Optoma projector is a straightforward process. Follow the steps below to ensure that your image is correctly oriented:
- Start by turning on your Optoma projector and allowing it to warm up.
- Locate the remote control that came with your projector. If you can’t find it, check if there are any accessible control buttons on the projector itself.
- Press the “Menu” button on the remote control or the control panel to access the projector’s menu system.
- Use the navigation buttons, typically labeled with arrows or a joystick, to scroll through the menu options until you find the “Settings” or “Options” menu.
- Within the “Settings” or “Options” menu, look for the “Image” or “Display” sub-menu.
- In the “Image” or “Display” sub-menu, you should find an option called “Orientation,” “Flip,” or “Invert.” Select this option.
- Once you’ve selected the “Orientation,” “Flip,” or “Invert” option, you will see a list of image orientation settings such as “Normal,” “Ceiling,” “Front,” or “Rear.” Choose the one that best fits your setup.
- After selecting the desired orientation, press the “Enter” or “OK” button to save the changes.
- Exit the menu system and check if the image is now correctly flipped on the projector screen. If needed, make further adjustments until you achieve the desired orientation.
It’s important to note that the specific menu names and options may vary depending on your Optoma projector model. Refer to the user manual or manufacturer’s website for precise instructions tailored to your particular projector.
If you’re still encountering issues with the image orientation after following these steps, double-check the input source connections and ensure that they are securely plugged into the appropriate ports. Sometimes, a loose or incorrect connection can cause image display problems.
Remember to take note of any changes you make to the projector settings, as this will help you revert to the default settings or troubleshoot any further issues in the future.
Troubleshooting Tips
If you’re still experiencing difficulties with flipping the image on your Optoma projector, don’t worry! Here are some troubleshooting tips to help you resolve the issue:
- Ensure that the projector and the input device are both powered on and connected properly. Double-check the cables and ensure they are securely plugged in.
- Verify that the input source on the projector matches the device you are trying to display. For example, if you are connecting a laptop via HDMI, ensure that the projector is set to the HDMI input.
- Try restarting both the projector and the input device. Sometimes, a simple reboot can resolve minor connectivity or configuration issues.
- Check if there are any firmware updates available for your Optoma projector. Updating the firmware can improve compatibility and fix software-related issues.
- Review the user manual or the manufacturer’s website for any specific troubleshooting information related to your projector model. It may provide specific solutions for common problems.
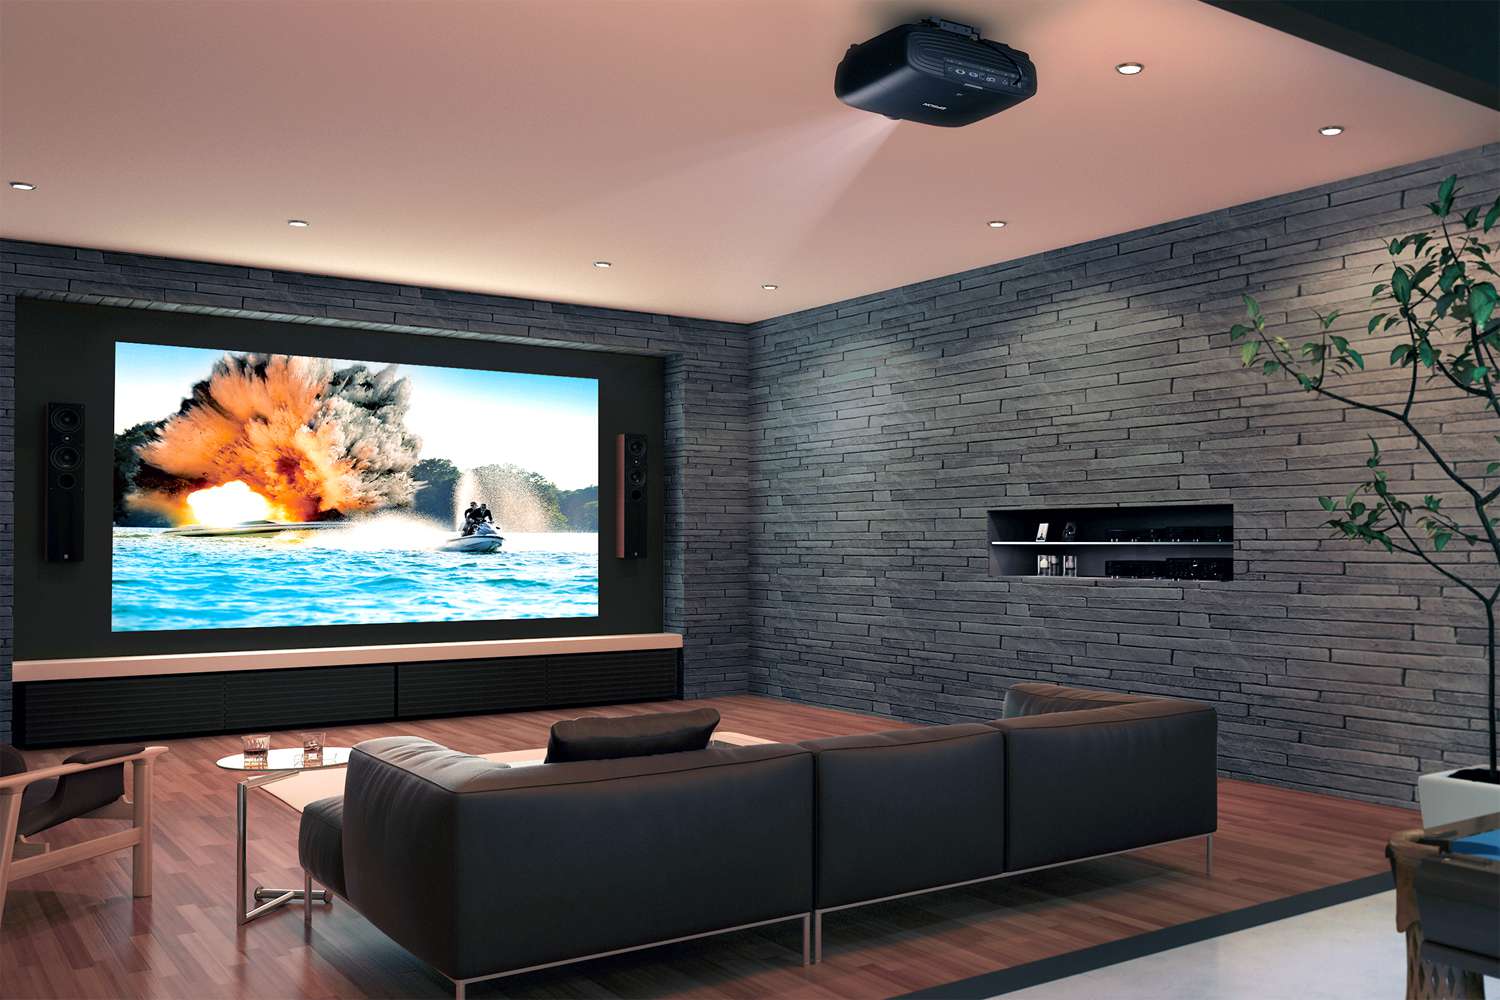
- If you are using a ceiling-mounted projector, make sure that the orientation settings are adjusted correctly. Ceiling-mounted projectors often require flipping the image to display correctly on a downward projection.
- Inspect the projection surface for any irregularities or obstructions that may affect the image. Sometimes, uneven surfaces or objects in the projection path can cause distortion or misalignment.
- Consider resetting the projector to its factory settings. This can be done through the projector’s menu system under the “Settings” or “Options” section. However, be aware that performing a factory reset will revert all settings to their default values.
- If none of the above troubleshooting tips work, reach out to Optoma’s customer support or consult with a professional technician who specializes in projector repairs.
Remember to always exercise caution and follow the recommended procedures when troubleshooting your Optoma projector. If you are unfamiliar or uncomfortable with making adjustments, it’s best to seek professional assistance to avoid any unintended damage.
By following these troubleshooting tips, you should be able to overcome most common issues and successfully flip the image on your Optoma projector.
Conclusion
Flipping the image on your Optoma projector is a simple process that can be done through the projector’s menu settings. By following the steps outlined in this guide, you can easily adjust the image orientation to ensure that it is displayed correctly on your projector screen.
Understanding the key components and features of your Optoma projector, such as the input connections, menu system, and projection technology, is essential in troubleshooting and making the necessary adjustments to flip the image.
If you encounter any issues while flipping the image, you can refer to the troubleshooting tips provided to help you identify and resolve the problem. Remember to check the input source connections, restart the projector and input device, and consult the user manual or manufacturer’s website for model-specific guidance.
Always exercise caution when adjusting the projector settings, and if you’re unsure or uncomfortable with making any changes, it’s best to seek professional assistance.
With the ability to flip the image on your Optoma projector, you can now enjoy seamless and properly oriented visuals for your presentations, movies, and gaming experiences.
By following these guidelines and troubleshooting tips, you can confidently navigate the settings of your Optoma projector and ensure that the image displayed is precisely as you desire.
So go ahead, grab your remote control, make the necessary adjustments, and enjoy the best viewing experience on your Optoma projector!


