Introduction
In today’s digital age, projectors have become an essential tool for presentations, movie nights, and even gaming. Connecting a cable wire to a projector is a fundamental step in setting up your audiovisual system. Whether you’re a novice or an experienced user, learning how to connect a cable wire to a projector is a simple process that can significantly enhance your viewing experience.
By connecting a cable wire to your projector, you can display images, videos, and presentations from various sources, such as laptops, DVD players, or gaming consoles, onto a large screen. This enables you to enjoy a more immersive and visually captivating experience.
In this guide, we will walk you through the step-by-step process of connecting a cable wire to your projector. Whether you’re using an HDMI cable, VGA cable, or any other type of cable, this guide will provide you with the necessary instructions to ensure a successful connection.
Before we begin, it’s important to note that the specific steps may vary slightly depending on the make and model of your projector. However, the general principles outlined in this guide should apply to most projectors.
Now, let’s dive into the process of connecting a cable wire to your projector and unlock the full potential of your audiovisual setup. By following these steps, you’ll be able to enjoy high-quality visuals on a larger screen and take your viewing experience to new heights.
Step 1: Gather the necessary equipment
Before you begin connecting the cable wire to your projector, it’s essential to gather all the necessary equipment. Having the right tools at hand will ensure a smooth and hassle-free setup process. Here’s what you’ll need:
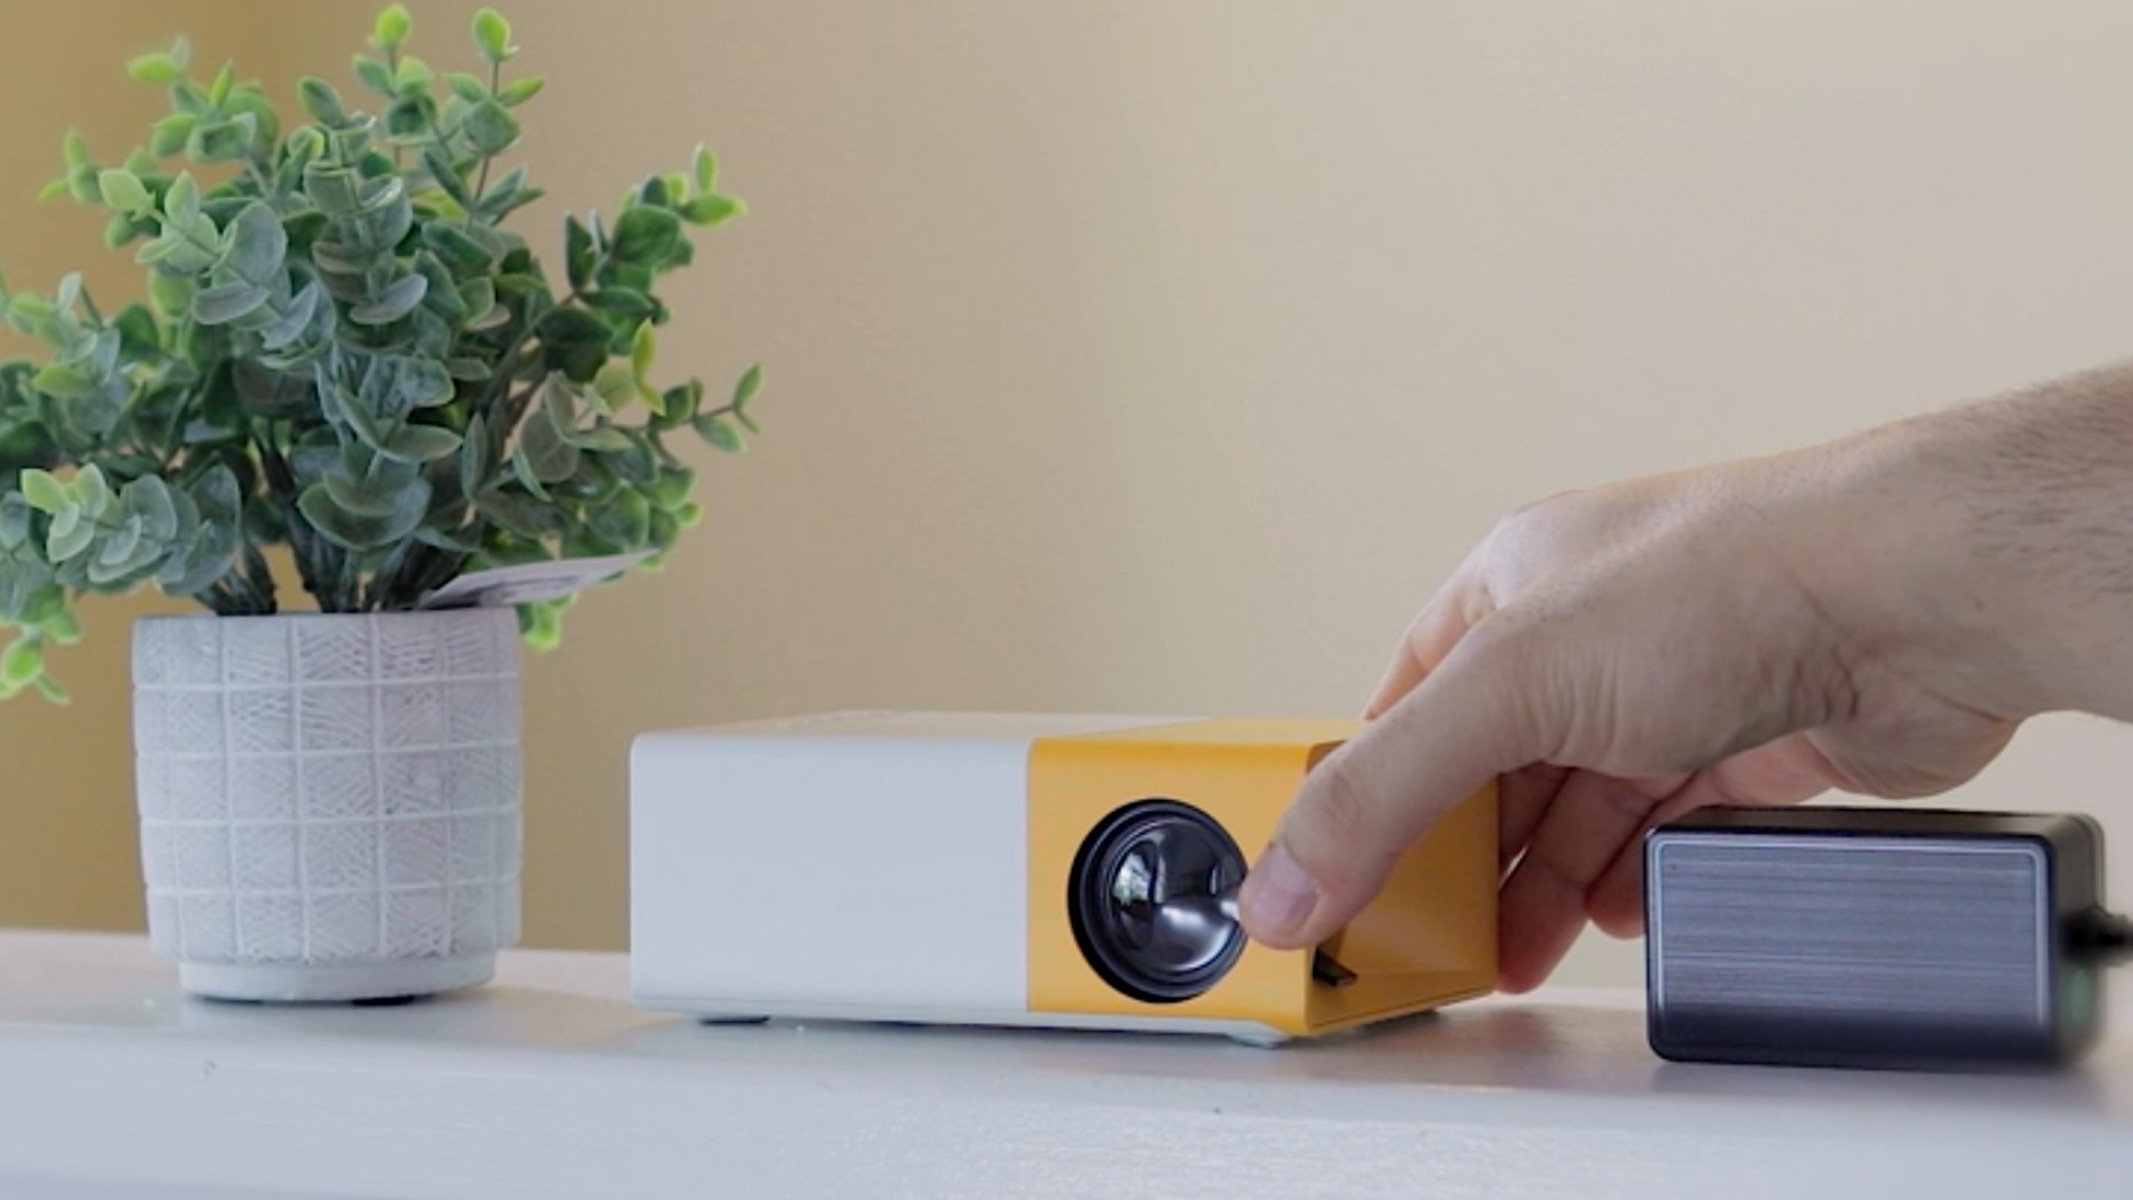
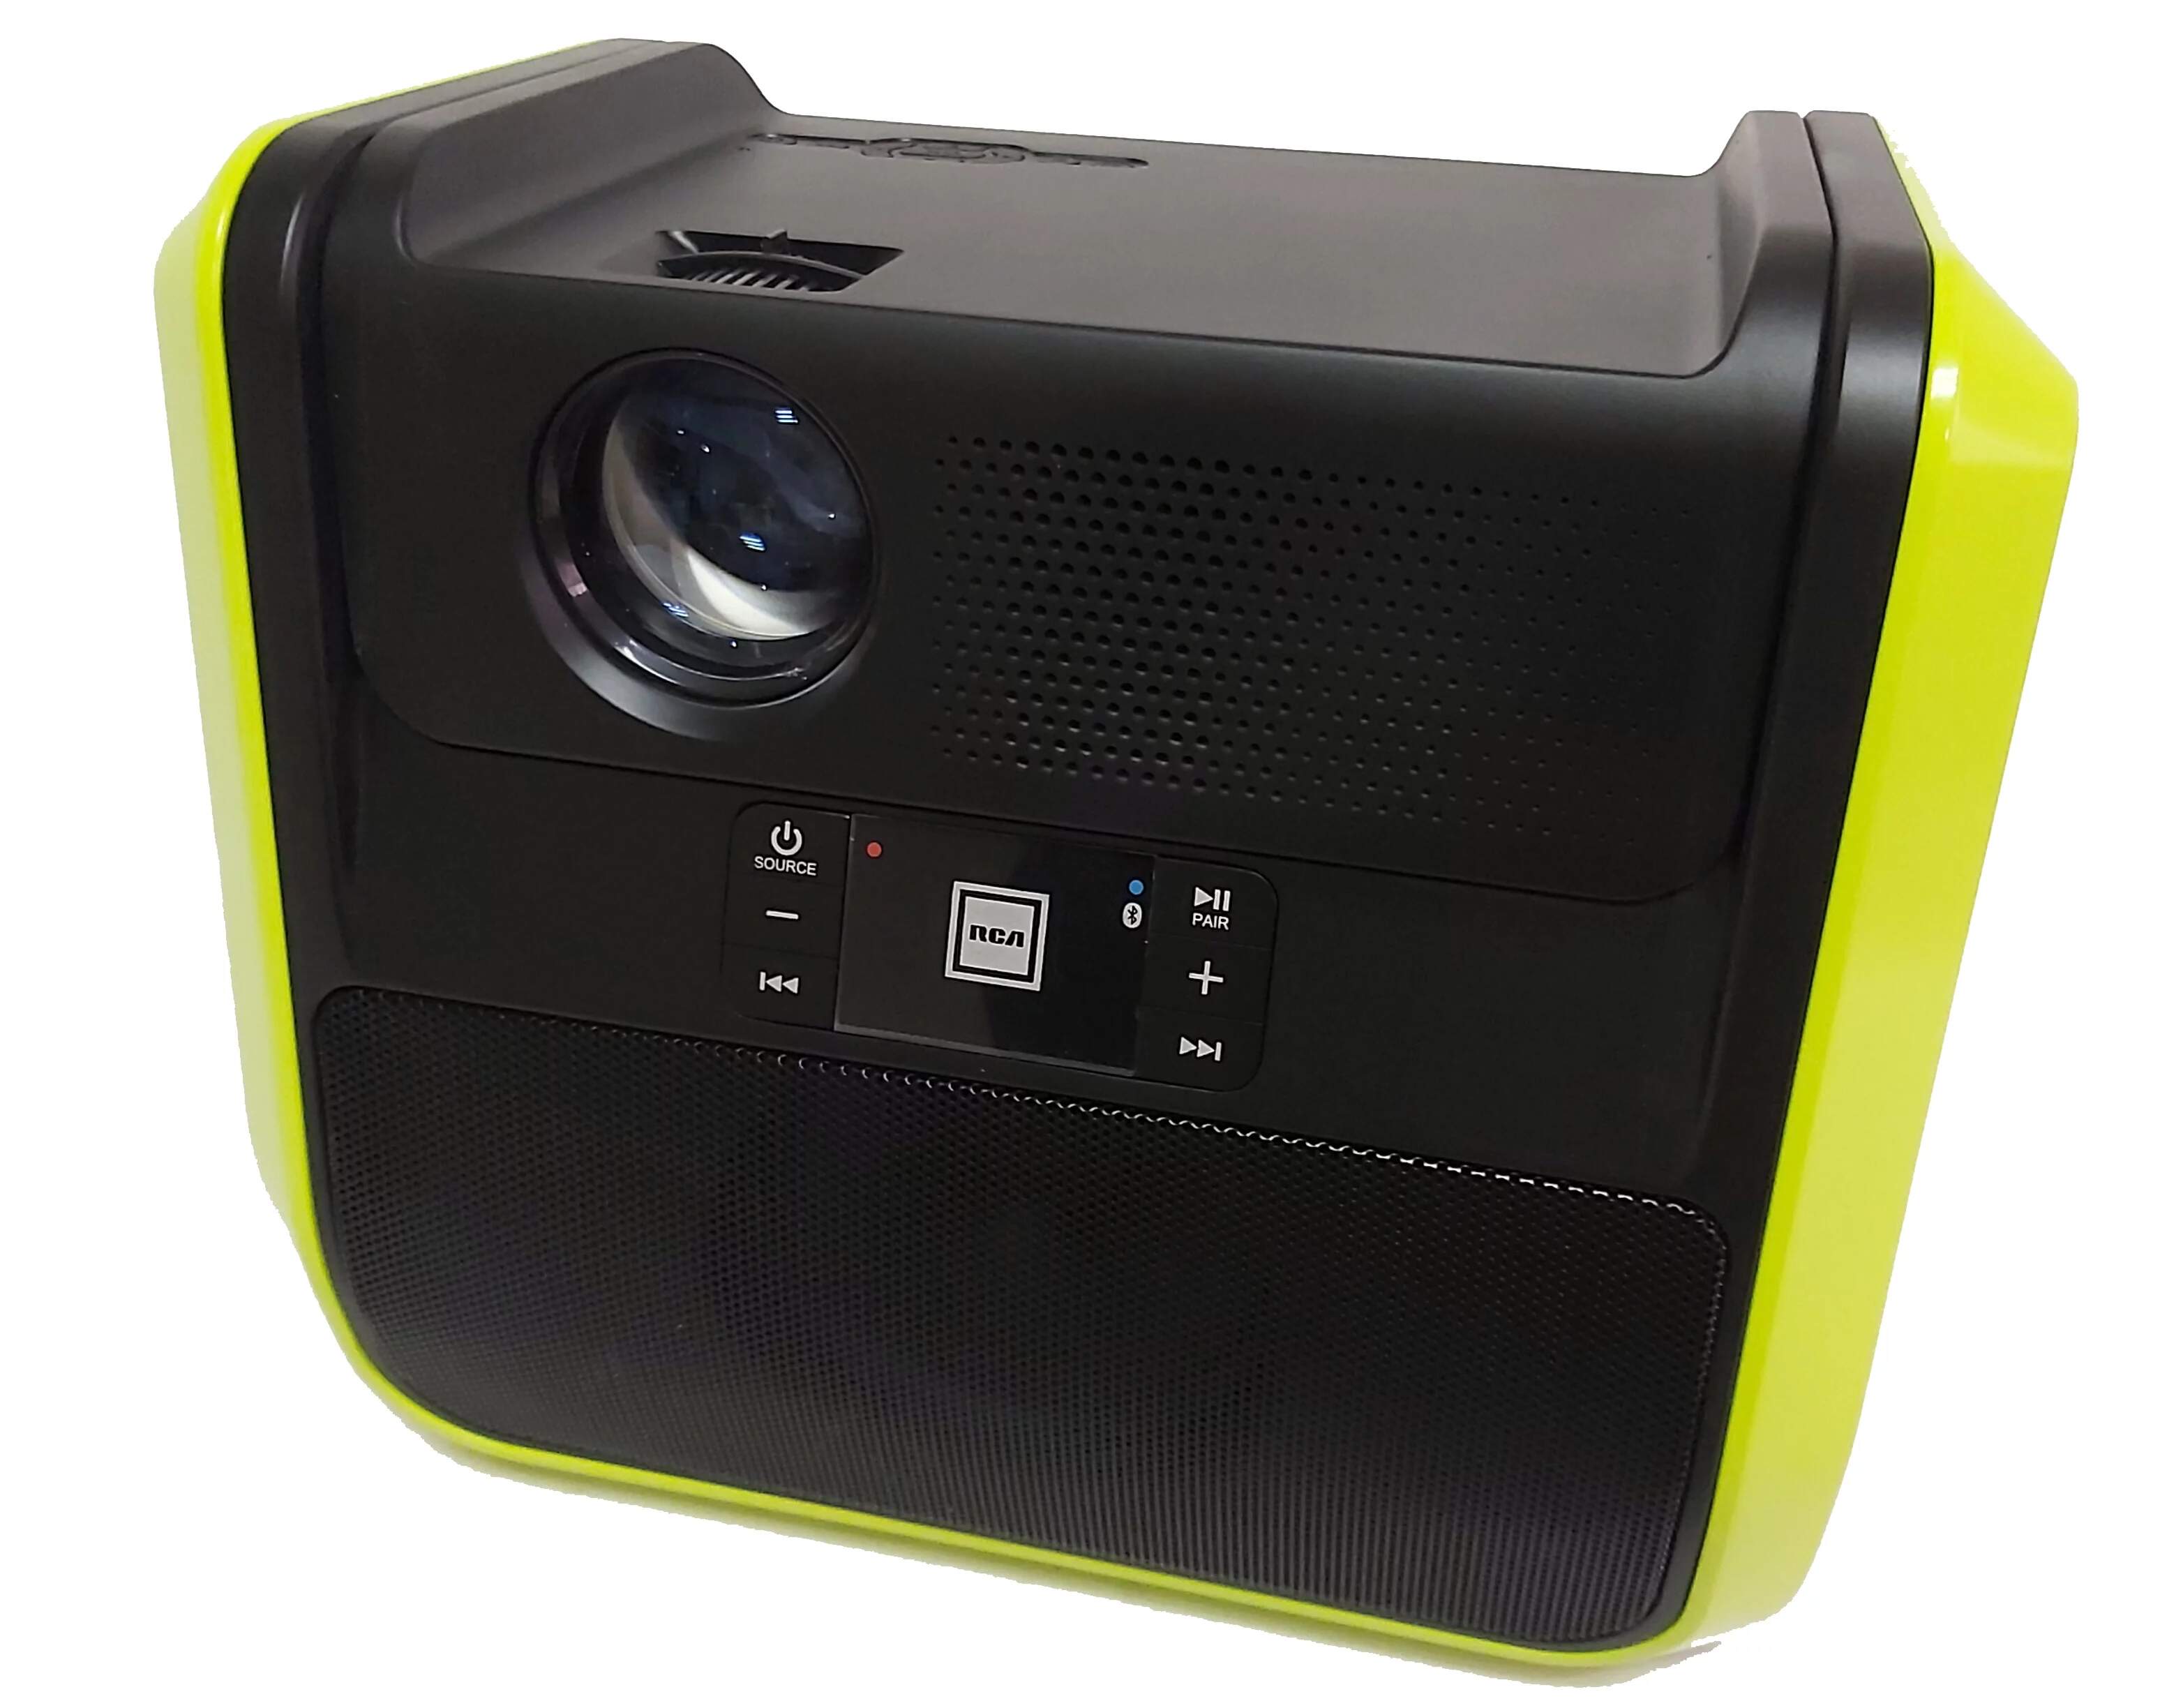
- Projector: Of course, you’ll need the projector itself. Make sure it is in good working condition and has all the necessary ports for connecting the cable wire.
- Cable wire: Depending on your projector and the device you will be connecting to it, you may need an HDMI cable, VGA cable, or any other type of cable. Ensure that you have the appropriate cable for your specific setup.
- Video source: This refers to the device that will be providing the audio and video signal to the projector. It could be a laptop, DVD player, gaming console, or any other device with video output capabilities.
- Power cables: Make sure to have the necessary power cables for both the projector and the video source. This will ensure that both devices are properly powered during the setup process.
- Remote control (optional): If your projector comes with a remote control, have it ready as it can make navigating the settings much easier. However, if you don’t have the remote control, don’t worry. You can still follow the rest of the steps using the controls on the projector itself.
- User manual: While not necessarily a physical tool, having the user manual for your projector at hand can be incredibly helpful. It will provide specific instructions and troubleshooting tips for your specific model.
By ensuring that you have all these tools ready before starting the setup process, you’ll be able to complete the cable wire connection smoothly and without any interruptions.
Step 2: Identify the input ports on your projector
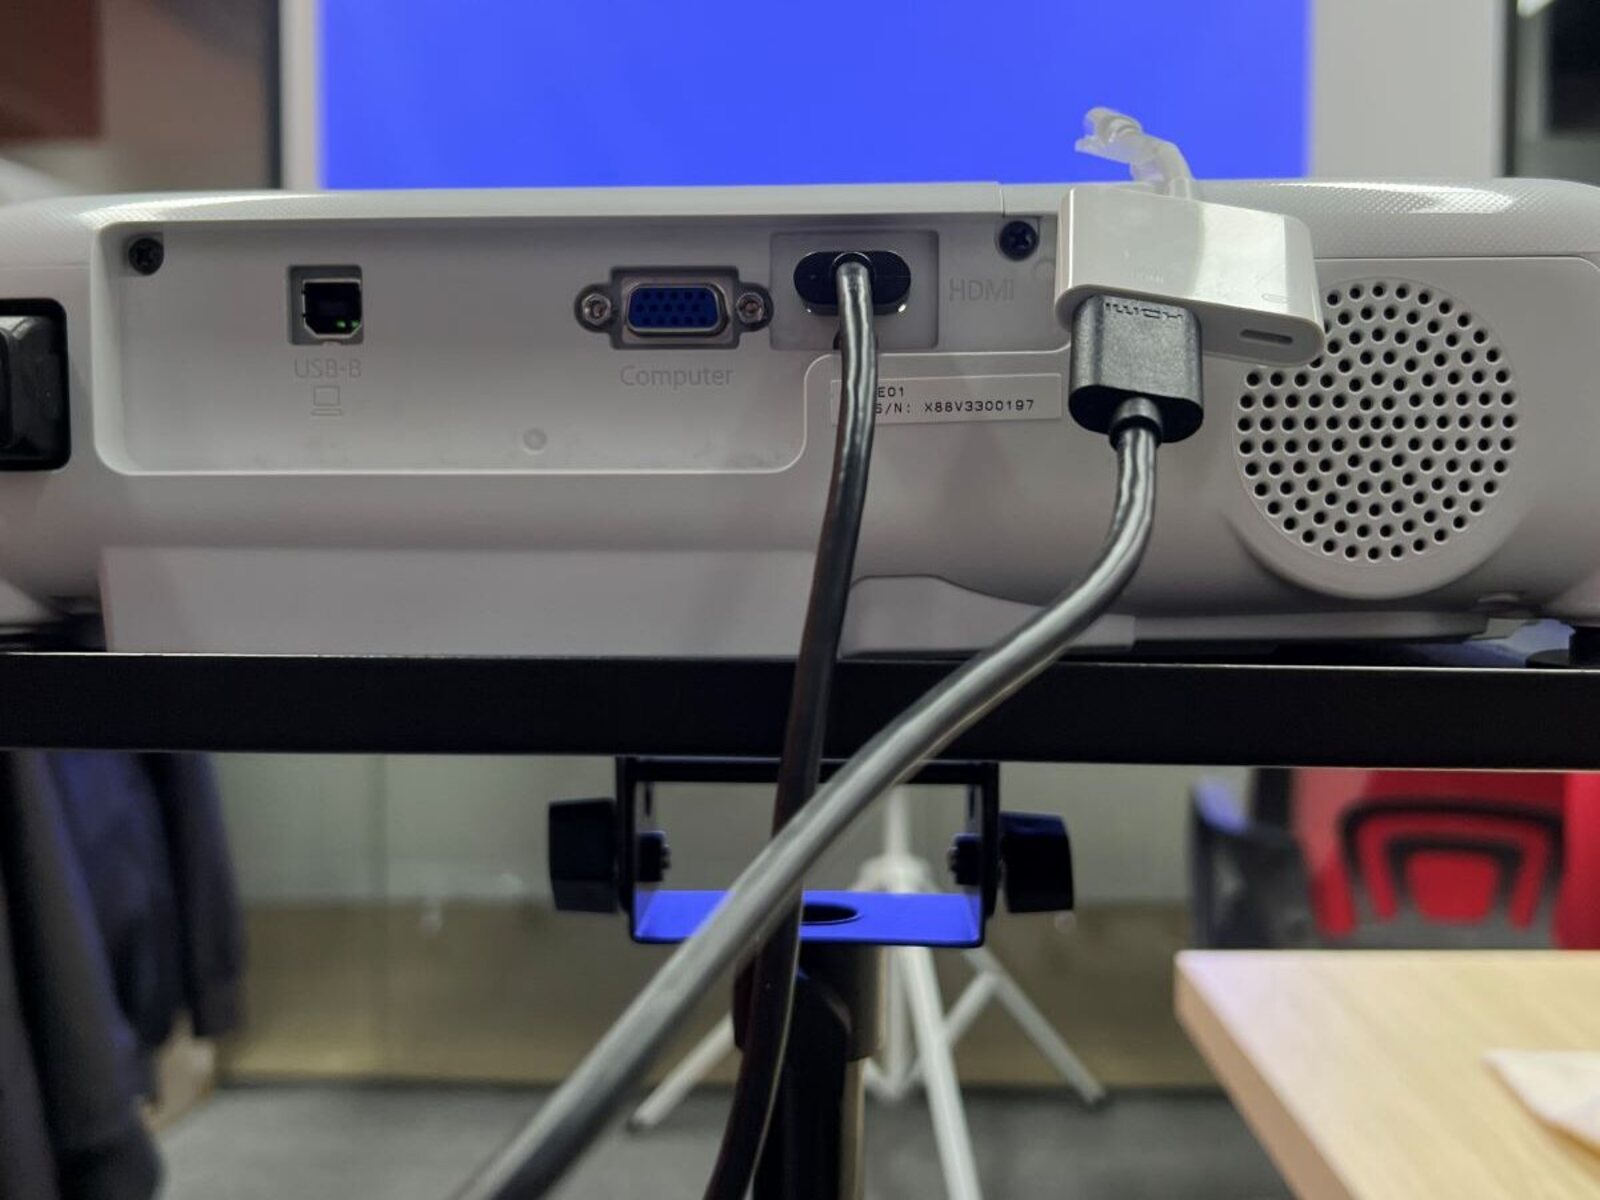
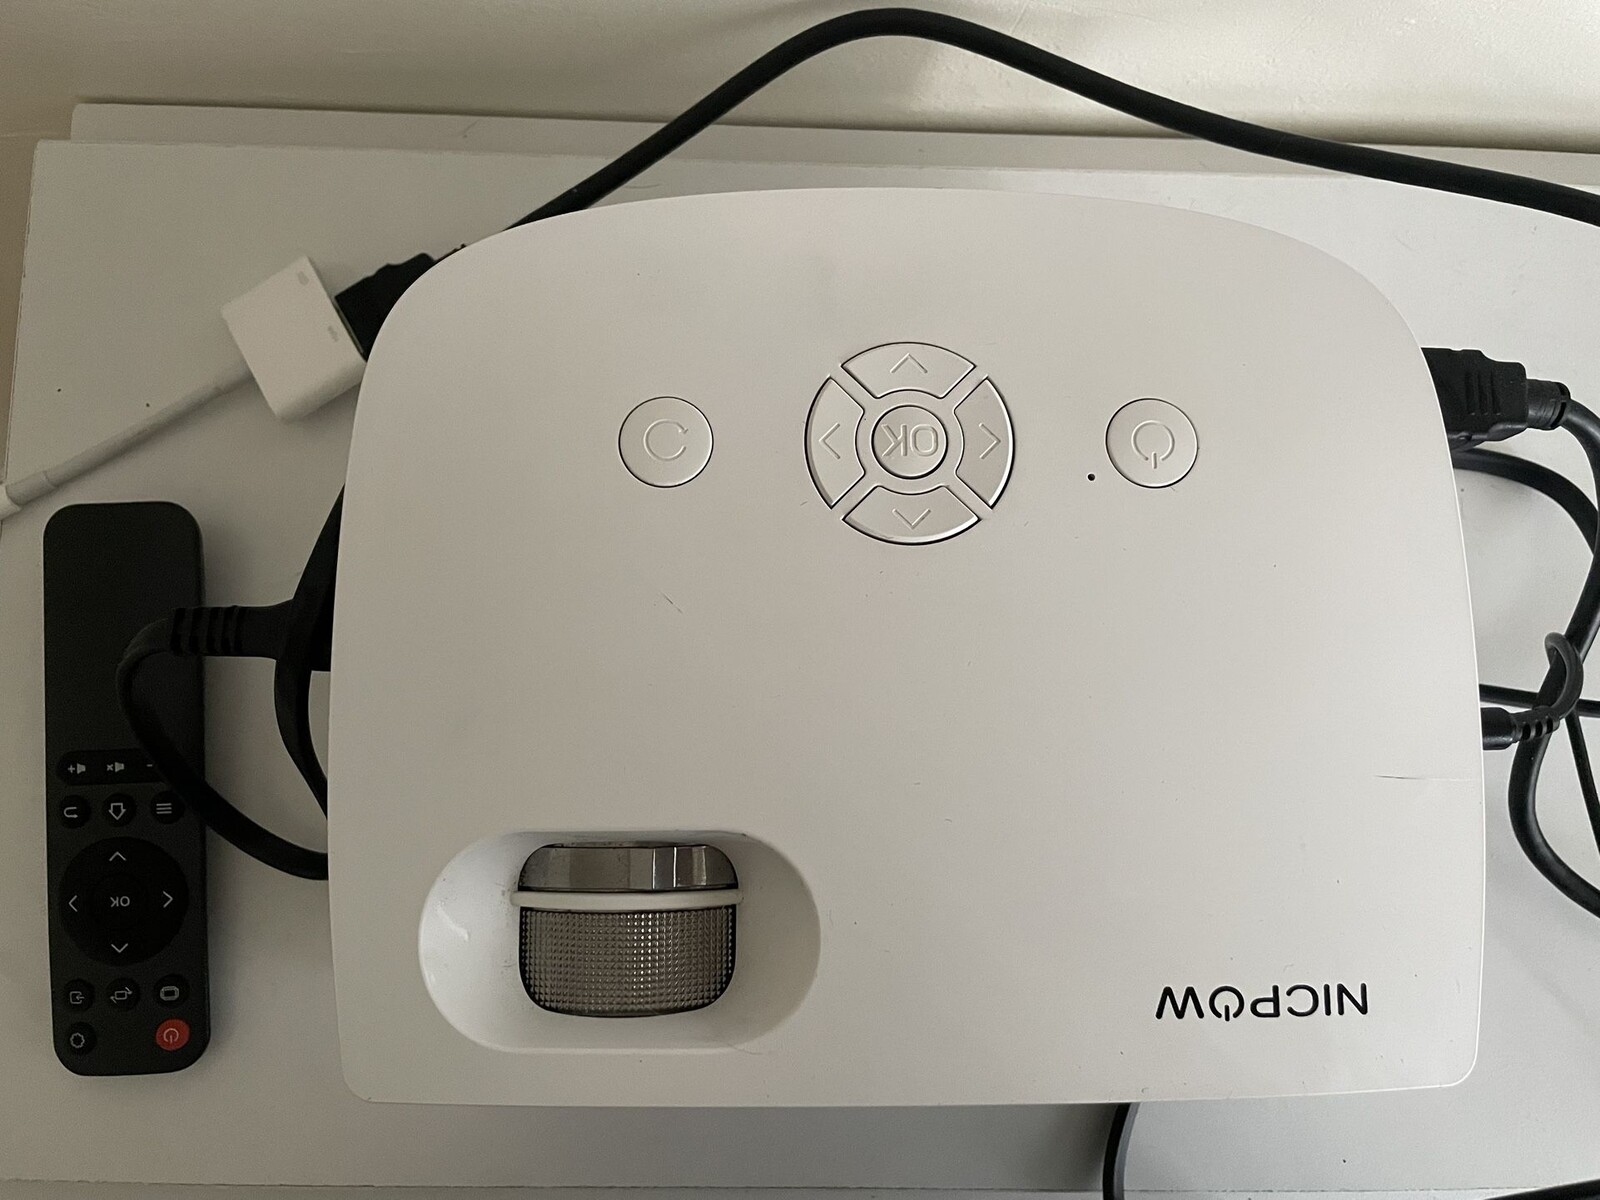
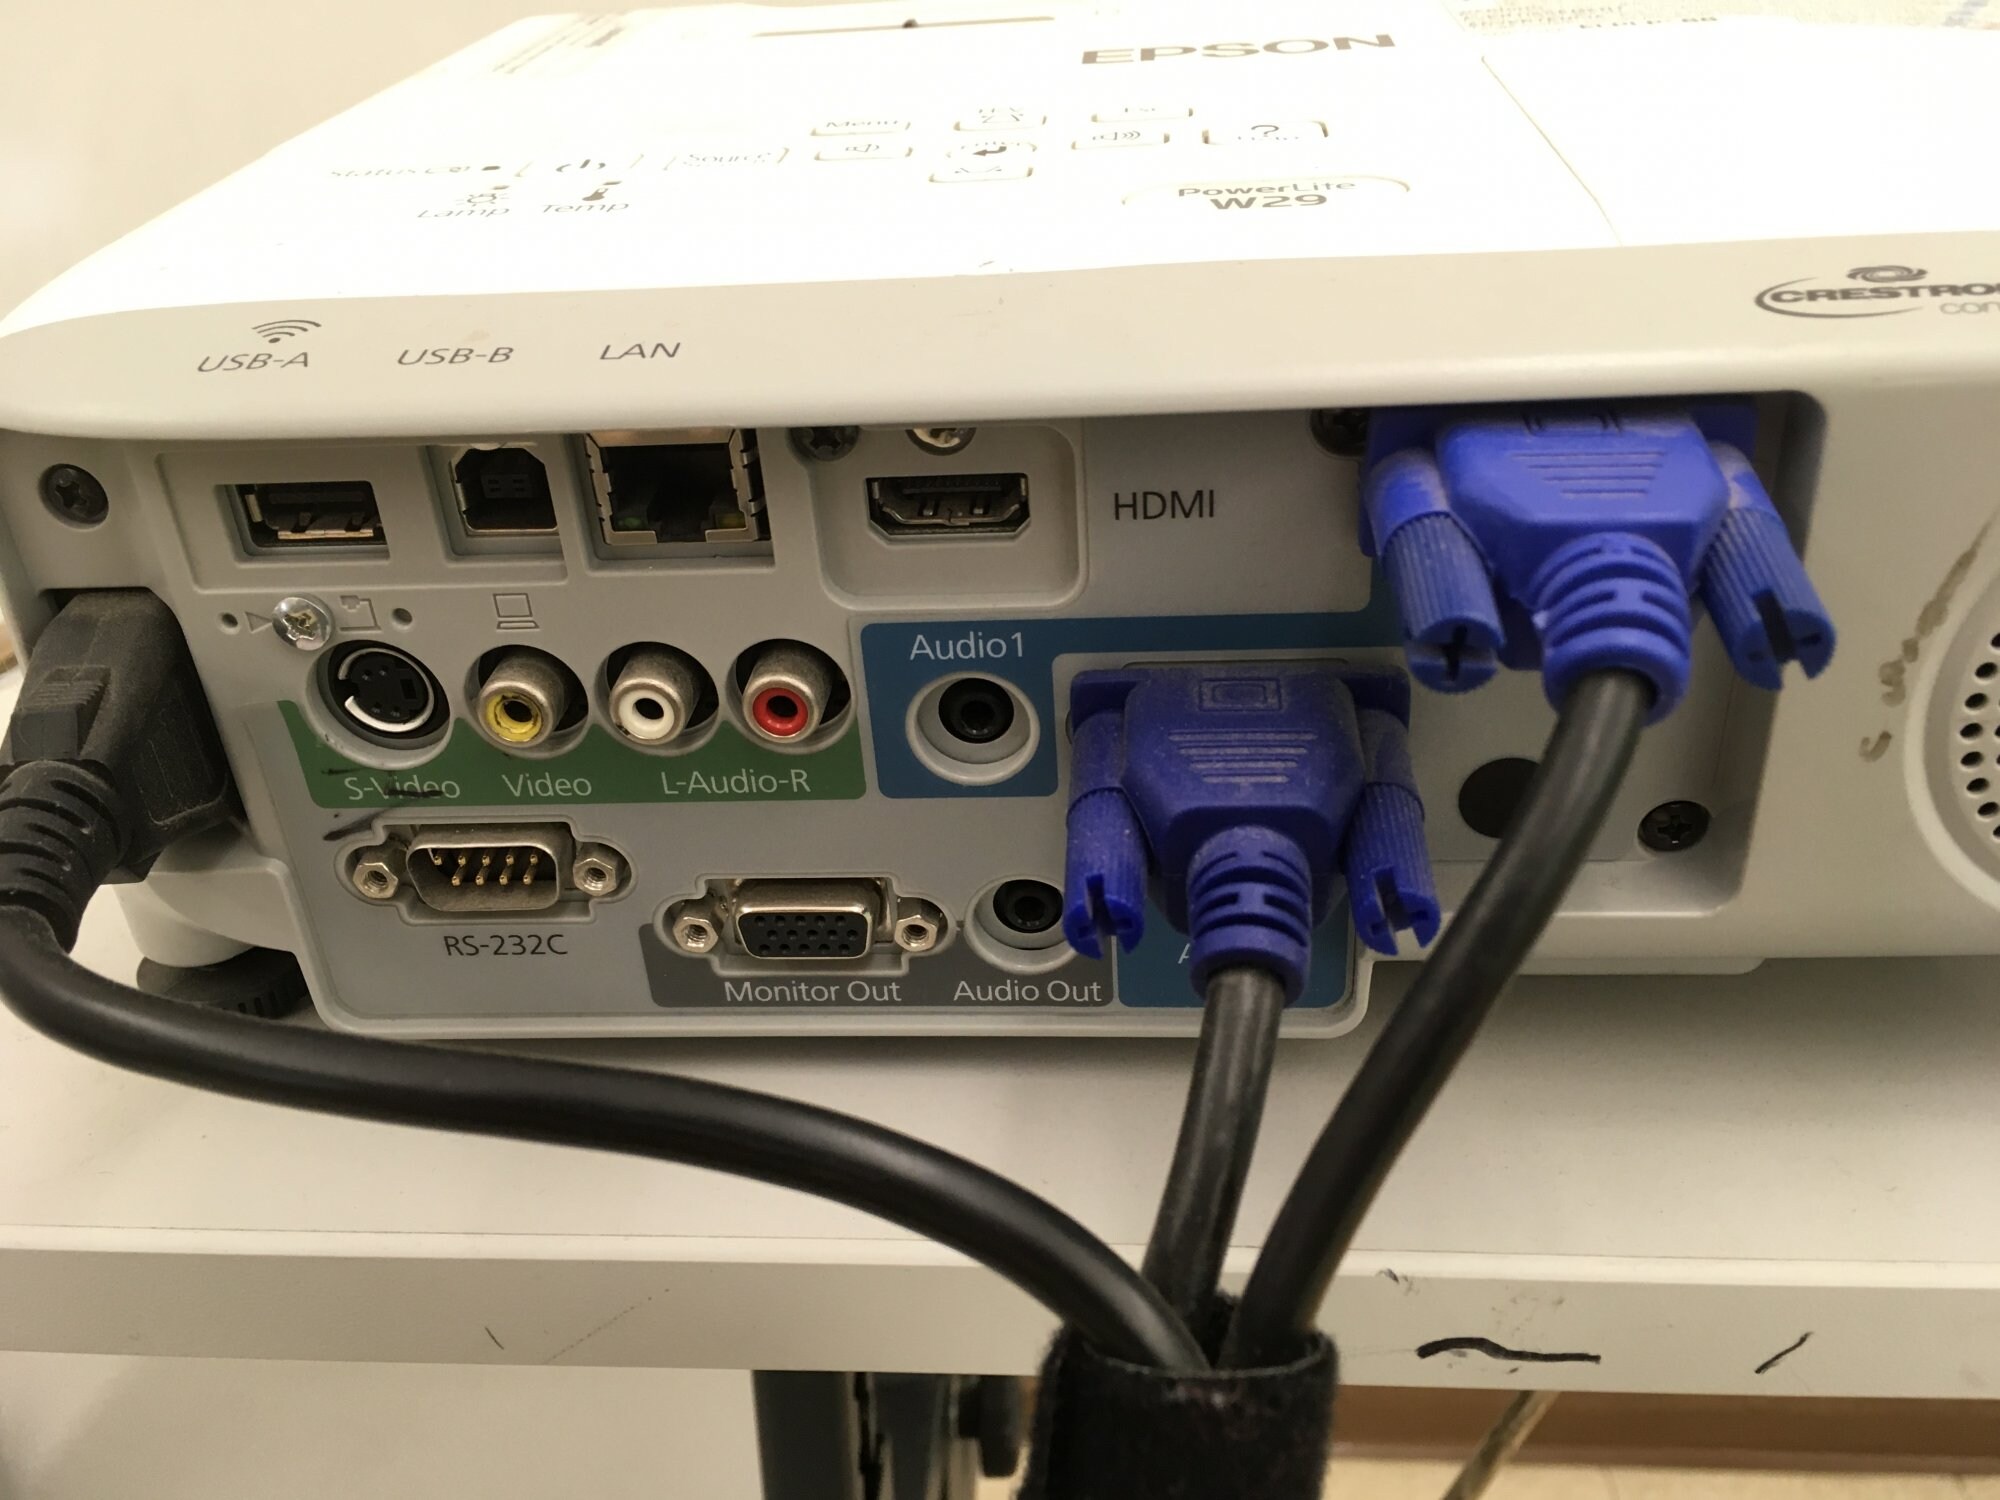
Before you can connect the cable wire to your projector, you need to identify the input ports on the projector itself. These input ports are where you will plug in the cable wire to establish the connection. The location and types of input ports may vary depending on the make and model of your projector, but here are some common types of ports you might encounter:
- HDMI port: HDMI (High-Definition Multimedia Interface) port is commonly found on projectors. It provides high-quality audio and video transmission in a single cable. HDMI ports are typically rectangular in shape and labeled “HDMI”.
- VGA port: VGA (Video Graphics Array) port is another commonly used port on projectors. It is a standard analog connection for transmitting video signals. VGA ports have 15 pins arranged in three rows and are often labeled “VGA”.
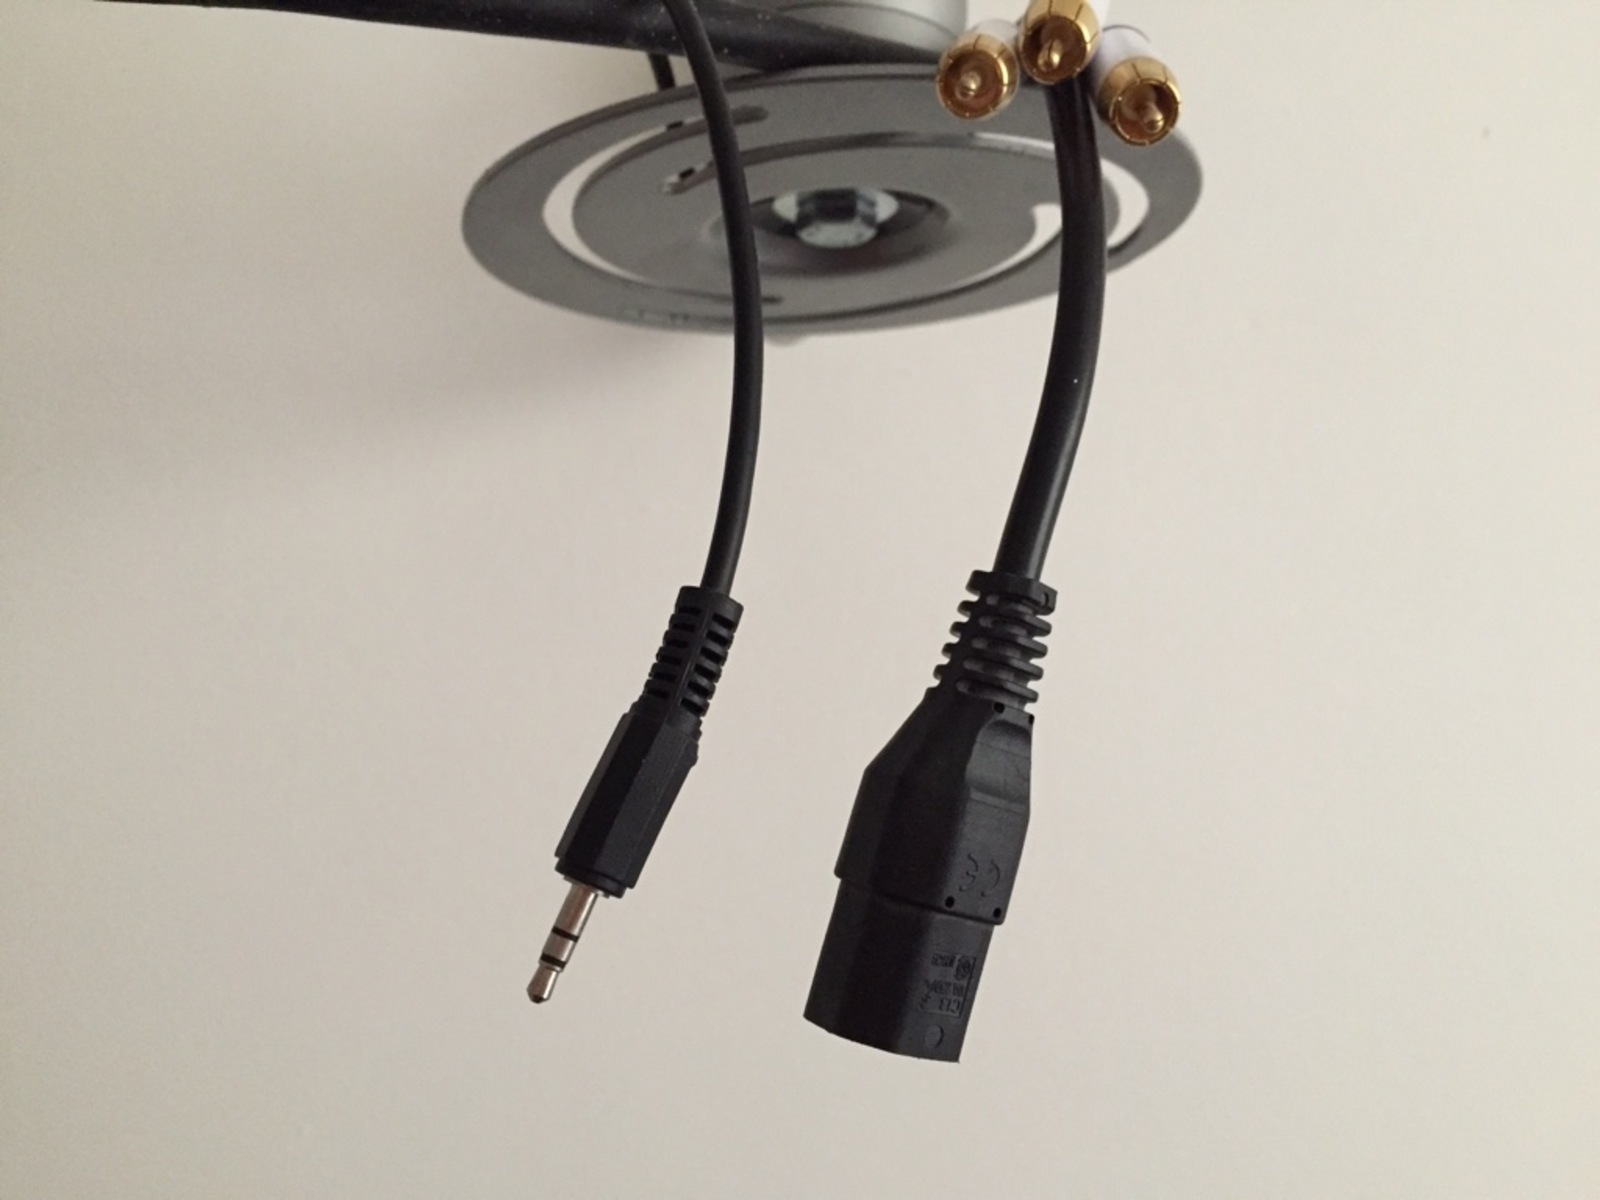
- Audio ports: Some projectors have separate audio input ports. These ports allow you to connect external speakers or audio devices for enhanced sound quality. They are usually labeled “Audio In”.
- USB port: USB (Universal Serial Bus) ports on projectors can be used for various purposes, such as playing multimedia files directly from a USB drive or connecting wireless adapters for screen mirroring. They are typically labeled “USB”.
- Composite ports: Composite ports are color-coded (usually yellow) and consist of three RCA connectors for connecting analog video signals. They are labeled “Composite Video” or “AV”.
Take a close look at your projector to locate these input ports. The ports are usually located at the back or side of the projector, but it’s always a good idea to consult the user manual for specific details about the port locations on your model.
Once you have identified the input ports, you are ready to proceed to the next step and connect the cable wire to the appropriate port on your projector.
Step 3: Connect the cable wire to the projector
Now that you have identified the input ports on your projector, it’s time to connect the cable wire. Depending on the type of cable you are using (HDMI, VGA, etc.), follow the steps below:
If using an HDMI cable:
- Take one end of the HDMI cable and insert it into the HDMI port on the projector. Make sure the cable is securely inserted into the port.
- Take note of the HDMI port number on the projector, if applicable. Some projectors may have multiple HDMI ports, and knowing the port number will help you select the correct input source later.
If using a VGA cable:
- Take one end of the VGA cable and insert it into the VGA port on the projector. Ensure that the cable is tightly connected to the port.
- You may also need to connect the audio cable if your VGA cable doesn’t carry audio signals. Simply insert one end of the audio cable into the audio port on the projector and the other end into the audio output of your video source.
If using a different type of cable:
- Refer to the user manual of your projector to ensure the correct procedure for connecting the specific cable type you are using.
- Follow the manufacturer’s instructions to securely connect the cable wire to the corresponding input port on the projector.
Once the cable wire is connected, double-check that it is tight and properly inserted into the port. Loose connections can result in poor video quality or a complete loss of signal.
It’s important to note that some projectors may require additional steps, such as switching the input source or adjusting the display settings. Consult your projector’s user manual or on-screen menu options for precise instructions on these configuration adjustments.
With the cable wire securely connected, you are now ready to move on to the next step of connecting the other end of the cable wire to your video source.
Step 4: Connect the other end of the cable wire to your video source
Now that you have successfully connected the cable wire to your projector, it’s time to connect the other end of the cable wire to your video source. The video source could be a laptop, DVD player, gaming console, or any device that provides the audio and video signal for display on the projector. Follow these steps based on the type of cable wire you are using:
If using an HDMI cable:
- Take the other end of the HDMI cable and plug it into the HDMI output port of your video source. Ensure a secure connection.
- Remember the HDMI port number on your projector from Step 3? If necessary, use the source select or input button on your projector or remote control to select the corresponding HDMI input source.
If using a VGA cable:
- Connect the other end of the VGA cable to the VGA output port of your video source. Make sure it is firmly connected.
- If audio is not transmitted through the VGA cable, connect the audio cable from the audio output port of your video source to the appropriate audio input port on your projector.
If using a different type of cable:
- Refer to the user manual or manufacturer’s instructions for your specific video source to determine the correct procedure for connecting the cable wire to it. Ensure a secure connection.
- Depending on your video source, you may need to adjust the display settings or source input to properly display the content on the projector.
Once you have connected the cable wire to your video source, ensure that both the projector and the video source are powered on and that the correct input source is selected on the projector. This will allow the audio and video signals to be transmitted to the projector and displayed on the screen.
If you encounter any issues, such as no signal or poor image quality, double-check the cable connections, power sources, and video source settings. Troubleshooting steps may vary depending on your specific setup, so consult the user manuals or contact the manufacturer’s support for further assistance if needed.
With the cable wire connected to both the projector and the video source, you are now ready to adjust the settings on your projector in the next step.
Step 5: Adjust the settings on your projector
After connecting the cable wire to both your projector and video source, it’s important to adjust the settings on your projector to ensure optimal display quality. Follow these steps to fine-tune the settings:
- Focus: Depending on your projector model, there may be a focus ring or button that allows you to adjust the sharpness of the projected image. Use this feature to achieve a clear and crisp focus.
- Keystone correction: If the projected image appears distorted or skewed, many projectors offer keystone correction options. This feature allows you to adjust the shape of the image to make it rectangular and proportionate. Refer to your projector’s user manual for specific instructions on accessing and adjusting keystone correction settings.
- Brightness and contrast: Adjusting the brightness and contrast settings can significantly enhance the clarity and visibility of the projected content. Use the on-screen menu or remote control to access these settings and find the optimal levels for your viewing environment.
- Color temperature: Color temperature settings allow you to adjust the warmth or coolness of the projected image. Experiment with different color temperature presets or manually adjust the red, green, and blue levels to achieve a natural and pleasing color balance.
- Aspect ratio: Depending on the content you’re projecting, you may need to adjust the aspect ratio to match the resolution and dimensions of your video source. Common aspect ratios include 16:9 (widescreen) and 4:3 (standard). Select the appropriate aspect ratio to prevent any stretching or distortion of the image.
- Source input: If you have multiple input sources connected to your projector, use the source input function to select the correct input source from which you want to display the content. This can be done through the projector’s on-screen menu or the remote control.
- Audio settings: If you connected external speakers or audio devices to your projector, adjust the audio settings accordingly. You can usually control the volume, audio source, and other audio-related settings through the projector’s menu or dedicated audio buttons.
Take your time to adjust these settings and customize them to your preferences. Every projector model is different, so refer to the user manual for specific instructions and features available on your projector.
Once you have adjusted the settings to your satisfaction, you’re almost ready to enjoy the immersive experience provided by your projector. Before that, however, it’s vital to test the connection and ensure everything is functioning correctly. This leads us to the final step — testing the connection.
Step 6: Test the connection
After connecting and adjusting the settings on your projector, it’s crucial to test the connection to ensure everything is working as expected. By conducting a simple test, you can confirm that both the audio and video signals are being transmitted properly and that the projected content is displayed correctly. Follow these steps to test the connection:
- Power on both your projector and the video source.
- Select the input source on your projector that corresponds to the cable wire connection you established in Step 4.
- Play a video or display content on your video source.
- Check the projected image on the screen to ensure it is clear, vibrant, and free from any distortions or artifacts.
- Listen to the audio to ensure that it is coming through the projector’s speakers or the connected external audio devices, depending on your setup.
- Test different content sources, resolutions, and aspect ratios to ensure compatibility and a seamless viewing experience.
If everything is working as desired, congratulations! You have successfully connected and tested the cable wire connection to your projector. Enjoy your favorite movies, presentations, or gaming sessions on the big screen.
If you encounter any issues during the testing phase, double-check the cable connections, settings, and power sources. Ensure that the correct input source is selected on the projector and that the audio and video settings on the video source are configured properly. If the problem persists, consult the user manuals or contact the manufacturer’s support for further assistance and troubleshooting steps.
Remember to keep your cables and equipment in good condition. Regularly check for any signs of wear and tear and replace them if necessary to maintain a reliable and high-quality connection.
With a successful test, you are now ready to fully enjoy the immersive visual experience enabled by your projector. Sit back, relax, and indulge in the captivating world of entertainment or professional presentations that your projector brings to life.
Conclusion
Connecting a cable wire to your projector can seem daunting at first, but with the right equipment and simple steps, it becomes a straightforward process. By following this guide, you have learned how to gather the necessary equipment, identify the input ports on your projector, connect the cable wire to the projector and the video source, adjust the projector settings, and test the connection.
Through this connection, you gain access to a whole new level of audio and visual immersion. Whether you’re giving a presentation in a conference room, enjoying a movie night with friends, or engaging in intense gaming sessions, the projector’s large screen and high-quality output create an unforgettable experience.
Remember, the specific steps may vary depending on your projector’s make and model. Always consult the user manual for precise instructions and features specific to your device.
Now that you have successfully connected your cable wire to the projector, you have the power to engage and captivate your audience, immerse yourself in thrilling cinematic experiences, or indulge in the world of gaming on a grand scale. With a high-quality connection, you can explore the possibilities and unlock the full potential of your projector.
Enjoy the stunning visuals, crystal-clear audio, and unforgettable moments that your projector brings to life. Whether for work or leisure, your newly connected cable wire enables you to create and share impactful content on a larger scale, enriching every aspect of your audiovisual journey.
So, go ahead and connect your cable wire, unleash the power of your projector, and revel in the breathtaking moments that await you.