Introduction
Welcome to this comprehensive guide on how to connect your iPad to a projector wirelessly. Gone are the days of tangled cables and limited mobility in presentations or sharing content on a larger screen. With the advancements in technology, you can now easily connect your iPad to a projector without any physical connections.
Gone are the days of tangled cables and limited mobility in presentations or sharing content on a larger screen. With the advancements in technology, you can now easily connect your iPad to a projector without any physical connections.
Whether you are giving a presentation in a conference room, teaching a class, or simply want to enjoy a movie or photos with friends and family on a bigger screen, connecting your iPad wirelessly to a projector offers a convenient and hassle-free solution.
In this guide, we will walk you through the step-by-step process of setting up a wireless connection between your iPad and a compatible projector. We will cover everything from checking compatibility to troubleshooting common issues that may arise during the setup process. So, let’s dive in and get started!
Prerequisites for Connecting iPad to a Projector Wirelessly
Before you embark on the journey of connecting your iPad to a projector wirelessly, there are a few prerequisites you need to keep in mind.
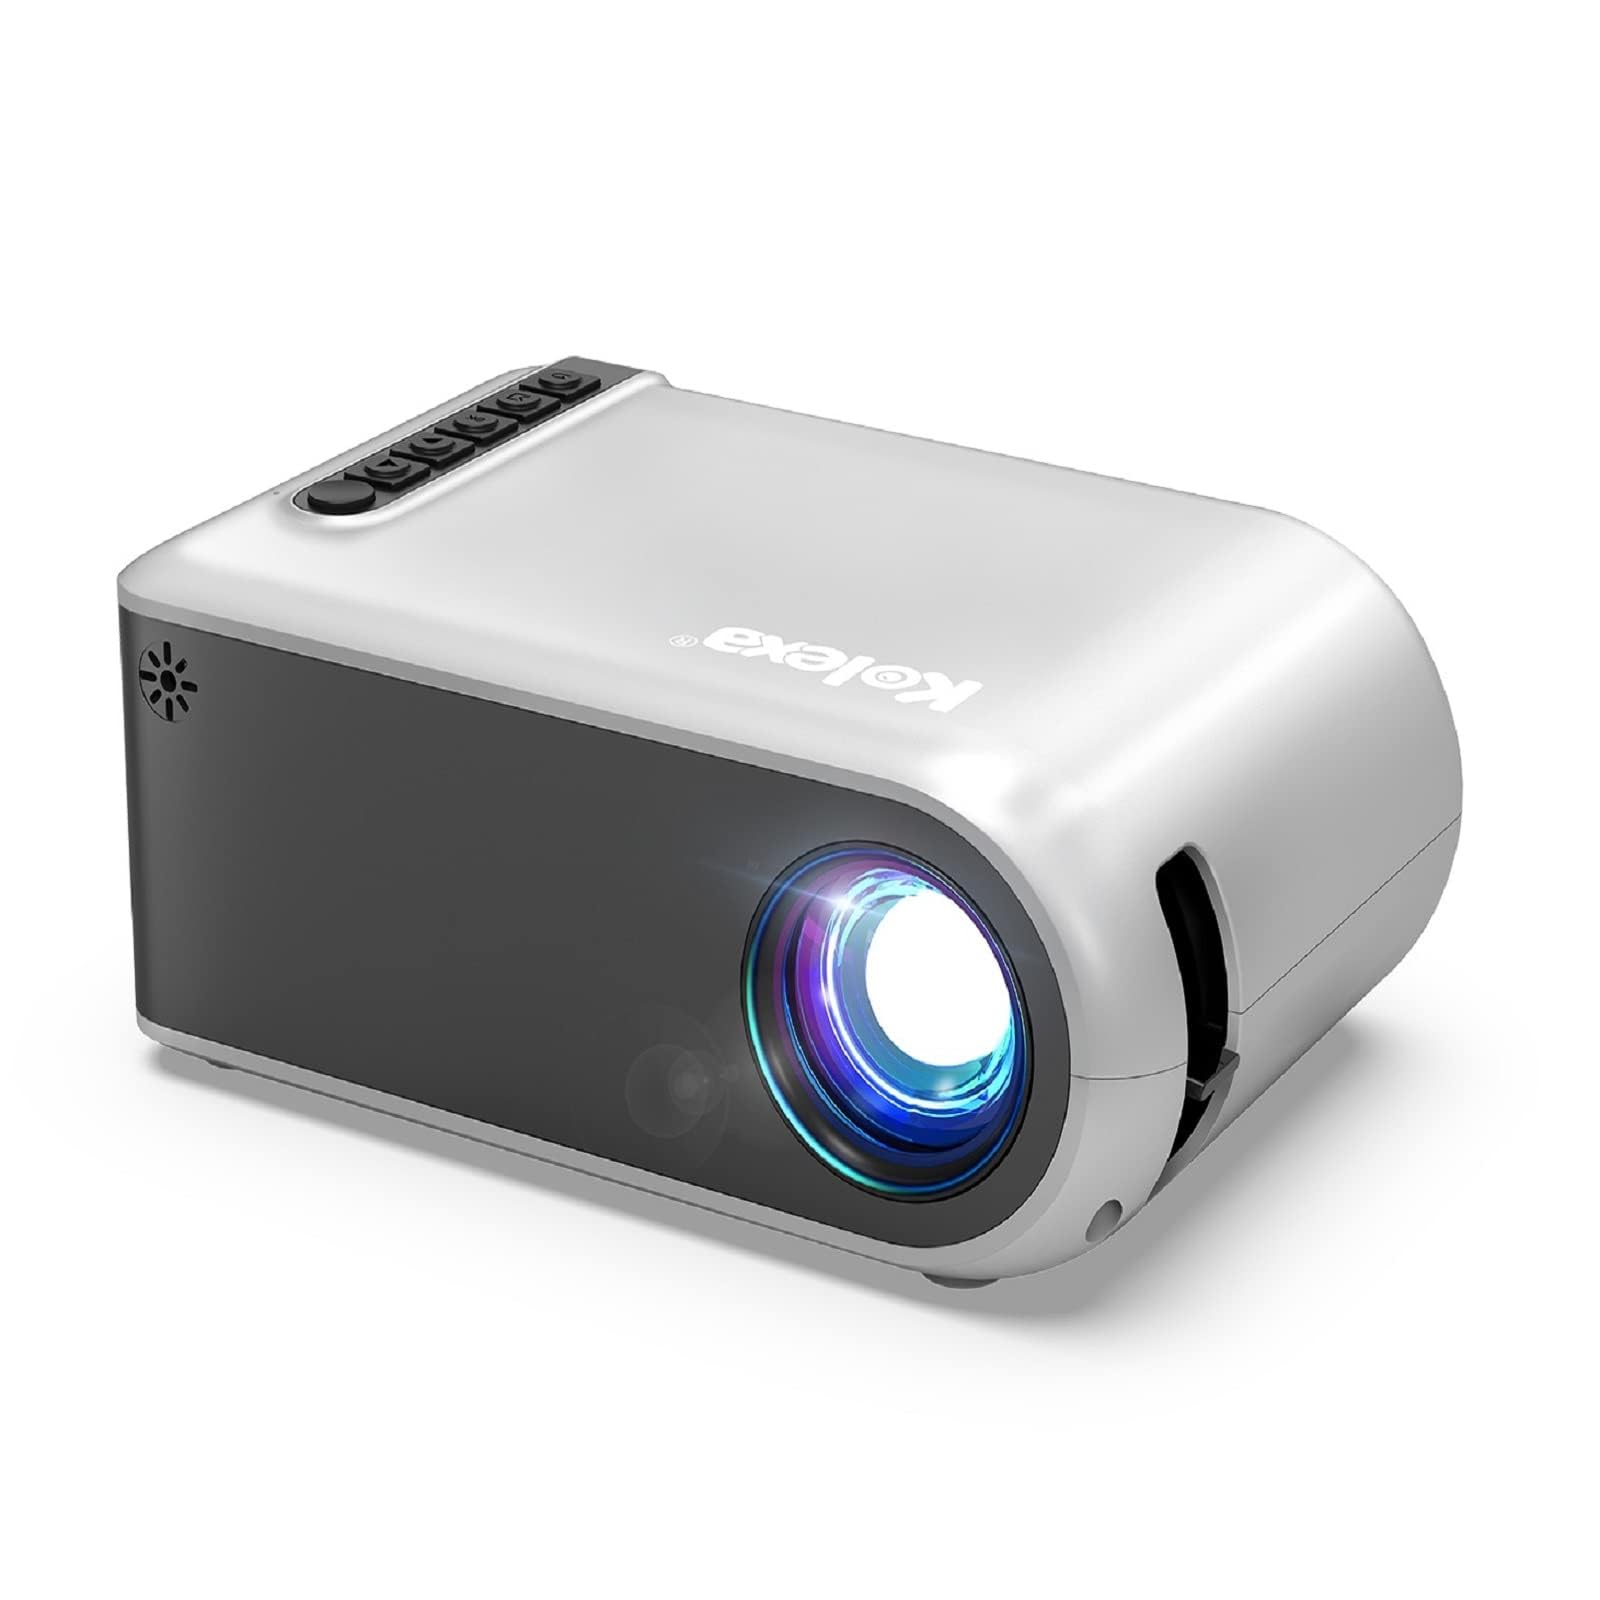
1. Compatible Projector: The first and foremost requirement is to ensure that you have a projector that supports wireless connectivity. Not all projectors have this feature, so it’s important to check the specifications of your projector or consult the manufacturer’s website to confirm if it has wireless capabilities.
2. Wi-Fi Network: Both your iPad and the projector need to be connected to the same Wi-Fi network in order to establish the wireless connection. Make sure you have a stable and reliable Wi-Fi network available.
3. iOS Compatibility: Check the iOS version on your iPad. To make sure that the wireless connection works seamlessly, it is recommended to have the latest iOS version installed on your iPad. This ensures compatibility with current wireless technologies and provides the best user experience.
4. AirPlay Compatibility: AirPlay is the wireless technology that allows you to mirror your iPad’s screen to the projector. Ensure that your projector supports AirPlay functionality. Some projectors may require additional adapters or dongles to enable AirPlay.
5. Charger or Power Source: It’s a good idea to have your iPad charging during the wireless connection setup to avoid any interruptions due to battery drain. Make sure you have a power source nearby or keep your iPad connected to a charger.
By ensuring that you meet these prerequisites, you will be well-prepared to connect your iPad to a projector wirelessly. Now that we have covered the essentials, let’s move on to the step-by-step process of setting up the wireless connection.
Step 1: Ensure Compatibility of Your Projector with Wireless Connection
The first step in connecting your iPad to a projector wirelessly is to ensure that your projector is compatible with a wireless connection. Not all projectors have built-in wireless capabilities, so it’s important to check the specifications or documentation of your projector.
Check if your projector supports Wi-Fi or has the ability to connect to a wireless network. Some projectors may have an integrated wireless module, while others may require an additional adapter or dongle to enable wireless connectivity.
To find out if your projector supports wireless connection, refer to the user manual or visit the manufacturer’s website. Look for terms like “Wi-Fi enabled,” “Wireless LAN,” or “AirPlay compatible.” These indications will confirm that your projector is capable of establishing a wireless connection with your iPad.
If your projector is not compatible with wireless connectivity out of the box, don’t worry. There are often third-party adapters or dongles available that can add wireless functionality to your projector. These adapters typically connect to the projector’s HDMI or USB port and enable wireless mirroring of your iPad’s screen.
Before purchasing any additional adapters or dongles, make sure to check their compatibility with your iPad model and the specific projector you are using. Read customer reviews and consult the manufacturer’s specifications to ensure a seamless and reliable wireless connection.
By verifying the compatibility of your projector with wireless connection, you will be able to proceed with setting up the wireless connection between your iPad and the projector. In the next step, we will guide you through the process of setting up the wireless connection on your projector.
Step 2: Set Up the Wireless Connection on Your Projector
Once you have confirmed that your projector is compatible with wireless connectivity, the next step is to set up the wireless connection. Follow these steps to configure the wireless settings on your projector:
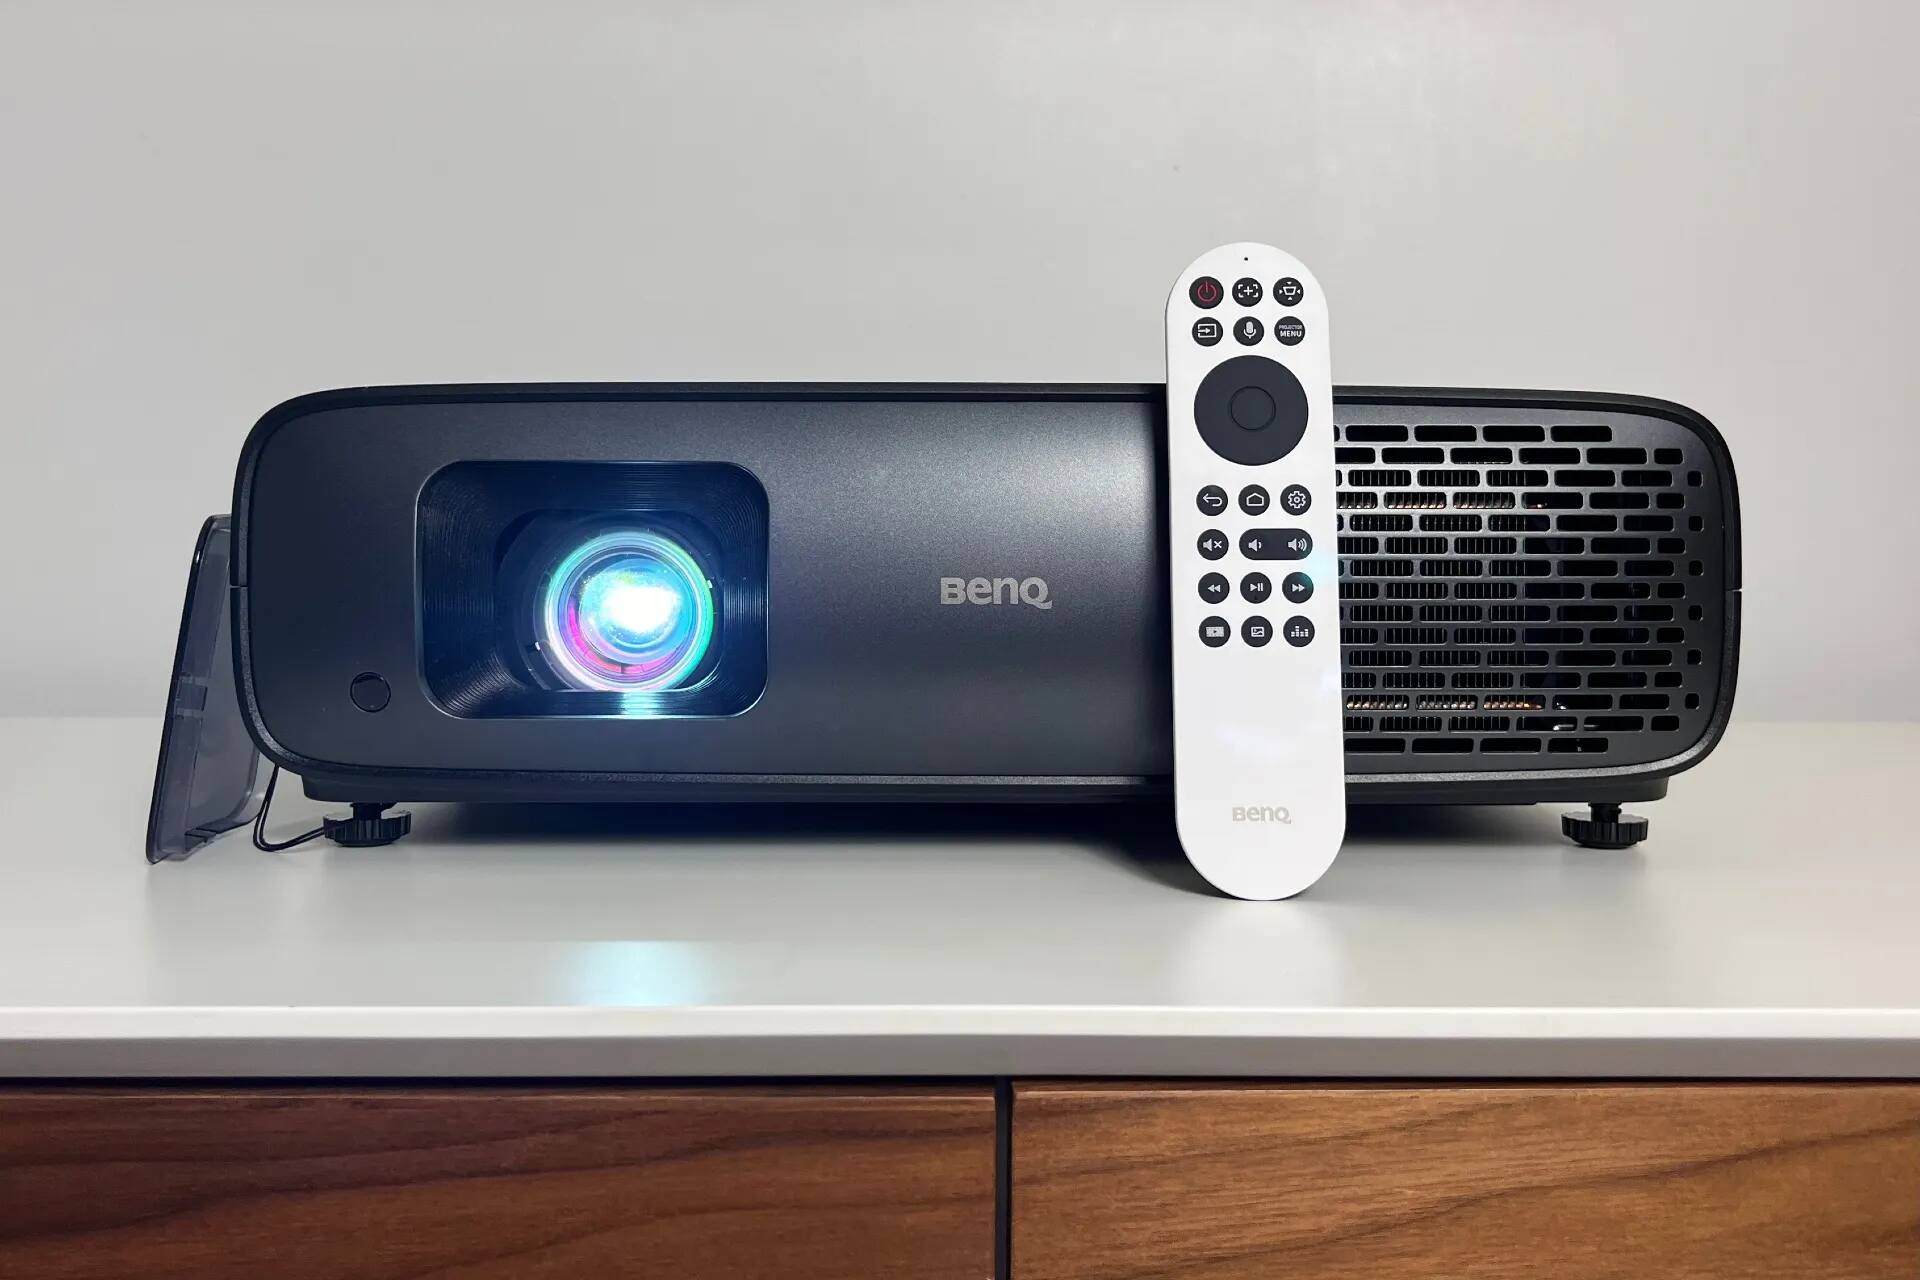
1. Access the Settings Menu: Turn on your projector and navigate to the settings menu using the remote control or the buttons on the projector itself. The location of the settings menu may vary depending on the model of your projector.
2. Find the Network Settings: Look for the network settings option within the settings menu. It may be labeled as “Wireless Settings,” “Network Settings,” or something similar. Select this option to proceed.
3. Connect to your Wi-Fi Network: Within the network settings, you should see a list of available Wi-Fi networks. Select your Wi-Fi network from the list and enter the password if prompted. Once connected, your projector will be on the same Wi-Fi network as your iPad.
4. Enable AirPlay (If Applicable): If your projector supports AirPlay, there may be a specific option to enable it within the network settings. Enable AirPlay to allow your iPad to mirror its screen to the projector wirelessly.
5. Save the Settings: After making the necessary changes in the network settings, save the settings and exit the menu. Your projector is now configured to establish a wireless connection with your iPad.
It’s worth noting that the exact steps and options in the settings menu may vary depending on the brand and model of your projector. Consult the user manual or the manufacturer’s website for detailed instructions specific to your projector.
With the wireless connection settings successfully configured on your projector, you are now ready to move on to the next step: enabling AirPlay on your iPad.
Step 3: Enable AirPlay on Your iPad
To connect your iPad to the projector wirelessly, you need to enable AirPlay, which allows you to mirror your iPad’s screen on the projector. Follow these steps to enable AirPlay on your iPad:
1. Swipe up from the bottom of the screen: On your iPad, swipe up from the bottom of the screen to access the Control Center. This is where you’ll find various shortcuts and settings.
2. Locate the AirPlay icon: In the Control Center, look for the AirPlay icon. It looks like a rectangle with a triangle at the bottom. Tap on this icon to proceed.
3. Select your projector: After tapping the AirPlay icon, you’ll see a list of available devices to connect to. Look for your projector’s name in the list and tap on it to select it as the destination for the mirrored display.
4. Enable Mirroring: Once you have selected your projector, you’ll see an option to enable mirroring. Tap on the “Mirroring” toggle switch to turn it on. This will mirror your iPad’s screen onto the projector.
5. Adjust settings if needed: By default, the mirrored screen will match the orientation of your iPad. However, you can change this by going to Settings > Display & Brightness on your iPad and adjusting the “Orientation Lock” setting.
Once you have enabled AirPlay and mirroring on your iPad, you should see your iPad’s screen displayed on the projector. You can now begin sharing presentations, slideshows, videos, or any other content from your iPad wirelessly with the audience.
It’s important to note that the steps to enable AirPlay on your iPad may slightly vary depending on the iOS version you’re using. If you’re having trouble finding or enabling AirPlay, refer to the Apple Support website or consult your iPad’s user manual for specific instructions.
Now that you have enabled AirPlay on your iPad, it’s time to move on to the next step: connecting your iPad to the wireless network of the projector.
Step 4: Connect Your iPad to the Wireless Network of the Projector
In order to establish a wireless connection between your iPad and the projector, you need to connect your iPad to the same wireless network that the projector is connected to. Follow these steps to connect your iPad to the wireless network of the projector:
1. Open the Settings app on your iPad: Tap on the “Settings” icon on your iPad’s home screen to open the Settings app.
2. Tap on Wi-Fi: In the Settings app, tap on “Wi-Fi” to access the Wi-Fi settings.
3. Find the projector’s network: Look for the wireless network of the projector in the list of available networks. It may be labeled with the projector’s name or a unique identifier.
4. Connect to the projector’s network: Tap on the projector’s network to connect your iPad to it. If the network is secured with a password, you will be prompted to enter the password.
5. Wait for the connection: After entering the password, your iPad will attempt to connect to the projector’s network. Once the connection is established, your iPad will be connected to the same wireless network as the projector.
It’s important to note that when your iPad is connected to the projector’s network, you may not have internet access. This is because the projector’s network may be solely dedicated for wireless projection purposes and may not be connected to the internet. However, you don’t need internet access to use AirPlay and mirror your iPad’s screen on the projector.
Now that your iPad is connected to the wireless network of the projector, you are ready to proceed to the final step: connecting your iPad to the projector through AirPlay. We will cover this step in the next section.
Step 5: Connect iPad to the Projector through AirPlay
Now that you have your iPad connected to the same wireless network as the projector, it’s time to establish the final connection by connecting your iPad to the projector through AirPlay. Follow these steps to connect your iPad to the projector:
1. Open Control Center on your iPad: Swipe up from the bottom of the screen to access the Control Center on your iPad.
2. Tap on the AirPlay icon: In the Control Center, tap on the AirPlay icon, which resembles a rectangle with a triangle at the bottom.
3. Select your projector: From the list of available devices, select your projector’s name to establish the connection.
4. Enable screen mirroring: Once you have selected your projector, toggle on the “Mirroring” switch. This will enable the mirroring of your iPad’s screen onto the projector.
5. Start sharing your content: Your iPad’s screen will now be mirrored on the projector. You can begin sharing your presentations, videos, slideshows, or any other content from your iPad to the projected display.
It’s important to note that the AirPlay connection may take a few moments to establish, so be patient if there is a slight delay in the mirroring process. Additionally, remember to keep your iPad within range of the wireless network for a stable connection during the presentation or sharing session.
Throughout your presentation, you can control the content displayed on the projector using your iPad. Any changes made on your iPad, such as switching slides or opening new apps, will be reflected on the projector in real-time.
If you encounter any issues during the AirPlay connection setup or experience lag or disruptions in the mirrored display, ensure that you have a stable Wi-Fi connection, update your iOS software to the latest version, and check for any available projector firmware updates.
Congratulations! You have successfully connected your iPad to the projector through AirPlay, and you are all set to deliver your presentation or enjoy your multimedia content on the big screen.
Troubleshooting Common Issues with Wireless Connection
While connecting your iPad to a projector wirelessly offers convenience and flexibility, there may be occasions where you encounter some common issues. Here are a few troubleshooting tips to help you resolve them:
1. Unstable or weak Wi-Fi signal: Ensure that your iPad and the projector are within range of a stable Wi-Fi signal. If the signal is weak or experiencing interference, consider moving closer to the Wi-Fi router or using a Wi-Fi extender to strengthen the signal.
2. Incompatible projector or iOS version: Double-check that your projector is compatible with the wireless connection and that your iPad has the latest iOS version installed. If either is incompatible, you may need to consider alternative connection methods or upgrade your equipment.
3. Incorrect Wi-Fi network selection: Verify that your iPad is connected to the correct Wi-Fi network, which should be the same network that the projector is connected to. Check the network name and password settings to ensure they match.
4. Incorrect AirPlay settings: Make sure that AirPlay is enabled on both your iPad and the projector. Ensure that you have selected the correct projector from the AirPlay menu and have enabled screen mirroring.
5. Software and firmware updates: Keep your iPad’s software and the projector’s firmware up to date. Regular updates can fix bugs, improve compatibility, and enhance overall performance.
6. Restart and reset: If you’re experiencing persistent issues, try restarting both your iPad and the projector. You can also try resetting the network settings on your iPad to resolve any network-related issues.
7. Check for third-party apps and settings: Some third-party apps or settings on your iPad may interfere with the wireless connection. Disable or uninstall any apps that could be causing conflicts and ensure that any firewall or security settings on your iPad do not block the connection.
It’s also a good idea to consult the user manuals and support resources provided by your projector manufacturer and Apple for specific troubleshooting instructions. These resources can offer additional insights and solutions for any problems you may encounter.
By staying proactive and following these troubleshooting tips, you can overcome common issues with wireless connections and ensure a smooth and uninterrupted experience when connecting your iPad to a projector wirelessly.
Conclusion
In conclusion, connecting your iPad to a projector wirelessly opens up a world of possibilities for presentations, teaching, or simply enjoying multimedia content on a larger screen. By following the steps outlined in this guide, you can establish a seamless wireless connection between your iPad and a compatible projector.
We started by outlining the prerequisites for connecting your iPad to a projector wirelessly, emphasizing the need for a compatible projector, a Wi-Fi network, and updated iOS software. We then discussed how to ensure compatibility and set up the wireless connection on your projector.
Next, we explained the process of enabling AirPlay on your iPad to facilitate the wireless connection. We covered how to connect your iPad to the wireless network of the projector and how to establish the final connection through AirPlay. Throughout each step, we provided detailed instructions to make the setup process as straightforward as possible.
We also addressed common troubleshooting issues that may arise during the wireless connection setup, such as unstable Wi-Fi signal, incompatible devices, incorrect settings, and software-related problems. By following the troubleshooting tips provided, you can overcome these issues and ensure a smooth connection process.
By seamlessly connecting your iPad to a projector wirelessly, you can project your screen onto a larger display, enhancing presentations, sharing content, and making a lasting impression on your audience. The flexibility and convenience offered by wireless connectivity eliminate the limitations of cables and allow for a more interactive and engaging experience.
We hope that this guide has empowered you with the knowledge and confidence to connect your iPad to a projector wirelessly. Now, grab your iPad, find a compatible projector, and enjoy the freedom of wireless projection and sharing. Happy presenting!