Introduction
Connecting an iPad to a projector can be a game-changer when it comes to presentations, watching movies, or sharing content with a larger audience. Whether you’re in a business meeting, a classroom setting, or hosting a movie night at home, being able to project your iPad screen onto a bigger display can enhance the overall experience.
However, figuring out how to connect your iPad to a projector may seem daunting at first, especially if you’re not familiar with the necessary equipment and the different connection options available. But fear not, because in this article, we will guide you through the process step by step.
In order to successfully connect your iPad to a projector, there are a few key components you will need. Firstly, you will require an appropriate adapter or cable that supports the connection between your iPad and the projector. The specific type of adapter or cable you will need depends on the available ports on your iPad and the projector.
There are primarily three common ways to connect your iPad to a projector: using an HDMI adapter, utilizing AirPlay wirelessly, or using a VGA adapter. Each method has its own unique set of requirements and steps, so it’s important to determine which option is best suited for your specific setup.
In this comprehensive guide, we will walk you through each of these methods, providing detailed instructions and troubleshooting tips to ensure a smooth and successful connection. Additionally, we will discuss how to adjust the display settings on your iPad to optimize the projection and address some commonly asked questions.
So, whether you’re an educator looking to display educational materials, a business professional needing to present slides, or simply a movie enthusiast wanting to enjoy films on a larger screen, by the end of this article, you will have the knowledge and confidence to connect your iPad to a projector effortlessly.
Gather the Necessary Equipment
Before you can connect your iPad to a projector, you’ll need to gather the necessary equipment. The specific equipment required will depend on the connection method you plan to use. Below is an overview of the most common equipment needed for each method:
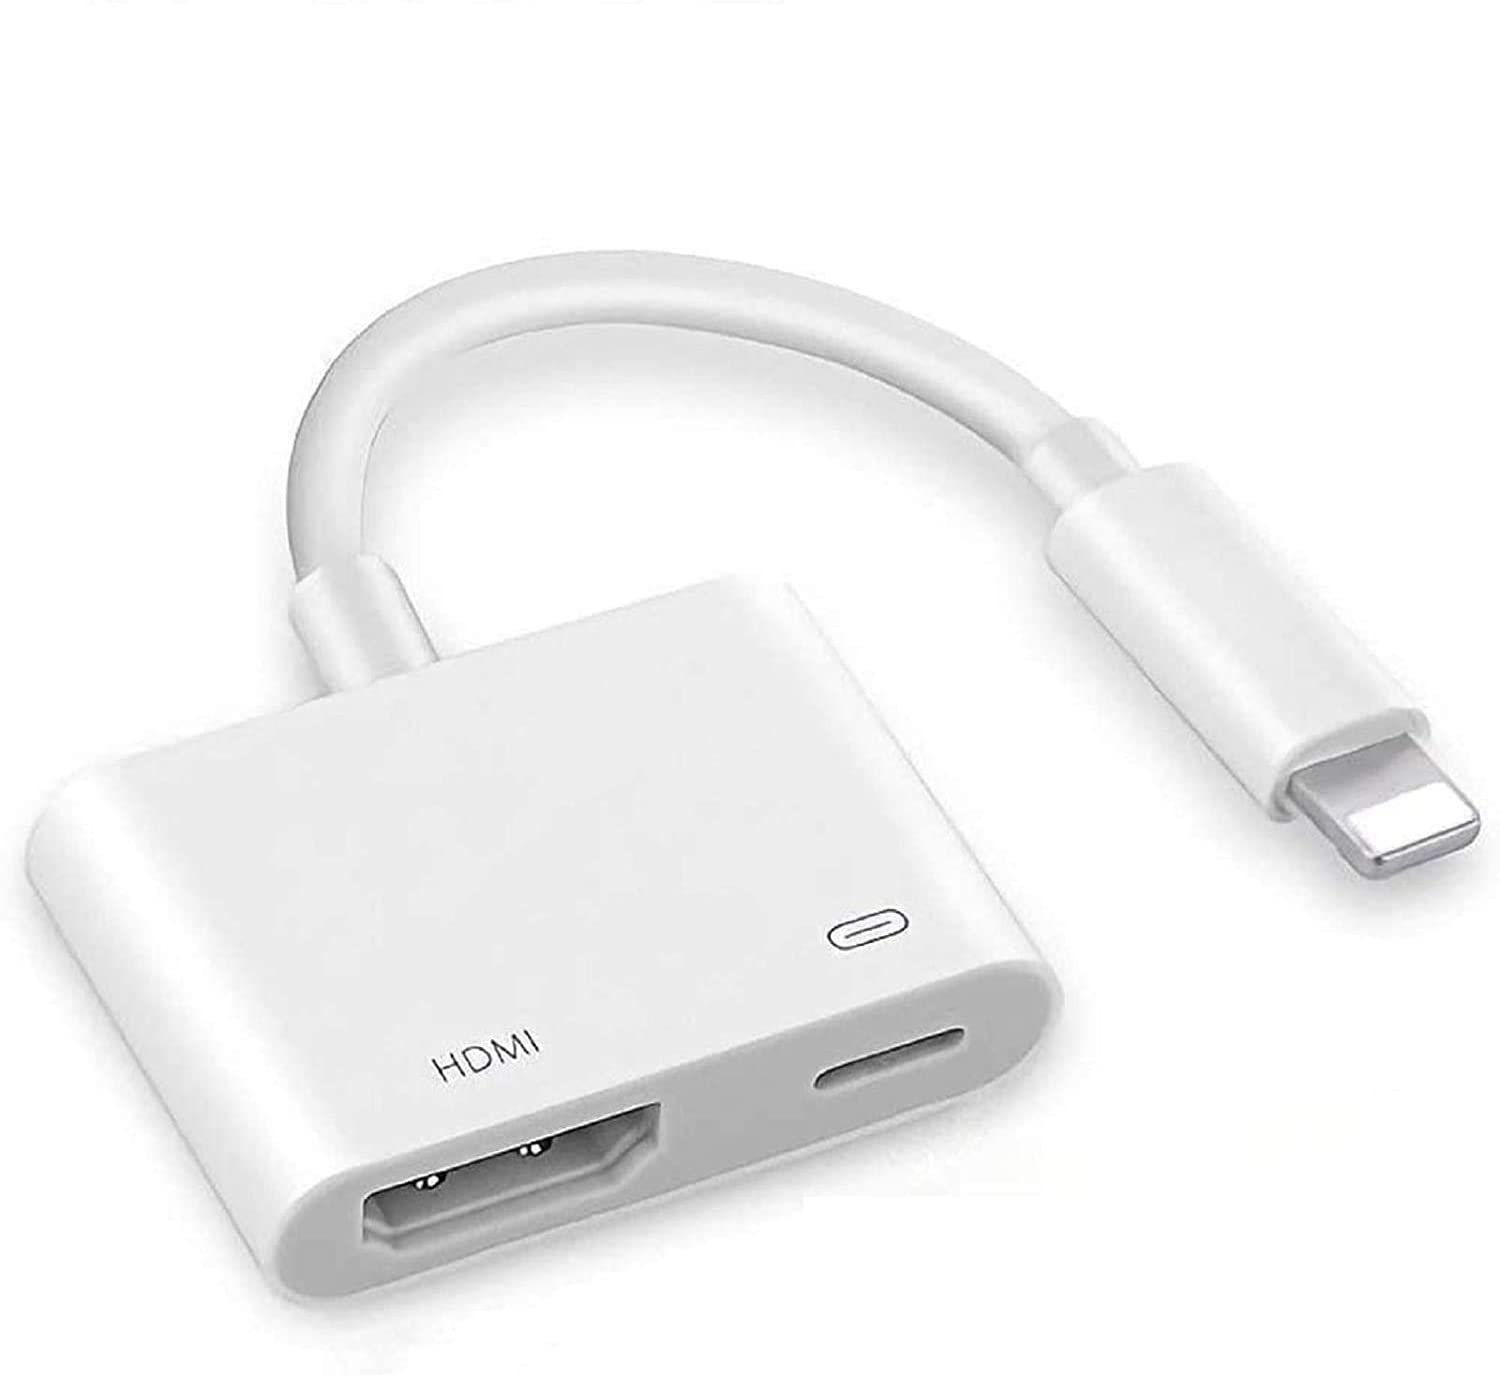
- HDMI Adapter: If you choose to connect your iPad to a projector using an HDMI adapter, you will need the following:
- An iPad with a Lightning connector (for newer models) or the iPad 30-pin Dock Connector (for older models).
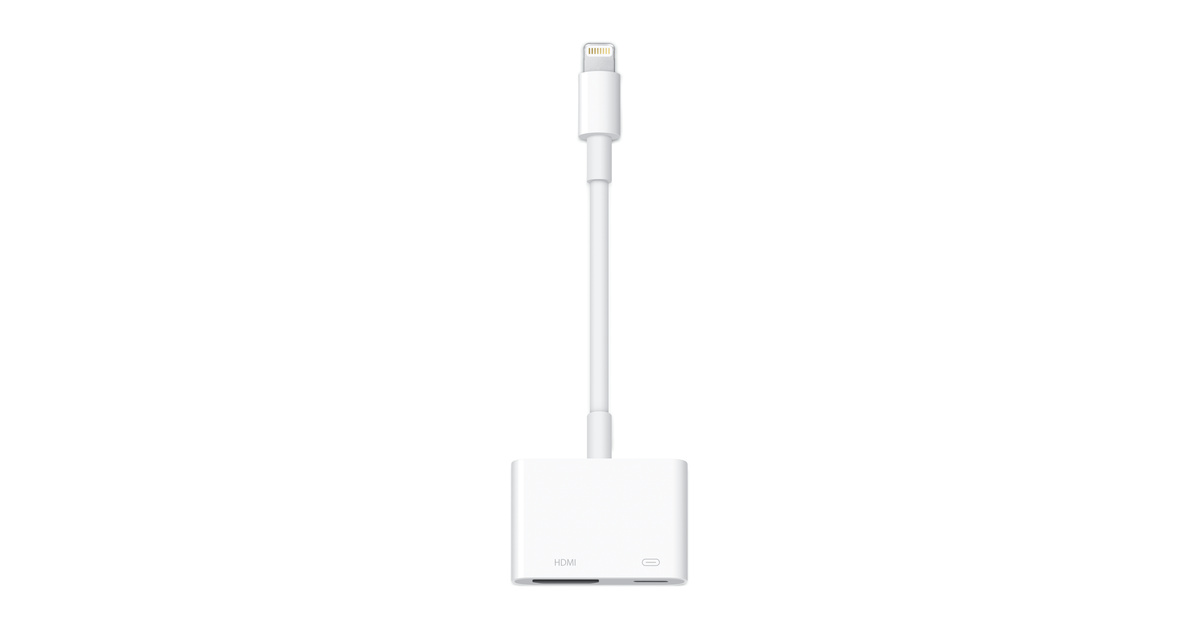
- An HDMI adapter that is compatible with your iPad’s connector. For newer models, this may include the Apple Lightning Digital AV Adapter, while older models may require a 30-pin Digital AV Adapter.
- An HDMI cable to connect the adapter to the projector.
- AirPlay: If you prefer to connect your iPad to a projector wirelessly using AirPlay, you will need the following:
- An iPad with AirPlay capabilities. Most modern iPads are compatible, but it’s always a good idea to double-check.
- A Wi-Fi network to which both the iPad and the projector are connected.
- A projector that supports AirPlay or an Apple TV connected to the projector.
- VGA Adapter: If the projector you’re using does not have an HDMI input, you can go for a VGA connection. To connect your iPad to a projector using a VGA adapter, you will need the following:
- An iPad with a Lightning or 30-pin connector, depending on the model.
- A VGA adapter that is compatible with your iPad’s connector. This can include the Apple Lightning to VGA Adapter or the Apple 30-pin to VGA Adapter.
- A VGA cable to connect the adapter to the projector.
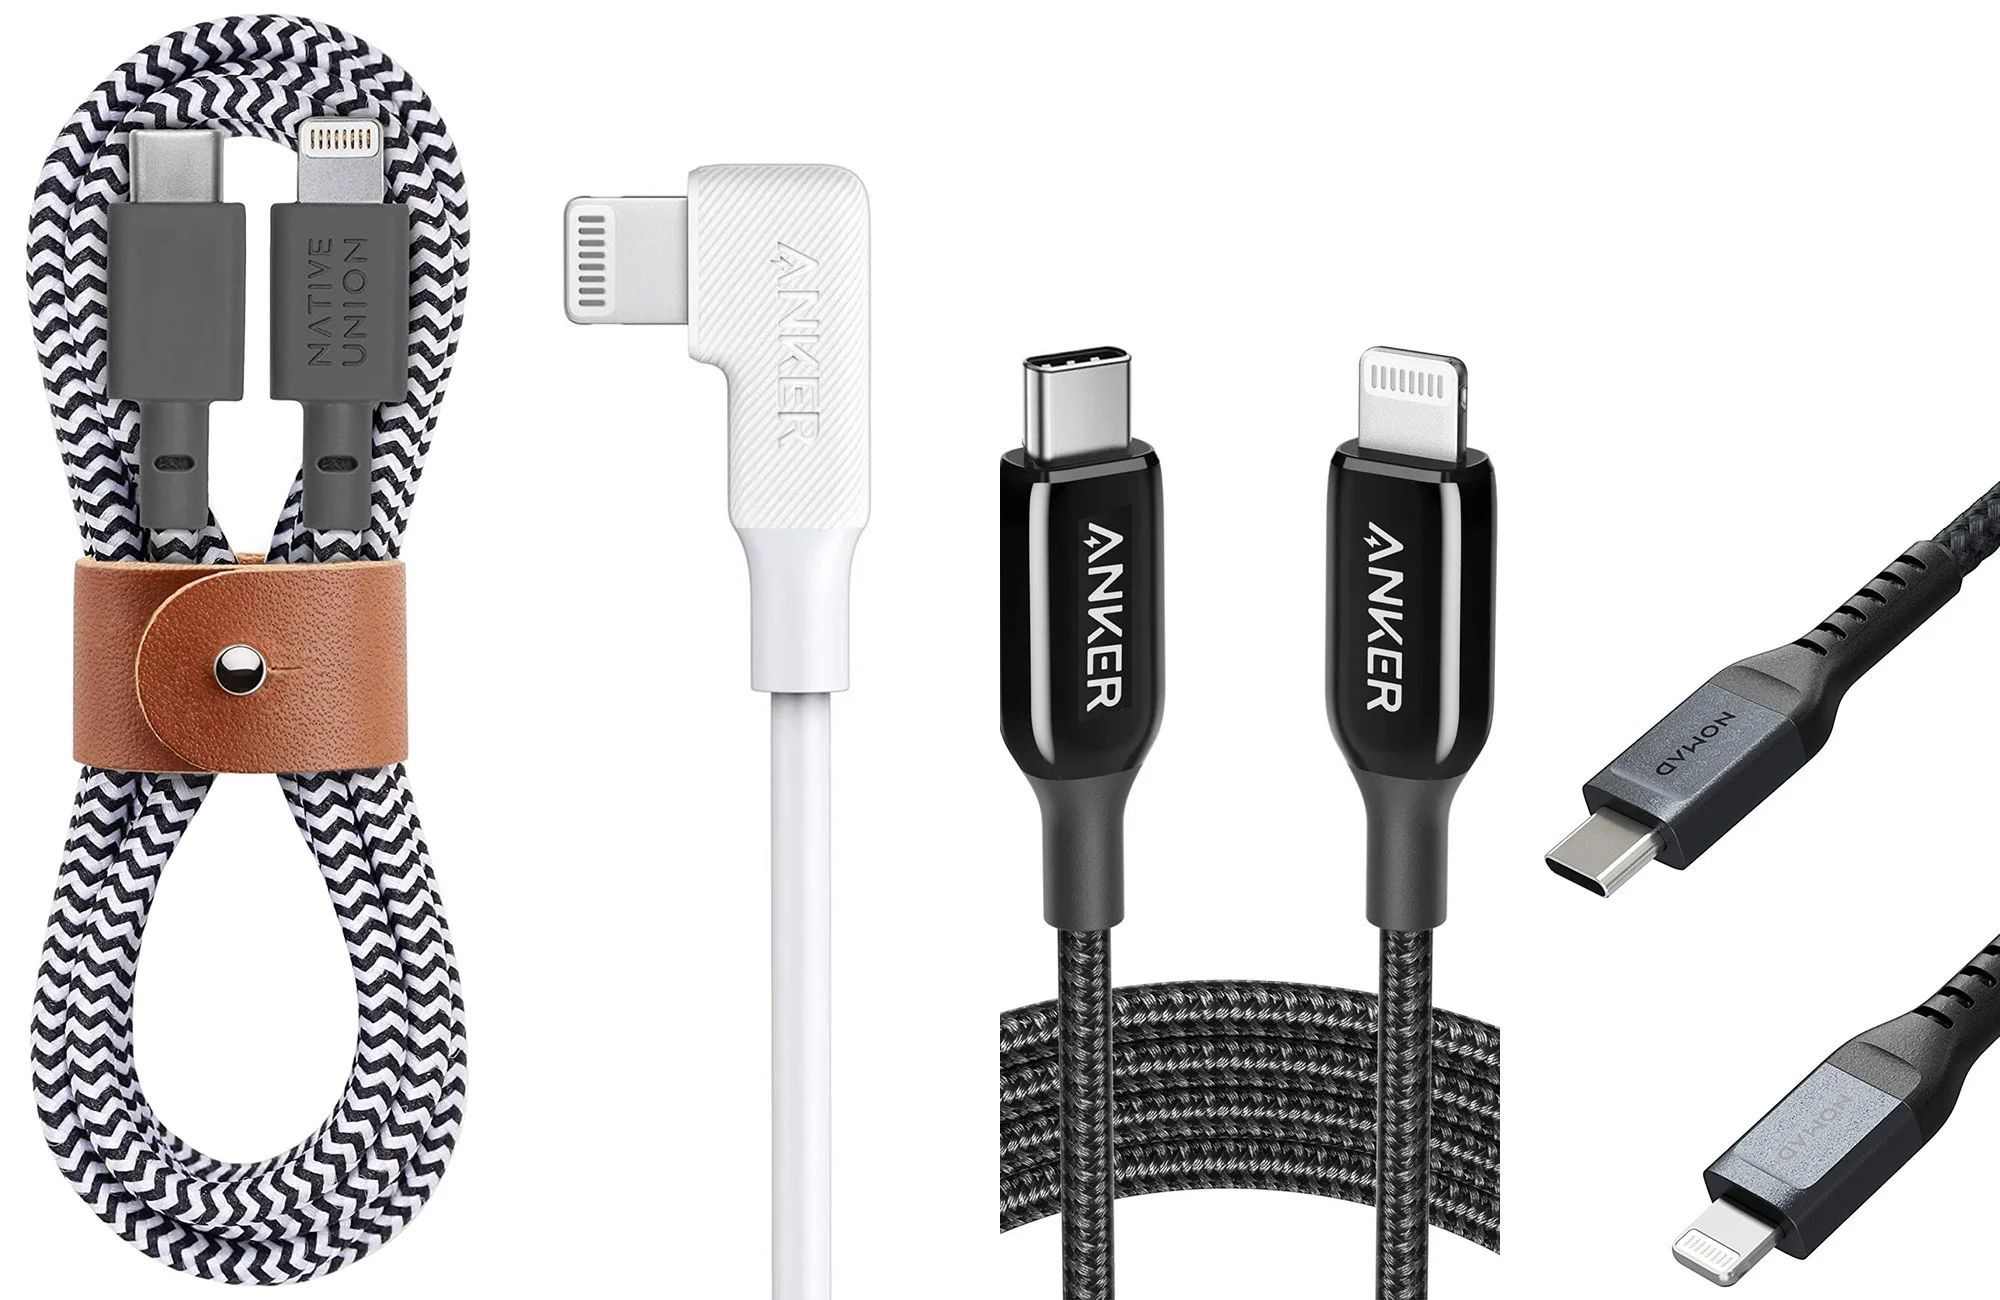
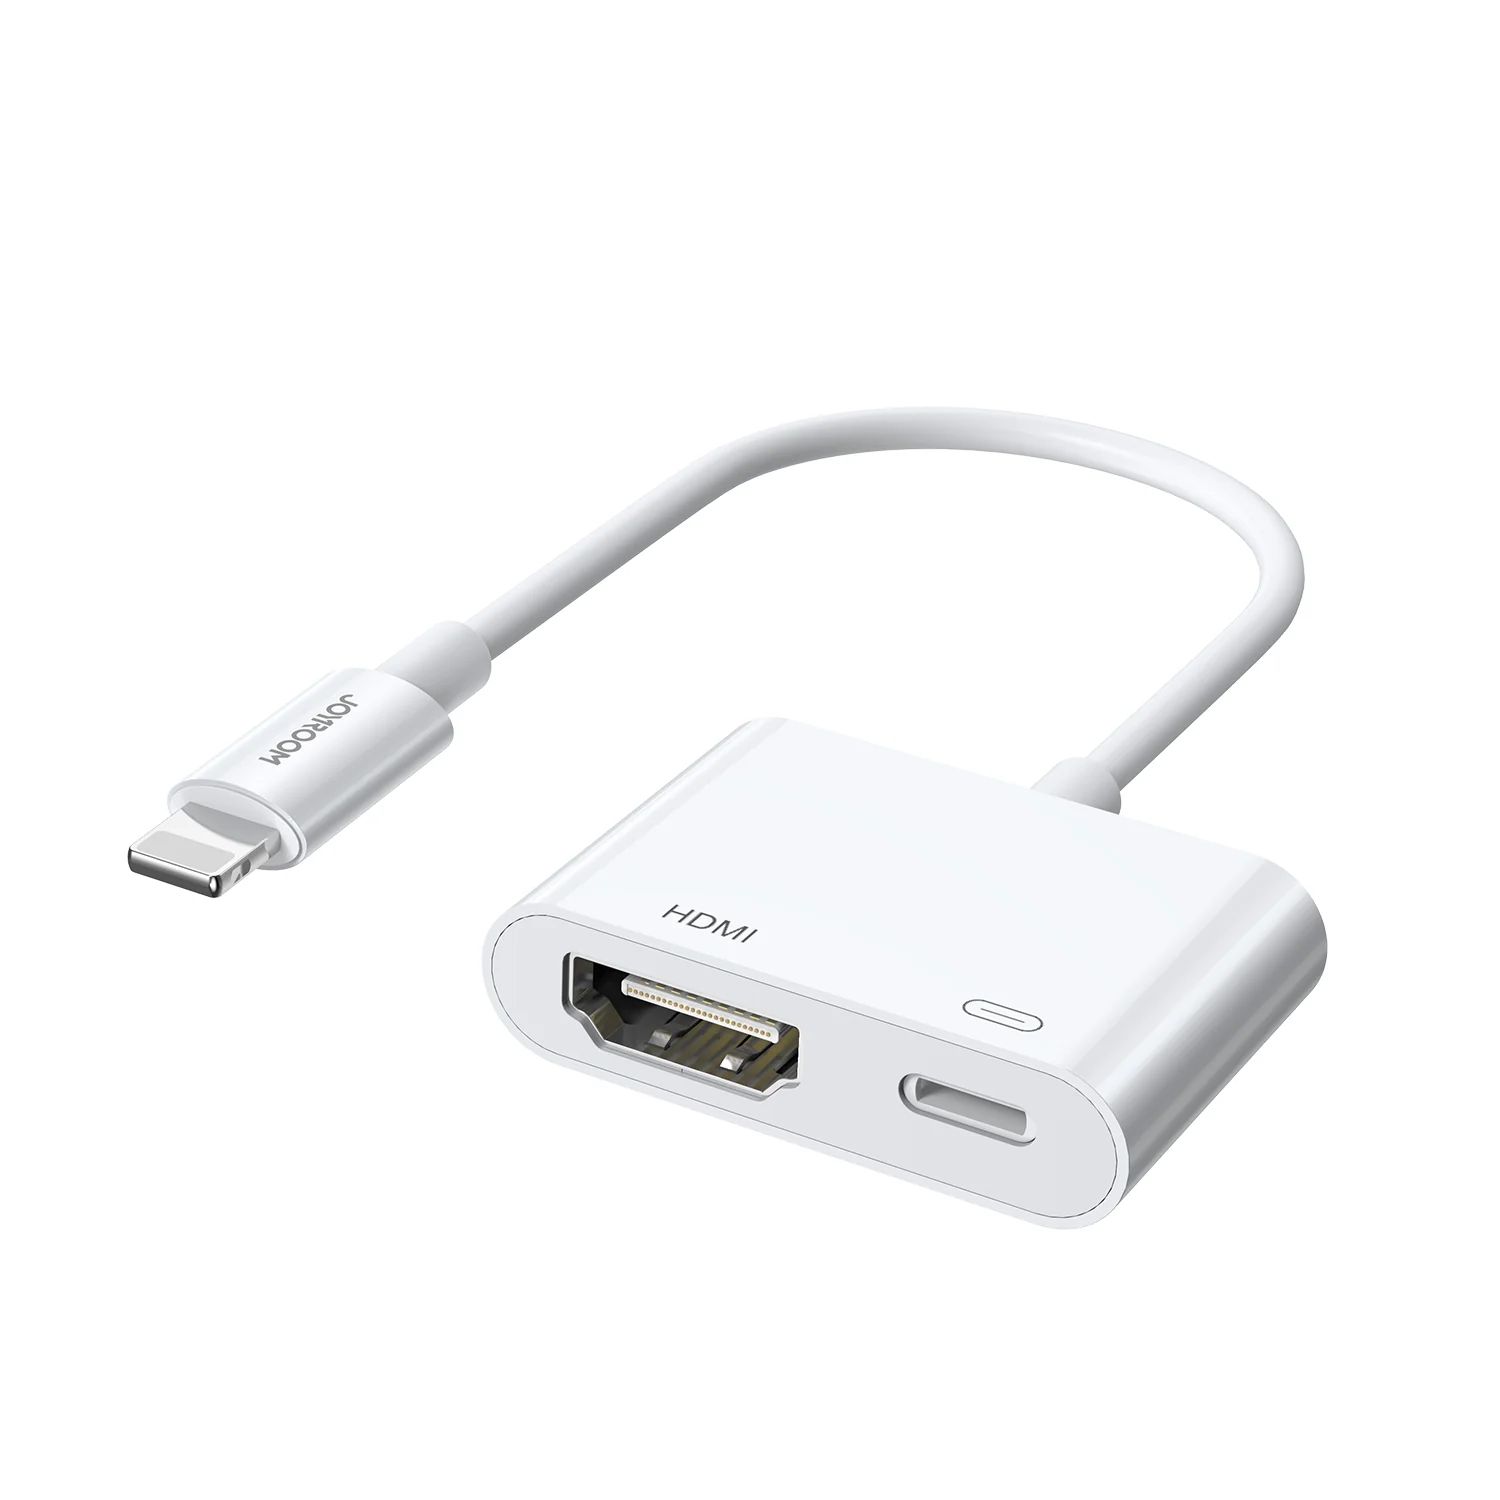
It’s important to note that the specific adapters and cables mentioned are the official Apple options. However, there are third-party alternatives available that may offer similar functionalities at a lower cost. Just make sure that the adapter or cable you choose is compatible with your iPad model.
Once you have gathered the necessary equipment, you are ready to proceed with the next steps of connecting your iPad to a projector. In the following sections, we will explain in detail how to connect using an HDMI adapter, AirPlay, and a VGA adapter.
Connect iPad to Projector with HDMI Adapter
If you have an HDMI-enabled projector, connecting your iPad with an HDMI adapter is a straightforward method for screen projection. Here’s how you can do it:
- Begin by ensuring that your iPad and projector are both powered off.
- Connect one end of the HDMI cable to the HDMI port on your projector.
- Take the other end of the HDMI cable and connect it to the HDMI adapter that is compatible with your iPad’s connector. Plug the adapter securely into your iPad.
- Power on your projector and set it to the correct HDMI input source.
- Turn on your iPad. The screen should automatically mirror onto the projector’s display.
- If your iPad doesn’t automatically mirror onto the projector, you may need to enable the display output manually. To do this, go to “Settings” on your iPad, then select “Display & Brightness.” Within this menu, you should find an option to adjust your display settings and enable the video output to the projector.
With your iPad successfully connected to the projector, you can now enjoy your favorite content on the big screen. Whether it’s a presentation, movie, or photo slideshow, the HDMI adapter provides a reliable and high-quality connection for a seamless viewing experience.
Keep in mind that the HDMI adapter method may require you to use an external power source to charge your iPad while it’s connected to the projector, especially for longer sessions. This will help prevent your iPad battery from draining quickly.
Remember to disconnect your iPad and turn off the projector once you’re finished using the HDMI adapter connection. This will help preserve the lifespan of both your iPad and the projector.
Next, we will explore another method for connecting your iPad to a projector wirelessly using AirPlay.
Connect iPad to Projector Wirelessly with AirPlay
If you prefer a wireless connection between your iPad and the projector, utilizing AirPlay can be a convenient option. Here’s how you can connect your iPad to a projector wirelessly using AirPlay:
- Make sure that your iPad and the projector are connected to the same Wi-Fi network.
- Turn on your projector and set it to the correct input source.
- On your iPad, swipe down from the top-right corner of the screen (or swipe up from the bottom, depending on the iOS version) to access the Control Center.
- In the Control Center, tap on the “Screen Mirroring” option.
- A list of available devices for screen mirroring will appear. Select your projector from the list.
- If prompted, enter the passcode shown on the projector screen.
- Your iPad’s screen will now mirror onto the projector, wirelessly.
With AirPlay, you can not only mirror your iPad’s screen onto the projector but also stream audio and video content from compatible apps directly to the projector. This allows you to enjoy movies, TV shows, and other media on a larger display without any cables.
Keep in mind that the availability and functionality of AirPlay may vary depending on the model and generation of your iPad. Older iPad models may have limitations in terms of AirPlay compatibility.
It’s important to note that for AirPlay to work smoothly, both your iPad and the projector must be connected to a stable Wi-Fi network. Any network interference or signal dropout could disrupt the wireless connection and impact the quality of the projected content. Ensure that you have a reliable Wi-Fi connection in the area where you’re setting up the projector.
Now that you’ve learned how to connect your iPad to a projector wirelessly using AirPlay, you can enjoy the freedom of seamlessly mirroring your iPad’s screen without the need for any cables. However, if your projector doesn’t support AirPlay or if you prefer a different method, you can explore connecting your iPad to a projector using a VGA adapter, which we will discuss next.
Connect iPad to Projector with VGA Adapter
If your projector does not have an HDMI input, you can still connect your iPad using a VGA adapter. Here’s how you can do it:
- Turn off both your iPad and the projector before making any connections.
- Connect one end of the VGA cable to the VGA port on your projector.
- Take the other end of the VGA cable and connect it to the VGA adapter that is compatible with your iPad’s connector. Insert the adapter firmly into the iPad.
- Power on your projector and set it to the correct VGA input source.
- Turn on your iPad. The screen should now be mirrored on the projector’s display.
- If the iPad screen doesn’t automatically mirror onto the projector, you may need to manually enable the display output. To do this, go to “Settings” on your iPad, then select “Display & Brightness.” Within this menu, find the option to adjust display settings and enable video output to the projector.
Using a VGA adapter allows you to connect your iPad to a wide range of projectors that support VGA connectivity. While VGA does not offer the same level of video and audio quality as HDMI, it still provides a reliable connection for basic projection needs.
Remember that VGA does not carry audio signals, so you may need to use an additional method, such as connecting external speakers to your iPad, to ensure audio output during the presentation or media playback.
Once you’ve finished using the VGA adapter connection, make sure to turn off your iPad and the projector before disconnecting any cables. This will help protect the devices and ensure a longer lifespan.
Now that you know how to connect your iPad to a projector using a VGA adapter, you have a versatile solution for projecting your iPad’s screen on a variety of projectors without HDMI input.
In the next section, we will discuss adjusting the display settings on your iPad to optimize the projection and troubleshoot any potential issues.
Adjust Display Settings on iPad
After successfully connecting your iPad to a projector, it is essential to adjust the display settings on your device for optimal projection. Here are some steps to consider:
- Go to the “Settings” app on your iPad and select “Display & Brightness.”
- In the “Display & Brightness” menu, you may have options to adjust the brightness level. It’s advisable to increase the brightness to ensure clear visibility on the projected screen, especially in well-lit environments.
- Next, you can adjust the auto-lock feature. It’s recommended to set it to a longer duration to prevent the iPad from going into sleep mode during your presentation or media playback.
- If you encounter any issues with the orientation of the displayed content, you can enable or disable the screen rotation lock. This lock prevents the screen from rotating when you physically rotate the iPad.
- Furthermore, you may have the option to enable or disable the “Auto-Brightness” feature. This feature automatically adjusts the screen brightness based on ambient light conditions. You can choose to keep it enabled or manually adjust the brightness for consistent projection quality.
Adjusting these display settings will help optimize the projected content and ensure that your audience can clearly see the material being presented. It’s important to note that the specific display options available may vary depending on your iPad model, iOS version, and any installed custom settings.
If you’re using an app specifically designed for presentation purposes, such as Microsoft PowerPoint or Keynote, you may also have additional settings within the app itself. These settings can include options to control the slide show format, pointer visibility, or presenter notes display, providing you with more flexibility during your presentation.
Lastly, it’s always a good idea to do a test run before your actual presentation or event. This will allow you to ensure everything is working correctly and make any necessary adjustments to the display settings or other configurations if needed.
With the display settings adjusted and everything in place, you’re now ready to confidently deliver your presentation or enjoy your media on the big screen using your iPad connected to a projector.
In the next section, we will address some common troubleshooting questions and provide solutions to help you overcome any issues that may arise during the connection process.
Troubleshooting and FAQs
While connecting your iPad to a projector is generally a straightforward process, there may be times when you encounter certain challenges or have questions. Here, we address some common troubleshooting scenarios and frequently asked questions:
Q: I’ve connected my iPad to the projector, but there’s no display. What should I do?
A: Double-check that the projector is turned on and set to the correct input source. Also, ensure that all cables and adapters are securely connected. Restarting both the iPad and the projector can also help resolve any temporary issues.
Q: My iPad’s screen is mirrored on the projector, but there’s no sound. How can I fix this?
A: If you’re using an HDMI or VGA adapter, check if your projector has built-in speakers and ensure they are turned on and the volume is up. Alternatively, connect external speakers or a sound system to the iPad’s audio output for better sound quality.
Q: Can I connect my iPad to multiple projectors simultaneously?
A: The ability to connect to multiple projectors simultaneously depends on the specific capabilities of your iPad and the projector. Some newer iPad models and projector systems support multi-display output, enabling you to connect to more than one projector at a time.
Q: My iPad doesn’t support AirPlay. Can I still connect wirelessly to a projector?
A: If your iPad model doesn’t support AirPlay, you may be able to use third-party apps or devices that offer wireless screen mirroring capabilities. Look for apps or adapters that support the specific connection method compatible with your iPad.
Q: Can I connect my iPad to a projector without an adapter?
A: Connecting an iPad to a projector typically requires an adapter or cable. However, some projectors may have built-in wireless screen mirroring capabilities, eliminating the need for physical connections. For such projectors, ensure that both your iPad and the projector are connected to the same Wi-Fi network and follow the manufacturer’s instructions for wireless projection.
Q: How do I disconnect my iPad from the projector?
A: To disconnect your iPad from the projector, simply power off your iPad and turn off the projector. Unplug any cables or adapters connecting the two devices. It’s essential to disconnect cables properly to avoid any damage or accidents.
If you encounter any other issues or have specific questions related to your iPad model or projector, consult the user manuals or support resources for both devices. Additionally, the Apple Support website may provide troubleshooting guides and solutions for common challenges.
Now armed with troubleshooting tips and answers to common questions, you’re ready to resolve any potential issues and make the most out of your iPad-to-projector connection.
In the final section, we’ll wrap up the article and summarize the key points discussed.
Conclusion
Connecting your iPad to a projector opens up a world of possibilities for presentations, sharing content, and enjoying media on a larger screen. Whether you opt for an HDMI adapter, AirPlay wireless connection, or a VGA adapter, each method offers its own advantages and suits different projector setups.
Gathering the necessary equipment, such as the appropriate cables or adapters, is the first step in connecting your iPad to a projector. Once you have the equipment, following the step-by-step instructions for your chosen method is essential for a successful connection.
Additionally, adjusting the display settings on your iPad ensures optimal projection quality and visibility. By increasing brightness levels, adjusting auto-lock settings, and enabling screen rotation lock as needed, you can enhance the viewing experience for your audience.
If you encounter any issues during the connection process, troubleshooting tips and frequently asked questions can guide you towards solutions. Double-checking cable connections, restarting devices, and exploring alternative methods can help resolve common problems.
Remember, practice makes perfect. Doing a test run before your actual presentation or event allows you to iron out any kinks and familiarize yourself with all the necessary steps, ensuring a smooth and seamless connection.
Now that you have the knowledge and confidence to connect your iPad to a projector, you can unleash your creativity, deliver impactful presentations, enjoy immersive media experiences, and engage your audience on a bigger canvas.
So go ahead, connect your iPad to a projector, and showcase your ideas and content in a whole new light!