Introduction
Connecting your Apple TV to a projector allows you to enjoy your favorite movies, TV shows, and streaming content on a larger screen. Whether you are hosting a movie night with friends or giving a presentation in a conference room, the ability to connect your Apple TV to a projector can greatly enhance the viewing experience.
However, some people may be unsure of how to properly connect their Apple TV to a projector. In this guide, we will walk you through the step-by-step process of connecting your Apple TV to a projector. We will also provide troubleshooting tips to help you if you encounter any issues along the way.
Before we begin, it’s important to note that the specific steps may vary slightly depending on the make and model of your projector and Apple TV. We will provide general instructions that should work for most setups, but it’s always a good idea to consult the user manuals for your specific devices if you encounter any difficulties.
So, if you’re ready to enjoy your favorite content on the big screen, let’s get started with the requirements you’ll need for this setup.
Requirements
Before you begin the process of connecting your Apple TV to a projector, there are a few essential requirements you need to fulfill:
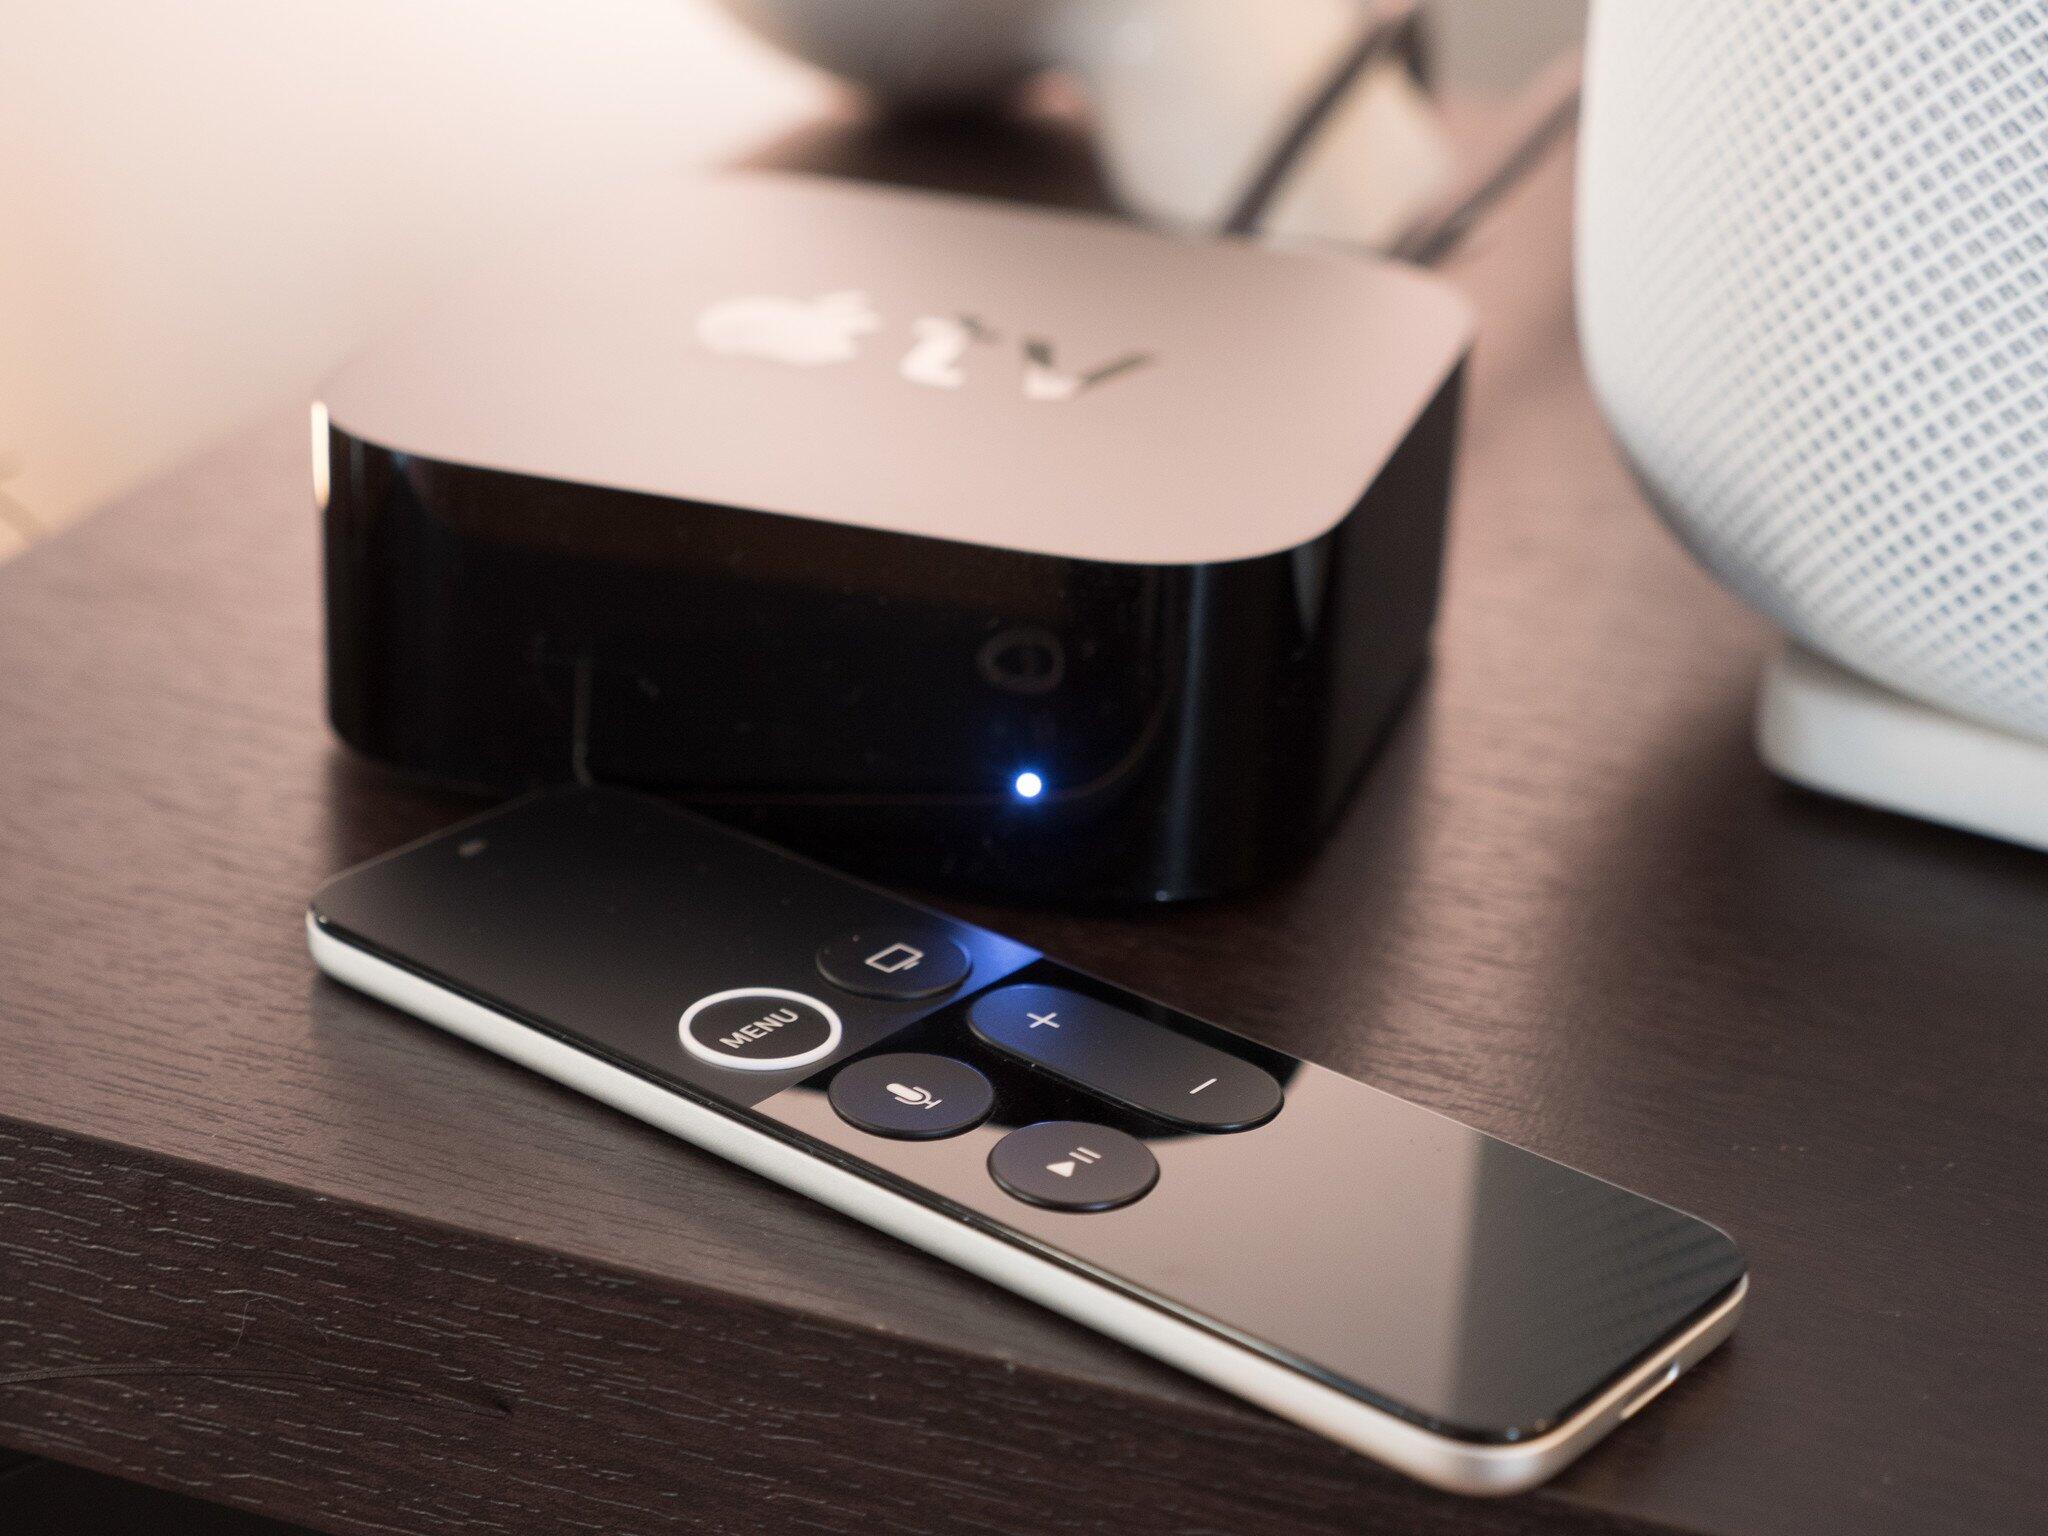
- An Apple TV: Make sure you have a functioning Apple TV device. This can be any generation of Apple TV (Apple TV HD, Apple TV 4K, or later versions).
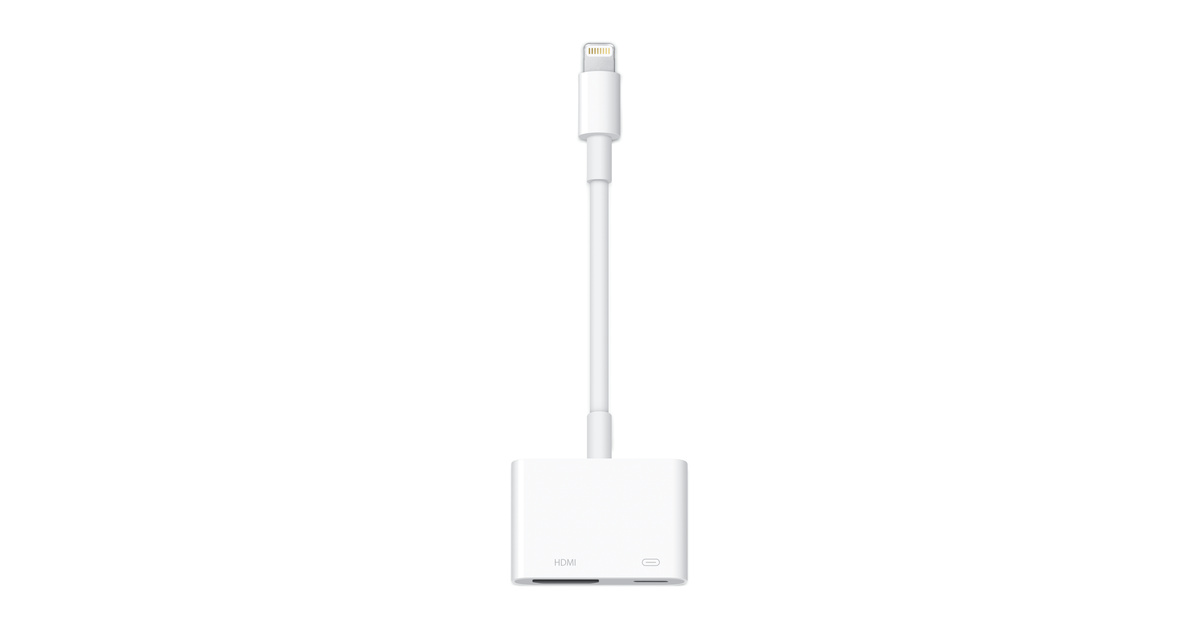
- A Projector: You will need a projector that supports HDMI or VGA connectivity. Check that your projector has the necessary ports to connect to your Apple TV. Most projectors will have HDMI ports, but if not, you may need an HDMI-to-VGA adapter.
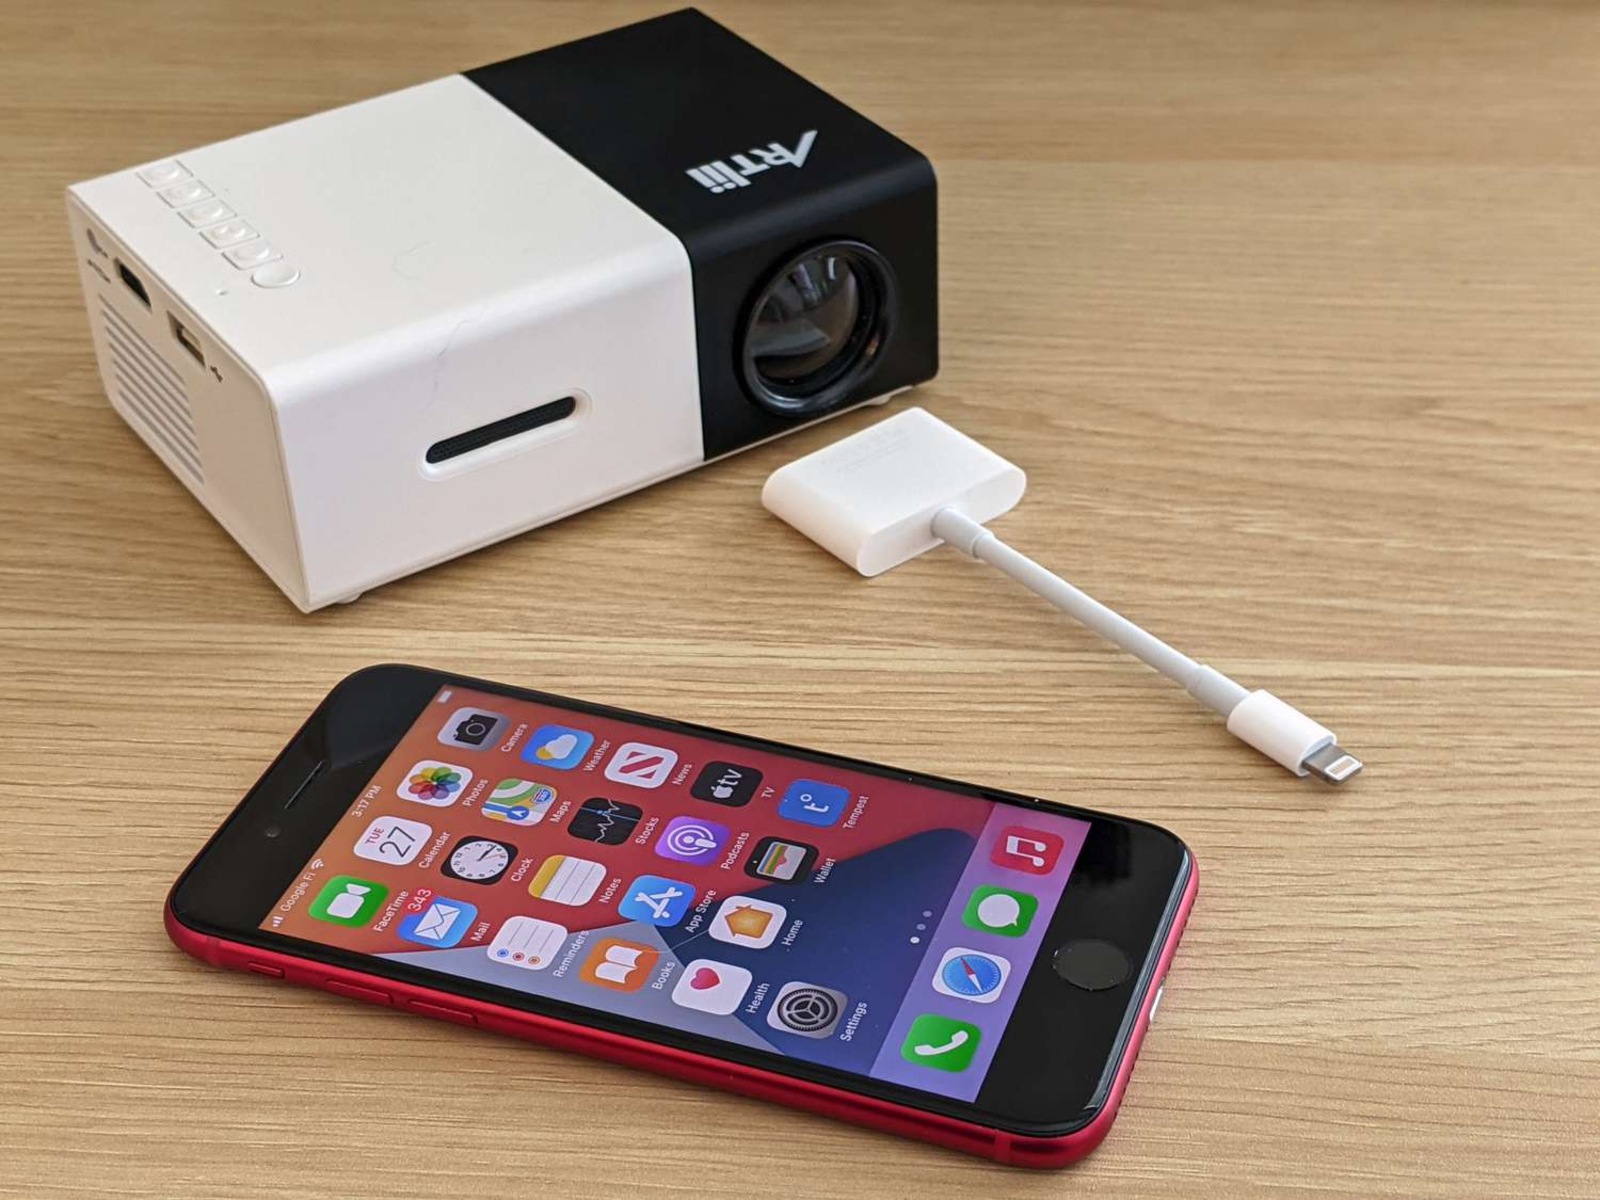
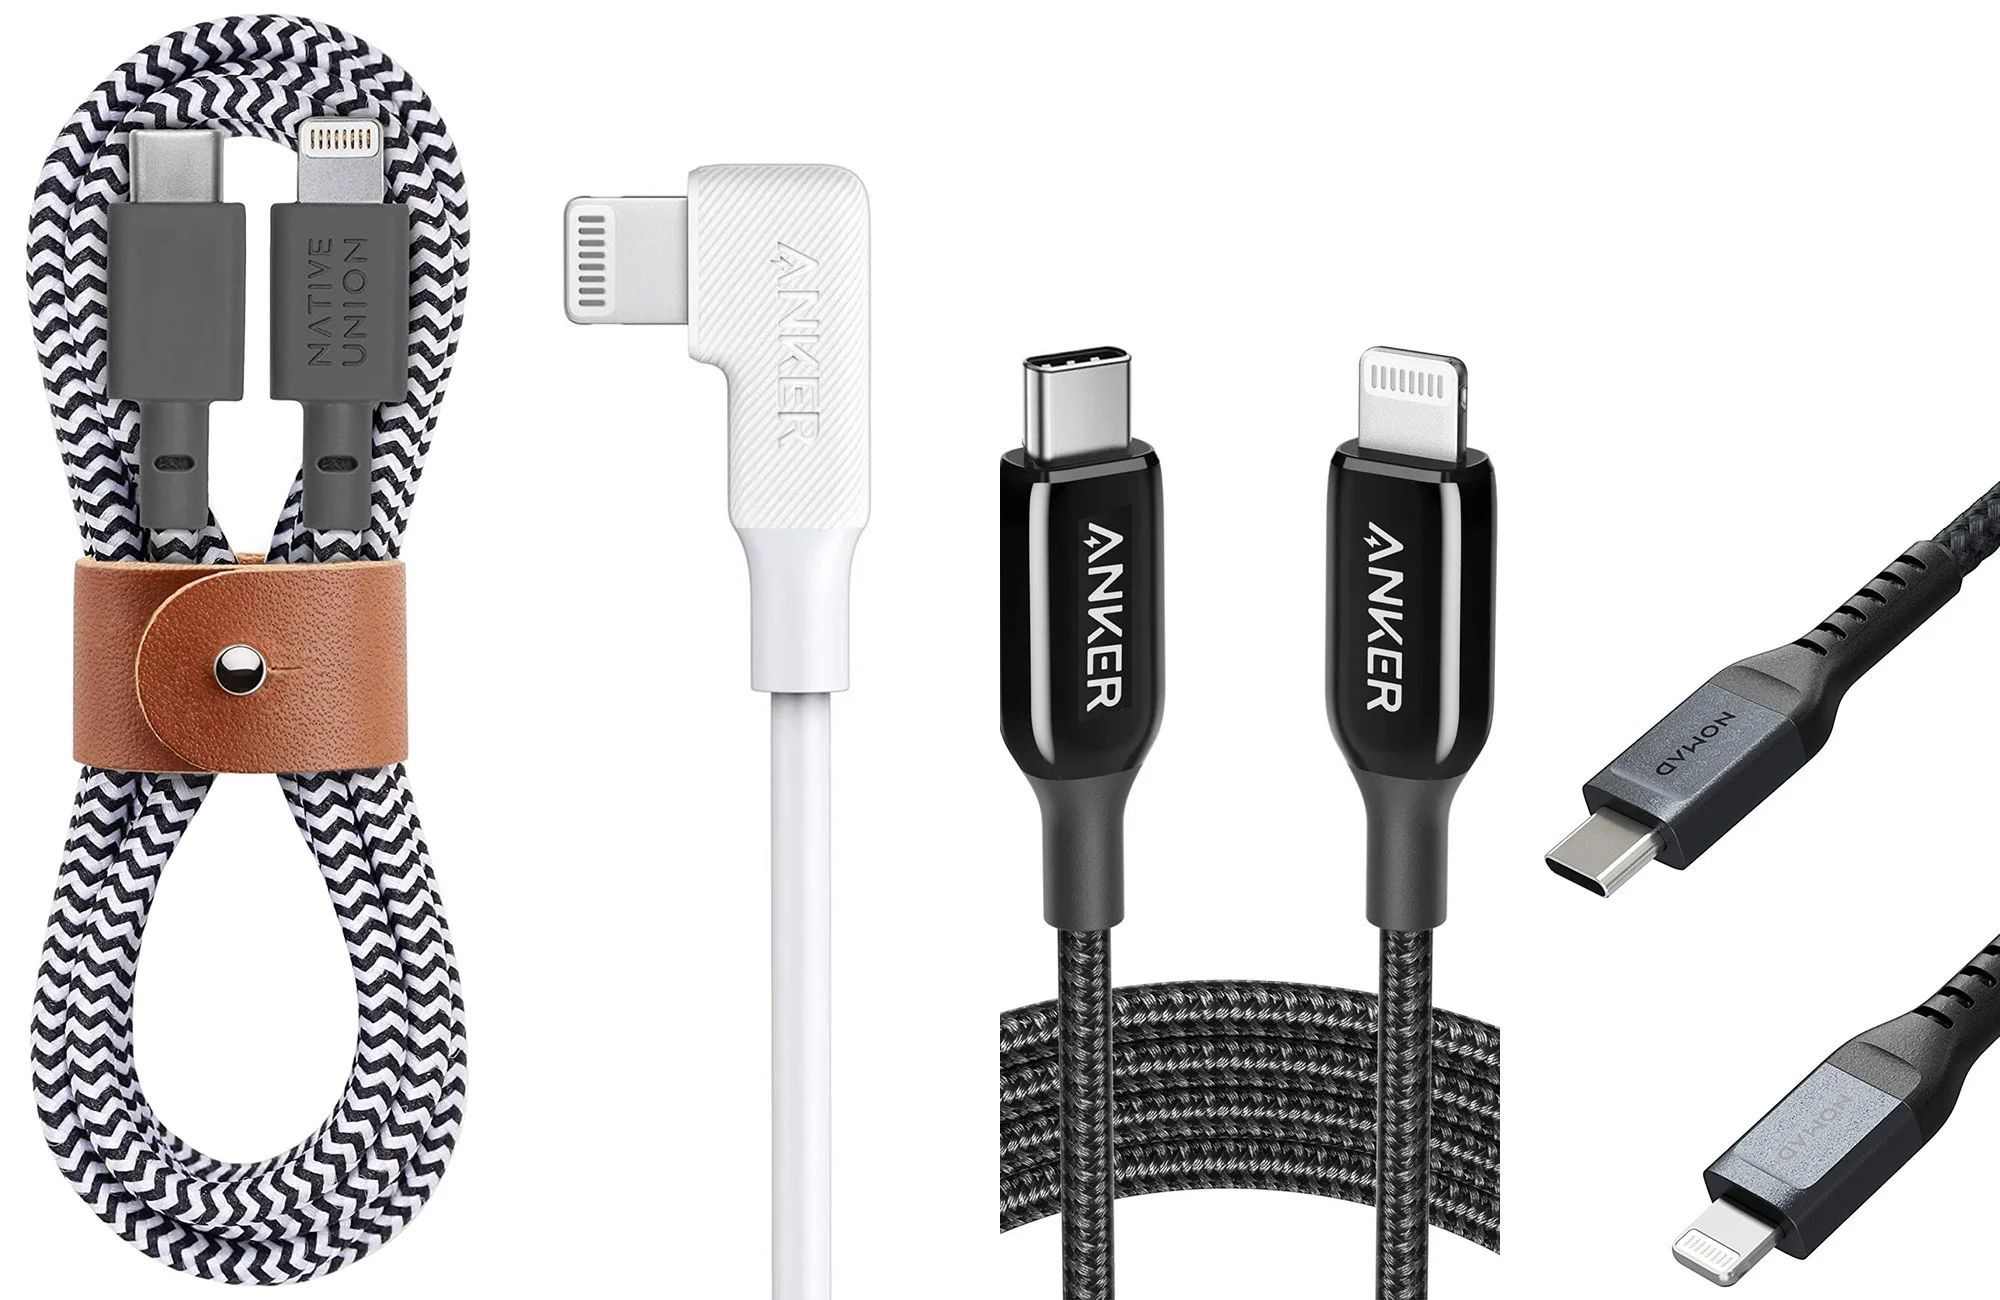
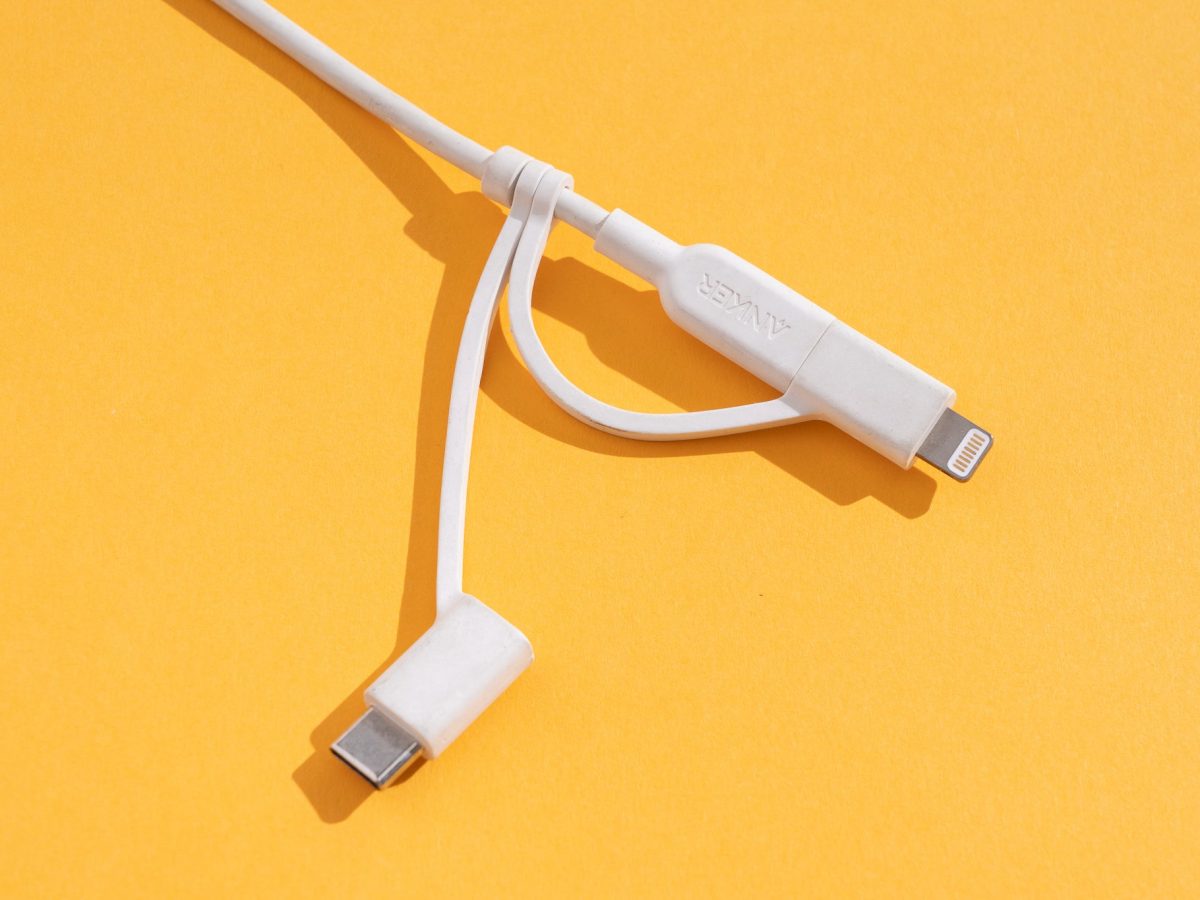
- HDMI or VGA Cable: Depending on the ports available on your projector, you will need either an HDMI cable or a VGA cable to connect your Apple TV to the projector. Make sure the cable is long enough to reach from your Apple TV to the projector.
- Power Cables: Ensure that both your Apple TV and the projector are connected to a power source using their respective power cables.
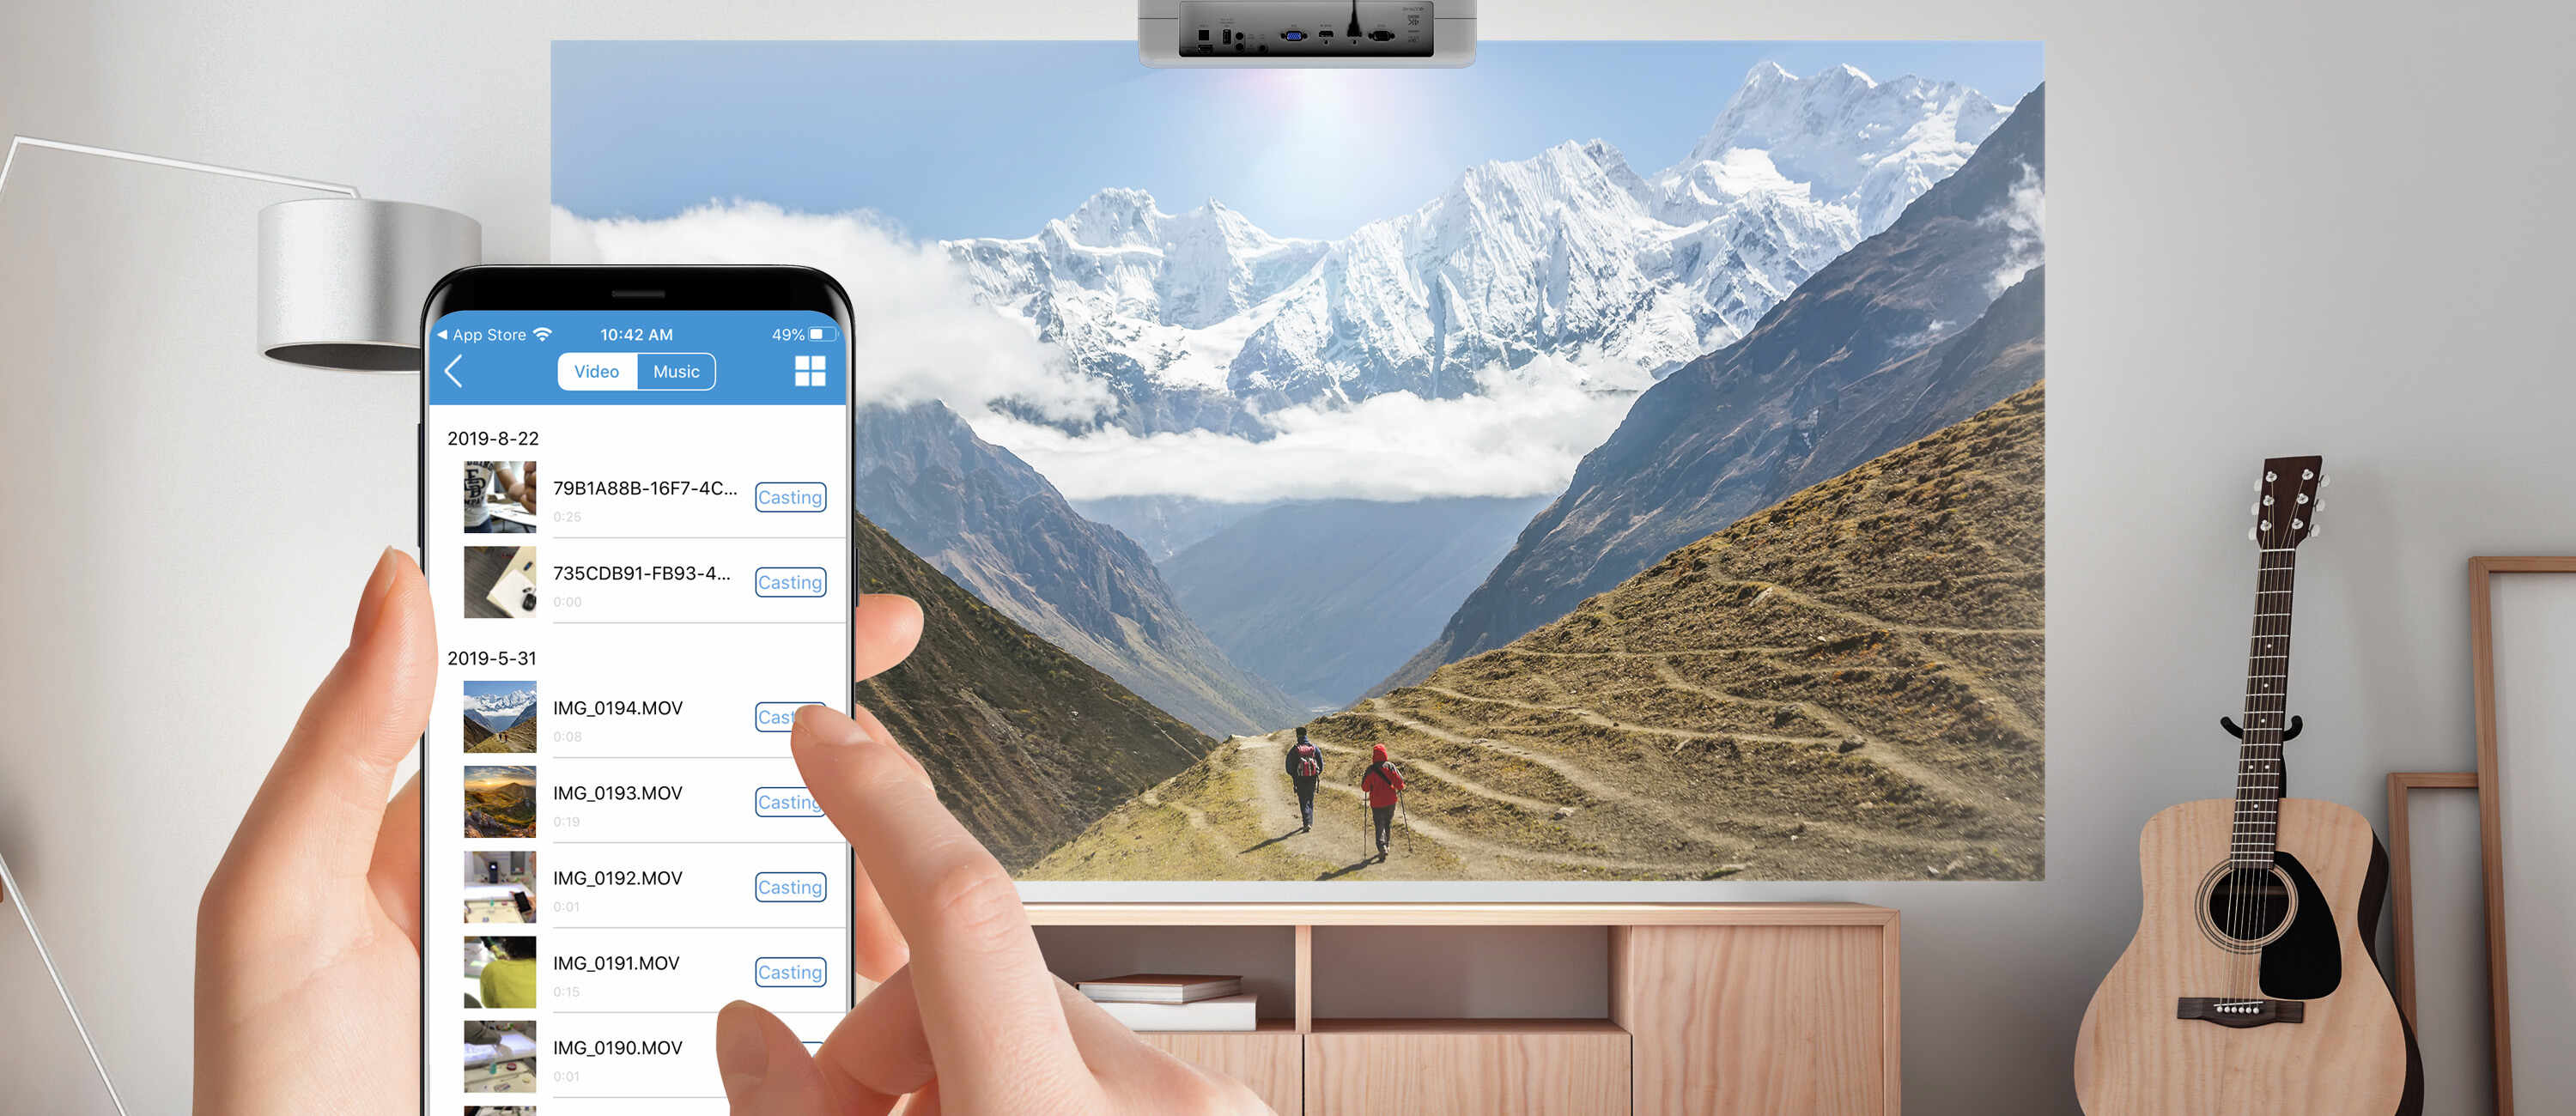
- Wi-Fi Connection: A stable Wi-Fi connection is essential for streaming content on your Apple TV. Make sure you have a reliable Wi-Fi network available.
- Audio Equipment: If you want to enhance your audio experience, consider connecting external speakers or an audio system to your projector or Apple TV. This step is optional, but it can significantly improve the sound quality.
Once you have these requirements ready, you can proceed to the next section, where we will guide you through the step-by-step process of connecting your Apple TV to a projector.
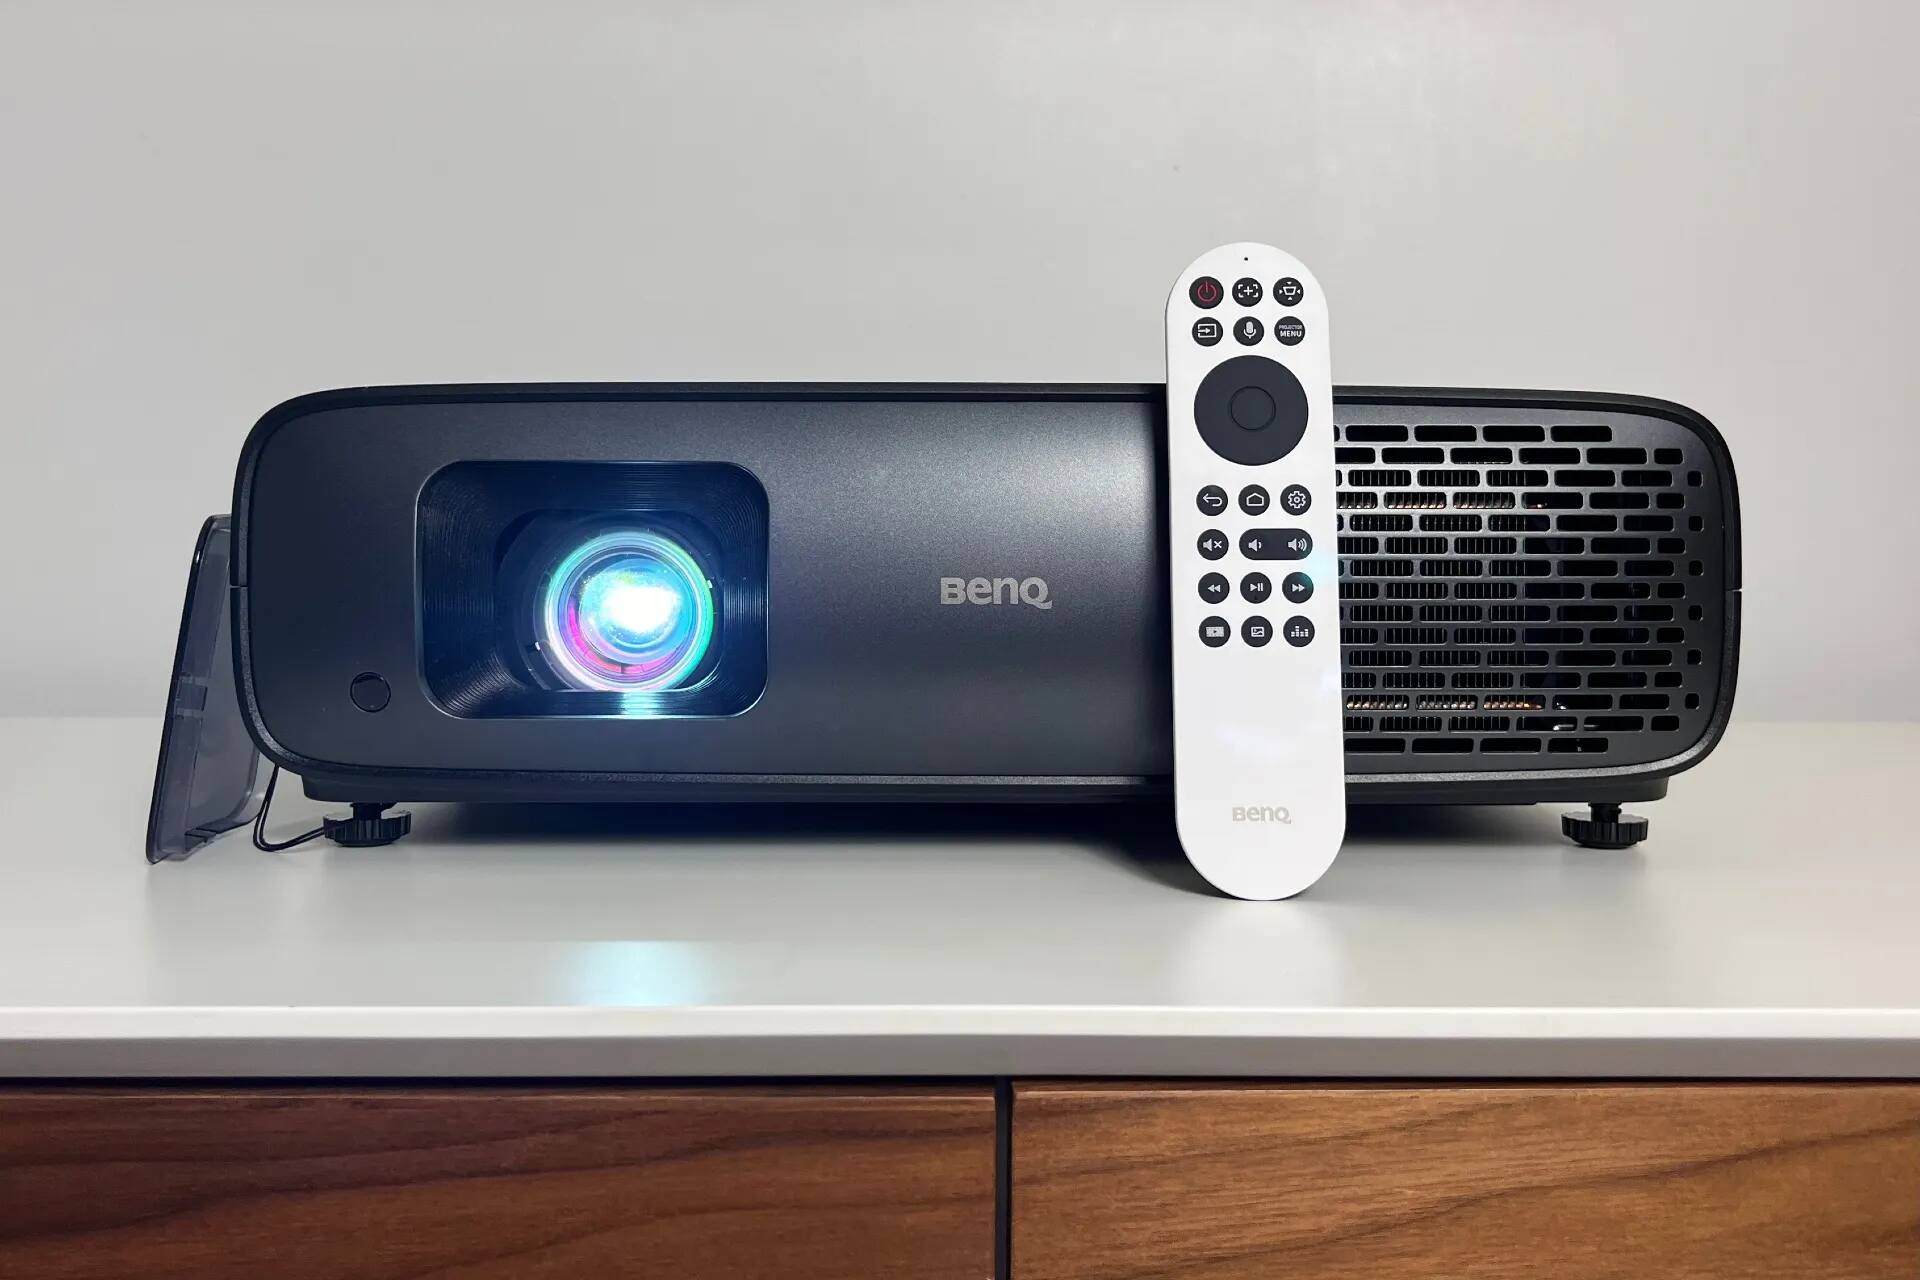
Step 1: Connect Apple TV to Projector
Now that you have gathered all the necessary requirements, it’s time to connect your Apple TV to the projector. Follow these steps:
- Locate the HDMI or VGA port on your projector. If your projector has HDMI ports, use an HDMI cable to connect it to your Apple TV. If your projector only has VGA ports, you will need an HDMI-to-VGA adapter and a VGA cable.
- Connect one end of the HDMI cable (or VGA cable with the HDMI-to-VGA adapter) to the corresponding port on your projector.
- Connect the other end of the HDMI cable (or VGA cable) to the HDMI port on your Apple TV.
- If you’re using an HDMI cable, make sure to connect the Apple TV to an HDMI input port on the projector. If you’re using a VGA cable with an adapter, connect it to the VGA input port.
Once you have successfully connected your Apple TV to the projector, proceed to the next section, where we will guide you through adjusting the projector settings.
Step 2: Adjust the Projector Settings
After connecting your Apple TV to the projector, you may need to adjust some settings on the projector to ensure optimal display quality. Follow these steps:
- Turn on your projector and select the correct input source. This may be labeled as “HDMI” or “VGA” depending on the connection you used.
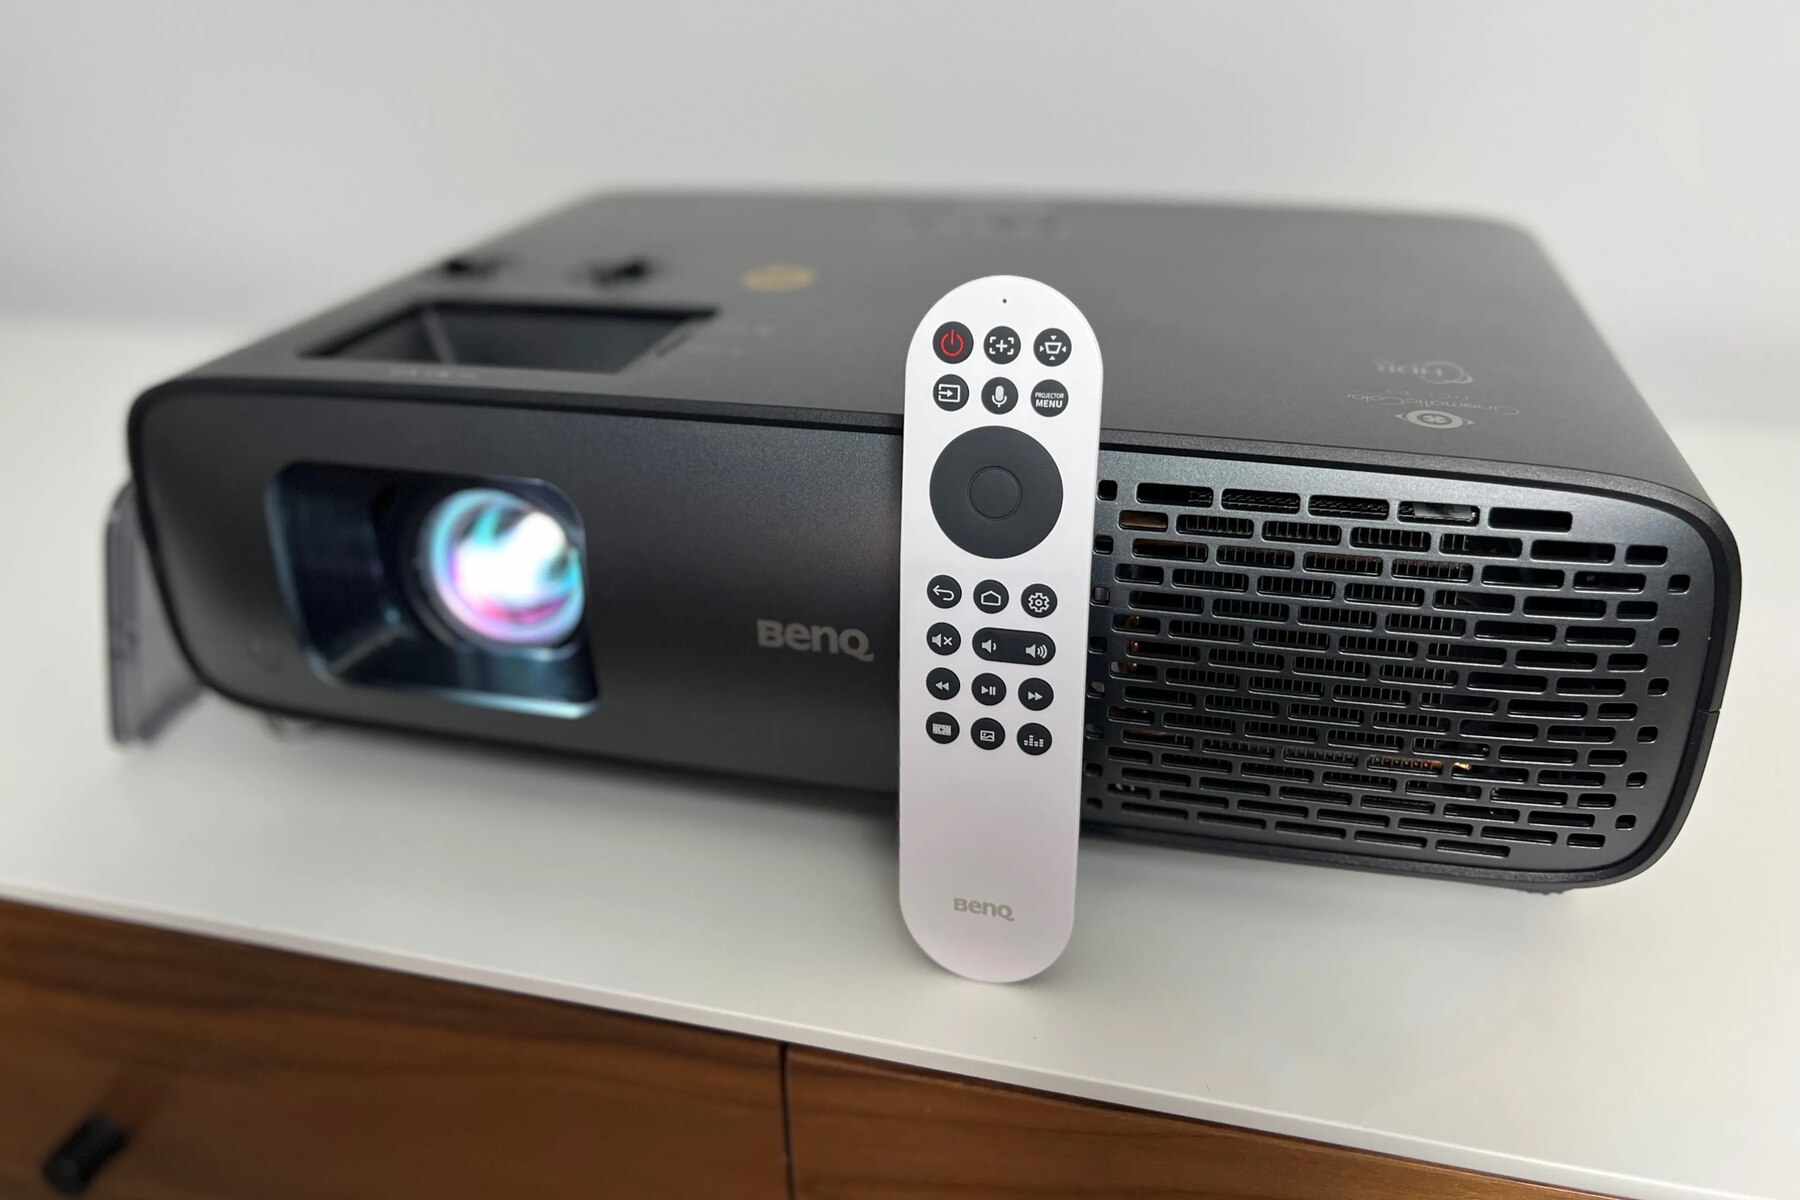
- Access the projector’s menu settings. The method for accessing the settings may vary depending on the brand and model of your projector. Typically, there will be a button on the projector or its remote control labeled “Menu” or “Settings” that you can press to access the menu.
- Navigate through the projector’s menu using the arrow keys on the remote control or the buttons on the projector itself. Look for display-related settings such as “Aspect Ratio,” “Resolution,” or “Screen Size.”
- Adjust the settings according to your preferences. Set the aspect ratio to match the content you’ll be watching (e.g., 16:9 for widescreen content) and select the highest available resolution that is supported by your projector. This will ensure the best image quality.
- Save the changes and exit the menu settings. On some projectors, you may need to press a specific button, such as “Enter” or “OK,” to save the settings.
With the projector settings adjusted, you are now ready to set up your Apple TV. Proceed to the next section for further instructions.
Step 3: Set up Apple TV
Now that your projector settings are adjusted, it’s time to set up your Apple TV. Follow these steps:
- Connect the power cable to your Apple TV and plug it into a power outlet. Make sure it is turned on.
- On your projector, select the input source that corresponds to the port your Apple TV is connected to (e.g., HDMI or VGA).
- Turn on your projector’s display or projection mode.
- On your Apple TV, use the remote control or the Apple TV app on your iOS device to navigate through the on-screen setup process.
- Choose your preferred language, connect to your Wi-Fi network, and sign in with your Apple ID if prompted.
- Follow the on-screen instructions to complete the initial setup of your Apple TV. This may include agreeing to terms and conditions and setting up relevant preferences.
Once your Apple TV is set up and connected to the Wi-Fi network, you can proceed to the next step to configure the display settings.
Step 4: Configure Display Settings
After setting up your Apple TV, it’s time to configure the display settings for optimal viewing. Follow these steps:
- On your Apple TV, go to the “Settings” menu.
- Select “Video and Audio” or “Display and Sound,” depending on your Apple TV version.
- Under the “Video” or “Display” section, you can adjust various settings such as resolution, aspect ratio, and screen saver preferences.
- Select the desired resolution for your projector. Choose the highest resolution available that is supported by both your Apple TV and projector.
- Some projectors support the option of displaying a screensaver when there is no content being played. If desired, you can customize the screensaver settings under the “Screen Saver” option.
- Make sure to save the changes and exit the settings menu.
Your Apple TV display settings are now configured to work optimally with your projector. If you wish to enhance your audio experience, you can proceed to the next step to learn about connecting additional audio.
Step 5: Connect Additional Audio
If you want to enhance the audio output from your Apple TV and projector setup, you can connect additional audio equipment such as speakers or an audio system. Follow these steps:
- Determine the audio output options available on your projector. Some projectors have built-in speakers, while others may have audio output ports like 3.5mm audio jack or HDMI ARC (Audio Return Channel) support.
- If your projector has built-in speakers and you are satisfied with the audio quality, you can skip this step. The audio will be played through the projector’s speakers automatically.
- If your projector has an audio output port or supports HDMI ARC, you can connect external speakers or an audio system. Use the appropriate cable or adapter to connect the audio output port on the projector to the input port on your speakers or audio system.
- Make sure the audio output is properly set on your Apple TV. Go to the “Settings” menu, select “Video and Audio” or “Audio and Video,” and choose the correct audio output option (e.g., HDMI or analog).
- Adjust the volume on both the projector and the external speakers to achieve the desired audio level.
With the additional audio connected, you can now enjoy immersive sound along with your Apple TV and projector setup. If you encounter any issues during the connection or playback process, refer to the troubleshooting tips in the next section.
Troubleshooting Tips
While setting up your Apple TV with a projector, you may encounter a few challenges. Here are some troubleshooting tips to help you resolve common issues:
- No Signal: If your projector displays a “No Signal” message, double-check all connections and ensure they are securely plugged in. Verify that you have selected the correct input source on your projector.
- No Audio: If you don’t hear any sound from your projector or external speakers, ensure that the volume is turned up on both the projector and the speakers. Verify that the correct audio output is selected on your Apple TV.
- Poor Image Quality: If the projected image appears blurry or pixelated, check the resolution settings on both your projector and Apple TV. Ensure they are set to match the capabilities of your projector.
- Incompatible Cable: Make sure you are using the appropriate cable to connect your Apple TV to the projector. For example, if your projector only has VGA ports, you will need an HDMI-to-VGA adapter and a VGA cable.
- Wi-Fi Connectivity Issues: If you are experiencing connectivity issues with your Apple TV, ensure that your Wi-Fi network is stable and that the signal is strong. Consider moving the Apple TV and router closer to each other or using an Ethernet cable for a wired connection.
If you encounter persistent issues that cannot be resolved through these troubleshooting tips, consult the user manuals of your Apple TV and projector for more specific instructions or contact their respective customer support.
By following these troubleshooting tips, you should be able to overcome common challenges and enjoy a seamless viewing experience with your Apple TV and projector setup.
Conclusion
Connecting your Apple TV to a projector is a great way to enjoy your favorite content on a larger screen. By following the step-by-step instructions outlined in this guide, you can easily set up and configure your Apple TV with a projector, enhancing your viewing experience in no time.
Remember to gather all the necessary requirements, including an Apple TV, a compatible projector, HDMI or VGA cables, power cables, and a stable Wi-Fi connection. Adjust the projector settings to optimize the display quality, set up your Apple TV, and configure the display settings for optimal viewing.
If you want to enhance the audio experience, consider connecting external speakers or an audio system to your projector or Apple TV. This step is optional but can greatly improve the sound quality.
If you encounter any issues during the setup or experience problems such as no signal, no audio, poor image quality, or Wi-Fi connectivity issues, refer to the troubleshooting tips provided to help you troubleshoot and resolve these common problems.
With your Apple TV successfully connected to a projector, you can now enjoy a cinematic experience right in the comfort of your home or deliver impactful presentations in a professional setting. Sit back, relax, and enjoy the big-screen entertainment with your Apple TV and projector setup!