Introduction
Connecting a projector to a laptop is essential for presentations, gaming, or watching movies on a bigger screen. However, there may be situations where your laptop doesn’t have a VGA port, which is the most commonly used option for connecting a projector. But don’t worry, there are several alternative methods to connect your laptop to a projector without a VGA port.
In this article, we will explore different ways to connect a projector to a laptop that lacks a VGA port. We will discuss options such as using an HDMI cable, using an adapter for different port types, connecting via USB-C or Thunderbolt 3, and even wirelessly connecting the projector. By following these methods, you can easily connect your projector to your laptop regardless of the ports available.
Before diving into the specific methods, it is important to understand the ports available on your laptop and the compatibility requirements of your projector. Each laptop model may have different port options, so it is essential to familiarize yourself with the ports on your specific laptop and the available input ports on your projector.
Let’s get started by exploring the different options for connecting a projector to a laptop without a VGA port.
Understanding Your Laptop Ports
Before attempting to connect a projector to your laptop, it is important to understand the ports available on your laptop. Different laptops have different port configurations, so it is crucial to know which ports you have and their respective functionalities.
The most common ports found on laptops are:
- HDMI Port: HDMI (High Definition Multimedia Interface) ports are increasingly becoming standard on laptops. HDMI ports are the easiest and most convenient way to connect a projector to a laptop, as they support both audio and video signals. Make sure to check if your laptop has an HDMI port, as this will be the primary method of connection in most cases.
- USB-C or Thunderbolt 3 Port: Many modern laptops come equipped with USB-C or Thunderbolt 3 ports, which provide a versatile connection option. These ports can be used to connect to a projector using the appropriate adapter or cable. USB-C and Thunderbolt 3 ports support faster data transfer and can even power the projector in some cases.
- DisplayPort: DisplayPort is another commonly found port on laptops. It is similar to HDMI in terms of its ability to transmit audio and video signals. If your laptop has a DisplayPort, you can use a DisplayPort to HDMI adapter or cable to connect to the projector.
- DVI Port: Although becoming less common on newer laptops, some older models may have a DVI (Digital Visual Interface) port. DVI ports are primarily used for video signals, so you will need an additional audio cable to transmit sound if connecting using DVI. It’s worth noting that DVI is gradually being replaced by HDMI and DisplayPort technology.
- USB Port: USB ports are universal and found on nearly all laptops. While they are typically used for data transfer and peripheral connections, some projectors offer USB connectivity. However, USB ports on laptops usually do not support video signals, so this option may not be suitable for connecting a projector to your laptop.
Understanding the ports available on your laptop is the first step in deciding which method to use for connecting the projector. Once you are familiar with the ports on your laptop, you can move on to the next step of checking your projector for compatible input ports.
Checking Your Projector
After understanding the ports available on your laptop, the next step is to check your projector for compatible input ports. Different projectors have different input options, so it is important to ensure that your projector can support the connection method you plan to use.
The most commonly found input ports on projectors are:
- HDMI: HDMI ports are the most versatile and widely supported input option on projectors. If your projector has an HDMI input, you can easily connect it to your laptop using an HDMI cable.
- VGA: VGA (Video Graphics Array) ports are another common input option found on projectors. While we are exploring methods to connect a projector to a laptop without a VGA port, it is worth mentioning that some laptops may still have a VGA port. If your projector has a VGA input and your laptop has a VGA port, you can use a VGA cable to establish the connection.
- DisplayPort: Some projectors may also have a DisplayPort input. If your laptop has a compatible DisplayPort output, you can use a DisplayPort to DisplayPort cable to connect the projector.
- DVI: Similar to laptops, some projectors may also have a DVI input. If your laptop has a DVI output, you can use a DVI to DVI cable or a DVI to HDMI adapter to connect to the projector.
- USB: Certain projectors offer USB connectivity, allowing you to connect your laptop using a USB cable. However, it’s essential to check the specifications of the projector and ensure that the USB connection supports video transmission.
Once you have identified the input ports on your projector, you can determine which connection method is suitable based on the available ports on your laptop. If your projector and laptop have compatible ports, such as HDMI to HDMI or VGA to VGA, you can proceed with a direct connection. However, if your laptop and projector have different ports, you will need additional adapters or cables to establish the connection.
Now that you have a clear understanding of your laptop ports and have checked your projector’s input ports, let’s move on to the methods for connecting your laptop to a projector without a VGA port.
Connecting with an HDMI Cable
If your laptop and projector both have HDMI ports, using an HDMI cable is the simplest and most straightforward method to connect them. HDMI (High Definition Multimedia Interface) cables transmit both audio and video signals, ensuring a high-quality connection.
Here’s how to connect your laptop to a projector using an HDMI cable:
- Make sure both your laptop and the projector are turned off.
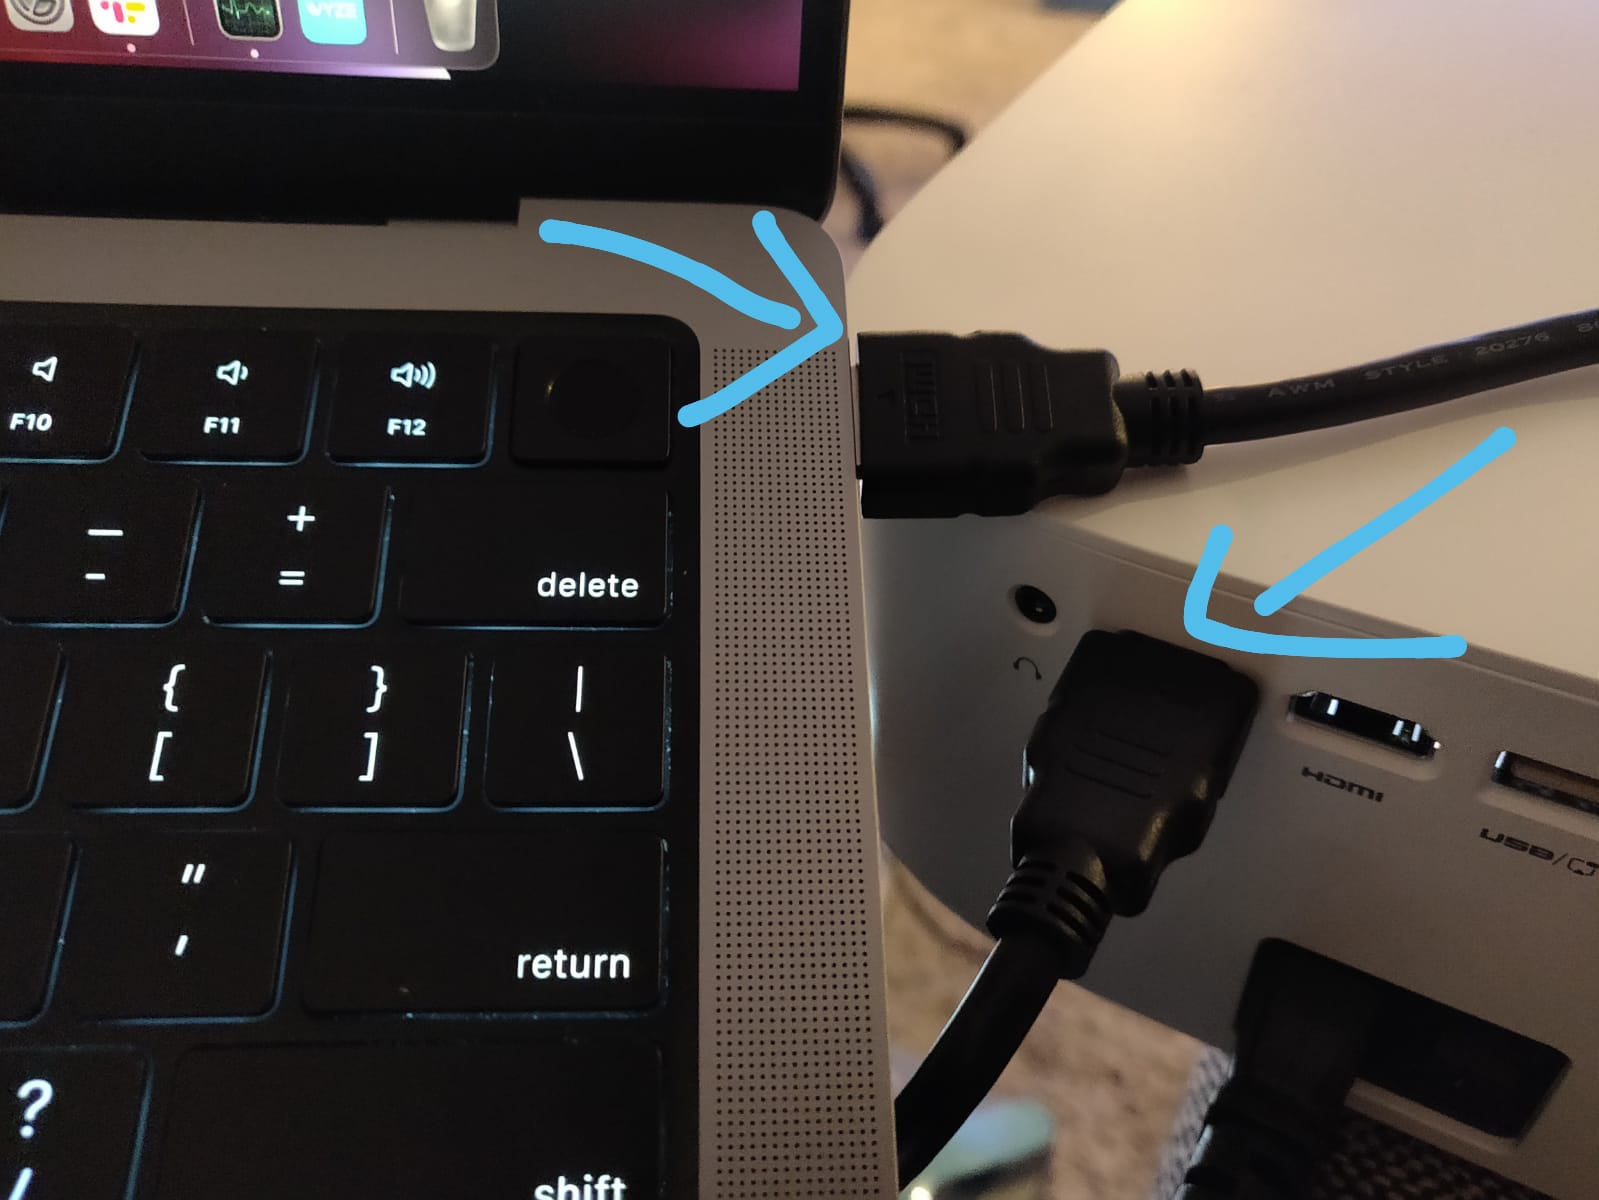
- Locate the HDMI port on your laptop. It is usually labeled “HDMI” or displayed with an HDMI icon.
- Connect one end of the HDMI cable to the HDMI port on your laptop.
- Locate the HDMI input port on your projector. It may be labeled “HDMI IN” or displayed with an HDMI icon.
- Connect the other end of the HDMI cable to the HDMI input port on your projector.
- Turn on your laptop and the projector.
- Set the input source on the projector to HDMI. Most projectors have an input/source button on the remote control or the projector itself. Press the button until you see the HDMI input selected.
- Your laptop screen should now be mirrored or extended on the projector’s display. If not, you may need to adjust the display settings on your laptop.
Using an HDMI cable provides a hassle-free and high-quality connection between your laptop and projector. However, if your laptop doesn’t have an HDMI port, don’t worry. There are alternative methods to connect your laptop to a projector without a VGA port, which we will explore in the following sections.
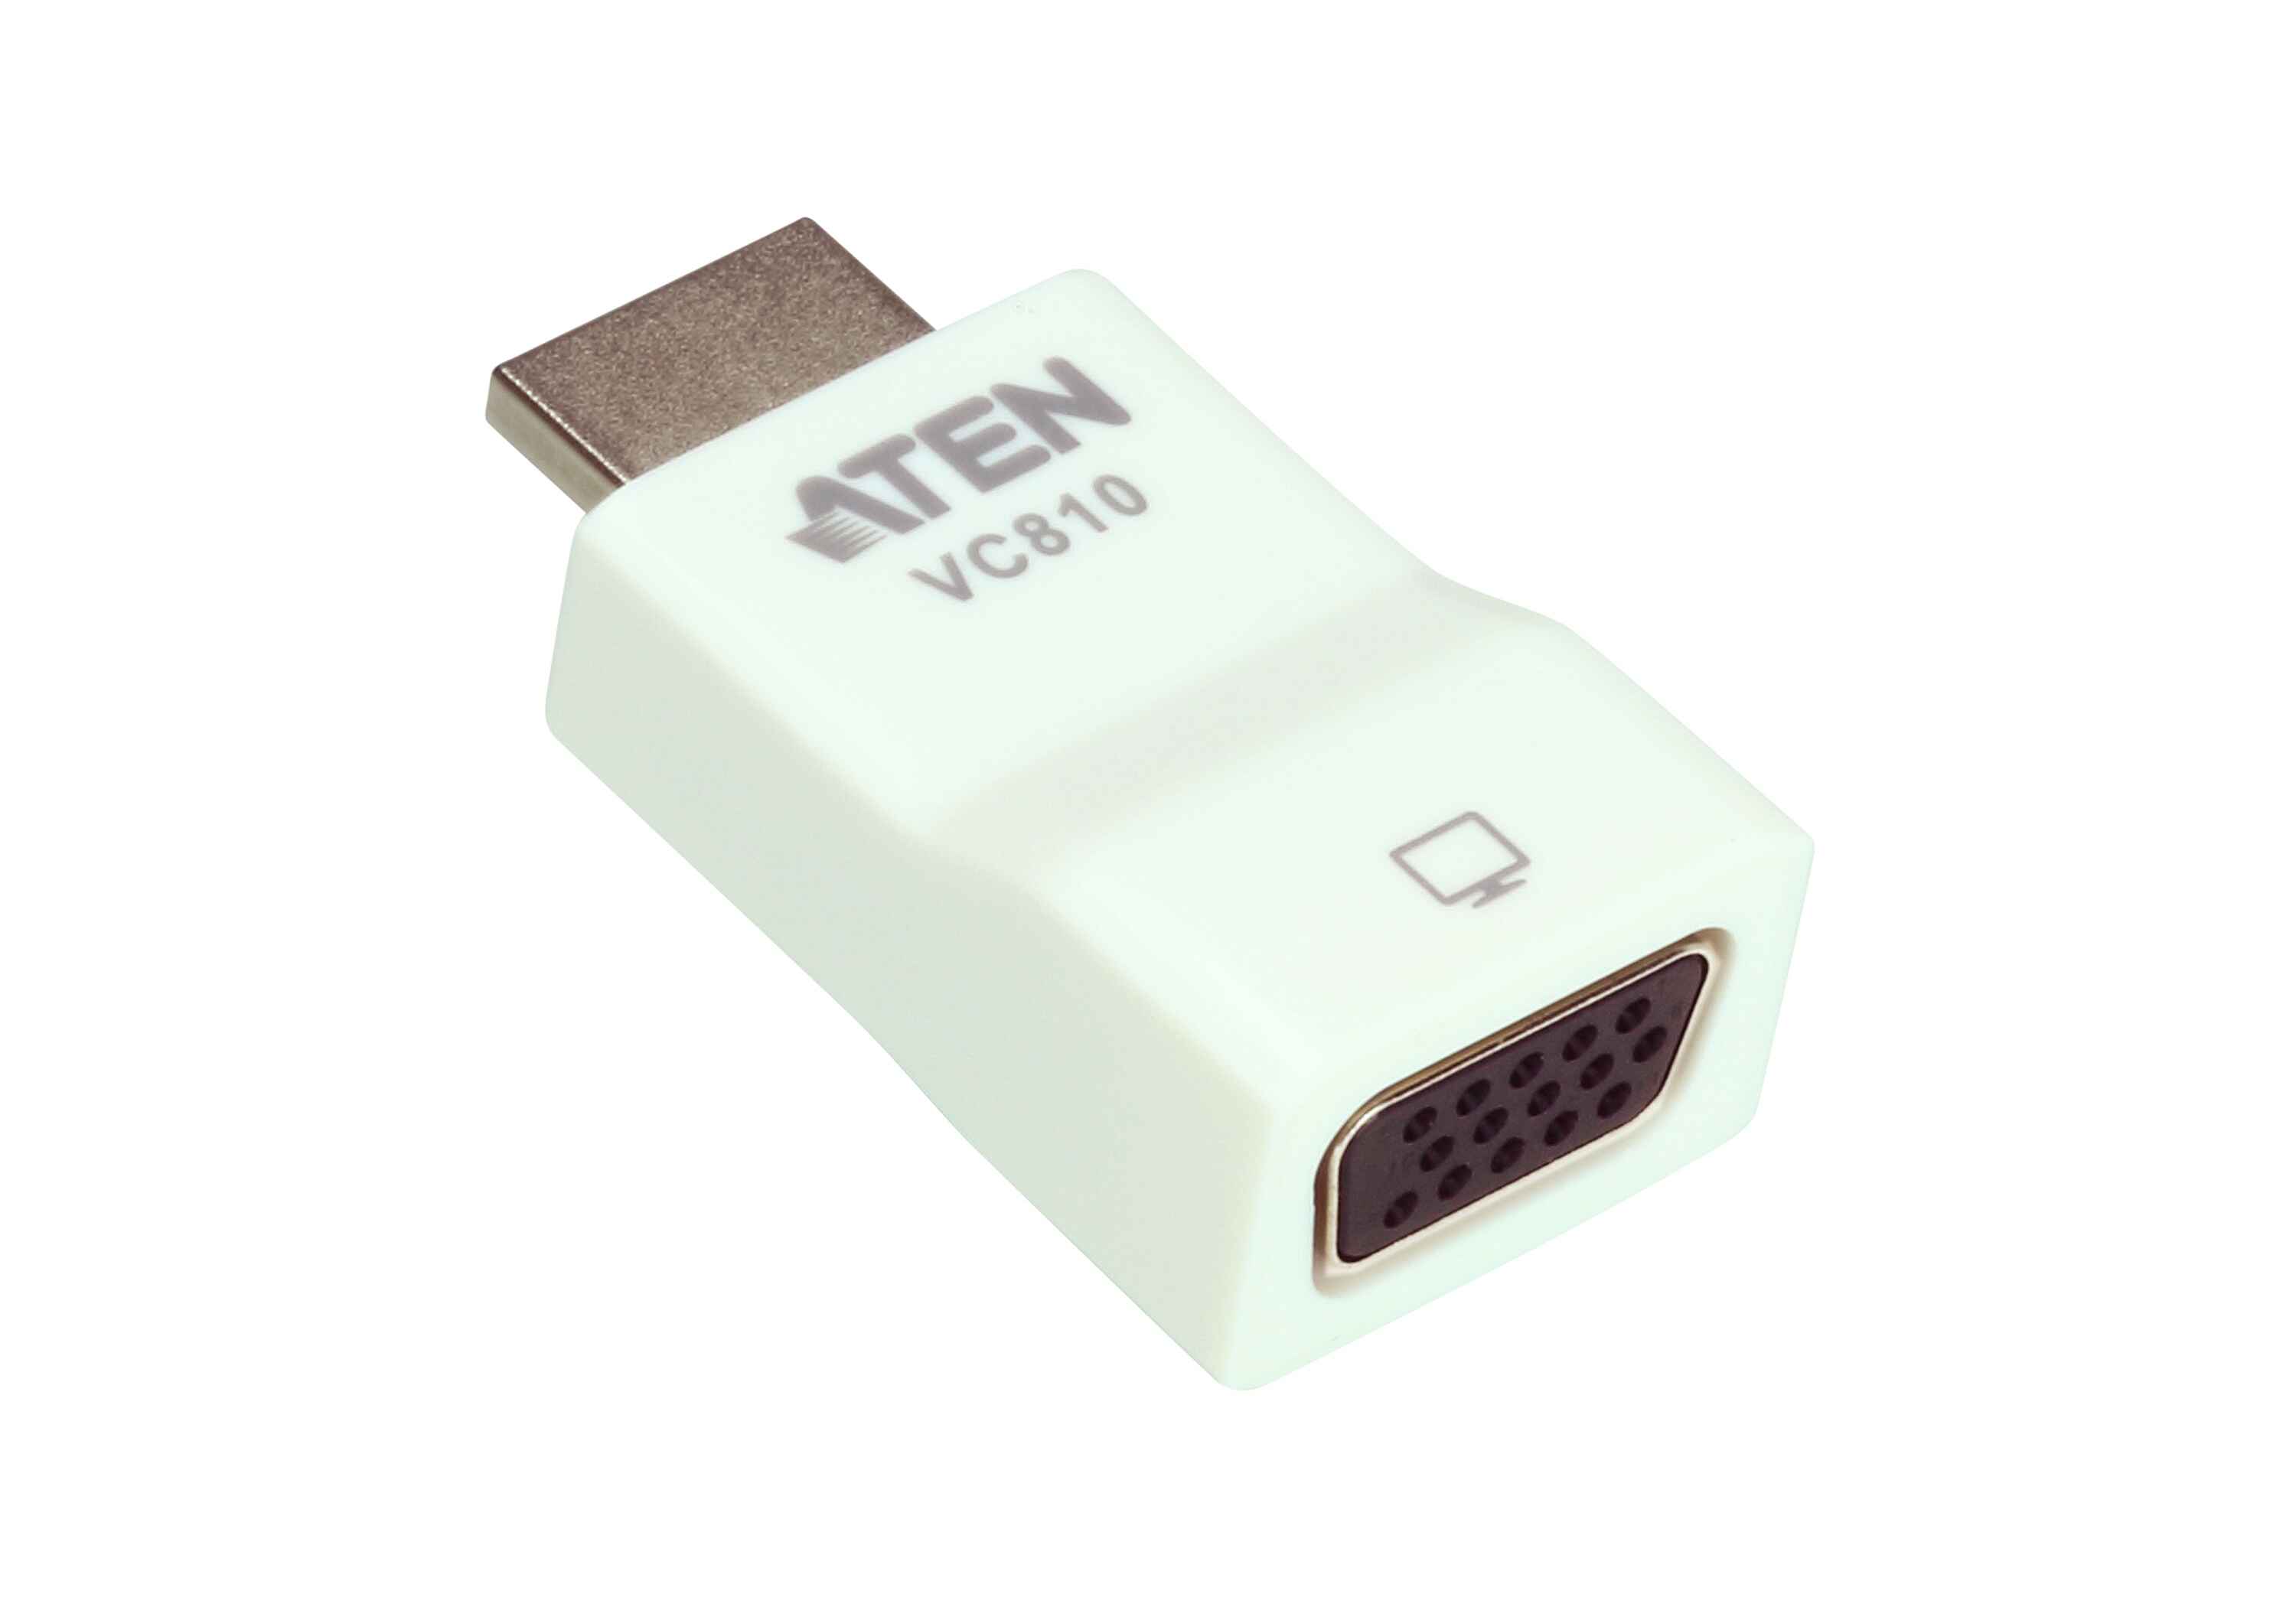
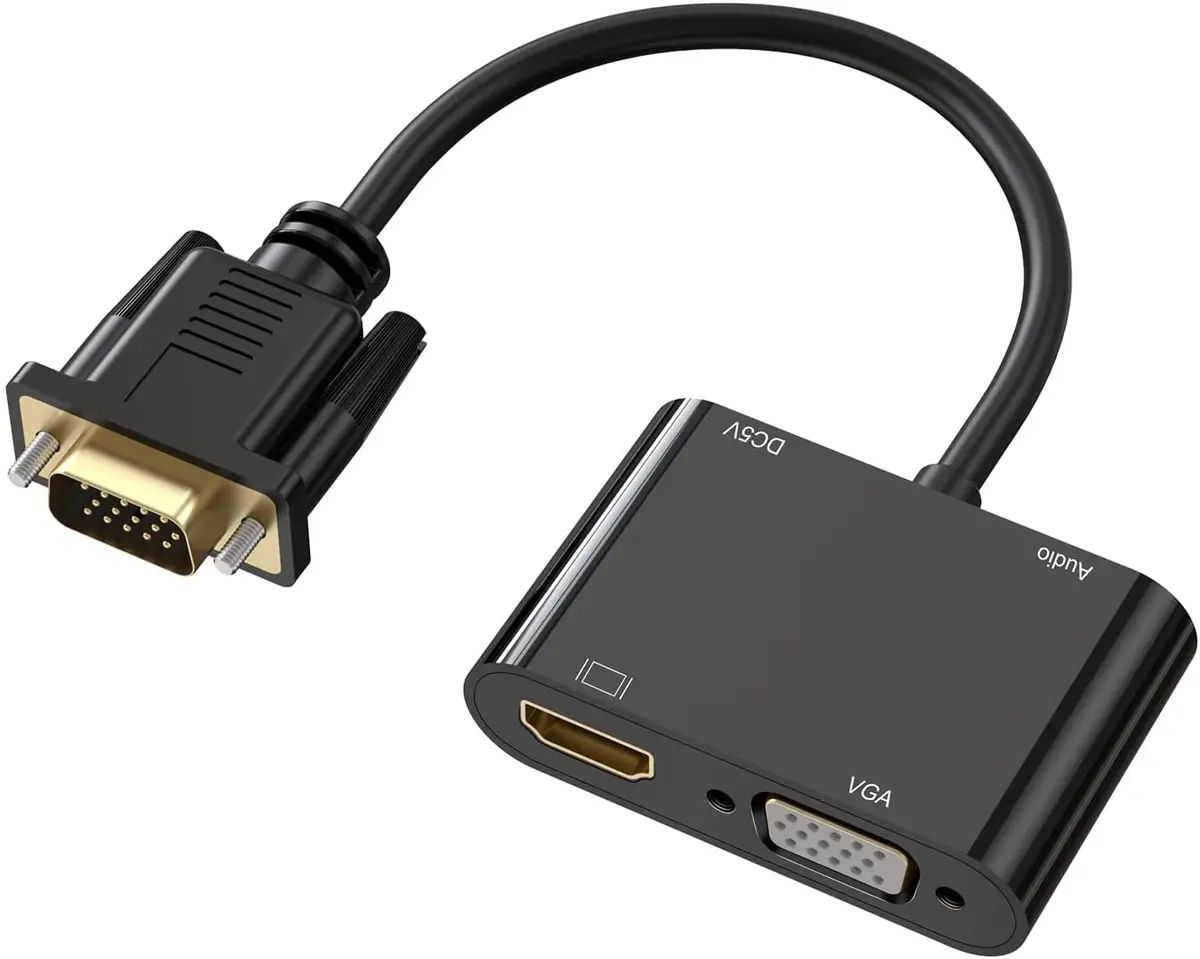
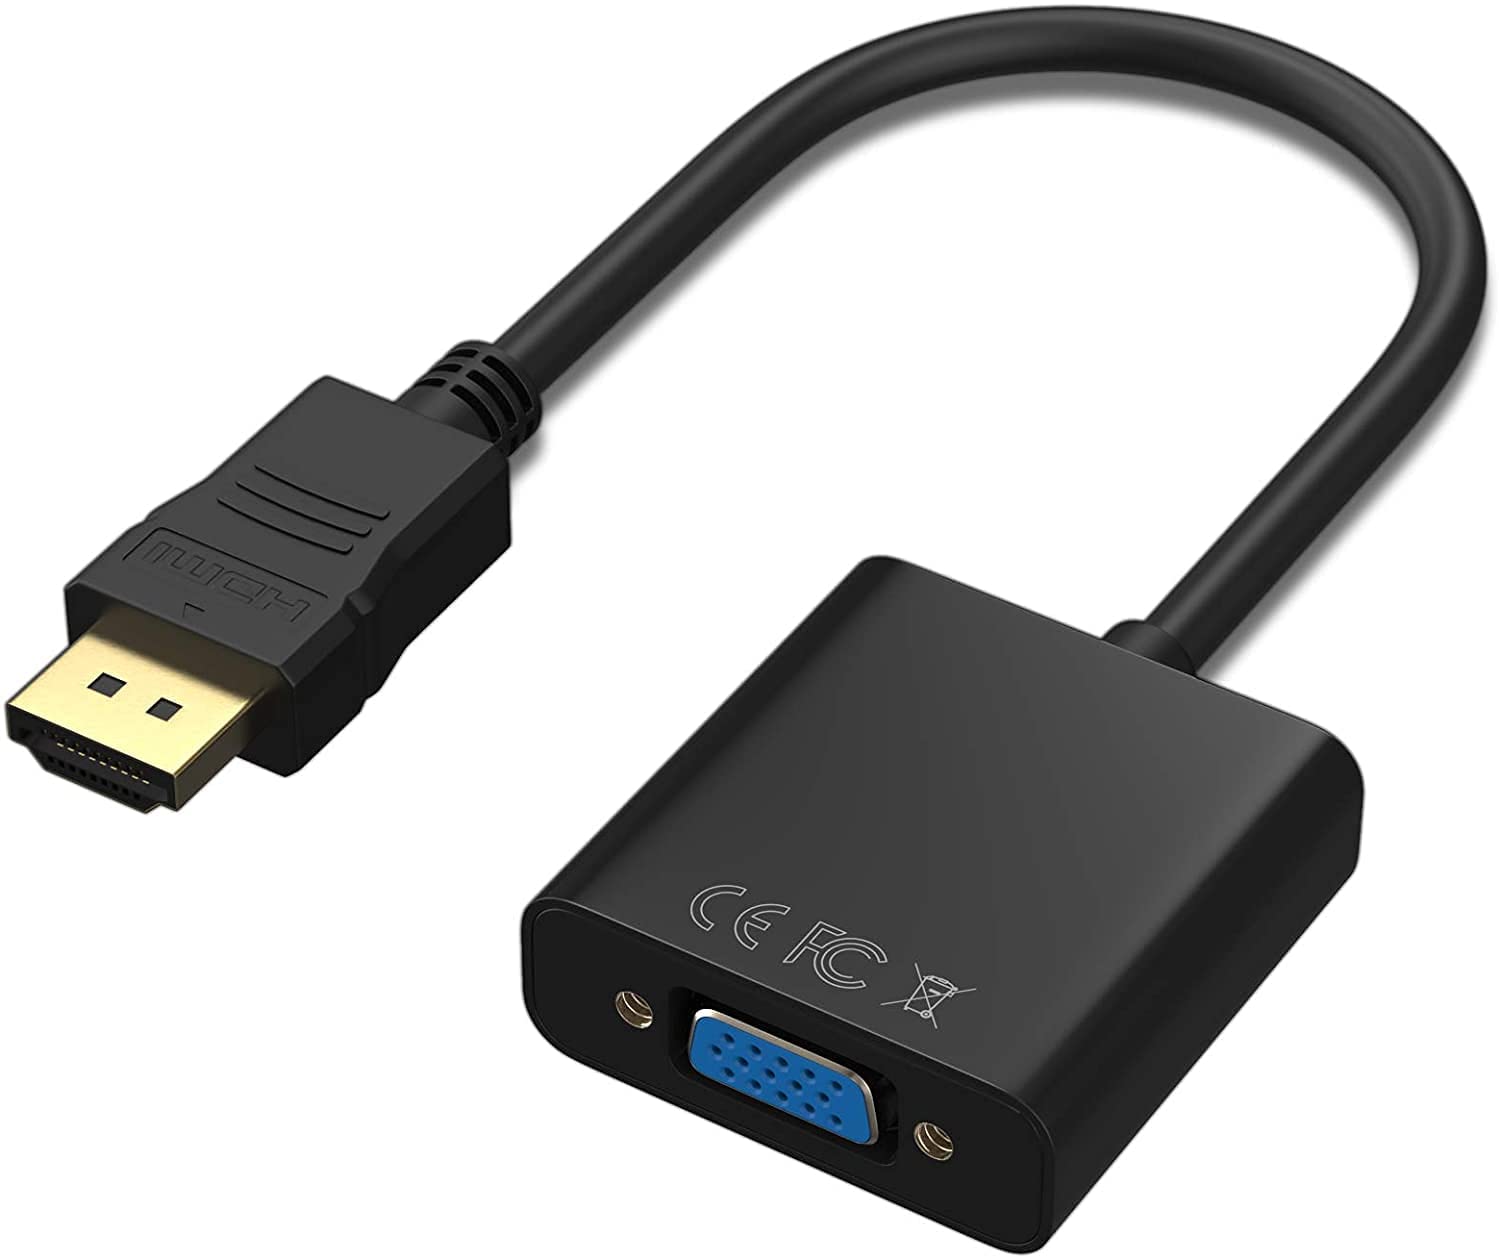
Using an Adapter
If your laptop doesn’t have a compatible port to directly connect to your projector, using an adapter is a viable solution. Adapters allow you to convert your laptop’s video output to a format that is compatible with your projector’s input.
Here’s how to connect your laptop to a projector using an adapter:
- Determine the ports available on your laptop and the input ports on your projector.
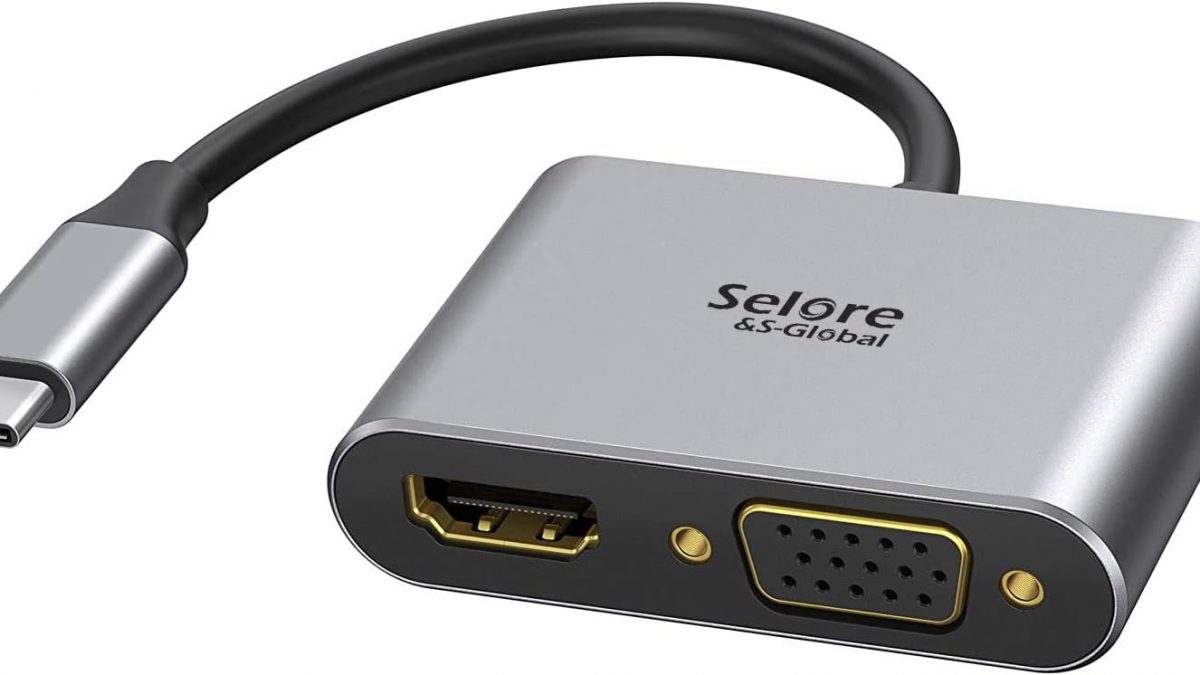
- Based on the ports available, choose the appropriate adapter. For example, if your laptop has a USB-C port and your projector has an HDMI input, you will need a USB-C to HDMI adapter.
- Connect one end of the adapter to the port on your laptop.
- Connect the other end of the adapter to the corresponding input port on your projector.
- Power on your laptop and the projector.
- Set the input source on the projector to the corresponding port you connected the adapter to (e.g., HDMI).
- Adjust the laptop’s display settings if necessary to ensure the projector’s display is mirrored or extended.
Using an adapter provides flexibility in connecting your laptop to a projector if you have different port types. Ensure that you choose the correct adapter for compatibility and check the specifications of the adapter to ensure it supports the desired video resolution and audio transmission if required.
Adapters are available for various port combinations, such as USB-C to HDMI, USB-C to VGA, DisplayPort to HDMI, and many more. Check the specific requirements of your laptop and projector to select the appropriate adapter.
Now that you know how to connect your laptop to a projector using an adapter, let’s explore another method that relies on the USB-C or Thunderbolt 3 port on your laptop.
Connecting via USB-C or Thunderbolt 3
If your laptop features a USB-C or Thunderbolt 3 port, you can leverage the versatility of these ports to connect to your projector. USB-C and Thunderbolt 3 ports support both data transfer and video output, making them a valuable option for connecting your laptop to a projector.
Here’s how to connect your laptop to a projector using a USB-C or Thunderbolt 3 port:
- Determine whether your laptop has a USB-C or Thunderbolt 3 port. These ports are often marked with the Thunderbolt or USB-C logo.
- Check your projector for supported input options. Some projectors may have a USB-C input, while others may require an adapter or cable.
- If your projector has a USB-C input, simply connect a USB-C cable from your laptop to the projector.
- If your projector requires a different input, such as HDMI or VGA, you will need an adapter or cable that connects from your laptop’s USB-C or Thunderbolt 3 port to the desired input on the projector.
- Connect the adapter or cable to your laptop’s USB-C or Thunderbolt 3 port, and connect the other end to the corresponding input port on the projector.
- Power on your laptop and the projector.
- Set the input source on the projector to the corresponding port you connected the USB-C or Thunderbolt 3 adapter to (e.g., HDMI).
- Adjust the laptop’s display settings if necessary to ensure the projector’s display is mirrored or extended.
Connecting your laptop to a projector using a USB-C or Thunderbolt 3 port offers high-speed data transfer and may even provide power to the projector, eliminating the need for additional power cables.
Be sure to check the specifications and compatibility of your laptop, USB-C/Thunderbolt 3 adapter, and projector when using this method. Not all USB-C ports support video output, so it’s essential to verify your laptop’s capabilities.
Now that you’re familiar with connecting your laptop to a projector using USB-C or Thunderbolt 3, let’s explore the option of wirelessly connecting your laptop to the projector.
Wirelessly Connecting the Projector
Wirelessly connecting your laptop to a projector eliminates the need for cables and offers greater convenience and flexibility. There are several methods available to achieve a wireless connection between your laptop and the projector.
Here are a few options for wirelessly connecting your laptop to a projector:
- Wi-Fi Connection: Some projectors offer built-in Wi-Fi capabilities, allowing you to connect your laptop wirelessly. Ensure that both your laptop and projector are connected to the same Wi-Fi network, then follow the projector’s instructions to establish the connection. Once connected, you can mirror or extend your laptop’s display onto the projector wirelessly.
- Miracast / Screen Mirroring: If your laptop and projector support Miracast or screen mirroring technology, you can wirelessly mirror your laptop’s screen to the projector. On your laptop, search for the display settings or the projection settings and choose the option to connect to a wireless display or device. Follow the instructions on both your laptop and the projector to establish the wireless connection.
- Streaming Devices: Utilizing streaming devices, such as the Google Chromecast or the Amazon Fire TV Stick, can provide wireless connectivity between your laptop and the projector. These devices plug into the HDMI port of the projector and allow you to stream your laptop’s screen wirelessly using specific applications or software.
- Wireless HDMI Adapter: Wireless HDMI adapters enable you to transmit your laptop’s video and audio signals to the projector using wireless technology. These adapters typically consist of a transmitter that connects to your laptop and a receiver that plugs into the projector’s HDMI port. Follow the manufacturer’s instructions to set up the wireless connection and enjoy a cable-free experience.
Wirelessly connecting your laptop to a projector provides convenience and flexibility, allowing you to move around freely during presentations or share content without the limitations of cables. However, keep in mind that the performance of wireless connections can vary depending on factors such as distance, interference, and network congestion.
Now that you have explored different methods for wirelessly connecting your laptop to a projector, let’s move on to a section that offers troubleshooting tips to help you overcome any potential issues you may encounter during the connection process.
Troubleshooting Tips
While connecting your laptop to a projector without a VGA port using alternative methods can be straightforward, you may encounter some issues along the way. Here are some troubleshooting tips to help you overcome common problems and ensure a successful connection:
- Check Cable/Adapter Connections: Make sure all cables and adapters are securely connected to both your laptop and the projector. Loose connections can result in a poor or non-existent connection.
- Verify Port Compatibility: Double-check that the ports on your laptop and the input ports on your projector are compatible and supported by the chosen connection method. Some projectors or laptops may have multiple ports, but not all may support video output.
- Update Drivers and Software: Ensure that your laptop’s display drivers and projector software are up to date. Outdated drivers or software can cause compatibility issues and prevent the connection from functioning properly.
- Adjust Display Settings: If your laptop’s display is not showing up on the projector, adjust the display settings on your laptop. Access the display settings and select the appropriate option to mirror or extend your laptop’s display onto the projector.
- Restart Devices: Sometimes, a simple restart can resolve connectivity issues. Turn off both your laptop and the projector, wait for a few seconds, and then power them back on. This can reset any temporary glitches or conflicts that may be causing the problem.
- Try Different Cables or Adapters: If you’re using cables or adapters to connect your laptop and projector, try using different ones to rule out any potential issues with the devices you are currently using.
- Test with Another Device: If possible, try connecting your projector to another device, such as a different laptop or a gaming console, to determine if the issue lies with your laptop or the projector itself. This can help pinpoint the source of the problem.
- Consult User Manuals and Support: If you’re still experiencing difficulties, refer to the user manuals of your laptop and projector for specific troubleshooting instructions. Additionally, reach out to the respective manufacturers’ support channels for further assistance.
By following these troubleshooting tips, you can troubleshoot common connectivity issues and ensure a smooth connection between your laptop and the projector. Remember, patience and thorough testing are key to resolving any problems that may arise during the setup process.
With the troubleshooting covered, you should now have the knowledge and tools necessary to connect your laptop to a projector without a VGA port, using various alternative methods. Choose the method that suits your specific laptop and projector configuration, and enjoy your presentations, gaming sessions, or movie nights on the big screen.
Conclusion
Connecting a projector to a laptop without a VGA port is no longer a challenge, thanks to the various alternative methods available. By understanding the ports on your laptop and checking the input options on your projector, you can choose the most suitable connection method.
In this article, we explored different methods to connect a projector to a laptop without a VGA port. We discussed the use of HDMI cables for a direct connection, utilizing adapters to convert port types, leveraging USB-C or Thunderbolt 3 ports for compatibility, and wireless options for a cable-free experience.
Remember to check your laptop and projector specifications to ensure compatibility and follow the step-by-step instructions provided for each method. Troubleshooting tips were also provided to assist in resolving any issues that may arise during the connection process.
With these methods and troubleshooting tips at your disposal, you can confidently connect your laptop to a projector, regardless of the absence of a VGA port. Whether you need to deliver a presentation, enjoy gaming on a larger screen, or watch movies with friends and family, you can now enjoy the benefits of a projector setup without any limitations.
So, go ahead and connect your laptop to a projector using the options discussed in this article. Explore the versatility and flexibility that alternative connection methods offer, and elevate your multimedia experience to new heights.