Introduction
Connecting your laptop to a TV using an HDMI cable opens up a world of possibilities, allowing you to enjoy your favorite movies, videos, and photos on a larger screen. Whether you want to have a movie night with friends, give a presentation in a conference room, or simply want a bigger display for your laptop’s content, HDMI connection is a convenient and straightforward method.
With the increasing popularity of high-definition content, HDMI (High-Definition Multimedia Interface) has become the go-to standard for transmitting both video and audio signals. HDMI cables are widely available, and most modern laptops and TVs come equipped with HDMI ports, making the connection process hassle-free.
This step-by-step guide will walk you through the process of connecting your laptop to a TV using an HDMI cable. We will cover everything you need to know, from checking compatibility to configuring audio and video settings.
To successfully establish the connection, you will need to ensure that your laptop and TV are compatible, acquire an HDMI cable if you don’t already have one, and properly connect the cable to both devices. Additionally, adjusting the audio and video settings might be necessary to optimize the output on your TV.
So, if you’re ready to enhance your viewing experience and enjoy multimedia content on a larger screen, let’s dive into the details of connecting your laptop to a TV using an HDMI cable.
Required Equipment
Before you can start connecting your laptop to a TV using an HDMI cable, it’s important to ensure that you have the necessary equipment. Here’s a list of items you will need:
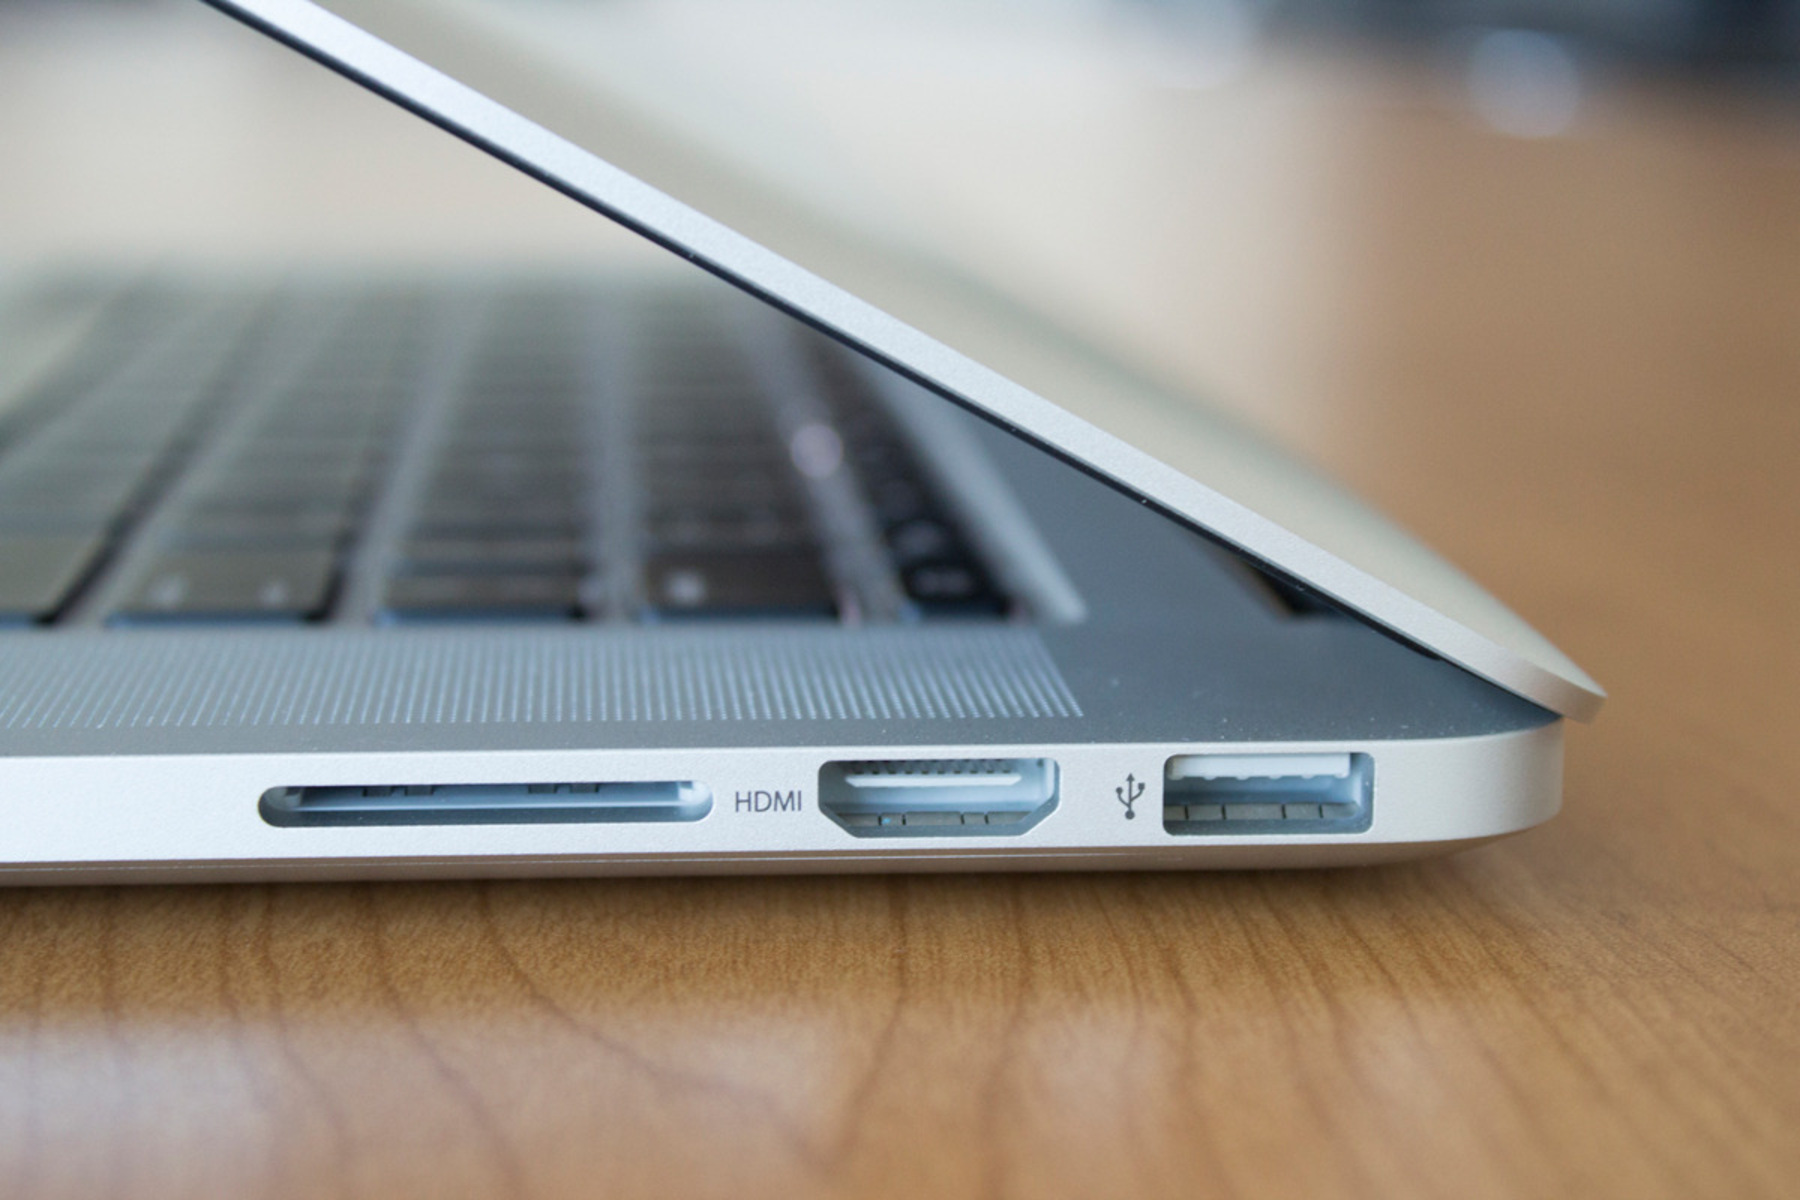
1. Laptop: Make sure you have a laptop with an HDMI output port. Most modern laptops have this port, but it’s always good to double-check. Look for a small rectangular port labeled “HDMI.
2. TV: You will need a TV with an HDMI input port. Again, most modern TVs have this feature, but it’s worth confirming. Look for multiple HDMI ports on the back or side of your TV.
3. HDMI Cable: The HDMI cable is the essential component that will connect your laptop to the TV. You will need a standard HDMI cable with compatible connectors on both ends. The length of the cable will depend on the distance between your laptop and the TV; choose a length that suits your setup.
4. Optional: Depending on your specific laptop or TV model, you may need additional adapters. For example, if your laptop has a USB-C or Mini DisplayPort output instead of HDMI, you will need a corresponding adapter to connect it to the HDMI cable.
It’s worth noting that HDMI cables come in different versions, such as HDMI 1.4 or HDMI 2.0. The version you choose will depend on your specific requirements. HDMI 2.0 supports higher resolutions and refresh rates, making it ideal for gaming or watching ultra-high-definition content. However, for most standard applications, HDMI 1.4 should suffice.
Once you have gathered all the necessary equipment, you’re ready to move on to the next steps of the connection process. Don’t worry if you don’t have an HDMI cable or any of the adapters; they are widely available at electronics stores or online retailers.
Step 1: Check Laptop and TV Compatibility
Before you begin connecting your laptop to a TV using an HDMI cable, it’s important to ensure that both devices are compatible. Here are the steps to check compatibility:
1. Check Laptop’s HDMI Output: First, locate your laptop’s HDMI output port. It is usually a small rectangular port labeled “HDMI.” Ensure that your laptop has this port before proceeding with the connection process. If your laptop doesn’t have an HDMI port, you may need an adapter to establish the connection.
2. Check TV’s HDMI Input: Next, check your TV for HDMI input ports. Most modern TVs have multiple HDMI ports located on the back or side. Look for HDMI ports labeled as “HDMI 1,” “HDMI 2,” etc. If you have multiple ports, it’s important to remember which one you are using for the connection.
3. Verify HDMI Versions: HDMI cables and ports come in different versions, such as HDMI 1.4 or HDMI 2.0. It is important to ensure compatibility between the versions of your laptop’s HDMI output and the TV’s HDMI input. Most newer devices are backward compatible, meaning that they can work with older versions. However, if you want to take advantage of specific features, such as higher resolutions or refresh rates, ensuring compatibility between the versions is important.
4. Check Audio Support: HDMI cables transmit both audio and video signals. Verify that both your laptop and TV support audio over HDMI. If not, you may need to use another audio connection, such as the laptop’s headphone jack or a separate audio cable, to connect to your TV’s audio input.
By ensuring compatibility between your laptop and TV, you can avoid any potential issues during the connection process. If you find that your laptop or TV lacks the necessary ports or features, consider using alternative connection methods or purchasing the required adapters.
Step 2: Acquire an HDMI Cable
Once you have confirmed compatibility between your laptop and TV, the next step is to acquire an HDMI cable. Here’s what you need to do:
1. Determine Cable Length: Measure the distance between your laptop and the TV to determine the appropriate length for the HDMI cable. Keep in mind that it’s better to have a slightly longer cable than a shorter one to avoid any tension or strain on the cable.
2. Choose the Right HDMI Version: As mentioned earlier, HDMI cables come in different versions. Choose a version that is compatible with your laptop’s HDMI output and supports the desired resolution and refresh rate for your TV. In most cases, HDMI 1.4 should be sufficient for regular HD content, but for gaming or high-resolution video playback, it’s advisable to opt for HDMI 2.0 or later versions.
3. Purchase the HDMI Cable: Look for reputable electronics stores or online retailers that sell HDMI cables. Ensure that you are buying a genuine, high-quality cable to ensure optimal performance and longevity. Pay attention to customer reviews and recommendations before making a purchase.
4. Consider Cable Durability: HDMI cables vary in terms of durability and build quality. Look for cables with features like gold-plated connectors, braided shielding, and sturdy construction to minimize the risk of signal interference and damage.
5. Optional: Consider Ethernet Support: Some HDMI cables come with built-in Ethernet support, allowing you to share internet connections between your laptop and TV. If you plan to use this feature, make sure the HDMI cable you choose has Ethernet compatibility.
6. Compare Prices: Compare prices from different sellers to ensure that you are getting a good deal. However, be cautious of extremely low-priced cables, as they may be of inferior quality and can affect the performance and reliability of the connection.
By acquiring a reliable HDMI cable that suits your needs, you can ensure a stable and high-quality connection between your laptop and TV. Now that you have the necessary equipment, you’re ready to proceed to the next step: connecting the HDMI cable to your laptop.
Step 3: Connect the HDMI Cable to the Laptop
With your HDMI cable in hand, it’s time to connect it to your laptop. Follow these steps to ensure a proper connection:
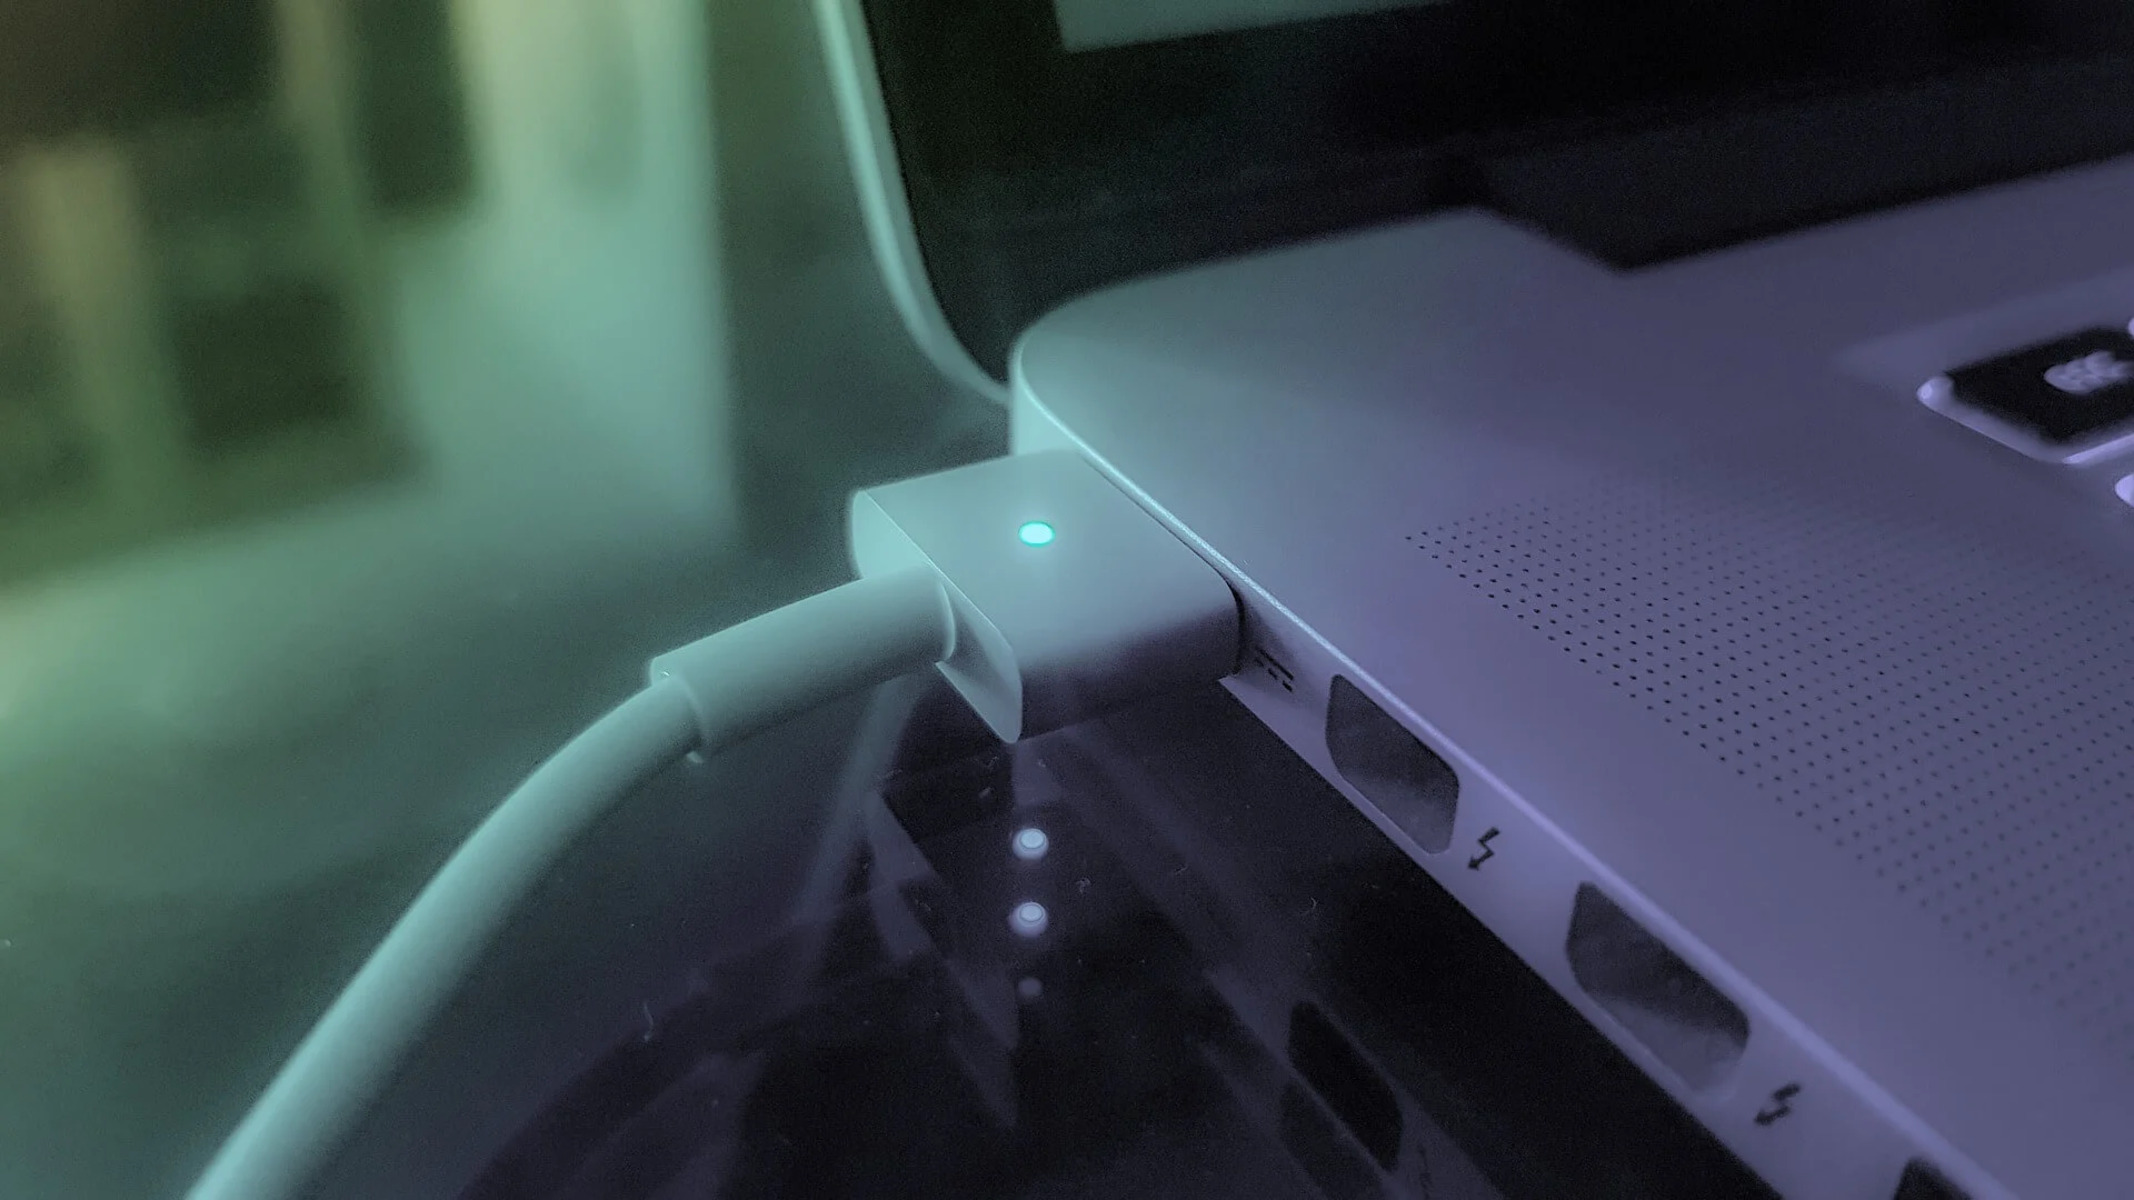
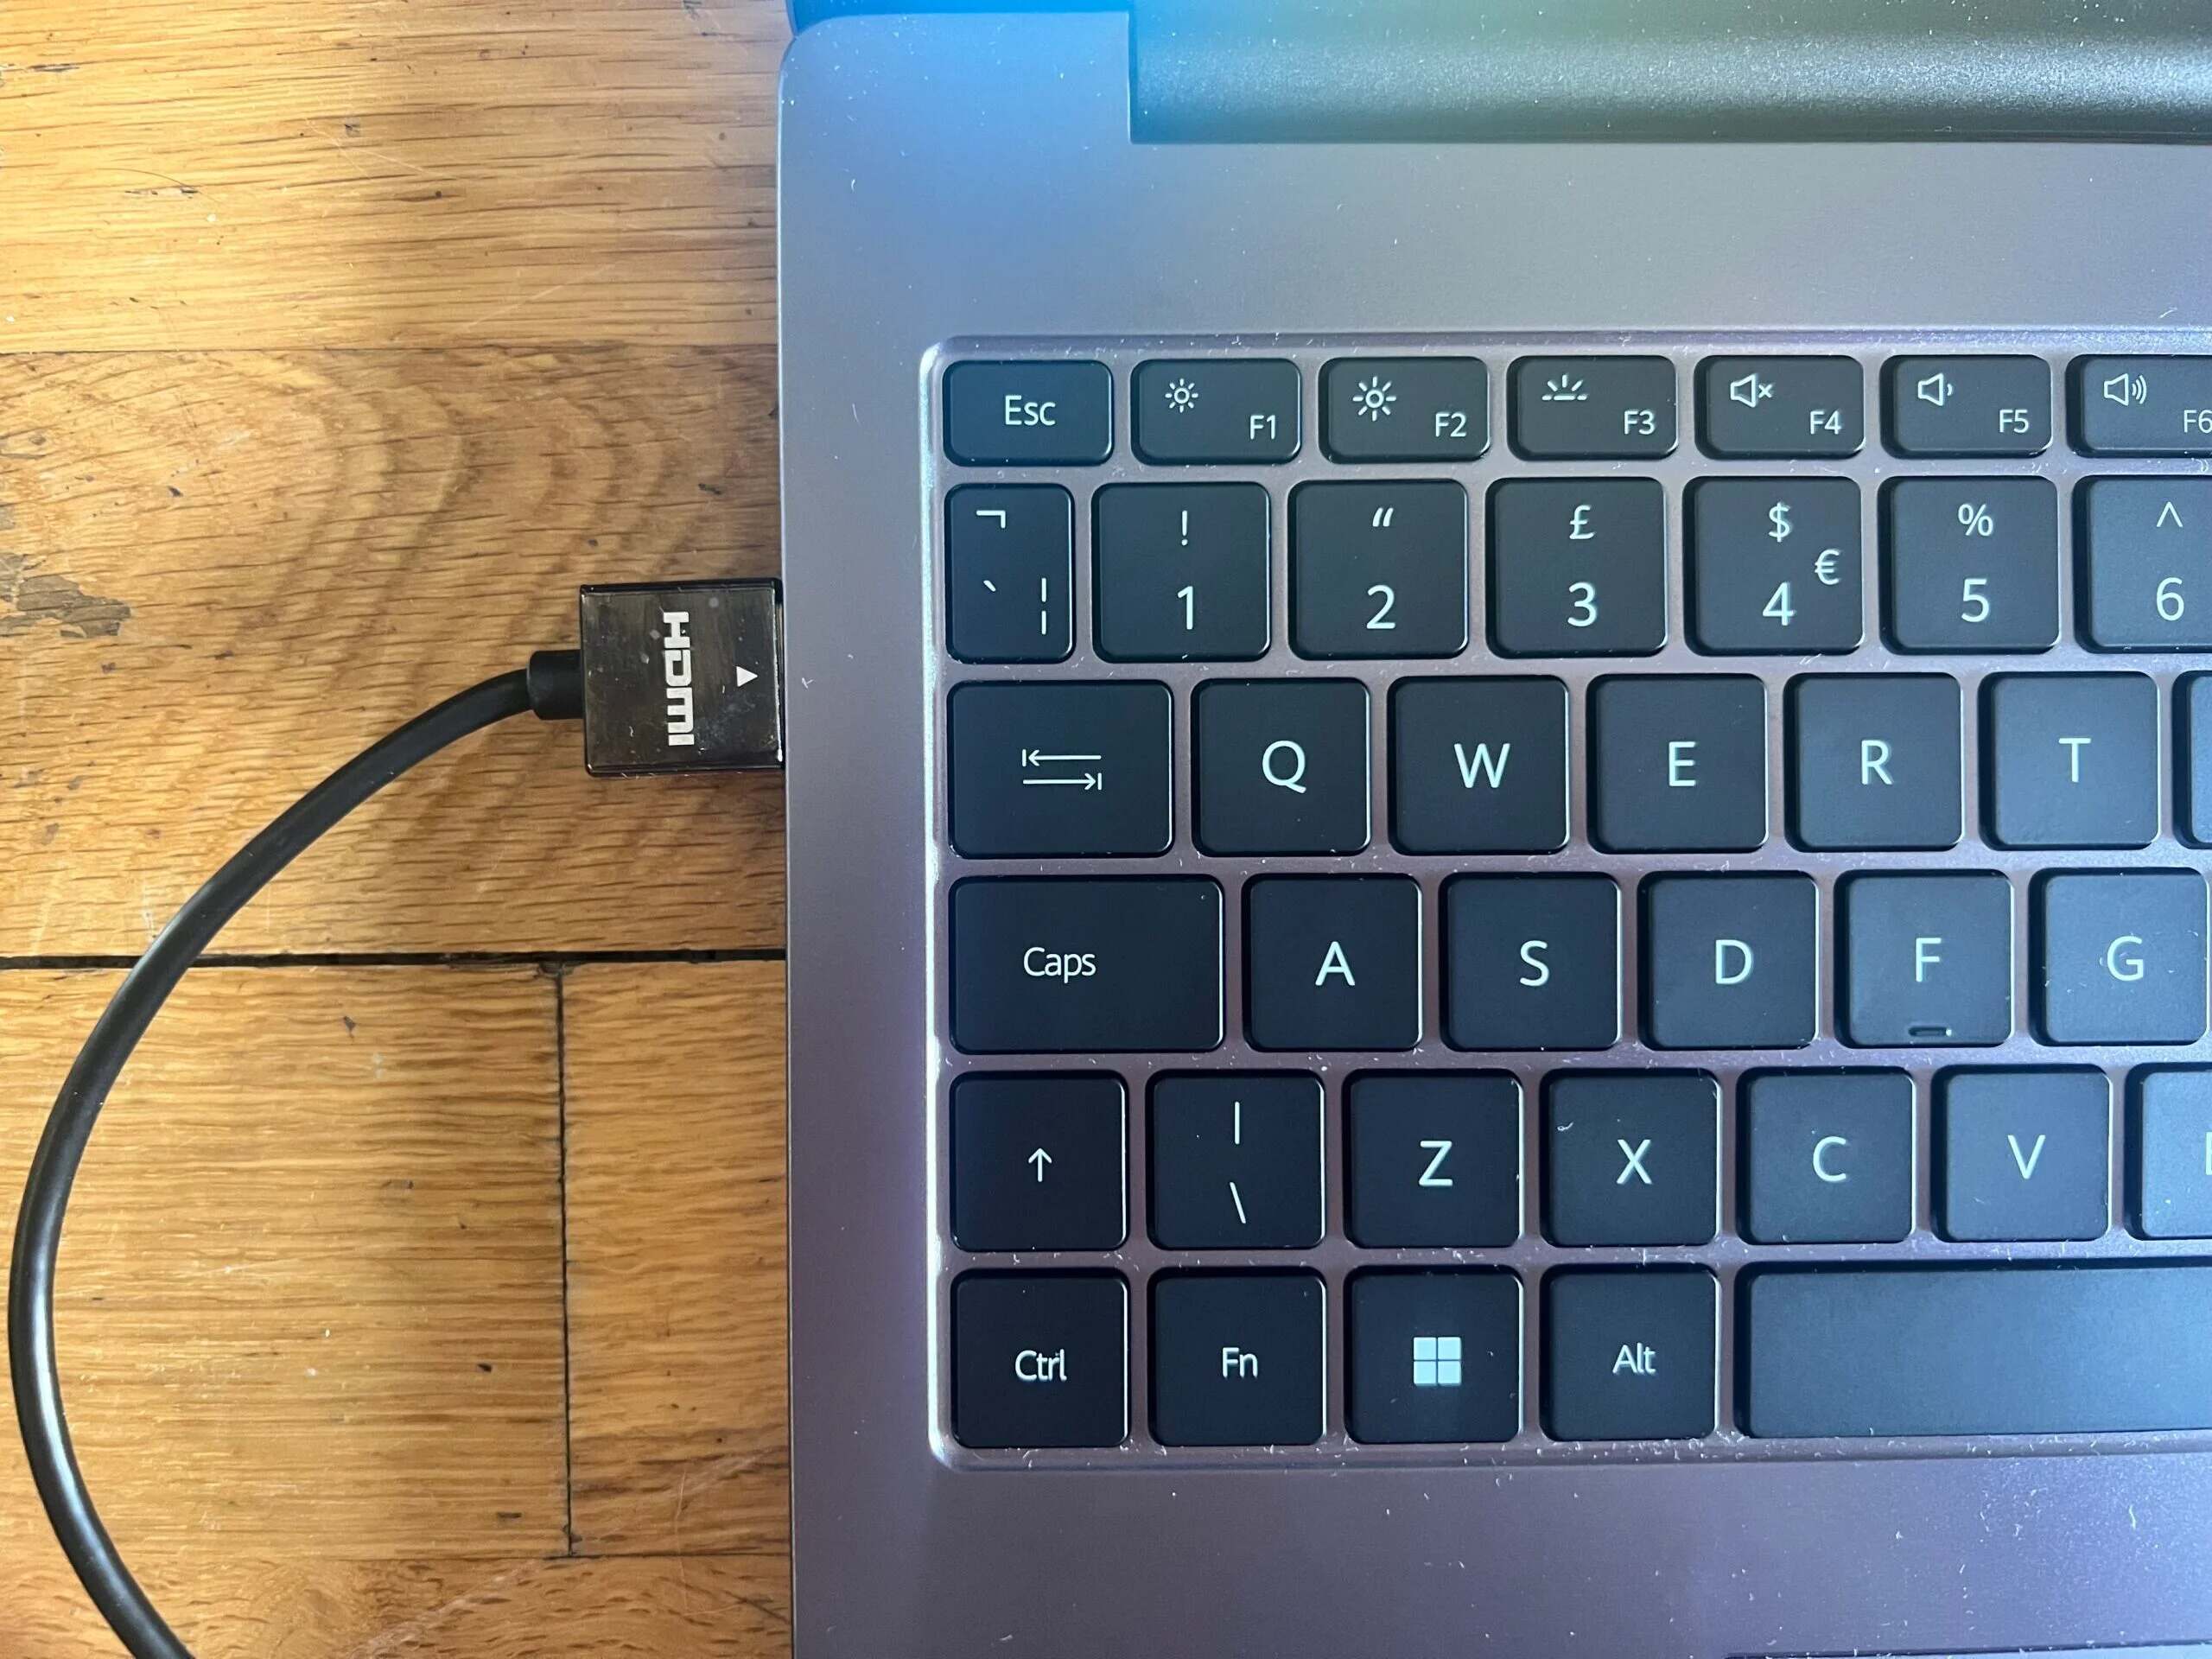
1. Locate the HDMI Port: Identify the HDMI output port on your laptop. It is usually a small rectangular port labeled “HDMI.” Take note of its location for easy access.
2. Power Off Devices: Before connecting the HDMI cable, ensure that both your laptop and TV are powered off. This precautionary step helps prevent any electrical damage or signal interference during the connection process.
3. Insert one end of the HDMI Cable: Take one end of the HDMI cable and firmly insert it into the HDMI output port on your laptop. Ensure that it is securely connected and fits snugly into the port. Be careful not to force the connection or misalign the cable.
4. Power On Devices: After connecting the HDMI cable to your laptop, power on both your laptop and TV. Wait for them to fully initialize and reach their respective home screens before proceeding.
5. Select the HDMI Input on TV: Use your TV’s remote control to navigate to the input selection menu. Look for the HDMI input that corresponds to the port you connected the HDMI cable to. Select that input to ensure that the TV displays the content from your laptop.
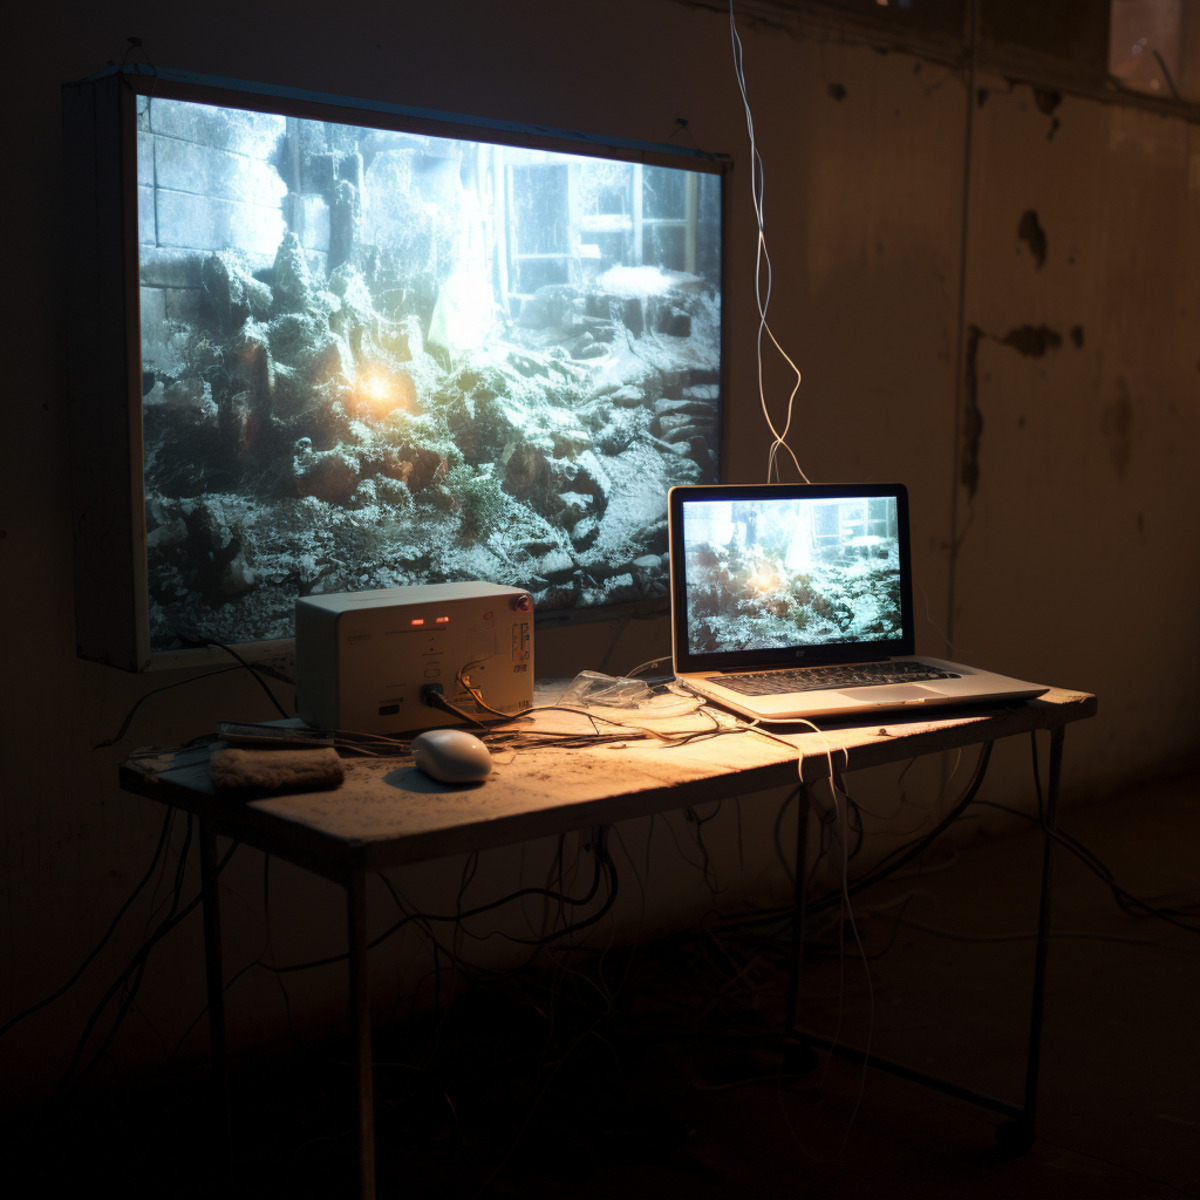
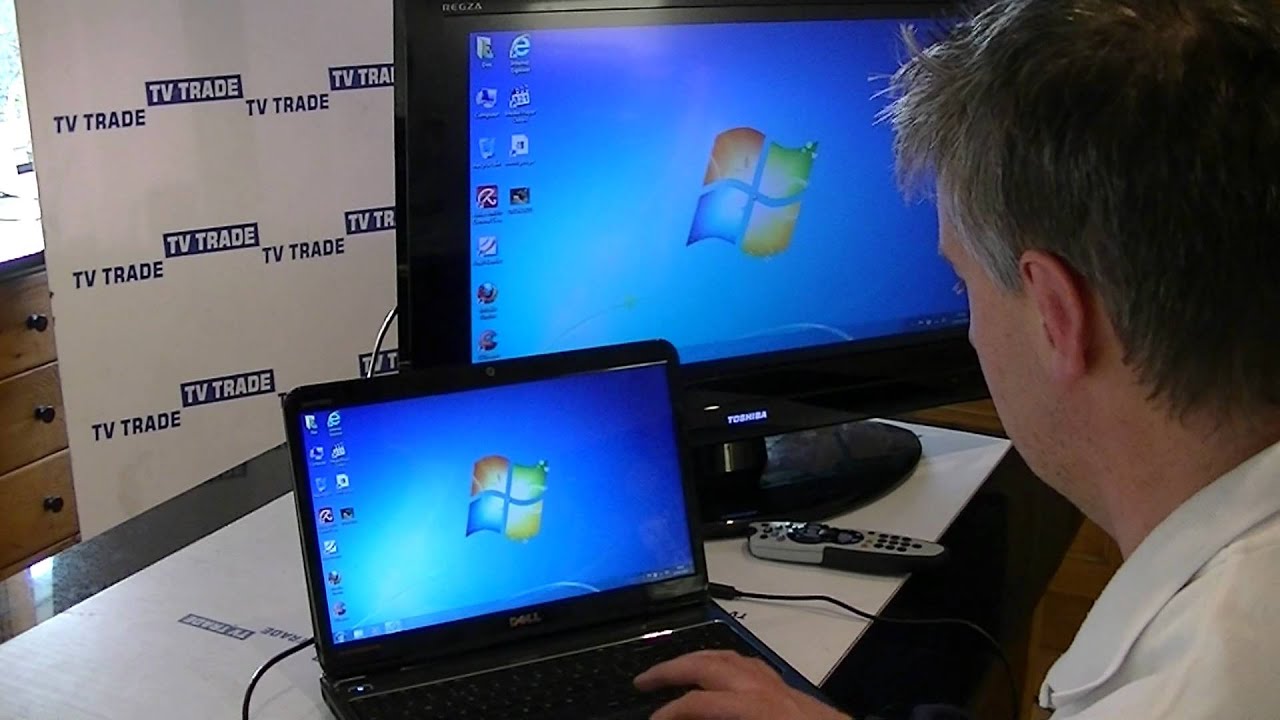
6. Adjust Laptop Display Settings: By default, most laptops detect the connection to an external display like a TV and mirror the laptop’s display. If needed, you can adjust the display settings on your laptop to extend or duplicate the screen to the TV. This can usually be done by pressing the “Windows” key + “P” on a Windows laptop or by going to the System Preferences > Displays menu on a macOS laptop.
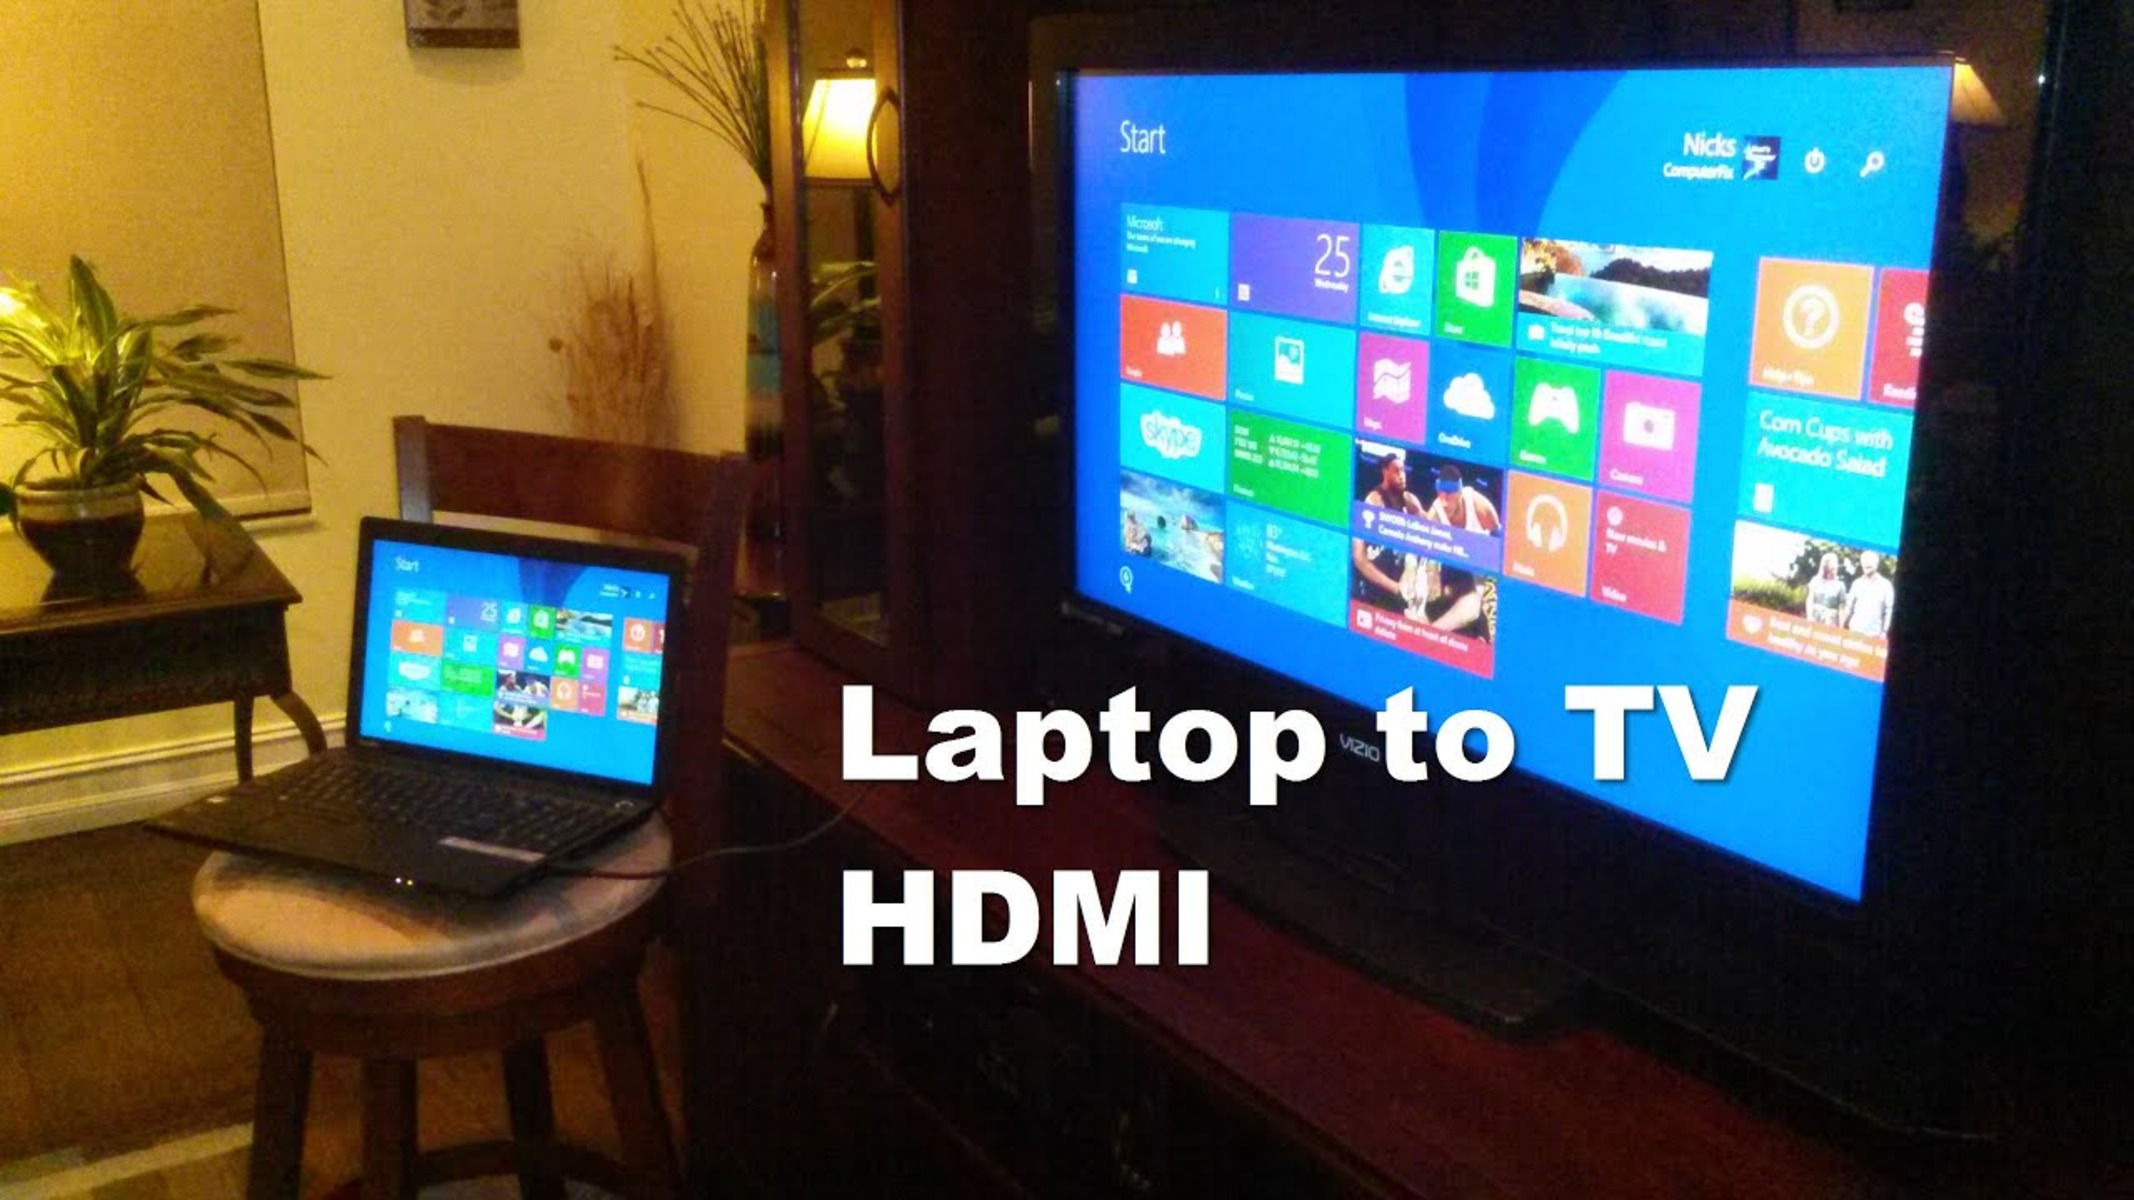
Once you have completed these steps, you have successfully connected the HDMI cable to your laptop. The next step is to connect the other end of the HDMI cable to your TV, which we will cover in the following section.
Step 4: Connect the HDMI Cable to the TV
Now that you have connected the HDMI cable to your laptop, it’s time to connect the other end of the cable to your TV. Follow these steps to ensure a proper connection:
1. Locate the HDMI Port: On your TV, locate the HDMI input port that corresponds to the HDMI cable you connected to your laptop. Look for HDMI ports labeled as “HDMI 1,” “HDMI 2,” etc. Take note of which port you are using for the connection.
2. Insert the other end of the HDMI Cable: Take the other end of the HDMI cable and firmly insert it into the HDMI input port on your TV. Make sure it is securely connected and fits snugly into the port. Avoid forcing the connection or misaligning the cable to prevent any damage.
3. Power On TV: After connecting the HDMI cable to your TV, turn on the power. Wait for your TV to initialize and display its home screen.
4. Select the Correct HDMI Input: Using your TV remote control, select the HDMI input that corresponds to the port where you connected the HDMI cable. This allows your TV to receive the signal from your laptop.
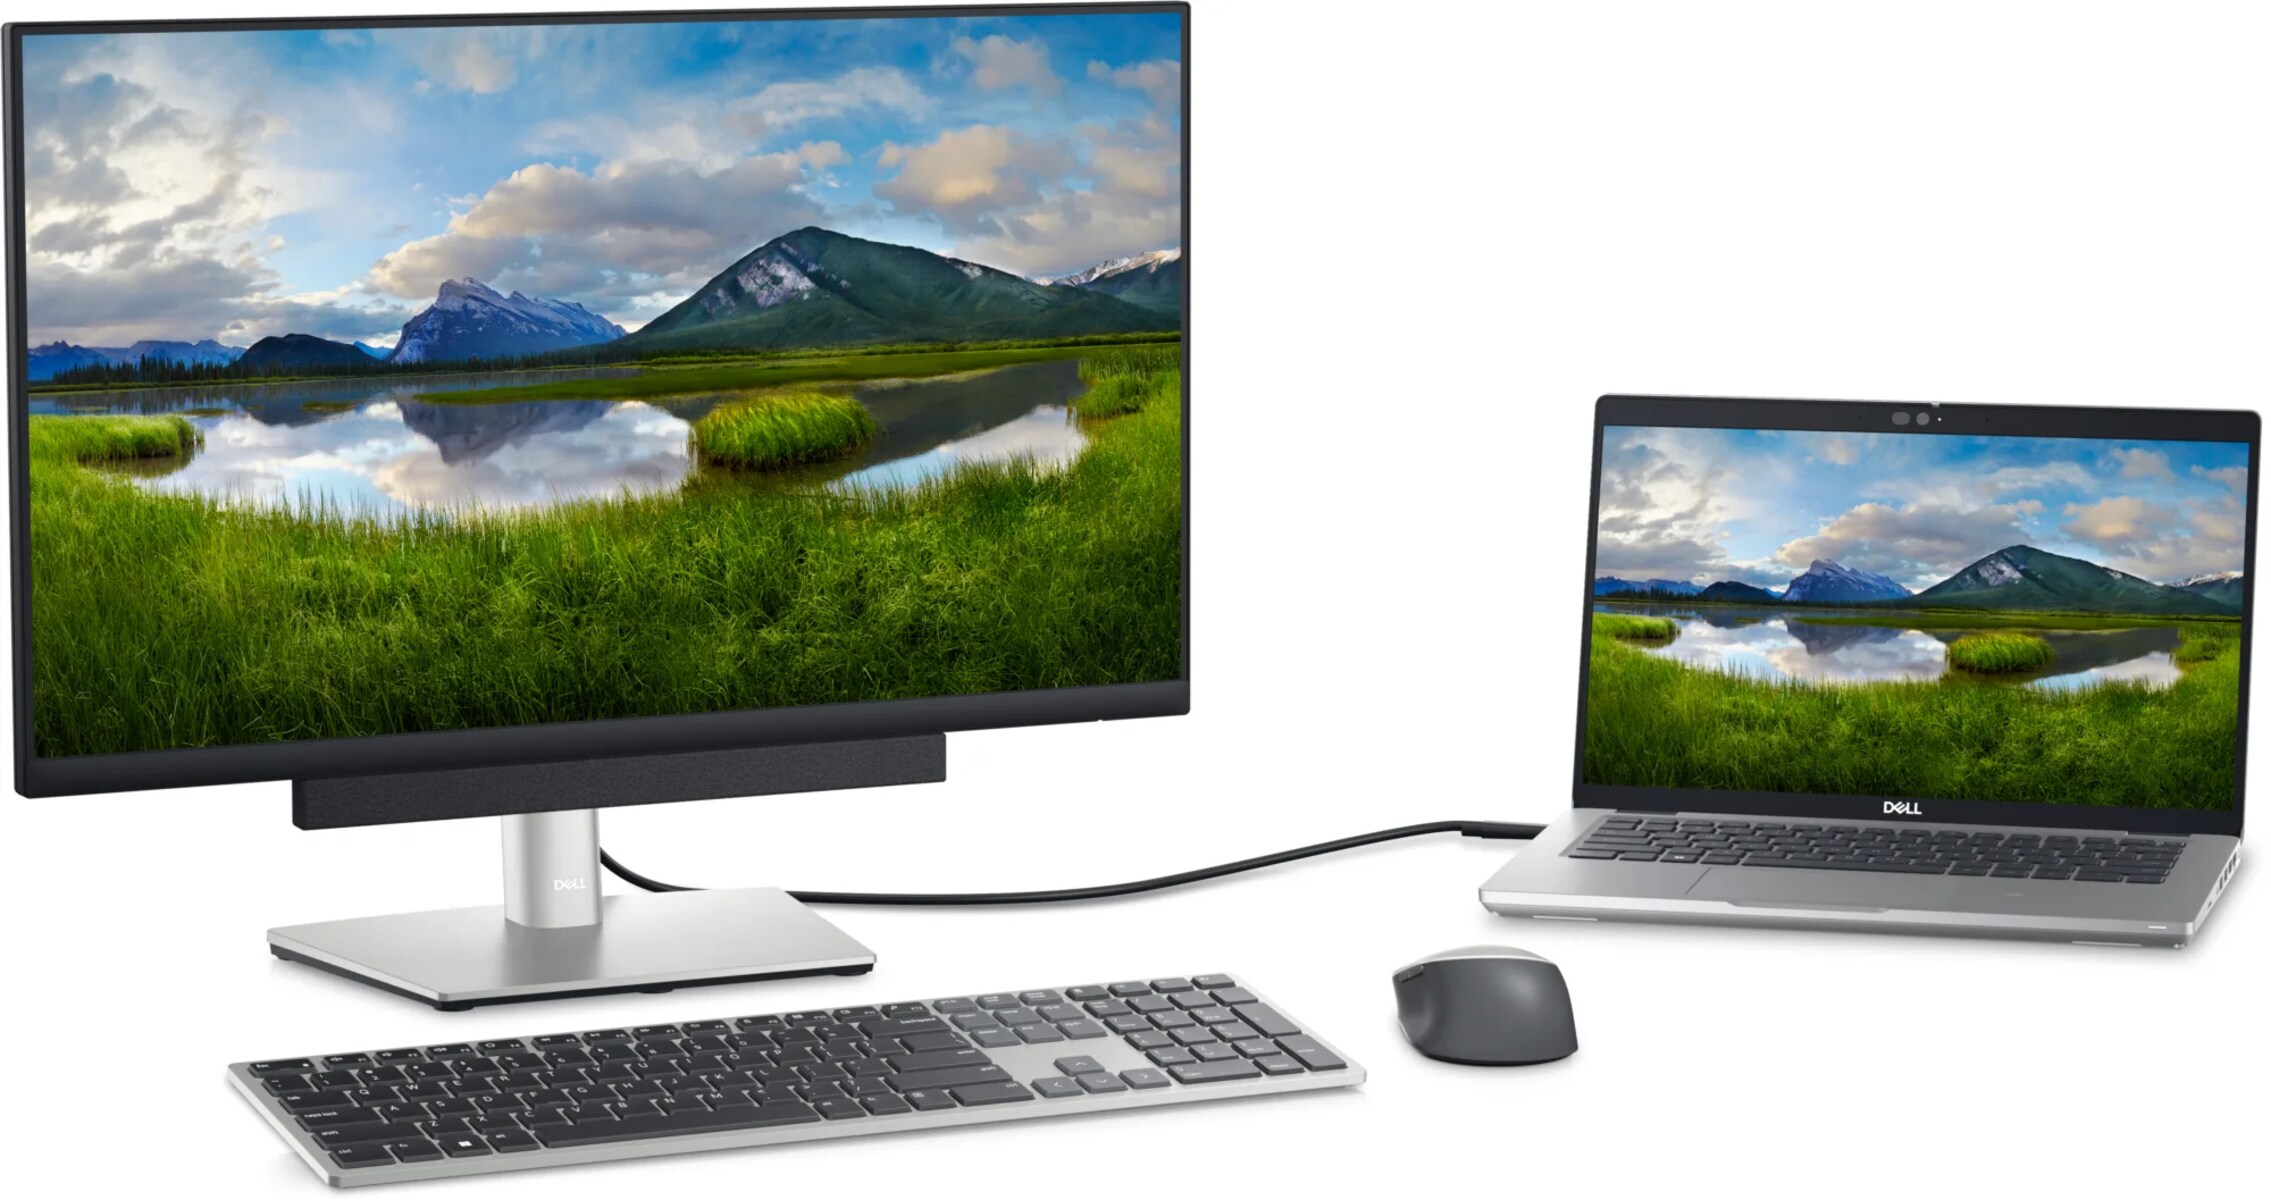
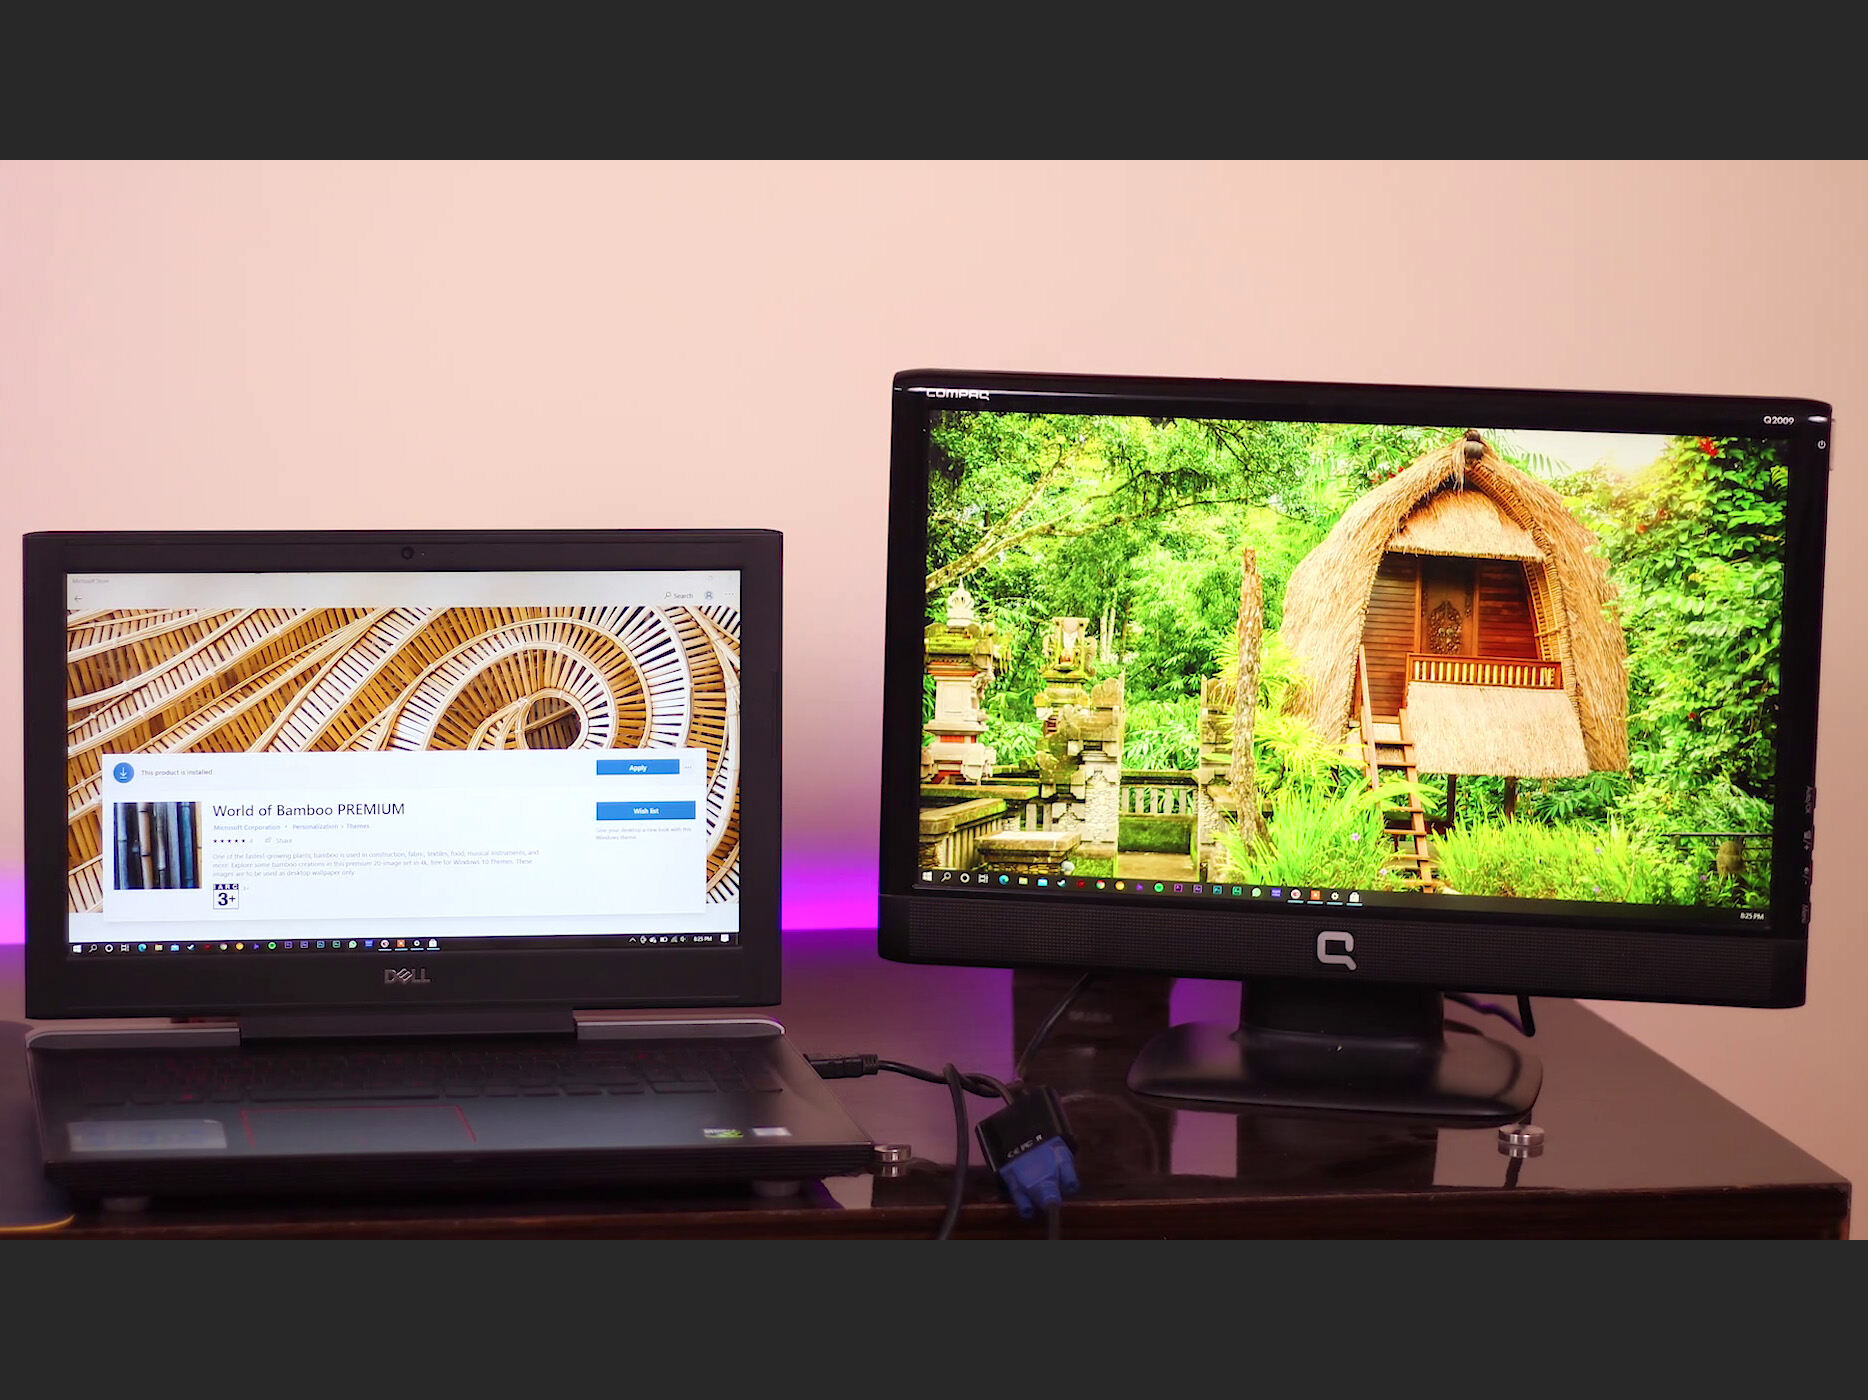
5. Verify Connection: Once you have selected the correct HDMI input, verify that the content from your laptop is being displayed on the TV screen. If everything is working correctly, you should see your laptop’s screen mirrored or extended on your TV.
If the TV does not display your laptop’s screen, double-check the connection on both ends of the HDMI cable. Ensure that the cable is securely connected to both the laptop and the TV.
With the HDMI cable connected to both your laptop and TV, you have successfully established a physical connection. However, to ensure optimal audio and video output, it may be necessary to adjust the audio and video settings on your laptop and TV. We will cover this in the next step.
Step 5: Configure Audio and Video Settings
After connecting the HDMI cable and seeing your laptop’s screen on the TV, you may need to configure the audio and video settings to ensure the best experience. Follow these steps to optimize the audio and video output:
1. Audio Settings:
– Laptop: On your laptop, right-click on the volume icon in the taskbar (Windows) or click on the audio icon in the menu bar (macOS). Select “Playback Devices” or “Sound Preferences” to access the audio settings. Choose the HDMI or TV option as the default audio output device.
– TV: If the audio is not playing through the TV speakers, use your TV remote control to navigate to the audio settings. Ensure that the audio output is set to the HDMI input you used for the connection. Adjust the volume to your preferred level.
2. Video Settings:
– Laptop: Depending on your laptop’s operating system, you can adjust the display settings. On Windows, right-click on the desktop and select “Display Settings” or “Graphics Options” to access the display settings. On macOS, go to System Preferences and select “Displays.” Adjust the screen resolution and other display preferences to optimize the output on the TV.
– TV: If the picture quality on your TV is not optimal, explore the video settings on your TV. You can adjust settings such as brightness, contrast, sharpness, and color saturation to enhance the visual experience. Refer to your TV’s user manual for specific instructions on accessing and adjusting video settings.
3. Test Audio and Video Playback: To ensure that the audio and video settings are properly configured, play a video or audio file on your laptop and check if the sound is playing through the TV speakers. Also, verify that the video is displayed correctly on the TV screen. Make any necessary adjustments to the settings if the audio or video output is not satisfactory.
By configuring the audio and video settings, you can optimize the output and enjoy a seamless multimedia experience on your TV. Remember to adjust the settings based on your personal preferences and the capabilities of your laptop and TV.
Now that you have configured the audio and video settings, it’s time for the final step: testing the connection to ensure everything is working properly.
Step 6: Test the Connection
After connecting your laptop to the TV using an HDMI cable and configuring the audio and video settings, it’s important to test the connection to ensure everything is working as expected. Follow these steps to verify the connection:
1. Play a Video or Audio File: Open a video or audio file on your laptop and ensure that the sound is playing through the TV speakers. This confirms that the audio signal is being transmitted successfully through the HDMI cable.
2. Check Video Playback: Verify that the video content is displayed on the TV screen without any issues. Ensure that the picture quality is clear, and there are no visual artifacts or distortions. If necessary, make adjustments to the video settings on your laptop or TV to improve the display quality.
3. Test Full-Screen Mode: If desired, test the full-screen mode to check if the video fills the entire TV screen without any black borders or cropping. Adjust the display settings on your laptop or TV if necessary to achieve the desired full-screen experience.
4. Try Different Applications: Open different applications on your laptop to test if they are correctly displayed on the TV screen. This allows you to ensure that the connection is not limited to specific software or media players.
5. Check Audio and Video Sync: Pay attention to any synchronization issues between audio and video playback. If you notice any noticeable delays or out-of-sync audio and video, adjust the settings on your laptop or TV to address the issue. Look for options such as audio delay compensation or lip-sync adjustment in the settings menu.
6. Test Different Content: Experiment with different types of content, such as movies, TV shows, or online videos, to ensure that the connection works consistently across various sources. This helps you identify any potential issues specific to certain types of content.
By testing the connection, you can confirm that the laptop and TV are communicating properly through the HDMI cable. If you encounter any issues during testing, double-check the cable connections, review the audio and video settings, and consult the user manuals for your laptop and TV for troubleshooting guidance.
Once you have verified a successful connection, you can now enjoy an immersive multimedia experience on your TV, playing your favorite movies, videos, and photos from your laptop with ease.
Conclusion
Connecting your laptop to a TV using an HDMI cable provides a convenient and straightforward way to enjoy multimedia content on a larger screen. By following the steps outlined in this guide, you can establish a seamless connection and enhance your viewing experience.
We started by checking the compatibility of your laptop and TV, ensuring that both devices have HDMI ports that match and support the required audio and video signals. Next, we stressed the importance of acquiring a high-quality HDMI cable that suits your needs and provided suggestions for choosing the right cable.
We then discussed the step-by-step process of connecting the HDMI cable to both the laptop and the TV. With the cable securely connected, we emphasized the significance of configuring the audio and video settings on both devices to optimize the output and ensure the best possible experience.
To finalize the connection process, we recommended testing the connection by playing audio and video files, checking for smooth playback, adjusting full-screen mode, exploring different applications, and verifying audio-video synchronization. Through thorough testing, you can confirm a successful connection and address any potential issues that may arise.
In conclusion, connecting your laptop to a TV using an HDMI cable opens up a world of possibilities for enjoying multimedia content on a larger screen. Whether it’s for entertainment purposes, presentations, or sharing photos with friends and family, this connection is a valuable tool. By following the steps and considering the tips provided in this guide, you can easily establish a reliable and high-quality connection between your laptop and TV.
Now, fire up your favorite movie, sit back, and enjoy the immersive experience as you watch your content come to life on the big screen!