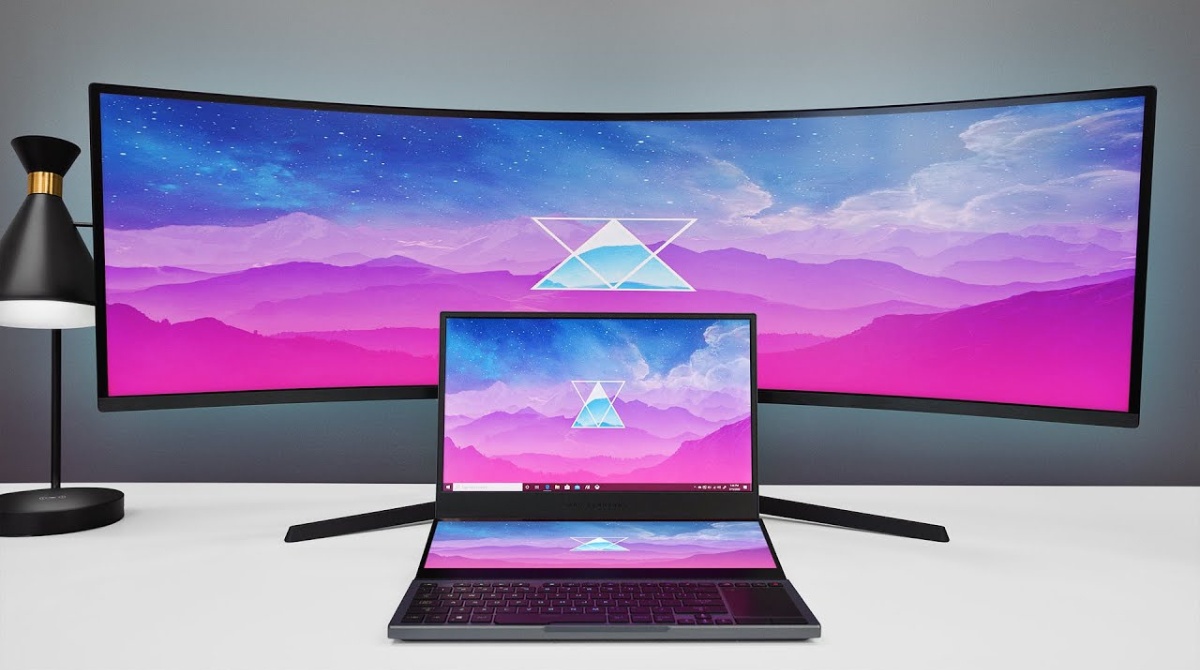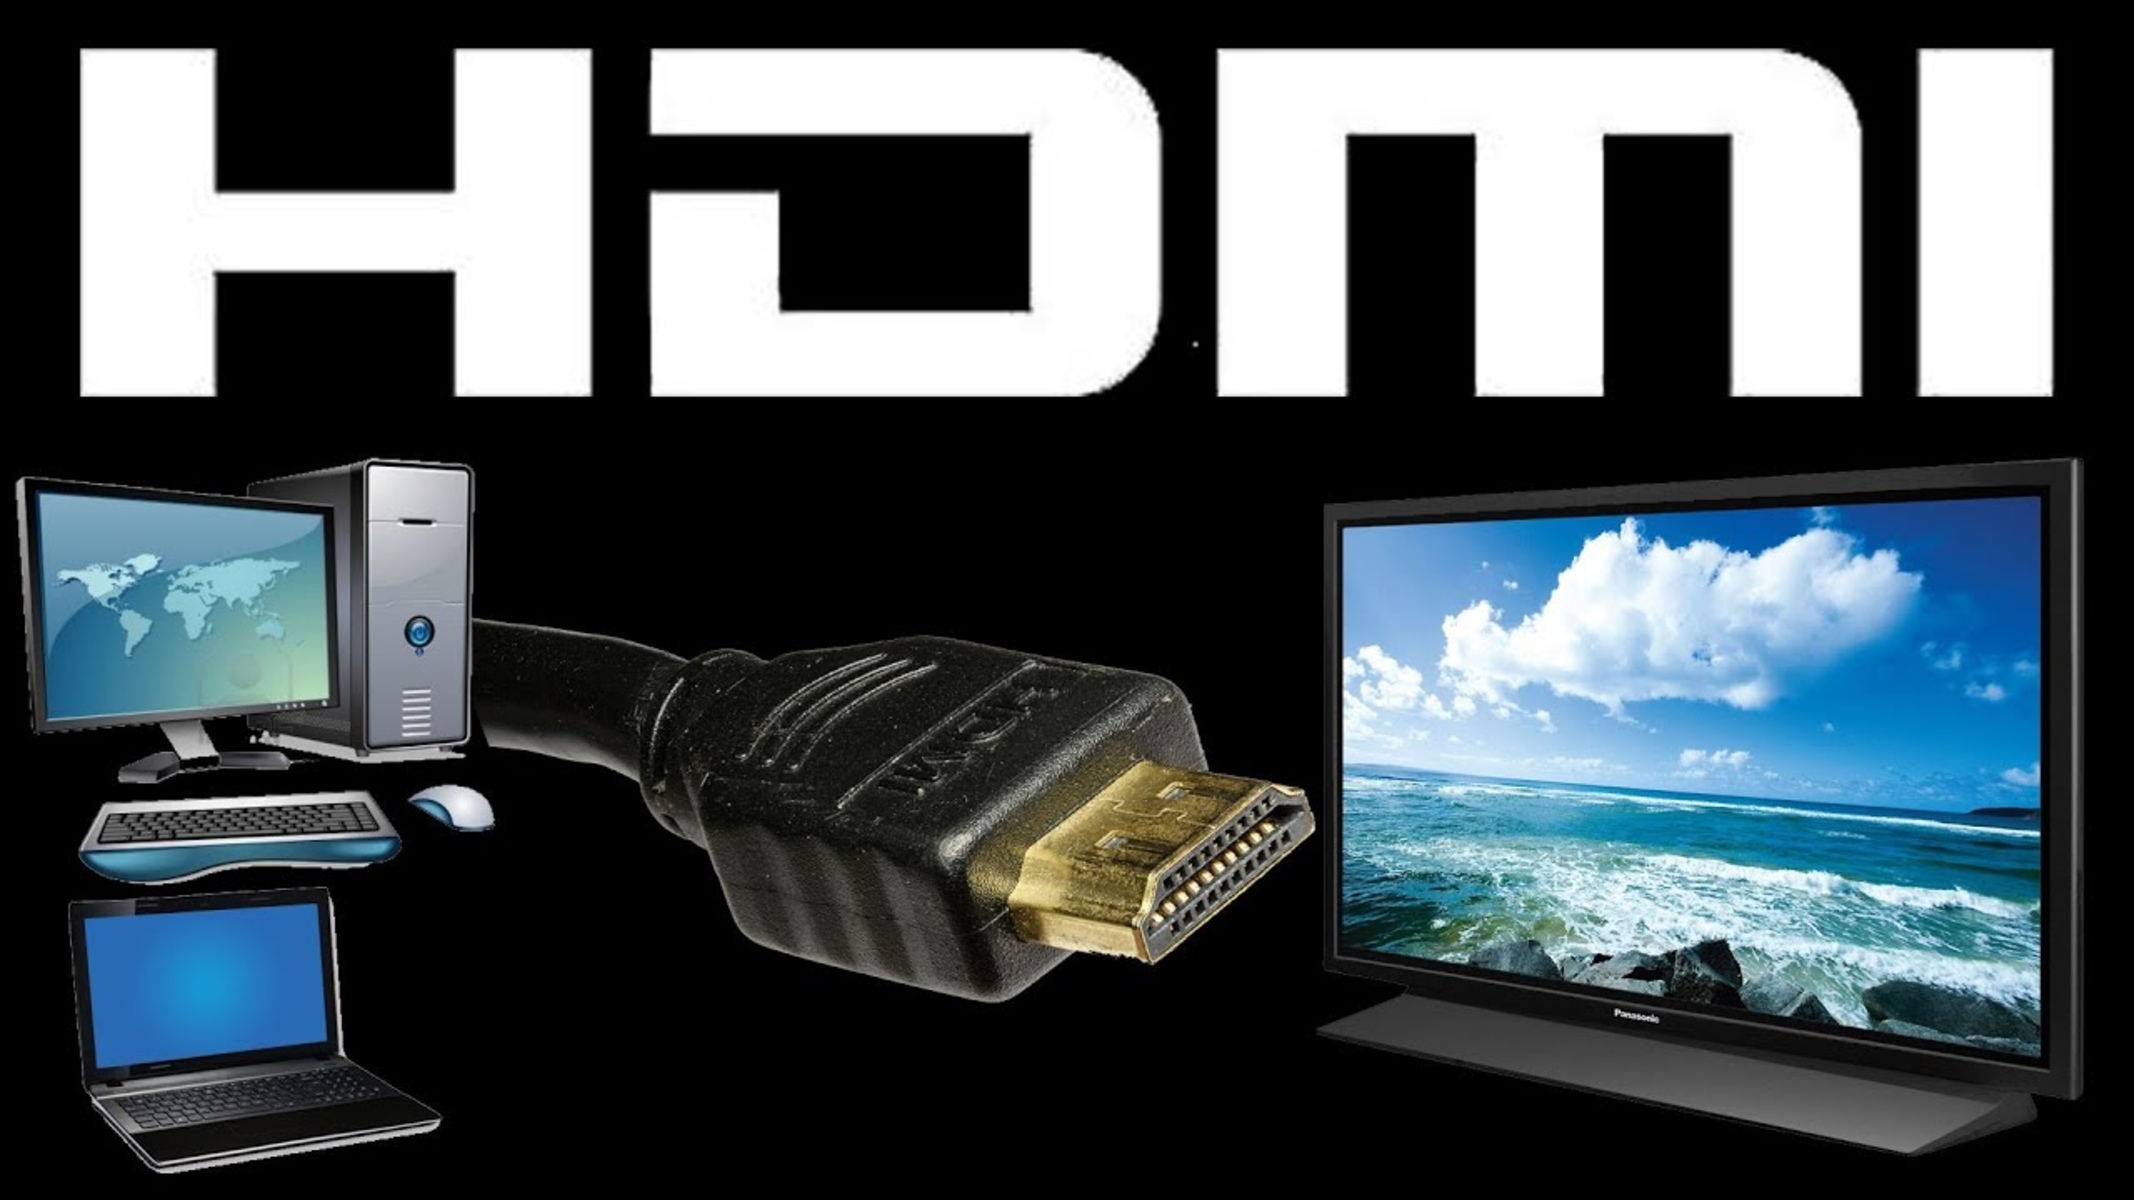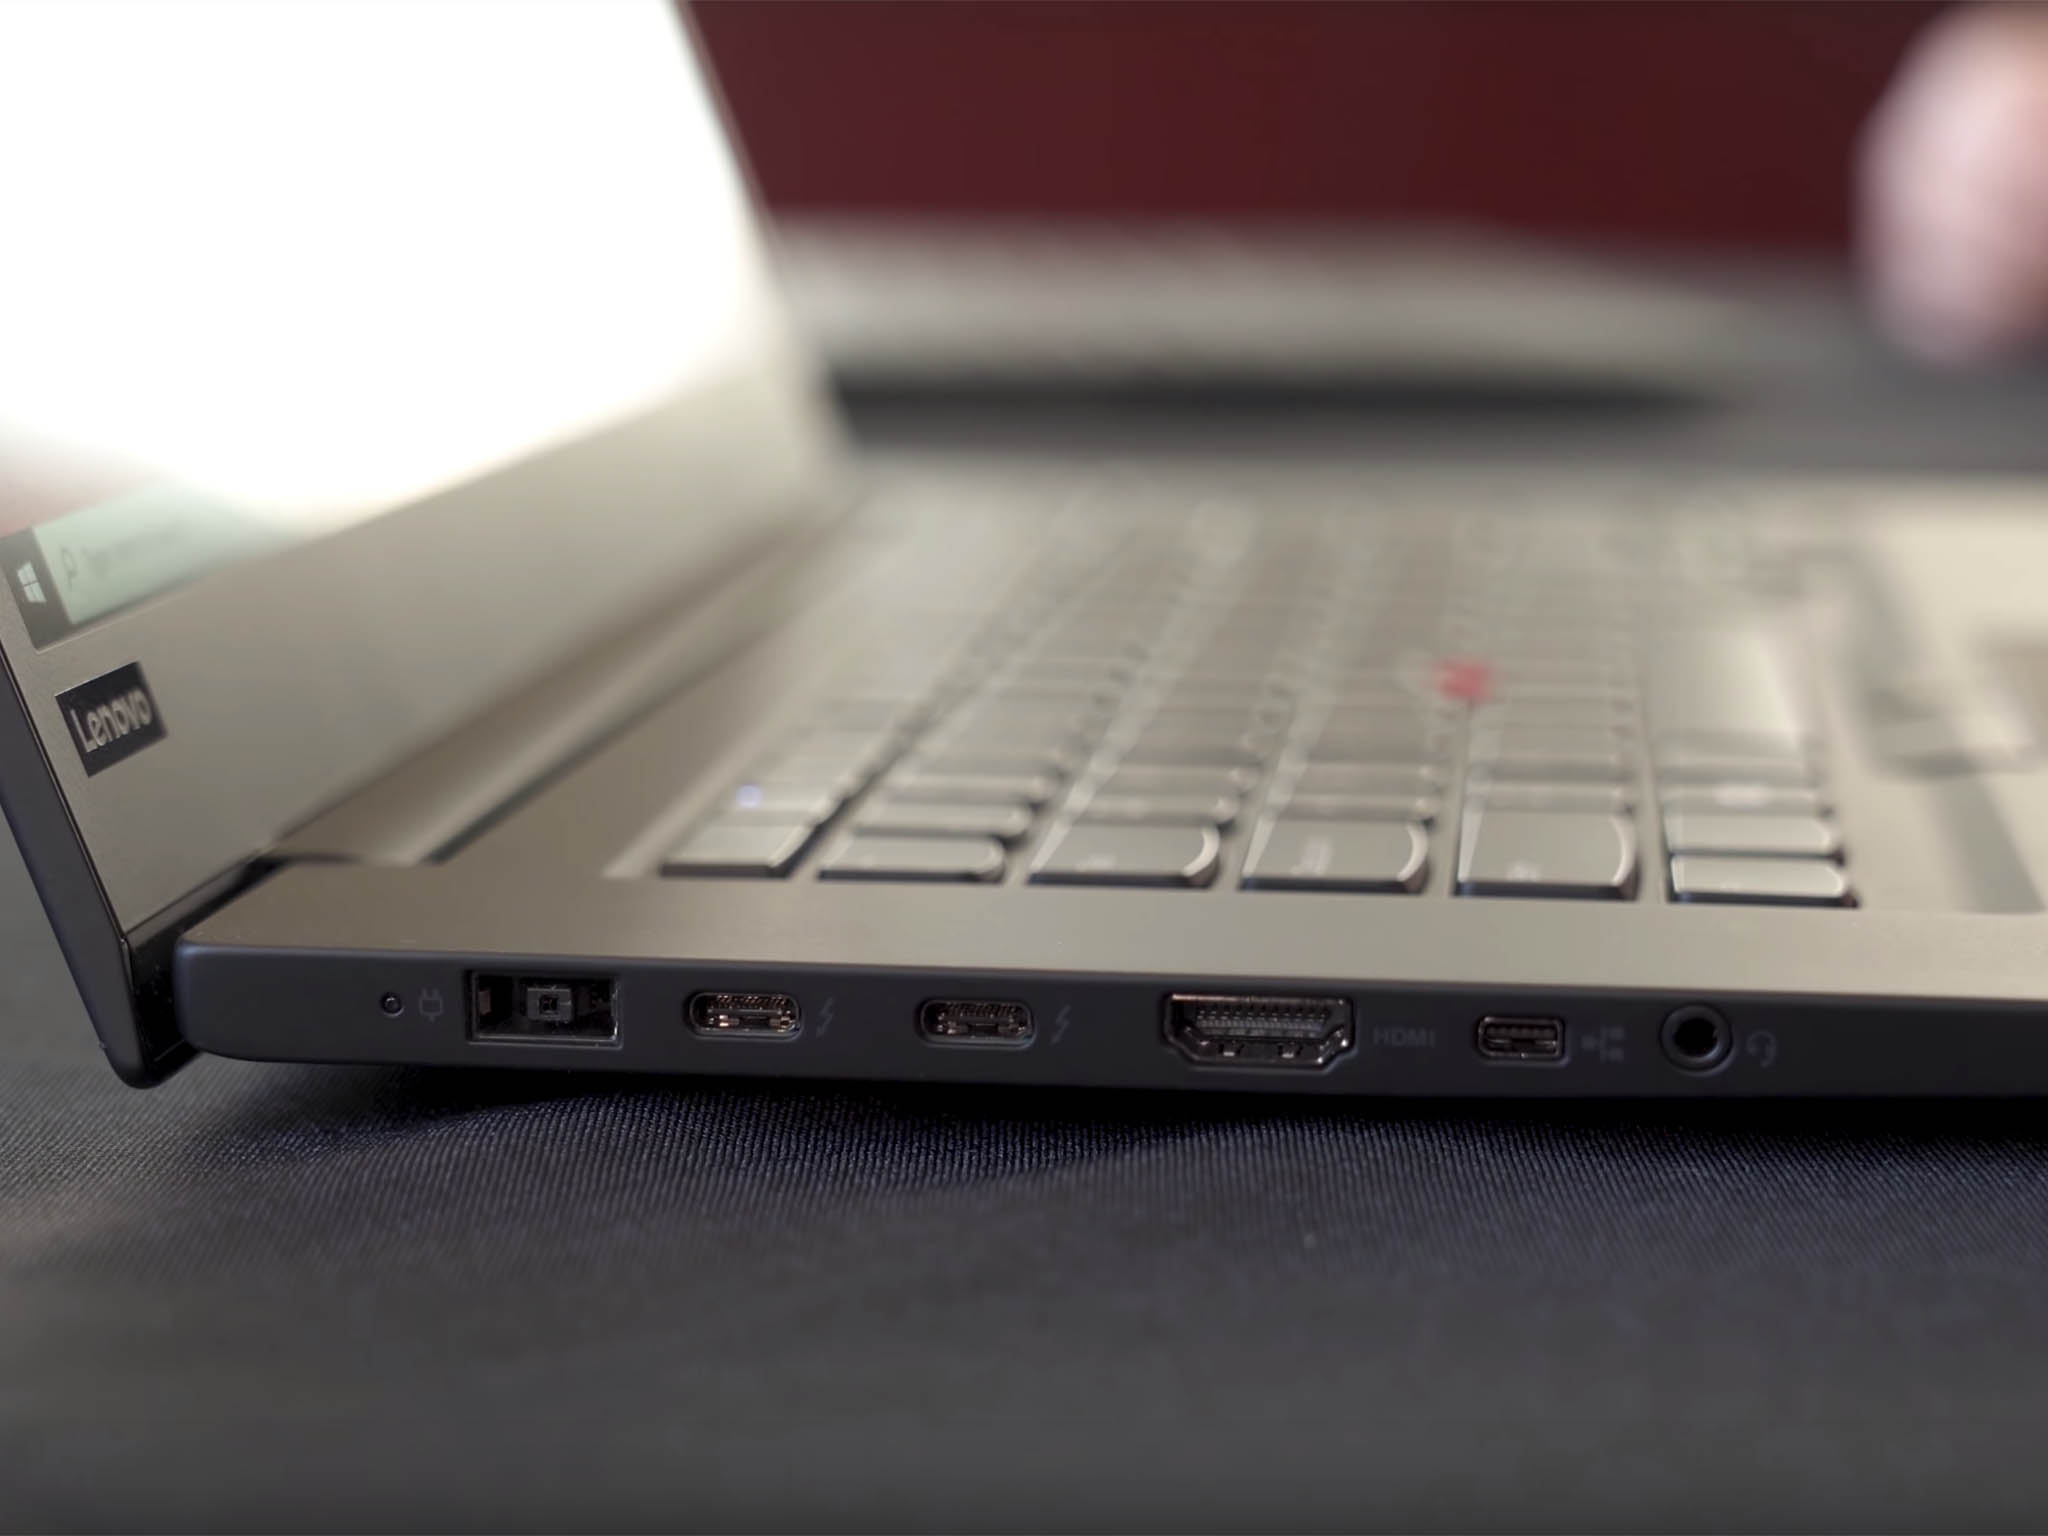
To use HDMI on a Lenovo laptop, plug one end of an HDMI cable into the laptop’s HDMI output port and the other into the HDMI input port on your monitor, TV, or projector. Then power on both devices and select the correct HDMI source on the external display to see your laptop screen.
Before You Connect: Identify Your Lenovo Laptop's HDMI or Adapter
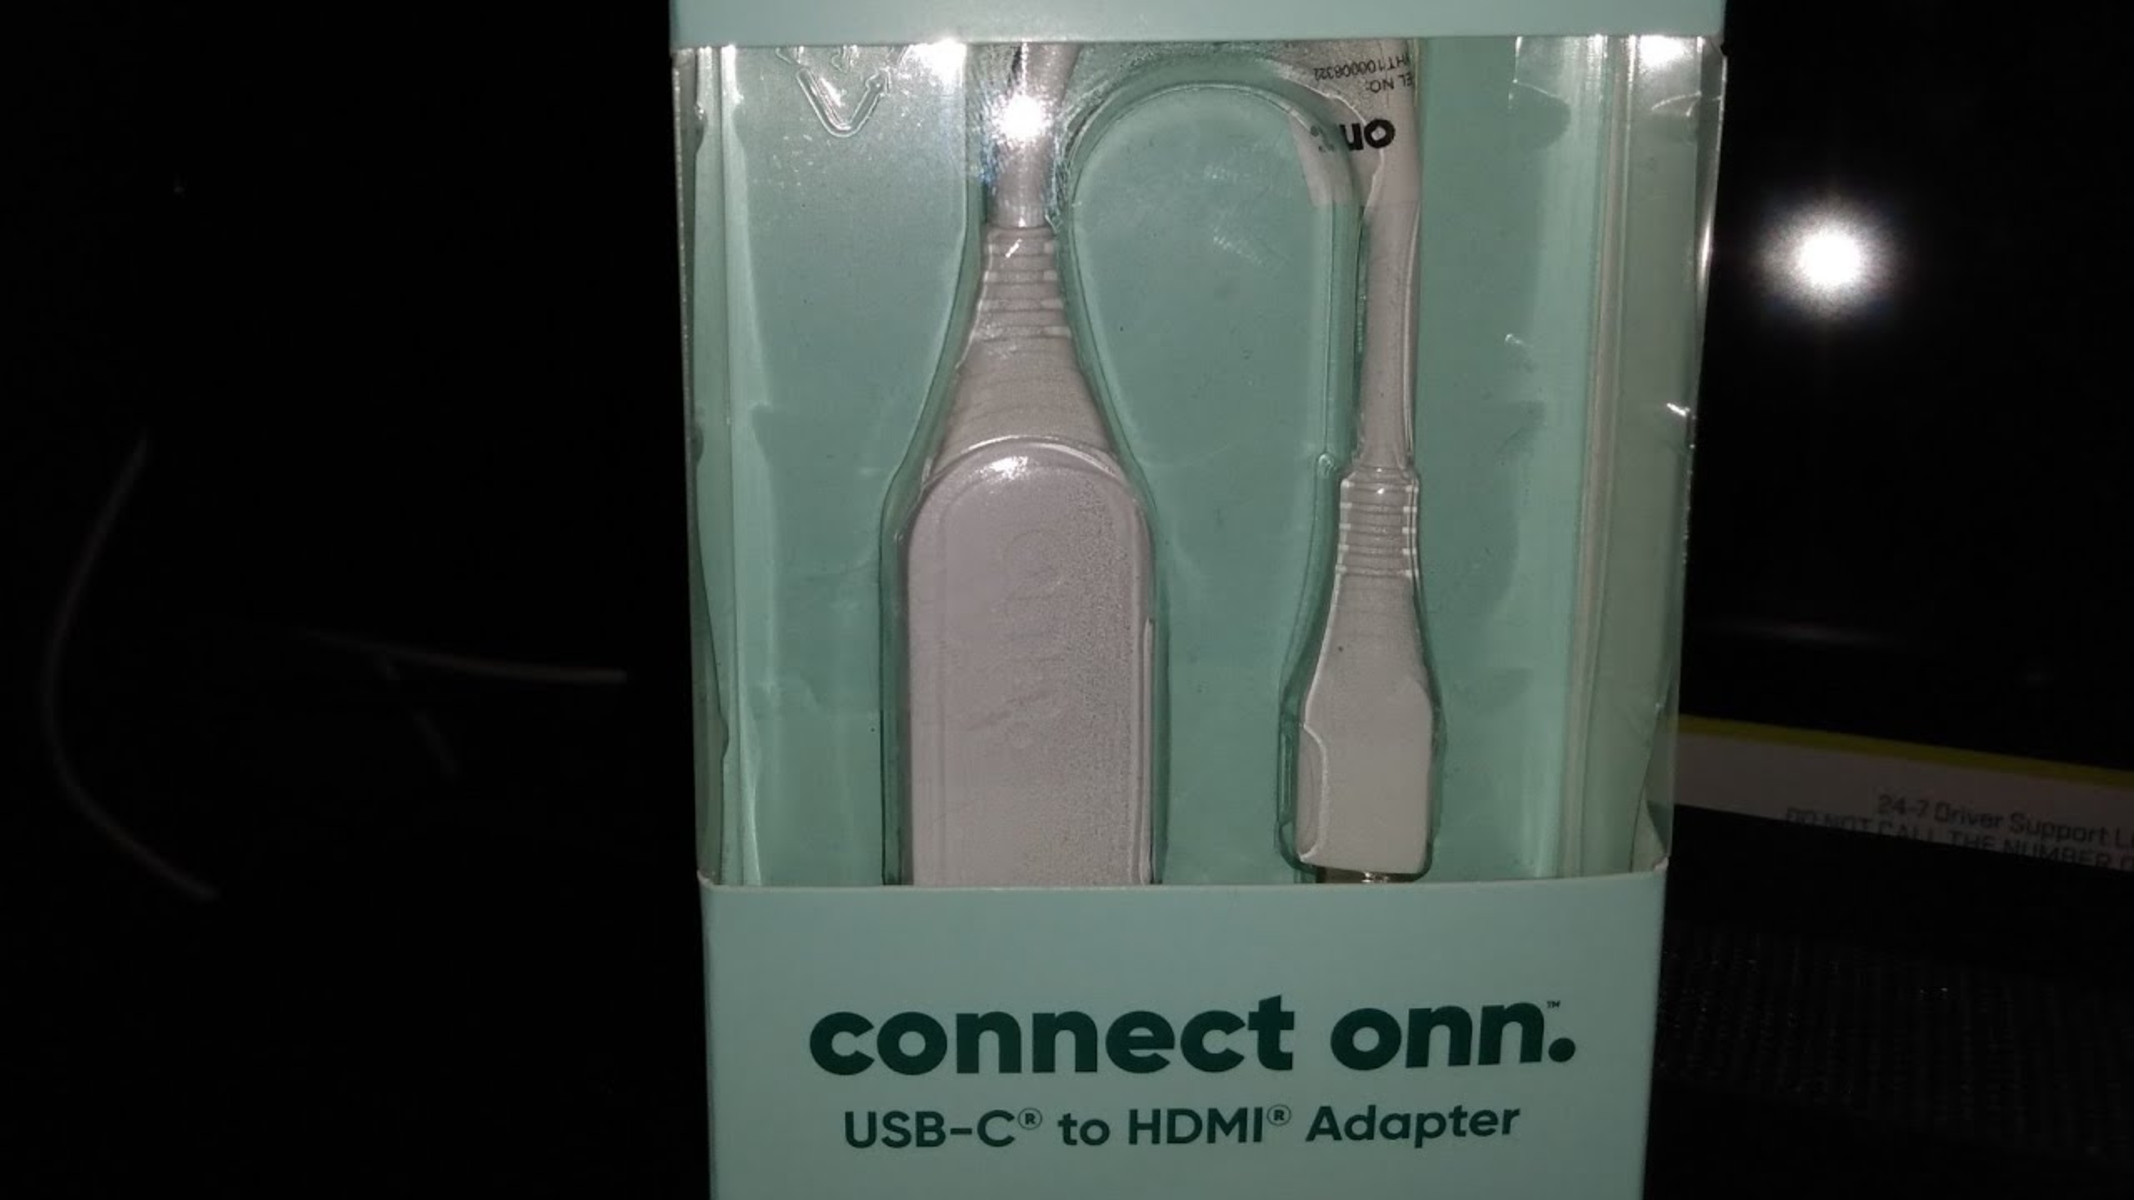
First, locate the HDMI port on your Lenovo laptop. Most modern Lenovo models have a standard, full-size HDMI port, usually on the left or right edge of the chassis. Look for a trapezoid-shaped connector with the letters “HDMI” printed beside it. However, some ultra-thin or compact Lenovo laptops use mini-HDMI or micro-HDMI ports, which are smaller and require a dedicated cable or a standard-to-mini/micro adapter. If your laptop has no dedicated HDMI port at all, you can use a USB-C to HDMI adapter as a fallback, connect the USB-C end to your laptop and the HDMI end to your display. Check your laptop’s user manual or the Lenovo support website for your specific model if you cannot find the port visually. Note that most laptop HDMI ports are output-only, so you cannot use them to connect PS4 to laptop with HDMI without a capture card.
How to Use HDMI on Your Lenovo Laptop: Physical Connection
Begin by turning off both your Lenovo laptop and the external display. This prevents any electrical surge or handshake issues during connection. Take the HDMI cable and insert one end firmly into the HDMI output port on your laptop. Then insert the other end into an HDMI input port on the monitor, TV, or projector. If your display has multiple HDMI inputs, note which one you used (e.g., HDMI 1, HDMI 2). Power on the laptop first, then the display. Use the remote control or the buttons on the external display to select the correct HDMI input source, which may require you to switch from HDMI 1 to HDMI 2 if you plugged into the second port. Once the source is selected, your laptop’s screen should appear on the external display.
Configure Display Settings with Windows+P or Display Settings
After the physical connection, press the Windows logo key + P on your keyboard to open the projection menu. You will see four display modes: “PC screen only” (uses only the laptop display), “Duplicate” (shows the same content on both screens), “Extend” (spreads the desktop across both displays), and “Second screen only” (uses only the external display). Select the mode that fits your task, use Duplicate for presentations or movies, Extend for multitasking, and Second screen only for a clean large-screen view. For more control, right-click on the desktop and select “Display settings” (or “Screen resolution” on older Windows versions). Here you can adjust the resolution, scaling, and orientation for the external monitor. Choose a resolution that matches your display’s native capability, for 4K at 60Hz, ensure both the laptop and display support it and use an HDMI 2.0 or higher cable. If the text appears too small or large, adjust the “Scale and layout” percentage. You can also rearrange the display icons to match the physical setup of your monitors.
Set HDMI Audio as the Default Output
HDMI carries both video and audio over a single cable, so you can route sound to your external TV or monitor without extra wires. To do this, right-click the Volume icon in the system tray and select “Sound settings” (or “Playback Devices” on older Windows). In the list of output devices, locate the one labeled “HDMI” or “Digital Output Device” (the name may include your display’s brand). Select it and click “Set Default” or “Set Default Device.” If you do not see the HDMI option, ensure the cable is fully seated and the external display is powered on, Windows only lists active audio outputs. Once set, sound from your Lenovo laptop will play through the external display’s speakers. This same wired setup lets you play PS5 on laptop through HDMI by using your laptop’s screen as a console display. If you later want sound back on the laptop, repeat the steps and choose the internal speakers as the default.
Troubleshooting HDMI Problems from No Signal to Flickering
If your external display shows “No Signal” or the picture flickers, work through these fixes in order. First, check that the HDMI cable is snugly connected at both ends, a loose cable is the most common cause. Try a different HDMI cable, especially if the current one is long (HDMI cables have a maximum effective length of around 50 feet) or visibly damaged. Confirm the external display is set to the correct HDMI input, cycle through its input sources using the remote or buttons. Next, press Windows + P and select “Duplicate” or “Extend” to ensure the laptop is sending a signal. Restart both the laptop and the display to refresh the connection. If the problem persists, test a different HDMI port on the display or a different HDMI port on your laptop if one exists. Outdated graphics drivers can also cause issues, so update them via Lenovo Vantage, Windows Update, or the graphics card manufacturer’s website. For flickering, check that the resolution and refresh rate are within the display’s supported range, lower them if needed.
On some Lenovo models, connecting external displays to both a USB-C (USB 3.1 Gen 1) connector and an HDMI connector simultaneously may result in only the USB-C connected display working by default. To change this, enter the UEFI BIOS menu during startup (usually by pressing F1 or F2 repeatedly) and navigate to “Config > Display > Shared Display Priority.” There, select which port takes precedence. If you still cannot get a picture, test the laptop with a different external display to rule out a hardware fault, and if the issue remains, consult Lenovo support for your specific model.