Before you switch from HDMI 1 to HDMI 2
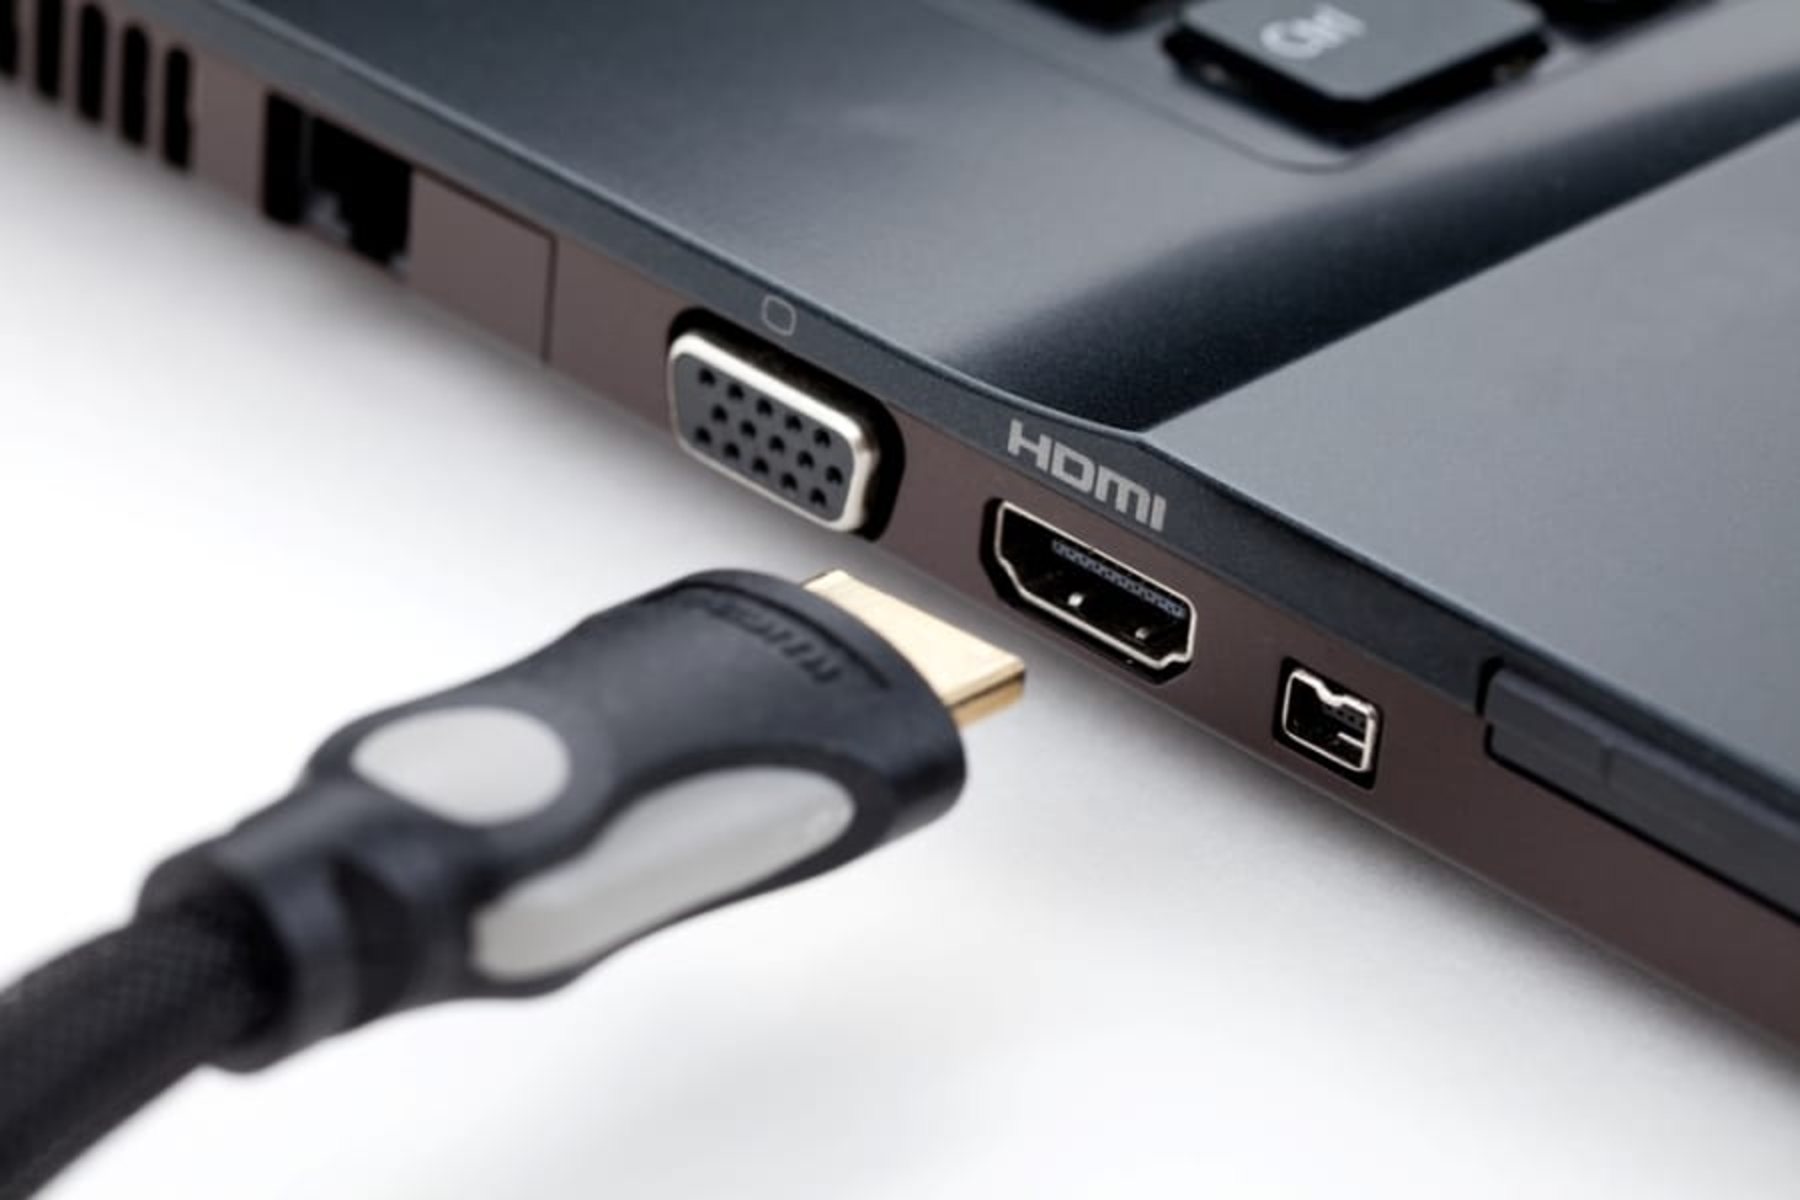
To switch from HDMI 1 to HDMI 2, you usually just press the Input or Source button on your remote, but before you plug anything in, check what your laptop’s HDMI port actually does. Most laptops cannot accept HDMI input. Their HDMI ports are output-only. Before you try connecting a game system or DVD player to your laptop, you’ll need a video-grabber or external recorder. Otherwise, you’ll be met with a blank screen. Even if your laptop has a USB-C port that can enable HDMI alt mode, that still sends video out, not in. The feature simply lets the USB-C connector carry a picture signal to an external screen.
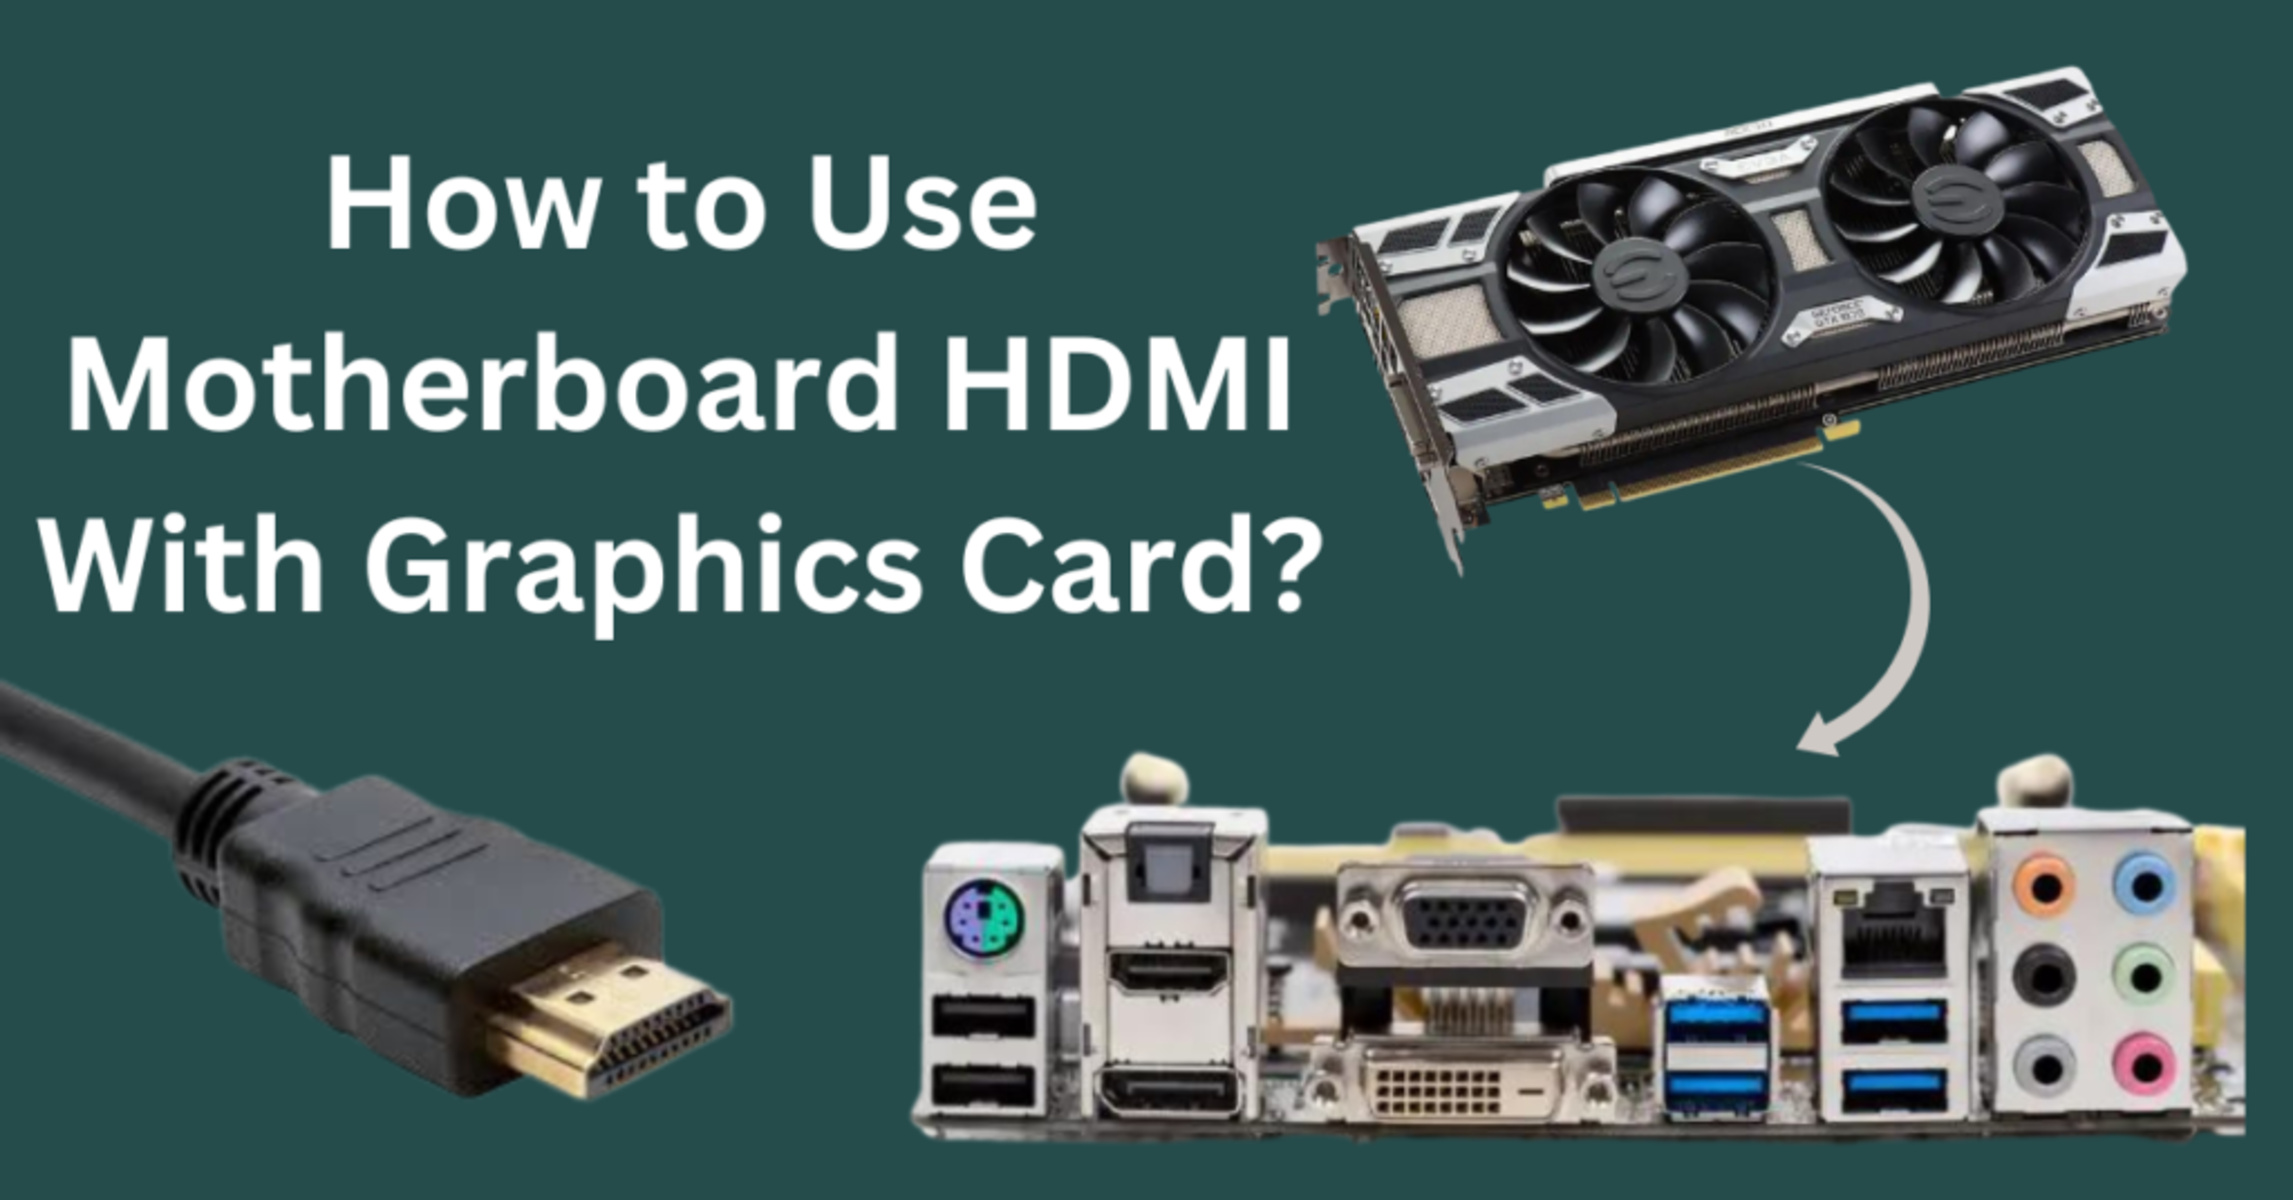
To know what source device you are dealing with, confirm how many HDMI ports does PS5 have. The system typically offers one output port. You cannot route its signal directly into a laptop. If you are building a desktop and wondering whether to use HDMI on motherboard and graphics card, plug the display cable into the graphics card. The motherboard port often stays inactive when a dedicated GPU is installed.
For game system recording, be aware there can be a delay when using a capture card for gaming. This is especially true with cheaper USB models. The video must be encoded and sent over the bus. Finally, if you hoped to use a laptop screen as a monitor without a capture card, know that no standard laptop HDMI port accepts incoming video. You will need a dedicated video-grabber to get any picture at all.
Switching your PC or laptop to HDMI display
When you plug an HDMI cable from your computer into a monitor or TV, the display may not switch automatically. On a recent Dell or HP machine, you can press Windows key + P to open the projection menu. Then choose “Duplicate” or “Extend” to send the signal to the second screen. If that menu appears but nothing happens, you may need to check the display settings directly. Go to Settings > System > Display and click “Detect” under the “Multiple displays” section. This is especially useful if you want to switch to HDMI on PC Windows 11, where the Detect button often resolves handshake issues between the graphics card and the external screen.
For older systems, the process is nearly identical. If you are running an earlier version of the OS, you can follow the same steps to switch to HDMI on Windows 10. The Settings layout places the “Multiple displays” drop-down slightly lower in the menu. Should you run into a situation where Windows key + P not detecting a second screen, try a different HDMI cable. Verify that the monitor is powered on and set to the correct input. Many TVs may not automatically switch to the correct HDMI input when your computer is plugged in. If you need to use HDMI on Lenovo laptop, note that some models require you to press the Fn+F7 key combination to cycle through display modes. The dedicated function key overrides the Windows shortcut.
Connecting a console to a laptop or PC screen
The first thing to understand is that most laptop HDMI ports are output-only. They send a signal out to a projector or second screen. They cannot accept an incoming signal from a game system. Plugging a PS5, Xbox, or Nintendo Switch directly into the laptop will result in a blank screen.
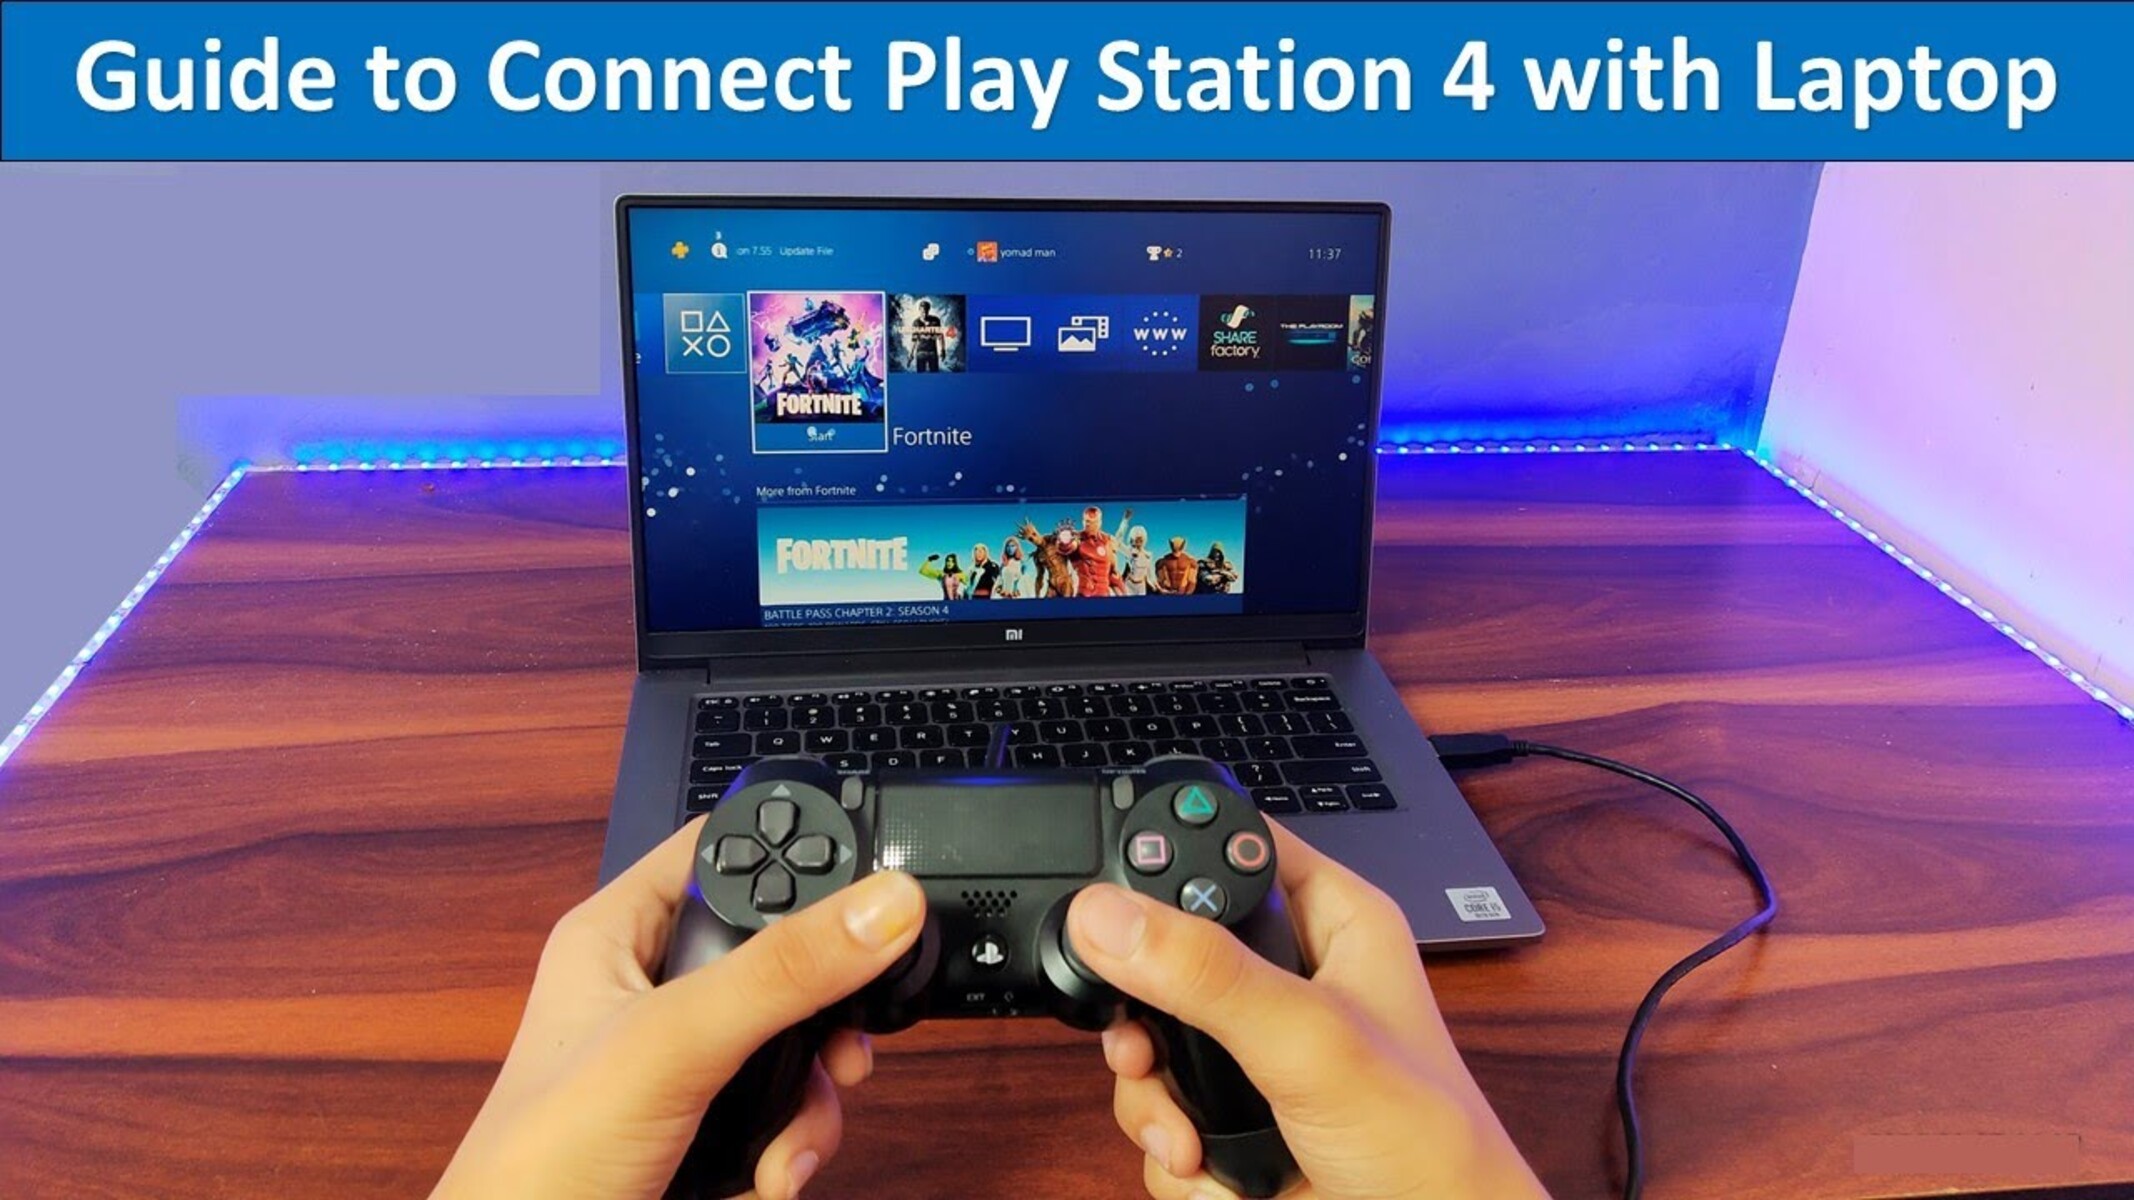
To get around this, you need a capture card. This small box acts as an intermediary. It converts the video signal into data your laptop can read over USB. For example, if you want to play PS5 on laptop through HDMI, you would connect the console to the capture card via HDMI. Then you connect the capture card to the laptop via USB. The same principle applies whether you are connecting a PS4, PS3, or Xbox. The capture card handles the video input that the laptop's HDMI port cannot.
Once the capture card is set up, you open the manufacturer's software or a program like OBS. This lets you see the game system's picture on your laptop screen. For computer monitors, the process is simpler. Most monitors have HDMI input ports. Just plug the game system directly into the screen. If you are working with a laptop and need a guide for a specific device, a short set of nearly identical walkthroughs covers each one. They differ only by the device name. You can choose the one that matches the hardware you are holding.
No other guide offers a single-page, console-by-console wiring diagram that treats every HDMI source, from a DVD player to a Nintendo Switch, as the same signal path problem, solved by one capture card.
You cannot send video from one computer to another using a standard cable alone. This is because both machines have output-only ports. The process for a direct machine-to-machine link mirrors the game system setup. If you want to connect 2 laptops together with HDMI, you will still place a capture card in the middle. The source laptop connects to the capture card via HDMI. The capture card then feeds the video to the second laptop via USB. This is also how you handle optical media players. To connect DVD player to computer with HDMI, you run the player into the capture card first. The computer then reads the signal through the USB connection.
Dedicated desktop screens are much more straightforward. These panels are built to receive signals. When you connect Samsung monitor to PC with HDMI, the cable carries video directly from the computer’s output port to the screen’s input port. No extra hardware is needed. The same direct logic applies to game systems. To connect PS4 to PC monitor with HDMI, you simply run a cable from the system to the screen. The panel may detect the source automatically, but manual input selection is often necessary. For a hybrid setup involving a ChromeOS device, the rules revert back to requiring an adapter. To connect Xbox to Chromebook with HDMI, the signal must pass through a capture card. The Chromebook cannot accept a direct HDMI feed.
Some laptops offer a direct input mode. This is rare. You must check your specific model’s manual. If the port is output-only, the screen will stay black without a capture card. This rule applies across all modern game systems. If you want to connect Nintendo switch to PC with HDMI, the Switch must talk to a capture card first. The PC then displays the feed through software. The same is true for older systems. To connect PS3 to PC with HDMI, you route the cable through the capture card. The computer never receives the raw HDMI signal directly. The setup is identical for Microsoft’s older hardware. To connect Xbox 360 to laptop with HDMI, the console plugs into the card. The card plugs into the laptop.
Modern systems follow the exact same wiring pattern. To connect PS4 to laptop with HDMI, you must break the signal path with a capture card. The laptop acts purely as a viewing screen. It does not control the system. The same rule applies to the latest generation. To connect Xbox to PC with HDMI, you cannot use the PC’s HDMI port as an input. The capture card remains the essential bridge. For larger screens, the roles reverse. When you connect a computer to a TV HDMI, the computer is the source. The television is the receiver. This works with a simple cable. No capture card is required because the TV has an input port.
There is a specific scenario where the HDMI port is missing entirely. This requires a signal conversion. If you need to connect PS4 without HDMI, you must use an active converter box. This changes the console’s analog or digital output into a format the screen can read. The process is different from a standard digital capture. You are now dealing with component or composite signals. The final scenario is the simplest of all. When you connect monitor with HDMI to any source, the screen just works. The display panel is a passive receiver. It shows whatever the source device sends it.
Using a console without a working HDMI port
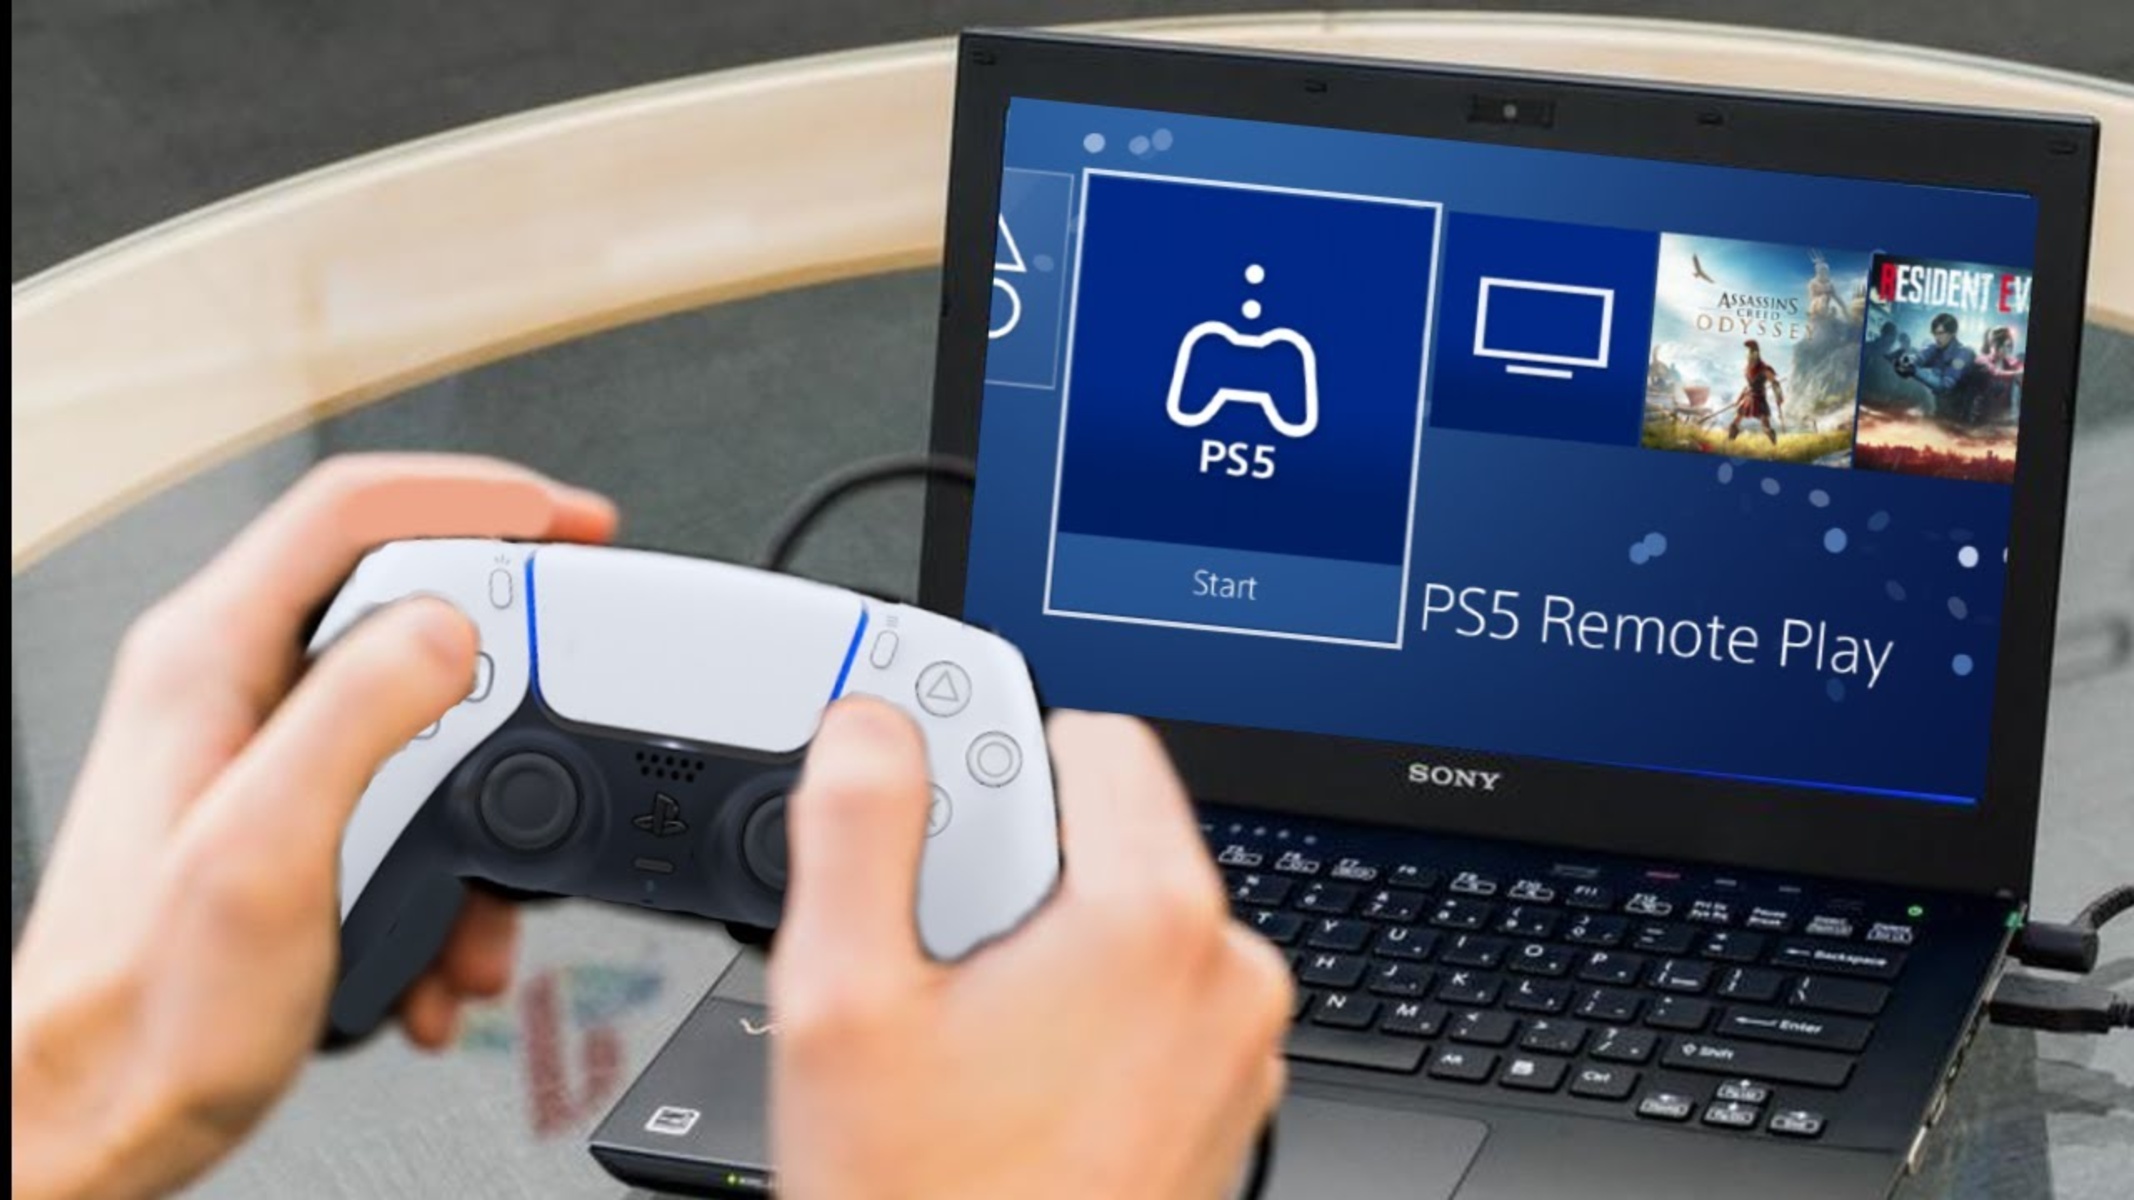
If your PS5 or PS4 has a damaged HDMI port, you cannot simply plug it into a different screen and expect a signal. One practical workaround is to use a remote play setup over your home network. This streams the gaming system’s interface to a laptop or tablet. This approach effectively allows you to play PS5 without HDMI, which is exactly why you would want to read the article on how to play PS5 without HDMI. It does require a stable Wi‑Fi connection and the official Remote Play app. For a direct connection to a laptop screen, you will need a USB‑based video grabber that accepts HDMI input. Most laptop ports are output‑only and will show a blank screen otherwise.
If you prefer to get the physical port repaired, you should first get a quote from a local electronics shop. Typically, the cost to fix a PS5 HDMI port ranges from $80 to $150. The final price depends on the technician’s experience and whether the motherboard needs additional work. To ensure the job is done safely, look for a repair service for a PS5 HDMI port that specializes in micro‑soldering. A general repair shop may lack the proper tools. Most repairs take one to three days. The machine will then function normally with any HDMI output port on the console, connecting to an HDMI input on your TV.
Handling HDMI and DisplayPort together
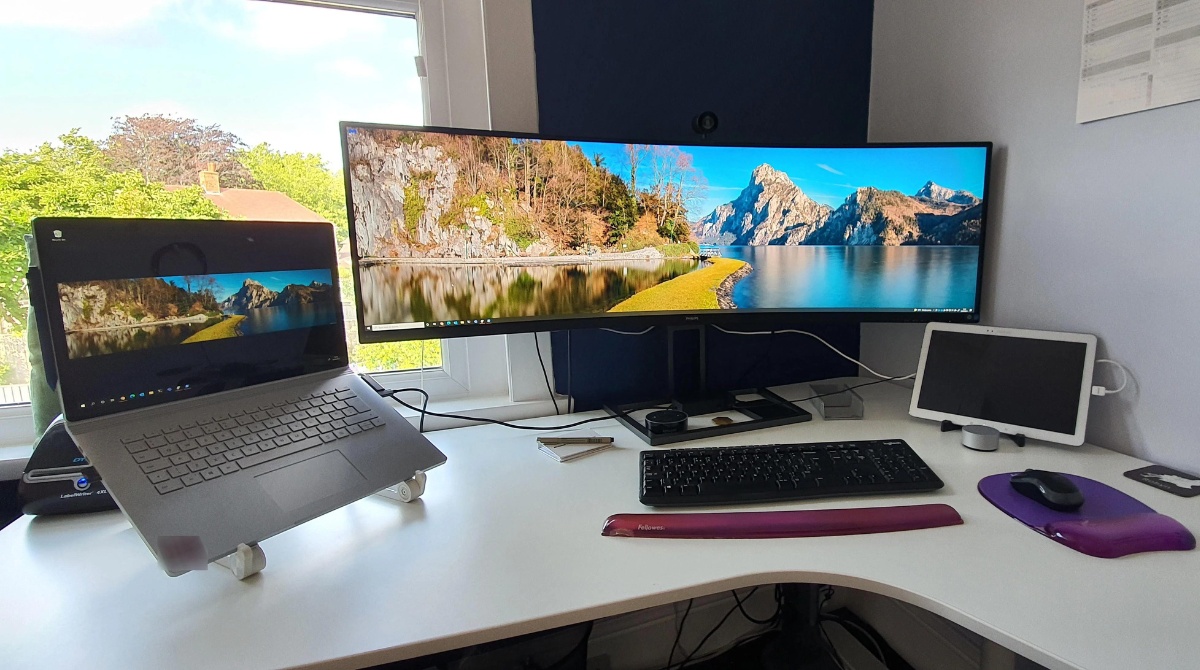
If you need to run two monitors with one HDMI port, the simplest approach is an HDMI splitter. A splitter duplicates the same signal to both screens. Both screens will show identical content. This is useful for presentations but not for extending your desktop. For separate, independent screens, you will need a USB-to-HDMI adapter. A docking station that adds extra video outputs also works well. When you connect HDMI laptop to DisplayPort monitor, the cable itself is usually the answer. An active HDMI-to-DisplayPort adapter (often USB-powered) works because it actively converts the HDMI output signal to DisplayPort format. The screen expects DisplayPort input. Be sure the adapter is "active" (powered or bidirectional) if your screen lacks DP++ mode. Passive cables may fail.
A common pitfall is forgetting that most laptops treat their HDMI port as strictly output-only. You cannot plug a gaming rig or Blu-ray player into that port and see a picture. If you ever need to grab an external source on your laptop panel, you must buy a USB video acquisition dongle. That small device sits between the source and your laptop. It converts the incoming HDMI signal into data your computer can show. This is the only way to turn your laptop into a screen for another machine. No software trick can change the physical direction of your built-in port. The hardware simply does not support inbound recording without an external interface.
Before you buy any gear, identify every device in your chain. Check the physical connectors on your source and your viewing surface. A modern gaming machine often uses HDMI 2.1. An older office panel might rely on DVI or VGA. Write down the maximum resolution and refresh rate you want to achieve. A 4K signal at 60Hz requires more bandwidth than a 1080p signal. Your adapter or dock must match that bandwidth. If you chain multiple converters together, you risk signal degradation or HDCP handshake failures. Start with the simplest path possible. A single, high-quality cable solves most problems. Only add intermediate boxes when you absolutely must convert or split the signal.
Understanding signal direction prevents expensive mistakes. A standard HDMI port on a laptop pushes video out. A standard HDMI port on a television or panel receives video in. Cables are passive and bidirectional. Adapters, however, are often directional. An adapter that converts from USB-C to HDMI will not work in reverse. If you need to record from a gaming machine, the data must flow into your computer. Your computer’s built-in HDMI port cannot receive that data. You must route the signal through a USB recording stick. This external hardware acts as a bridge. It compresses the video stream and sends it over USB. Your computer then sees it as a webcam-like source. This is the foundational rule of video routing. Outputs connect to inputs, and you cannot reverse their roles without active conversion.
Choosing the right cable for a mixed-connector setup is critical. When you connect HDMI laptop to DisplayPort monitor, look for a cable labeled “HDMI to DisplayPort.” This cable is directional. The HDMI end plugs into your laptop. The DisplayPort end plugs into your panel. Do not buy a “DisplayPort to HDMI” cable by mistake. That cable carries a signal in the opposite direction. It will not work for your scenario. Passive cables rely on the laptop’s HDMI port to emit a DisplayPort-compatible signal. This feature is called DP++. Many laptops support it, but not all. If you are using HDMI-to-DisplayPort conversion, you need an active adapter regardless of DP++ support, because DP++ only applies to DisplayPort sources. An active adapter has a chip inside that converts the signal. It often draws power from a USB port. This guarantees compatibility with any DisplayPort panel.
Managing multiple screens from a single laptop port requires a clear plan. A splitter mirrors your desktop. It is a simple distribution tool. A docking station creates an extended desktop. It uses internal chips to generate independent video streams. USB-based docks compress the video data. This can introduce slight latency. It is fine for office work but poor for fast-paced gaming. Thunderbolt docks use a direct PCIe connection. They offer uncompressed video and lower latency. If you need to run two monitors with one HDMI port and extend your desktop, a USB dock is your most affordable path. Install the dock’s driver software first. Then connect the dock to your laptop. Finally, attach your panels to the dock’s video outputs. Your operating system should detect the new arrangement automatically. You can then arrange the virtual position of each panel in your display settings.
HDCP is a hidden source of frustration. HDCP stands for High-bandwidth Digital Content Protection. It encrypts the signal between a playback device and a panel. If you try to record a protected movie from a streaming box, the recording stick will show a black screen. Most acquisition dongles strip HDCP by default. This is a legal requirement for recording gameplay but not for copying movies. If your signal chain includes a splitter, that splitter must also support HDCP passthrough. A non-compliant splitter will break the handshake. The panel will flicker or remain dark. Always check the HDCP version on every device in your chain. A mismatch between HDCP 1.4 and 2.2 can block 4K content. Match the versions to ensure a stable picture.
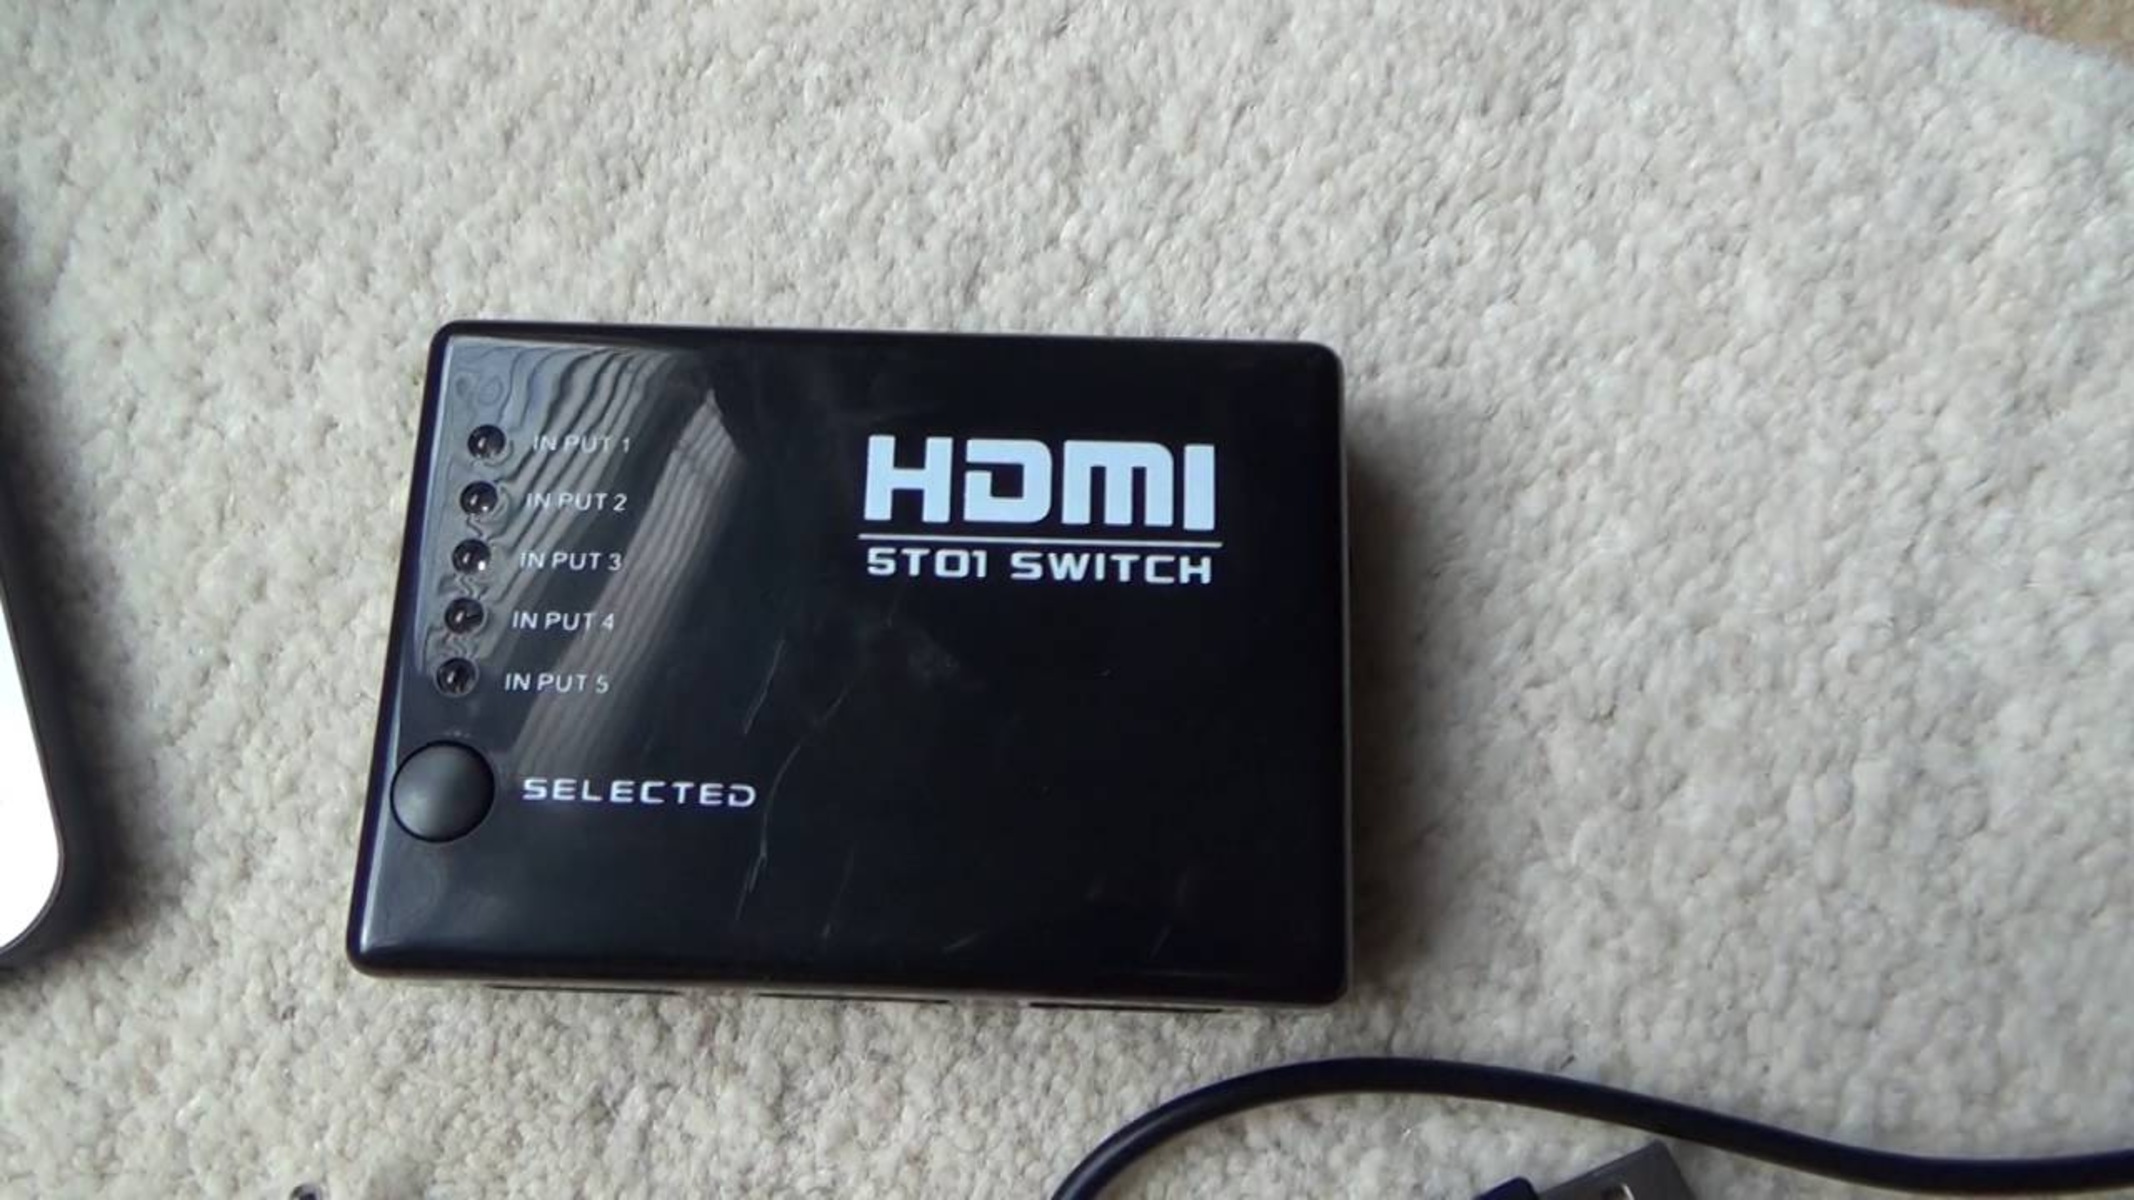
Refresh rate and resolution place hard limits on your setup. HDMI 1.4 can carry 4K at 30Hz. HDMI 2.0 can carry 4K at 60Hz. HDMI 2.1 can carry 4K at 144Hz or 8K at 60Hz. Your cable, adapter, and panel must all support the same standard. A single old cable can bottleneck the entire chain. If your panel supports 144Hz but your HDMI switch only supports 60Hz, you will see 60Hz. Variable Refresh Rate (VRR) technologies like FreeSync and G-Sync add another layer. These require end-to-end support. Most splitters and USB docks do not pass VRR. For high-refresh gaming, connect your gaming machine directly to the panel. Avoid intermediate boxes. Use a certified cable that matches the bandwidth you need. An “Ultra High Speed” label is required for HDMI 2.1.
Audio routing often gets overlooked. HDMI carries both video and audio. If you use a USB recording stick, your computer may not send audio to the preview window by default. You must select the acquisition dongle as your audio input source in your system settings. If you use a splitter to send a signal to a television and a separate audio receiver, check the splitter’s EDID management. EDID tells