Introduction
Welcome to our guide on how to connect a DVD player to a computer using an HDMI cable. This step-by-step tutorial will walk you through the process, allowing you to enjoy your favorite DVDs on a larger screen and take advantage of the computer’s functionality and multimedia capabilities.
In today’s digital age, many people prefer to watch movies, TV shows, and videos on their computers due to the convenience and versatility they offer. By connecting your DVD player to your computer via an HDMI cable, you can combine the best of both worlds – the high-quality video and audio from your DVD player and the enhanced viewing experience on your computer.
Whether you want to watch a classic film, a home video, or even a workout DVD, connecting your DVD player to your computer opens up a whole new level of entertainment possibilities. Plus, it eliminates the need for multiple devices and saves space in your entertainment center or desk.
Before we dive into the steps, it’s important to note that this guide assumes you have a desktop or laptop computer with an available HDMI input, as well as a DVD player with an HDMI output. If your computer doesn’t have an HDMI input or your DVD player lacks an HDMI output, you may need additional converters or adapters to establish the connection. Additionally, ensure that both your computer and DVD player are powered off during the setup process.
Now that we have covered the basics, let’s move on to the step-by-step process of connecting your DVD player to your computer using an HDMI cable. Whether you’re a tech-savvy enthusiast or a beginner, this guide will help you complete the setup with ease and enjoy your DVD collection on a bigger screen.
Step 1: Check your computer and DVD player
Before you dive into connecting your DVD player to your computer, it’s important to ensure that both your computer and DVD player meet the necessary requirements for the setup. This step will help you confirm if your devices are compatible and ready for the connection.
Firstly, check your computer to see if it has an available HDMI input. Most modern computers, whether they are desktops or laptops, come equipped with an HDMI port. It is usually located on the back or side of the computer, labeled as “HDMI.” This port allows you to connect external devices, such as a DVD player, to your computer.
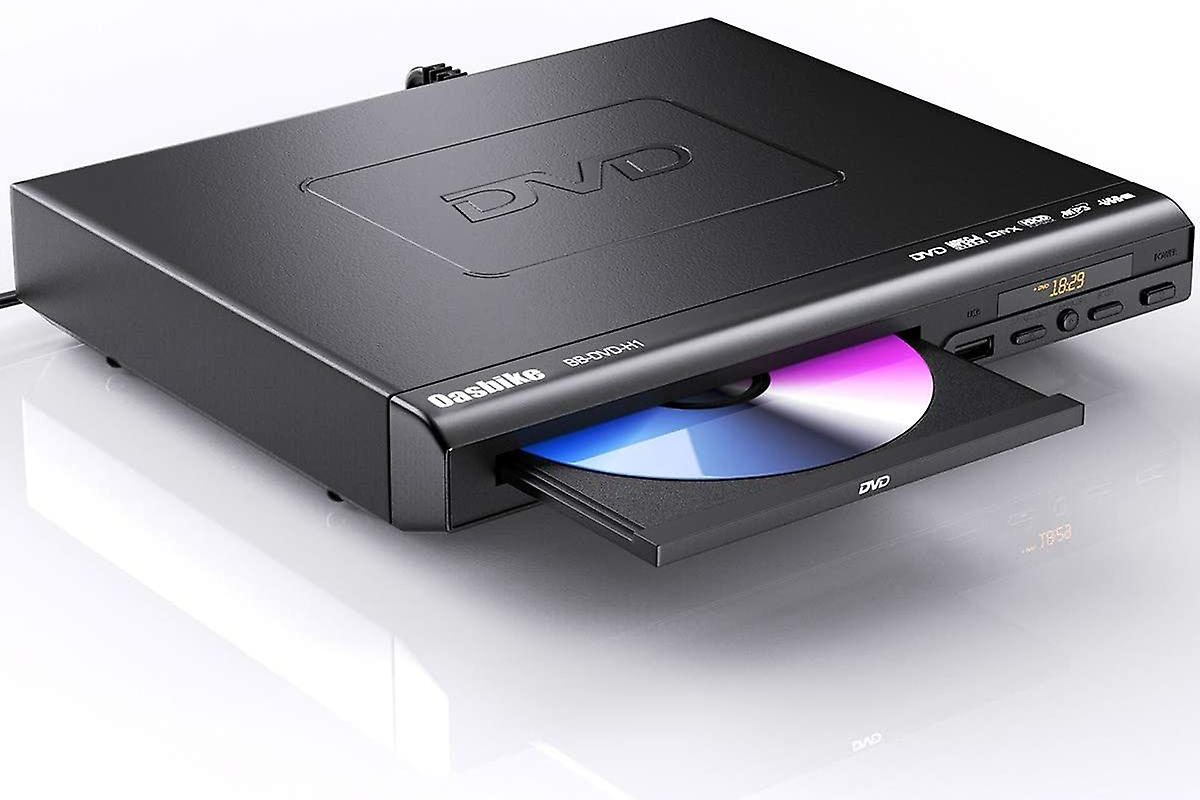
Next, examine your DVD player to confirm if it has an HDMI output. The HDMI output is typically located on the back panel of the DVD player. It is marked as “HDMI Out” or “HDMI.” Make sure your DVD player has this port as it is essential for establishing the connection to your computer.
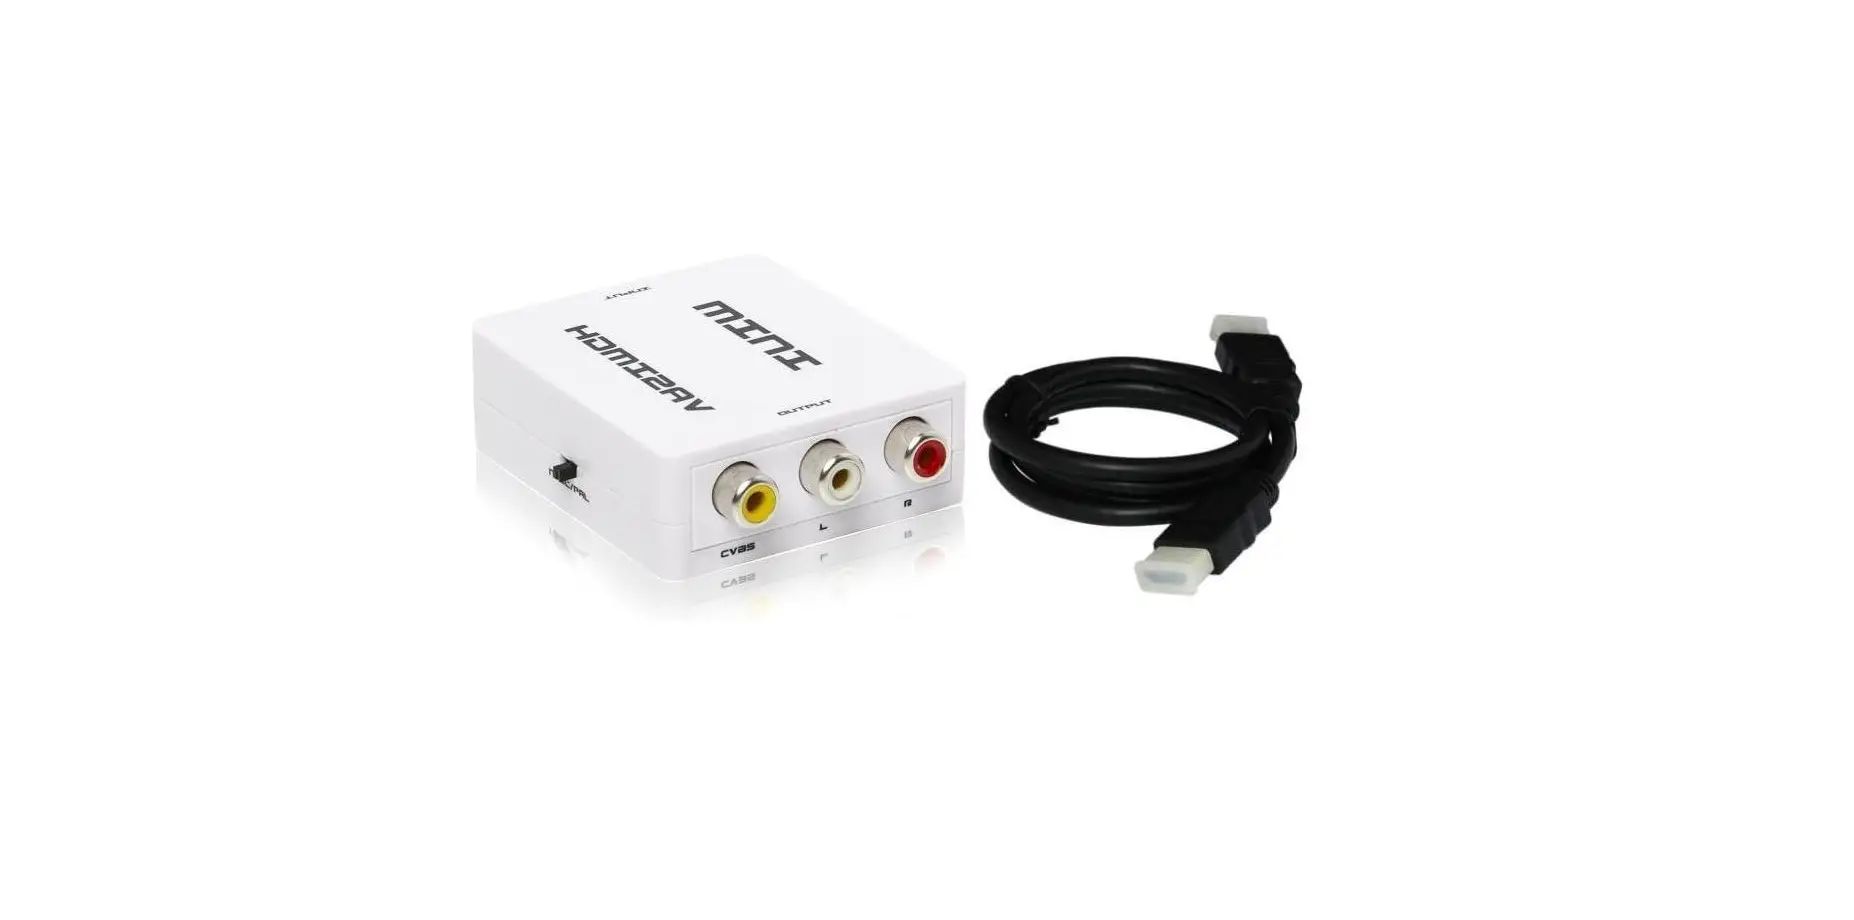
If your computer or DVD player lacks the necessary ports, you might need additional converters or adapters to establish the connection. These adapters can convert other video and audio outputs to HDMI, ensuring compatibility between your devices.
Additionally, check the DVD player’s compatibility with your computer’s operating system. Most recent operating systems, such as Windows and macOS, have built-in support for external devices like DVD players. However, it’s a good idea to verify the compatibility to avoid any compatibility issues or the need for additional software or drivers.
By thoroughly checking your computer and DVD player, you can ensure that both devices meet the requirements for establishing a successful connection. Once you have confirmed their compatibility, you can move on to the next step of obtaining the necessary cables for the connection.
Step 2: Get the necessary cables
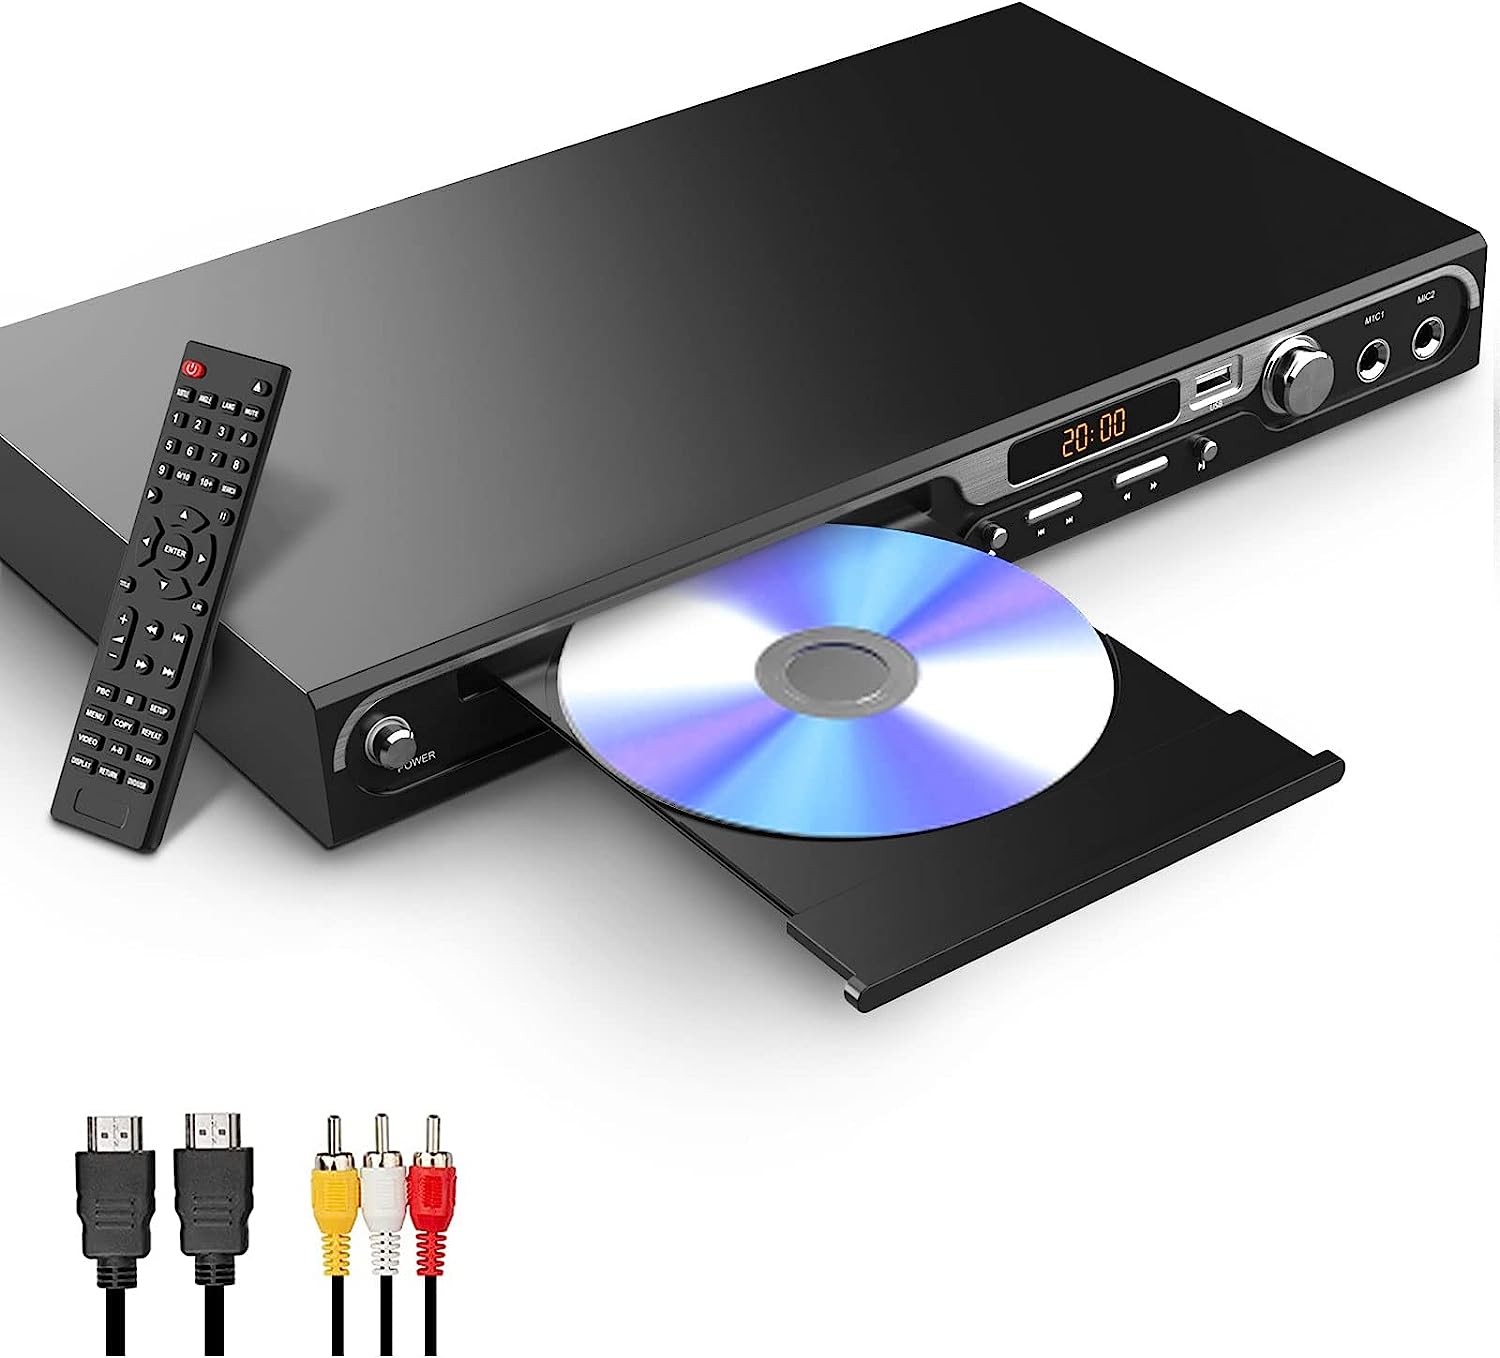
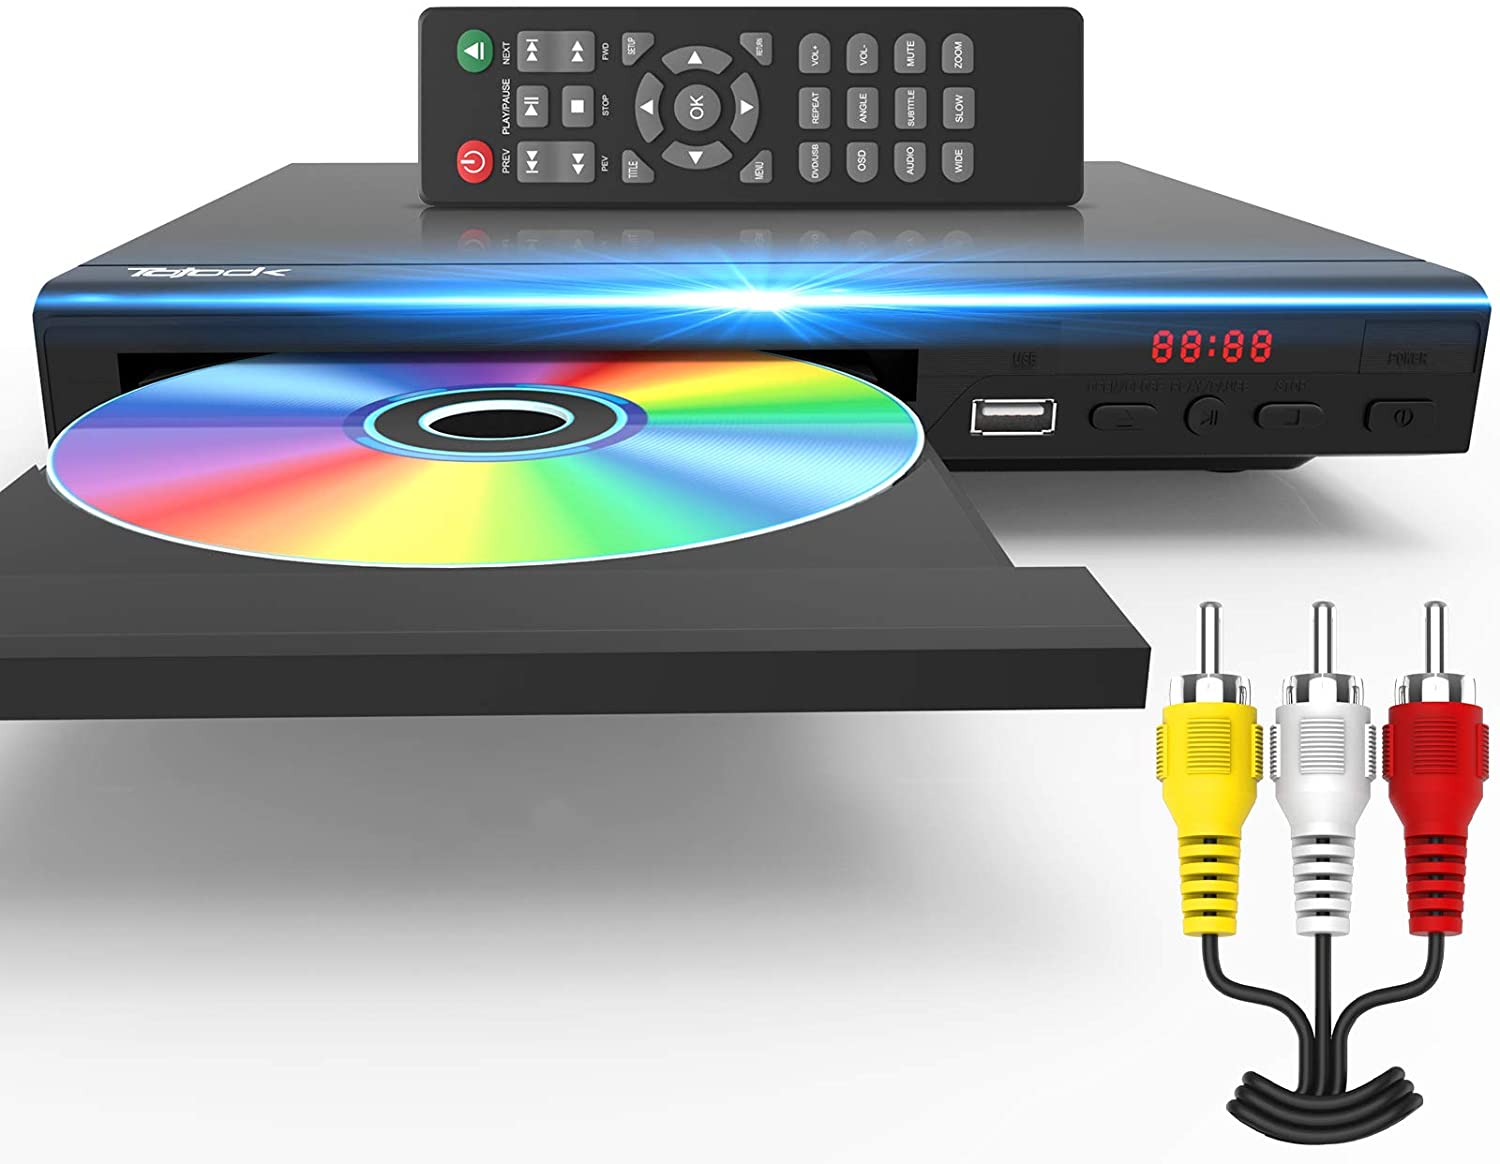
Now that you’ve confirmed the compatibility of your computer and DVD player, it’s time to gather the necessary cables to establish the connection. The primary cable you’ll need is an HDMI cable, which carries both video and audio signals.
When choosing an HDMI cable, make sure to select a length that suits your setup. Measure the distance between your computer and DVD player to determine the appropriate cable length, ensuring that it’s neither too short nor too long. Keep in mind that longer cables may result in signal degradation, so it’s best to choose the shortest viable option.
There are various types of HDMI cables available, such as Standard HDMI, High-Speed HDMI, and Premium High-Speed HDMI. For the purpose of connecting a DVD player to a computer, a standard HDMI cable should suffice. However, if you plan on using the same cable for other high-resolution video and audio devices, opting for a High-Speed or Premium High-Speed HDMI cable might be a better choice to future-proof your setup.
You can find HDMI cables at most electronics stores, both online and offline. Consider comparing prices and reading reviews to ensure you’re purchasing a reliable and reasonably priced cable.
In addition to the HDMI cable, you may also need an adapter or converter if your DVD player or computer doesn’t have HDMI ports. These adapters can convert other video and audio outputs to HDMI, allowing you to establish the connection between the two devices.
Once you have gathered the necessary cables and adapters, you’re now ready to move on to the next step: connecting the HDMI cable to your DVD player.
Step 3: Connect the HDMI cable to the DVD player
With the necessary cables in hand, it’s time to connect the HDMI cable to your DVD player. This step will help you establish the physical connection between the DVD player and the computer, allowing for the transmission of video and audio signals.
Begin by locating the HDMI output port on your DVD player. It is usually located on the back panel of the device and is marked as “HDMI Out” or simply “HDMI.”
Take one end of the HDMI cable and insert it into the HDMI output port on the DVD player. Ensure that the cable is securely plugged in, as a loose connection may result in poor video and audio quality.
Once the cable is inserted into the DVD player, you can move on to the next step of connecting the other end of the HDMI cable to your computer.
Before proceeding, ensure that both your computer and DVD player are powered off to avoid any potential damage during the setup process.
Connecting your DVD player to your computer via HDMI allows for a direct digital connection, resulting in high-quality video and audio playback. It also eliminates the need for additional audio cables and simplifies the setup process.
Now that you have successfully connected the HDMI cable to your DVD player, let’s move on to connecting the other end of the cable to your computer.
Step 4: Connect the other end of the HDMI cable to the computer
Now that you have connected one end of the HDMI cable to your DVD player, it’s time to connect the other end to your computer. By doing this, you will establish a physical connection between the two devices, allowing for the transmission of audio and video signals.
If you are using a desktop computer, locate the HDMI input on the back or side of the tower. It is usually labeled as “HDMI” or with an HDMI icon. If you are using a laptop, the HDMI input is typically located on the side or rear panel.
Take the other end of the HDMI cable and insert it into the HDMI input on your computer. Make sure to push the connector all the way into the port to ensure a secure connection.
After connecting the HDMI cable, double-check that it is securely plugged in to avoid any interruptions or issues during the setup process.
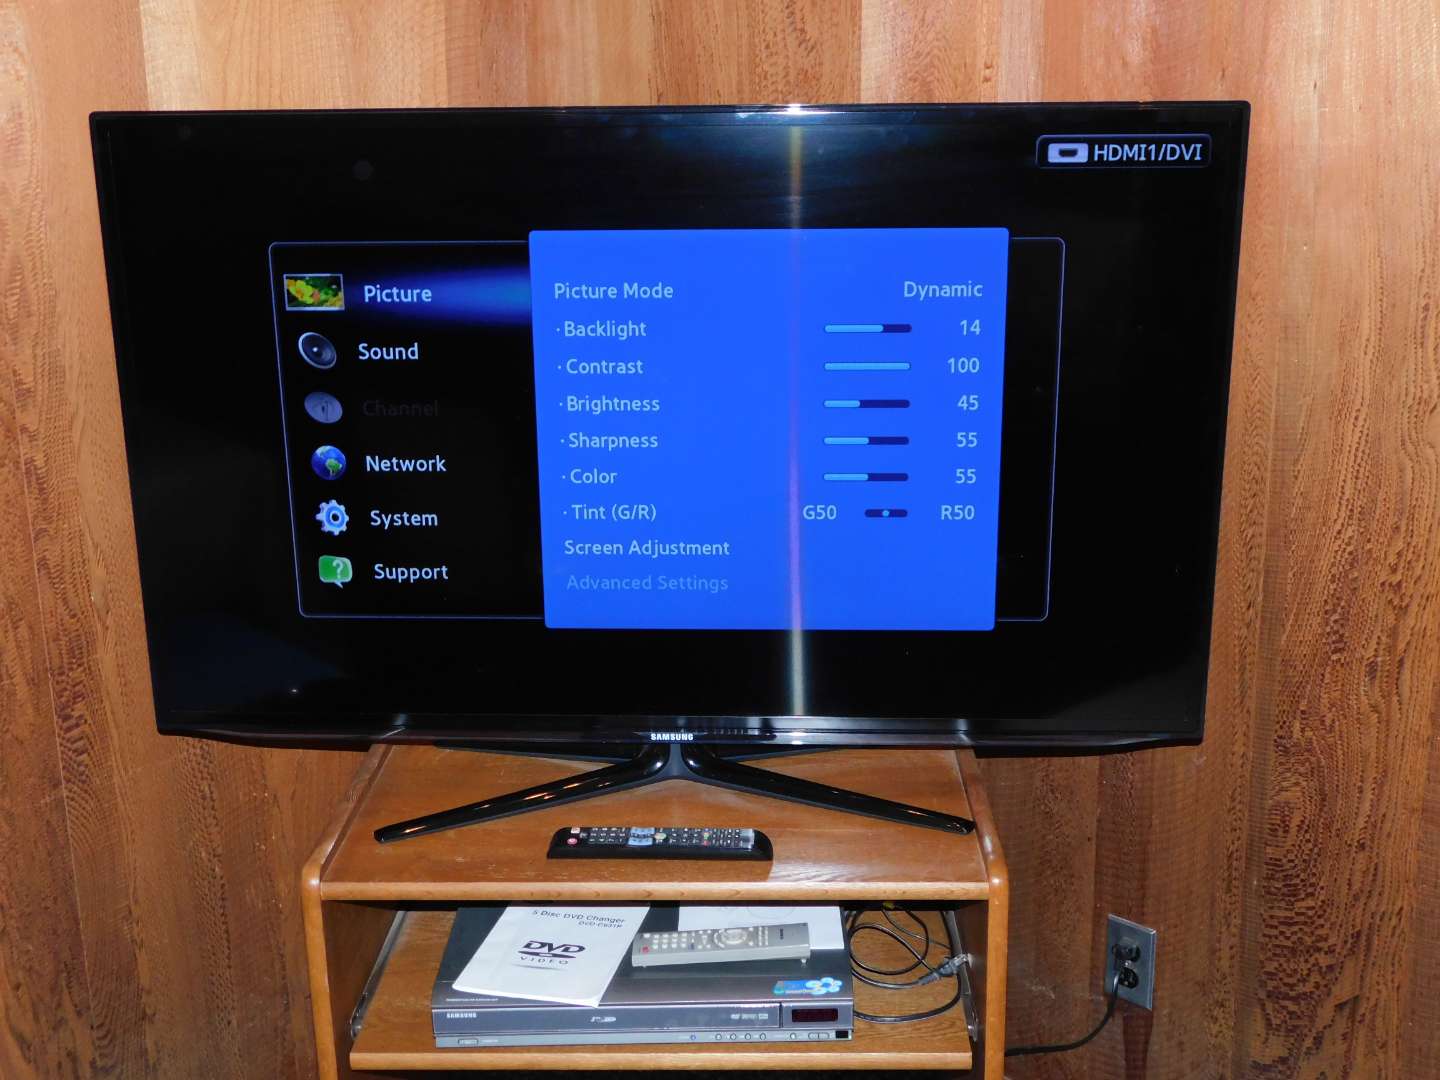
It’s important to note that some computers may require you to adjust the input source to recognize the DVD player. To do this, you can use the appropriate key combination on your keyboard or access the display settings menu on your computer.
Once the HDMI cable is securely connected to your computer, you are now ready to move on to the next step: configuring your computer settings.
By connecting the HDMI cable to your computer, you are merging the multimedia capabilities of your DVD player with the functionality and larger screen of your computer. This allows for an enhanced viewing experience and expands the possibilities of how you can enjoy your DVD collection.
Now that you have successfully connected the HDMI cable to your computer, let’s move on to configuring your computer settings.
Step 5: Configure your computer settings
Once you have connected the HDMI cable between your DVD player and computer, it’s time to configure your computer settings to ensure proper playback of the DVD content. This step will guide you through the necessary adjustments to optimize the audio and video output.
Start by turning on your computer and wait for it to fully boot up. Once it’s ready, access the display settings menu on your computer. The exact process may vary depending on your operating system, but you can typically find it by right-clicking on the desktop and selecting “Display settings” or a similar option.
In the display settings menu, you may find an option to choose the input source or select the HDMI input as the primary display. This step is crucial, as it allows your computer to recognize the DVD player and display its content correctly.
Next, navigate to the audio settings on your computer. Depending on your operating system, you may find the audio settings in the Control Panel, System Preferences, or Settings menu. Make sure that the audio output is set to the HDMI connection or the corresponding HDMI device.
By configuring the audio settings, you ensure that the audio signal from the DVD player is routed correctly through the HDMI cable and played back through your computer’s speakers or connected audio output device.
It’s worth noting that some computers may require additional software or drivers for optimal DVD playback. Check for any available updates from the manufacturer’s website or use the built-in software update feature of your operating system to ensure that you have the latest drivers and software installed.
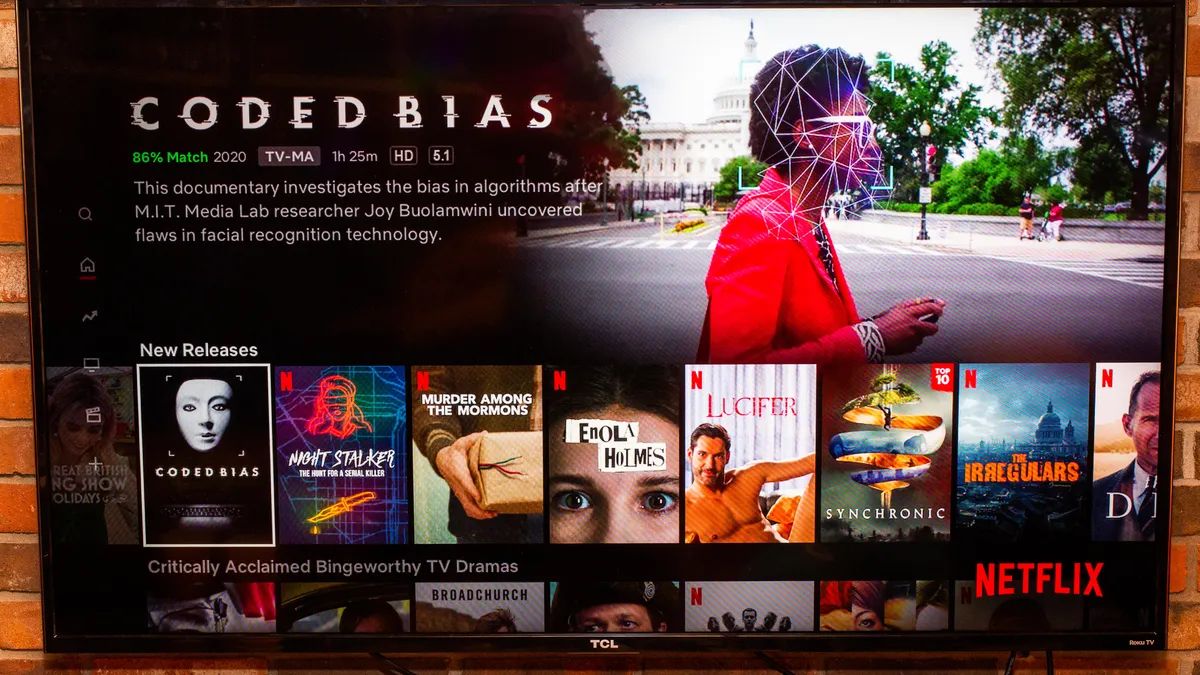
After adjusting the display and audio settings, you should now be ready to enjoy your DVD collection on your computer’s screen. You can insert a DVD into the player, launch your preferred DVD playback software, and start watching your favorite movies or videos.
Keep in mind that the exact steps for configuring your computer settings may vary depending on your specific operating system and hardware setup. It’s always a good idea to consult the user manual or online resources specific to your computer and operating system if you encounter any difficulties.
With your computer settings properly configured, you can now move on to the final step: testing the connection to ensure everything is working as expected.
Step 6: Test the connection
After completing the setup and configuring your computer settings, it’s important to test the connection between your DVD player and computer to ensure that everything is working properly. This final step will help you confirm if the audio and video signals are being transmitted correctly and if you can enjoy your DVD content on the computer’s screen.
Begin by powering on both your DVD player and computer. Insert a DVD into the player and make sure it is properly loaded.
Once the DVD is inside the player, launch your preferred DVD playback software on your computer. This software could be a built-in application or a third-party program specifically designed for DVD playback.
Using the DVD playback software, navigate to the option to play a Disc. This option is usually indicated as “Play DVD” or a similar prompt. Click on it to start playing the DVD.
Observe the computer screen to ensure that the DVD content is being displayed correctly. Check if the video is clear and without any distortion. Also, ensure that the audio is playing through your computer’s speakers or connected audio output device.
If the video and audio are not playing correctly, double-check your connections and computer settings. Ensure that the HDMI cable is securely connected at both ends and that you have selected the correct input source and audio output in your computer settings.
If you are still experiencing issues, try restarting your computer and DVD player. In some cases, a simple reboot can resolve any unexpected problems.
Once you have confirmed that the DVD content is playing smoothly on your computer, you can sit back, relax, and enjoy your favorite movies, TV shows, or videos on the larger screen.
By successfully testing the connection, you have ensured that the DVD player is seamlessly integrated with your computer, allowing for an enhanced viewing experience and access to your DVD collection with the convenience of your computer’s functionalities.
Congratulations on successfully connecting and testing your DVD player to your computer! Now you can enjoy the versatility and entertainment possibilities that this setup offers.
Conclusion
Connecting a DVD player to a computer using an HDMI cable opens up a whole new world of entertainment. By following the step-by-step guide outlined in this article, you can enjoy your favorite DVDs on a larger screen while taking advantage of the multimedia capabilities of your computer.
We began by checking the compatibility of your computer and DVD player, ensuring that they had the necessary ports for the connection. Then, we discussed the importance of obtaining the right cables, primarily an HDMI cable, to establish the physical connection between the two devices.
After that, we guided you through the process of connecting the HDMI cable to your DVD player and then connecting the other end to your computer. This step allowed for the transmission of video and audio signals between the devices.
Next, we emphasized the importance of configuring your computer settings, including adjusting the display settings and selecting the correct audio output source. Proper configuration ensures optimal playback of DVD content on your computer’s screen.
Finally, we highlighted the significance of testing the connection to ensure that everything is working as expected. By playing a DVD and observing the video and audio playback on your computer, you can confirm the success of the setup.
By following these steps, you have successfully connected and tested your DVD player to your computer. Now, you can enjoy the convenience of watching DVDs on a larger screen, taking advantage of your computer’s multimedia capabilities.
Remember, if you encounter any difficulties during the setup process, consult the user manual or seek online resources specific to your computer and operating system. Also, ensure that you have the latest software updates and drivers installed for optimal DVD playback.
Thank you for joining us on this journey of connecting a DVD player to a computer using an HDMI cable. We hope this guide has been useful in expanding your entertainment options and enhancing your viewing experience.