Introduction
Welcome to the world of HDMI, the High-Definition Multimedia Interface that has revolutionized the way we connect our devices. Whether you want to connect your computer to a high-resolution monitor or enjoy your favorite movies on a big-screen TV, HDMI offers the perfect solution for transmitting video and audio signals with unparalleled clarity.
In this article, we will guide you through the process of using HDMI on both your motherboard and graphics card. We will explain how to check compatibility, connect the cables, configure settings, and troubleshoot common issues that may arise. By the end of this article, you will have a comprehensive understanding of how to make the most of HDMI connectivity with your devices.
Before we dive into the technical details, let’s briefly explore what HDMI is and why it is so popular in the world of digital multimedia.
HDMI is an interface that allows the transmission of high-quality audio and video signals between devices. It was first introduced in 2003 and quickly gained popularity due to its superior signal quality and ease of use. Unlike older analog connections, HDMI delivers all-digital signals, ensuring crystal-clear picture and sound without any loss of quality.
Today, HDMI has become the standard for connecting various audiovisual devices such as televisions, monitors, projectors, gaming consoles, and computers. With a single HDMI cable, you can transmit high-definition video, multi-channel audio, and even Ethernet data between compatible devices.
The versatility of HDMI makes it a convenient choice for both home entertainment systems and professional setups. Whether you’re a gamer, content creator, or simply enjoy watching movies, understanding how to use HDMI with your motherboard and graphics card can significantly enhance your multimedia experience.
Understanding HDMI
Before we delve into using HDMI with your motherboard and graphics card, it’s essential to have a clear understanding of HDMI and its features.
HDMI stands for High-Definition Multimedia Interface, and it serves as the primary connection standard for transmitting high-quality audio and video signals between devices. It has become the go-to interface for connecting devices such as televisions, monitors, projectors, and gaming consoles.
One of the key advantages of HDMI is its ability to deliver uncompressed digital signals, ensuring the highest possible quality of audio and video. This means you can enjoy stunning visuals and immersive audio without any loss of fidelity.
HDMI cables support different versions of the HDMI standard, with each new version offering improved features and capabilities. The most common versions in use today are HDMI 1.4, HDMI 2.0, and HDMI 2.1. These versions differ in terms of maximum resolution support, refresh rates, and additional features like Ethernet and Audio Return Channel (ARC).
HDMI cables are also classified into various categories, such as Standard HDMI, High-Speed HDMI, Premium High-Speed HDMI, and Ultra High-Speed HDMI. These classifications help ensure that the cable you use can handle the specific requirements of your devices.
Another essential feature of HDMI is its ability to transmit not just audio and video signals but also additional data. HDMI cables can carry Ethernet signals, allowing devices to share an internet connection without the need for separate Ethernet cables.
Additionally, HDMI cables support Consumer Electronics Control (CEC), which enables you to control multiple devices using a single remote control. With CEC, you can power on or off compatible devices, adjust volume, and switch inputs seamlessly.
Overall, HDMI provides a versatile and reliable solution for connecting your devices and enjoying high-quality audiovisual experiences. Now that we have a solid understanding of HDMI, let’s move on to the next section, where we will check the compatibility of your motherboard and graphics card for HDMI connectivity.
Checking Your Motherboard and Graphics Card
Before you can start using HDMI on your motherboard and graphics card, it’s important to ensure that both components support HDMI connectivity.
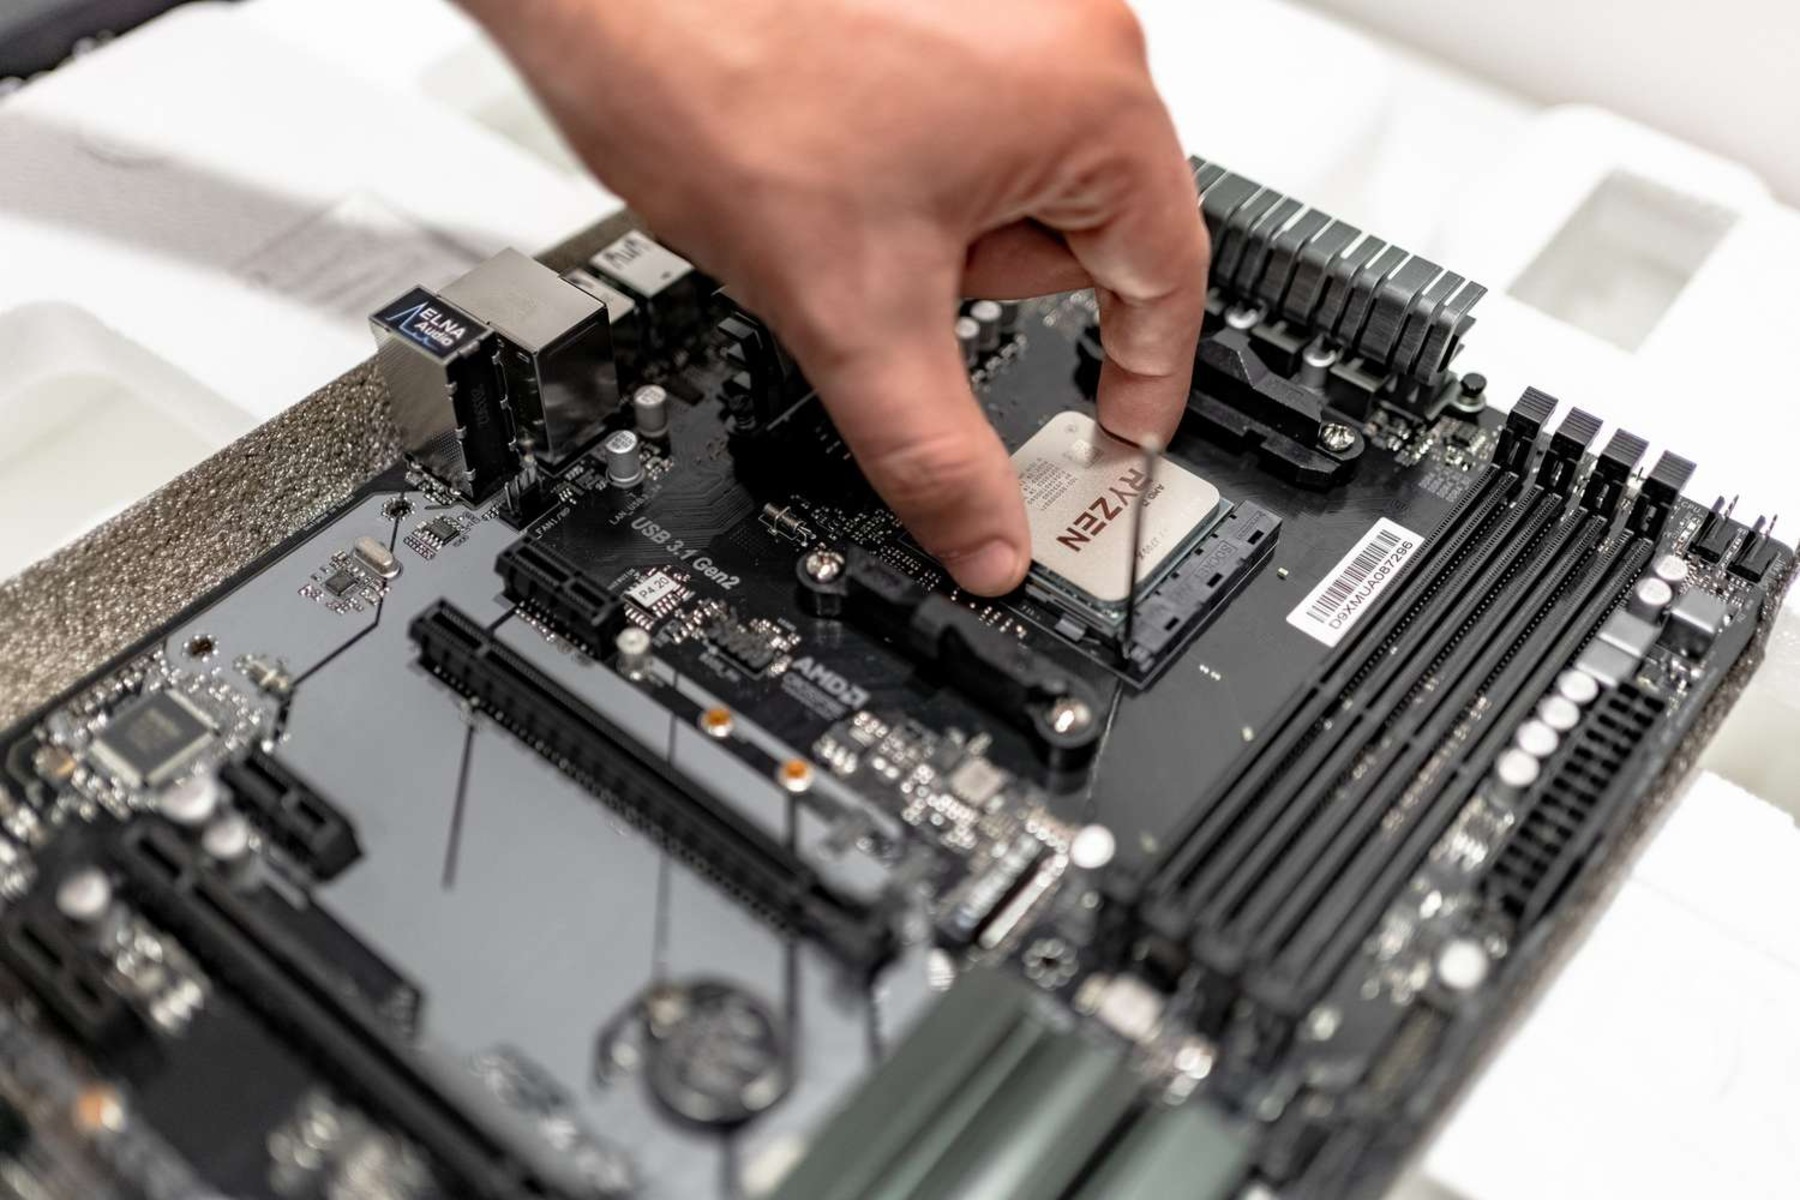
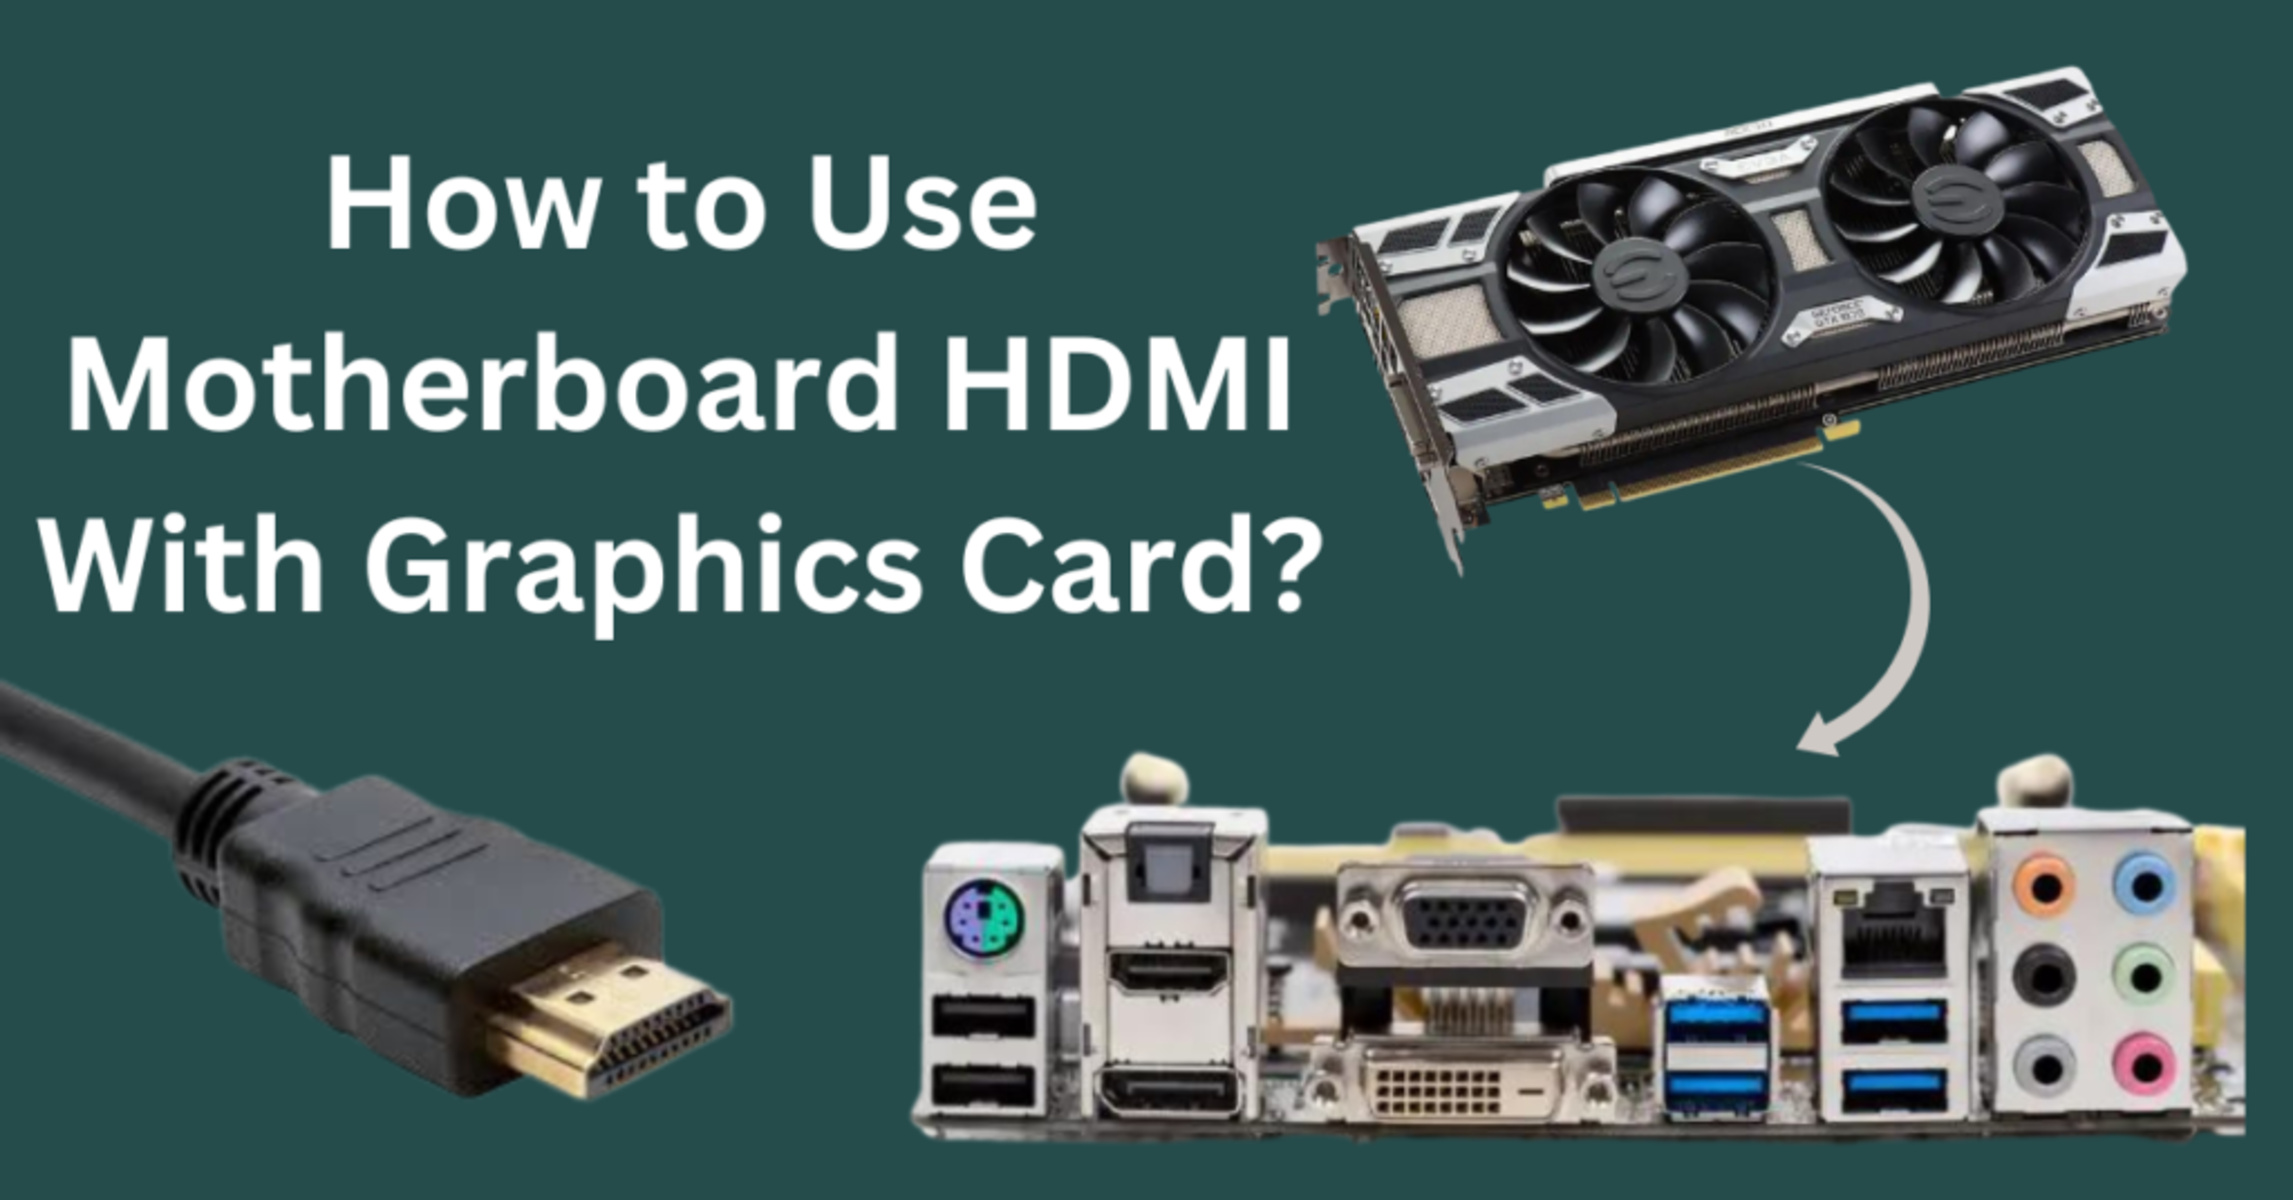
First, let’s focus on your motherboard. Open your computer case and locate the motherboard. Look for the HDMI port on the motherboard’s rear I/O panel. This port should be labeled as “HDMI” and will resemble a rectangular slot with numerous small pins inside.
If you find an HDMI port on your motherboard, congratulations! You have an HDMI-compatible motherboard. This means you can connect your display directly to the motherboard using an HDMI cable, and the integrated graphics processor will handle the display output.
If you don’t see an HDMI port on your motherboard, it means that your motherboard does not support HDMI connectivity. In this case, you will need to rely on a dedicated graphics card for HDMI output. Don’t worry; we will cover that shortly.
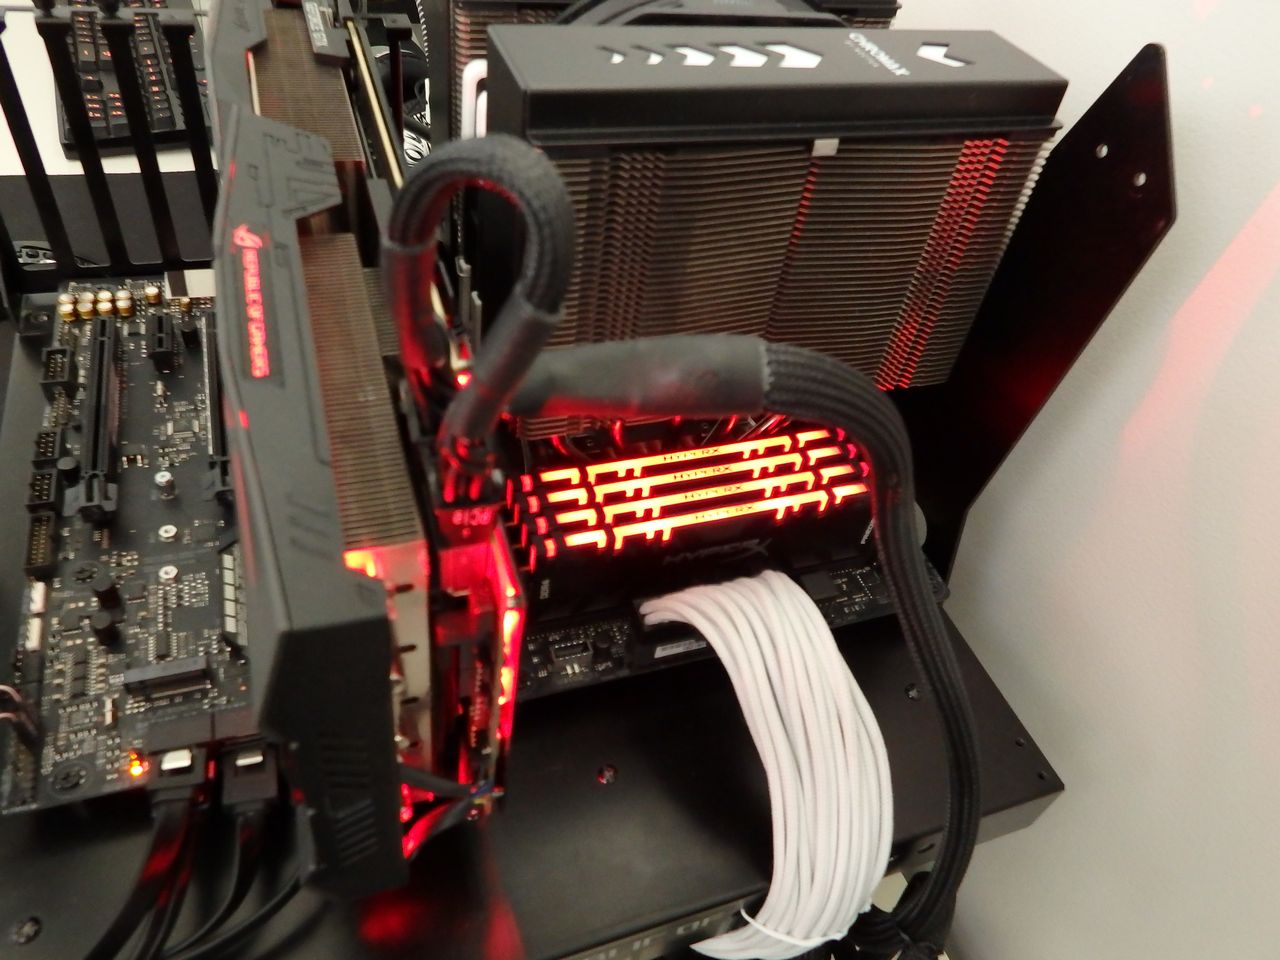
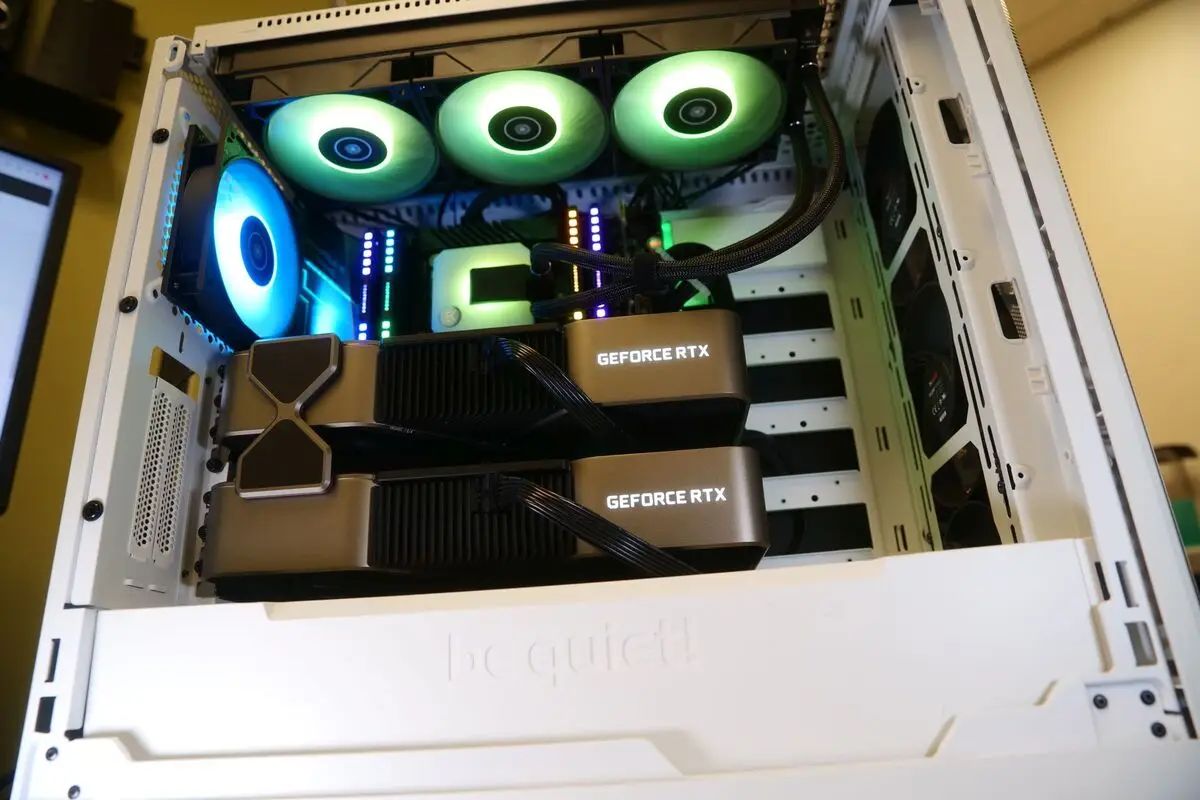
Now let’s move on to checking your graphics card. If you have a dedicated graphics card installed in your computer, it’s highly likely that it supports HDMI connectivity. Most modern graphics cards come with HDMI ports to accommodate high-resolution displays and multimedia content.
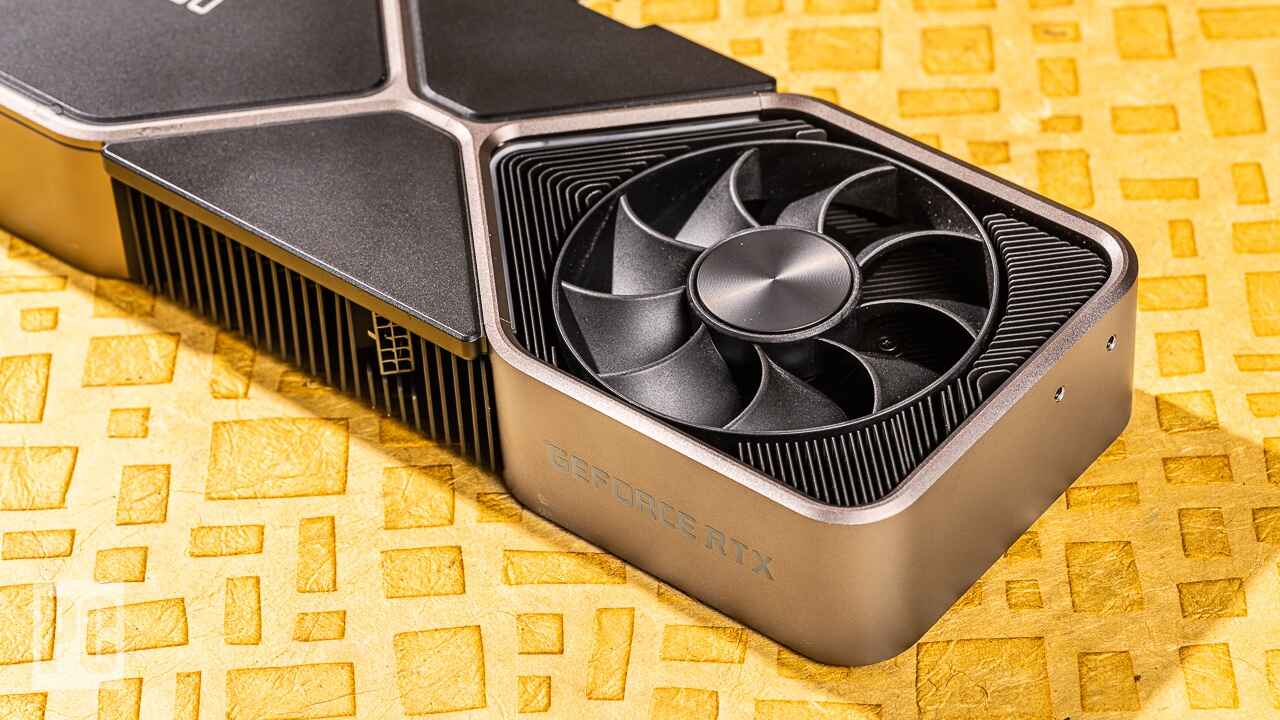
Locate the graphics card in your computer. It should be inserted into the PCI Express slot and have its own set of ports on the rear side. Look for an HDMI port on the graphics card’s rear panel. It should be labeled as “HDMI” and feature the same rectangular slot with small pins as the motherboard’s HDMI port.
If you find an HDMI port on your graphics card, great! This means you can connect your display directly to the graphics card using an HDMI cable, allowing the dedicated GPU to handle the display output.
If your graphics card does not have an HDMI port, check for other display ports such as DisplayPort or DVI. If your display supports these ports, you can use the respective cables or adapters to connect your display to the graphics card.
In summary, when checking your motherboard and graphics card for HDMI compatibility, look for HDMI ports on both components. If your motherboard has an HDMI port, you can use it for display output when using integrated graphics. If your graphics card has an HDMI port, you can rely on it for display output when using a dedicated GPU. Now that we have confirmed HDMI compatibility, let’s proceed to connect HDMI to the motherboard and graphics card.
Connecting HDMI to the Motherboard
If your motherboard has an HDMI port and you’re planning to use the integrated graphics processor, connecting HDMI to the motherboard is straightforward.
First, ensure that your computer is powered off and unplugged from the electrical outlet. This is important to prevent any electrical mishaps during the installation process.
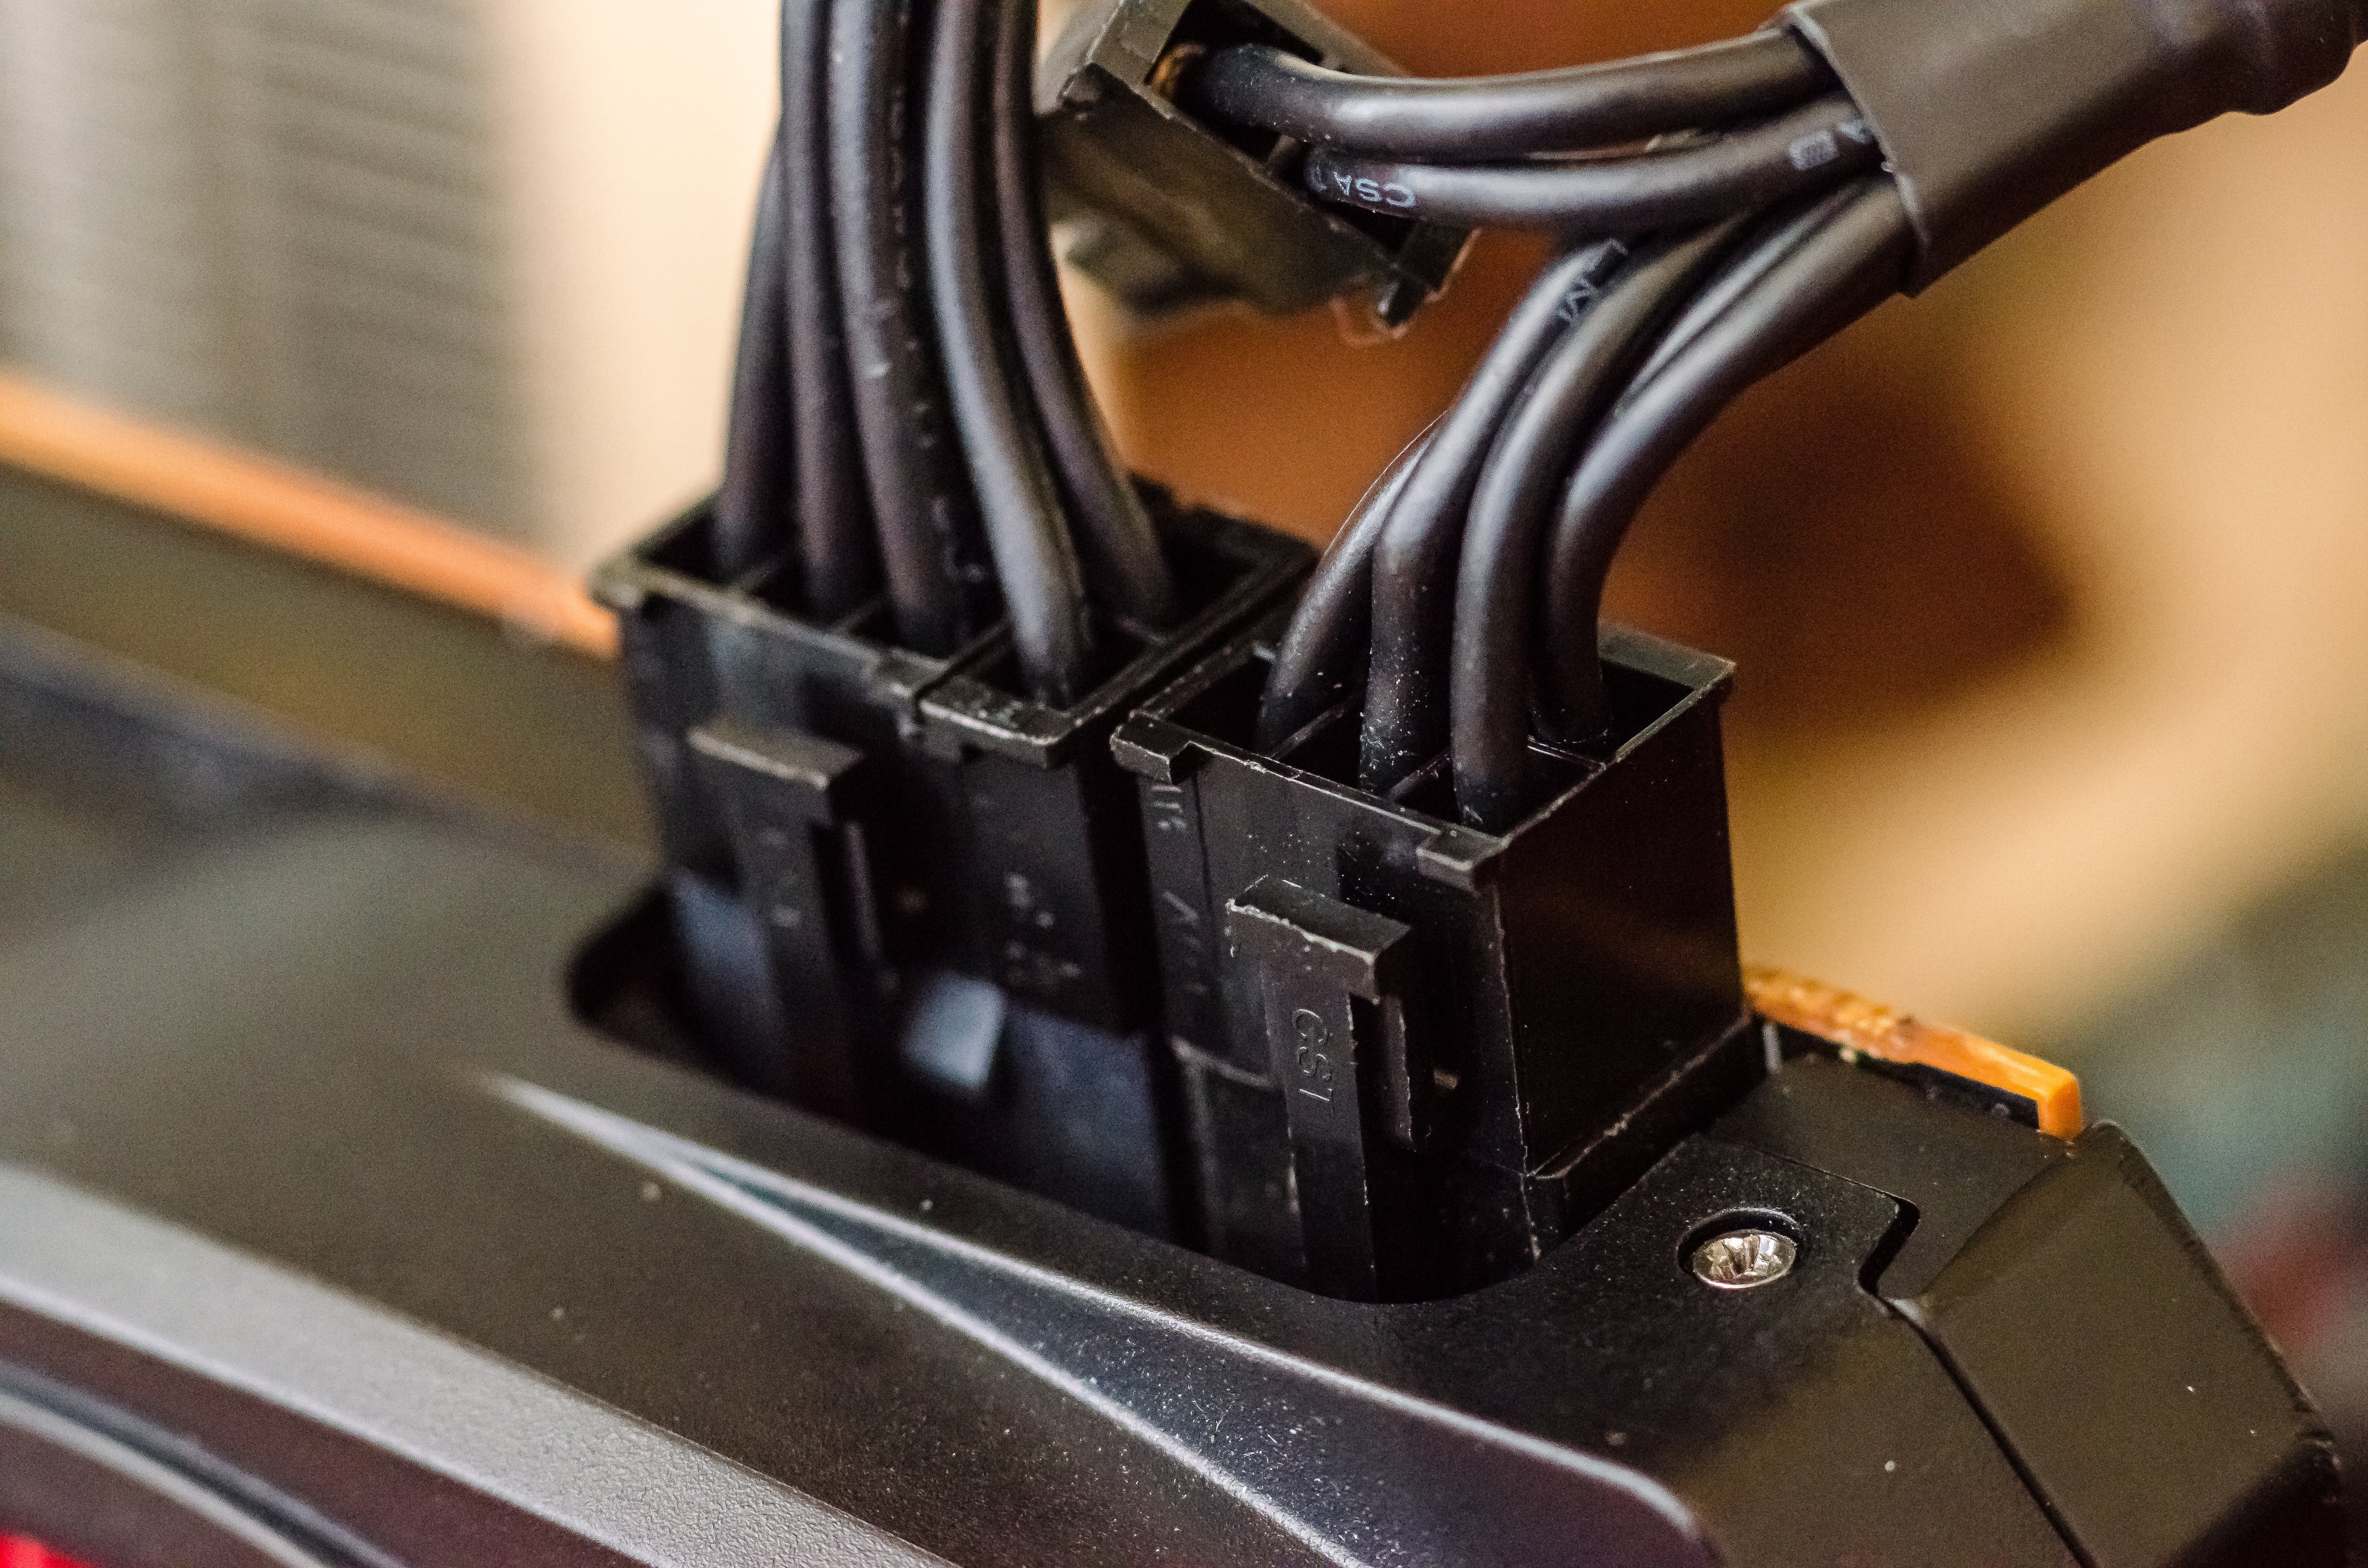
Locate the HDMI cable, which has a rectangular end with numerous small pins. Take one end of the HDMI cable and insert it into the HDMI port on the rear I/O panel of your motherboard. The HDMI port should be labeled as “HDMI” and resemble a rectangular slot.
Next, take the other end of the HDMI cable and connect it to the HDMI input of your display device, such as a monitor or television. Make sure the HDMI cable is securely plugged into both the motherboard and the display.
Once the HDMI cable is connected, power on your computer and the display device. Your computer should detect the display device automatically and start sending the video and audio signals through the HDMI connection.
You may need to select the appropriate input source on your display device to see the output from your computer. Use the remote control or buttons on the display to switch to the HDMI input. Your computer’s output should now be visible on the connected display.
It’s important to note that when using HDMI with the motherboard, the integrated graphics processor handles the display output. This means that if you have a dedicated graphics card installed, its processing power may not be utilized for graphics-intensive tasks. If you want to take advantage of your graphics card, you will need to connect HDMI to the graphics card, which we will cover in the next section.
Now that you have successfully connected HDMI to the motherboard, you can enjoy high-definition audio and video output from your computer. If you encounter any issues, proceed to the troubleshooting section later in this article. Otherwise, let’s move on to connecting HDMI to the graphics card.
Connecting HDMI to the Graphics Card
If your computer has a dedicated graphics card, connecting HDMI to the graphics card will allow you to utilize the full power of the dedicated GPU for graphics-intensive tasks.
To connect HDMI to the graphics card, follow these steps:
1. Power off your computer and unplug it from the electrical outlet for safety.
2. Locate the HDMI cable, which has a rectangular end with numerous small pins.
3. Take one end of the HDMI cable and insert it into the HDMI port on the rear panel of your graphics card. The HDMI port is usually labeled as “HDMI.”
4. Take the other end of the HDMI cable and connect it to the HDMI input of your display device, such as a monitor or television. Ensure that the HDMI cable is securely plugged into both the graphics card and the display.
5. Power on your computer and the display device.
6. Your computer should detect the display device automatically and start sending the video and audio signals through the HDMI connection.
7. If necessary, select the correct input source on your display device to see the output from your computer. Use the remote control or buttons on the display to switch to the HDMI input.
8. The display should now show the output from your dedicated graphics card.
Connecting HDMI to the graphics card allows you to take advantage of the dedicated GPU’s processing power for gaming, rendering, and other graphics-intensive tasks. It ensures better performance and smoother visuals compared to using the integrated graphics processor on the motherboard.
However, it’s important to note that when connecting HDMI to the graphics card, you need to ensure that the graphics card drivers are properly installed. Without the appropriate drivers, the computer may not recognize the graphics card, and the HDMI output may not work correctly.
Refer to the manufacturer’s instructions or visit their website to download and install the latest graphics card drivers specific to your model.
Now that you have successfully connected HDMI to the graphics card, you can enjoy high-quality audio and video output using the full potential of your dedicated GPU. If you encounter any issues, proceed to the troubleshooting section later in this article.
Configuring HDMI Settings in the BIOS or UEFI
Once you have connected HDMI to your motherboard or graphics card and ensured that the hardware is compatible, you may need to configure the HDMI settings in the BIOS or UEFI (Unified Extensible Firmware Interface) of your computer.
The BIOS or UEFI is responsible for managing the basic settings and functionalities of your computer’s hardware. To access the BIOS or UEFI, restart your computer and look for the key to enter the setup menu. It is usually displayed on the boot screen. Common keys for entering the BIOS or UEFI include F2, Delete, or Esc, but it may vary depending on your motherboard manufacturer.
Once in the BIOS or UEFI setup menu, navigate through the options using the arrow keys. Look for a section related to graphics settings, display settings, or onboard devices. The exact location and naming may differ depending on your motherboard manufacturer and BIOS version.
Within the graphics or display settings, you should find an option to select the primary display output. If you want to use HDMI as the primary display output, ensure that it is selected as the default option. You may also have the option to enable or disable the onboard graphics if you’re using a dedicated graphics card.
Some motherboards also provide additional HDMI-specific settings, such as audio output options or color depth settings. If available, you can customize these settings according to your preferences or leave them at their default values.
Once you have made the desired changes, save the settings and exit the BIOS or UEFI setup. Your computer will restart, and the configured HDMI settings should take effect.
It’s worth noting that not all motherboards or graphics cards offer extensive HDMI settings in the BIOS or UEFI. In many cases, the default settings work perfectly fine. However, it is always a good idea to check and ensure that the HDMI settings are correctly configured for optimal performance.
If you encounter any issues or your changes in the BIOS or UEFI do not seem to have any effect, refer to the motherboard or graphics card manufacturer’s documentation or support resources for further guidance.
Now that you have configured the HDMI settings in the BIOS or UEFI, you should be ready to enjoy high-definition audio and video output. In the next section, we will cover common troubleshooting techniques for HDMI-related issues.
Troubleshooting HDMI Issues
While HDMI is a reliable and widely used connection method, it is not immune to the occasional issue. If you encounter any problems with your HDMI setup, here are some troubleshooting techniques to help you identify and resolve the issues:
1. Check the connections: Ensure that the HDMI cable is securely plugged into both the sending and receiving devices. Make sure there are no loose connections or damaged cables. Try disconnecting and reconnecting the HDMI cable to ensure a proper connection.
2. Select the correct input source: If you have multiple input sources on your display device, make sure that you have selected the correct HDMI input source. Use the remote control or buttons on the display to switch to the HDMI input connected to your computer.
3. Update drivers: Ensure that you have the latest drivers installed for both your graphics card and motherboard. Visit the respective manufacturer’s websites to check for driver updates and install them if necessary. Outdated drivers can cause compatibility issues and affect HDMI functionality.
4. Try different HDMI ports: If your graphics card or motherboard has multiple HDMI ports, try different ports to see if the issue is specific to a particular port. Sometimes, a faulty or damaged HDMI port can cause connectivity problems.
5. Test with another HDMI cable: If possible, try using a different HDMI cable to rule out any cable-related issues. Sometimes, a faulty or low-quality cable can cause disruptions in the audio/video signal.
6. Reset display settings: Sometimes, incorrect display settings can lead to HDMI problems. Go to your computer’s display settings and ensure that the resolution and refresh rate are set correctly for your display device. You can also try resetting the display settings to their default values.
7. Verify HDMI compatibility: Double-check the compatibility of your devices. If your motherboard or graphics card does not explicitly support HDMI, it may not function correctly. Consult the user manuals or specifications of your devices to confirm HDMI compatibility.
8. Update BIOS/UEFI: Consider updating your computer’s BIOS or UEFI firmware to the latest version provided by the motherboard manufacturer. A firmware update can often resolve compatibility issues and improve HDMI performance.
If you have tried the above troubleshooting techniques and are still experiencing HDMI issues, it may be worth seeking assistance from technical support or contacting the manufacturer. They can provide specific guidance and further troubleshooting steps based on your hardware setup.
Remember, patience and perseverance are key when troubleshooting HDMI issues. With careful examination and the right troubleshooting steps, you can overcome most common HDMI problems and enjoy your audiovisual content without interruption.
Conclusion
HDMI has become an indispensable technology for connecting audiovisual devices, offering high-quality audio and video transmission. In this article, we covered the essentials of using HDMI with both a motherboard and a graphics card.
We began by understanding the basics of HDMI and why it has become the standard for multimedia connectivity. We then explored how to check the compatibility of your motherboard and graphics card for HDMI connectivity.
We provided step-by-step instructions on connecting HDMI to both the motherboard and the graphics card, ensuring that you can make the most of your integrated or dedicated graphics options. We also discussed the importance of configuring HDMI settings in the BIOS or UEFI to optimize the performance of your HDMI connection.
In case you encounter any issues, we offered troubleshooting techniques to help you resolve common HDMI-related problems. By checking connections, selecting the correct input source, updating drivers, and considering other troubleshooting steps, you can overcome many HDMI issues.
Overall, understanding how to use HDMI on your motherboard and graphics card opens up a world of possibilities for enjoying high-definition audio and video experiences. Whether you’re a gamer, content creator, or simply a multimedia enthusiast, HDMI provides the convenience and quality you need.
Remember to consult the user manuals and support resources provided by your motherboard and graphics card manufacturers for specific instructions and troubleshooting tips. They can provide valuable insights and guidance that match your specific hardware setup.
With the knowledge gained from this article, you are now equipped to harness the power of HDMI and enhance your audiovisual experiences like never before. So go ahead, connect your devices, and immerse yourself in the world of high-definition multimedia.