Introduction
HDMI (High-Definition Multimedia Interface) has become the standard for connecting audiovisual devices, such as TVs, monitors, and projectors, to computers. It offers high-quality audio and video transmission, making it ideal for gaming, watching movies, and multimedia tasks.
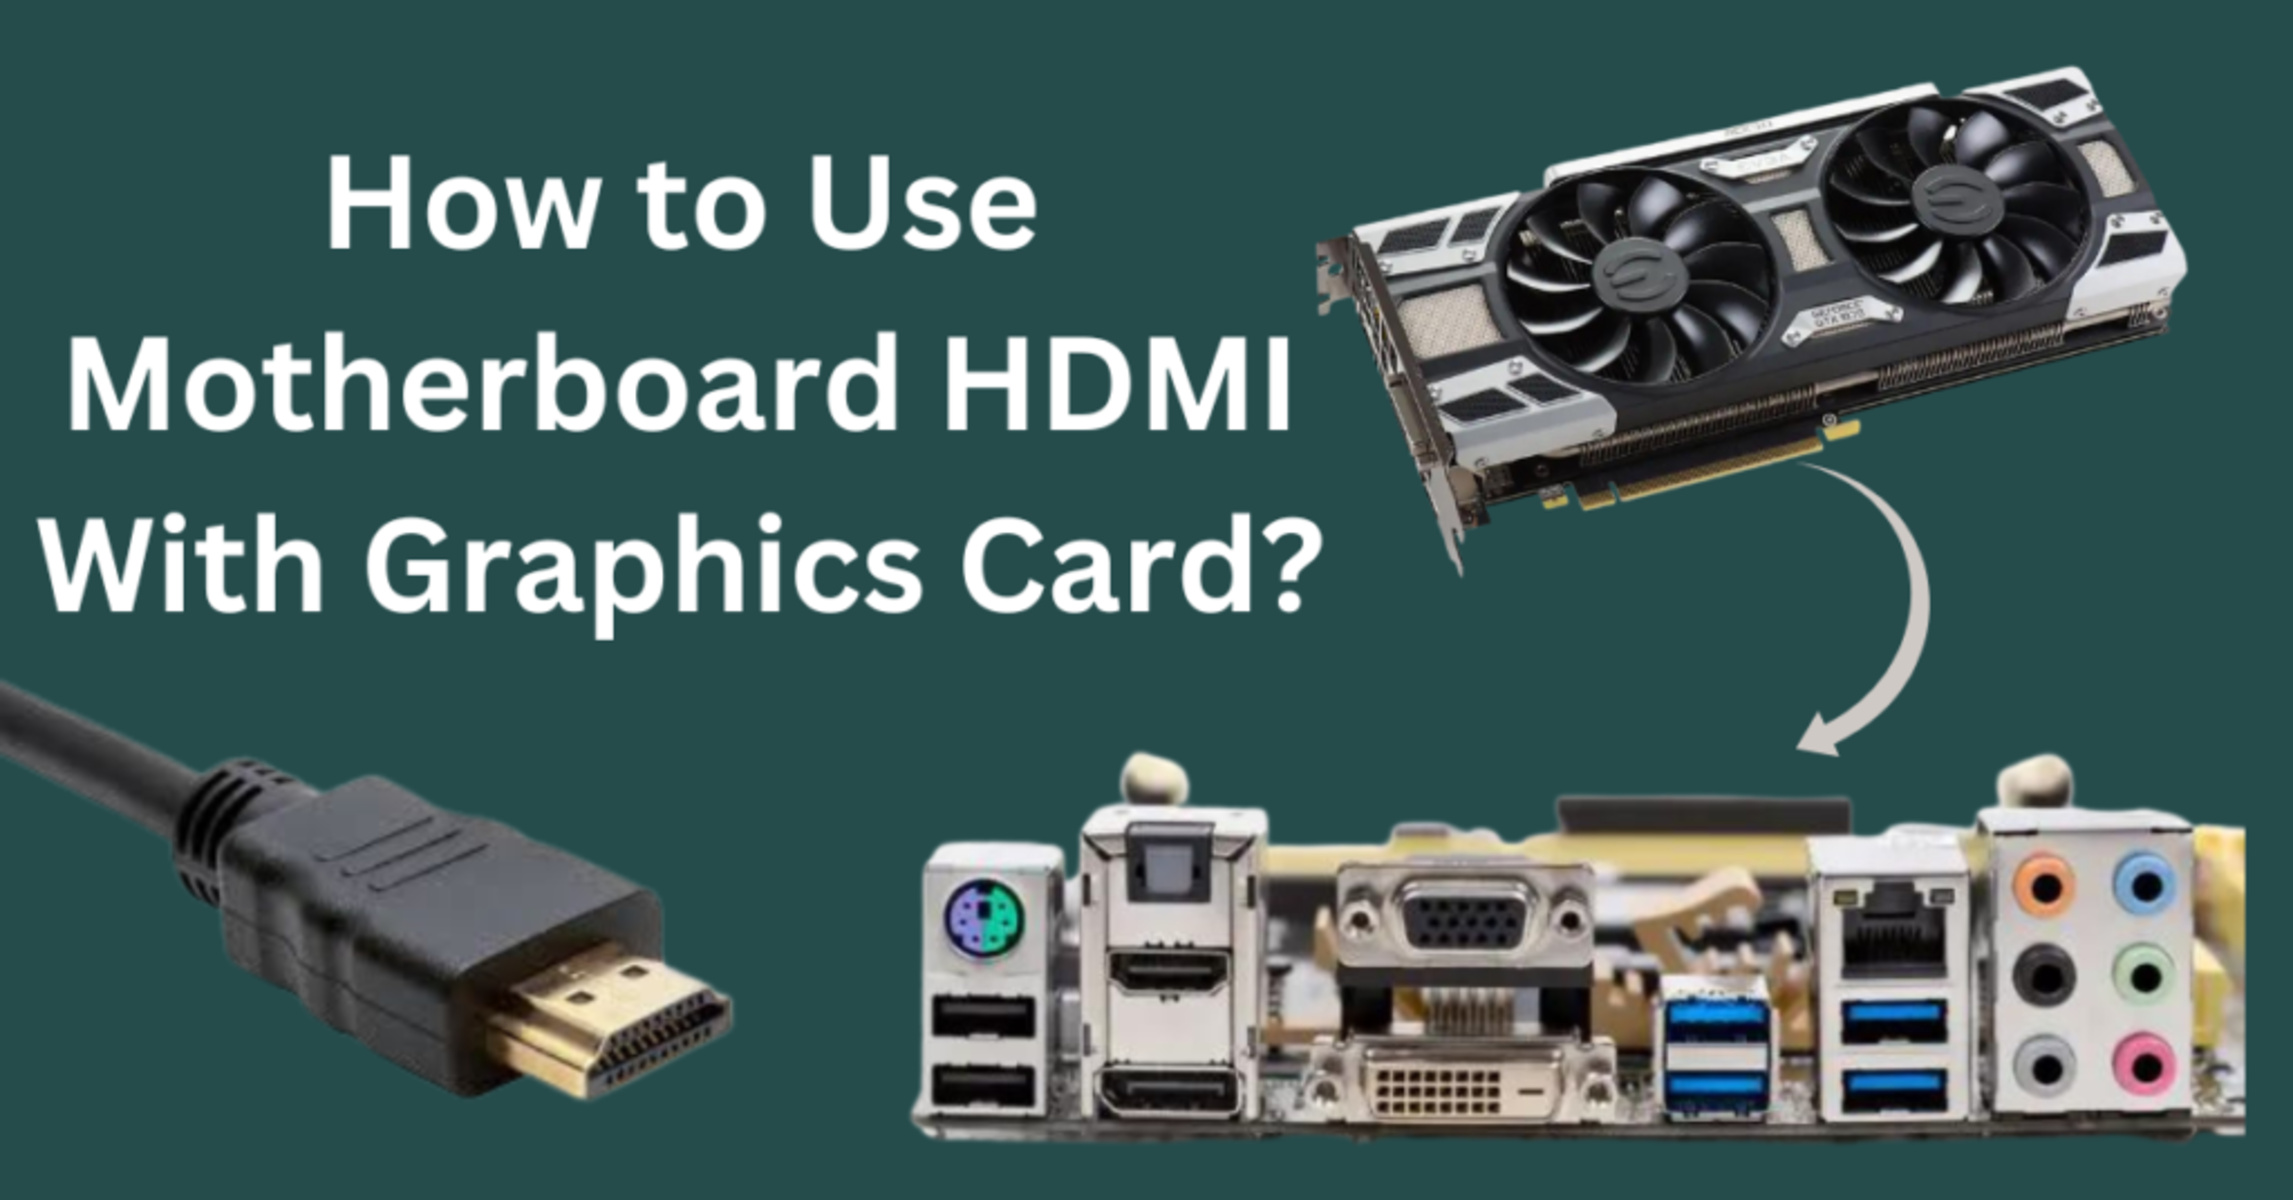
When it comes to connecting devices to your computer via HDMI, you have two options: the HDMI port on your motherboard and the HDMI port on your graphics card. Understanding the difference between these two options and knowing how to use them properly can greatly enhance your multimedia experience.
In this article, we will explore the functionality of the HDMI ports on both the motherboard and the graphics card. We will guide you on how to identify these ports, connect your devices, and configure the necessary settings for optimal performance. We will also address common issues that users may encounter when using HDMI on both the motherboard and the graphics card.
Whether you are a casual user looking to stream content on a big screen or a gamer seeking the best visual experience, understanding and effectively utilizing both motherboard and graphics card HDMI ports will be beneficial. So, let’s dive in and explore the world of HDMI connectivity on your computer!
What is HDMI?
HDMI, which stands for High-Definition Multimedia Interface, is a digital interface that allows the transmission of high-quality audio and video signals between devices. It has become the standard for connecting various devices, including computers, gaming consoles, Blu-ray players, and televisions.
The HDMI interface was first introduced in 2003 and has since undergone several revisions to enhance its capabilities. The latest version, HDMI 2.1, supports higher resolutions, faster refresh rates, and more advanced features like Dynamic HDR and variable refresh rate.
One of the key advantages of HDMI is its ability to transmit both audio and video signals through a single cable. This eliminates the need for multiple cables for different types of connections, simplifying the setup and reducing clutter.
HDMI cables come in different versions, such as HDMI 1.4, HDMI 2.0, and HDMI 2.1. Each version has specific features and capabilities, including support for 1080p and 4K resolutions, 3D video, Ethernet connectivity, and ARC (Audio Return Channel) for sending audio signals back to the source device.
With HDMI, you can enjoy high-definition audio and video without compromising on quality. It supports uncompressed audio formats like Dolby TrueHD and DTS-HD Master Audio, delivering immersive sound experiences.
Furthermore, HDMI is a plug-and-play solution, meaning that once you connect your devices with an HDMI cable, they should automatically detect and configure the optimal settings for display and audio. This makes it simple and convenient to set up and use.
Overall, HDMI has revolutionized the way we connect and experience multimedia content. Its versatility, audio-video capabilities, and ease of use make it an essential interface for modern devices.
Difference between HDMI on Motherboard and Graphics Card
When it comes to HDMI ports, your computer can have two options: one on the motherboard and one on the graphics card. Understanding the difference between these two options is crucial for optimizing your multimedia experience.
The HDMI port on the motherboard is integrated directly into the motherboard itself. It is typically found on the back panel of the computer and is meant to be used when you are using the integrated graphics of the CPU. Integrated graphics are built-in graphics processing units (GPUs) found in some CPUs, which provide basic graphical capabilities.
In contrast, the HDMI port on the graphics card is found on the dedicated graphics card, also known as a discrete graphics card. A dedicated graphics card offers more advanced graphics processing capabilities than integrated graphics. It is designed specifically for tasks such as gaming, video editing, and other graphically demanding applications.
One main difference between the HDMI port on the motherboard and the graphics card is the graphical performance. The graphics card HDMI port can provide higher quality visuals and better gaming experiences due to its dedicated processing power. It can handle higher resolutions, refresh rates, and more demanding graphical effects.
Another difference is the availability of additional ports. While the motherboard may have just one HDMI port, the graphics card often offers multiple video output options, including HDMI, DisplayPort, and DVI. This allows for connections to multiple monitors or other external displays, expanding your desktop space or enabling multi-monitor setups.
Additionally, the graphics card HDMI port may support more advanced features, such as HDR (High Dynamic Range) and HDCP (High-bandwidth Digital Content Protection). These features enhance the visual quality and enable protected content playback, respectively.
Furthermore, using the HDMI port on the graphics card ensures that the connected display is directly driven by the dedicated graphics card, maximizing the performance potential. This can be beneficial for tasks that heavily rely on graphics processing, such as gaming, 3D rendering, or video editing.
However, there may be scenarios where using the HDMI port on the motherboard is preferred. For instance, if you are using the integrated graphics and do not require the additional graphical power provided by a dedicated graphics card, the motherboard HDMI port will suffice.
In summary, the main difference between the HDMI port on the motherboard and the graphics card lies in their graphical capabilities and functionalities. Choosing the right HDMI port for your needs depends on your specific requirements, such as the desired graphical performance, number of displays, and the tasks you will be performing on your computer.
How to Identify HDMI Ports on Motherboard and Graphics Card
Identifying HDMI ports on your computer’s motherboard and graphics card is essential for connecting your devices and ensuring proper functionality. Here’s how you can easily identify these ports:
1. HDMI Ports on the Motherboard:
When it comes to the motherboard, the HDMI port is typically located on the back panel of your computer. It is often labeled with “HDMI” or represented by the HDMI logo. The HDMI port on the motherboard is usually horizontal and rectangular in shape.
You can also refer to the motherboard’s user manual or the manufacturer’s website for specific details and illustrations on the location of the HDMI port.
2. HDMI Ports on the Graphics Card:
The HDMI port on the graphics card is located on the rear panel of the card itself. It is usually positioned alongside other ports, such as DisplayPort, DVI, and VGA, depending on the model and manufacturer.
The graphics card HDMI port can be identified by the HDMI logo or the word “HDMI” printed next to it. It is also rectangular in shape, similar to the HDMI port on the motherboard.
3. Physical Differences:
In terms of physical appearance, there may be slight variations in the HDMI ports on the motherboard and the graphics card. However, the shape and size of the ports remain quite similar, allowing you to easily identify them.
If you are unsure about the specific ports on your motherboard or graphics card, you can consult the user manual or visit the manufacturer’s website for detailed information and diagrams.
4. Software Identification:
If you are having trouble locating the HDMI ports physically, you can also utilize software applications and utilities to identify the available connections. Tools like device managers or graphics card utilities can provide information about the available video output ports on your computer.
Simply access the device manager or the graphics card utility, and navigate to the display settings. Here, you should be able to identify the connected displays and the ports to which they are connected.
By following these steps, you should be able to easily identify the HDMI ports on both the motherboard and the graphics card. This will enable you to establish the required connections and ensure a seamless multimedia experience on your computer.
Connecting HDMI Port on the Motherboard
Connecting a device to the HDMI port on your computer’s motherboard allows you to utilize the integrated graphics capabilities of the CPU. Here’s a step-by-step guide on how to connect an HDMI device to the motherboard:
1. Prepare the HDMI cable:
Ensure you have an HDMI cable that is compatible with both your motherboard’s HDMI port and the device you wish to connect. HDMI cables come in various lengths, so choose one that suits your setup requirements.
2. Power off your computer:
Before making any connections, it is advisable to power off your computer to avoid any electrical issues or accidental damage.
3. Locate the HDMI port on the motherboard:
Identify the HDMI port on the back panel of your computer’s motherboard. It is usually labeled “HDMI” or can be recognized by the HDMI logo. The HDMI port is typically rectangular in shape.
4. Connect one end of the HDMI cable:
Insert one end of the HDMI cable into the HDMI port on the motherboard. Ensure a secure connection by gently pushing the connector into the port until it clicks into place.
5. Connect the other end of the HDMI cable:
Connect the other end of the HDMI cable to the HDMI input port on the device you wish to connect. This can be a TV, monitor, projector, or any other HDMI-enabled display device.
6. Power on your computer and the HDMI device:
Once the HDMI cable is securely connected on both ends, power on your computer and the HDMI device. Ensure that the HDMI input on the device is selected to receive the signal from your computer.
7. Configure display settings (if necessary):
Depending on your operating system, your computer may automatically detect the HDMI connection and configure the display settings accordingly. However, if the display does not appear or if you want to make specific adjustments, you may need to access the display settings in your operating system and ensure that the HDMI connection is enabled.
With the HDMI port on the motherboard successfully connected, you can now enjoy audio and video output from your computer to the connected display device. Keep in mind that the graphic capabilities of the integrated graphics may not be as powerful as dedicated graphics cards, but it still provides a convenient way to connect and use HDMI devices.
Enabling HDMI on the Motherboard in BIOS Settings
Enabling HDMI on the motherboard in the BIOS (Basic Input/Output System) settings allows you to ensure that the HDMI port is activated and ready for use. Here’s how you can enable HDMI in the BIOS:
1. Access the BIOS:
Restart your computer and enter the BIOS settings by pressing the designated key during the boot process. The key to access BIOS may vary depending on your motherboard’s manufacturer, but commonly used keys include Del, F2, or F10. Check your motherboard’s manual or manufacturer’s website for precise instructions.
2. Navigate to the Integrated Graphics Settings:
Once in the BIOS, navigate to the section related to graphics or video settings. This may be under an “Advanced” or “Integrated Peripherals” menu, or a similar option.
3. Enable Integrated Graphics:
Find the option to enable integrated graphics and ensure it is enabled. This ensures that the HDMI port on the motherboard is activated and can be used for video output.
4. Save and Exit:
After making the necessary changes, save the BIOS settings and exit. The computer will then restart with the HDMI port on the motherboard enabled.
5. Configure Operating System Settings:
Once your computer restarts, you may need to configure the display settings in your operating system to utilize the HDMI connection properly. Depending on the operating system you are using, you can access the display settings and ensure that the HDMI output is selected and enabled.
Enabling HDMI in the motherboard’s BIOS settings ensures that the HDMI port is properly activated and ready for use. However, keep in mind that if you have a dedicated graphics card installed, the HDMI port on the motherboard may be overridden by the graphics card’s ports. In such cases, you will need to connect your display device to the HDMI port on the graphics card instead.
Always refer to your motherboard’s manual or the manufacturer’s website for detailed instructions specific to your motherboard model, as the BIOS settings may vary slightly between different manufacturers and versions. Additionally, ensure that your computer’s drivers are up to date to ensure compatibility and optimal performance when using the HDMI port on the motherboard.
Connecting HDMI Port on the Graphics Card
Connecting a device to the HDMI port on your computer’s graphics card allows you to harness the full power of dedicated graphics for high-quality audio and video output. Here’s how you can connect an HDMI device to the graphics card:
1. Prepare the HDMI cable:
Ensure you have an HDMI cable that is compatible with both your graphics card’s HDMI port and the device you wish to connect. HDMI cables come in various lengths, so choose one that suits your setup requirements.
2. Power off your computer:
Prior to making any connections, it is recommended to power off your computer to prevent any electrical issues or accidental damage.
3. Locate the HDMI port on the graphics card:
Identify the HDMI port on the rear panel of your computer’s graphics card. It is typically located alongside other ports, such as DisplayPort, DVI, and VGA. The HDMI port on the graphics card is rectangular and labeled “HDMI” or indicated by the HDMI logo.
4. Connect one end of the HDMI cable:
Insert one end of the HDMI cable into the HDMI port on the graphics card. Ensure a secure connection by gently pushing the connector into the port until it clicks into place.
5. Connect the other end of the HDMI cable:
Connect the other end of the HDMI cable to the HDMI input port on the device you wish to connect. This can be a TV, monitor, projector, or any other HDMI-enabled display device.
6. Power on your computer and the HDMI device:
Once the HDMI cable is securely connected on both ends, power on your computer and the HDMI device. Make sure that the HDMI input on the device is selected to receive the signal from your computer.
7. Configure display settings:
In most cases, your computer will automatically detect the HDMI connection and configure the display settings accordingly. However, if the display does not appear or if you want to make specific adjustments, you may need to access the display settings in your operating system and ensure that the HDMI connection is enabled and selected as the primary display.
By following these steps, you can successfully connect your HDMI device to the HDMI port on your graphics card. This allows for the full utilization of the dedicated graphics processing, enabling enhanced video quality, smoother gaming experiences, and support for higher resolutions and refresh rates.
Remember to consult your graphics card’s manual or the manufacturer’s website for any specific instructions or considerations related to connecting an HDMI device to your particular graphics card model.
Configuring Display Settings for HDMI on the Graphics Card
Once you have connected your HDMI device to the HDMI port on your computer’s graphics card, it’s important to configure the display settings to optimize your viewing experience. Here’s how you can configure the display settings specifically for HDMI on the graphics card:
1. Access display settings:
Open the display settings on your operating system. The process may vary depending on the operating system you are using. On Windows, you can right-click on the desktop and select “Display settings” or access it through the Control Panel or Settings. On macOS, go to the Apple menu, select “System Preferences,” and click on “Displays.”
2. Detect the HDMI connection:
Click on the “Detect” or “Identify” button to ensure that your computer recognizes the HDMI connection. This will display an additional screen labeled as your HDMI device.
3. Set the resolution and refresh rate:
Choose the optimal resolution and refresh rate for your HDMI device. The recommended resolution and refresh rate are typically displayed in the display settings. It’s best to select the native resolution of your display for the best image quality.
4. Adjust display orientation and alignment (if necessary):
If the HDMI device is not properly aligned or oriented, you can adjust the display settings to rotate the screen, change the screen orientation, or align the display to match the physical placement of the HDMI device. This is especially useful if you are using a projector or a multi-monitor setup.
5. Audio settings:
Check the audio settings to ensure that the HDMI audio output is selected as the default playback device. This will ensure that the audio is routed through the HDMI connection to the connected device, providing synchronized audio and video playback.
6. Apply and test the display settings:
Once you have configured the display settings, click on the “Apply” or “OK” button to save the changes. Test the display by playing a video or accessing multimedia content to verify that the visuals and audio are working properly through the HDMI device.
It’s worth noting that some graphics card drivers may provide additional settings or control panels specific to their hardware. These control panels can offer advanced configuration options for the HDMI connection, such as color calibration, image enhancements, or custom display profiles. You can explore these options to further fine-tune the display settings according to your preferences.
By appropriately configuring the display settings for HDMI on the graphics card, you can optimize the visual quality, ensure proper screen alignment, and enjoy a seamless multimedia experience on your HDMI-enabled device.
Troubleshooting Common Issues with HDMI on Motherboard and Graphics Card
While HDMI connectivity is generally straightforward, users may encounter some common issues when using HDMI on the motherboard or graphics card. Here are a few troubleshooting steps to address these issues:
1. No signal on the display:
If you do not see any signal or video on the connected display, ensure that the HDMI cable is securely connected to both the HDMI port on your computer and the HDMI input on the display device. Additionally, double-check that the display is set to the correct input source. Try unplugging and reconnecting the HDMI cable, or try using a different HDMI cable to rule out any potential cable-related issues.
2. HDMI audio not working:
If you are not getting any audio output through the HDMI connection, check the audio output settings on your computer. Ensure that the audio is set to output through the HDMI device rather than the computer’s speakers or other audio devices. You may need to go into the audio settings or control panel of your operating system to make this adjustment.
3. Incorrect screen resolution:
If the screen resolution appears incorrect or does not fit the display properly, go to the display settings in your operating system. Select the appropriate resolution that matches your display’s native resolution. Adjust any overscan or underscan settings if available, as these can affect the scaling of the image on the screen.
4. Display flickering or black screen:
If you experience flickering or encounter a black screen intermittently, try updating your graphics card drivers to the latest version. Outdated or incompatible drivers can cause display issues. You can visit the manufacturer’s website for driver updates or use driver update software to help you find and install the latest drivers.
5. Multiple monitor issues:
If you have multiple displays connected, and there are issues with the HDMI display, first disconnect all other monitors and test the HDMI connection independently. If it works with a single monitor, gradually reconnect the additional displays one at a time to identify any conflicts or issues with specific connections or hardware configurations.
6. Graphics card not recognized:
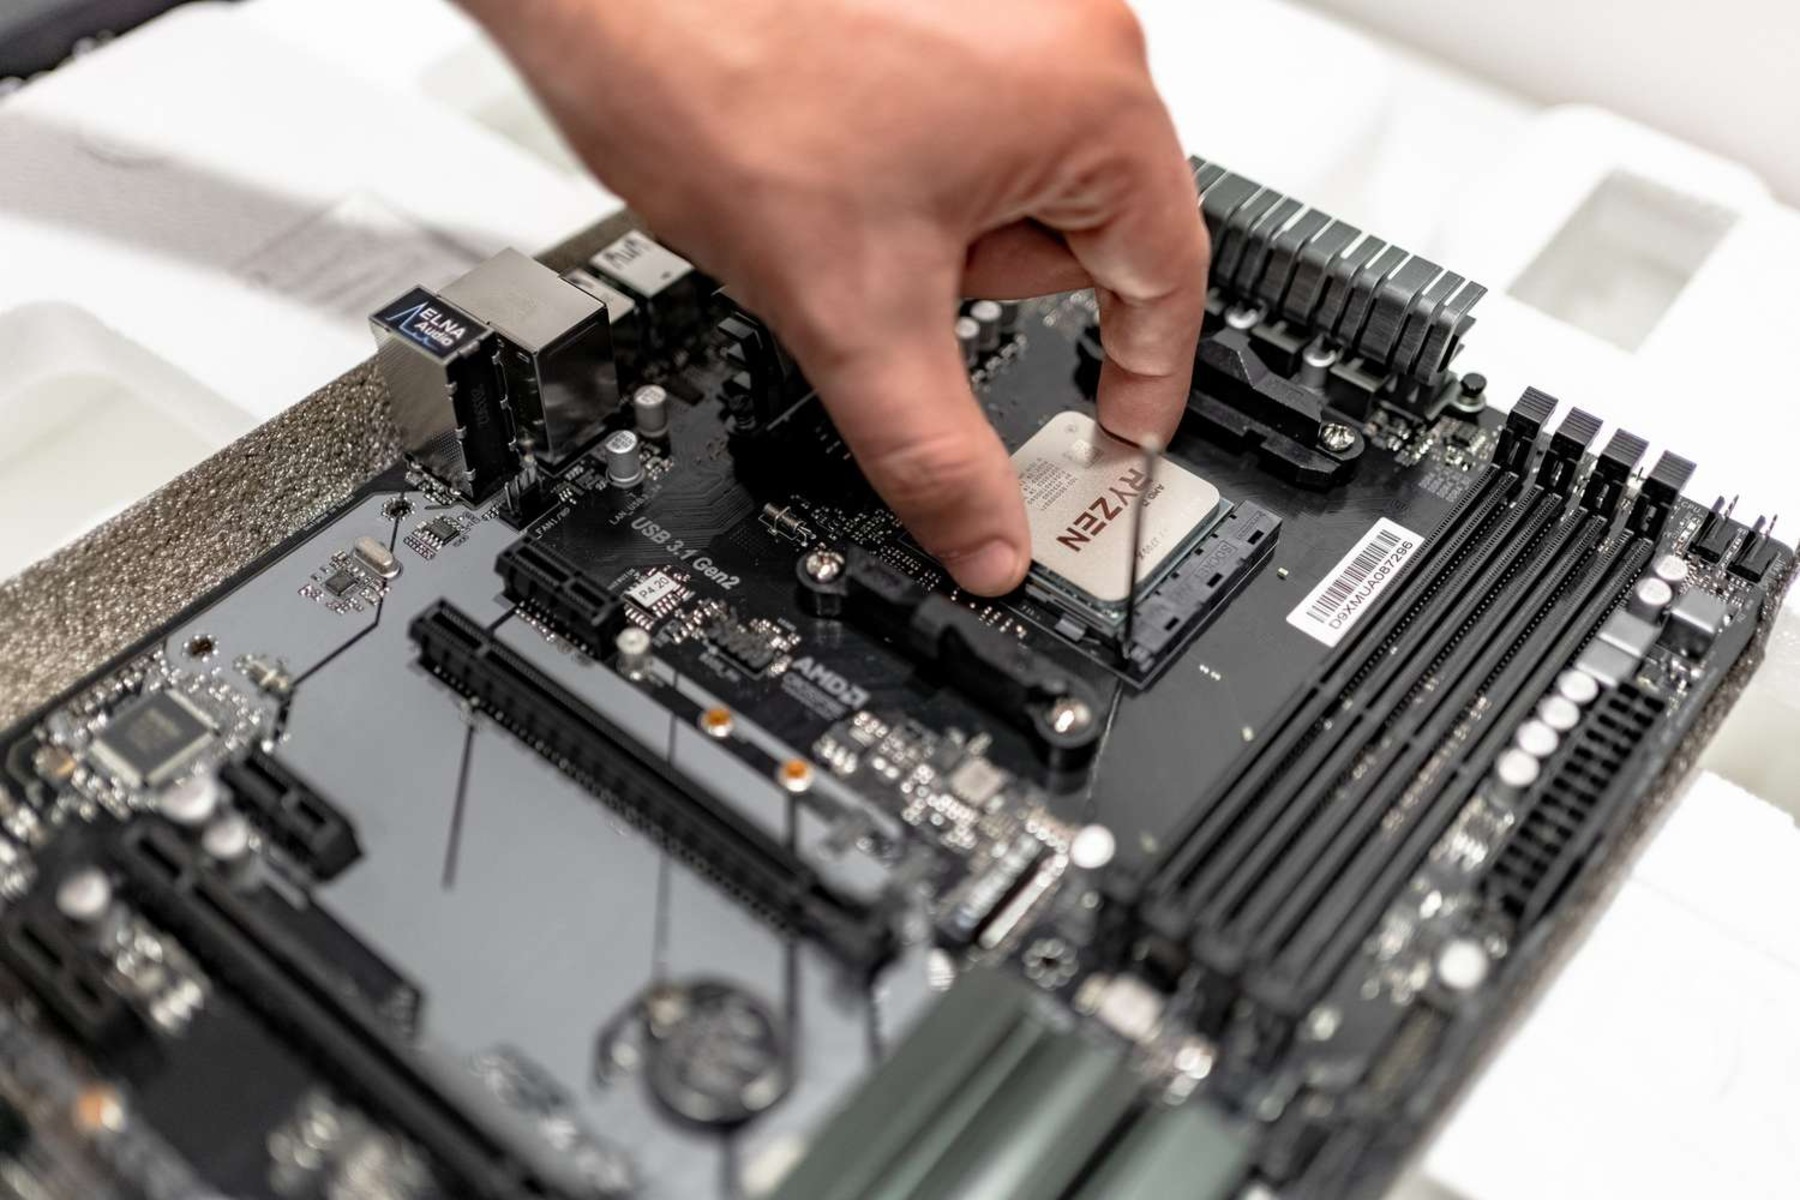
In some cases, the graphics card may not be detected or recognized by the system. Ensure that the graphics card is properly seated in the PCIe slot and that any necessary power cables are connected securely. Check the BIOS settings to ensure that the graphics card is enabled and recognized as the primary display adapter.
If these troubleshooting steps do not resolve the issue, it is recommended to consult the manufacturer’s support documentation or reach out to their customer support for further assistance. They can provide specific troubleshooting steps or advise on any known issues related to your specific motherboard or graphics card model.
Remember to keep your drivers and firmware updated to ensure compatibility and stability when using HDMI on your motherboard or graphics card. Regularly check for driver updates from the manufacturer’s website, as these can often resolve compatibility issues or provide performance enhancements for HDMI connections.
Conclusion
HDMI connectivity on both the motherboard and graphics card opens up a world of possibilities for enjoying high-quality audio and video on your computer. Understanding the differences between these two options and knowing how to use them effectively can greatly enhance your multimedia experience.
When connecting devices to your computer via HDMI, the choice between the motherboard and graphics card HDMI ports depends on your specific requirements. The graphics card HDMI port offers better graphical performance, additional ports for multiple displays, and advanced features like HDR support. On the other hand, the motherboard HDMI port is suitable when utilizing the integrated graphics capabilities of the CPU.
Identifying and connecting HDMI ports on the motherboard and graphics card is a straightforward process. By following the steps outlined in this guide, you can easily make the necessary connections and configure the display settings for optimal performance.
However, it is important to troubleshoot common issues that may arise when using HDMI. Problems such as no signal, audio not working, incorrect resolution, flickering screens, or unrecognized graphics cards can often be resolved with simple troubleshooting steps, including checking cable connections, updating drivers, and adjusting settings.
In conclusion, HDMI on the motherboard and graphics card provides a convenient and versatile way to connect your computer to external audiovisual devices. By understanding how to utilize these HDMI ports effectively and troubleshooting any issues that may arise, you can enjoy an immersive multimedia experience with high-quality audio and video output.