Introduction
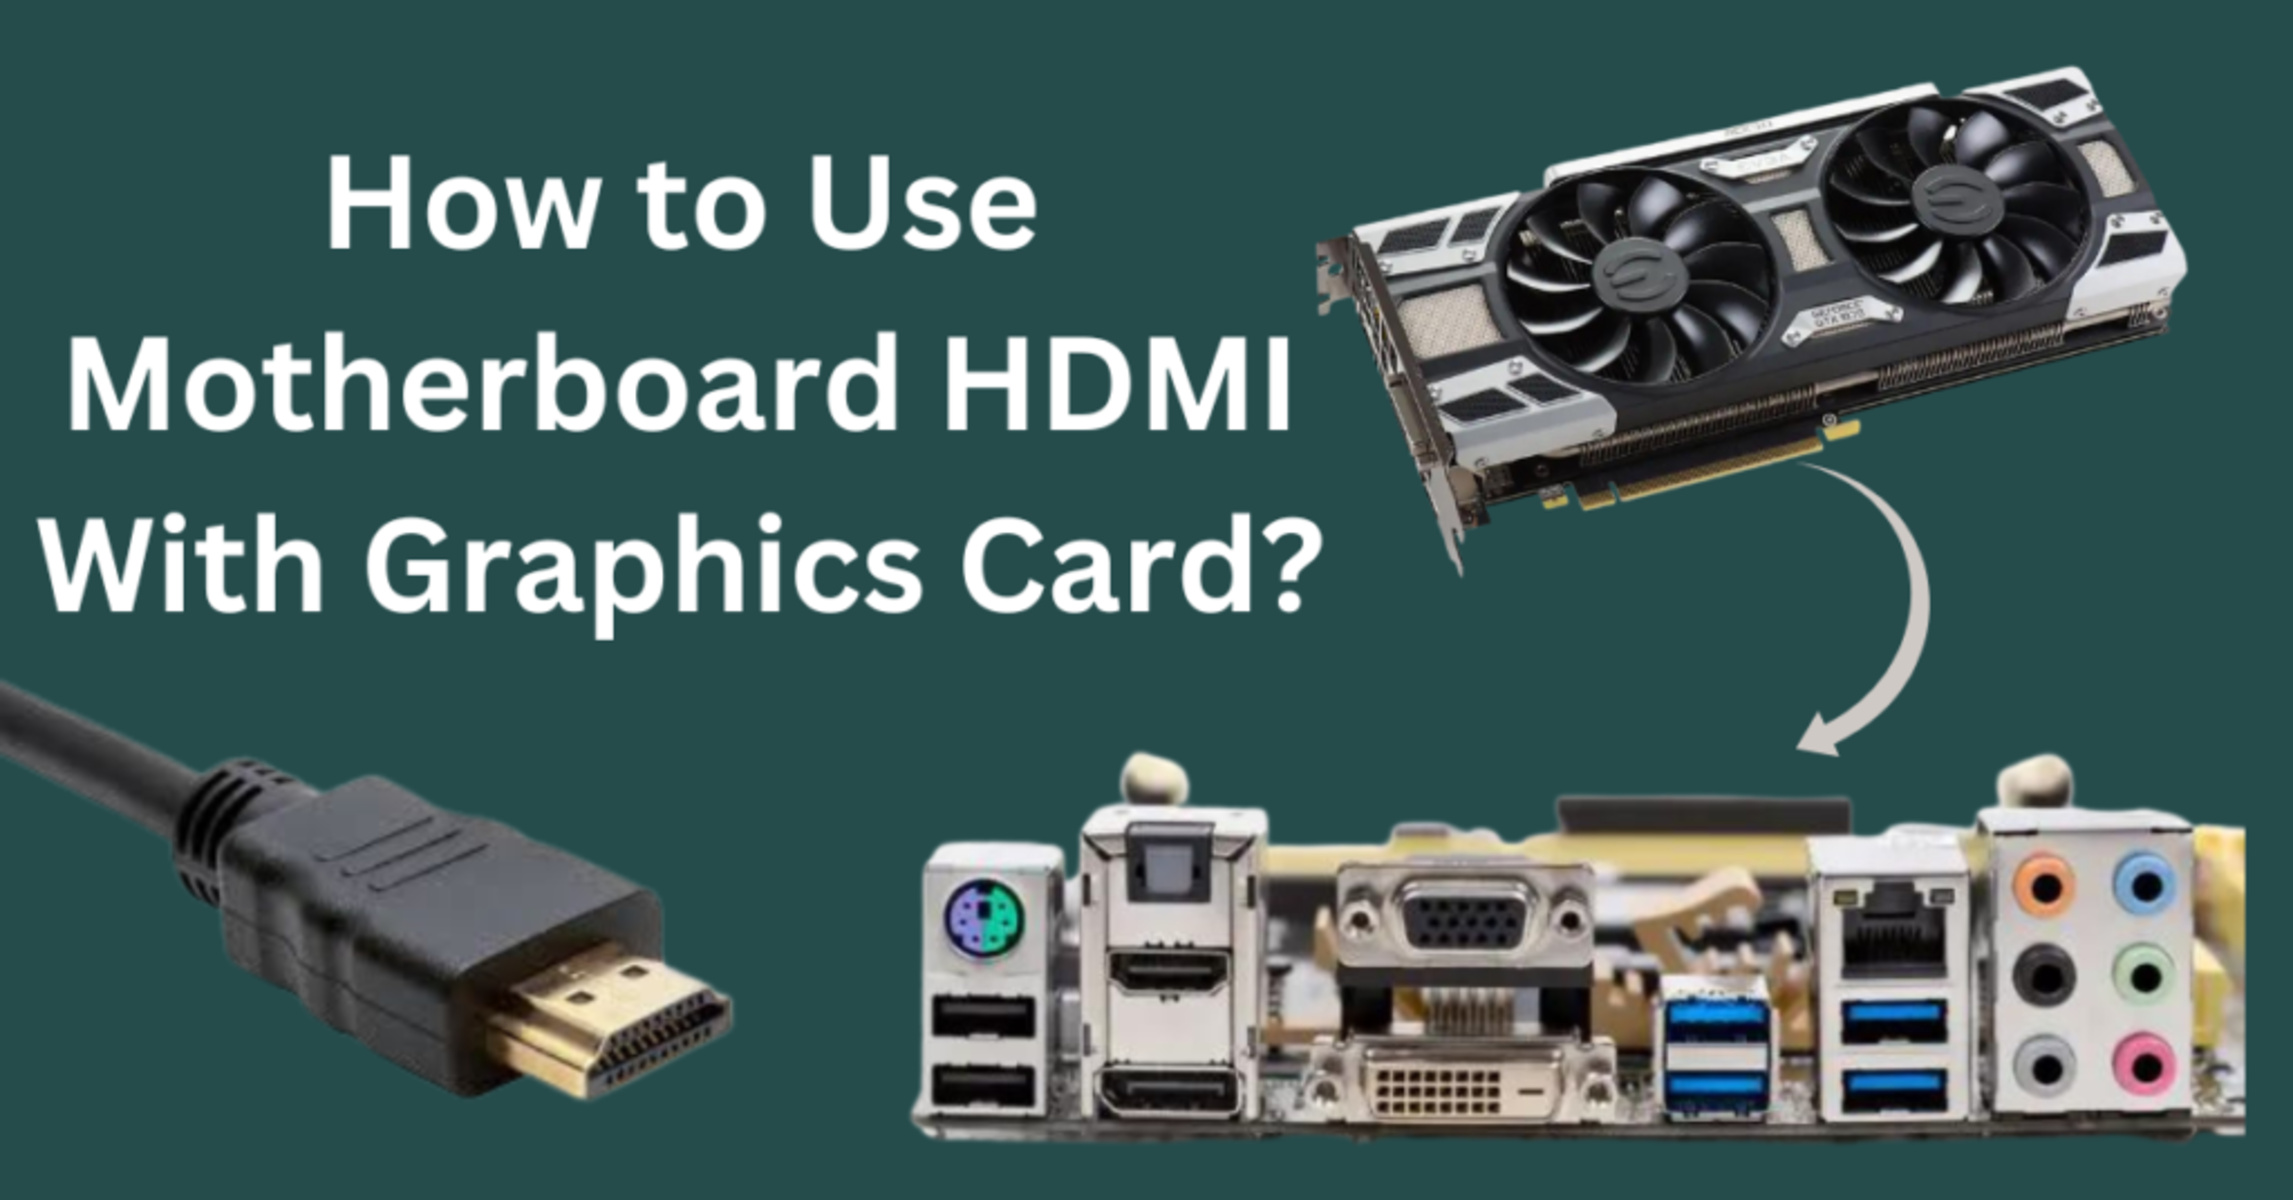
Welcome to our in-depth guide on how to enable the HDMI port on your motherboard. HDMI (High Definition Multimedia Interface) is a popular audio/video interface that allows you to connect your computer to an external display or TV. While most modern graphic cards come equipped with an HDMI port, some motherboards also offer this feature, which can be incredibly convenient for those who want to use their PC as a media center or connect to a larger screen for gaming or presentations.
In this guide, we will walk you through the process of enabling the HDMI port on both Intel-based and AMD-based motherboards. Whether you’re a tech-savvy enthusiast or a beginner, we’ll provide step-by-step instructions to help you get your HDMI port up and running smoothly.
Before we dive into the specifics of enabling HDMI, it’s important to note that not all motherboards have an HDMI port. So the first step is to check whether your motherboard is equipped with this feature. If your motherboard doesn’t have an HDMI port, don’t worry – there are other alternatives available, such as using a dedicated graphics card that supports HDMI or using a DisplayPort to HDMI adapter.
Now that you’ve got an overview of what we’ll cover in this guide, let’s move on to the next section and find out how to check if your motherboard has an HDMI port.
Why Enable Motherboard HDMI?
Enabling the HDMI port on your motherboard can offer several advantages and open up a whole new world of possibilities for your computer setup. Here are a few reasons why you might want to enable the HDMI port on your motherboard:
- Multi-monitor setup: By enabling the motherboard’s HDMI port, you can connect an additional monitor or TV to your PC. This is especially useful for tasks like multitasking, video editing, gaming, and even extending your workspace for enhanced productivity.
- Media center functionality: If you want to use your PC as a media center, having the HDMI port enabled on your motherboard allows you to connect it directly to a TV or home theater system. You can enjoy streaming movies, TV shows, and other media content on a larger screen with better audio quality.
- Gaming experience: Enabling the motherboard HDMI port gives you the option to play games on a bigger screen, providing a more immersive gaming experience. Whether you’re playing single-player games or connecting with friends for multiplayer sessions, using your TV as a gaming display can take your gaming setup to the next level.
- Presentation and collaboration: If you frequently give presentations or collaborate on projects, enabling the HDMI port on your motherboard allows you to connect your computer directly to projectors or larger screens without the need for extra adapters or converters. This can simplify the set-up process and enhance the overall visual experience.
- Convenience and flexibility: Having the HDMI port enabled on your motherboard provides you with more options for connecting your computer to external displays. You can choose between using a dedicated graphics card or the motherboard’s HDMI port, depending on your specific needs and equipment. This flexibility can be particularly useful when troubleshooting, upgrading, or using different displays in different situations.
These are just a few of the many reasons why enabling the HDMI port on your motherboard can be beneficial. It offers a versatile and convenient way to connect your computer to external displays, providing you with the freedom to customize and enhance your computing experience.
Now that you understand the advantages of enabling the HDMI port on your motherboard, let’s move on to the next section and learn how to check if your motherboard has an HDMI port.
Checking for HDMI Port on Your Motherboard
Before you can enable the HDMI port on your motherboard, it’s essential to ensure that your motherboard does indeed have an HDMI port. Here’s how you can check for an HDMI port on your motherboard:
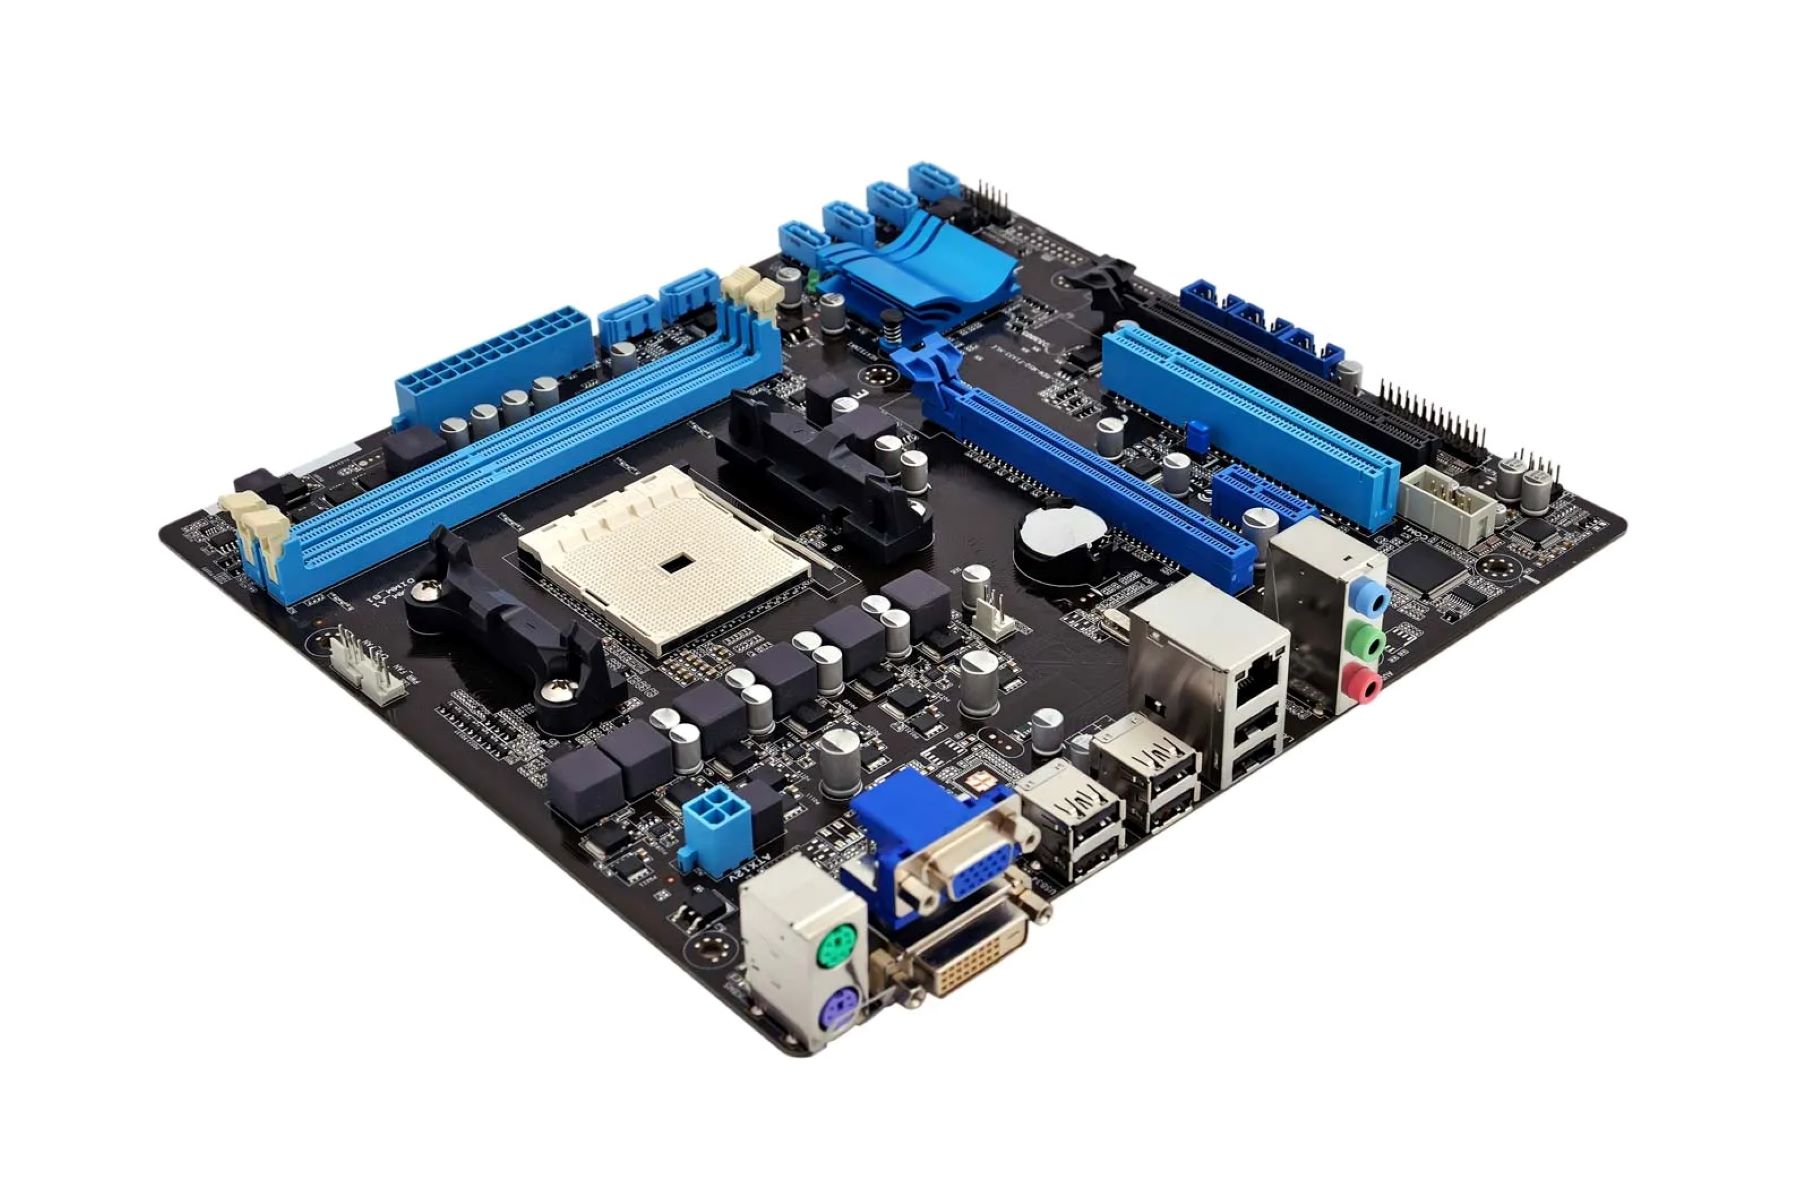
- Physical inspection: Start by inspecting the ports on the rear I/O panel of your motherboard. Look for a port labeled “HDMI” or one that has the HDMI logo next to it. It is typically rectangular in shape and has several small rectangular pins inside.
- Consult the motherboard manual: If you are unsure, consult the user manual that came with your motherboard. Look for information regarding the rear I/O panel and the available ports. The manual should clearly indicate whether your motherboard has an HDMI port or not.
- Online research: If you no longer have the motherboard manual or want to gather additional information, you can search online for the specifications of your specific motherboard model. Visit the manufacturer’s website or other reliable sources and search for your motherboard model to find the detailed specifications. Look for information about the available ports, including the HDMI port.
By following these steps, you can easily determine if your motherboard has an HDMI port or not. If you do find an HDMI port on your motherboard, you can proceed to the next sections to learn how to enable it, depending on whether you have an Intel-based or AMD-based motherboard.
However, if you discover that your motherboard lacks an HDMI port, don’t be discouraged. There are still alternative options available to connect your computer to an external display. These include using a dedicated graphics card with HDMI support or utilizing a DisplayPort to HDMI adapter.
Now that you know how to check for an HDMI port on your motherboard let’s move on to the next sections, where we’ll provide instructions on enabling HDMI for Intel-based and AMD-based motherboards.
Enabling HDMI on Intel-based Motherboards
If you have an Intel-based motherboard and want to enable the HDMI port, follow the steps below:
- Update your graphics drivers: Before proceeding, it’s important to ensure that your graphics drivers are up to date. Visit the official Intel website or your motherboard manufacturer’s website to download and install the latest graphics drivers for your specific model.
- Access the BIOS/UEFI: Restart your computer and enter the BIOS/UEFI settings. The key to access these settings varies depending on your motherboard manufacturer, but it is usually the “Delete” or “F2” key. Consult your motherboard manual or look for on-screen prompts during boot-up to determine the correct key.
- Navigate to the graphics settings: Once you are in the BIOS/UEFI settings, navigate to the section related to graphics settings. Look for options like “Integrated Graphics” or “Onboard Graphics” and access the submenu.
- Enable the integrated graphics: Within the graphics settings submenu, look for an option to enable integrated graphics or onboard graphics. Select this option to enable the built-in graphics capabilities of your Intel-based motherboard.
- Save and exit: After enabling the integrated graphics, save your changes and exit the BIOS/UEFI settings. Follow the on-screen instructions to save the changes and allow your computer to boot back into the operating system.
- Check display settings: Once your computer has booted up, right-click on the desktop and select “Display Settings” or “Screen Resolution.” Make sure that the HDMI display is recognized and set as the primary display. Adjust the resolution and other display settings as desired.
After following these steps, you should have successfully enabled the HDMI port on your Intel-based motherboard. Now you can connect your computer to an external display or TV using an HDMI cable and enjoy the benefits of a larger screen.
Note that the steps may slightly vary depending on the specific motherboard model and BIOS/UEFI version. Refer to the motherboard manual or consult the manufacturer’s website for more detailed instructions tailored to your motherboard.
Now that you know how to enable HDMI on Intel-based motherboards, let’s move on to the next section, where we’ll provide instructions for enabling HDMI on AMD-based motherboards.
Enabling HDMI on AMD-based Motherboards
If you have an AMD-based motherboard and want to enable the HDMI port, follow the steps below:
- Update your graphics drivers: Start by updating your graphics drivers to the latest version. Visit the official AMD website or your motherboard manufacturer’s website to download and install the latest drivers for your specific model.
- Access the BIOS/UEFI: Restart your computer and enter the BIOS/UEFI settings. The key to access these settings varies depending on your motherboard manufacturer, but it is typically one of the function keys (e.g., F2, F10, or Delete). Consult your motherboard manual or look for on-screen prompts during boot-up to determine the correct key.
- Navigate to the integrated graphics settings: Once in the BIOS/UEFI settings, navigate to the section related to integrated graphics settings. This section may be labeled as “Internal Graphics,” “Onboard Graphics,” or similar. Access the submenu for these settings.
- Enable the integrated graphics: Within the internal graphics settings submenu, look for an option to enable the integrated graphics or onboard graphics. Select this option to enable the built-in graphics capabilities of your AMD-based motherboard.
- Save and exit: After enabling the integrated graphics, save your changes and exit the BIOS/UEFI settings. Follow the on-screen instructions to save the changes and allow your computer to boot back into the operating system.
- Check display settings: Once your computer has booted up, right-click on the desktop and select “Display Settings” or “Screen Resolution.” Make sure that the HDMI display is recognized and set as the primary display. Adjust the resolution and other display settings as desired.
After following these steps, you should have successfully enabled the HDMI port on your AMD-based motherboard. You can now connect your computer to an external display or TV using an HDMI cable and enjoy the benefits of a larger screen.
It’s important to note that the steps may vary slightly depending on the specific motherboard model and BIOS/UEFI version. Refer to the motherboard manual or consult the manufacturer’s website for more detailed instructions tailored to your motherboard.
Now that you know how to enable HDMI on AMD-based motherboards, you can easily connect your computer to external displays and enjoy a more immersive visual experience.
Troubleshooting Common Issues
While enabling the HDMI port on your motherboard is generally a straightforward process, you may encounter some common issues along the way. Here are a few troubleshooting tips to help you resolve these issues:
- No display on the HDMI port: If you’ve followed the steps and enabled the HDMI port on your motherboard but still don’t have any display on the connected screen, double-check that the HDMI cable is properly connected to both the motherboard and the display. Also, ensure that the display is turned on and set to the correct input source.
- No audio on the HDMI port: If you have video but no audio through the HDMI port, right-click on the volume icon in your system tray and select “Playback devices.” Make sure that the HDMI audio output is set as the default device. If it’s not listed, right-click in the playback devices window and select “Show Disabled Devices” and “Show Disconnected Devices.” Enable the HDMI audio device if it was previously disabled.
- Outdated drivers: If you continue to experience issues, ensure that you are using the latest drivers for your motherboard’s chipset and graphics. Check the manufacturer’s website for any available driver updates and install them accordingly. Updating your drivers can often resolve compatibility and performance issues.
- Bios/UEFI settings: Revisit the BIOS/UEFI settings and verify that the integrated graphics are still enabled. Sometimes, a BIOS/UEFI update or a change in settings may revert the integrated graphics option. If necessary, repeat the steps to re-enable the integrated graphics.
- Compatibility issues: It’s possible that your HDMI cable, display, or even the motherboard may not be fully compatible with each other. Try using a different HDMI cable, connecting to another HDMI port on the display, or connecting to a different display to rule out any compatibility issues.
- Consult the manufacturer: If you have exhausted all troubleshooting steps and are still experiencing issues, consider reaching out to the motherboard manufacturer’s customer support for further assistance. They may be able to provide specific troubleshooting steps or offer solutions to address the problem.
By following these troubleshooting tips, you can resolve common issues that may arise when enabling the HDMI port on your motherboard. Remember to double-check connections, update drivers, and explore compatibility options to ensure a smooth and successful setup.
Now that you’re armed with troubleshooting knowledge, you should be able to overcome any obstacles and enjoy the benefits of utilizing the HDMI port on your motherboard.
Conclusion
Enabling the HDMI port on your motherboard can greatly enhance your computing experience, allowing you to connect your computer to external displays, TVs, or projectors. Whether you want to create a multi-monitor setup, utilize your PC as a media center, or enjoy gaming on a larger screen, enabling the HDMI port opens up a world of possibilities.
In this comprehensive guide, we’ve provided step-by-step instructions on how to check for an HDMI port on your motherboard and enable it on both Intel-based and AMD-based motherboards. We’ve also shared troubleshooting tips to help you overcome common issues that may arise during the process.
Remember to always update your graphics drivers, access the BIOS/UEFI settings, and verify the display settings to ensure a successful setup. Additionally, consult your motherboard manual or manufacturer’s website for specific instructions tailored to your motherboard model, as the process may vary slightly.
If you encounter difficulties or need further assistance, don’t hesitate to reach out to the manufacturer’s customer support for guidance.
Now that you’re equipped with the knowledge to enable the HDMI port on your motherboard, go ahead and connect your computer to a larger screen, unlock new productivity potential, and enjoy a more immersive visual experience!