Introduction
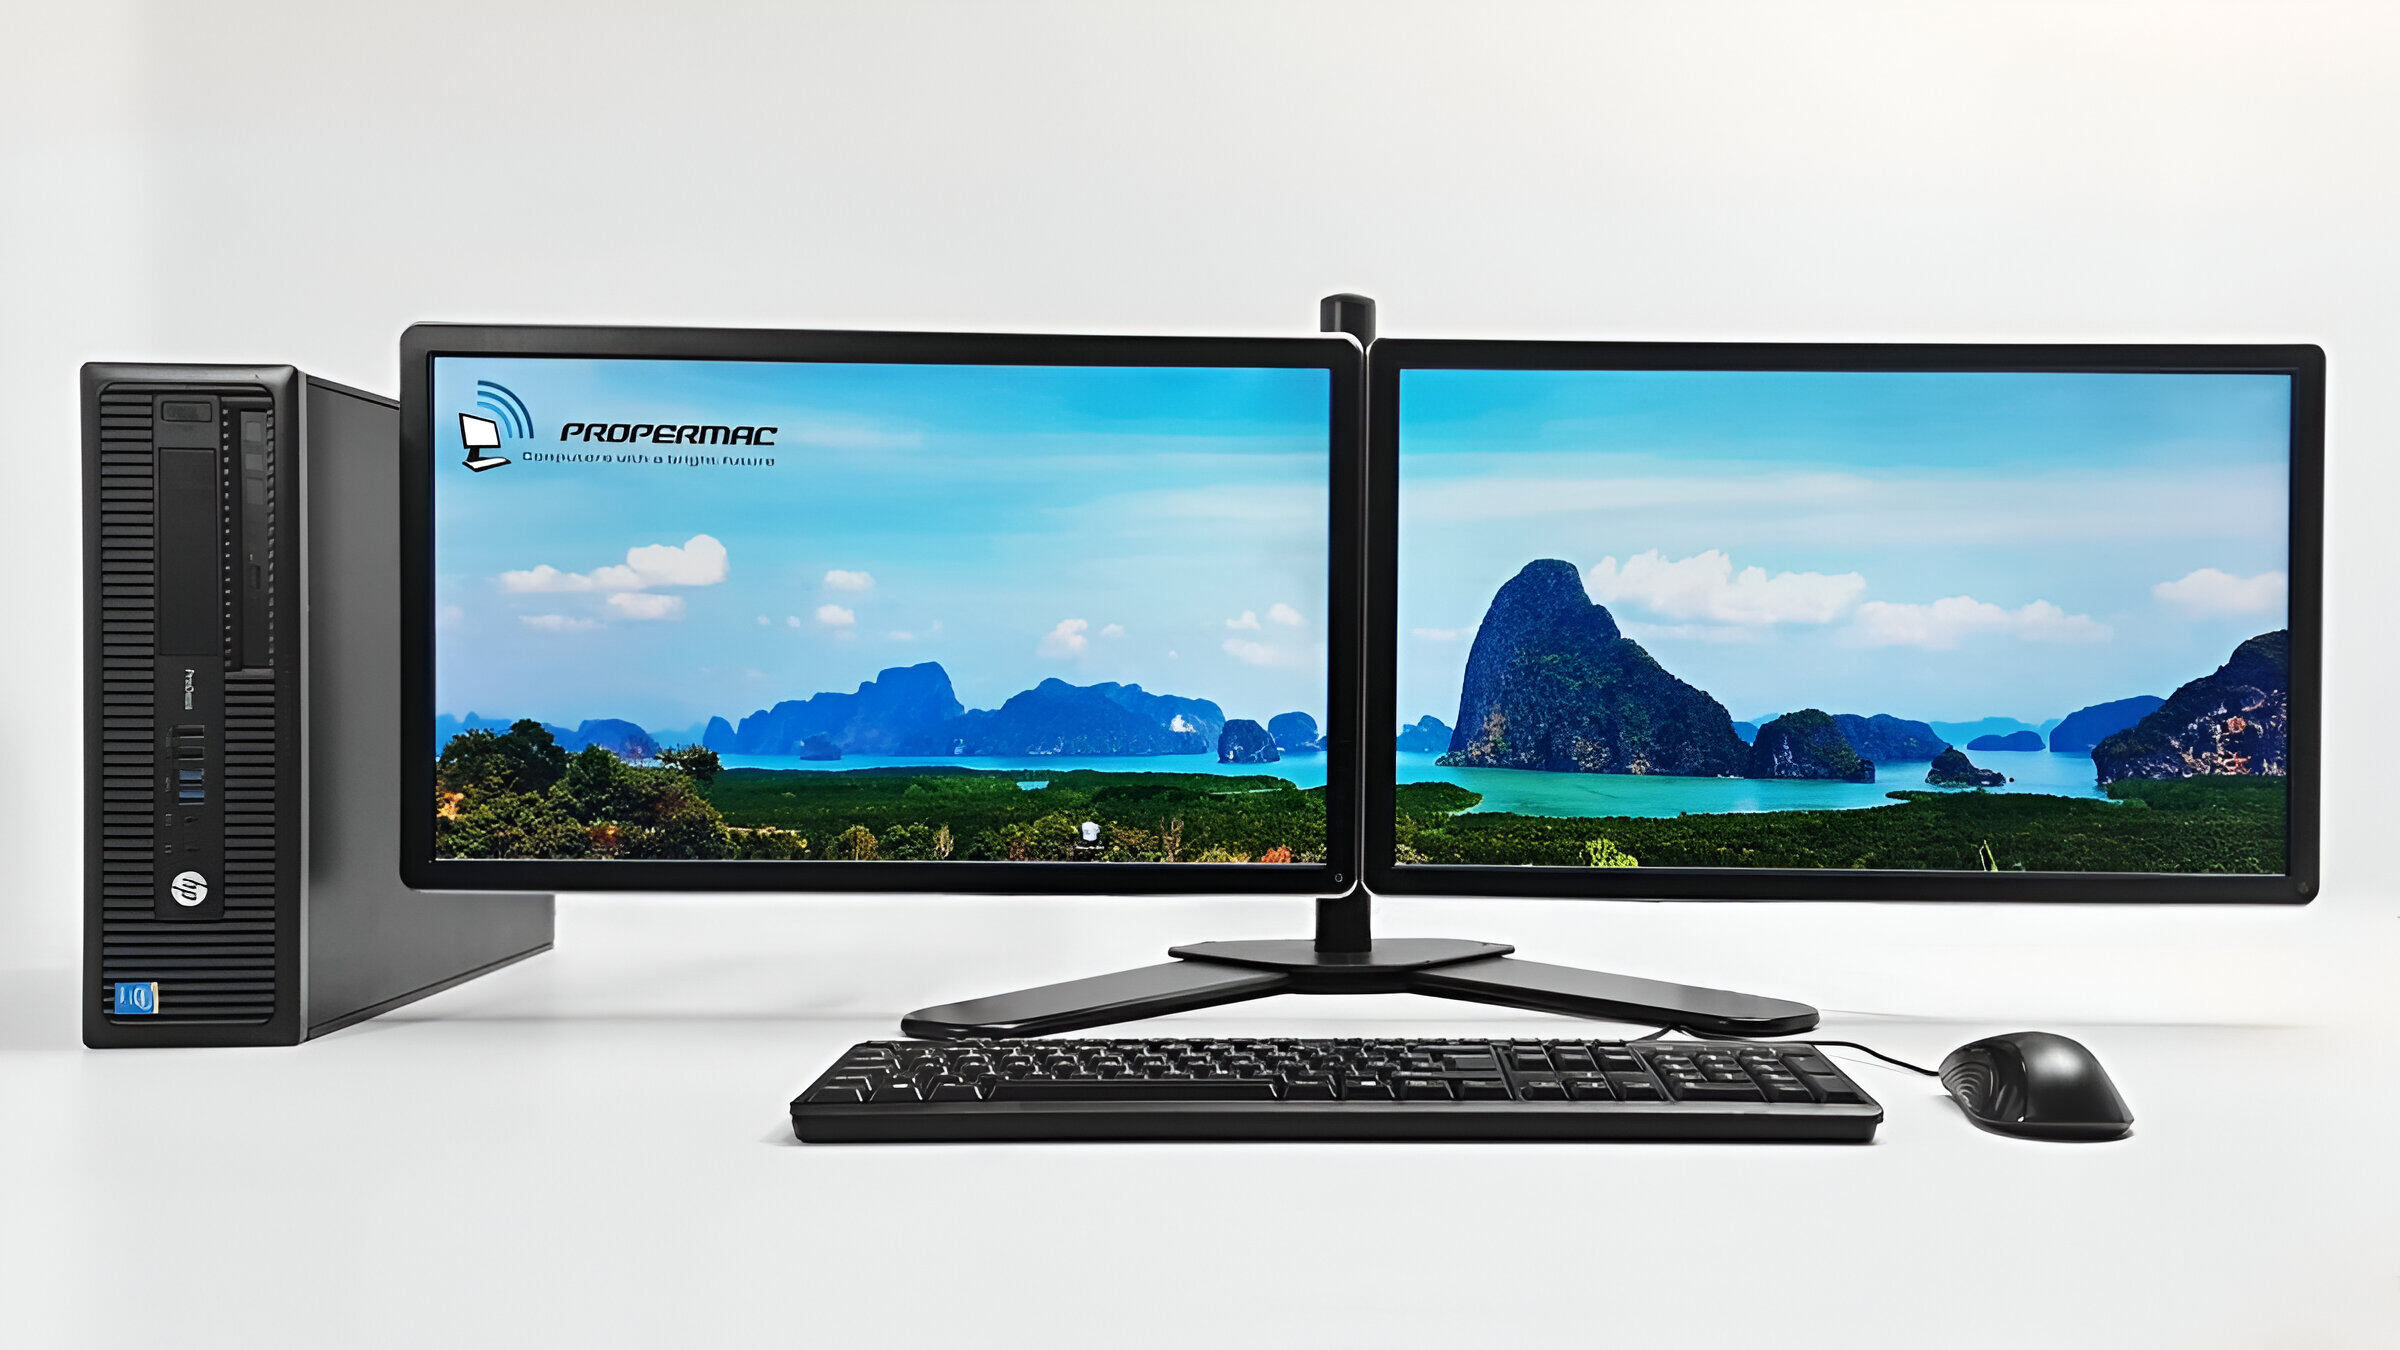
Connecting a monitor to a PC is a simple yet essential step in setting up a computer system. Whether you’re a seasoned computer user or a beginner, knowing how to properly connect a monitor is crucial for a seamless computing experience.
In this article, we will guide you through the steps to connect a monitor to your PC. We will cover everything from checking connectors to adjusting display settings. By following these steps, you’ll be able to enjoy the benefits of a larger screen and improve your productivity.
Before we dive into the step-by-step process, it’s important to understand the different types of connectors that are commonly found on PCs and monitors. These connectors allow you to establish a physical connection between your computer and the monitor, enabling the transmission of video signals.
Common video connectors include VGA (Video Graphics Array), DVI (Digital Visual Interface), HDMI (High-Definition Multimedia Interface), and DisplayPort. The type of connectors available on your computer and monitor may vary, so it’s essential to identify the specific connectors you have to ensure compatibility.
Now that we have a basic understanding of connectors, let’s move on to the step-by-step process of connecting a monitor to a PC. Whether you’re using a desktop computer or a laptop, the steps are similar, with minor variations depending on the type of connectors available.
So, without further ado, let’s get started on setting up your monitor and enjoying a larger, more immersive display!
Step 1: Check the connectors
Before you can connect your monitor to your PC, the first step is to check the connectors available on both devices. As mentioned earlier, there are several types of video connectors commonly used for this purpose.
Start by examining the back of your computer tower or the side of your laptop. Look for the video output ports, which are usually marked with icons corresponding to the connector type. These ports may include VGA, DVI, HDMI, or DisplayPort.
Next, take a look at your monitor. Similar to the computer, the video input ports are located on the back or side of the monitor. They should also be labeled with the corresponding connector type.
Now, compare the available connectors on both the computer and the monitor. Check if you have matching connectors, as this will ensure a smooth connection. If the connectors do not match, you may need to purchase an adapter to convert between different connector types.
For example, if your computer has an HDMI output port but your monitor only has a VGA input port, you will need an HDMI to VGA adapter to make the connection.
Additionally, if your computer and monitor both have multiple connector options, consider the capabilities of each connector. HDMI and DisplayPort are generally preferred for high-definition displays, while VGA and DVI are older standards that may not support higher resolutions.
Once you have identified the available connectors and ensured compatibility between your computer and monitor, you’re ready to move on to the next step: gathering the necessary cables and adapters.
Step 2: Gather the necessary cables and adapters
Now that you have checked the connectors on your computer and monitor, the next step is to gather the necessary cables and adapters to make the connection. Depending on the connector types you have, you may need different cables or adapters to establish a proper connection.
Let’s go through some common scenarios:
- If your computer and monitor have matching connectors, such as HDMI to HDMI or VGA to VGA, all you need is a cable that matches those connectors. Ensure that the cable is of good quality and capable of supporting the desired resolution.
- If your computer and monitor have different connectors, you will need an adapter to convert between the two. For example, if your computer has an HDMI output but your monitor has a VGA input, you will need an HDMI to VGA adapter. Make sure to choose a reliable adapter that supports the required resolution and maintains signal quality.
- In some cases, you may need multiple adapters if you have a chain of different connector types. For instance, if your computer has a DisplayPort output and your monitor has a DVI input, you will need a DisplayPort to DVI adapter, in addition to a DVI cable to connect the adapter to the monitor.
It’s worth noting that adapters should be used judiciously, as each one introduces a small amount of signal degradation. Whenever possible, it’s best to use a direct connection without the need for adapters.
Before making any purchases, double-check the compatibility requirements and ensure that you have the correct cables and adapters. It’s also a good idea to read reviews or seek expert advice to ensure that the cables and adapters you choose are reliable and provide optimal performance.
Once you have gathered all the necessary cables and adapters, you’re ready to proceed to the next step: turning off your computer and unplugging it.
Step 3: Turn off the computer and unplug it
Before you can connect or disconnect any cables from your computer, it’s crucial to turn off the power and unplug it from the electrical outlet. This ensures that you can safely work on the connections without the risk of electric shock or damaging the components.
Follow these steps to power off your computer and unplug it:
- Save any unsaved work and close all open applications.
- Click on the “Start” menu (Windows) or the Apple menu (Mac) and select “Shut Down” or “Turn Off”.
- Wait for the computer to fully shut down. You may see a spinning wheel or a progress bar indicating the process.
- Once the computer is completely off, locate the power cord at the back of the tower or the side of your laptop.
- Gently unplug the power cord from the electrical outlet. Make sure not to pull on the cord itself, but rather grasp the plug firmly to disconnect it.
By turning off and unplugging your computer, you minimize the risk of electrical damage to the components and ensure a safe environment for connecting the monitor.
Once your computer is powered off and unplugged, you can proceed to the next step: connecting the monitor to the computer.
Step 4: Connect the monitor to the computer
With your computer turned off and unplugged, it’s time to connect the monitor to your PC. Follow these steps to ensure a secure and proper connection:
- Locate the video output ports on the back of your computer tower or the side of your laptop. These ports should be labeled with icons corresponding to the connector type, such as VGA, DVI, HDMI, or DisplayPort.
- Take the cable or adapter that matches the connector on your computer. If you are using an adapter, connect one end of the cable to the adapter.
- Insert the connector or the adapter into the corresponding video output port on your computer. Ensure that the connection is secure by aligning the pins and gently pushing the connector or the adapter into place.
- Now, move to your monitor and locate the video input ports on the back or side. These ports should also be labeled with the corresponding connector type.
- Take the other end of the cable or the adapter and insert it into the video input port on your monitor. Again, ensure a secure connection by aligning the pins and gently pushing the connector or the adapter into place.
It’s important to apply gentle pressure when connecting the cables or adapters to avoid damaging the ports. Be cautious not to force the connection, and ensure that the pins are properly aligned before inserting.
Once you have successfully connected the monitor to the computer, you can proceed to the next step: turning on both devices.
Note: If you are connecting multiple monitors to your computer, you may need to consult your computer’s manual or the graphics card manufacturer’s instructions for configuring and extending your desktop across multiple displays. This step may involve additional settings in the operating system or graphics card control panel.
Step 5: Turn on the computer and the monitor
With the monitor successfully connected to your computer, it’s time to power on both devices. Follow these steps to ensure a smooth startup:
- Ensure that the monitor is also plugged into a power source and turned on.
- Locate the power button on your computer tower or the power button on your laptop.
- Press the power button to turn on your computer. You should see lights and hear fans starting up.
- As your computer boots up, it will detect the new display and attempt to establish a connection with the monitor.
- On your monitor, you should see a display indicating that it has successfully connected to a video source.
- If everything is functioning correctly, your computer’s desktop or login screen should appear on the monitor.
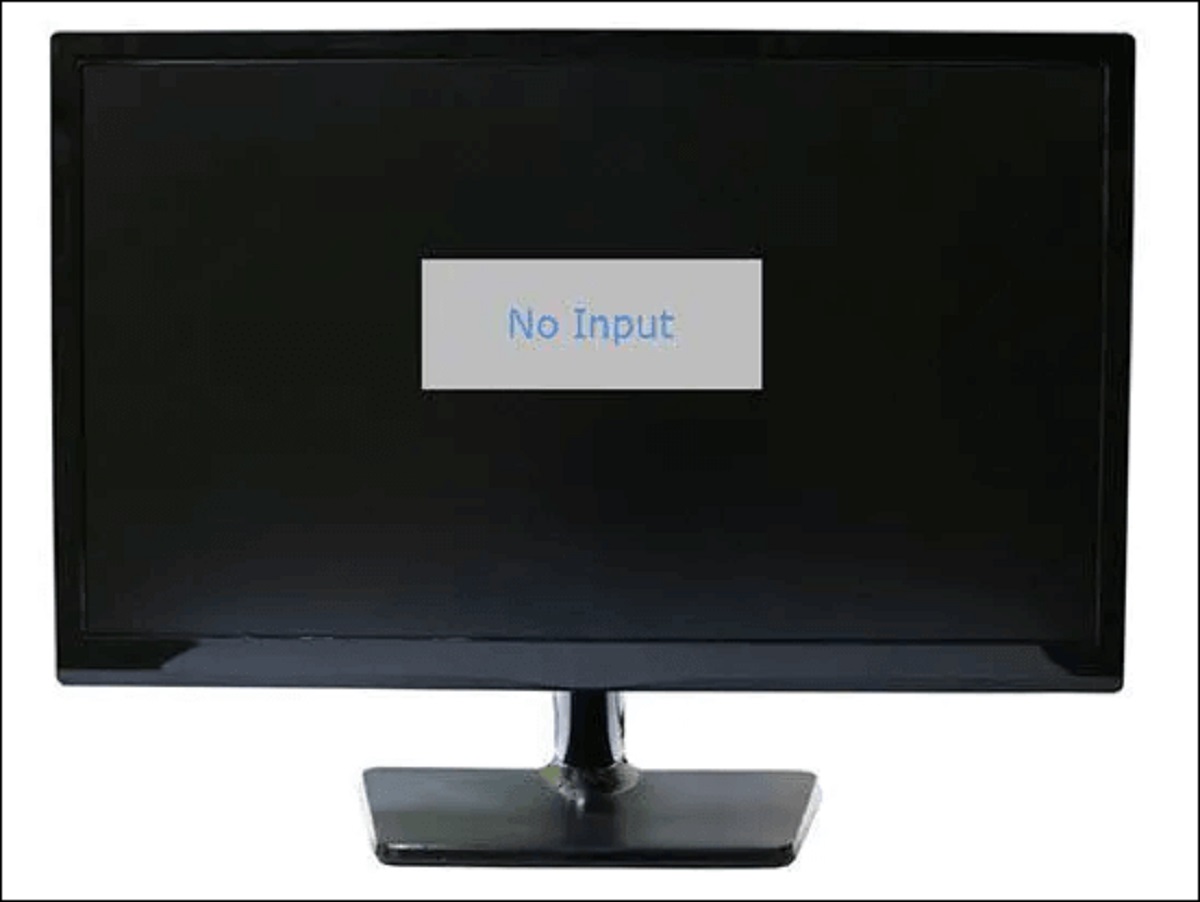
If, for some reason, the monitor does not receive a video signal, double-check the connections between the computer and the monitor. Ensure that the cable or adapter is firmly connected on both ends. If necessary, try using a different cable or adapter to troubleshoot the issue.
If you’re still unable to establish a connection, consult the user manual for your monitor or refer to the troubleshooting guides provided by the manufacturer.
Once the computer and monitor are up and running, you can proceed to the next step: adjusting the display settings if needed.
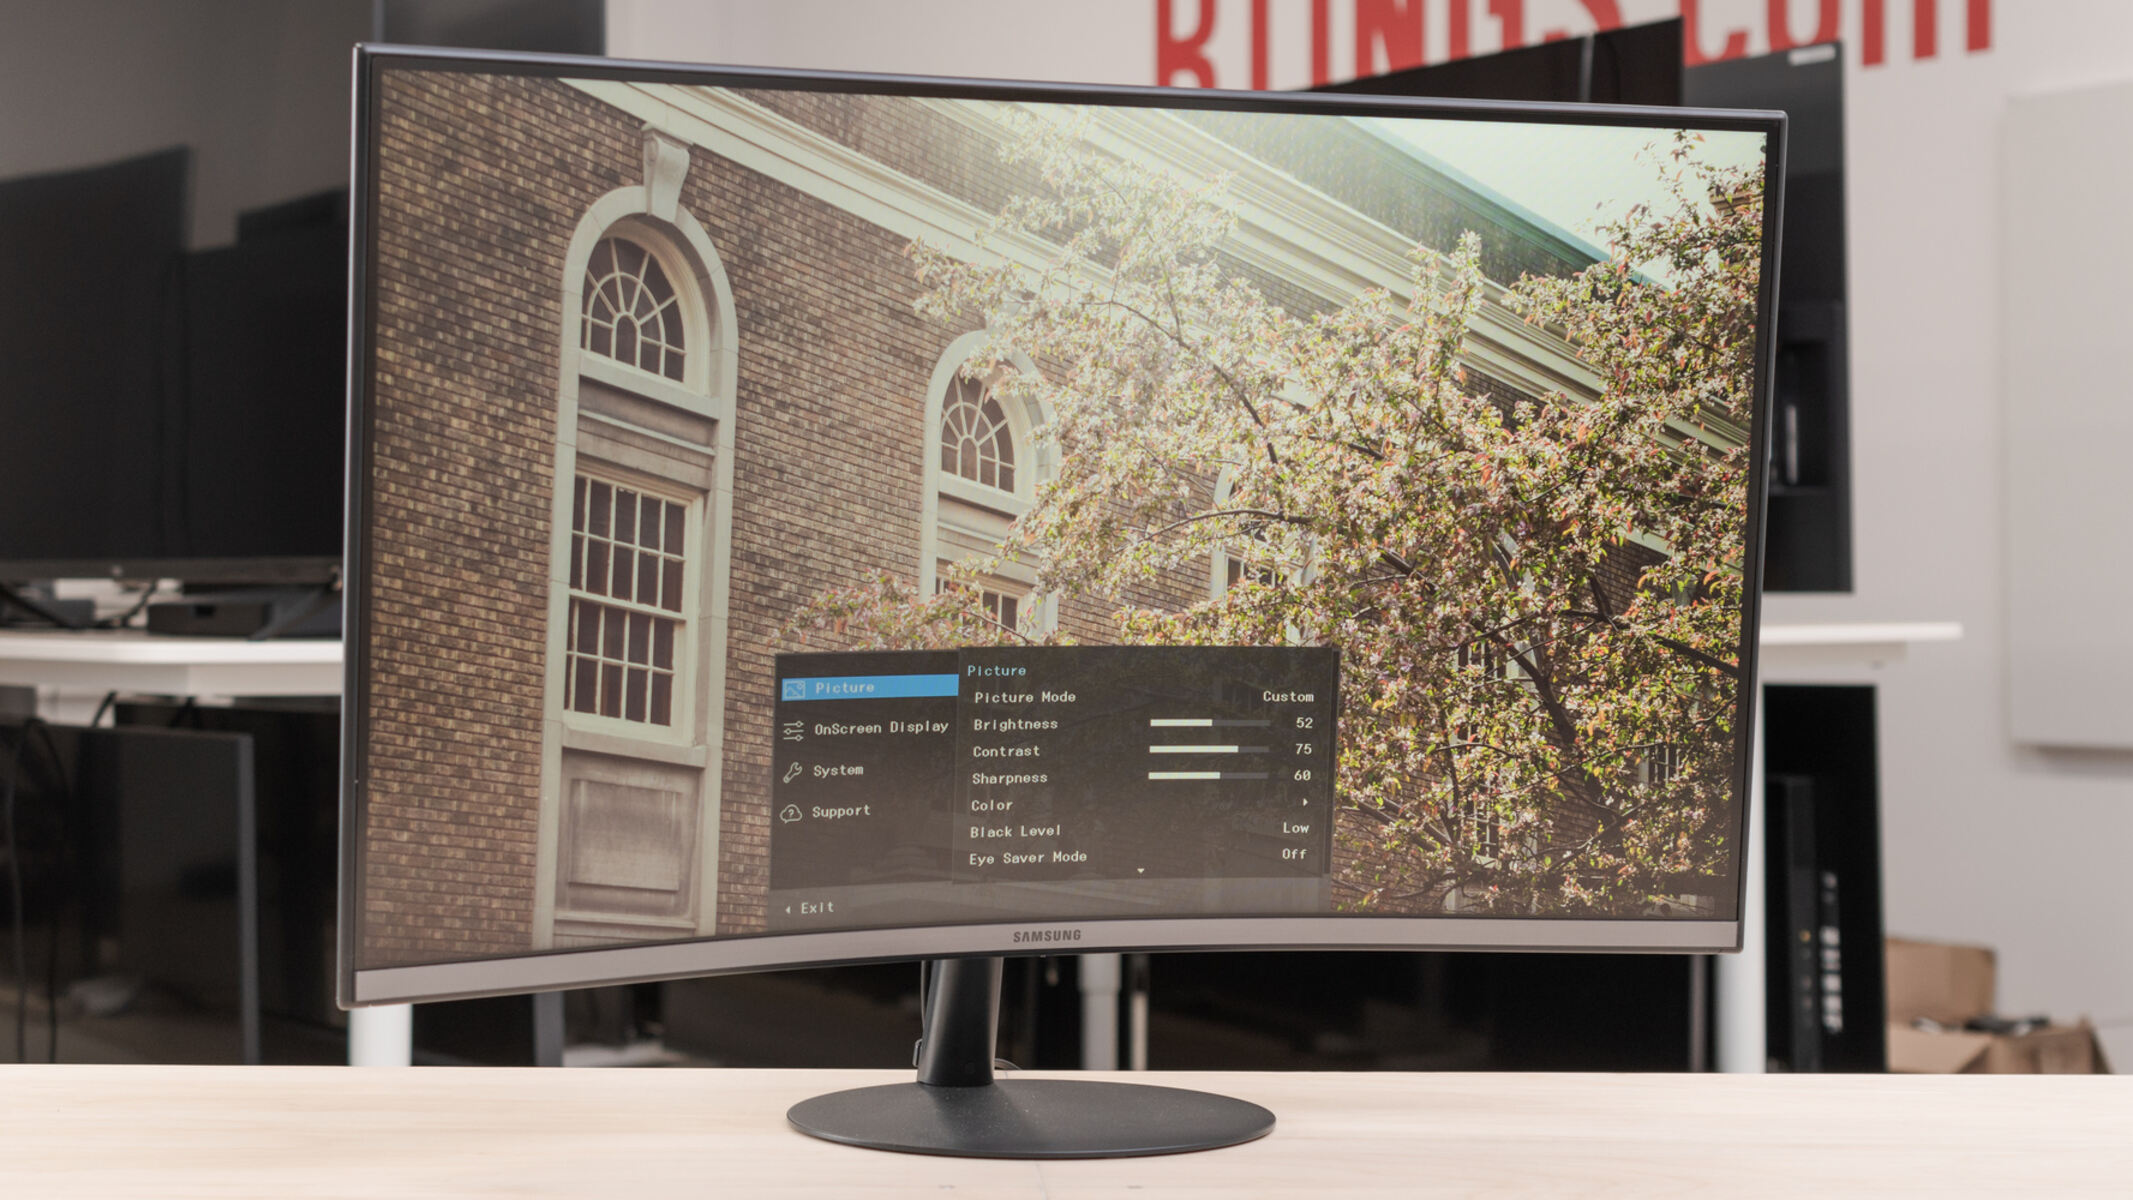
Step 6: Adjust the display settings if needed
After connecting and powering on your monitor, you may need to adjust the display settings to ensure optimal visual quality and usability. Here are some common settings you might consider:
- Resolution: The resolution determines the number of pixels displayed on the screen and affects the clarity and sharpness of the images. To adjust the resolution, right-click on the desktop and select “Display settings” or “Screen resolution” (Windows) or go to “System Preferences” > “Displays” (Mac).
- Orientation: By default, most monitors are set to landscape orientation. However, you can rotate the screen if desired. In the display settings, look for an option to rotate the display, usually labeled as “Orientation.”
- Refresh rate: The refresh rate refers to how many times the image on the screen refreshes per second. Higher refresh rates can result in smoother motion and reduce eye strain. This setting is usually found in the advanced display settings.
- Color Calibration: Adjusting color settings can enhance the accuracy and vibrancy of the on-screen colors. Look for options related to color calibration, gamma, or color profiles in the display settings.
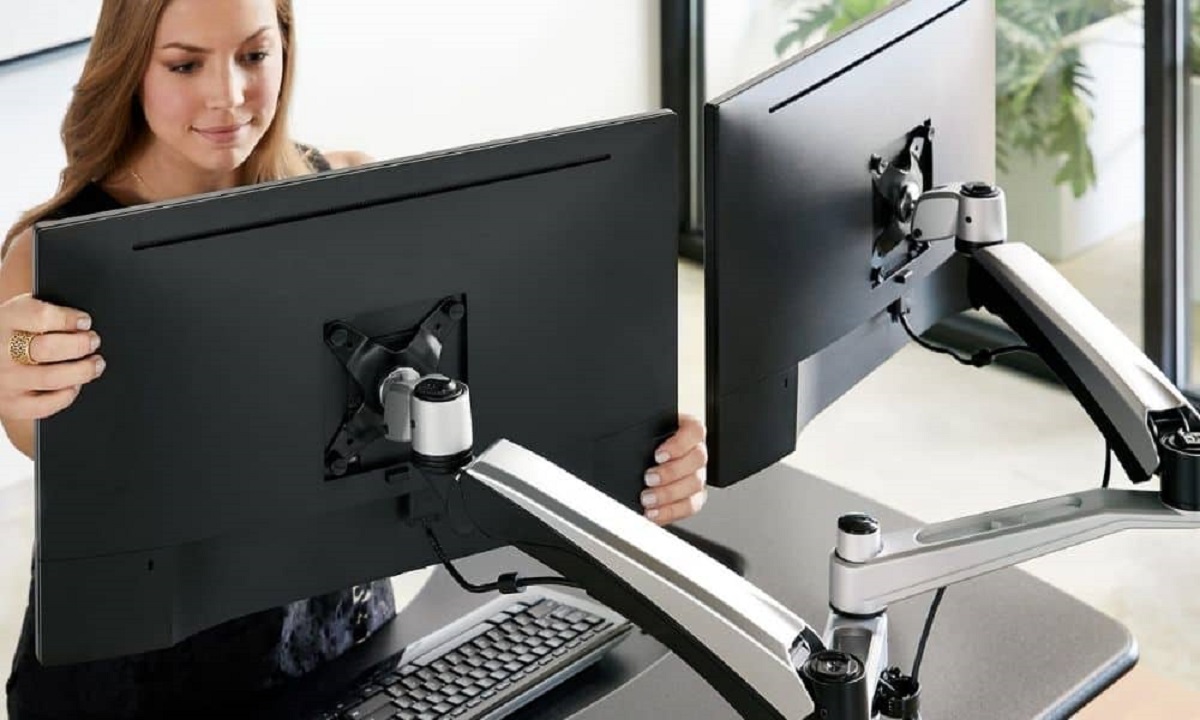
- Multiple Monitors: If you have connected multiple monitors, you may want to configure the arrangement, orientation, and relative positions of the screens. The display settings should offer options to customize these settings.
It’s worth mentioning that the availability of specific display settings may vary depending on your operating system, graphics card, and monitor model. Consult the help documentation or the user manual for detailed instructions related to your setup.
Once you have adjusted the display settings to your preference, take a moment to test different applications and media to ensure that everything is displayed correctly and functions smoothly. If you encounter any issues, revisit the display settings and make further adjustments if necessary.
Congratulations! You have successfully connected and set up your monitor with your PC. Enjoy your new and improved display experience!
Conclusion
Connecting a monitor to your PC is a fundamental process that can greatly enhance your computing experience. By following the steps outlined in this guide, you can ensure a proper and secure connection, resulting in a larger, more immersive display.
We began by checking the connectors on both the computer and the monitor to ensure compatibility. Then, we gathered the necessary cables and adapters to establish a proper connection. We then turned off the computer and unplugged it to create a safe environment for working on the connections.
Next, we connected the monitor to the computer, carefully aligning the connectors and ensuring a secure connection. Once everything was connected, we turned on both the computer and the monitor, allowing them to establish a video signal.
If needed, we adjusted the display settings to optimize the visual quality and usability of the monitor. This included adjusting the resolution, orientation, refresh rate, color calibration, and configuring multiple monitors, if applicable.
Remember, troubleshooting is a normal part of the process. If your monitor does not display a video signal, double-check the connections and consult the user manual or manufacturer’s troubleshooting guides if needed.
With the monitor successfully connected and set up, you can now enjoy the benefits of a larger screen, improved productivity, and an enhanced multimedia experience.
Thank you for following this guide. We hope it has been helpful in connecting your monitor to your PC. Happy computing!