Introduction
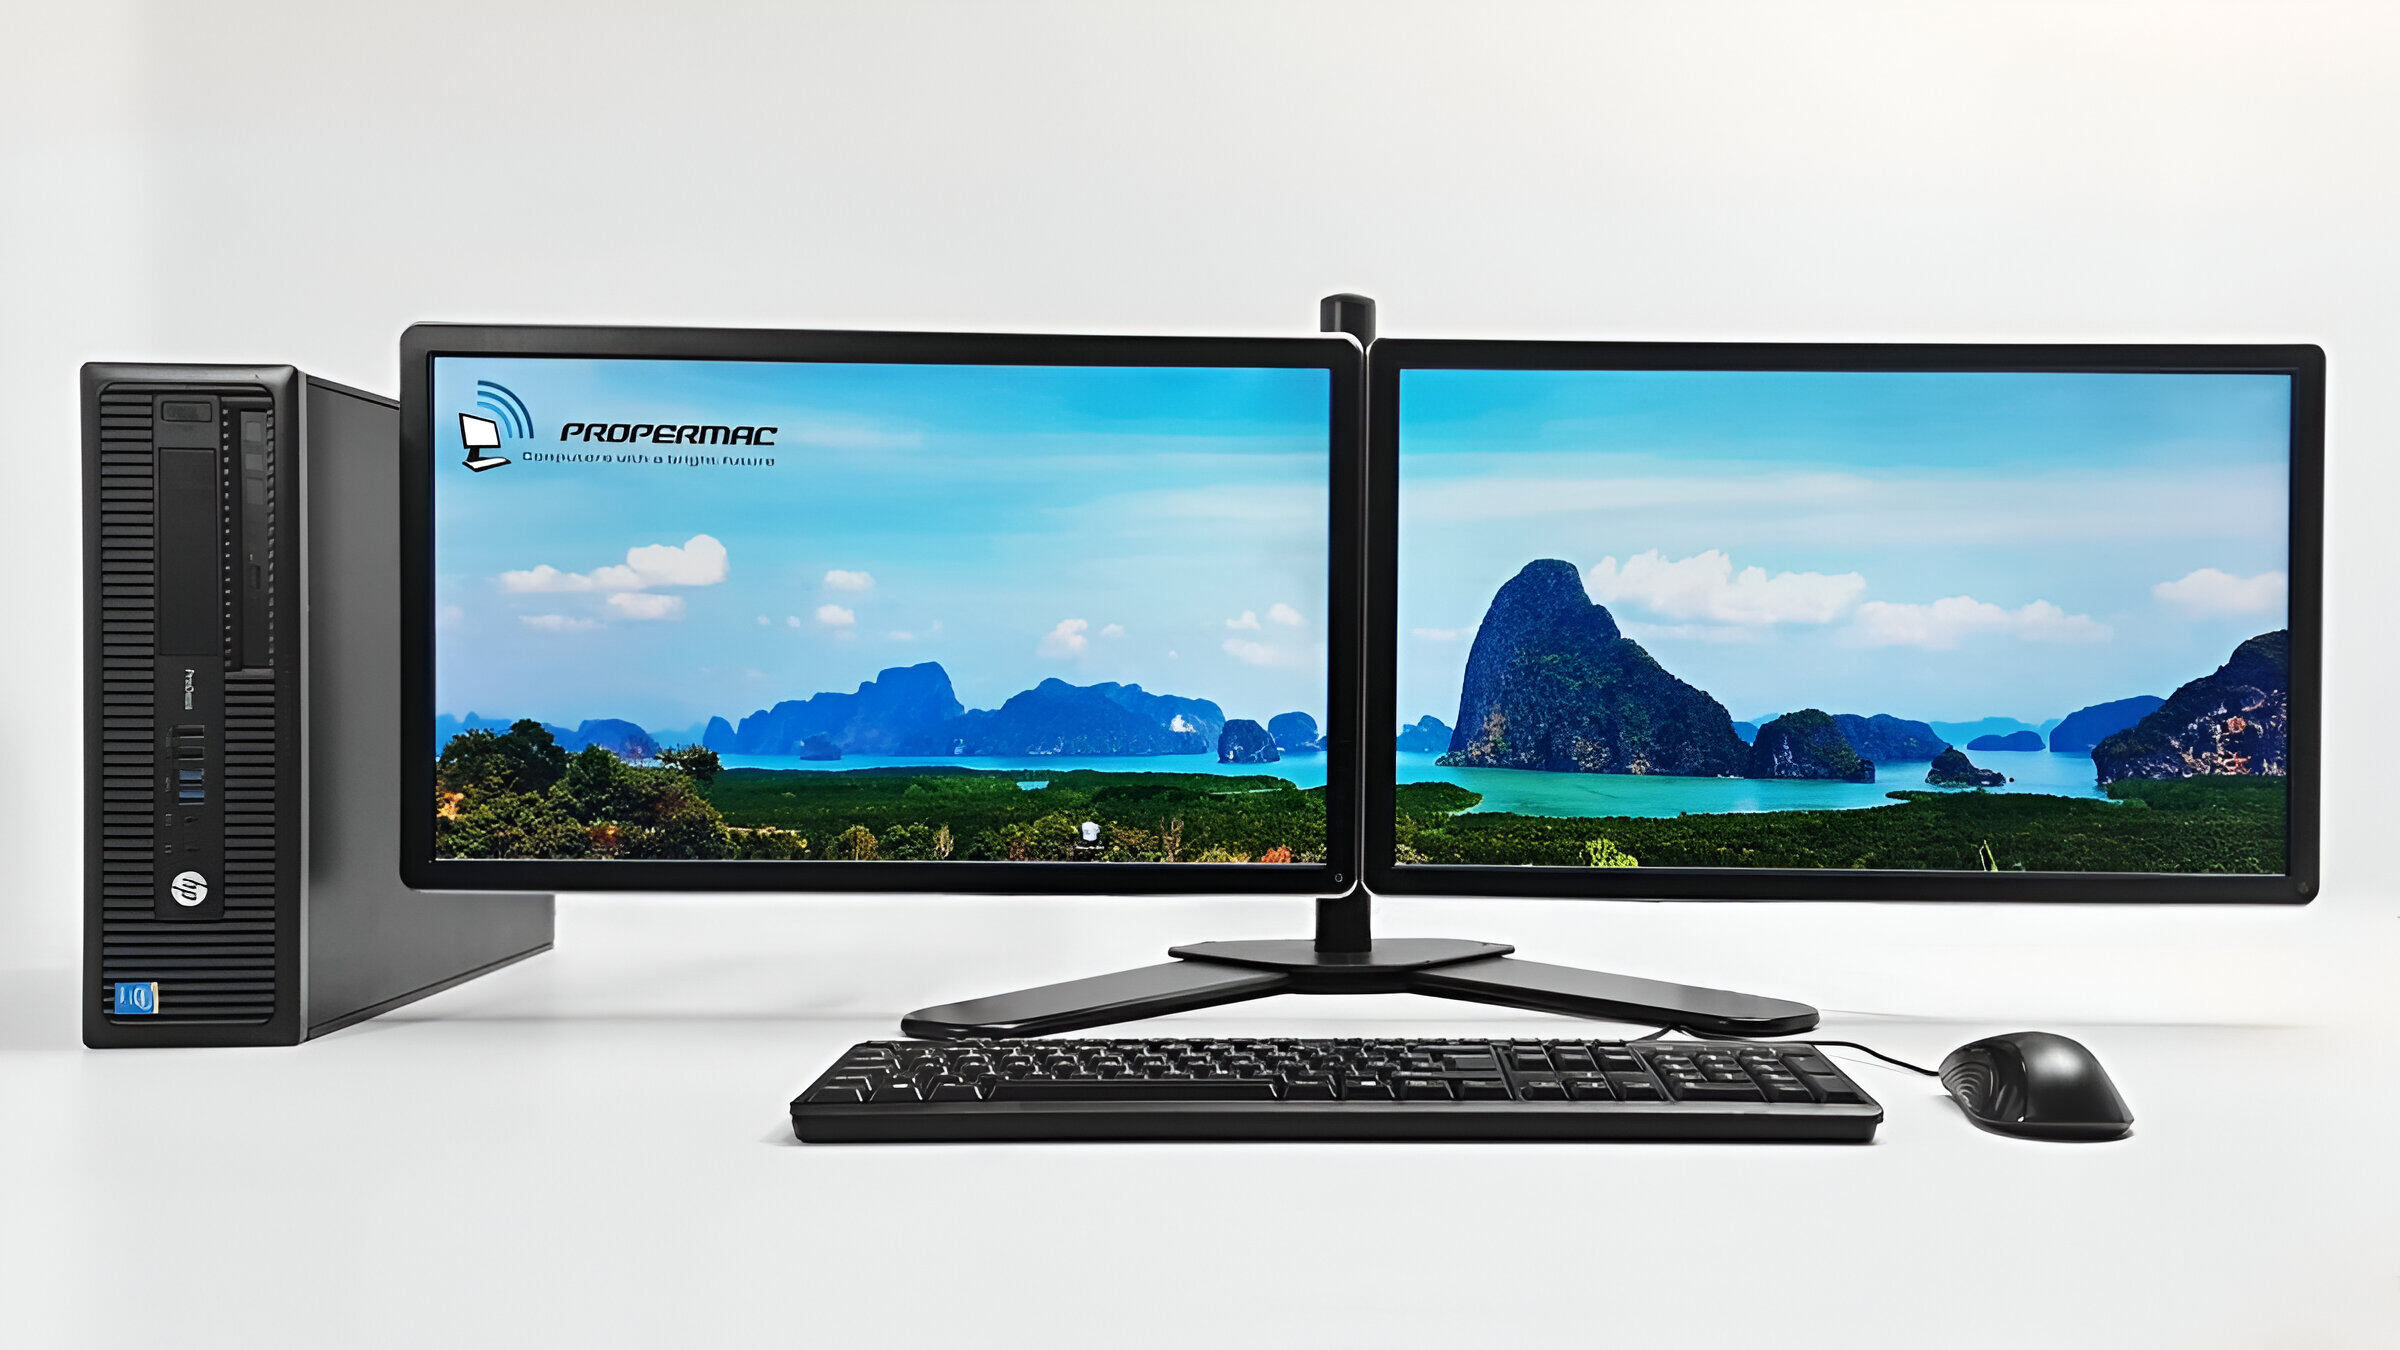
Welcome to the world of dual monitors! Adding a second monitor to your PC can significantly enhance your productivity, allowing you to have more screen real estate for multitasking and improving your overall workflow. Whether you’re a professional who needs the extra space for video editing or a gamer who wants a wider field of view, connecting a second monitor to your PC can be incredibly beneficial.
In this guide, we will walk you through the process of connecting a second monitor to your PC and configuring the display settings. We’ll also provide some tips and troubleshooting advice to ensure you have the best dual monitor setup possible.
Before we dive in, it’s important to note that the specific steps may vary slightly depending on your operating system and the hardware you’re using. However, the general process remains the same, so you can easily adapt the instructions to your setup.
So, whether you’re a seasoned tech enthusiast or a beginner exploring the world of dual monitors, let’s get started and learn how to connect a second monitor to your PC!
Preparing your PC and monitors
Before you can connect a second monitor to your PC, there are a few things you need to do to ensure a successful setup. Follow these steps to prepare your PC and monitors:
- Check your PC’s hardware: Make sure your computer has the necessary ports to connect a second monitor. Most modern PCs have at least one HDMI or DisplayPort output. If your PC doesn’t have the required ports, you may need to use an adapter.
- Check your second monitor: Take a look at your second monitor and identify the available input ports. Common options include HDMI, DisplayPort, DVI, and VGA. You’ll need to ensure that your PC’s video output matches one of the input ports on the second monitor.
- Identify your monitor cables: Depending on the ports available on your PC and second monitor, you’ll need the appropriate cables to connect them. For example, if both your PC and monitor have HDMI ports, you’ll need an HDMI cable. If the ports are different, you may need an adapter or a different cable type.
- Arrange your workspace: Decide where you want to place your second monitor and make sure you have enough desk space. Consider using a monitor stand or an adjustable arm to position the screen at an optimal height and angle.
- Ensure your PC and monitors are powered off: Before making any connections, shut down your PC and turn off both monitors. This will prevent any potential issues when plugging in the cables.
Once you’ve completed these steps, you’re ready to move on to the next section and connect your second monitor to your PC. Make sure to double-check that you have all the necessary cables and adapters before proceeding.
Connecting the second monitor to your PC
Now that you’ve prepared your PC and monitors, it’s time to connect the second monitor to your PC. Follow these steps to establish a physical connection:
- Turn off your PC and monitors: Before making any connections, ensure that your PC and both monitors are powered off.
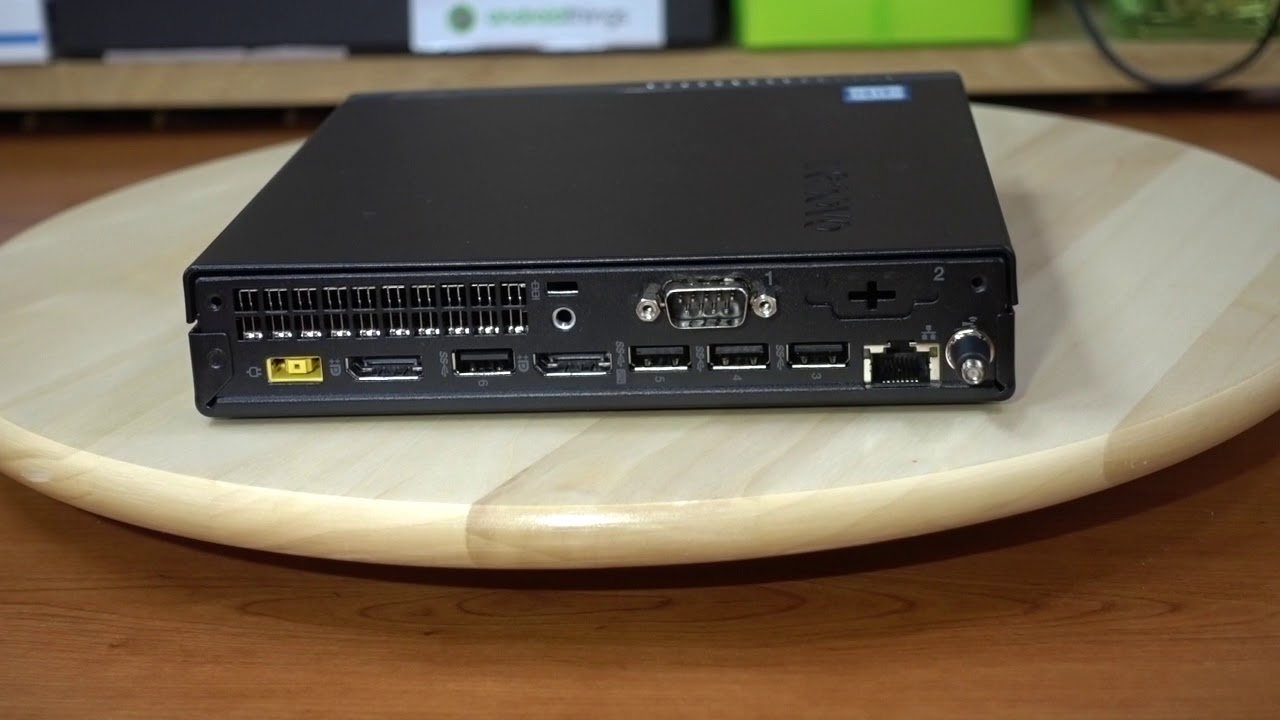
- Locate the video ports on your PC: Depending on your PC’s hardware, you’ll find the video output ports on the back or side of the CPU case or on the back of a laptop. The most common video output ports are HDMI, DisplayPort, DVI, and VGA.
- Connect the cable to your PC: Take the appropriate cable for your setup (e.g., HDMI, DisplayPort) and connect one end to the corresponding video port on your PC.
- Locate the video input ports on your second monitor: On the back of your second monitor, find the video input ports. This is where you’ll connect the other end of the cable.
- Connect the cable to your monitor: Take the free end of the cable and plug it into the matching input port on your second monitor.
- Secure the connection: Ensure that both ends of the cable are securely plugged in. Depending on the type of cable and port, you may need to tighten screws or push down to lock the connection in place.
- Power on your PC and monitors: After connecting the second monitor, turn on your PC and then power on both monitors. Your computer should detect the new monitor and may automatically configure the display settings. If not, you’ll need to proceed to the next section to configure the display settings manually.
Congratulations! You’ve successfully connected the second monitor to your PC. Now it’s time to configure the display settings and optimize your dual monitor setup, which we’ll cover in the next section.
Configuring display settings
Once you have connected the second monitor to your PC, you will need to configure the display settings to ensure both monitors are working correctly. Follow these steps to configure the display settings:
- Right-click on your desktop: Start by right-clicking anywhere on your desktop to open the context menu.
- Select “Display settings”: From the context menu, click on “Display settings” to open the display settings panel.
- Identify the second monitor: In the display settings panel, you will see a visual representation of your monitors. Identify the second monitor and click on it.
- Adjust the display mode: Under the “Multiple displays” section, choose the desired display mode. The available options are:
- Extend these displays: This mode allows you to have separate desktops on each monitor, effectively extending your workspace.
- Duplicate these displays: In this mode, both monitors will display the same content. It is useful for presentations or when you want to mirror your screen.
- Show only on 1 or 2: This mode allows you to use only one of the monitors, effectively disabling the other.
- Adjust the display order and orientation: If needed, you can rearrange the monitors by clicking and dragging them in the display settings panel. You can also adjust their orientation (landscape or portrait) by selecting the monitor and clicking the dropdown under “Orientation”.
- Set the resolution: Under each monitor, you can select the desired resolution from the dropdown menu. Choose the resolution that provides the best visual experience for each monitor.
- Apply the changes: Once you have made all the necessary adjustments, click the “Apply” button to save the changes. The monitors should now display according to your configuration.
Take some time to explore and experiment with different display settings to find the layout and configuration that works best for you. You can always revisit the display settings panel to make further adjustments as needed.
With the display settings configured, you’re ready to start using your dual monitor setup. Let’s now move on to the next section, where we’ll discuss some tips on adjusting and optimizing your dual monitor experience.
Adjusting and optimizing your dual monitor setup
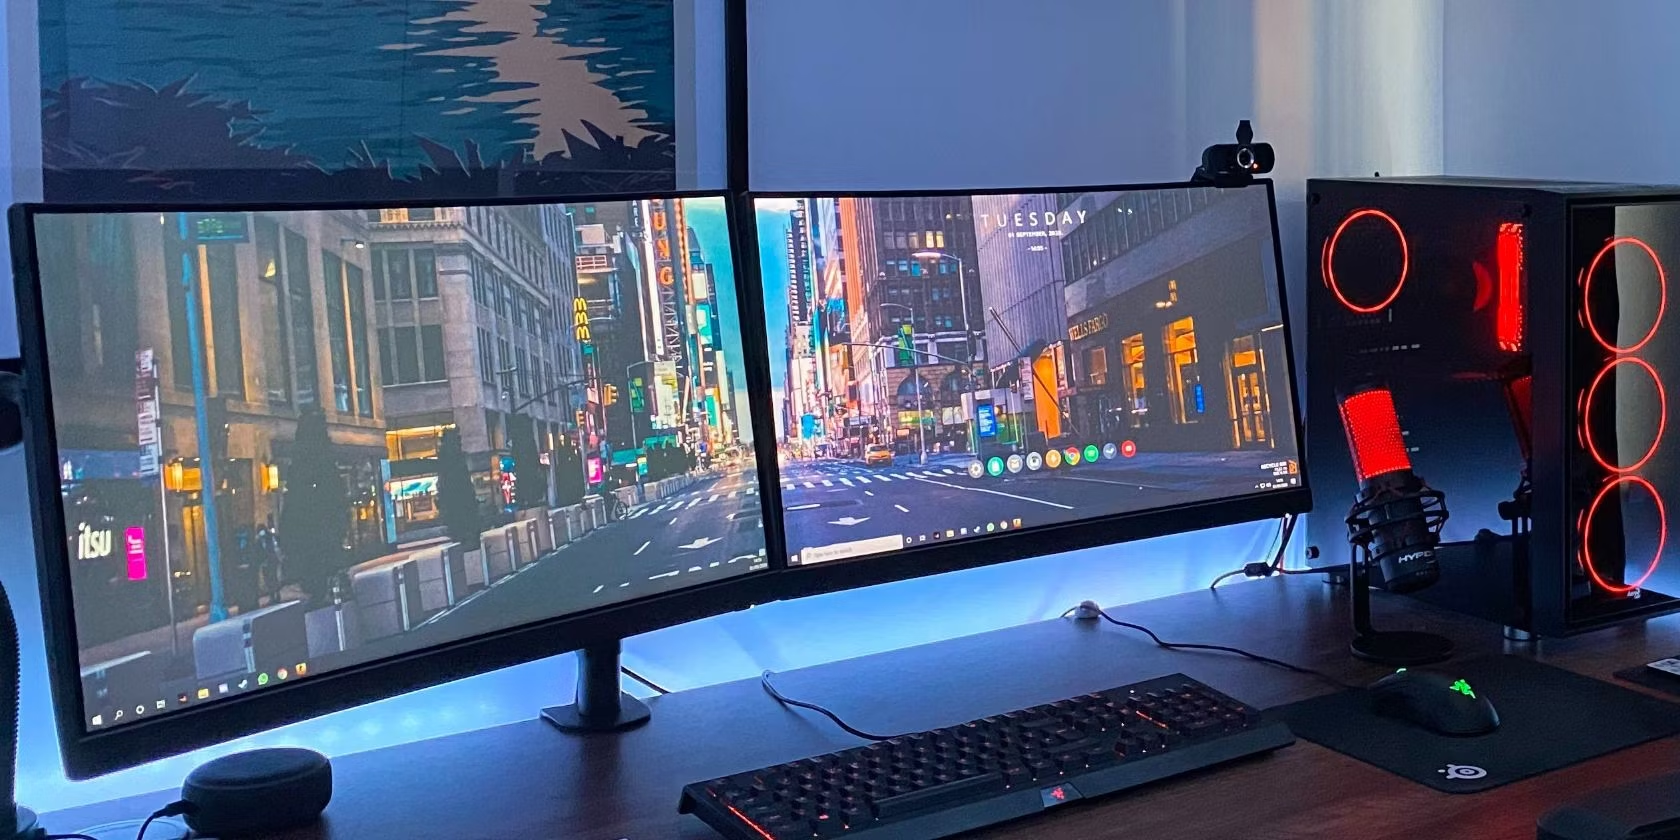
Now that you have connected and configured your dual monitor setup, it’s time to make some adjustments and optimizations to ensure the best viewing experience. Here are some tips to help you get the most out of your dual monitor setup:
- Positioning: Arrange your monitors in a way that feels comfortable and ergonomic. You may want to align them at eye level or slightly tilted upwards to reduce strain on your neck and back. Experiment with the positioning until you find what works best for you.
- Resolution and scaling: It’s important to ensure that both monitors have the same resolution and scaling settings. Mismatched resolutions may result in elements appearing differently on each screen. Adjust the settings in the display settings panel to ensure a consistent viewing experience.
- Taskbar placement: Decide where you want your taskbar to be located. You can have it appear on both monitors or choose to have it on one monitor only. Right-click on the taskbar, go to “Taskbar settings,” and adjust the “Multiple displays” options according to your preference.
- Window management: Make use of window management shortcuts and features to simplify your workflow across multiple displays. For example, you can use the Windows key + arrow keys to quickly move windows between monitors or maximize them to fill a specific screen.
- Customize backgrounds: Spice up your dual monitor setup by setting different wallpapers or using a dual-monitor wallpaper that spans across both screens. This can add a personal touch and enhance the visual appeal of your workspace.
- Utilize virtual desktops: Consider utilizing virtual desktops to further enhance your productivity. Virtual desktops allow you to have different sets of applications and windows open on each monitor, effectively organizing your workspaces for different tasks or projects.
- Experiment and customize: Play around with various settings, configurations, and software applications that optimize dual monitor usage. There are many third-party tools available that provide additional features and functionality to enhance your dual monitor experience.
By making these adjustments and optimizations, you can create a seamless and efficient workflow across your dual monitors. Take the time to experiment and find the setup that suits your needs and preferences best.
In the next section, we will address some of the common issues that you might encounter with your dual monitor setup and provide troubleshooting tips to help you resolve them.
Troubleshooting common issues
While setting up and using dual monitors can be a straightforward process, you may encounter some common issues along the way. Here are a few troubleshooting tips to help you resolve these problems:
- No display on the second monitor: If you’re not getting any signal or display on your second monitor, check the cable connections and ensure they are securely plugged in. Also, verify that the correct input source is selected on the second monitor. Try disconnecting and reconnecting the cable, or using a different cable altogether.
- Mismatched resolutions or scaling: If the resolution or scaling is different between your monitors and causing alignment or sizing issues, adjust the display settings to match the resolutions and scaling on both monitors. This will ensure a consistent viewing experience across both screens.
- Windows not maximizing or spanning correctly: If windows are not maximizing or spanning across both monitors correctly, try using the Windows key + arrow keys to snap the windows to the desired position. You can also check the window’s settings or options to see if there are any specific display preferences or configurations that need to be adjusted.
- Taskbar appearing on the wrong monitor: If the taskbar is not showing up on the desired monitor, right-click on the taskbar, go to “Taskbar settings,” and adjust the “Multiple displays” options to choose the monitor where you want the taskbar to appear.
- Incompatible or outdated graphics drivers: Outdated graphics drivers can cause compatibility issues with your dual monitor setup. Make sure to check for updates from your graphics card manufacturer’s website and install the latest drivers to ensure optimal performance and compatibility.
- Issues with display refresh rate: If you notice flickering or lag on one of your monitors, it may be due to a mismatch in the display refresh rates. Go to the display settings and ensure that the refresh rates are the same for both monitors. If needed, adjust the settings to match the maximum refresh rate supported by your displays.
If you are still experiencing issues with your dual monitor setup that are not addressed here, it may be helpful to consult online forums or reach out to technical support for further assistance. Remember to provide as much detail as possible about your setup and the specific issue you are encountering to help facilitate an accurate diagnosis.
Now that you are armed with troubleshooting tips, you can overcome common issues and enjoy a seamless dual monitor experience.
Conclusion
Congratulations! You’ve successfully learned how to connect and set up a second monitor for your PC. By following the steps in this guide, you have expanded your screen real estate and unlocked the potential for increased productivity and an enhanced computing experience.
From preparing your PC and monitors to configuring display settings, you have gained the knowledge needed to create a seamless dual monitor setup. By adjusting and optimizing your setup, you can further personalize your workspace and streamline your workflow.
Remember, troubleshooting common issues may arise, but armed with the tips provided in this guide, you can confidently overcome any obstacles that come your way. Whether it’s adjusting resolutions, fixing display discrepancies, or updating drivers, you have the tools to troubleshoot and resolve these issues.
Now that you’re equipped with the know-how, take the time to explore and experiment with your dual monitor setup. Discover the benefits of having more screen space, improved multitasking capabilities, and greater efficiency in your work or play.
Thank you for taking the time to read this guide on connecting a second monitor to your PC. We hope that it has been informative and helpful in your journey to optimize your computing experience. Embrace the power of dual monitors and unlock new levels of productivity!