Accessories for Your PC Case
When it comes to optimizing the extra space in your PC case, there are various accessories that you can consider. These accessories not only enhance the functionality of your case but also add a touch of customization and style. Let’s take a look at some of the accessories you can utilize:
- Cable Management Solutions: One of the most common issues in PC builds is cable clutter. Investing in cable management accessories, such as cable ties, cable clips, and cable sleeves, can greatly help in organizing and tidying up the cables within your case. This not only improves airflow but also makes upgrades and maintenance tasks much easier.
- Additional Fans or Liquid Cooling Systems: If you are looking to improve the cooling capabilities of your PC, consider adding extra fans or upgrading to a liquid cooling system. This will help to maintain optimal temperatures for your components, ensuring better performance and longevity.
- Extra Storage Options: If you find that you need more storage space for your files, games, or media, utilizing the extra case space to install additional storage drives can be a great solution. Consider adding extra HDDs or SSDs to expand your storage capacity.
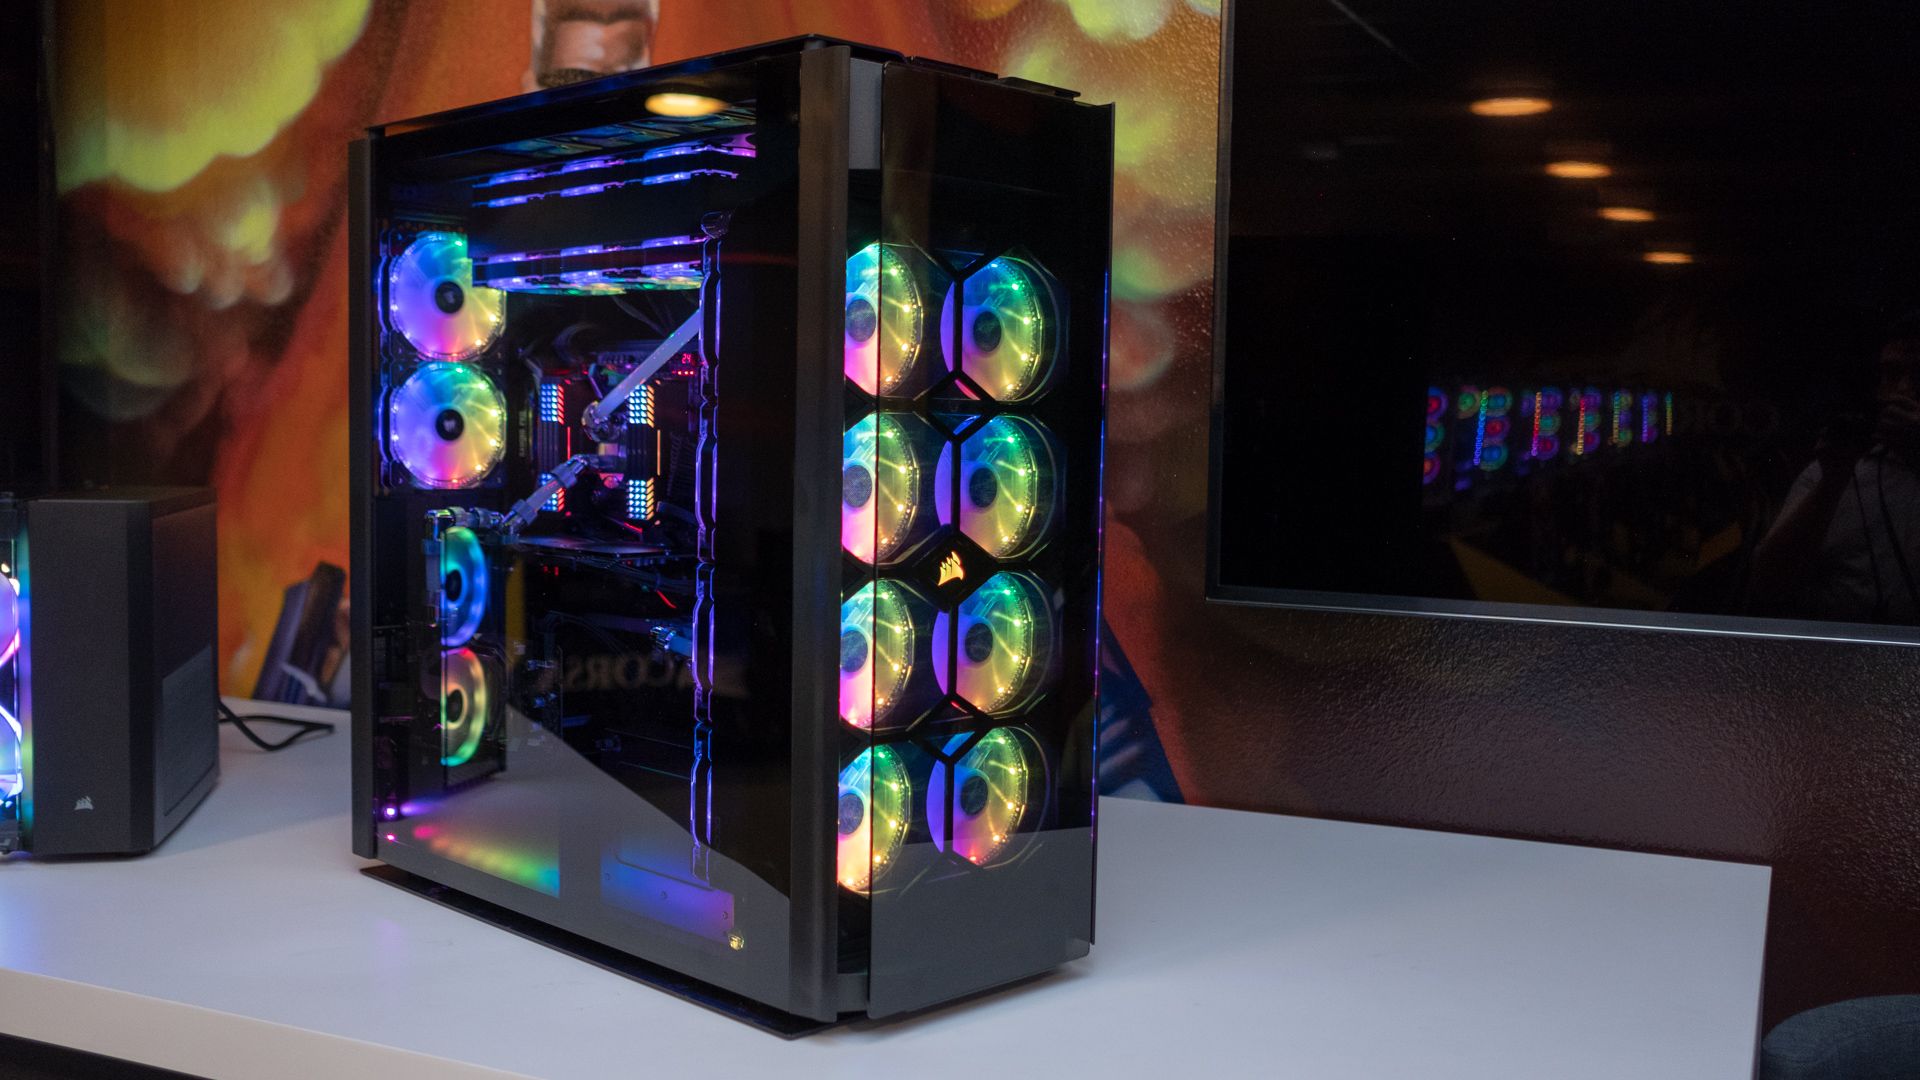
- Fan Controller or RGB Lighting System: To add a touch of personalization and aesthetic appeal to your PC build, you can opt for accessories like a fan controller or RGB lighting system. These accessories allow you to control the speed of your fans or add vibrant lighting effects to your case.
- Custom Water Cooling Loop: For PC enthusiasts who are looking to take their cooling solution to the next level, a custom water cooling loop can be a viable option. This involves installing a water block, radiator, pump, and tubing, allowing for efficient and silent cooling of your components.
- Second Power Supply Unit: If you have power-hungry components or if you plan on building a multi-GPU system, installing a second power supply unit can provide the necessary power output. This ensures stability and prevents power overload.
- Secondary PC Build: If you have ample space within your PC case, you can consider building a secondary PC. This allows you to have two separate systems in one case, providing flexibility and convenience for different use cases.
With these accessories, you can make the most out of the extra space in your PC case. Whether it’s for cable management, cooling improvements, additional storage, or personalization, these accessories offer a range of options to enhance your PC build. Explore these possibilities and transform your PC case into a system that meets your specific needs and preferences.
Utilizing the Extra Space for Cable Management
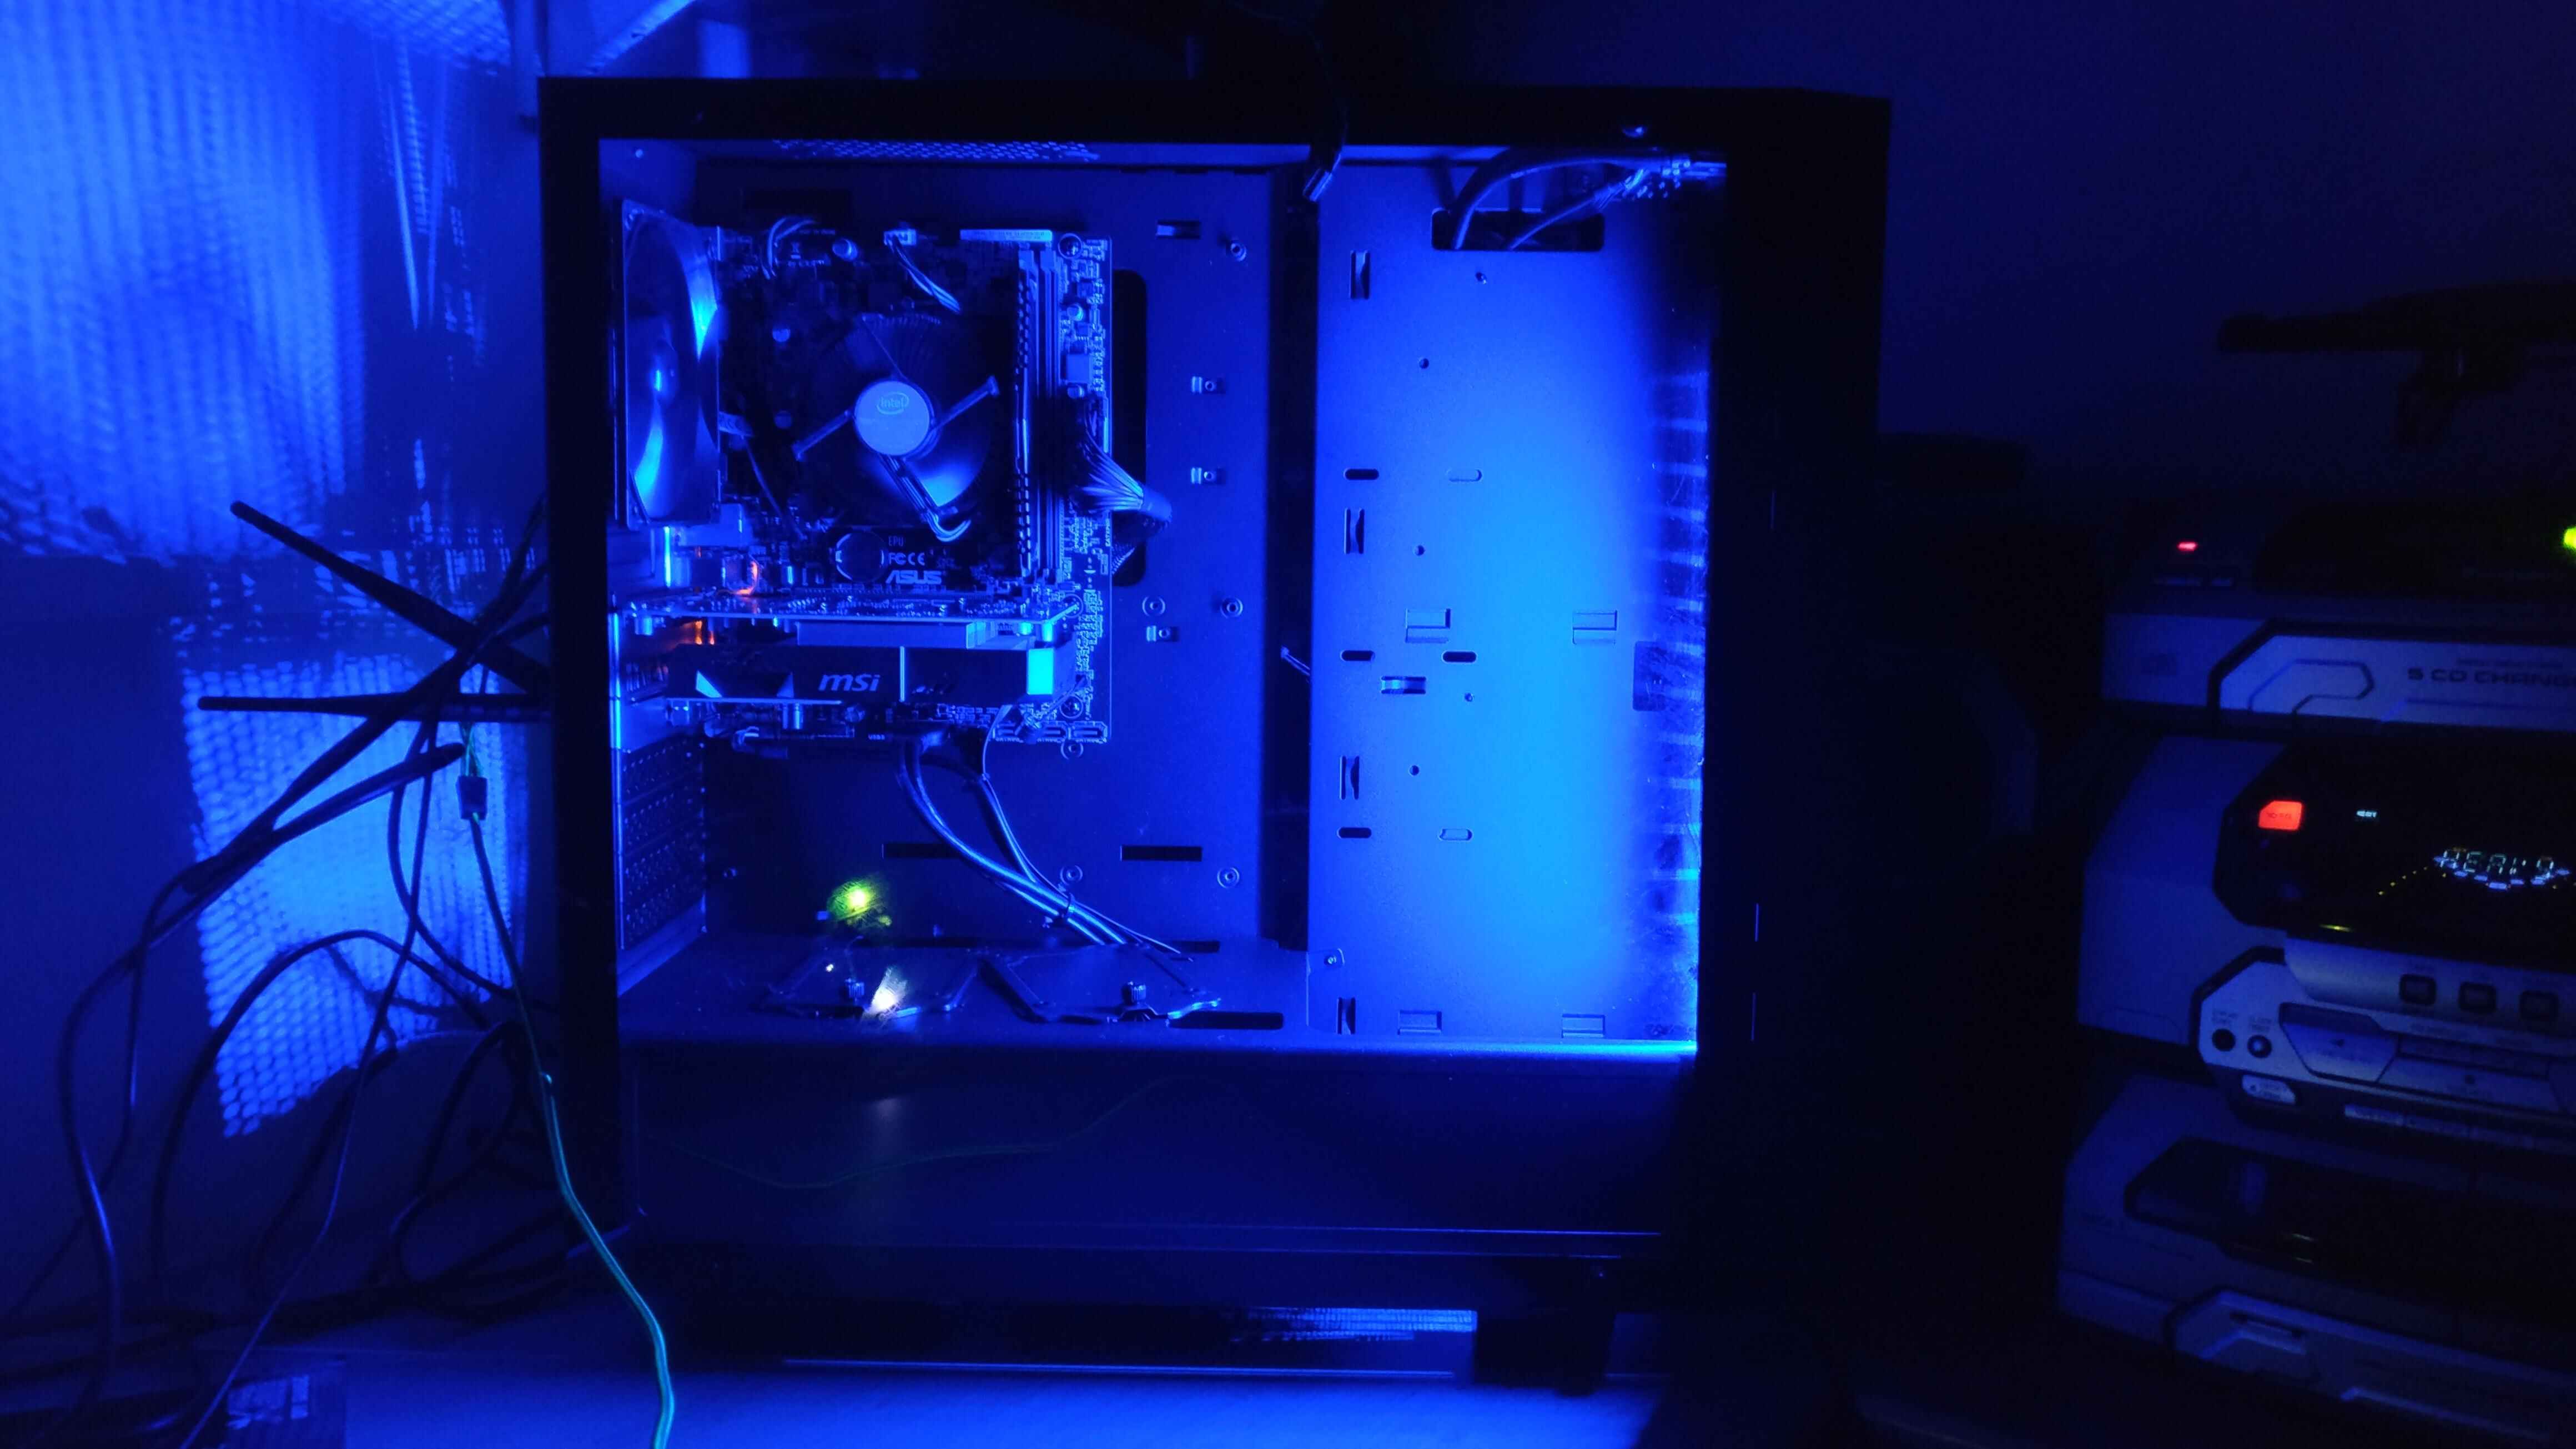
Effective cable management is crucial in any PC build to maintain proper airflow, improve aesthetics, and make future upgrades or maintenance easier. If you have extra space in your PC case, you can utilize it to optimize cable management. Here are some ways to do it:
1. Cable Routing: Use the extra space to neatly route and organize your cables. Start by identifying the main cable routes and securing them using cable ties or adhesive clips. This will prevent them from obstructing airflow or tangling with other components.
2. Cable Sleeving: Consider using cable sleeves to cover and bundle your cables together. This not only provides a cleaner and more streamlined look but also helps to prevent cables from snagging on components. You can choose from a variety of colors and patterns to match your build’s theme.
3. Cable Combs: Cable combs are handy accessories that help to align and separate individual cables, creating a more organized and professional-looking cable layout. These small plastic combs can be easily inserted into cable sleeves or plastic cable management channels, keeping your cables neatly aligned.
4. Cable Extensions: If you want to add a touch of style to your build, consider using cable extensions. These extensions are longer than standard cables and come in various colors, allowing you to replace your existing cables or add extensions for a more visually appealing cable management solution.
5. Cable Management Accessories: There is a wide range of cable management accessories available, such as cable clips, adhesive cable holders, and hook-and-loop fasteners. These accessories can be used to secure cables to the case’s interior, further enhancing cable management and reducing clutter.
6. Custom Cable Lengths: Another option is to invest in custom-made cables that are tailored to the exact length you need. This eliminates excess cable length and reduces cable clutter, resulting in a cleaner and more efficient cable management solution.
By utilizing the extra space in your PC case for cable management, you can achieve a more organized and visually appealing build. Not only will this enhance the overall aesthetics, but it will also improve airflow and make future upgrades or maintenance much simpler. Take the time to carefully manage your cables, and you’ll enjoy a tidier and more efficient PC setup.
Installing Additional Fans or Liquid Cooling Systems
If you find that your PC is running hotter than desired or if you simply want to improve the cooling performance, utilizing the extra space in your PC case to install additional fans or a liquid cooling system can be a game-changer. Here’s how you can do it:
1. Additional Fans: The most straightforward option is to install extra fans in your PC case. Depending on the available space, you can add intake or exhaust fans to improve the airflow and maintain lower temperatures. Consider the size and compatibility of your case when choosing new fans.
2. Fan Placement: To optimize cooling efficiency, strategically place the additional fans. Intake fans should be positioned at the front or side of the case, while exhaust fans should be mounted at the rear or top. This setup ensures a continuous flow of cool air into the case and the expulsion of hot air.
3. Liquid Cooling Systems: If you’re looking for even more advanced cooling capabilities and a quieter operation, consider investing in a liquid cooling system. This involves installing a radiator, water block, pump, and tubing to circulate a cooling liquid (usually water or a coolant) throughout your PC. Liquid cooling provides excellent heat dissipation, allowing for more effective cooling than air alone.
4. Radiator Placement: When installing a liquid cooling system, you’ll need to determine the placement of the radiator. Typically, radiators are mounted at the front, top, or rear of the case. Ensure that your case has enough space to accommodate the radiator and fans, and make sure to follow the manufacturer’s instructions for proper installation.
5. Consider All-in-One (AIO) Solutions: If you are new to liquid cooling or prefer a hassle-free setup, you can opt for an All-in-One (AIO) liquid cooler. These are pre-assembled units with a self-contained loop, making installation easier while still offering excellent cooling performance.
6. Fan and Pump Control: To fine-tune cooling performance, consider using fan and pump control software or hardware. This allows you to adjust fan speeds and pump speeds, achieving a balance between cooling performance and noise levels.
By installing additional fans or a liquid cooling system, you can significantly improve the cooling capabilities of your PC. This helps to keep your components running at optimal temperatures, resulting in better performance and increased longevity. Take the time to carefully plan the fan placements or research the appropriate liquid cooling solution for your case, and enjoy a cooler and more efficient PC build.
Adding More Storage Options
If you find yourself running out of storage space for your digital files, games, or media, utilizing the extra space in your PC case to add more storage options can be a practical solution. Here are some ways you can do it:
1. Hard Disk Drives (HDDs): Consider installing additional hard disk drives in your PC case. HDDs provide ample storage capacity at an affordable price. Make sure your case has enough drive bays and compatible power and data connectors for the desired HDDs.
2. Solid-State Drives (SSDs): For faster data transfer speeds and improved performance, adding SSDs to your PC case is a great option. SSDs are available in various form factors, including 2.5-inch and M.2 drives. They are more expensive than HDDs but offer faster loading times and better overall system responsiveness.
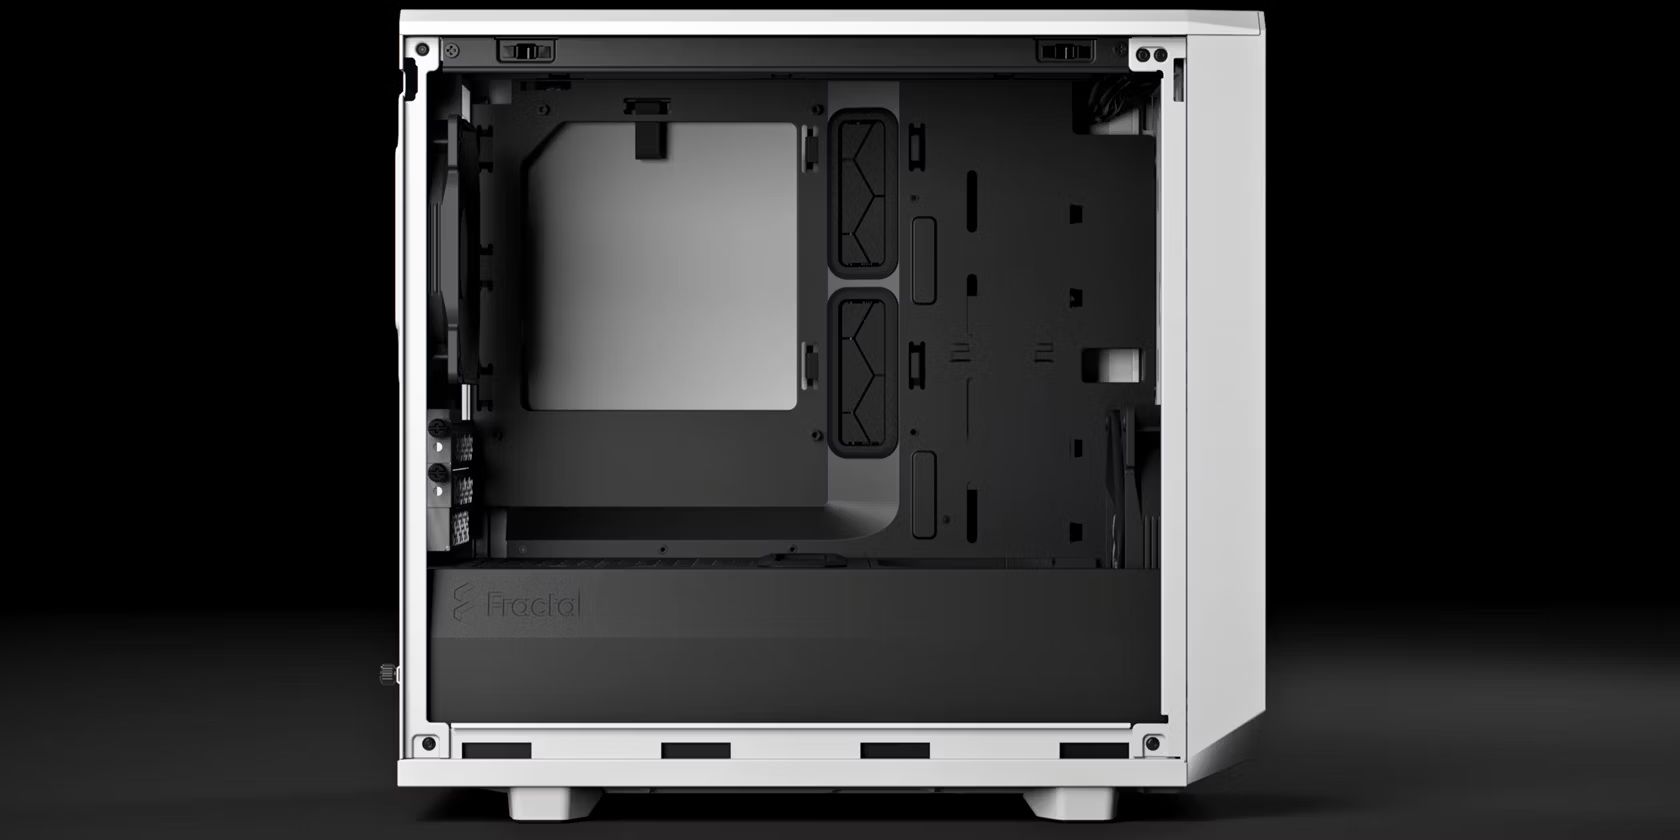
3. Storage Brackets or Cages: Some PC cases come with multiple brackets or cages that allow you to add extra storage drives. These brackets can be mounted in unused spaces, such as behind the motherboard tray or in the optical drive bays, maximizing the use of available space.
4. Storage Expansion Cards: If your motherboard has available PCIe slots, you can add storage expansion cards, such as NVMe SSD adapters. These cards allow you to install additional M.2 SSDs, expanding your storage capacity without taking up drive bays.
5. RAID Configuration: If you require a large amount of storage and improved data redundancy, you can set up a RAID (Redundant Array of Independent Disks) configuration using multiple storage drives. RAID configurations offer increased storage performance, data protection, and backup capabilities.
6. External Storage Enclosures: If you prefer flexibility and portability, external storage enclosures can be connected to your PC via USB or Thunderbolt. These enclosures allow you to add additional storage drives externally, making it easy to add or remove files as needed.
7. Network Attached Storage (NAS): Another option for expanding your storage capacity is to set up a Network Attached Storage (NAS) system. A NAS device is a dedicated server connected to your local network, providing centralized storage that can be accessed by multiple devices.
By adding more storage options to your PC case, you can ensure you have enough space to store your growing collection of files and games. Whether you choose traditional HDDs, fast SSDs, or explore alternative solutions like external enclosures or NAS systems, expanding your storage capacity allows for a more organized and efficient digital storage solution.
Integrating a Fan Controller or RGB Lighting System
If you’re looking to add a touch of personalization and style to your PC build, utilizing the extra space in your case to integrate a fan controller or an RGB lighting system can take your setup to the next level. Here are some ways to do it:
1. Fan Controller: A fan controller allows you to manually adjust the speed of your case fans. By integrating a fan controller into your PC case, you can fine-tune the fan speeds to achieve a balance between cooling performance and noise levels. Some fan controllers also offer additional features such as temperature monitoring and customized fan profiles.
2. RGB Lighting Strips and Fans: To add vibrant and customizable lighting effects to your PC case, consider integrating RGB lighting strips and fans. These components come with built-in LED lighting that can be controlled using software or hardware. You can choose from a wide range of colors and lighting modes to match your setup’s theme or create unique color combinations.
3. RGB Lighting Controllers: RGB lighting controllers allow you to synchronize and control multiple RGB components in your PC, including lighting strips, fans, and even RAM modules. These controllers often come with intuitive software interfaces that let you customize the lighting effects, color patterns, and brightness levels, creating a visually stunning and cohesive lighting setup.
4. Lighting Extensions: If you’re looking to expand your RGB lighting setup, consider adding lighting extensions. These extensions allow you to connect additional RGB components, such as LED strips or fans, to your existing RGB lighting system. With the extra space in your case, you can easily integrate these extensions and create more intricate lighting designs.
5. Cable Routing for Lighting: As you integrate a fan controller or RGB lighting system, take advantage of the extra space in your case to efficiently route the associated cables. Proper cable management ensures a clean and clutter-free look while keeping the cables out of the way of other components.
6. Lighting Effects and Customization: Experiment with different lighting effects and customization options available with your chosen fan controller or RGB lighting system. Create dynamic lighting animations, synchronize the lighting with music, or utilize ambient lighting features to enhance the overall atmosphere of your PC setup.
By integrating a fan controller or RGB lighting system into your PC case, you can enjoy a visually stunning and personalized build. These additions not only allow you to showcase your creativity but also create an immersive and unique experience while using your PC. Take advantage of the extra space in your case and bring your PC setup to life with vibrant lighting and customizable fan control.
Creating a Custom Water Cooling Loop
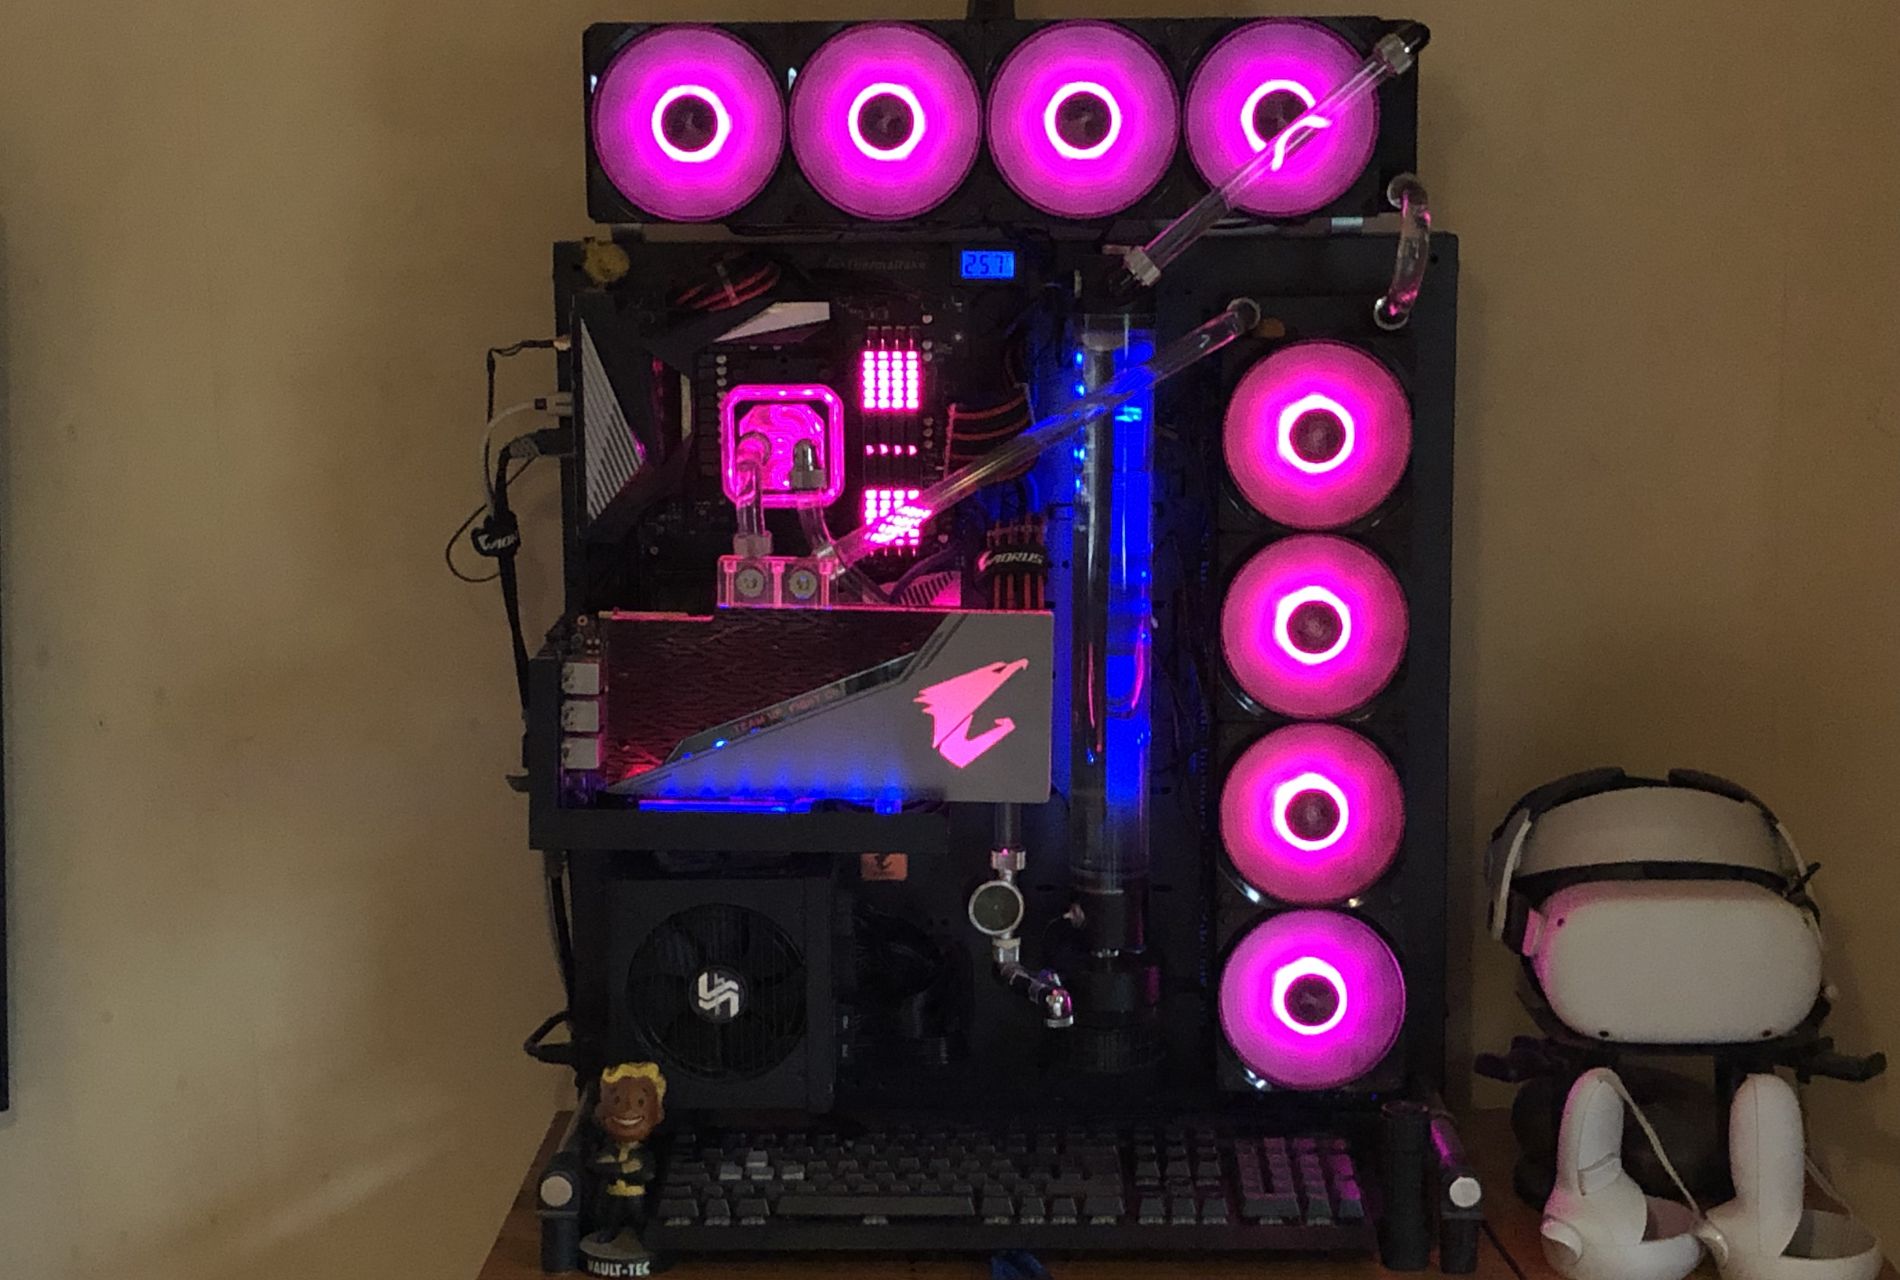
For PC enthusiasts looking to push the boundaries of cooling performance and create a visually stunning build, utilizing the extra space in your PC case to create a custom water cooling loop is an exciting option. Here’s how you can do it:
1. Water Blocks: Start by selecting compatible water blocks for your CPU and GPU. These blocks mount directly on top of the components and transfer heat away from them. Make sure to choose water blocks that are specifically designed for your specific hardware.
2. Radiator Placement: Determine the optimal placement for your radiator. The radiator is responsible for dissipating the heat absorbed by the water blocks. Common mounting options include the front, top, or rear of the case, depending on space availability and airflow considerations.
3. Pump and Reservoir: Integrate a pump and reservoir into your custom water cooling loop. The pump circulates the coolant through the system, while the reservoir stores extra coolant and ensures consistent flow. These components can be mounted in various locations within your case, based on compatibility and personal preference.
4. Tubing and Fittings: Choose high-quality tubing and fittings for your loop. There are different types of tubing available (e.g., soft or hard tubing), with various sizes and materials to choose from. Ensure proper measurements and secure connections with fittings to prevent leaks.
5. Coolants and Additives: Select a coolant that suits your style and preferences. Coolants come in various colors and can be transparent or opaque. Additionally, you can add additives such as anti-corrosion or anti-algae solutions to ensure the longevity and cleanliness of your water cooling loop.
6. Leak Testing and Maintenance: Before powering on your system, thoroughly leak test your custom water cooling loop. Fill the loop with coolant and run the pump to check for any signs of leakage. Regular maintenance, including cleaning the loop and monitoring coolant levels, is necessary to keep your system running smoothly.
7. Visualization and Aesthetics: Take advantage of the extra space in your case to enhance the visual appeal of your custom water cooling loop. Consider adding vibrant LED lighting, custom reservoir mounts, or even custom coolant colors to match your build’s overall theme.
Creating a custom water cooling loop is a complex but highly rewarding process. It allows you to achieve optimal cooling performance for your components while providing a stunning visual centerpiece for your PC build. Make sure to carefully plan and research the components and ensure compatibility with your case and hardware to create a successful and eye-catching custom water cooling loop.
Installing a Second Power Supply Unit
If you have power-hungry components or if you’re planning to build a high-performance system with multiple graphics cards, utilizing the extra space in your PC case to install a second power supply unit (PSU) can provide the necessary power output. Here’s how you can do it:
1. Determine Compatibility: Before proceeding, ensure that your PC case has enough space and mounting options to accommodate a second PSU. Additionally, check the power requirements of your components to determine the wattage and type of PSU you need.
2. Power Load Balancing: When installing a second PSU, it’s important to understand how power load balancing works. Each PSU will power specific components, so consider dividing the power load evenly between the two PSUs to avoid overload or instability.
3. PSU Connection: Connect the primary PSU to the motherboard and components as usual. For the second PSU, you’ll need to utilize its own set of power cables to connect it to the additional components that require power, such as extra graphics cards or high-power devices.
4. PSU Mounting: Install the second PSU securely in the available space in your PC case. It’s essential to ensure proper ventilation and airflow to prevent heat buildup. Consult your case’s manual or manufacturer’s guidelines for instructions on installing a second PSU.
5. Power Supply Switch: Some PC cases come with a power supply switching mechanism, allowing you to control which PSU powers the system. Alternatively, you can manually turn off the second PSU when not needed to conserve energy and reduce fan noise.
6. Cable Management: With the addition of a second PSU, cable management becomes even more crucial. Take the time to carefully route and organize the power cables to prevent tangling, interference, or obstruction of airflow. Use cable ties, adhesive clips, or cable management accessories to keep the cables tidy and organized.
7. Power Supply Reliability: Ensure that both PSUs are reputable and reliable to avoid any power-related issues. Opt for high-quality power supplies with sufficient wattage and good efficiency ratings to ensure stable and consistent power delivery to your components.
By installing a second power supply unit, you can provide ample power to power-hungry components or build a multi-GPU system without compromising stability or performance. However, it’s important to plan and configure the power load balancing properly and ensure adequate cooling and cable management. With the additional power output, you can enjoy a robust and efficient PC system that meets the demands of your power-intensive tasks or gaming adventures.
Building a Secondary PC within the Case
If you have ample space within your PC case, a unique and practical option is to build a secondary PC within it. This allows you to have two separate systems in one case, providing flexibility and convenience for different use cases. Here’s how you can do it:
1. Select Components: Choose the hardware for your secondary PC, considering the intended use and performance requirements. This includes selecting a compatible motherboard, CPU, GPU, RAM, storage, and other necessary components.
2. Install Mounting Solutions: Determine the placement and installation method for the secondary PC components within the case. This may involve mounting brackets, cages, or adapters to securely hold the components in place and ensure proper airflow and cooling.
3. Separate Power Supply Units: Use a separate power supply unit (PSU) for each PC to provide dedicated power. Install the second PSU in the available space within the case and connect it to the respective components of the secondary PC. Ensure proper power load balancing between the two PSUs.
4. Cable Management: With the addition of components for the secondary PC, cable management becomes even more crucial. Keep the cables organized and separate them accordingly to avoid confusion. Use cable ties, adhesive clips, or other cable management accessories to maintain a tidy and efficient setup.
5. Input and Output Solutions: Consider the input and output requirements for each PC. Depending on your setup, you may need to install additional peripherals such as keyboards, mice, monitors, or audio devices. Ensure that each PC has its own dedicated connections and consider using USB switches or KVM switches for easier switching between systems.
6. Cooling and Ventilation: Ensure that cooling and ventilation requirements are met for both PCs. Pay attention to fan placement and airflow to prevent overheating. Consider adding additional case fans or adjusting fan speeds to accommodate the dual-system setup.
7. Operating System and Software Installation: Install the operating system and necessary software for each PC. Configure the BIOS/UEFI settings accordingly and ensure that both systems are properly recognized during boot-up.
Building a secondary PC within the case offers flexibility and convenience for various scenarios. Whether you need a dedicated gaming system, a multimedia center, or a workstation alongside your primary PC, this setup provides a consolidated and efficient solution. Make sure to plan and configure the hardware and connectivity requirements carefully to create a seamless dual-system setup that meets your specific needs.