Introduction
Welcome to this guide on how to make space in your PC case to install more fans. If you find that your computer’s components are running hot or you’re experiencing performance issues due to inadequate cooling, adding additional fans can help improve airflow and prevent overheating. However, before you start installing more fans, it is essential to assess your PC case, remove unnecessary components, rearrange existing ones, and properly manage cables to optimize airflow and create space for the new fans.
A well-ventilated PC case is crucial for maintaining the optimal operating temperature of your components. Overheating can cause various issues, including reduced performance, system instability, and even permanent damage to your hardware. By following the steps outlined in this guide, you’ll be able to create a more efficient cooling system for your PC and ensure that it remains cool under heavy usage.
In the subsequent sections, we will provide you with a step-by-step approach to make space for additional fans in your PC case. We’ll discuss how to assess your current setup, remove unnecessary components, rearrange existing ones, install the new fans, and manage your cables effectively to optimize airflow. By the end of this guide, you’ll have a well-ventilated PC case with improved cooling capabilities, allowing your components to perform optimally without the risk of overheating.
So, let’s get started and make space in your PC case to put more fans!
Assessing Your PC Case
Before you begin adding more fans to your PC case, it’s essential to assess the current state of your setup. This assessment will help you identify any potential obstacles or limitations that may impact your ability to install additional fans.
The first step is to carefully inspect your PC case and determine the available space for extra fans. Look for mounting points or slots specifically designed to accommodate fans. These mounting points are typically located on the front, top, rear, or sides of the case.
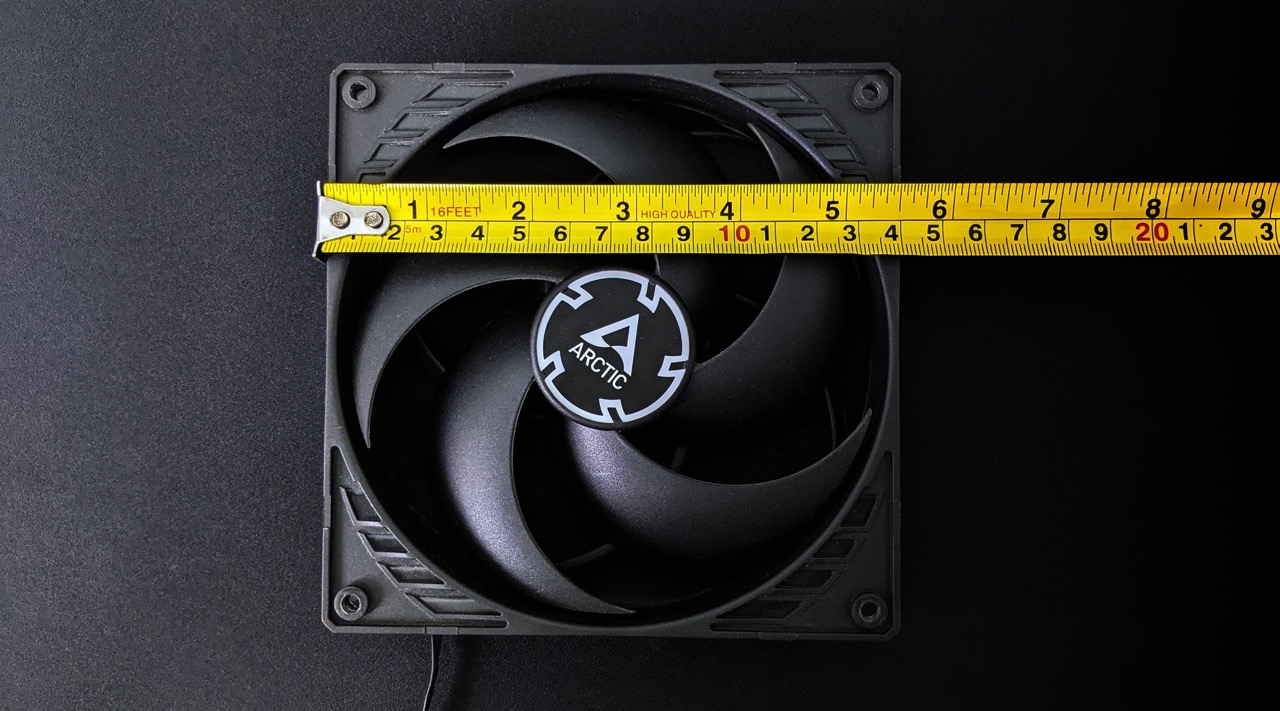
Next, consider the size of the fans you want to install. Common fan sizes include 120mm, 140mm, and 200mm. Measure the available space in your case to ensure compatibility with the chosen fan sizes.
Additionally, take note of any obstructions that may hinder the installation of additional fans. These obstructions could be other components, drive cages, or even cable management systems. Evaluate whether these obstructions can be adjusted or removed to create room for the new fans.
It’s also important to consider the power supply unit (PSU) and its location in your PC case. Some PC cases have a bottom-mounted PSU, while others have a top-mounted PSU. This positioning can affect the placement of additional fans, especially on the rear or top of the case.
Lastly, assess the current airflow in your PC case. Observe how the air flows through the case and identify any areas that may require additional cooling. Look for components that generate a significant amount of heat, such as the CPU, GPU, or hard drives. These areas may require extra attention when installing the new fans.
By thoroughly assessing your PC case, you’ll have a clear understanding of its limitations and opportunities for improving the cooling system. In the next section, we’ll discuss how to remove unnecessary components to create space for the additional fans.
Removing Unnecessary Components
When making space in your PC case for additional fans, it’s important to identify and remove any unnecessary components that are occupying valuable space. By decluttering your case, you’ll have more room to install the new fans and improve airflow.
Start by identifying components that you no longer need or use. This could include unused drive bays, optical drives, or expansion cards that are taking up space. Consider whether these components can be removed without impacting the functionality of your system.
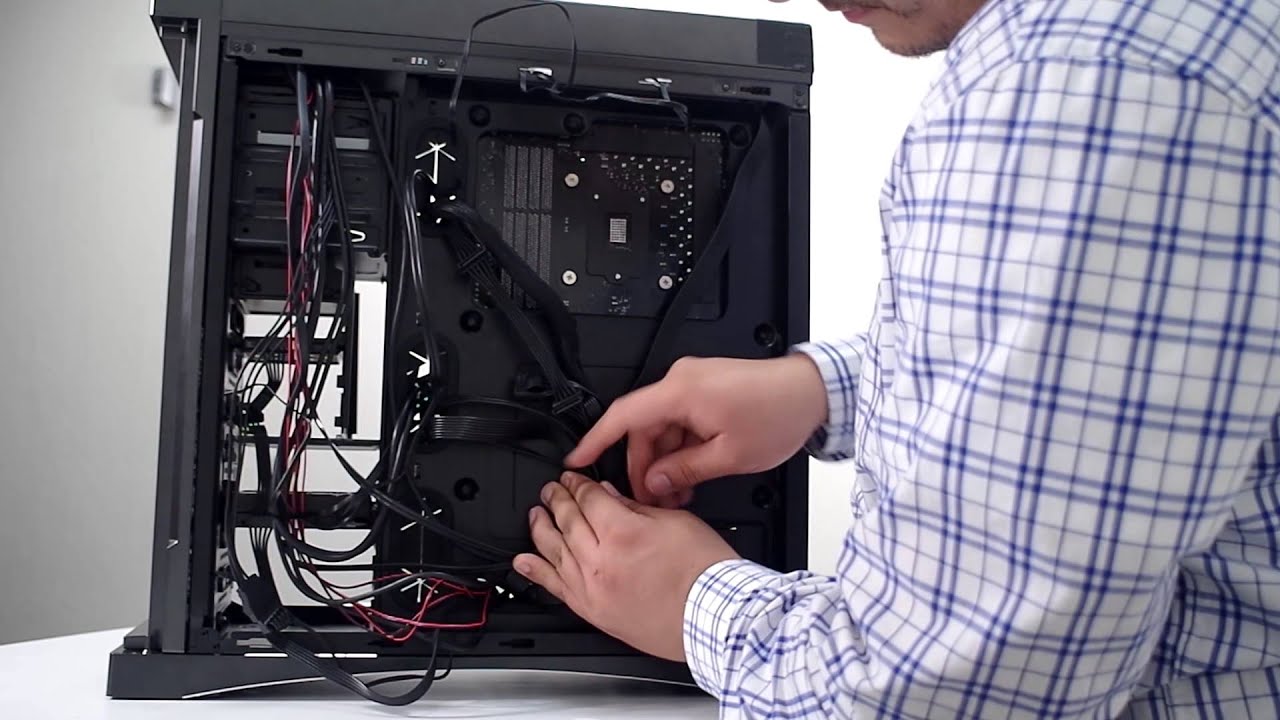
Once you’ve identified the components you want to remove, shut down your computer and disconnect the power supply. Open your PC case and locate the screws or fasteners holding these components in place. Use a screwdriver or appropriate tool to remove them carefully, ensuring you don’t damage any other components in the process.
When removing unnecessary components, it’s important to exercise caution and handle delicate parts with care. Be gentle when detaching connectors and cables to avoid damaging them or the components they’re connected to.
If you have a modular power supply, consider removing any unused cables that are not connected to any components. This will not only free up space but also improve airflow by reducing cable clutter within the case.
Remember to keep any removed components and screws in a safe place. You may want to reinstall them later if needed or store them as spare parts.
Once you’ve removed the unnecessary components, take a moment to assess the new space created in your PC case. Visualize where the new fans will be placed and how they will contribute to better airflow throughout the system.
In the next section, we’ll discuss how to rearrange existing components to optimize space and ensure the most efficient cooling configuration.
Rearranging Components
After removing unnecessary components from your PC case, it’s time to rearrange the remaining components to optimize space and improve airflow. By strategically positioning the components, you can ensure that the new fans have enough room to be installed effectively.
Consider the following tips for rearranging your components:
1. CPU Cooler Placement: Ensure that your CPU cooler is properly installed and aligned with the exhaust fans to efficiently expel hot air from the case. If necessary, adjust the position of the CPU cooler to avoid any interference with the new fans.
2. GPU Placement: Check the positioning of your graphics card. Ensure that it is properly aligned in the PCIe slot and that it has sufficient space for airflow. If needed, consider adjusting the placement or opting for a vertical GPU mount to free up additional space.
3. Drive Cages: If your PC case has removable drive cages, consider relocating or removing them to create more space for the new fans. This will help improve the airflow within the case and allow for better cooling.
4. Cable Management: Proper cable management is crucial for maintaining an organized and clutter-free PC case. Use cable ties or Velcro straps to neatly route and secure cables. This will not only improve airflow but also make it easier to install the new fans without any obstructions.
5. Fan Placement: Determine the optimal locations for the new fans based on your PC case’s design and the airflow requirements of your components. Place the fans strategically to ensure a balanced intake and exhaust airflow throughout the case.
Take your time to carefully rearrange the components, ensuring that they are properly secured and aligned. Check for any potential obstructions or clearance issues that may arise with the installation of the new fans.
Remember, the goal is to create an efficient and well-ventilated PC case that maximizes airflow and minimizes heat buildup. By rearranging your components and optimizing space, you’ll be one step closer to achieving this goal.
In the next section, we’ll discuss how to mount the additional fans in your PC case.
Mounting Additional Fans
Now that you have assessed your PC case, removed unnecessary components, and rearranged existing ones, it’s time to install the additional fans. Properly mounting the fans will ensure optimal airflow and efficient cooling throughout your system.
Follow these steps to mount the additional fans:
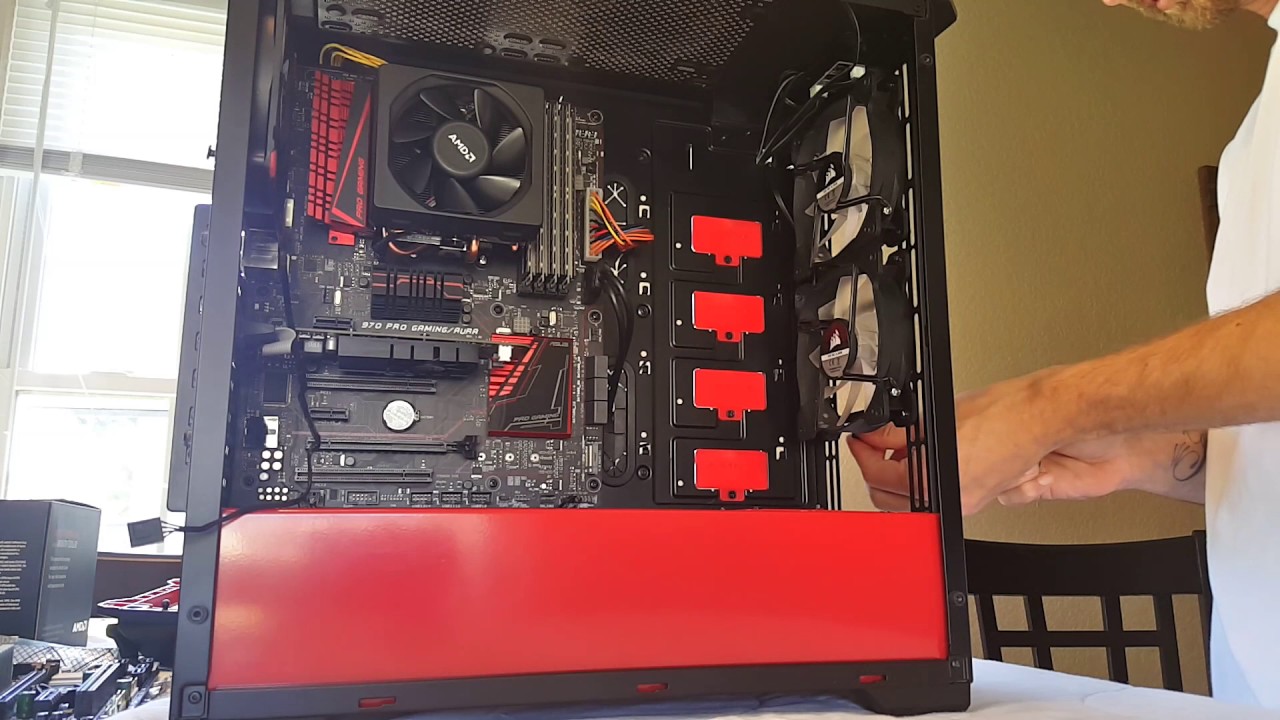
1. Identify Mounting Points: Refer to your PC case manual or examine the case to locate the designated mounting points for the new fans. These can be found on the front, top, rear, or sides of the case. Ensure that the mounting points are compatible with the size of the fans you plan to install.
2. Prepare the Fans: Before mounting the fans, attach any necessary mounting brackets or screws to the fans. These accessories are usually included with the fan purchase. Make sure the fans are oriented correctly for airflow, with the blades facing the appropriate direction for intake or exhaust.
3. Install the Fans: Carefully position the fans on the designated mounting points. Use the provided screws or fasteners to secure them in place. Ensure that the fans are securely attached without any wobbling or looseness.
4. Check Clearance: Double-check the clearance between the newly installed fans and other components, such as the CPU cooler, GPU, or RAM. Ensure that there is enough space to avoid any interference or obstruction to airflow.
5. Adjust Fan Speeds: Depending on your PC case and motherboard, you may have the option to control the fan speeds. Adjust the fan speeds as needed, either through the BIOS or dedicated software, to find a balance between cooling performance and noise level.
6. Test the Fans: After mounting the additional fans, power on your computer and monitor the temperatures of your components using monitoring software. Make sure the fans are operating correctly and that you can observe a noticeable improvement in cooling performance.
By properly mounting the additional fans, you’ll enhance the overall cooling capabilities of your PC case. The improved airflow will help maintain lower temperatures and prevent overheating, ultimately extending the lifespan of your components and ensuring optimal performance.
In the next section, we’ll discuss how to effectively manage the cables within your PC case for better airflow and aesthetics.
Managing Cables
Efficient cable management is crucial for maintaining proper airflow and improving the overall aesthetics of your PC case. Neatly managing and organizing your cables will not only enhance cooling performance but also make future upgrades or maintenance easier. Here are some tips for effectively managing your cables:
1. Plan Ahead: Before you start connecting cables, take some time to plan the routing and placement. Consider the shortest and most direct paths for each cable to minimize clutter and maximize airflow. Planning ahead will save you time and frustration during the cable management process.
2. Use Cable Ties or Velcro Straps: Secure your cables using cable ties or Velcro straps. Group cables together, especially those that are going in the same direction, such as power cables or data cables for specific components. This will prevent them from tangling and help maintain a neat and organized appearance.
3. Utilize Cable Management Features: Many modern PC cases come equipped with various cable management features, such as routing holes, tie-down points, or dedicated cable channels. Look for these features and utilize them to keep your cables out of sight and properly organized.
4. Route Cables Behind the Motherboard Tray: Whenever possible, route cables behind the motherboard tray. Most PC cases have ample space behind the tray for cable management. This not only keeps the cables hidden but also allows for better airflow within the main chamber of the case.
5. Avoid Excessive Cable Length: Keeping your cables as short as possible helps reduce cable clutter. Most power supply units come with modular cables, allowing you to connect only the cables you need. Trim excess cable length if necessary, but be cautious not to cut them too short to reach their intended connections.
6. Consider Cable Extensions: If your cables are not long enough to reach their destinations comfortably, consider using cable extensions. These extensions can provide the extra length you need while maintaining cable management and aesthetics.
7. Regularly Maintain and Reorganize: Over time, cables may become disorganized or tangled. Schedule regular maintenance sessions to reevaluate and reorganize your cables. This will help prevent dust buildup and ensure that your cable management remains effective and efficient.
By efficiently managing your cables, you’ll improve airflow within your PC case, reducing the risk of overheating and maintaining a cleaner and more visually appealing setup.
Next, we’ll discuss how to test your cooling solution to ensure optimal performance and make any necessary adjustments.
Testing Your Cooling Solution
Once you have made space in your PC case, installed the additional fans, and managed the cables effectively, it’s important to test your cooling solution to ensure optimal performance. Testing allows you to evaluate the effectiveness of the newly installed fans and make any necessary adjustments. Follow these steps to test your cooling solution:
1. Monitor Component Temperatures: Start by monitoring the temperatures of your CPU, GPU, and other critical components using monitoring software. Take note of the temperatures before and after installing the additional fans.
2. Run Stress Tests: To put your system under heavy load, run stress tests such as CPU or GPU benchmarks. These tests will generate maximum heat and allow you to evaluate how well the new fans are performing under demanding conditions.
3. Observe Fan Speeds and Noise Levels: Monitor the fan speeds during the stress tests and ensure they are running at an appropriate speed to provide adequate cooling. Additionally, pay attention to the noise levels generated by the fans. If any fan is excessively loud or exhibiting unusual noise, consider adjusting their speeds or repositioning them for better airflow.
4. Check for Hot Spots: During the stress tests, closely observe your PC and check for any hot spots. These hot spots may indicate inadequate airflow or poor cooling performance in certain areas. Consider adjusting the fan positions or adding additional fans to address these hot spots.
5. Evaluate Temperature Reduction: After completing the stress tests, compare the temperatures of your components before and after installing the additional fans. Ideally, you should observe a decrease in temperatures, indicating improved cooling performance.
6. Make Necessary Adjustments: Based on the test results, make any necessary adjustments to optimize your cooling solution. This may include repositioning fans, adjusting fan speeds, or adding more fans in areas that require additional cooling.
Remember that every PC case and component configuration is unique, so it may take some experimentation to achieve the best cooling setup for your system. Continuously monitor the temperatures of your components and make adjustments as needed to maintain optimal performance and ensure that heat-sensitive components remain within safe operating temperatures.
In the next section, we’ll provide a summary of the key points discussed and conclude the guide on how to make space in your PC case to put more fans.
Conclusion
In conclusion, creating space in your PC case to install more fans is an effective way to improve airflow and prevent overheating. By following the steps outlined in this guide, you can optimize your PC case’s cooling capabilities and ensure that your components remain cool and perform at their best.
Start by assessing your PC case to determine available space and potential obstacles. Remove any unnecessary components to free up room for the new fans. Rearrange the remaining components to optimize space and airflow within the case. Mount the additional fans in strategic locations to enhance cooling performance.
Proper cable management is crucial to maintain a tidy and efficient system. Neatly organize and route cables to minimize clutter and facilitate airflow. Regularly test your cooling solution by monitoring component temperatures, running stress tests, and adjusting fan speeds as needed.
Remember, every PC case and configuration is unique, so don’t be afraid to experiment and make adjustments to achieve the best cooling performance for your system.
By implementing these steps, you can create a well-ventilated PC case that promotes efficient airflow, prevents overheating, and ultimately prolongs the lifespan of your components. Now, go ahead and improve the cooling capabilities of your PC by making space for more fans!