Introduction
Welcome to the world of gaming innovation and customization! If you’re a passionate gamer eager to combine the power of a personal computer with the familiar features of your Xbox 360, you’ve come to the right place. In this guide, we’ll walk you through the exciting process of putting your Xbox 360 into a PC case, creating a unique gaming setup that combines the best of both worlds.
By merging your Xbox 360 with a PC case, you’ll not only have a gaming console but also a full-fledged computer at your fingertips. Imagine the possibilities: playing your favorite Xbox games, enjoying the flexibility of PC gaming, and harnessing the powerful capabilities of a modern computer – all in one sleek, custom-built device.
While the idea might sound complex, fear not – you don’t have to be a tech genius to undertake this project. With a little patience, a basic understanding of technology, and the right tools, you’ll be well on your way to transforming your gaming experience.
But before we dive into the technical steps, it’s important to note that this process involves modifying your Xbox 360 and PC case, which may void warranties and carry some risk. Therefore, it’s crucial to proceed with caution, follow the instructions carefully, and take necessary precautions to avoid any damage to your equipment.
In this guide, we’ll provide detailed instructions, tips, and suggestions to help you successfully put your Xbox 360 into a PC case. We’ll cover everything from gathering the necessary supplies to assembling and securing all the components. So, let’s get started on this exciting journey towards creating your custom gaming setup!
Gathering the Supplies
Before diving into the process of putting your Xbox 360 into a PC case, it’s essential to gather all the necessary supplies. Having everything at hand will ensure a smooth and efficient process. Here’s a list of the key items you’ll need:
- Xbox 360: This will serve as the core gaming console that will be transferred into the PC case. Make sure it’s in good working condition before proceeding.
- PC case: Choose a PC case that is compatible with the size and components of your Xbox 360. Look for a case that offers adequate space, proper ventilation, and easy access to ports and connectors.
- Screwdriver set: A set of small screwdrivers with various head sizes will be necessary for disassembling and reassembling both the Xbox 360 and the PC case.
- Thermal paste: This will be used to ensure proper heat transfer between the Xbox 360’s processors and the cooling system of the PC case.
- Adhesive thermal pads: These pads will help provide effective heat dissipation between the Xbox 360’s components and the PC case.
- Cooling system: Depending on the PC case you choose, you may need additional cooling fans or liquid cooling systems to keep the Xbox 360’s temperature in check during intense gaming sessions.
- Power supply unit (PSU): If the PC case does not include a built-in power supply, you’ll need a separate PSU that can provide enough power to run both the Xbox 360 and the PC components.
- Cable management solutions: To ensure a neat and organized setup, consider investing in cable ties or cable sleeves to manage the various cables in the PC case.
Additionally, you may need miscellaneous items such as zip ties, screws, and anti-static wristbands to prevent static discharge during the assembly process. It’s always a good idea to have some extra supplies on hand in case of any unforeseen circumstances or specific requirements.
Once you have gathered all the necessary supplies, you’ll be ready to embark on the thrilling journey of transforming your Xbox 360 into a PC case. Remember to double-check your inventory to ensure you have everything before moving on to the next steps.
Preparing the Xbox 360
Before you can transfer your Xbox 360 into the PC case, you’ll need to take a few preliminary steps to ensure a smooth and successful installation. Follow these instructions to prepare your Xbox 360:
- Disconnect all cables: Start by unplugging all the cables connected to your Xbox 360, including the power cable, HDMI or AV cables, and any other peripherals.
- Remove the hard drive: If your Xbox 360 has an external hard drive, carefully remove it by following the manufacturer’s instructions. Set it aside for now.
- Eject the disc drive: If there’s a disc in the Xbox 360’s disc drive, make sure to eject it properly before moving forward. You can do this by pressing the eject button on the front panel of the console.
- Remove the Xbox 360 faceplate: Gently pry off the faceplate of the Xbox 360 by applying even pressure on the sides until it detaches from the console.
- Disassemble the Xbox 360: Carefully flip the Xbox 360 over and locate the screws that secure the outer casing. Use the appropriate screwdriver to remove these screws. Keep track of the screws and place them in a safe container to avoid losing them.
- Separate the top and bottom casing: With the screws removed, gently separate the top and bottom casing of the Xbox 360. Take your time and be mindful of any delicate components inside.
- Disconnect internal components: Once the casing is open, you’ll see various internal components such as the motherboard, heat sinks, and fans. Carefully disconnect any cables or connectors attached to these components, making sure to note their positions for later reassembly.
- Clean and inspect the Xbox 360: Take this opportunity to clean any dust or debris from the internal components of the Xbox 360. Inspect the components for any signs of damage or wear and ensure everything is in good condition.
By preparing your Xbox 360 beforehand, you’ll have a better understanding of its internal structure and be ready to proceed with the next steps of the installation process. Remember to handle all components with care and keep track of the screws and cables for an accurate reassembly.
Disassembling the PC Case
Now that you have prepared your Xbox 360, it’s time to disassemble the PC case to make room for its components. Follow these steps to disassemble the PC case:
- Turn off and unplug the PC: Before working with the PC case, make sure to turn off the computer and unplug it from the power source. This will ensure your safety and prevent any damage to the components.
- Remove the side panel: Most PC cases have one or two removable side panels for easy access to the internal components. Identify the screws or latches securing the side panel and carefully remove it. Set it aside in a safe place.
- Detach the front panel: The front panel of the PC case houses the power button, USB ports, and other connectors. Locate the screws or clips holding the front panel in place and gently detach it from the case. Be cautious not to damage any cables connected to the front panel.
- Take out the drive bays: Drive bays are used to install devices such as hard drives or optical drives in a PC case. Depending on your specific case, you may need to remove the drive bays to create more space for the Xbox 360. Use a screwdriver to remove any screws securing the drive bays and carefully take them out of the case.
- Remove any unnecessary components: Assess the interior of the PC case and identify any unnecessary components that may obstruct the installation of the Xbox 360. This can include extra hard drive cages, unused brackets, or excess wiring. Remove these components as needed to create a clean and spacious environment for the Xbox 360.
- Keep the screws and parts organized: As you disassemble the PC case, it’s important to keep track of the screws and parts you remove. Store them in a labeled container or use small bags to prevent any confusion during the reassembly process.
By carefully disassembling the PC case, you’ll create the necessary space and accessibility required to integrate your Xbox 360 seamlessly. Take your time and ensure that you handle all components with care. Once the case is disassembled, you’ll be ready to move on to the next steps of installing the Xbox 360 into the PC case.
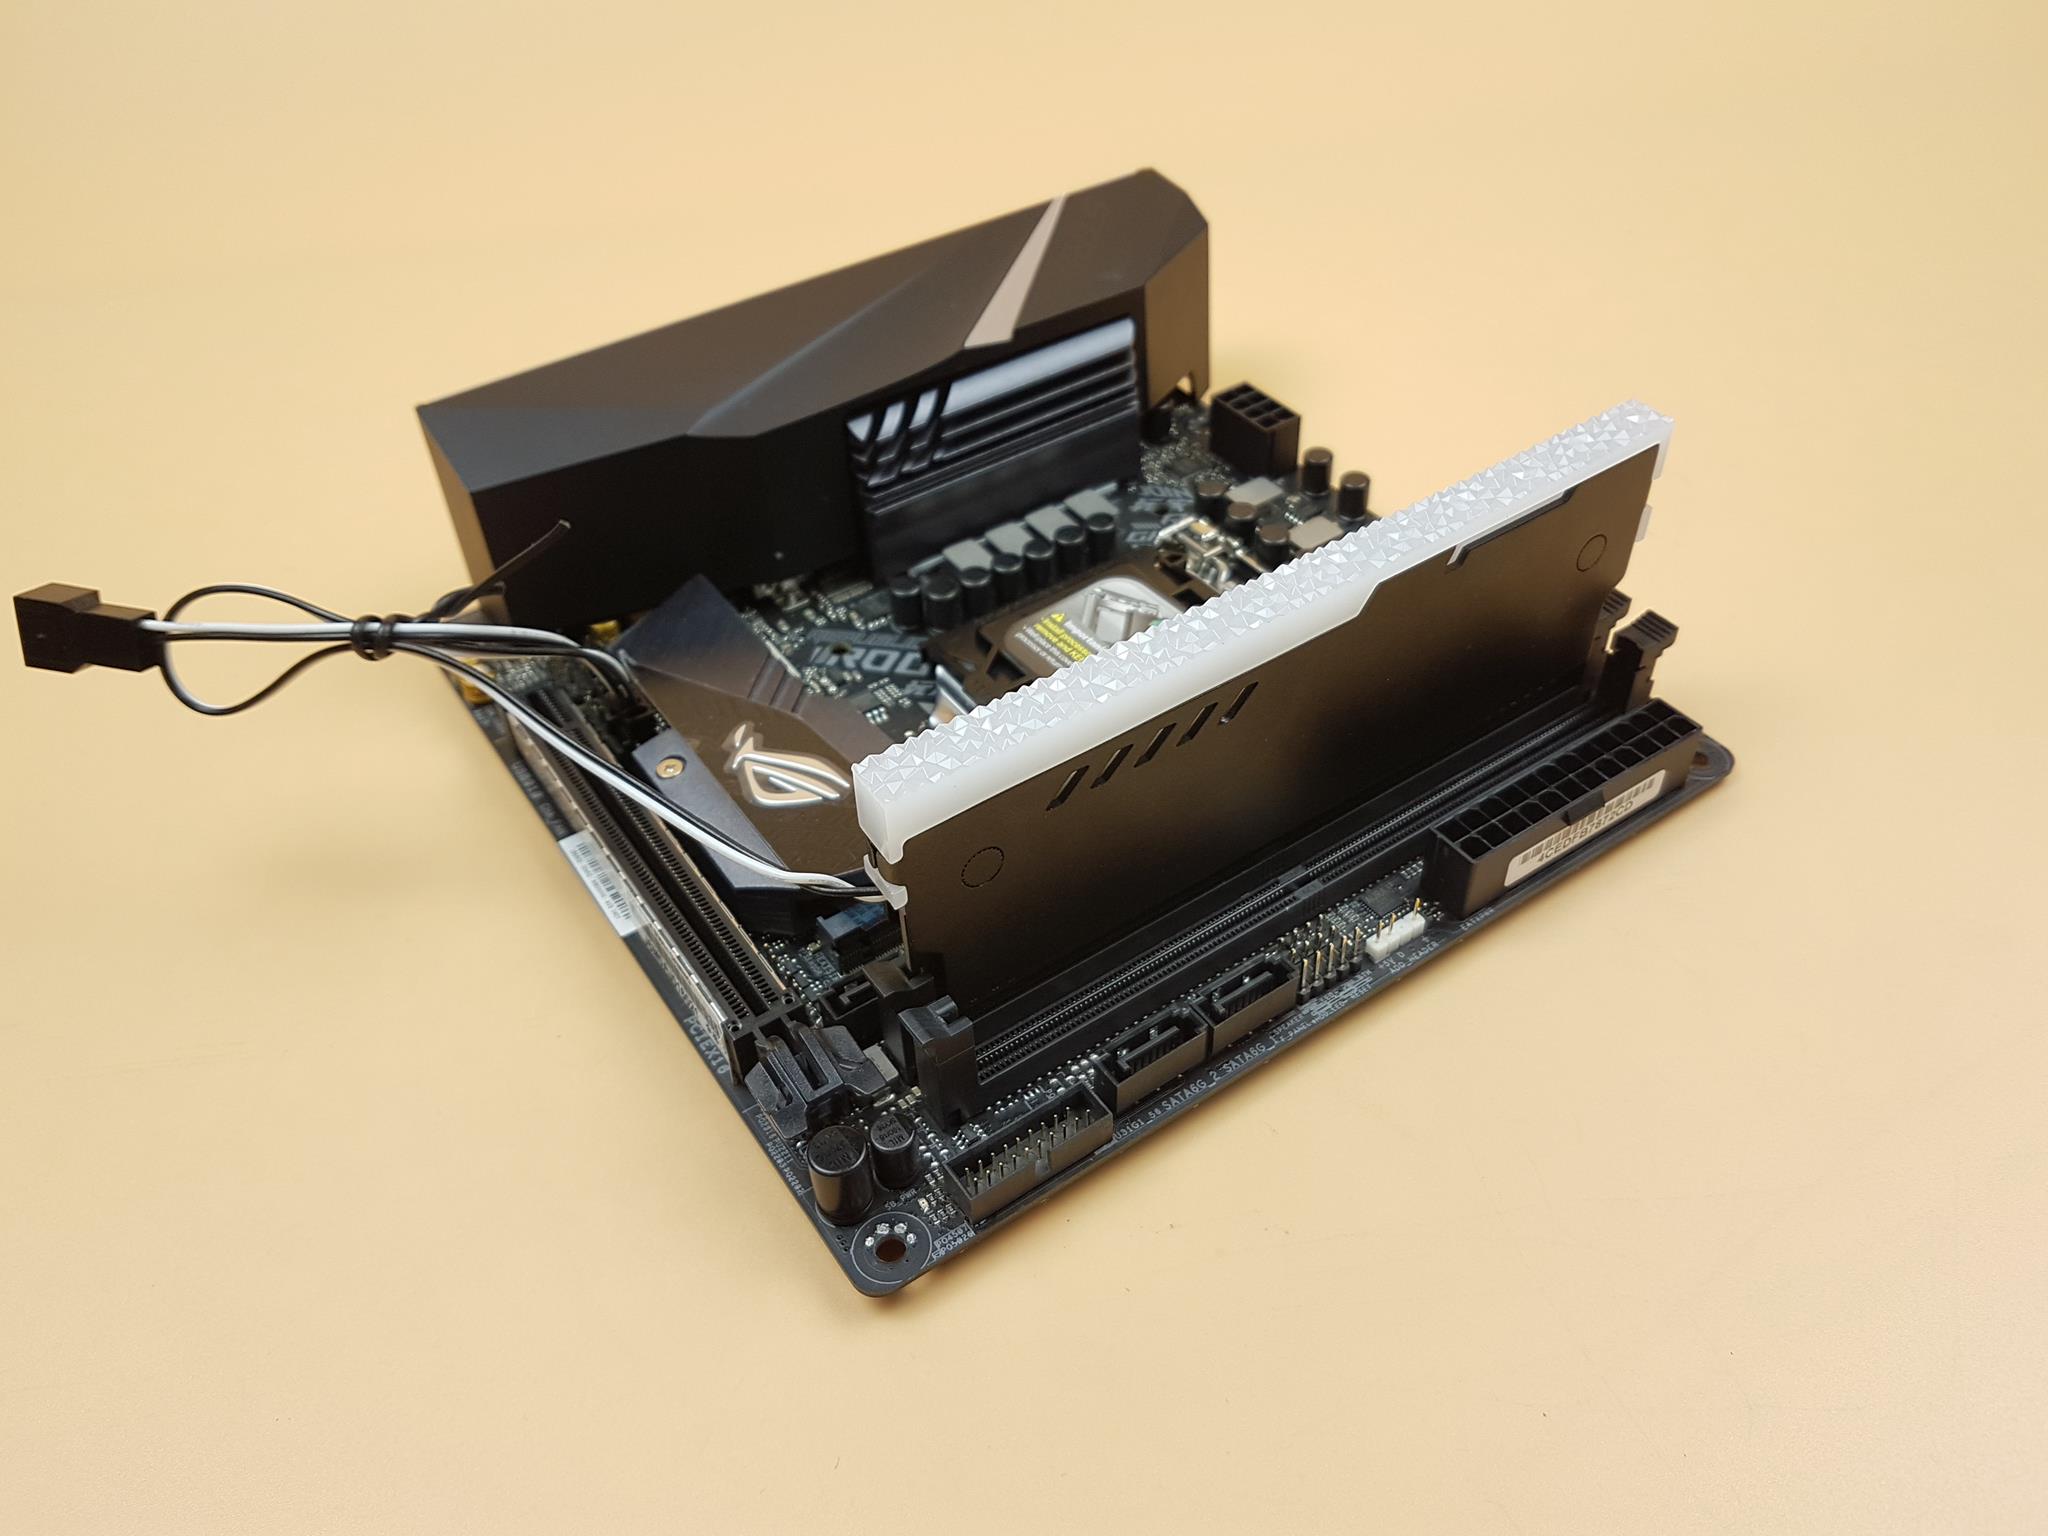
Installing the Motherboard
Now that you have disassembled the PC case, it’s time to install the motherboard to provide a solid foundation for your Xbox 360 integration. Follow these steps to properly install the motherboard:
- Prepare the motherboard: Before installing the motherboard, ensure that its backplate is properly aligned with the I/O shield on the PC case. Attach the backplate to the case, making sure it fits securely.
- Align the motherboard: Carefully place the motherboard inside the PC case, aligning the screw holes on the motherboard with the standoffs on the case. Double-check that everything is properly aligned to ensure a secure and stable installation.
- Attach the motherboard: Once the motherboard is aligned, use the provided screws to secure it to the standoffs on the case. Start by loosely attaching the screws and then gradually tighten them, ensuring even pressure and avoiding over-tightening, which may damage the motherboard.
- Connect the power supply: Locate the motherboard’s power connector, typically found near the CPU socket. Connect the power supply cables to the appropriate connectors on the motherboard, ensuring a snug fit. Refer to the motherboard and power supply manuals for specific instructions on which connectors to use.
- Connect the front panel connectors: The PC case’s front panel has connectors for features such as power button, reset button, LED lights, and USB ports. Consult the motherboard manual to identify the corresponding pins for these connectors. Connect each front panel connector to its respective pin on the motherboard, referring to the manual for proper orientation.
- Install the CPU and RAM: If your motherboard does not have the CPU and RAM already installed, carefully install them following the manufacturer’s instructions. Ensure that the CPU is properly aligned with the socket and that the RAM modules are correctly inserted into the DIMM slots.
- Install the cooling system: Depending on your preferred cooling method, whether it’s a CPU air cooler or liquid cooling system, install it on the motherboard following the manufacturer’s instructions. Make sure the cooling system is securely attached and that all necessary connections are properly made.
By successfully installing the motherboard, you’re setting the stage for the integration of your Xbox 360 into the PC case. Take your time to ensure proper alignment and secure attachment of all components. Once the motherboard is securely installed, you can proceed with connecting the internal components and finalizing the assembly.
Connecting the Internal Components
With the motherboard securely installed, it’s time to connect the internal components of your Xbox 360 inside the PC case. Follow these steps to ensure a proper and efficient connection:
- Connect the Xbox 360 power supply: Locate the power supply connector on the Xbox 360 motherboard. Connect the power supply unit (PSU) cables to the appropriate connectors on the motherboard, ensuring a secure connection. Consult the Xbox 360 manual or online resources for the specific power supply pinout and connector information.
- Reinstall the Xbox 360 heat sinks and fans: Carefully attach the heat sinks and fans to their respective locations on the Xbox 360 motherboard. Apply a small amount of thermal paste to the processors before attaching the heat sinks. Secure the heat sinks and fans using the provided screws or clips, ensuring proper contact and alignment.
- Connect the cooling system: If you’re using additional cooling fans or a liquid cooling system, connect them to the appropriate connectors on the motherboard or cooling system controller. Follow the manufacturer’s instructions to ensure proper connection and setup.
- Reattach the Xbox 360 hard drive: If you removed the hard drive during the initial preparation, reattach it to the Xbox 360, following the manufacturer’s instructions. Ensure that the hard drive is properly inserted and securely connected to the motherboard.
- Connect the Xbox 360 disc drive: Reattach the Xbox 360 disc drive, ensuring that it is properly aligned and securely connected to the motherboard. Consult the Xbox 360 manual for specific instructions on properly connecting and securing the disc drive.
- Connect any additional internal components: If you have any other internal components, such as a Wi-Fi card or additional storage devices, connect them to the appropriate connectors on the motherboard or expansion slots. Refer to the manufacturer’s instructions for each component to ensure proper installation.
- Organize and manage the cables: As you connect the internal components, make sure to organize and manage the cables inside the PC case. Use cable ties or cable management solutions to keep the cables neat and avoid any interference with the components.
By taking the time to properly connect the internal components, you’ll ensure a smooth functioning of your Xbox 360 within the PC case. Double-check all connections to make sure they are secure and properly aligned. Once the internal components are connected, you can move on to securing the Xbox 360 inside the PC case.
Securing the Xbox 360 in the PC Case
Now that you’ve connected the internal components of your Xbox 360 inside the PC case, it’s time to securely mount and position the Xbox 360 to ensure stability and proper operation. Follow these steps to effectively secure the Xbox 360 in the PC case:
- Place the Xbox 360 in the desired position: Carefully position the Xbox 360 within the PC case, ensuring that it is aligned with the mounting points and that all cables are properly routed for a clean setup.
- Secure the Xbox 360 using standoffs or brackets: Depending on the PC case and Xbox 360 model, you may need to use standoffs or brackets to securely mount and hold the Xbox 360 in place. Refer to the PC case manual and instructions specific to your Xbox 360 model for proper mounting techniques.
- Use adhesive thermal pads: To further secure the Xbox 360 in the PC case and facilitate heat dissipation, consider using adhesive thermal pads. Cut the thermal pads to match the shape and size of the Xbox 360’s components, and carefully apply them to ensure proper contact with the case for efficient heat transfer.
- Ensure proper cable management: As you secure the Xbox 360 in the PC case, keep an eye on cable management. Make sure cables are neatly routed and secured using cable ties or cable management solutions. This will prevent any interference with the Xbox 360’s components and optimize airflow within the case.
- Double-check connections and components: Before proceeding, double-check all connections and components to ensure they are securely connected and properly aligned. This includes verifying that all cables and connectors are firmly in place and that the Xbox 360 is seated securely in the PC case.
By taking the time to properly secure the Xbox 360 in the PC case, you’ll minimize the risk of any unwanted movement or damage during regular use. A secure mounting will also assist in heat dissipation and maintain optimal performance of the Xbox 360. Once the Xbox 360 is firmly in place, you’re almost ready to close up the PC case and make the final preparations for your unique gaming setup.
Closing up the PC Case
With the Xbox 360 securely mounted inside the PC case, it’s time to close up the case and make the final preparations for your custom gaming setup. Follow these steps to effectively close the PC case:
- Reinstall the side panel: Carefully align the side panel with the PC case and reattach it using the provided screws or latches. Ensure that the side panel fits securely and is flush with the case to maintain a clean and sleek appearance.
- Reattach the front panel: Align the front panel of the PC case and attach it securely using the screws or clips. Make sure the front panel is properly aligned with the case and that any cables or connectors are connected to their respective ports.
- Secure any remaining components: If there are any leftover components such as external drives or peripheral devices, attach them to the PC case as desired. Ensure they are properly secured and connected to the appropriate ports and connectors.
- Verify cable connections: Double-check all cable connections inside the PC case to ensure they are securely attached and properly connected. Pay special attention to the cables coming from the Xbox 360 and ensure they are routed correctly and not causing any strain or obstruction.
- Clean and organize the exterior: Before powering on the system, take a few moments to clean and organize the exterior of the PC case. Use a soft cloth or compressed air to remove any dust or debris that may have accumulated during the installation process. Neatly organize any cables that are accessible from the outside to maintain a tidy appearance.
- Perform a final inspection: Carefully inspect the PC case to ensure that all components are securely in place, all cables are properly connected, and there are no loose screws or parts. This final inspection will help identify any potential issues or loose connections that may need to be addressed before powering on the system.
By following these steps, you will effectively close up the PC case and complete the installation process. Taking the time to neatly organize cables, securely attach components, and perform a final inspection will ensure a clean and professional-looking setup for your custom gaming experience. Now that the PC case is closed, you’re ready to power on the system and test your Xbox 360 PC!
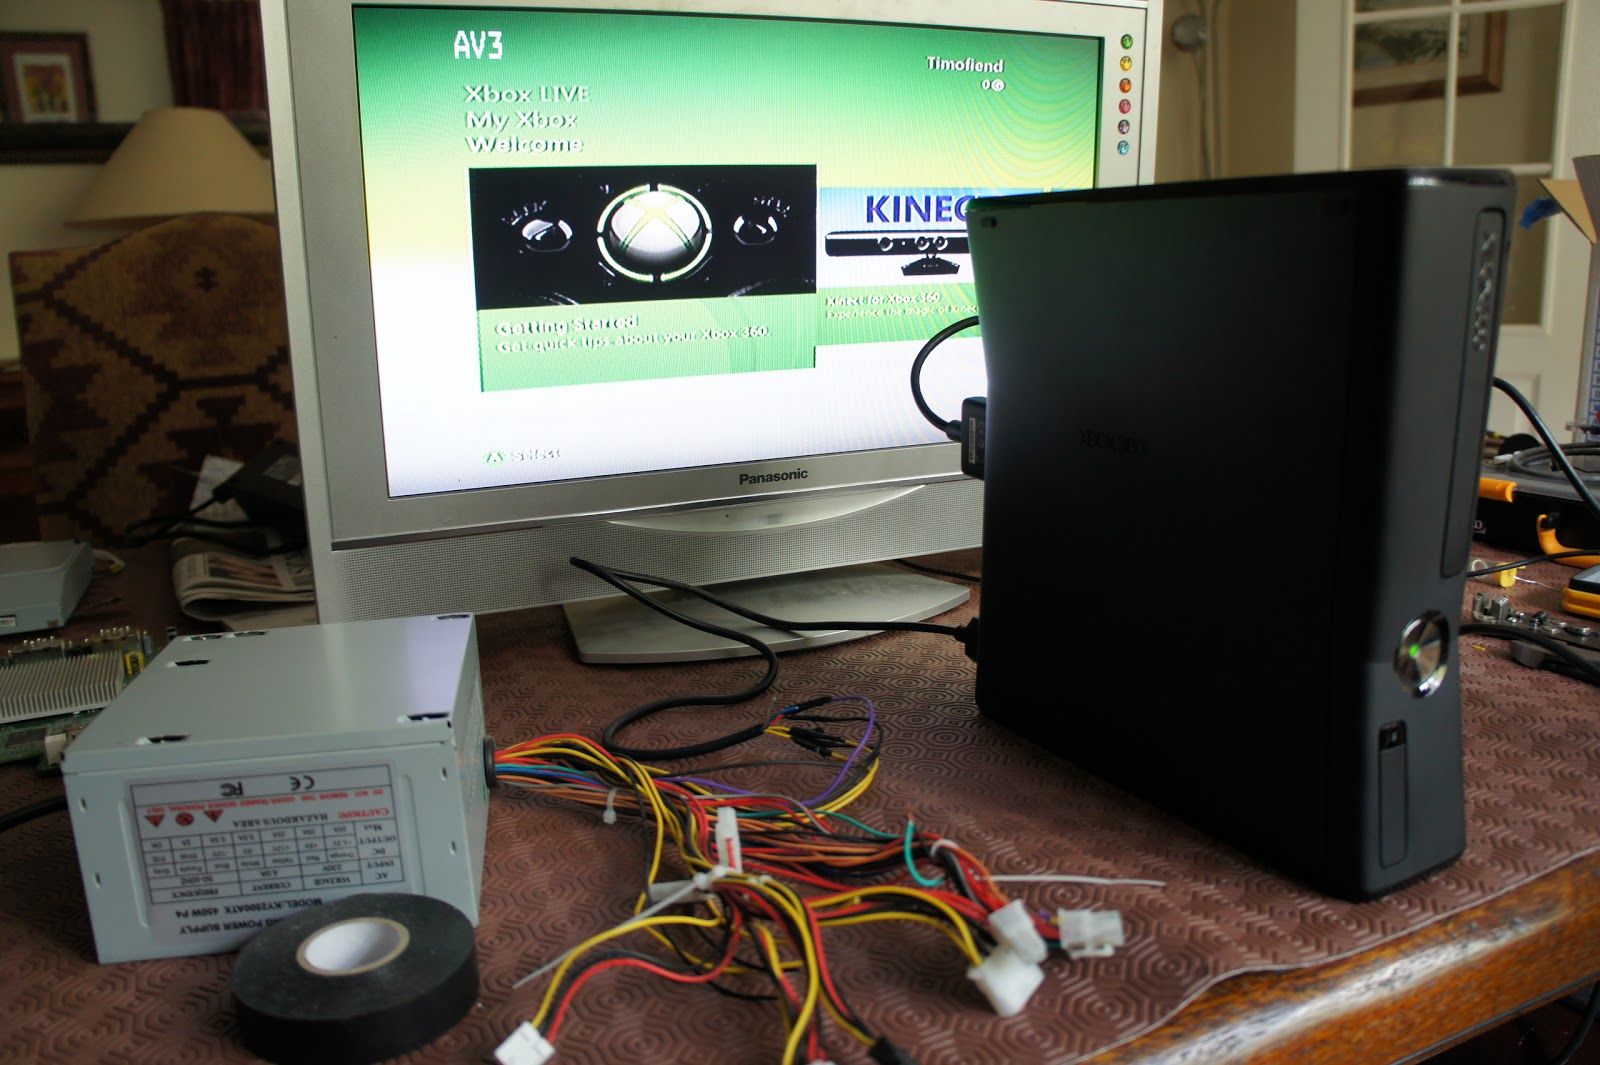
Powering on and Testing the Xbox 360 PC
After successfully closing up the PC case, it’s time to power on the system and test your new Xbox 360 PC setup. Follow these steps to ensure a smooth startup and effectively test your setup:
- Plug in the power cables: Connect the power cables for both the PC case and the Xbox 360 power supply unit to the appropriate outlets. Make sure all connections are secure and properly seated.
- Turn on the power: Locate the power button on the PC case and press it to turn on the system. The fans inside the PC case and the Xbox 360 should start spinning, indicating that the system is powered on.
- Monitor the startup process: Observe the startup process to ensure that all fans are functioning properly and that the system boots up without any errors. Pay attention to any unusual noises or flashing lights that may indicate an issue.
- Check for proper Xbox 360 functionality: Once the system has booted up, test the Xbox 360 functionality by inserting a game disc or accessing Xbox Live. Verify that the Xbox 360 is detecting the disc and that games can be played without any glitches or errors.
- Test PC capabilities: Take the opportunity to test the PC capabilities of your setup by installing and running PC games or other applications. Ensure that the PC components are performing as expected and that you can seamlessly switch between Xbox 360 mode and PC mode.
- Monitor temperatures: During the testing phase, keep a close eye on the temperatures of the Xbox 360 components and the PC components. Make sure that the cooling system is effectively keeping temperatures within safe limits. If temperatures are abnormally high, consider adjusting the cooling setup or adding additional cooling solutions.
- Perform system updates: If necessary, connect the Xbox 360 to the internet and perform any firmware or system updates to ensure optimal performance.
By meticulously following these steps and conducting thorough testing, you can ensure that both the Xbox 360 and the PC components are functioning properly in the integrated setup. Take note of any issues or areas for improvement during the testing phase, and address them accordingly to further customize and optimize your Xbox 360 PC.