Introduction
Welcome to our guide on how to replace a side fan in your PC case. If you’ve noticed that your computer is running warmer than usual or experiencing system crashes, a malfunctioning side fan could be the culprit. Side fans play a crucial role in cooling your computer’s components, especially the graphics card and chipset. By replacing a faulty side fan, you can ensure optimal airflow and prevent overheating, which can lead to hardware damage.
In this step-by-step tutorial, we will show you how to replace a side fan in your PC case. Even if you’re not particularly tech-savvy, don’t worry. This process is relatively straightforward and does not require advanced technical skills. With just a few tools and some basic knowledge, you’ll have your computer cooling efficiently again in no time.
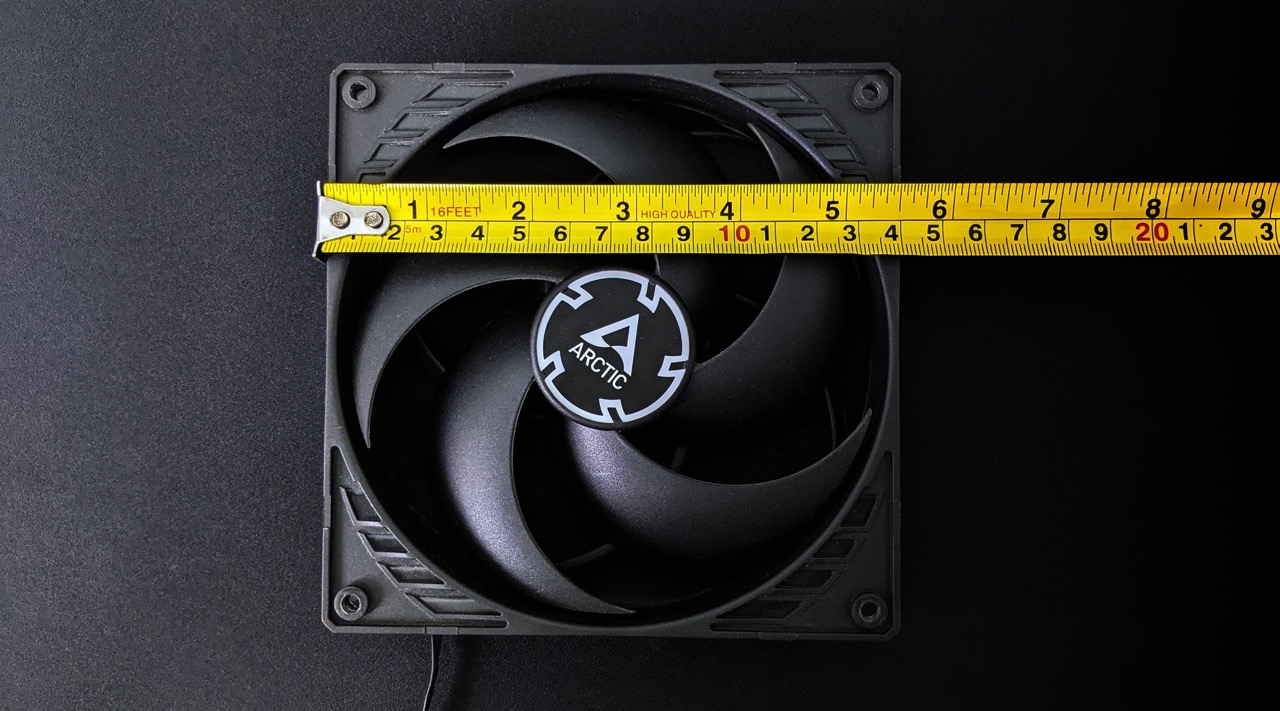
Before we dive into the steps, it’s important to note that there are various types and sizes of side fans available in the market. Make sure to choose a replacement fan that is compatible with your PC case and meets your cooling needs. Refer to your computer’s manual or perform a quick online search to determine the correct fan size and specifications.
Now, without further ado, let’s get started on replacing that side fan and bringing your computer temperatures back under control.
Tools and Materials Needed
Before you begin replacing the side fan in your PC case, make sure you have the following tools and materials on hand:
- Screwdriver set – Most PC cases use standard Phillips or flathead screws, so having a variety of screwdriver sizes will be useful.
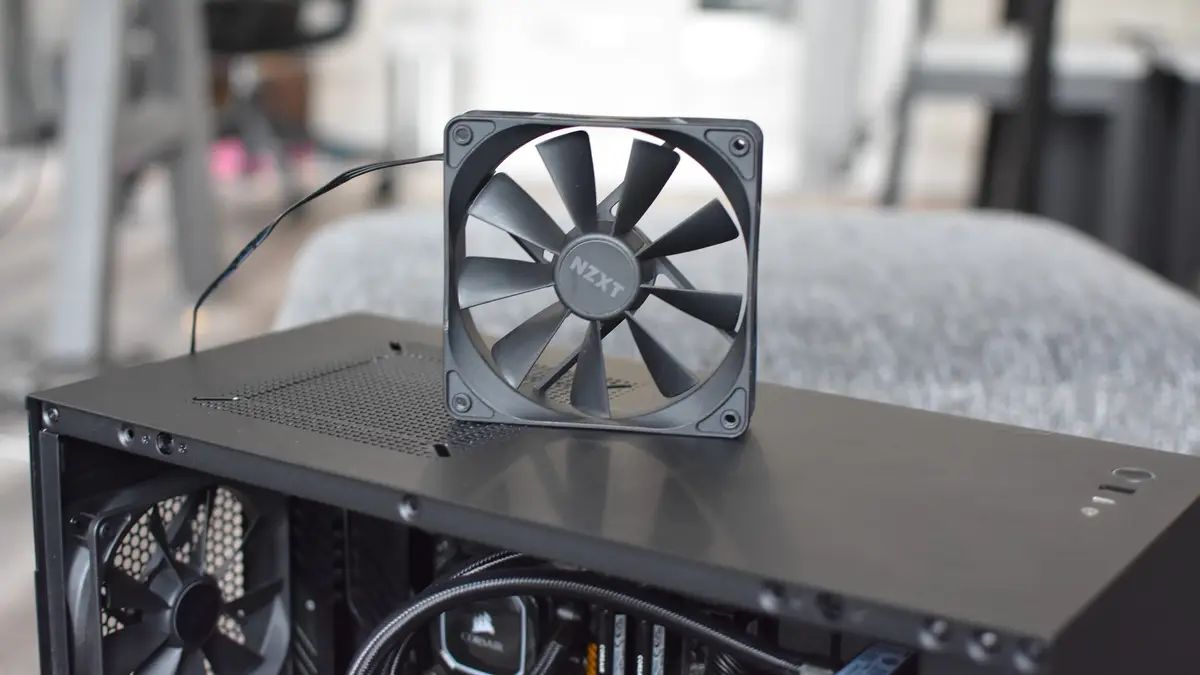
- New side fan – Choose a replacement fan that matches the size and specifications of the old one. Look for fans with high airflow and low noise levels to ensure efficient cooling.
- Anti-static wristband (optional) – This wristband helps protect your computer’s components from static electricity damage. While it’s not mandatory, it’s a good precaution to take when working inside your PC.
- Cloth or compressed air – You’ll need a soft cloth or compressed air to clean any dust or debris from the PC case and components before installing the new fan.
- Replacement screws – In case the new side fan doesn’t come with screws, make sure you have some spare screws of the appropriate size on hand.
Having these tools and materials readily available will ensure a smooth and hassle-free replacement process. It’s always a good idea to gather everything you need before starting to avoid unnecessary delays or interruptions.
Step 1: Turn off and unplug your computer
The first step in replacing a side fan in your PC case is to ensure the computer is turned off and unplugged from the power source. This is crucial for your safety and to prevent any damage to the computer or its components.
Start by shutting down your computer using the proper shutdown procedure. Once the computer has completely powered off, locate the power cord at the back of the computer or the power supply unit. Gently unplug the power cord from the outlet.
It’s essential to disconnect the power supply to avoid any electrical shocks while working on your computer. Additionally, turning off the computer ensures that the fans are not spinning and reduces the risk of injury.
If your computer has a power switch on the back of the case or the power supply unit, turn it off as well. This ensures that there is no residual power running through the system.
Once you’ve turned off and unplugged your computer, it’s a good idea to press the power button on the front of the case. This helps discharge any remaining power in the system and ensures a safer working environment.
Remember, taking the necessary precautions by turning off and unplugging your computer is crucial before proceeding with the side fan replacement. This step sets the foundation for a secure and efficient work process.
Step 2: Open the PC case
With your computer turned off and unplugged, it’s time to open the PC case to access the internal components, including the side fan. The exact method of opening the case depends on the design of your computer case.
Most PC cases have either a side panel or a top panel that can be removed to access the internal components. Look for screws or latches securing the panel in place. In many cases, you will need to remove a few screws along the edge of the panel.
Using your screwdriver, carefully unscrew and remove any screws securing the side panel or top panel. Place the screws in a safe location to avoid misplacement.
If your case has latches, press or push them to release the panel. Gently slide the panel towards the back or lift it upwards, depending on the design of your case. This will allow you to access the internal components.
Once the panel is removed, you will have a clear view of the components inside your PC case. Take a moment to familiarize yourself with the layout and locate the side fan that needs replacement.
It is important to handle the panel with care to avoid any damage. Place it on a clean and stable surface, ensuring it doesn’t get scratched or damaged in any way.
Now that your PC case is open, you’re ready to move on to the next step – identifying the faulty side fan that needs to be replaced.
Step 3: Identify the faulty side fan
With the PC case open, the next step is to identify the specific side fan that needs to be replaced. This will vary depending on the layout and configuration of your PC components.
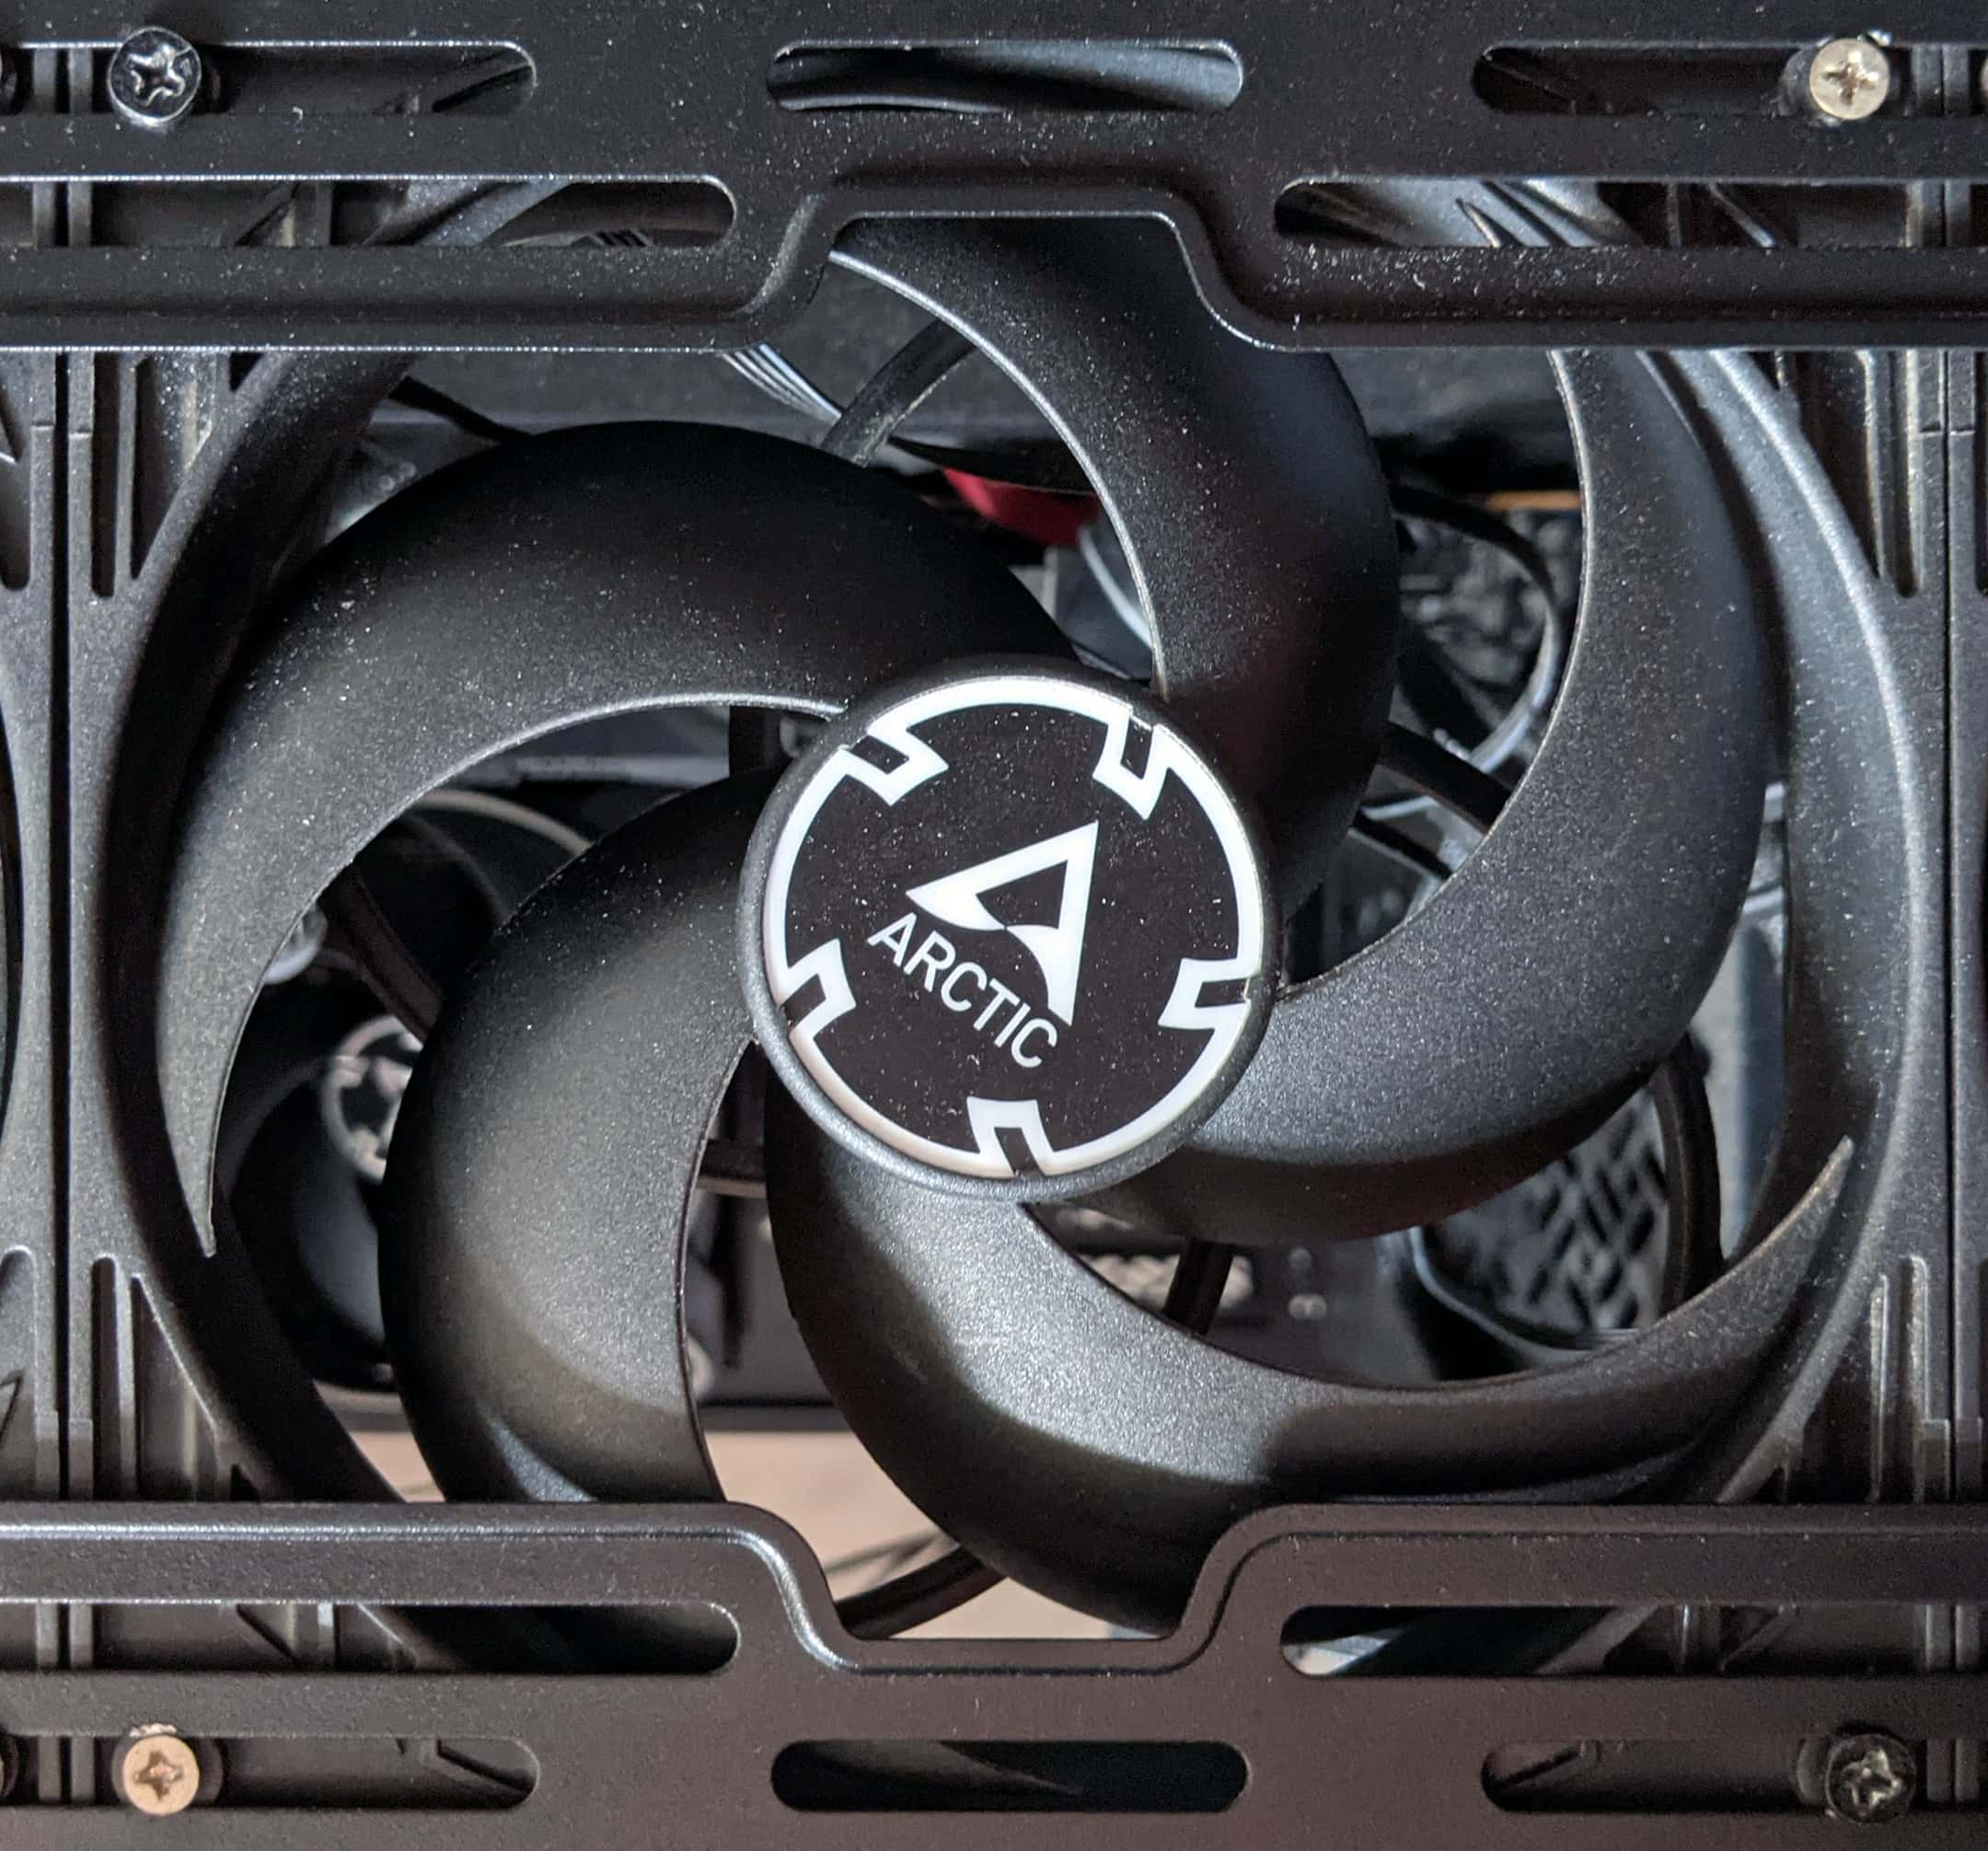
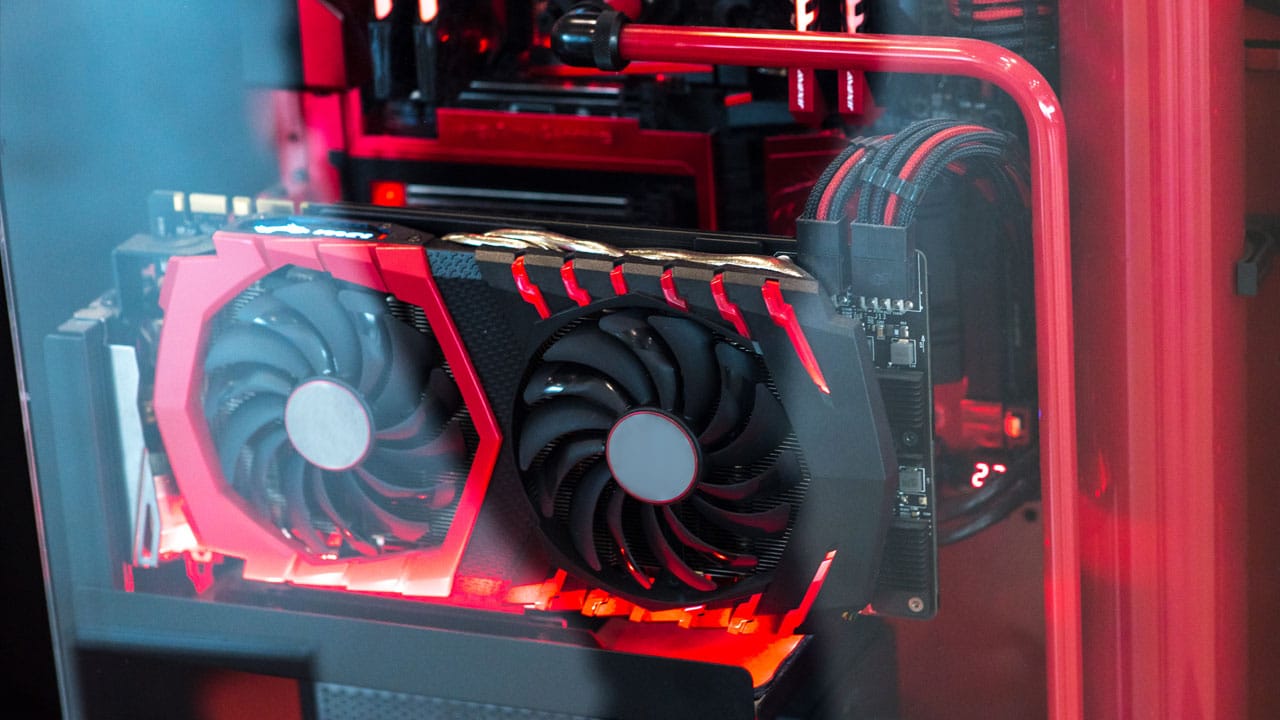
Begin by locating the side fan within the case. Side fans are typically situated towards the side panel, aimed at providing additional airflow to cool the graphics card, chipset, or other components.
Pay attention to the fan’s location and orientation. Take note of any specific markings or labels on the fan, as they can help you identify the model or type for replacement purposes.
Once you’ve found the side fan, inspect it visually for any signs of damage or malfunction. Look for issues such as excessive noise, irregular spinning, or visible damage to the blades. These are indications that the fan needs to be replaced.
If you’re unsure whether the fan is faulty, you can test its functionality by briefly powering on the computer while keeping a close eye on the fan’s performance. However, exercise caution while doing this and avoid touching any internal components to prevent any electrical hazards.
If the fan is not spinning properly, making unusual noises, or exhibiting any other symptoms of malfunction, it’s a clear sign that it needs to be replaced. However, if you’re uncertain about the fan’s condition, it’s best to err on the side of caution and replace it to ensure optimal cooling and prevent potential damage to your PC components.
Once you have confirmed which side fan needs replacement, you’re ready to move on to the next step – removing the old fan from the PC case.
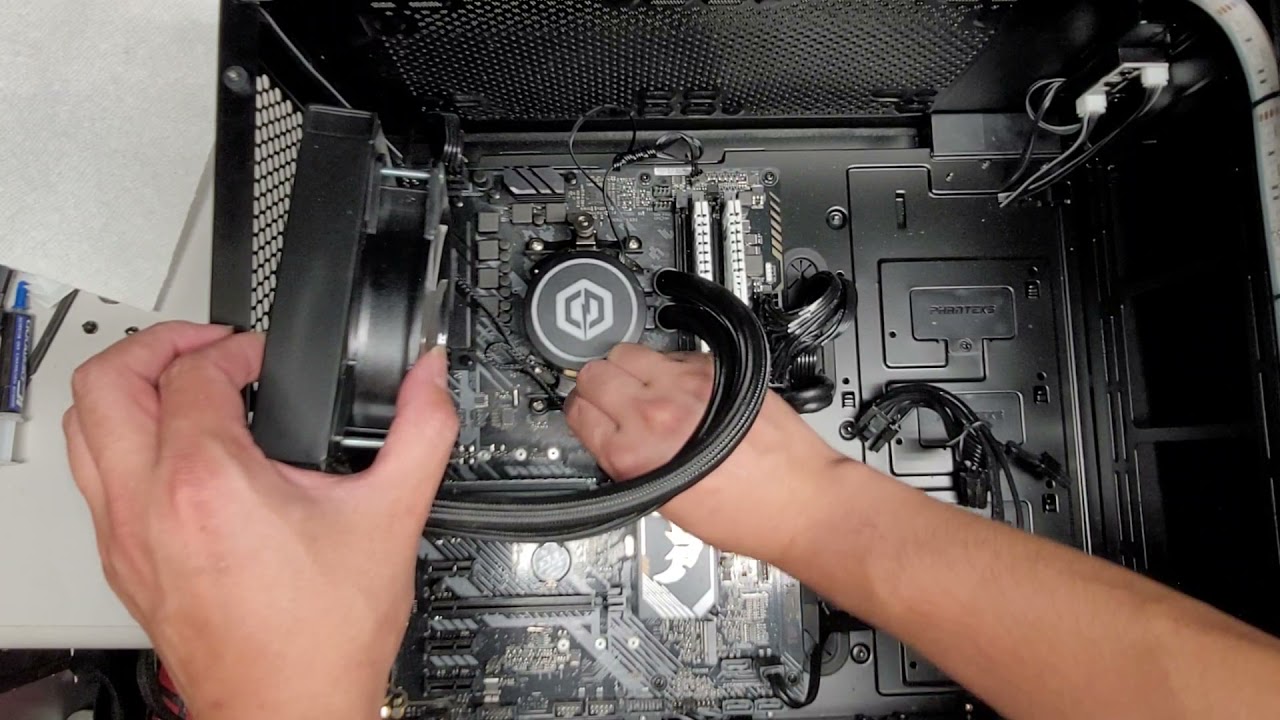
Step 4: Remove the old side fan
With the faulty side fan identified, it’s time to remove it from the PC case to make way for the new replacement fan. Follow these steps to safely remove the old side fan:
- Locate the screws or clips securing the fan to the side panel or the case itself. The number of screws may vary depending on the design of your PC case.
- Using a screwdriver, carefully unscrew and remove each screw that is holding the fan in place. Be gentle to avoid stripping the screws or damaging the fan or the case.
- If your fan is attached with clips, gently push or squeeze the clips to release the fan from its position. Take care not to apply excessive force that could cause any damage.
- Once the screws or clips are removed, the fan should be loose and easy to remove. Carefully lift the fan out of the case, paying attention to any cables connected to it.
- If there are any cables attached, disconnect them by gently pulling them away from the fan connectors. Take note of how the cables are connected, as this will help during the installation of the new fan.
- Set aside the old side fan in a safe place. You may want to inspect it further or dispose of it appropriately, depending on its condition.
By following these steps, you should successfully remove the old side fan from your PC case. This paves the way for the installation of the new fan, which we will cover in the next step.
Step 5: Install the new side fan
Now that you have removed the old side fan, it’s time to install the new replacement fan. Follow these steps to safely and securely install the new fan in your PC case:
- Take the new side fan out of its packaging and ensure all necessary accessories, such as screws, are included.
- Align the screw holes or mounting brackets of the new fan with the corresponding holes or brackets on the PC case.
- Hold the fan against the side panel or the designated area inside the case, ensuring it sits in the correct orientation for optimal airflow.
- Secure the fan in place by using the provided screws. Carefully thread the screws through the fan’s screw holes into the corresponding holes on the case or mounting brackets. Ensure the fan is tightly secured but be cautious not to overtighten and risk damaging the fan or the case.
- If your new fan includes mounting clips, follow the manufacturer’s instructions to attach them securely to the case.
- Double-check the fan’s alignment to ensure it does not interfere with any other components, cables, or obstruct the closing of the side panel.
With the new side fan securely installed in your PC case, you have taken a significant step towards improving the cooling performance of your computer. However, the installation process is not yet complete. The next step involves connecting the fan cables to ensure it receives power and operates correctly, which we will cover in the following step.
Step 6: Connect the fan cables
After installing the new side fan in your PC case, the next step is to connect the fan cables. This ensures that the fan receives power and operates correctly. Follow these steps to properly connect the fan cables:
- Locate the fan connector on your motherboard or fan controller. It is usually labeled as “SYS_FAN” or “CHA_FAN” and may be color-coded.
- Inspect the fan cables and identify the cable with the appropriate connector that matches the fan header on your motherboard or fan controller.
- Align the connector on the fan cable with the fan header and gently push it into place. Ensure that the connection is secure and fully seated.
- Take note of any additional connectors or cables on the fan, such as a separate connector for RGB lighting. If your fan has such features, connect the corresponding cables to their respective headers or controllers.
- For fans that utilize a fan controller, consult the manufacturer’s instructions to properly connect and configure the fan controller.
It is important to ensure a secure and proper connection of the fan cables to prevent issues such as fan failure or inconsistent operation. Take your time and double-check that all connections are secure before moving on to the next step.
With the fan cables properly connected, your newly installed side fan is now ready to provide efficient cooling to your PC components. The next step involves closing the PC case, which we will cover in the following section.
Step 7: Close the PC case
Once you have successfully installed the new side fan and connected the fan cables, it’s time to close the PC case and secure everything in place. Follow these steps to properly close your PC case:
- Ensure that all fan cables and any other loose cables are neatly tucked away and not obstructing any critical components.
- Carefully place the side panel back onto the PC case, aligning it with the corresponding slots or hinges.
- Gently slide the side panel or press it firmly into position, depending on the design of your case. Make sure it is aligned correctly and sits flush against the rest of the case.
- If there were any screws securing the side panel, reinsert them into the appropriate holes and tighten them using a screwdriver. Be careful not to overtighten the screws, as it may damage the case or strip the screw threads.
- Double-check that the panel is securely fastened and there are no gaps or loose areas.
By closing the PC case properly, you not only protect the internal components from dust and debris but also ensure optimal airflow for efficient cooling. It also helps maintain the aesthetic integrity of your PC case.
Now that the PC case is closed, you’re ready to move on to the final step – testing the newly installed side fan to ensure it’s functioning correctly.
Step 8: Test the new side fan
After installing and closing the PC case, it’s essential to test the new side fan to ensure that it is functioning correctly. Testing the fan will help ensure that it is providing proper airflow and cooling to your PC’s components. Here’s how to test the new side fan:
- Plug in and turn on your computer. Power it up according to the manufacturer’s instructions.
- Listen for any audible sounds coming from the fan. It should operate quietly without any rattling or abnormal noises. If you notice any strange sounds, it may indicate an issue with the fan’s installation or performance.
- Observe the operation of the fan blades. They should be spinning smoothly and consistently. If you notice any wobbling, irregular spinning, or the fan not spinning at all, it may indicate a problem that needs further attention.
- Monitor the temperature of your system after the fan has been running for a few minutes. Check for any noticeable improvements in temperature compared to before the fan replacement. Lower temperatures indicate proper cooling functionality.
If everything appears to be working correctly and the temperature is within acceptable ranges, your new side fan is functioning as intended. This ensures better airflow and cooling for your PC’s components, reducing the risk of overheating and potential hardware damage.
However, if you encounter any issues during the testing phase – such as abnormal noises or poor temperature regulation – it might be necessary to double-check the fan installation or consult the manufacturer’s troubleshooting guide for further assistance.
By testing the new side fan, you can have peace of mind knowing that your PC is receiving proper cooling and that the replacement process was successful. With the fan working effectively, your computer will be more reliable and able to handle demanding tasks without overheating.
Conclusion
Congratulations! You have successfully replaced the side fan in your PC case. By following the step-by-step guide outlined in this article, you have taken a significant step towards ensuring better airflow and cooling for your computer’s components.
Remember, a faulty side fan can lead to higher temperatures, which in turn can cause system instability and potential hardware damage. By replacing the fan, you have improved the overall efficiency and longevity of your computer.
We covered essential steps such as turning off and unplugging your computer, opening the PC case, identifying the faulty side fan, removing the old fan, and installing the new replacement fan. Additionally, we discussed connecting the fan cables, closing the PC case, and testing the new side fan to ensure its proper functionality.
Make sure to choose a replacement fan that is compatible with your PC case and meets your cooling needs. Remember to take necessary precautions, such as wearing an anti-static wristband and handling the components with care, to avoid any potential damage during the installation process.
Now that your computer is equipped with a new side fan, it’s time to enjoy improved cooling performance, reduced temperatures, and a more stable system. Take the time to monitor and maintain your PC’s fans regularly to ensure optimal performance and longevity.
If you encounter any issues or have further questions, don’t hesitate to consult the manufacturer’s documentation or seek professional assistance. With a properly functioning side fan, you can now enjoy a cooler and more efficient computing experience.
Thank you for following this guide, and we hope it has been helpful in your journey to replace the side fan in your PC case. Happy computing!