Introduction
Replacing a front case fan is an important maintenance task for preserving the lifespan and performance of your CyberpowerPC tower. The front case fan is responsible for cooling the internal components and ensuring optimal airflow within the computer case.
Over time, front case fans may become noisy, inefficient, or fail entirely, which can lead to overheating issues and potential damage to your system. By replacing the front case fan, you can improve airflow, reduce noise, and maintain a cool and stable operating environment for your computer.
In this guide, we will walk you through the step-by-step process of replacing a front case fan on your CyberpowerPC tower. Whether you are a seasoned computer enthusiast or a beginner, this tutorial will provide you with the knowledge and confidence to undertake this simple yet essential task.
Before we dive into the detailed steps, it’s important to note that computer hardware can be delicate, and precautions should be taken to prevent any accidental damage. Make sure to follow the instructions carefully and consult the manufacturer’s documentation if needed. Additionally, ensure you are working in a clean and static-free environment to minimize the risk of electrostatic discharge.
Now, let’s gather the necessary tools and equipment before we begin the process of replacing the front case fan on your CyberpowerPC tower.
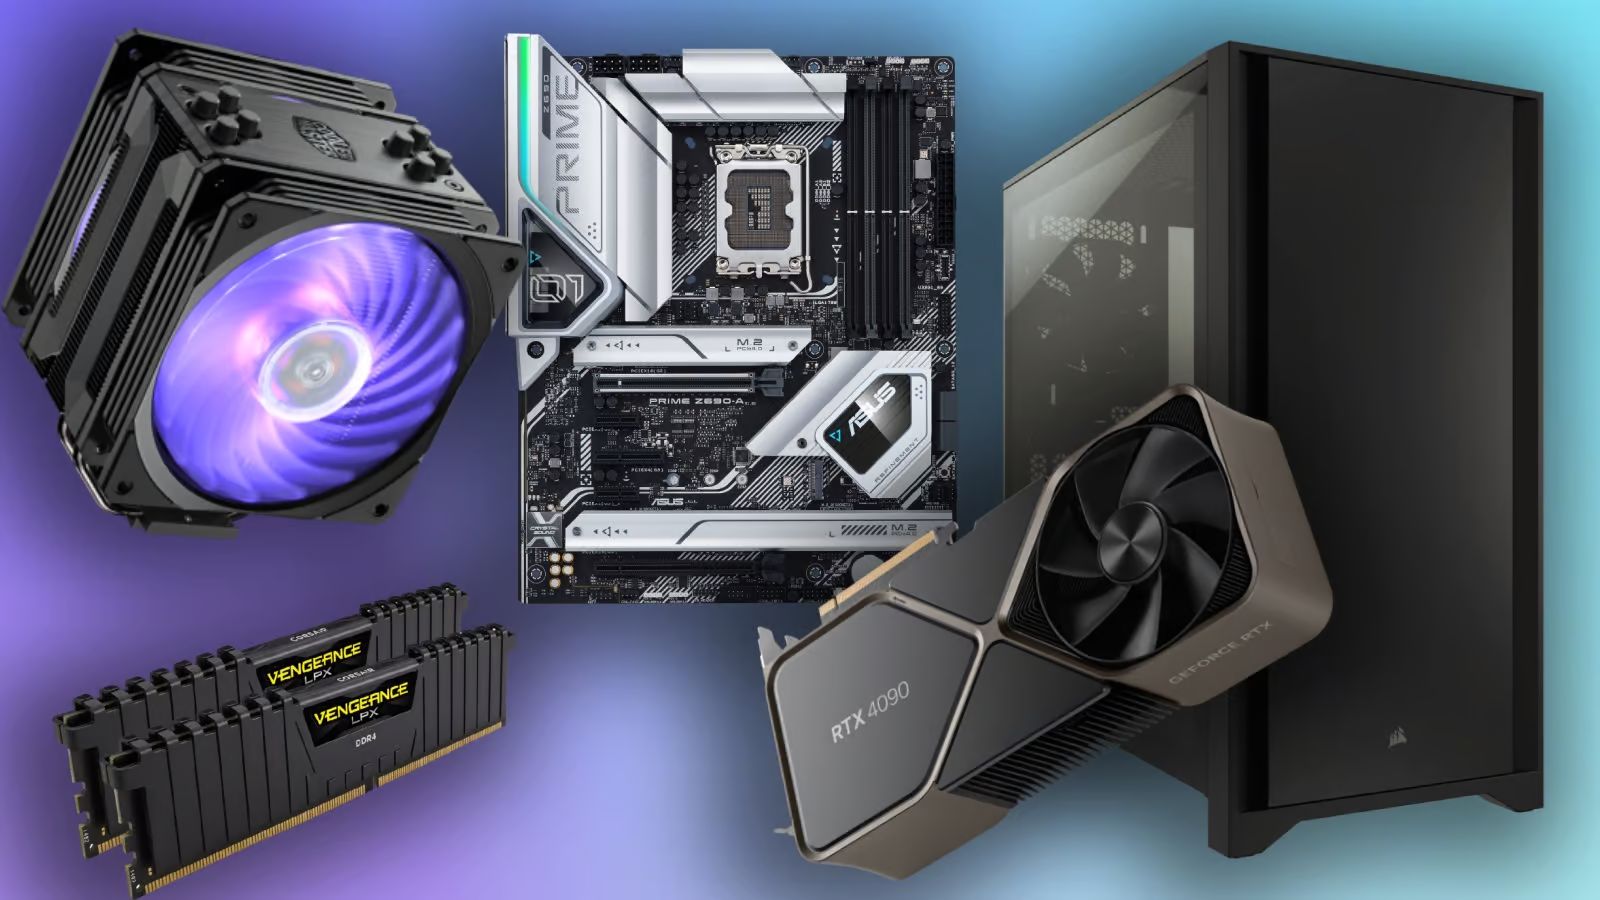
Step 1: Gather the necessary tools and equipment
Before you start replacing the front case fan on your CyberpowerPC tower, it’s important to ensure you have all the necessary tools and equipment. Having everything prepared beforehand will help streamline the process and prevent any unnecessary delays or interruptions.
Here’s a list of the tools and equipment you’ll need:
- Screwdriver set: A set of screwdrivers with various sizes and types will be required to remove and install screws.
- New front case fan: Make sure to purchase a compatible replacement fan for your specific CyberpowerPC model. Check the dimensions and connector type of the original fan for reference.
- Anti-static wrist strap: This will help protect your computer components from static electricity, which can damage sensitive electronics.
- Compressed air can or air blower: It’s recommended to clean the inside of the computer case and remove any dust or debris before installing the new fan.
- Cable ties or zip ties: You may need these to manage and secure the cables during the installation process.
Once you have gathered all the necessary tools and equipment, you’re ready to proceed to the next step: powering down the computer and disconnecting all cables.
Step 2: Power down the computer and disconnect all cables
Before you begin working on your CyberpowerPC tower, it’s crucial to power it down and disconnect all cables. This will ensure your safety and prevent any potential electrical damage to your system.
Follow these steps to power down the computer and disconnect all cables:
- Save your work and close all open applications to prevent data loss.
- Shut down the computer by clicking on the “Start” button in the bottom left corner of the screen. Then select “Shut down” from the options.
- Once the computer is completely shut down, unplug the power cord from the electrical outlet.
- Next, carefully disconnect all cables connected to the back of the computer, including the power cable, monitor cable, keyboard, mouse, and any other peripherals.
- Take note of the plugs and connectors to ensure you can reconnect them correctly later on.
By powering down the computer and disconnecting all cables, you eliminate any risk of electrical shock and provide a safe environment to work on your CyberpowerPC tower. Now that you’ve completed this step, you’re ready to move on to the next section: opening the computer case.
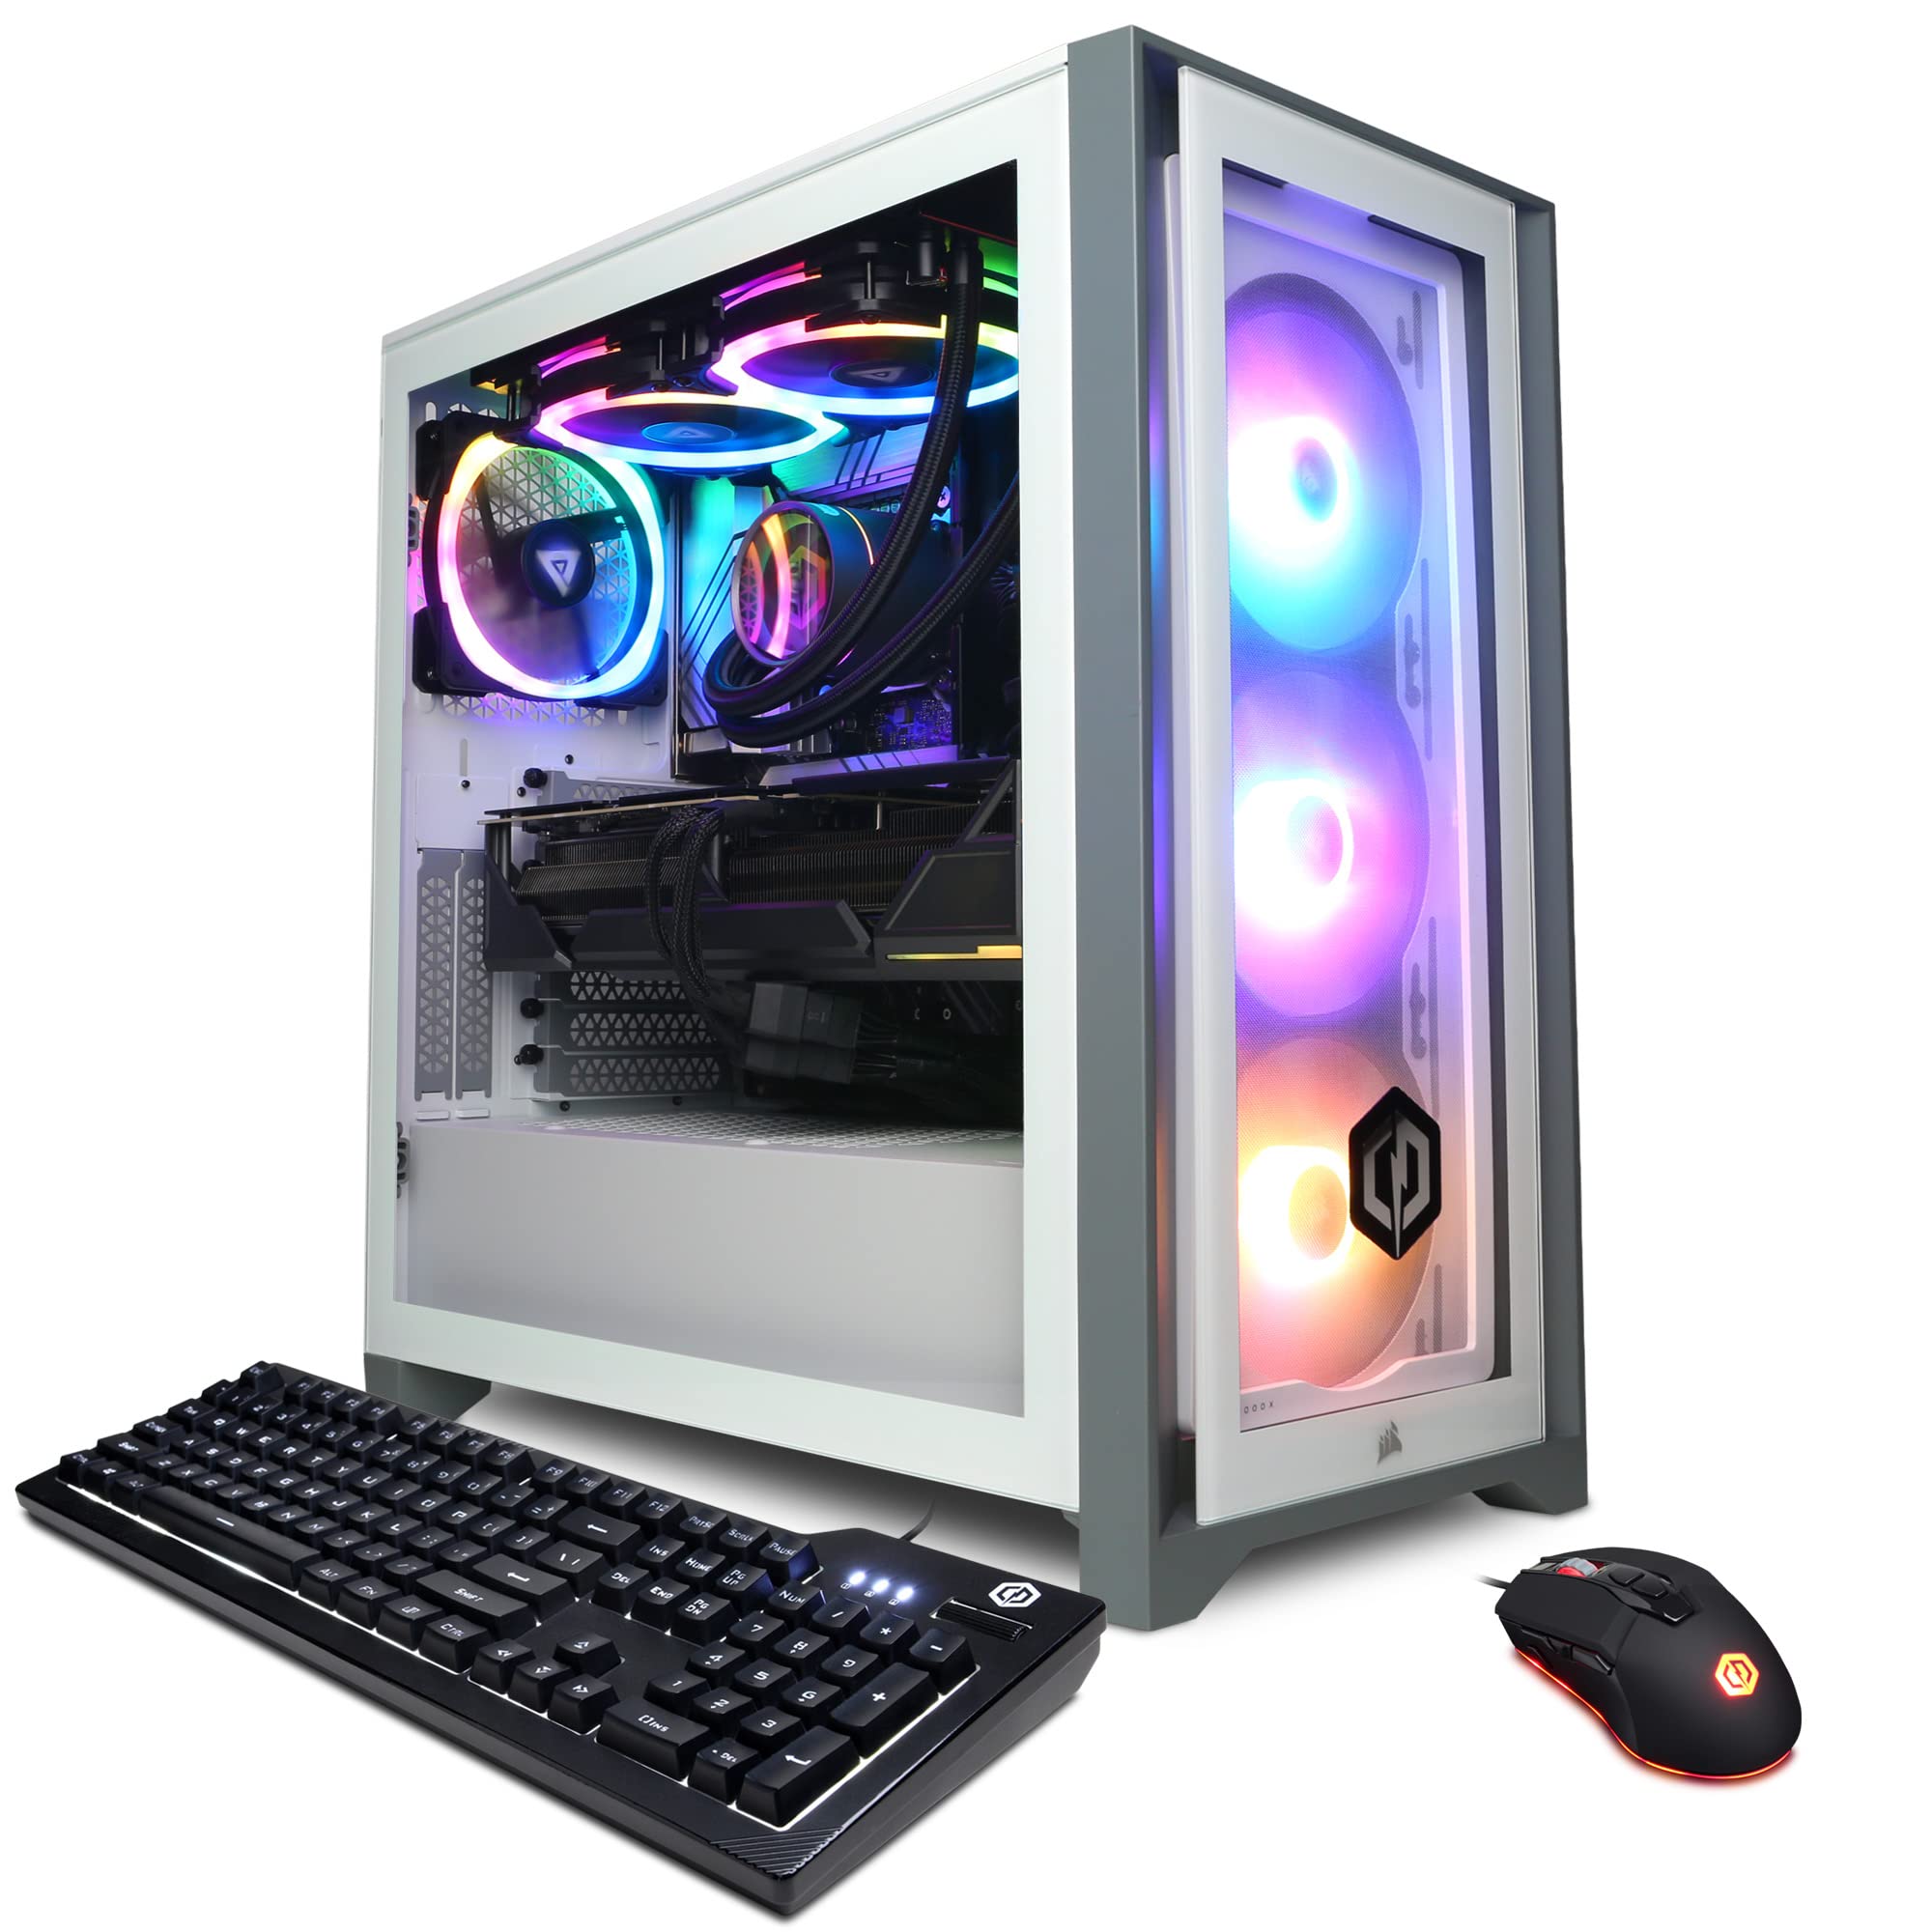
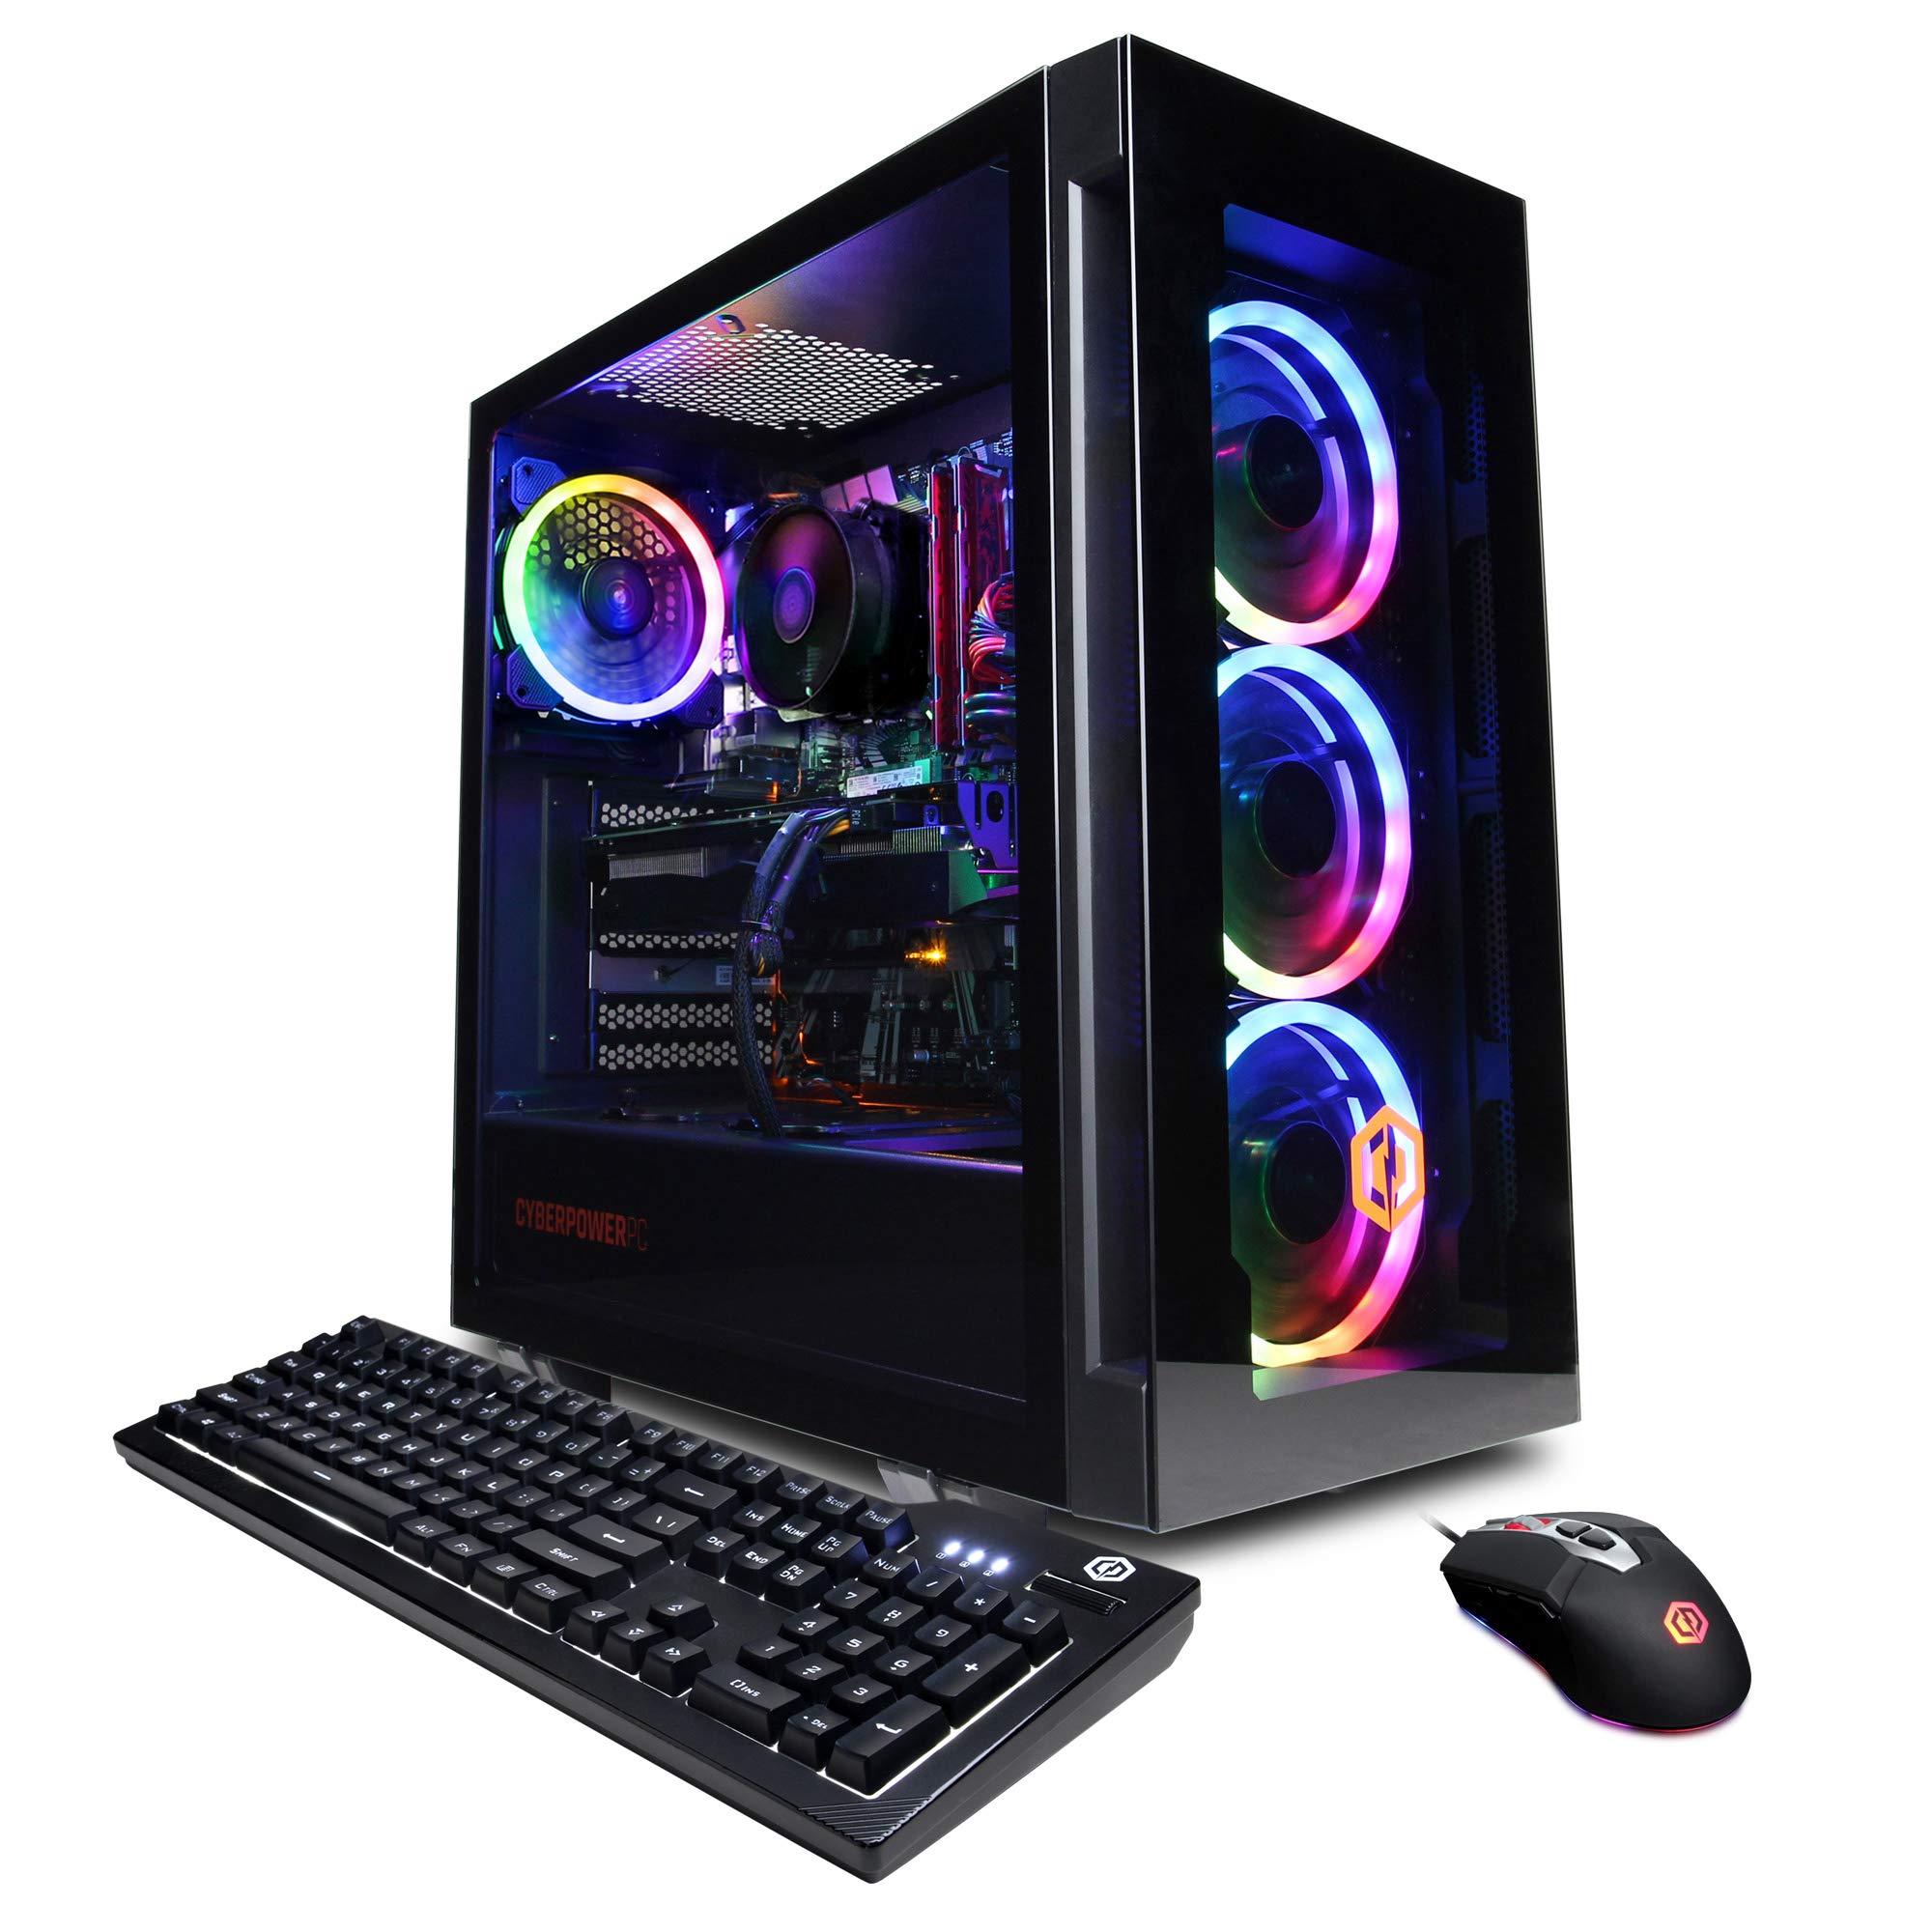
Step 3: Open the computer case
To replace the front case fan on your CyberpowerPC tower, you’ll need to open the computer case. This will grant you access to the internal components, including the existing fan that needs to be replaced. Follow these steps to safely open the computer case:
- Find the screws or latches securing the side panel of the computer case. These are typically located on the back or side of the tower.
- Using a screwdriver or releasing the latches, remove the screws or unlock the latches holding the side panel in place.
- Gently slide off or swing open the side panel to expose the internal components of the computer.
- Place the removed side panel in a safe location where it won’t be damaged or cause any obstruction.
- Take a moment to familiarize yourself with the inside of the computer case. Identify the existing front case fan, which is usually positioned at the front of the case, near the bottom.
It’s important to handle the computer case with care to avoid any unnecessary damage. Take note of any wires or cables that may be connected to the side panel and ensure they don’t get tangled or disconnected when removing it. Once you’ve successfully opened the computer case and located the front case fan, you’re ready to move on to the next step: identifying the front case fan.
Step 4: Identify the front case fan
Before proceeding with the replacement of the front case fan on your CyberpowerPC tower, it’s important to identify the exact location and specifications of the existing fan. This will ensure that you choose the correct replacement and make the installation process smoother. Follow these steps to identify the front case fan:
- Take a close look at the front of the computer case. The front case fan is typically positioned near the bottom of the case, behind a mesh or grill.
- Observe the size and shape of the existing fan. Common sizes include 120mm, 140mm, and 200mm. Make a note of the dimensions so you can purchase a replacement fan of the same size.
- Inspect the mounting mechanism used for the current fan. It may be held in place by screws, clips, or a combination of both. Understanding the mounting method will help when it comes time to remove the old fan.
- Check the connector type of the existing fan. Most modern fans use a 3-pin or 4-pin connector to connect to the motherboard. Ensure that the replacement fan you choose has a compatible connector.
- If possible, take note of the brand and model of the existing fan. This information can be useful for finding an exact replacement or determining any specific compatibility requirements.
By carefully determining the specifications of the existing front case fan, you’ll be better equipped to choose the right replacement and avoid any compatibility issues. Once you’ve successfully identified the front case fan, you’re ready to move on to the next step: removing the old fan.
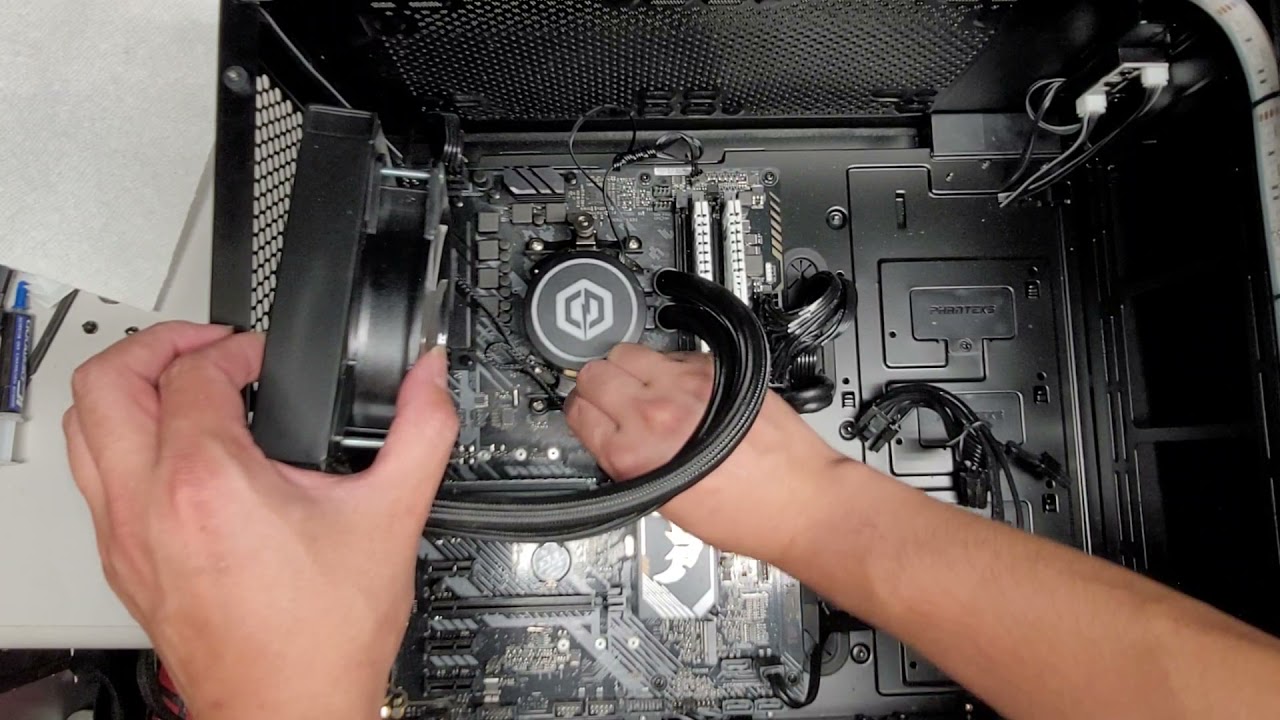
Step 5: Remove the old front case fan
Now that you have identified the front case fan on your CyberpowerPC tower, it’s time to remove the old fan. Removing the old fan is necessary to make way for the new replacement. Follow these steps to safely remove the old front case fan:
- Locate the screws or clips holding the old fan in place. These are typically positioned at the corners of the fan or along the edges.
- Using the appropriate tool, such as a screwdriver or your fingers, carefully remove the screws or unclip the fan from its mounting mechanism. Be gentle to avoid breaking any components or damaging the fan.
- Once the screws or clips are removed, gently disconnect the fan’s power connector from the motherboard or fan controller. Hold onto the connector and pull it straight out to avoid damaging the connection or wires.
- If there are any cables or wires attached to the fan, carefully detach them by unplugging them or releasing any clips or connectors. Take note of the arrangement and routing of these cables for later reference.
- With all the screws, clips, and cables disconnected, carefully lift and remove the old front case fan from the computer case. Place it aside for proper disposal or recycling, as electronic waste should be disposed of responsibly.
It’s important to handle the old fan with care and avoid placing any unnecessary stress on the connectors or wires. Clearing the space by removing the old fan will allow you to seamlessly install the new replacement. With the old fan successfully removed, you’re now ready to move on to the next step: installing the new front case fan.
Step 6: Install the new front case fan
With the old front case fan removed from your CyberpowerPC tower, it’s time to install the new replacement fan. Installing the new fan properly will ensure optimal cooling and airflow within your computer case. Follow these steps to install the new front case fan:
- Take the new front case fan and orient it in the correct direction. Most fans have arrows or labels indicating the airflow direction. Make sure the new fan is positioned to blow air into the computer case.
- Align the mounting holes or clips on the fan with the corresponding holes or slots in the computer case. Ensure a proper fit so that the fan sits securely in place.
- If the fan uses screws for mounting, insert the screws through the fan’s holes and into the corresponding holes in the computer case. Gently tighten the screws, but be careful not to overtighten, as it may damage the fan or the case.
- If the fan uses clips for mounting, carefully attach the clips to the fan and secure them in place. Refer to the manufacturer’s instructions for specific guidance on the clip attachment process.
- If there are any cables or wires connected to the new fan, make sure to route them neatly and connect them to the appropriate locations. Use cable ties or zip ties to secure the cables and prevent them from obstructing the fan’s movement or other components.
- Double-check all the connections and ensure that the fan is firmly and securely installed.
By properly installing the new front case fan, you’ll improve the cooling efficiency and help maintain a stable operating temperature for your CyberpowerPC tower. Once the new fan is securely installed, you’re ready to move on to the next step: connecting the new front case fan to the motherboard.
Step 7: Connect the new front case fan to the motherboard
After installing the new front case fan on your CyberpowerPC tower, the next step is to connect it to the motherboard. This connection allows the fan to receive power and be controlled by the system. Follow these steps to connect the new front case fan to the motherboard:
- Locate the fan header on the motherboard. This is typically labeled as “CHA_FAN” or “SYS_FAN” and is positioned near the fan mounting area.
- Take the fan’s power connector, which is typically a 3-pin or 4-pin connector, and align it with the pins on the fan header.
- Gently insert the power connector into the fan header, ensuring that it is seated properly. Take care not to bend any pins or force the connector into place.
- If your new fan has additional features, such as RGB lighting or fan speed control, check the manufacturer’s instructions to properly connect any additional cables or connectors to the appropriate motherboard headers.
- Once the fan is properly connected, double-check all the connections to ensure a secure and reliable connection.
By connecting the new front case fan to the motherboard, you enable the system to control the fan’s speed and ensure proper operation. This connection is crucial for maintaining a well-regulated and efficient cooling system for your CyberpowerPC tower. With the new fan successfully connected to the motherboard, you’re ready to move on to the next step: closing the computer case.
Step 8: Close the computer case
With the new front case fan installed and connected to the motherboard in your CyberpowerPC tower, it’s time to close the computer case. Closing the case will not only protect the internal components from dust and damage but also ensure proper airflow within the system. Follow these steps to close the computer case:
- Carefully align the side panel of the computer case with the edges of the case.
- Gently slide the side panel back into place or close it as per the design of your tower.
- Secure the side panel with the screws or latches you removed earlier. Make sure each screw is well tightened, but avoid overtightening to prevent damage.
- Double-check that the side panel is securely attached and there are no gaps or loose parts.
Closing the computer case is an essential step to protect the internal components and maintain proper airflow within the system. It ensures that the newly installed fan can function optimally to cool down the components effectively. With the computer case successfully closed, you’re ready to move on to the final step: powering up the computer and testing the new fan.
Step 9: Power up the computer and test the new fan
After closing the computer case and ensuring everything is securely in place, it’s time to power up the computer and test the newly installed front case fan in your CyberpowerPC tower. Testing the fan will ensure it is functioning correctly and providing the expected cooling performance. Follow these steps to power up the computer and test the new fan:
- Plug the power cable back into the electrical outlet.
- Reconnect all the cables that were disconnected earlier, including the power cable, monitor cable, keyboard, mouse, and any other peripherals.
- Double-check that all the connections are secure and properly seated.
- Press the power button on your computer to turn it on.
- Listen for any abnormal noises coming from the newly installed front case fan. A faint hum is normal, but loud grinding or clicking sounds may indicate an issue. If you notice any unusual sounds, power down the computer and recheck the fan installation.
- Monitor the fan’s performance, ensuring that it spins smoothly and consistently. You can use monitoring software or BIOS settings to check the fan speed and adjust it if necessary.
- Observe the computer’s temperature and ensure that the new fan is effectively cooling the components.
By powering up the computer and testing the new front case fan, you can ensure that it is functioning properly and providing the necessary cooling for your CyberpowerPC tower. If everything appears to be working as expected, congratulations! You have successfully replaced the front case fan. However, if you encounter any issues, such as high temperatures or fan failures, it is advisable to consult a professional or reach out to customer support for further assistance.
Conclusion
Replacing a front case fan in your CyberpowerPC tower is a relatively simple yet essential task that can greatly enhance the cooling efficiency and overall performance of your computer. By following the step-by-step instructions outlined in this guide, you can successfully replace the front case fan without any difficulty.
Throughout this process, we have highlighted the importance of gathering the necessary tools and equipment, powering down the computer, opening the case, identifying the existing fan, removing the old fan, installing the new fan, connecting it to the motherboard, closing the computer case, and finally, powering up the computer and testing the new fan.
Remember to exercise caution and handle the hardware with care to avoid any accidental damage. Always consult the manufacturer’s documentation or seek professional assistance if you face any uncertainties or difficulties during the process.
With a new front case fan, you can ensure proper airflow, reduce noise, and maintain a cool and stable operating environment for your CyberpowerPC tower. Regularly replacing and maintaining your computer’s fans is crucial for the longevity and optimal performance of your system.
We hope this guide has empowered you with the knowledge and confidence to replace the front case fan easily. By taking proactive steps to maintain your computer’s cooling system, you can enjoy a smoothly running CyberpowerPC tower for years to come.