Introduction
Removing the entire PC case from your CyberpowerPC is a task that may seem daunting at first, but with the right tools and a step-by-step approach, it can be a relatively straightforward process. Whether you need to upgrade components, clean the case thoroughly, or troubleshoot hardware issues, knowing how to remove and reassemble the PC case is essential.
In this guide, we will provide you with a detailed walkthrough on how to remove the entire PC case from your CyberpowerPC. We will go through each step, from gathering the necessary tools to cleaning and reassembling the case after the removal process. By following these steps carefully, you can ensure a successful and hassle-free removal.
It’s important to note that removing the PC case requires a certain level of technical knowledge and careful handling of the computer components. If you are not confident in your abilities, it is always a good idea to seek professional assistance or consult the manufacturer’s documentation.
Now, let’s dive into the step-by-step process of removing the entire PC case from your CyberpowerPC.
Step 1: Gathering the necessary tools
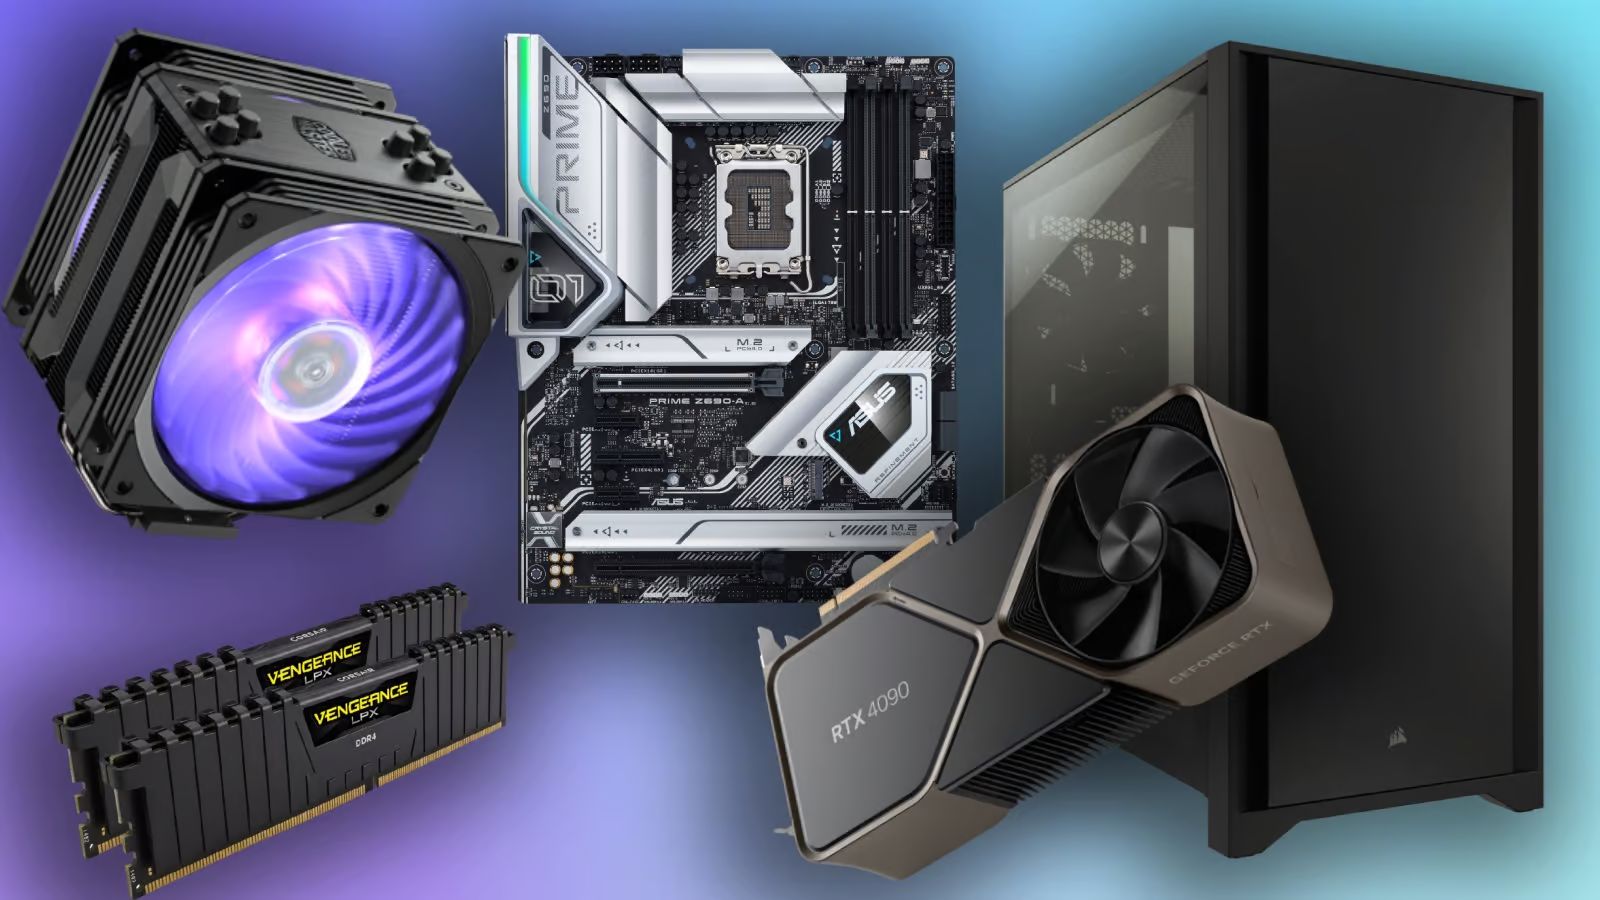
Before you begin removing the entire PC case from your CyberpowerPC, it’s important to gather all the necessary tools. Having the right tools on hand will make the process smoother and more efficient. Here is a list of tools you will need:
- Screwdriver set: A variety of screwdrivers, both Phillips and flathead, will be required to remove screws on different parts of the case.
- Anti-static wrist strap: This will help protect your components from static electricity and prevent damage.
- Cable ties: These can be used to organize cables and keep them out of the way during the removal process.
- Compressed air canister or air blower: This is essential for cleaning the case and removing dust and debris.
- Isopropyl alcohol and lint-free cloth: These will help you clean components and surfaces.
- Plastic or rubber gloves: Gloves can help protect delicate components and prevent fingerprints or smudges.
- Flashlight: A flashlight can help you see and navigate the inside of the case more easily.
Make sure you have all the tools gathered and organized before you begin the removal process. This will save you time and prevent any unnecessary delays or interruptions.
Now that you have your tools ready, you’re prepared to move on to the next step: preparing the computer for removal.
Step 2: Preparing the computer for removal
Before you start removing the entire PC case from your CyberpowerPC, it’s crucial to properly prepare the computer to ensure a safe and smooth removal process. Here are the steps to follow:
- Turn off the computer: Shut down your computer properly before beginning the removal process. This is important to avoid any potential damage to the components or data loss.
- Unplug the power cord: Disconnect the power cord from the wall outlet to ensure the computer is completely disconnected from the power source. This step is essential to prevent any electrical accidents while working on the PC case.
- Ground yourself: To prevent electrostatic discharge (ESD) damage to the sensitive components inside the computer, it’s vital to ground yourself. You can do this by wearing an anti-static wrist strap or by touching a grounded metal object before touching any of the components.
- Clear your workspace: Make sure you have enough space to work comfortably. Remove any potential obstacles or clutter around your workspace to avoid accidents and to have easy access to the computer.
By following these preparation steps, you will ensure the safety of both yourself and your computer during the removal process. Once the computer is properly prepared, you are ready to move on to the next step: disconnecting external wires and cables.
Step 3: Disconnecting external wires and cables
Now that your CyberpowerPC is properly prepared, it’s time to disconnect the external wires and cables. This step will ensure that the PC case can be removed without any obstructions. Follow these steps:
- Unplug all peripherals: Disconnect any external devices connected to your computer, such as monitors, keyboards, mice, speakers, and USB devices. Take note of their positions and connections to make reassembly easier later.
- Remove network cables: If your computer is connected to a network via Ethernet cable, unplug the cable from both your computer and the router.
- Disconnect audio connections: If you have any audio peripherals connected to your computer, such as headphones or speakers, unplug them from the audio jacks on your PC.
- Remove other miscellaneous cables: Check for any other cables that may be attached to your computer, such as HDMI, DisplayPort, or VGA cables, and disconnect them accordingly.
During this process, take care not to pull on the cables directly, as this may damage both the cables and the ports. Instead, grasp the connectors firmly and gently pull them out. If any cables are tangled or difficult to remove, take your time to untangle and detach them properly.
Once all the external wires and cables are disconnected, you can proceed to the next step: removing the side panel of the PC case.
Step 4: Removing the side panel
With the external wires and cables disconnected, the next step in removing the entire PC case from your CyberpowerPC is to remove the side panel. This will provide access to the internal components of the computer. Follow these steps:
- Locate the screws: Examine the back or side of the PC case to find the screws securing the side panel. In most cases, you will find two or more screws holding the panel in place.
- Using a screwdriver: Select the appropriate screwdriver from your toolkit and carefully remove the screws that are securing the side panel. Place the screws in a safe location to avoid misplacing them.
- Slide or pivot the side panel: Once the screws are removed, gently slide or pivot the side panel to detach it from the case. Some cases may have a latch or release mechanism that needs to be engaged to remove the panel.
- Set aside the side panel: Once the side panel is detached, set it aside in a safe place. You may want to place it on a soft and clean surface to prevent any scratches or damage.
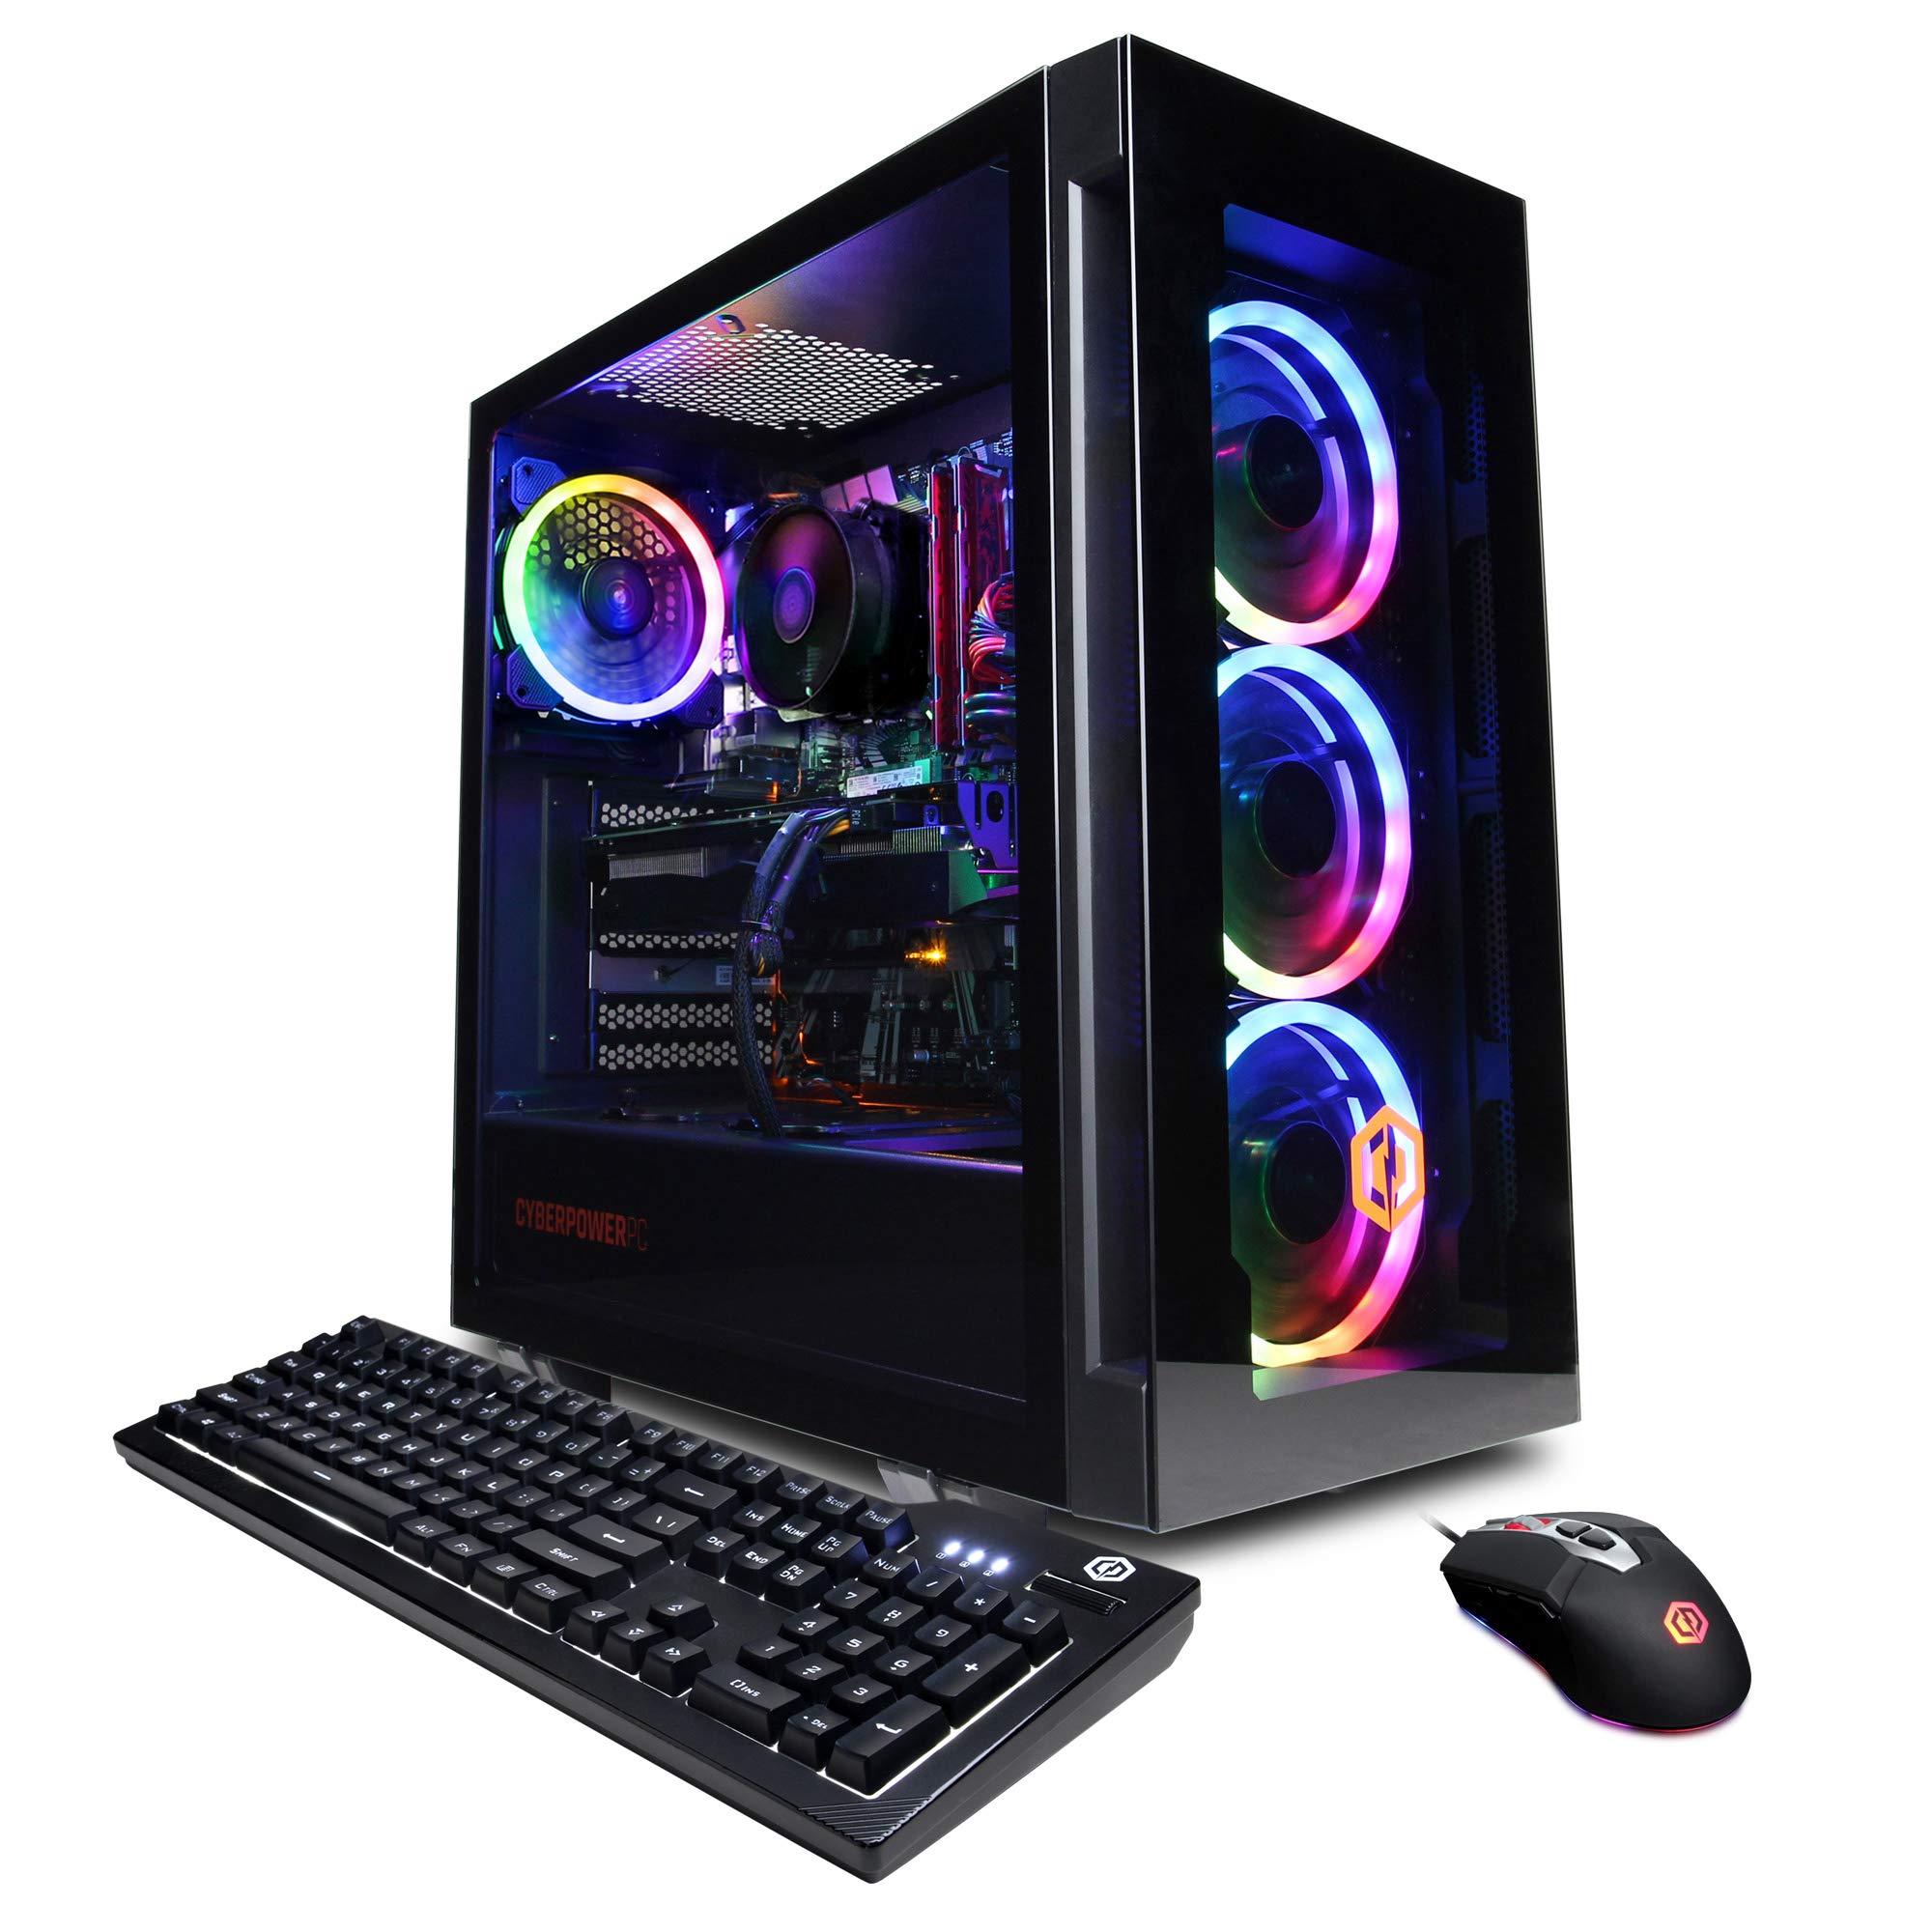
Removing the side panel will expose the internal components of your CyberpowerPC, such as the motherboard, graphics card, and storage drives. Take a moment to familiarize yourself with the layout inside the case before proceeding to the next step.
Now that the side panel is removed, you are ready to move on to the next step: detaching the power supply unit.
Step 5: Detaching the power supply unit
After removing the side panel of your CyberpowerPC, the next step is to detach the power supply unit (PSU). The PSU provides power to all the components inside the computer. Follow these steps to safely remove the PSU:
- Locate the PSU: Identify the power supply unit inside the case. It is usually located at the top or bottom of the case, and it will have multiple cables connected to it.
- Unplug the power cables: Begin by disconnecting all power cables connected to the PSU. These cables include the main 24-pin power connector, CPU power connector, and any peripheral power connectors.
- Unscrew the PSU: Once the cables are disconnected, locate the screws or mounting bracket securing the PSU to the case. Use a screwdriver to remove these screws carefully.
- Remove the PSU: After the screws are removed, gently slide the power supply unit out of its position. Take care not to damage any other components while doing so.
It is important to note that some PCs may have additional custom components or cable management systems that may require you to untangle or remove cables before fully detaching the PSU. Take your time and be mindful of any cable organization or routing systems.
Once the power supply unit is fully detached, set it aside in a safe place. You can now proceed to the next step: unplugging and removing additional components from your CyberpowerPC.
Step 6: Unplugging and removing additional components
With the power supply unit detached, it’s time to unplug and remove any additional components from your CyberpowerPC. This step will allow you to have a clear workspace and easy access to the remaining components inside the case. Follow these steps:
- Identify additional components: Take a look inside the case and identify any other components that are still connected, such as graphics cards, RAM modules, storage drives, and expansion cards.
- Unplug cables and connectors: Carefully disconnect any cables or connectors attached to these components. Pay attention to how they are connected and ensure that you detach them gently to avoid any damage.
- Remove screws or brackets: If any components are secured with screws or brackets, use a screwdriver to remove them. Keep track of the screws and place them in a safe spot.
- Take out the components: Once the cables and screws are removed, gently take out the additional components one by one. Store them safely in an anti-static bag or on a soft surface to prevent damage.
As you remove each component, it can be helpful to make note of their positions and connections for easier reassembly later. Take your time and be cautious while handling these components, as they are delicate and should be handled with care.
Once all the additional components are unplugged and removed, you will have a clearer view of the remaining components in the case. In the next step, we will focus on removing the motherboard itself.
Step 7: Removing the motherboard
Now that you have unplugged and removed the additional components from your CyberpowerPC, it’s time to remove the motherboard. The motherboard is the central hub that connects all the essential components in your computer. Follow these steps to safely remove the motherboard:
- Identify the motherboard: Locate the motherboard inside the case. It is the largest circuit board and is usually mounted horizontally.
- Disconnect cables and connectors: Check for any cables or connectors that are still connected to the motherboard, such as power cables, data cables, and front panel connectors. Carefully unplug these cables, making note of their positions.
- Remove screws and standoffs: Look for screws securing the motherboard in place. Use a screwdriver to carefully remove these screws. Take note of any standoffs attached to the case; these should be unscrewed as well.
- Gently lift the motherboard: With all the screws and standoffs removed, carefully lift the motherboard from the case. Support it evenly with both hands to prevent any bending or flexing. Take your time to ensure a smooth and steady removal.
When removing the motherboard, be cautious of any cables that may still be connected to it, such as the CPU cooler power cable or any fan cables. Detach these cables before fully lifting the motherboard out of the case.
Once the motherboard is fully removed, place it in an anti-static bag or on a non-conductive surface to protect it from any potential damage. You’re now ready to move on to the next step: removing the hard drives and optical drives from your CyberpowerPC.
Step 8: Removing the hard drives and optical drives
With the motherboard removed, it’s time to focus on removing the hard drives and optical drives from your CyberpowerPC. These drives store your data and allow you to read or write information. Follow these steps to safely remove them:
- Identify the drives: Locate the hard drives and optical drives inside the case. The hard drives are usually rectangular, while the optical drives are slim and have a disc tray.
- Disconnect cables: Check for any cables connected to the drives, including the power and data cables. Gently unplug these cables from the drives and take note of their positions.
- Remove screws or brackets: Look for screws or brackets securing the drives in place. Use a screwdriver to carefully remove these screws or brackets. Keep the screws in a safe place for reassembly.
- Detach the drives: Once the screws or brackets are removed, carefully slide or lift the drives out of their respective bays. Take care not to damage any other components in the process.
When removing the hard drives or optical drives, it’s important to handle them with care. The drives are sensitive to shock or static electricity, so avoid touching the circuit boards or any exposed connectors. Hold them by the edges and avoid putting excessive force on any fragile parts.
After removing the drives, place them in anti-static bags or on a non-conductive surface to protect them from any potential damage.
With the hard drives and optical drives removed, you’re now ready to move on to the next step: removing the cooling system from your CyberpowerPC.
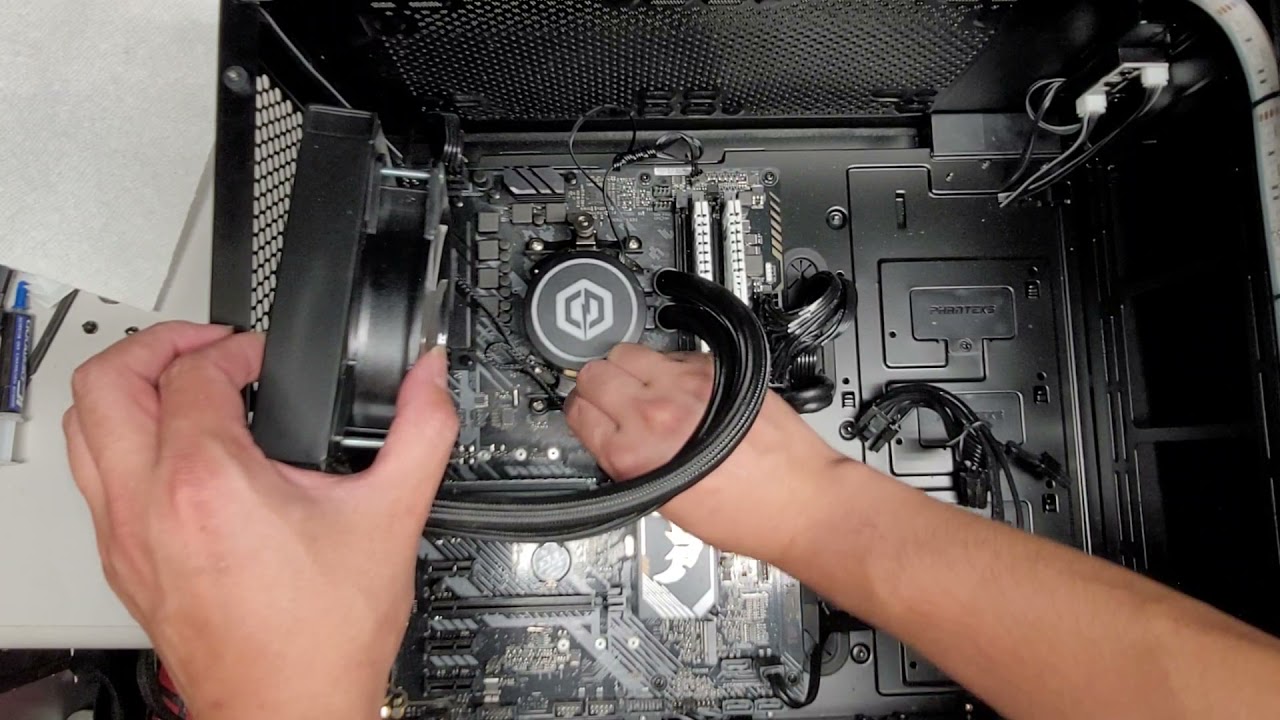
Step 9: Removing the cooling system
Now that the hard drives and optical drives have been removed from your CyberpowerPC, it’s time to focus on removing the cooling system. The cooling system ensures that your computer remains at a safe operating temperature by dissipating heat. Follow these steps to safely remove the cooling system:
- Identify the cooling components: Take a look inside the case to identify the cooling system components. This may include the CPU cooler, case fans, or liquid cooling components.
- Unplug fan cables: If there are any fan cables connected to the motherboard or fan headers, unplug them carefully. Make note of their positions to aid in reassembly.
- Remove the CPU cooler: If you’re removing a CPU cooler with a heatsink and fan, locate the mounting brackets or screws that hold it in place. Use a screwdriver to carefully remove these brackets or screws, then gently lift the cooler off the CPU.
- Detach case fans: If there are any case fans mounted to the case, locate the screws or mounting brackets securing them. Use a screwdriver to remove these screws, then carefully slide or lift the fans out of their mounting positions.
- Uninstall liquid cooling components (if applicable): If your CyberpowerPC has a liquid cooling system, refer to the manufacturer’s instructions to properly uninstall it. This may involve disconnecting tubes, draining the liquid, or removing the radiator and pump.
When removing the cooling system, be cautious to avoid applying excessive force or causing damage to any components. Take your time to ensure a smooth and careful removal process.
Once the cooling system components are removed, set them aside in a safe place. You’re now ready to move on to the next step: removing any remaining components from your CyberpowerPC.
Step 10: Removing any remaining components
With the cooling system removed from your CyberpowerPC, it’s time to focus on removing any remaining components from the case. This step ensures that you have a clear workspace and can thoroughly clean the case if necessary. Follow these steps:
- Check for any remaining components: Take a close look inside the case to identify any lingering components. This may include small add-on cards, cables, or brackets.
- Disconnect cables: If there are any cables still connected to these remaining components, carefully unplug them. Make note of their positions to aid in reassembly.
- Remove screws or brackets: If these remaining components are held in place by screws or brackets, use a screwdriver to remove them. Keep the screws in a safe place for reassembly.
- Gently remove the components: Once any screws or brackets are removed, gently lift or slide out the remaining components. Take care not to damage any other parts of the case or components.
During this step, it’s important to be thorough and meticulous. Double-check all areas of the case to ensure that there are no overlooked components that could hinder the reassembly process or impede future upgrades.
After the remaining components are removed, set them aside in a safe place. Your CyberpowerPC case is now empty and ready for cleaning or reassembly.
Now that you have removed all the necessary components, it’s time to move on to cleaning and reassembling the PC case in the next step.
Step 11: Cleaning and reassembling the PC case
After removing all the components from your CyberpowerPC case, it’s important to clean it thoroughly before reassembling. Cleaning the case helps eliminate dust, dirt, and any residue that may have accumulated over time. Follow these steps to clean and reassemble the PC case:
- Clean the case interior: Use a can of compressed air or an air blower to blow out any dust or debris from the case interior. Pay attention to hard-to-reach areas and fan blades. Be careful not to blow dust into your face or onto nearby surfaces.
- Wipe down surfaces: Dampen a lint-free cloth with isopropyl alcohol and gently wipe down the surfaces of the case, both inside and out. This will help remove any remaining dirt, fingerprints, or smudges. Allow the case to dry completely before reassembling.
- Clean the components: If desired, take this opportunity to clean the removed components such as the motherboard, drives, and cooling system. Use compressed air and a lint-free cloth to remove dust and debris. Be cautious with liquids around sensitive components.
- Reassemble the PC case: Reverse the order in which you removed the components to reassemble the PC case. Begin by reattaching any remaining components that were removed last, such as brackets or add-on cards. Secure them with the appropriate screws or brackets.
- Connect cables: Carefully reconnect the cables to their respective components, following any labels or documentation you made during the dismantling process. Ensure that each cable is plugged in securely.
- Secure the side panel: Align the side panel with the case and slide or pivot it into place. Use the screws you removed earlier to secure the side panel tightly and evenly to the case.
Take your time during the reassembly process to ensure that all components are properly aligned and connected. Avoid overtightening screws, as this can damage the case or components.
Once the case is fully reassembled, double-check all connections and make sure everything is in place. You can now plug in the power cord, reconnect peripherals, and power on your CyberpowerPC.
Congratulations! You have successfully removed, cleaned, and reassembled the entire PC case of your CyberpowerPC. Your computer is now ready to perform optimally and look its best.
Conclusion
Removing the entire PC case from your CyberpowerPC may seem like a daunting task, but with the right tools, patience, and attention to detail, it can be accomplished successfully. By following the step-by-step guide outlined in this article, you can safely remove the case, clean the components, and reassemble everything with confidence.
Throughout the process, it is important to handle the components with care, take note of the positions of cables and screws for easier reassembly, and ensure that you follow proper safety precautions, such as grounding yourself and disconnecting the power source.
Remember, if you ever feel unsure or uncomfortable with any step, it is always best to seek professional assistance or refer to the manufacturer’s documentation for guidance.
By removing the PC case, you gain the ability to upgrade components, clean out dust and debris, troubleshoot hardware issues, and customize your computer to better suit your needs. It also allows for better airflow and cooling, which can improve the overall performance and lifespan of your CyberpowerPC.
After reassembling the PC case, take a moment to admire your handiwork. Your computer is now ready to tackle any tasks you throw at it with improved efficiency and aesthetics.
We hope this guide has provided you with the knowledge and confidence to successfully remove the entire PC case from your CyberpowerPC. With proper care and maintenance, your computer will continue to serve you well for years to come.