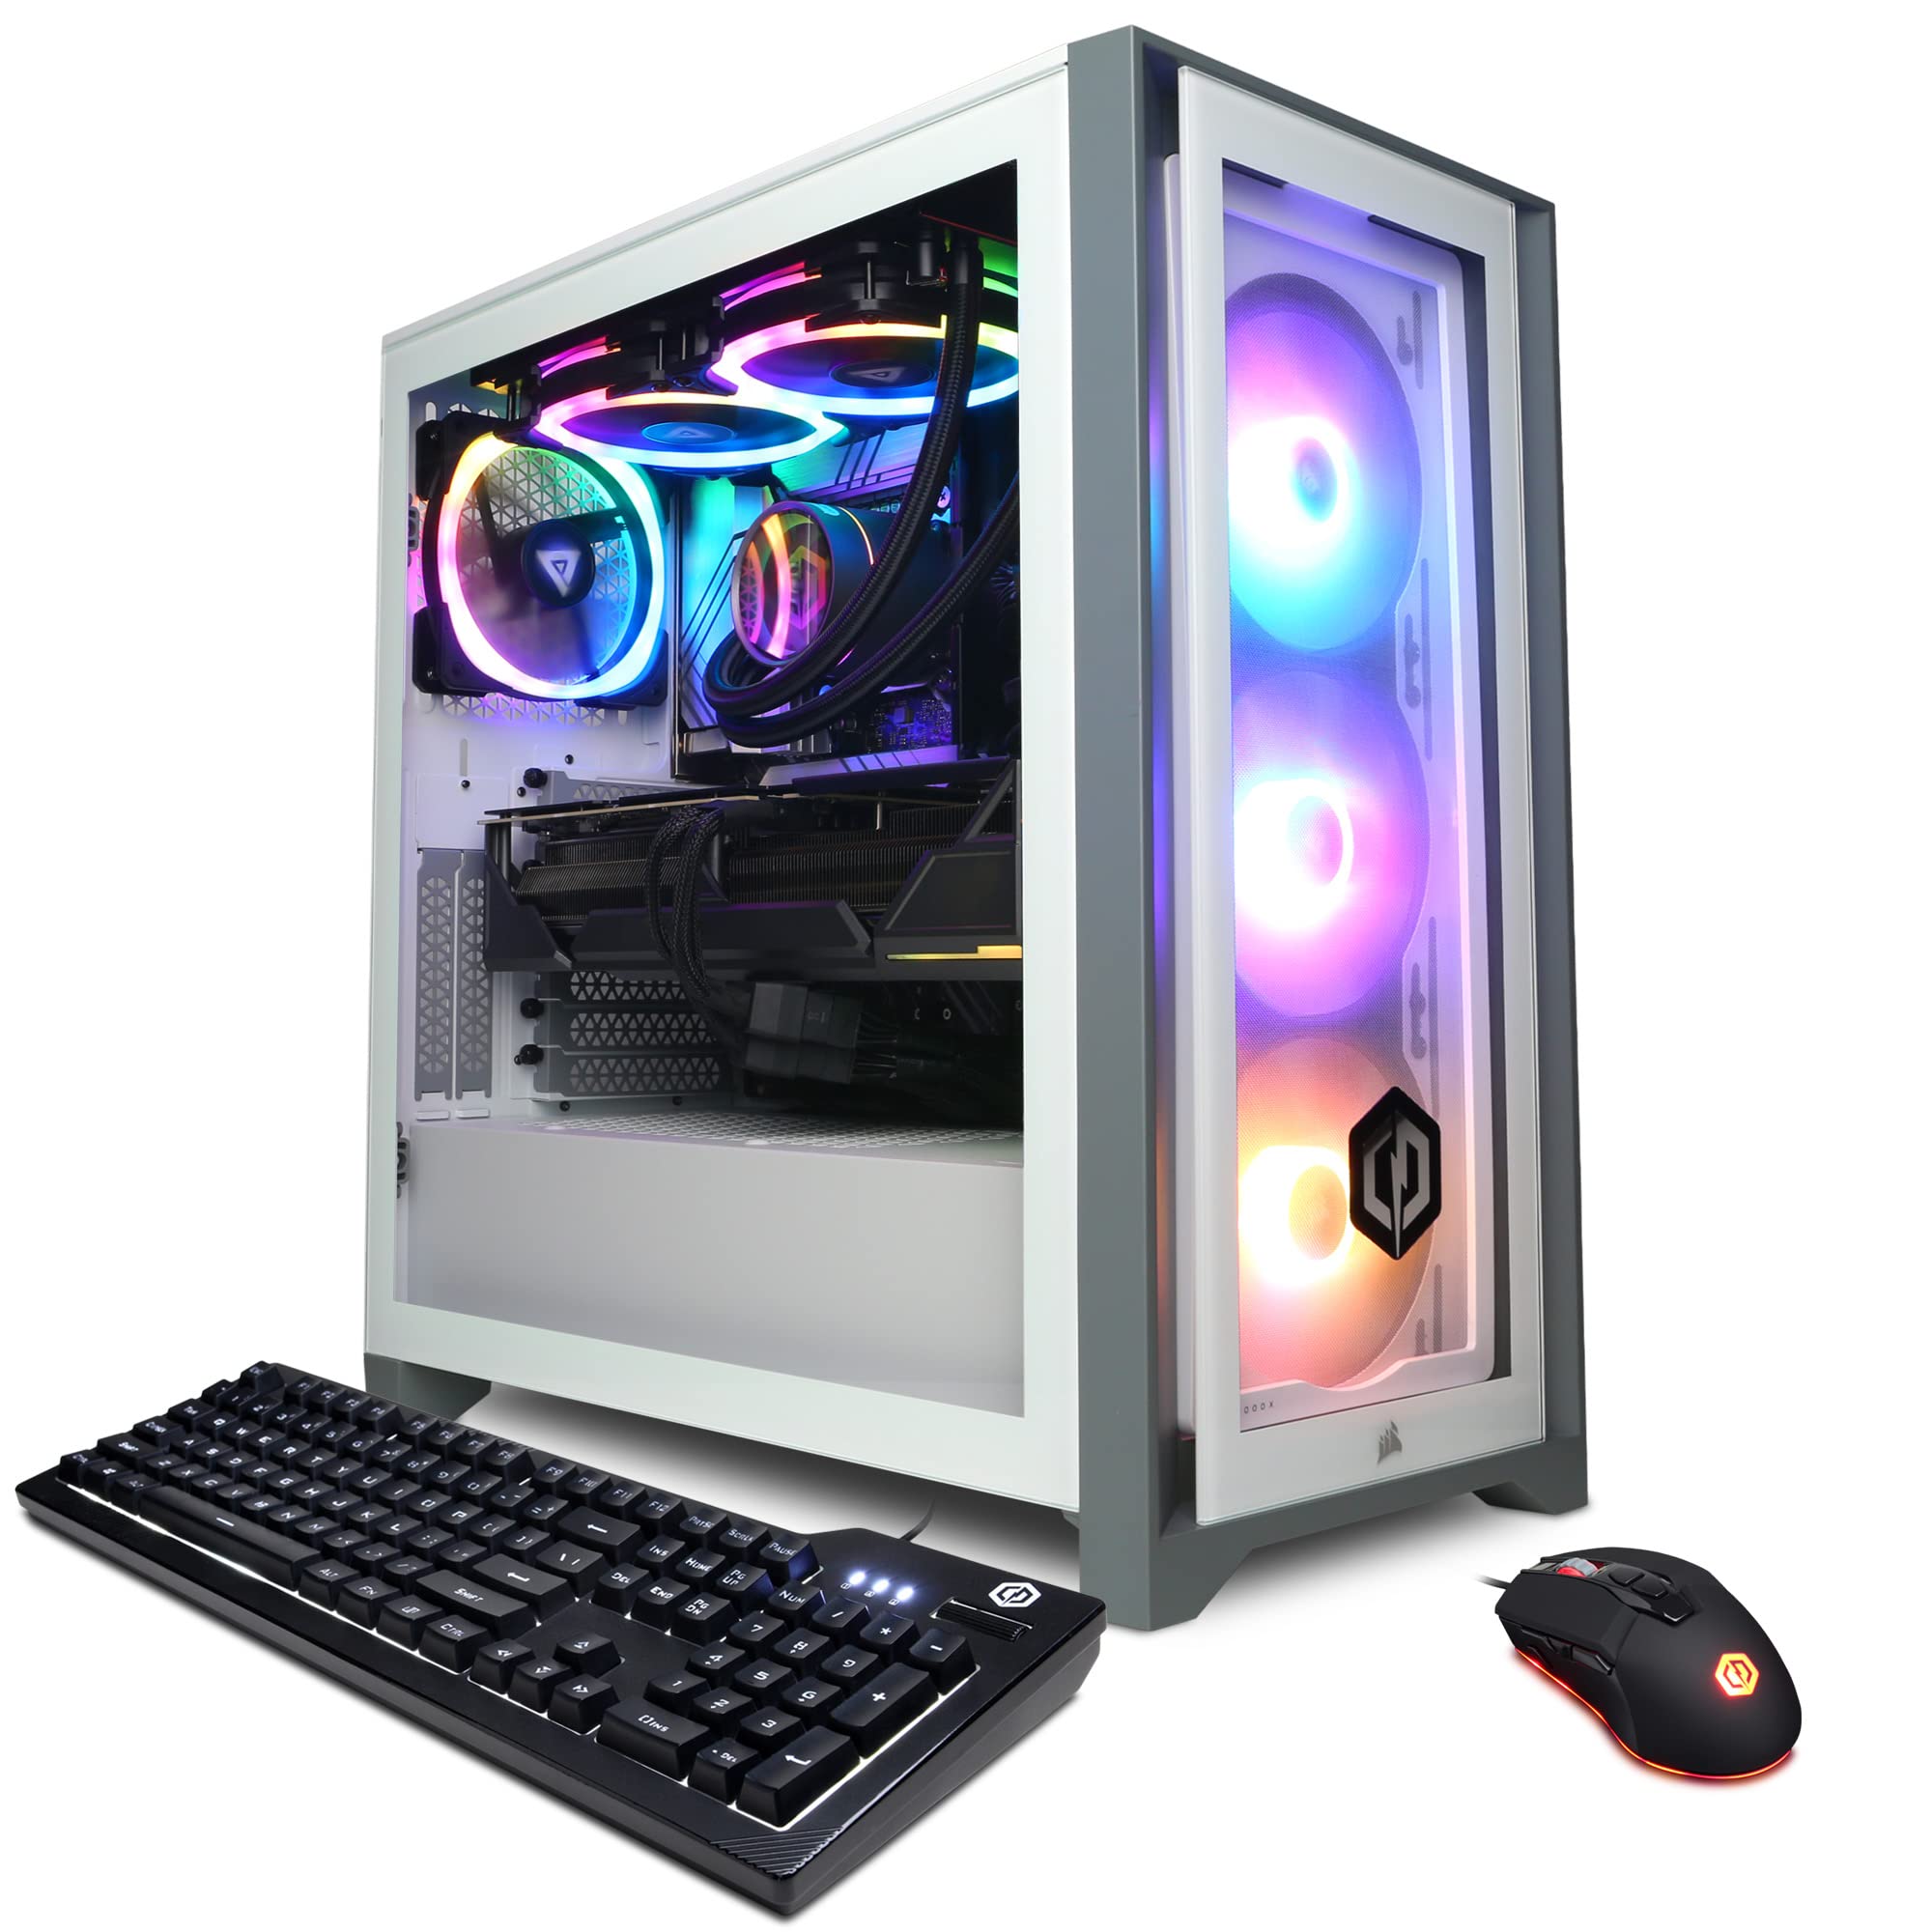
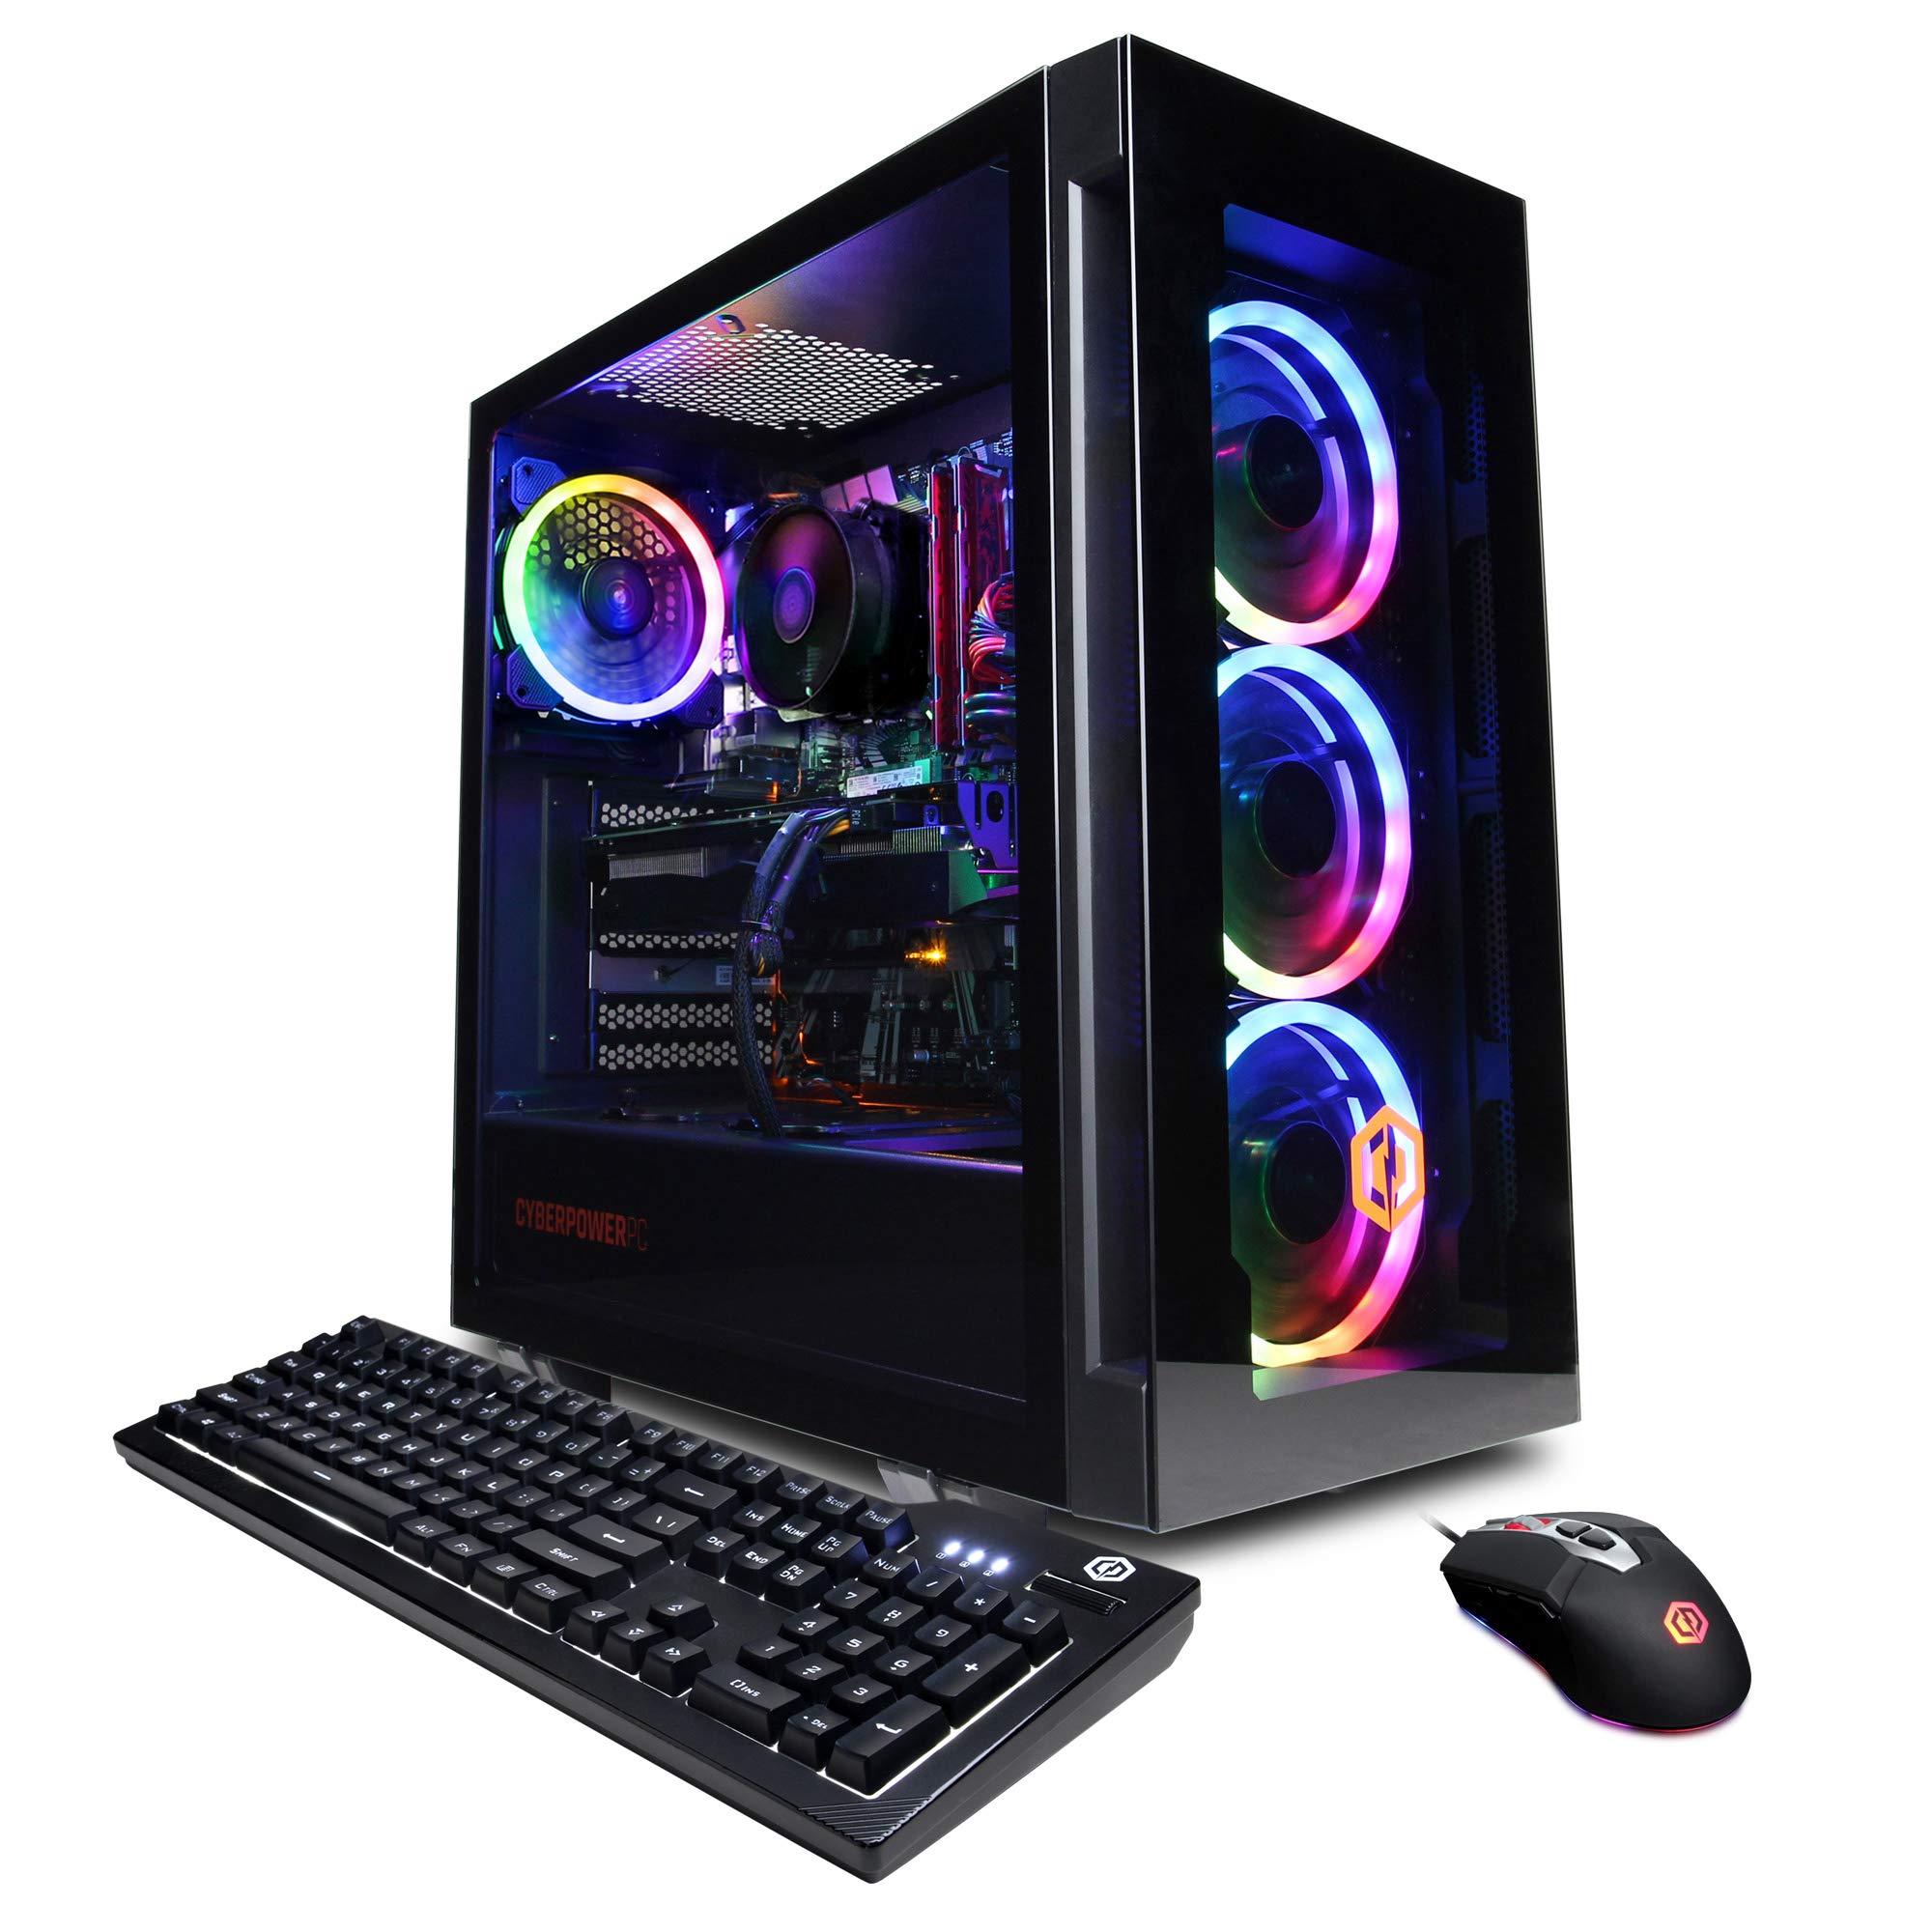
Introduction
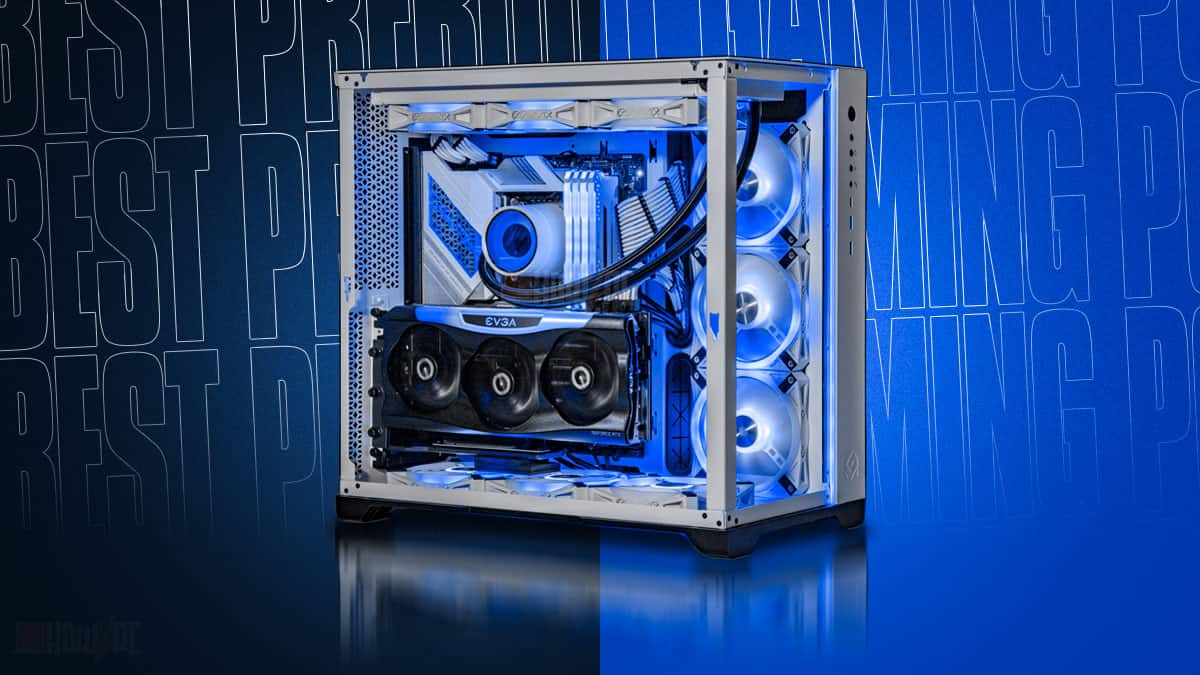
Having a properly functioning front case fan is essential for maintaining optimal temperatures and preventing overheating in your CyberpowerPC AMD. Over time, these fans can wear out or become noisy, requiring replacement to ensure the smooth operation of your computer.
In this guide, we will walk you through the steps to replace the front case fan in your CyberpowerPC AMD. Whether you are experiencing cooling issues or simply want to upgrade to a more efficient fan, this process can be done with just a few tools and a little time.
Befo
re we get started, it is important to note that the specific steps and components may vary depending on your computer model. It is always a good idea to consult your computer’s manual or the manufacturer’s website for detailed instructions that are specific to your system.
Replacing a front case fan can help improve the airflow inside your computer, keeping the components cool and reducing the risk of damage caused by excessive heat. So, without further ado, let’s dive into the step-by-step process of replacing the front case fan in your CyberpowerPC AMD.
Step 1: Gather the necessary tools and supplies
Before you begin the process of replacing the front case fan in your CyberpowerPC AMD, it’s important to gather all the necessary tools and supplies. This will ensure a smooth and hassle-free experience. Here are the items you’ll need:
- Screwdriver (either a Phillips or a flathead, depending on your computer’s case)
- Replacement front case fan (make sure it is compatible with your computer’s specifications)
- Anti-static wrist strap (optional but recommended to prevent any static discharge that could damage your computer)
- Clean cloth or compressed air canister (to clean any dust or debris while the case is open)
It’s always a good idea to prepare the workspace before you start working on your computer. Make sure you have a clear and clean area where you can comfortably access the inside of your computer’s case. This will minimize the risk of damage and help you stay organized throughout the process.
If you’re using an anti-static wrist strap, ensure it is properly grounded to prevent any static electricity from causing damage to sensitive components. This step is particularly important if you’re working on a carpeted surface or during dry weather.
Once you have all the necessary tools and supplies ready, you’re well-prepared to proceed with the front case fan replacement process. Let’s move on to the next step and power off your computer.
Step 2: Power off and unplug your computer
Before you begin any maintenance or repair work inside your computer, it’s crucial to power off and disconnect it from any power source. This step ensures your safety and protects the components from potential electrical damage. Here’s how to do it:
- Save any open files or documents and close any running applications on your computer.
- Shut down your computer properly through the operating system. This can usually be done by clicking on the Start menu, selecting the Power option, and choosing Shut Down.
- Once the computer has completely shut down, locate the power cord connected to the back of your computer’s case. Gently pull out the plug from the power outlet or surge protector.
- Next, press and hold the power button on your computer’s case for a few seconds. This helps to discharge any residual power in the system.
- Ensure that all lights and fans on your computer have stopped running, indicating that it is entirely disconnected from the power source.
By following these steps, you have successfully powered off and unplugged your computer, making it safe to proceed with the front case fan replacement. Always remember to exercise caution while working inside your computer’s case and handle the components with care to avoid any damage.
Now that your computer is properly shut down and disconnected, we can proceed to the next step, which involves opening the case and locating the front case fan.
Step 3: Open the case and locate the front case fan
With your computer safely powered off and unplugged, it’s time to open the case and locate the front case fan. Follow these steps to access the internal components:
- Place your computer on a sturdy surface, preferably a non-static one, with ample space to work comfortably.
- Depending on your computer model, you may need to remove a side panel or the entire case to access the internal components. Refer to your computer’s manual or online resources for specific instructions for your model.
- Using the appropriate screwdriver, carefully remove the screws securing the side panel or case. Set the screws aside in a safe place as you will need them when reassembling the computer later.
- Once the side panel or case is removed, take a moment to familiarize yourself with the interior of your computer. Take note of any cables or connections that may obstruct access to the front case fan.
- Locate the front case fan – its position may vary depending on your computer model. Typically, it is situated near the front of the case and may be secured in place with screws or plastic clips.
During this step, it’s important to handle the internal components of your computer with care. Be mindful of any sensitive wires or cables, and avoid putting unnecessary pressure on any parts. Additionally, take note of any dust or debris that may have accumulated inside the case and consider using compressed air or a clean cloth to gently remove it.
Once you have located the front case fan, you’re ready to proceed with the next step, which involves disconnecting the fan from the motherboard.
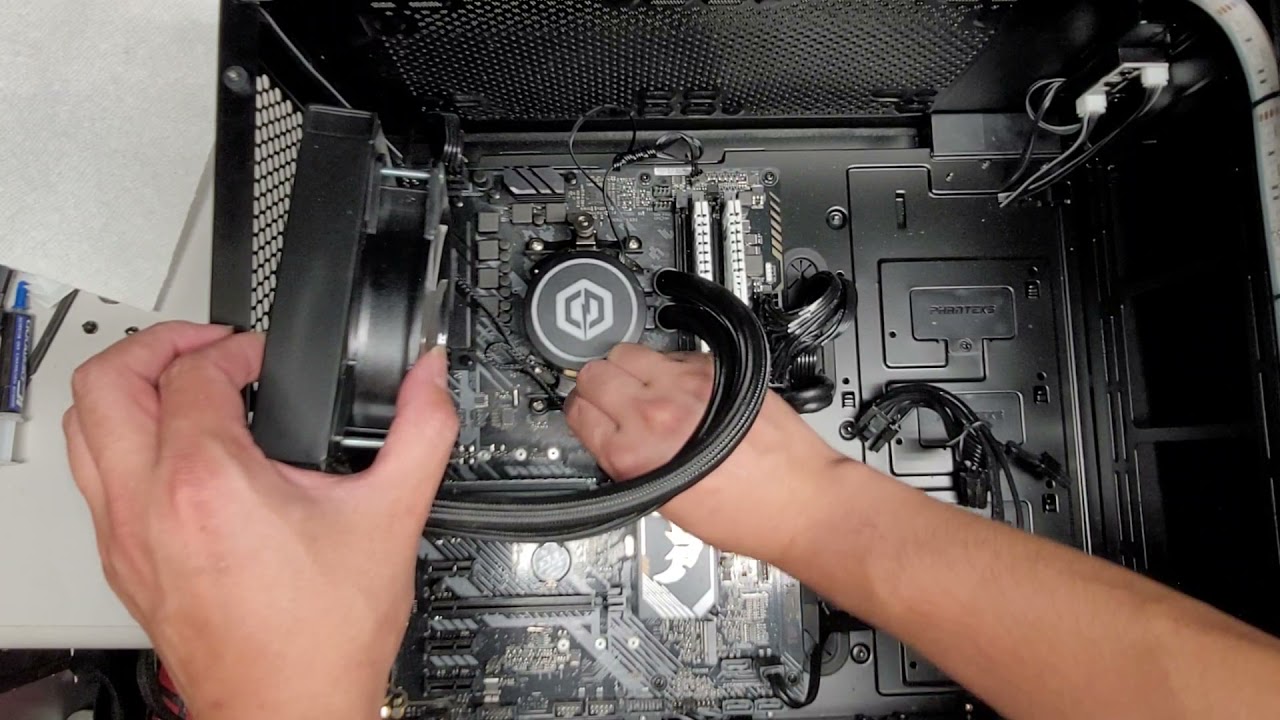
Step 4: Disconnect the fan from the motherboard
Now that you have located the front case fan, it’s time to disconnect it from the motherboard. Follow these steps to ensure a safe and proper disconnection:
- First, carefully inspect the fan’s connection to the motherboard. You will see a small connector attached to the fan’s power cable.
- Using your fingers or a small pair of pliers, gently grasp the connector and wiggle it back and forth while pulling it straight out. Do not twist or pull on the cables themselves as this may damage them.
- Once the connector is detached, set it aside and ensure that it does not get tangled with any other cables or components.
- Take a moment to examine the fan’s mounting mechanism. It may be secured to the case with screws or plastic clips. If necessary, use the appropriate screwdriver or your fingers to remove any screws or unclip the fan.
- Once the fan is free from any mounting brackets, gently lift it out of the case. Be careful not to touch any sensitive internal components as you do so.
During this step, it’s important to handle both the fan and the connector with care. Avoid exerting excessive force and ensure that the disconnection is done smoothly without causing any damage to the wires or the motherboard.
With the fan disconnected, you can now proceed to remove it from the computer in the next step. Take your time and remain cautious throughout the process to ensure a successful fan replacement.
Step 5: Remove the front case fan from the computer
Now that you have disconnected the front case fan from the motherboard, it’s time to remove it from the computer. Follow these steps to ensure a smooth removal process:
- Inspect the fan to determine how it is mounted inside the case. The fan may be held in place by screws or plastic clips.
- If the fan is secured with screws, use the appropriate screwdriver to remove them. Make sure to keep the screws in a safe place, as you will need them later to install the new fan.
- If the fan is held by plastic clips, carefully push or pinch the clips to release them. Take care not to apply excessive force or damage any nearby components.
- Gently lift the fan out of the computer case. Be mindful of any cables or wires that may be attached to the fan and ensure they are not strained or tangled.
- Set the old fan aside and inspect it for any signs of damage or wear. If the fan is damaged, dispose of it properly. If it is still in good condition, you may consider keeping it as a spare or for other purposes.
Take your time when removing the front case fan to avoid accidentally damaging any other internal components. Pay attention to any cables or wires that might be connected to the fan and ensure they are handled with care.
Once the old fan is removed, you’re ready to install the new front case fan. In the next step, we will guide you through the process of installing the replacement fan in your CyberpowerPC AMD.
Step 6: Install the new front case fan
With the old front case fan removed, it’s time to install the new one. Follow these steps to ensure a successful installation:
- Take the new front case fan and position it in the same location where the old fan was mounted. Ensure that the screw holes or clips align with the corresponding slots in the computer case.
- If the fan has screw holes, use the screws you kept from the old fan to secure it in place. Insert the screws and tighten them just enough to hold the fan securely. Avoid over-tightening, as this could damage the fan or case.
- If the fan uses plastic clips, carefully insert the clips into the corresponding slots in the computer case. Gently press or snap the clips into place until the fan is securely held.
- Double-check that the fan is properly seated and securely mounted before proceeding.
When installing the new front case fan, be careful not to touch any internal components with your fingers. Handle the fan by the edges or use an anti-static wrist strap to avoid any potential damage from static electricity.
It’s important to note that some front case fans are designed to be installed in specific orientations. Look for any arrows or markings on the fan that indicate the proper airflow direction. Mounting the fan in the correct orientation ensures optimal cooling performance.
With the new front case fan securely installed, you can proceed to the next step, which involves connecting it to the motherboard.
Step 7: Connect the new fan to the motherboard
With the new front case fan properly installed, it’s time to connect it to the motherboard. Follow these steps to ensure a secure and stable connection:
- Locate the fan connector on the motherboard. It is usually labeled “SYS_FAN” or “CHA_FAN” and is located near the front or top portion of the motherboard.
- Take the fan’s power cable and align the connector with the corresponding pins on the motherboard.
- Gently push the connector onto the pins, making sure it is properly seated. You should feel a slight click or resistance when the connection is secure.
- Double-check that the connection is firm by gently tugging on the cable. It should not come loose or disconnect easily.
When connecting the new front case fan to the motherboard, ensure that the pins on the connector align with the corresponding holes on the motherboard. Take care not to bend or damage any of the pins during the connection process.
It’s important to note that some motherboards may have multiple fan connector options. If this is the case, choose a connector that corresponds to the front case fan’s location for optimal performance. Consult your motherboard’s manual or online resources for specific guidance on fan connections.
With the new front case fan securely connected to the motherboard, you’re almost done. In the next step, we will guide you through the process of closing the computer case and plugging in your computer.
Step 8: Close the case and plug in your computer
Now that you have successfully installed and connected the new front case fan, it’s time to close the computer case and plug in your computer. Follow these steps to complete the process:
- Ensure that all cables and wires inside the computer case are neatly organized and clear of any obstructing components.
- Carefully place the side panel or case back onto the computer, aligning it with the screw holes.
- Using the screws you removed earlier, secure the side panel or case in place. Start with the top or bottom screws and work your way around, tightening them evenly.
- Double-check that all screws are tight and properly fastened, but avoid over-tightening, as it may damage the case or strip the screw threads.
- Once the case is closed and secure, locate the power cord that you disconnected earlier.
- Plug the power cord back into the power outlet or surge protector.
- Power on your computer by pressing the power button located on the front or top of the case.
After plugging in your computer, listen for any unusual sounds or vibrations coming from the new front case fan. If you notice any issues, such as excessive noise or the fan not spinning, double-check the fan’s connection and ensure it is properly seated on the motherboard.
Once your computer is powered on, monitor the fan’s operation using software or BIOS settings. Verify that the fan is running smoothly and providing adequate airflow. If you experience any issues, consult your computer’s manual or seek further assistance from the manufacturer.
With the case closed, your computer is now ready to operate with the newly installed front case fan. Enjoy improved airflow and reduced temperatures, ensuring the longevity and performance of your CyberpowerPC AMD.
Conclusion
Congratulations! You have successfully replaced the front case fan in your CyberpowerPC AMD. By following the step-by-step guide, you have improved the cooling efficiency of your computer and ensured its optimal performance.
Replacing a front case fan is a relatively simple process that can make a significant difference in the temperature management of your computer. With the new fan installed, you can expect better airflow, lower temperatures, and reduced risks of overheating. This, in turn, can lead to improved stability and longevity of your computer’s components.
Remember to always take precautionary measures when working on your computer, such as powering it off and disconnecting it from the power source. Handle the internal components carefully, and consult your computer’s manual or manufacturer’s website for specific instructions tailored to your model.
If you encountered any challenges during the replacement process or have concerns about the functionality of the new fan, don’t hesitate to seek professional assistance or reach out to the manufacturer for support. They will be able to provide further guidance and troubleshooting steps.
Maintaining a properly functioning front case fan is vital for the overall health and performance of your computer. Regularly monitor the fan’s operation and keep an eye out for any signs of wear or malfunctions. By taking proactive steps to address cooling issues, you can ensure that your CyberpowerPC AMD runs smoothly even during demanding tasks.
We hope this guide has been helpful in assisting you with replacing the front case fan in your computer. Enjoy the improved cooling and quiet operation of your CyberpowerPC AMD as you continue to explore and accomplish more with your system.