Introduction
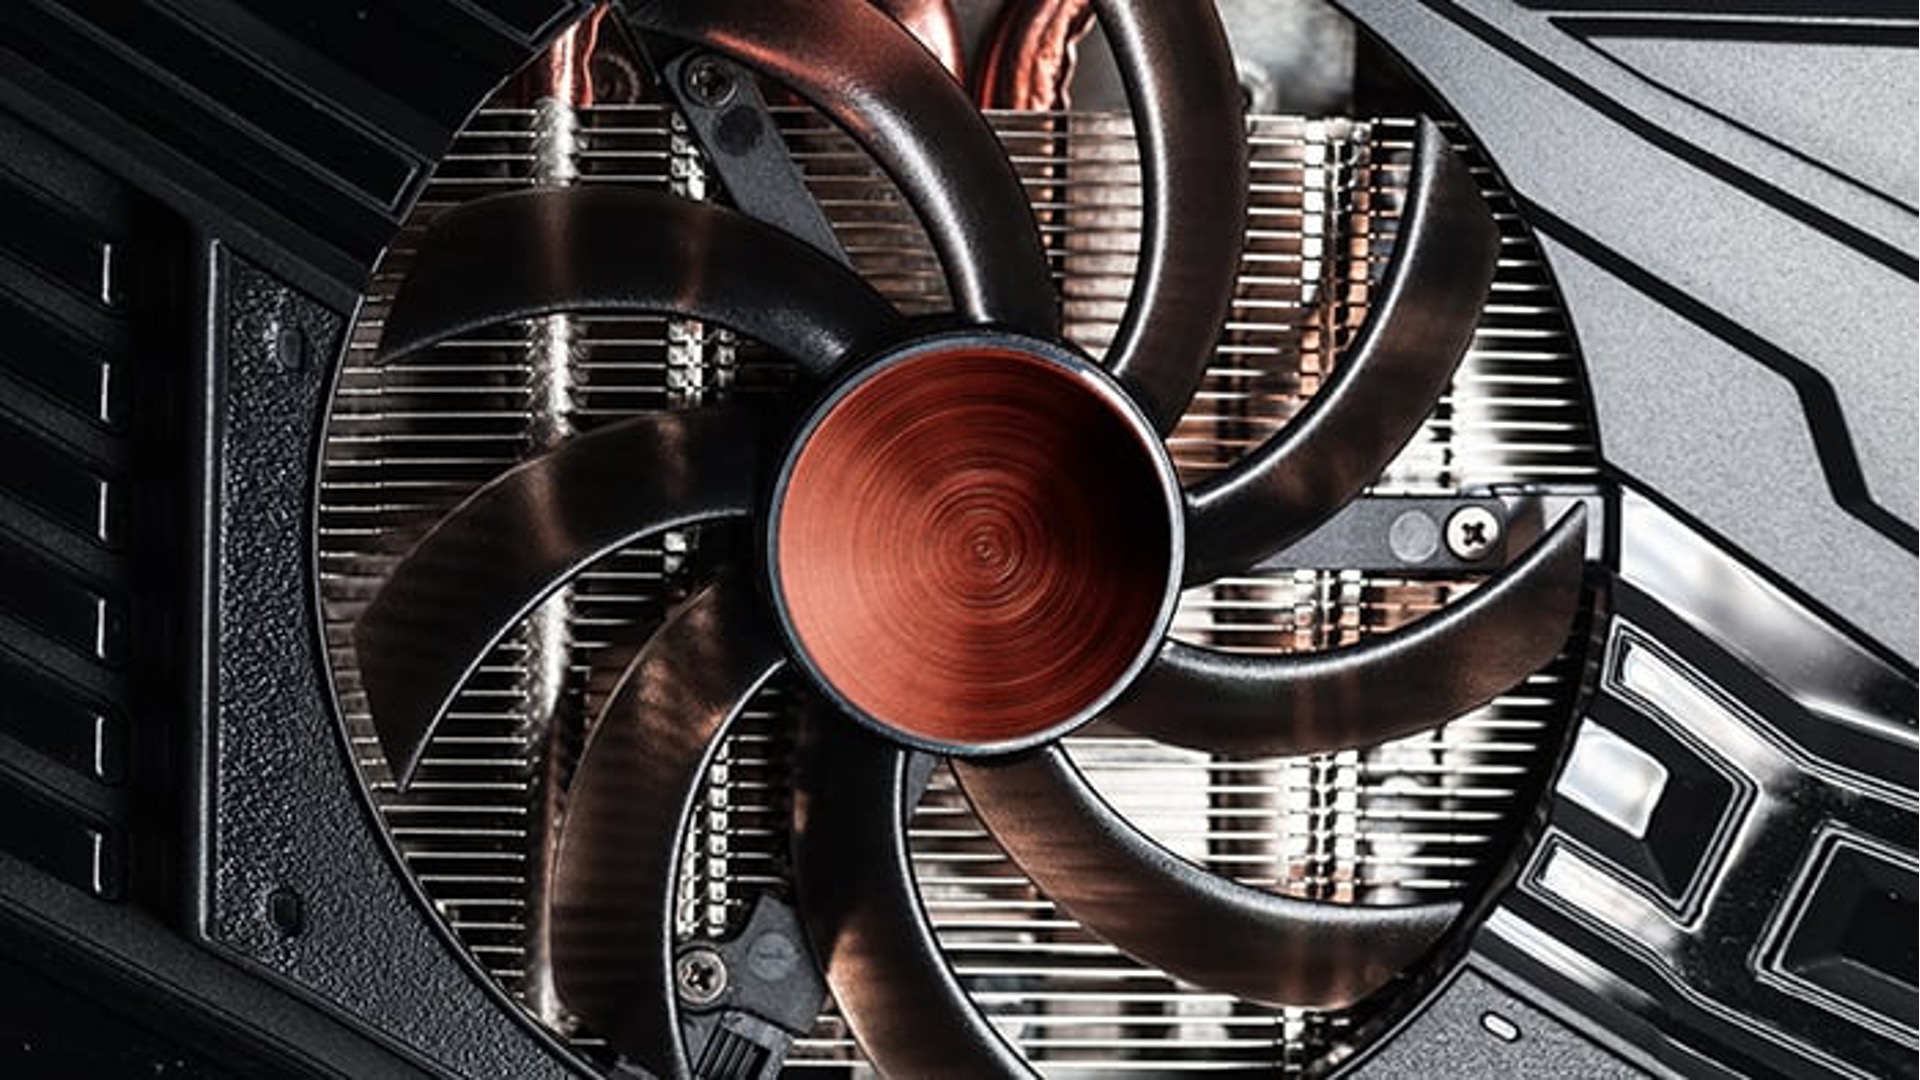
When it comes to keeping your computer running smoothly, one of the key components to pay attention to is the case fan. The case fan plays a crucial role in maintaining proper airflow and preventing overheating. However, it can sometimes develop a grinding noise, which not only becomes an annoyance but also indicates a potential problem.
A grinding noise from your case fan can be caused by various factors, including dust buildup, obstructions, loose screws, or even worn-out bearings. Ignoring this issue can lead to decreased performance, increased heat buildup, and ultimately, hardware failure.
The good news is that fixing a case fan with a grinding noise is often a straightforward process that can be done at home with some basic tools and materials. In this guide, we will walk you through the steps to troubleshoot and resolve this issue, helping you get your computer back to its whisper-quiet operation.
Throughout this guide, we will provide clear instructions and safety precautions to ensure that you can perform the necessary actions without any risk to yourself or your computer. Whether you are a tech-savvy enthusiast or a beginner, you can follow these steps to resolve the issue and restore your case fan’s smooth and quiet operation.
Before we delve into the step-by-step process, let’s take a look at the common causes of a case fan grinding noise. Understanding the root cause will help us address the issue effectively and prevent its recurrence in the future.
Common Causes of Case Fan Grinding Noise
There are several common causes that can result in a case fan producing a grinding noise. Identifying the root cause is crucial for effectively fixing the issue. Here are some of the most typical causes of case fan grinding noise:
1. Dust and debris buildup: Over time, dust and debris can accumulate on the fan blades, causing them to become unbalanced. This can result in the fan producing a grinding or rattling noise. Regular cleaning can help prevent this issue.
2. Obstructions: Sometimes, foreign objects may find their way into the case and obstruct the movement of the fan blades. This can cause the fan to make a grinding noise. Checking for and removing any obstructions is important for resolving this issue.
3. Loose screws: If the screws securing the fan in place are loose, the fan may vibrate and produce a grinding noise. Tightening these screws can eliminate the noise.
4. Worn-out bearings: Case fans rely on bearings to provide smooth operation. Over time, these bearings can wear out, leading to a grinding noise. In this case, the fan may need to be replaced.
5. Fan blade damage: Accidental contact or mishandling can cause the fan blades to become uneven or damaged. This can result in a grinding noise when the fan is in operation. Inspecting the fan blades for any visible damage is important.
By understanding these common causes, you can narrow down the potential issues and take the appropriate steps to resolve them. In the following sections, we will guide you through the process of fixing your case fan with a grinding noise, ensuring that your computer operates quietly and efficiently.
Tools and Materials You Will Need
Before you begin fixing your case fan with a grinding noise, it is essential to gather the necessary tools and materials. Having them prepared and within reach will streamline the troubleshooting process. Here’s a list of what you will need:
1. Screwdriver: A Phillips-head screwdriver is typically required to open the computer case and access the case fan.
2. Compressed air or canned air: Dust buildup is a common cause of a case fan grinding noise, so having a can of compressed air or a compressed air duster can help clean the fan blades and remove dust and debris.
3. Soft cloth or microfiber cloth: You may need a soft cloth to wipe off any dust or debris that cannot be removed with compressed air.
4. Lubricant: If the issue is caused by worn-out bearings, you may need a suitable lubricant to apply to the fan’s bearings. Be sure to choose a lubricant that is safe for computer components, such as a lightweight machine oil or a silicone-based lubricant.
5. Replacement fan (optional): If all attempts to fix the case fan fail and the grinding noise persists, you may need to consider replacing the fan. Make sure to find a compatible replacement fan for your computer case.
It’s important to note that the specific tools and materials required may vary depending on your computer case and the type of case fan you have. It’s always a good idea to consult your computer’s documentation or do some research to ensure you have the appropriate tools and materials for your specific setup.
Once you have gathered all the necessary tools and materials, you’re ready to proceed with the troubleshooting process. Make sure to follow the safety precautions outlined in the next section to prevent any accidents or damage to your computer components.
Safety Precautions
Before you start working on your computer’s case fan to fix the grinding noise issue, it’s important to take certain safety precautions to ensure your well-being and protect your computer system. Here are some safety guidelines to follow:
1. Turn off and unplug your computer: Before opening your computer case, make sure to shut down your computer completely and disconnect it from the power source. This will prevent any electric shocks or accidental power-on incidents.
2. Ground yourself: Static electricity can damage sensitive computer components. Before touching any internal parts of your computer, touch a grounded metal object or use an anti-static wrist strap to discharge any static electricity buildup.
3. Handle components with care: Computer components are delicate and can be easily damaged if mishandled. When working inside your computer case, handle components, including the case fan, with care to avoid bending or breaking any parts.
4. Avoid excessive force: When cleaning or removing components, avoid applying excessive force. Use gentle pressure and be patient to prevent any damage to the case fan or other internal parts.
5. Keep track of screws: As you disassemble your computer case, keep track of the screws and other small parts. It can be helpful to use a tray or small container to organize and store screws so they don’t get lost or mixed up.
6. Be cautious with cleaning agents: If you need to use any cleaning agents, ensure they are safe for use on computer components. Avoid using abrasive or harsh cleaners, as they can damage the fan blades or other parts.
Following these safety precautions will help prevent accidents and ensure that your troubleshooting process goes smoothly. Remember, if you’re unsure about any step or encounter difficulties, it’s always best to seek professional assistance to avoid any potential damage to your computer system. Now that you’re aware of the safety measures, let’s move on to the step-by-step process of fixing your case fan with a grinding noise.
Step 1: Turn Off and Unplug Your Computer
The first step in fixing a case fan with a grinding noise is to ensure the safety of both yourself and your computer system. Here’s how to properly turn off and unplug your computer:
1. Save your work and close all applications: Before shutting down your computer, save any unsaved work and close all open applications. This will prevent any potential data loss or corruption.
2. Shut down your computer: Click on the “Start” menu or press the Windows key and select the “Shut down” option. Allow your computer to complete the shut down process before proceeding.
3. Unplug the power cord: Locate the power cord connected to your computer’s power supply unit (PSU) at the back of the case. Gently unplug the power cord from the power outlet or surge protector.
4. Ground yourself: To avoid any static electricity damage, touch a grounded metal object or use an anti-static wrist strap. This will discharge any built-up static electricity from your body.
By following these steps, you ensure that your computer is powered off and disconnected from the electricity source. This eliminates the risk of electric shocks and accidental power-on situations. Additionally, grounding yourself prevents static electricity discharge, which can harm sensitive computer components.
Once you have successfully turned off and unplugged your computer, you’re ready to move on to the next step – opening your computer case. Remember, safety should always be the top priority when working with computer hardware.
Step 2: Open Your Computer Case
Now that your computer is turned off and unplugged, it’s time to open the computer case to access the internal components. Follow these steps to open your computer case safely:
1. Identify the computer case: Depending on the type of computer case you have, the way to open it may vary. Most cases feature screws or latches on the back or side panels.
2. Locate the screws or latches: Look for the screws or latches that secure the side panel(s) of your computer case. These may be thumb screws, Phillips-head screws, or sliding latches.
3. Remove the screws or unlatch the latches: Using either a screwdriver or your fingers, unscrew the screws counterclockwise or unlatch the latches by sliding them away from the case. Set aside the screws or keep them in a safe place.
4. Remove the side panel: Once the screws or latches are loosened, gently slide off the side panel of the computer case. Some cases may have a top or front panel that needs to be removed first before accessing the side panel.
5. Ground yourself again: Before touching any internal components, ground yourself once more. Touch a grounded metal object or use an anti-static wrist strap to discharge any static electricity.
Opening your computer case allows you to access the internal components, including the case fan. Make sure to be gentle when removing the side panel to avoid any damage to the case or its components.
It’s worth noting that different computer cases may have specific instructions or unique mechanisms for opening them. If you’re unsure about how to open your particular case, refer to the manufacturer’s documentation or consult online resources for guidance.
Once you have successfully opened your computer case, you’re ready to move on to the next step – locating the case fan causing the grinding noise.
Step 3: Locate the Case Fan Causing the Grinding Noise
Now that you have opened your computer case, the next step is to locate the specific case fan that is causing the grinding noise. Follow these steps to identify the problem fan:
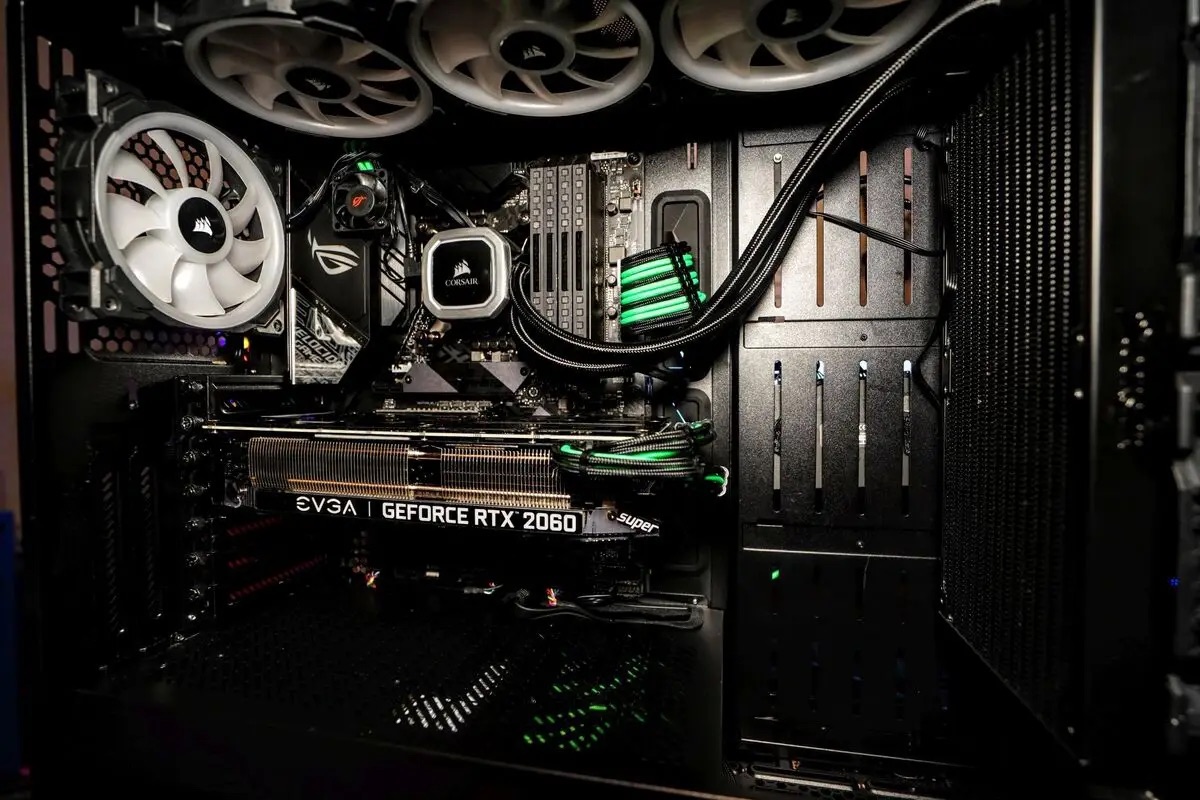
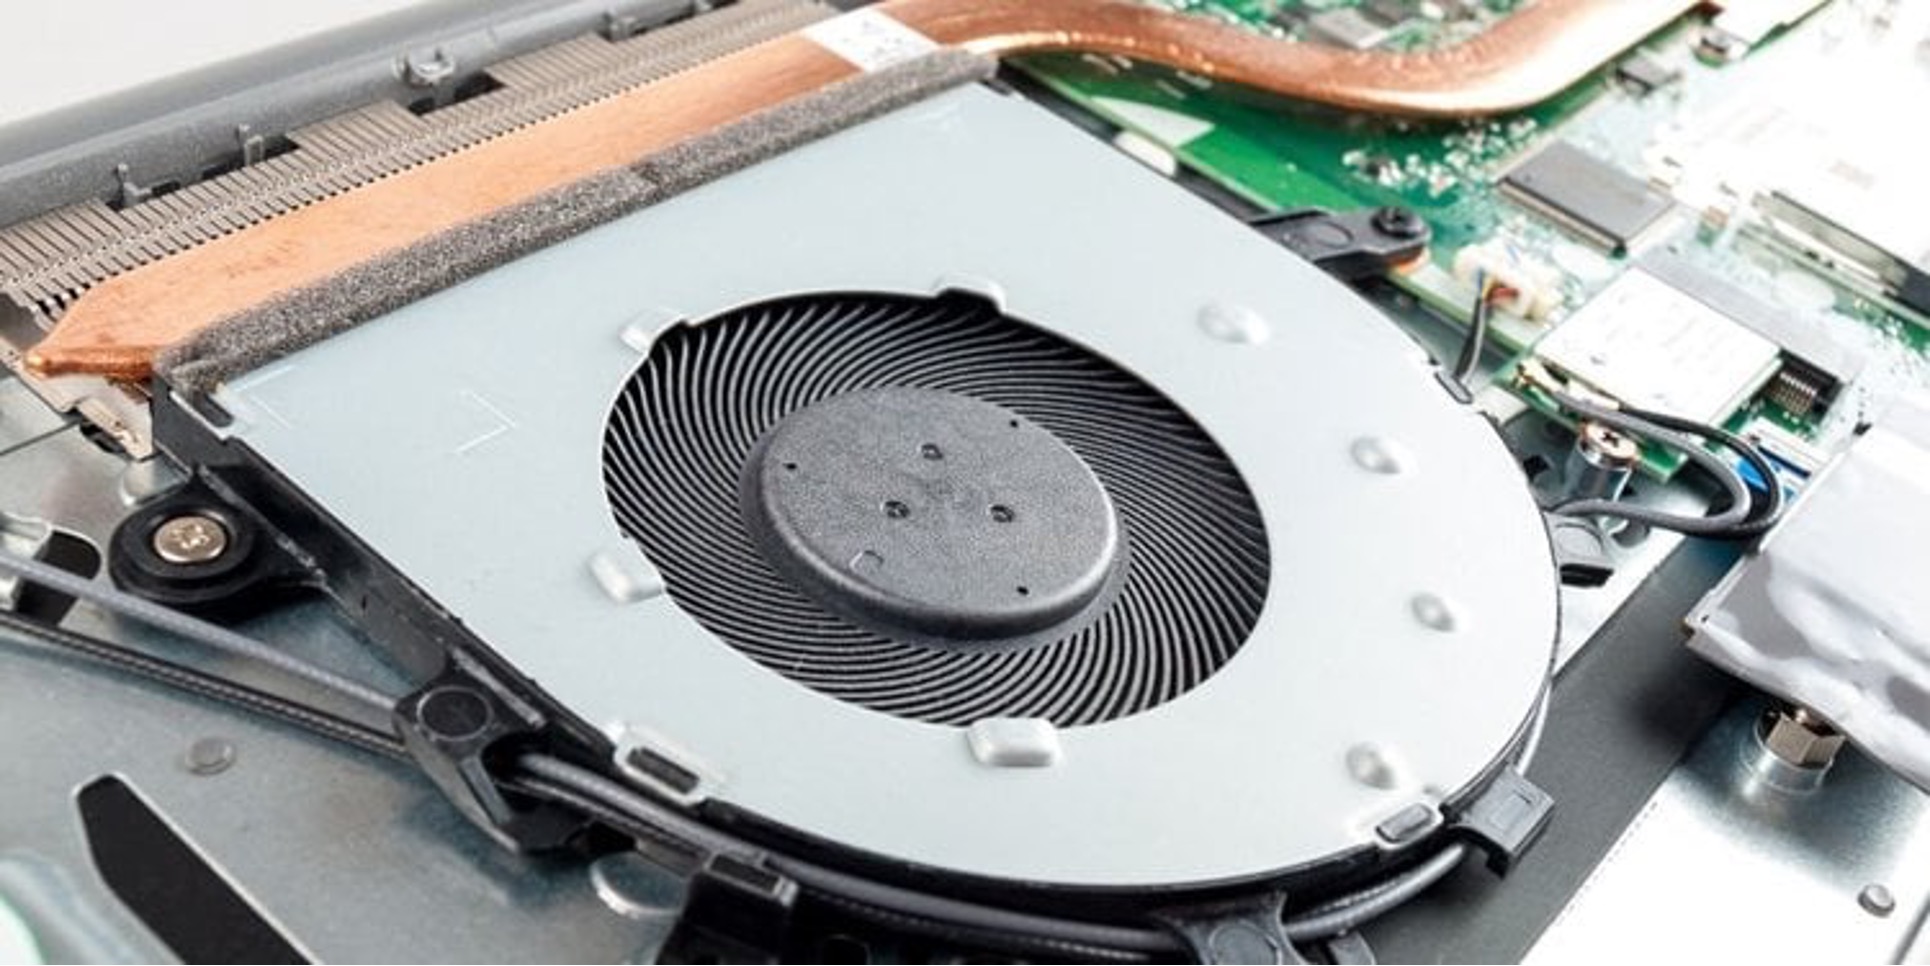
1. Perform a visual inspection: Look for the various case fans inside your computer case. Typically, you will find case fans mounted on the front, back, or side panels of the case. Take note of their positions and visually inspect each fan for any signs of dust buildup or physical damage.
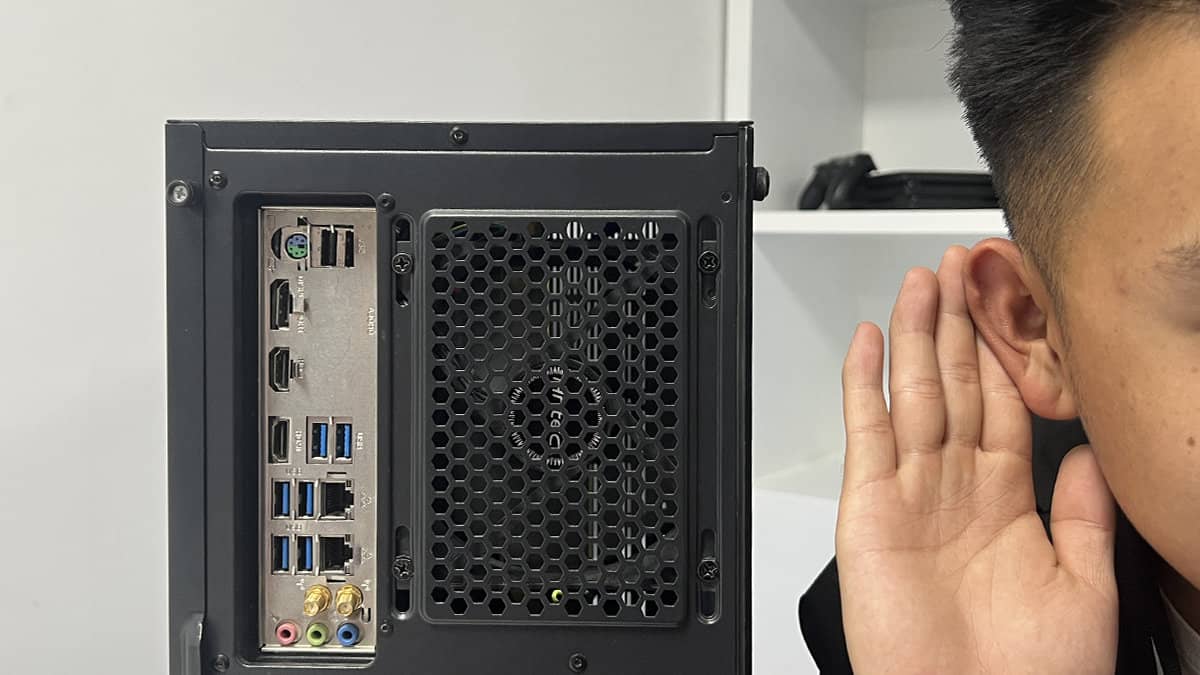
2. Listen for the grinding noise: While your computer is still turned off, listen closely for the grinding noise. Try to pinpoint the source of the noise by carefully observing the movement and sound of each case fan.
3. Use a flashlight if necessary: In some cases, it may be difficult to see or access certain areas inside the case. If needed, use a flashlight to get a better view of the case fans and their surroundings. This will help you identify any obstructions or visible issues causing the grinding noise.
4. Take necessary precautions: Be mindful of any sharp edges, moving parts, or delicate components while locating the case fan. Avoid applying pressure or touching any components other than the case fans.
By performing a visual inspection and listening carefully, you should be able to identify the case fan responsible for the grinding noise. Remember to exercise caution and avoid touching any other components or cables inside the case to prevent any accidental damage.
Once you have successfully located the case fan causing the noise, you can proceed to the next steps for troubleshooting and resolving the issue.
Step 4: Clean the Case Fan
Now that you have identified the case fan causing the grinding noise, it’s time to clean it to eliminate any dust and debris that may be causing the problem. Follow these steps to clean the case fan:
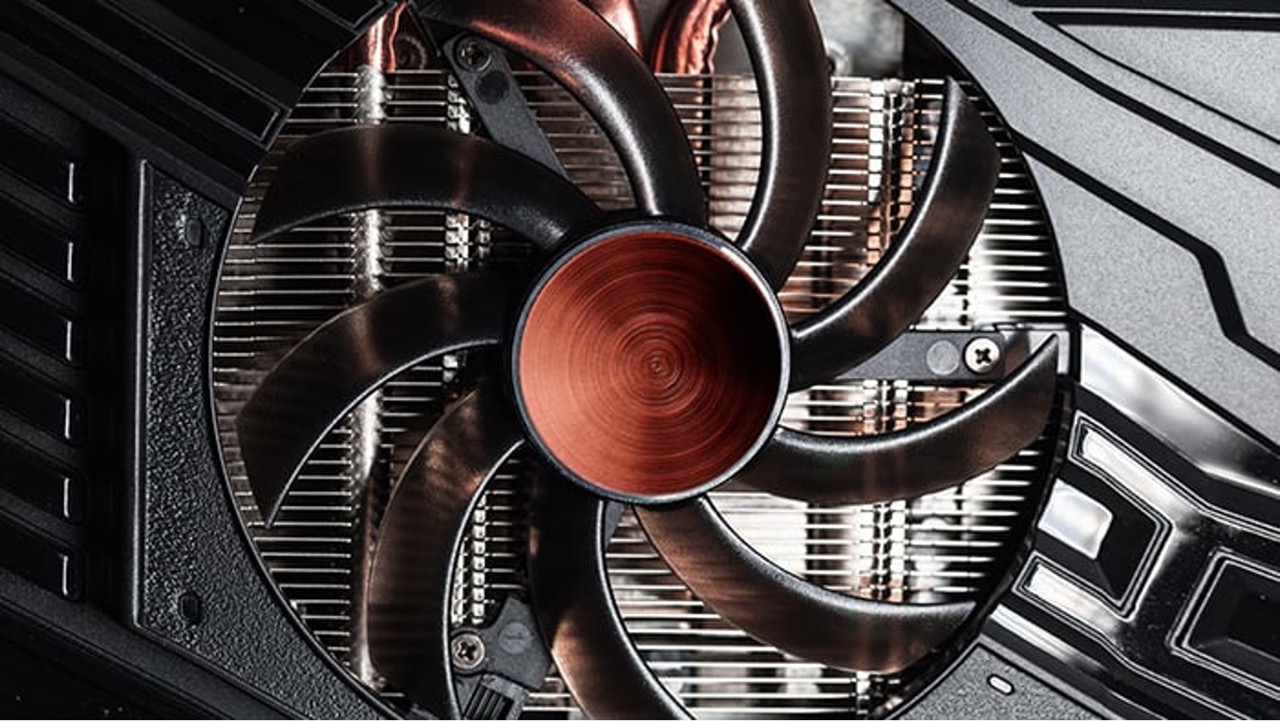
1. Use compressed air: Start by using a can of compressed air or a compressed air duster to remove dust and debris from the fan blades. Hold the can upright and direct short bursts of air into the fan, focusing on the areas with visible dust buildup. Be sure to keep the can at a safe distance to prevent any liquid residue from entering the fan or other components.
2. Wipe with a soft cloth: If there is stubborn residue or dust that cannot be removed with compressed air alone, you can use a soft cloth or a microfiber cloth dampened with isopropyl alcohol. Gently wipe the fan blades to remove any remaining dirt or grime. Avoid applying excessive pressure or using harsh cleaning solutions, as these can damage the fan.
3. Pay attention to the fan motor: While cleaning the fan blades, also inspect the fan motor for any dust accumulation. Use compressed air to blow away any dust or debris that may have gathered around the motor area.
4. Be thorough: Ensure that you clean both sides of the fan blades and any other accessible areas where dust may have accumulated. Take your time to ensure a thorough cleaning, as this can help improve the fan’s performance and reduce the grinding noise.
By cleaning the case fan, you can remove dust and debris that may be causing the fan to produce a grinding noise. Regular cleaning of your case fans is essential to maintain their efficiency and prevent overheating in your computer system.
Once you have cleaned the case fan, move on to the next steps to further troubleshoot and resolve the grinding noise issue.
Step 5: Check for Obstructions
After cleaning the case fan, it’s important to check for any obstructions that may be hindering its smooth operation. Follow these steps to ensure there are no foreign objects or blockages:
1. Visually inspect the fan area: Take a close look at the area surrounding the case fan. Look for any loose cables, wires, or other components that may be blocking or touching the fan blades.
2. Gently move cables and wires: If you notice any cables or wires in close proximity to the fan, gently move them away to create a safe distance between the fan blades and any obstructions. Ensure that the cables are properly secured and do not pose a risk of interfering with the fan’s movement.
3. Remove any obstructions: If you find any foreign objects obstructing the case fan, carefully remove them. This can include things like loose screws, paper scraps, or debris that may have accidentally made its way into the case.
4. Check for fan grille blockages: Some computer cases may have a grille or mesh covering the case fan area. Inspect the grille for any accumulated dust or debris that may be blocking airflow. If necessary, use compressed air to blow away any obstructions.
By checking for obstructions, you can ensure that the case fan operates freely and without any hindrances. Removing any foreign objects or adjusting cables that may interfere with the fan’s movement can help alleviate the grinding noise and restore proper airflow within your computer case.
Once you have checked for and cleared any obstructions, move on to the next steps to further troubleshoot and resolve the grinding noise issue.
Step 6: Tighten or Replace Loose Screws
Loose screws can cause the case fan to vibrate, leading to a grinding noise. In this step, we will address any loose screws that may be causing the issue. Follow these steps to tighten or replace loose screws:
1. Inspect the case fan mounting screws: Take a close look at the screws that secure the case fan in place. Check if any of them are loose or if there are any missing screws.
2. Tighten loose screws: If you find any loose screws, use a screwdriver to carefully tighten them. Use clockwise motions to secure the screws snugly, reestablishing a firm and stable connection between the case fan and the computer case.
3. Replace missing screws: If you discover any missing screws, it’s important to replace them to ensure proper mounting and stability of the case fan. Look for screws that match the size and type of the existing screws, such as Phillips-head or thumb screws.
4. Avoid overtightening: While tightening the screws, be careful not to apply too much pressure. Overtightening can damage the fan or the computer case. Tighten the screws until they are firmly secure, but be mindful of not overdoing it.
By tightening or replacing loose screws, you can eliminate vibrations that may cause the case fan to produce a grinding noise. Ensuring a secure and stable mounting of the fan will help maintain its proper operation and reduce any unwanted noise.
Once you have addressed any loose screws, move on to the next steps to further troubleshoot and resolve the grinding noise issue.
Step 7: Lubricate the Case Fan
If the grinding noise persists after cleaning the fan and checking for obstructions, it’s possible that the fan’s bearings are worn out and need lubrication. Follow these steps to lubricate the case fan:
1. Determine the type of fan bearings: Case fans typically have one of two types of bearings – sleeve bearings or ball bearings. Determine the type of bearings in your case fan by referring to the manufacturer’s documentation or conducting online research.
2. Locate the bearing access point: For sleeve-bearing fans, there is usually a small sticker or label covering the access point to the bearing. Peel back or remove the sticker to reveal the access point. For ball-bearing fans, there may be a small rubber plug covering the access point, or it may be visible without any covering.
3. Apply lubricant: Use a suitable lubricant for computer fans, such as a lightweight machine oil or a silicone-based lubricant. Apply a small amount of lubricant to the exposed bearing access point. Avoid over-lubricating, as excessive lubricant can cause additional issues.
4. Rotate the fan blades: After applying the lubricant, gently rotate the fan blades manually. This helps distribute the lubricant evenly within the bearing and ensures that it reaches all the necessary parts.
5. Reassemble the fan: If you had to remove any stickers or rubber plugs to access the bearing, replace them to seal the access point. Make sure they are securely in place to prevent any leakage.
Lubricating the case fan’s bearings can often resolve the grinding noise issue caused by worn-out bearings. However, it’s important to note that this is a temporary solution, and eventually, the fan may require replacement if the noise continues or worsens.
Now that you have lubricated the case fan, proceed to the next step to further troubleshoot and resolve the grinding noise issue.
Step 8: Replace the Case Fan
If all previous steps have been taken and the grinding noise from the case fan persists, it may be time to consider replacing the fan. Follow these steps to successfully replace the case fan:
1. Determine the fan size: Measure the dimensions of your existing case fan or refer to the manufacturer’s documentation to determine its size. Common sizes include 80mm, 120mm, and 140mm.
2. Purchase a replacement fan: Look for a replacement case fan that matches the size and specifications of your existing fan. Ensure compatibility with your computer’s fan connectors and power requirements.
3. Prepare for installation: Before proceeding, ensure your computer is turned off and unplugged. Also, take the necessary safety precautions, such as grounding yourself or using an anti-static wrist strap.
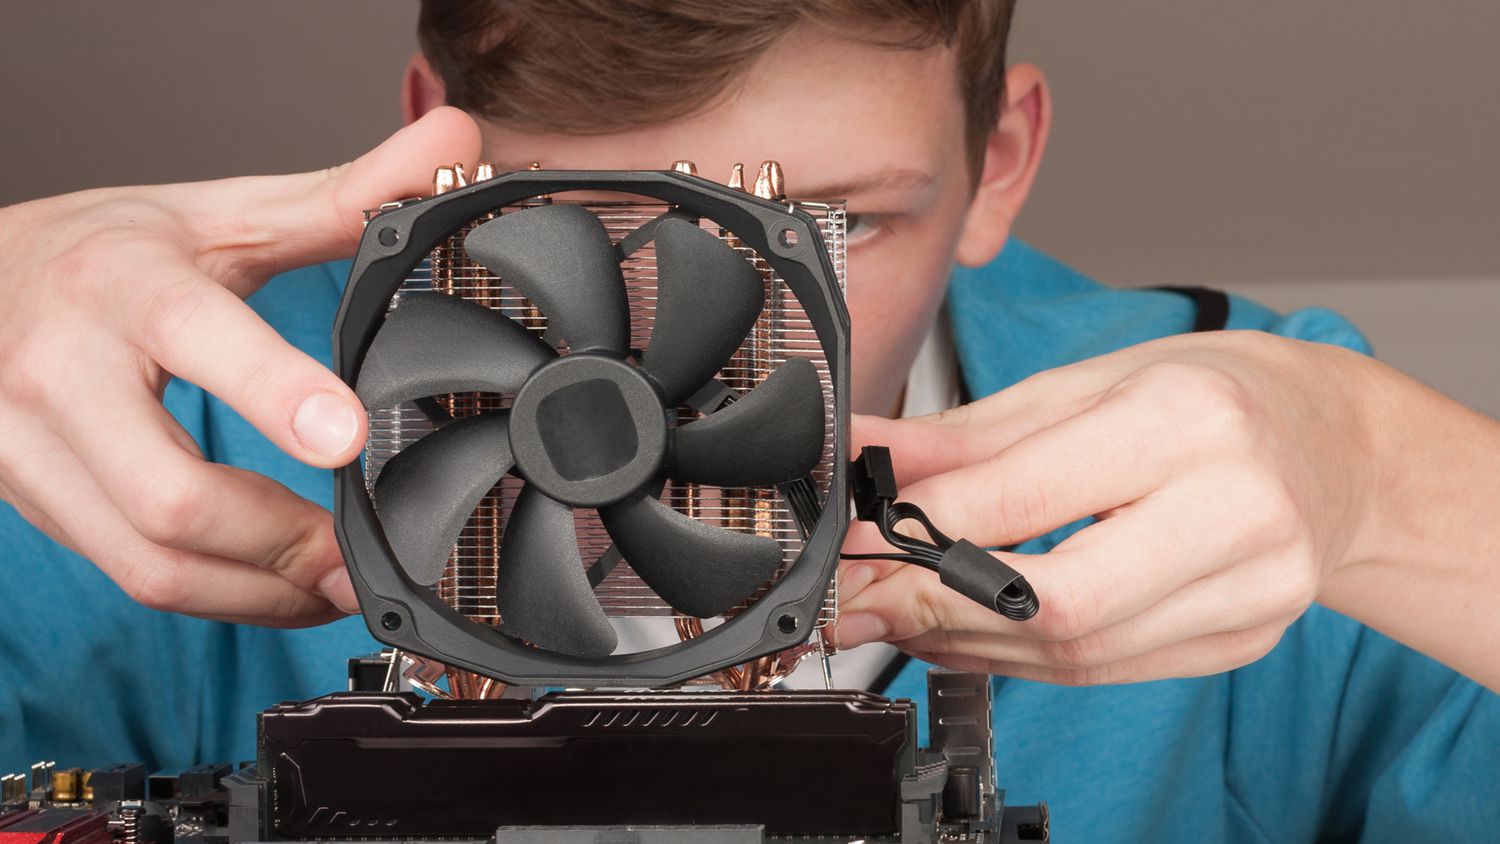
4. Remove the old fan: Disconnect the power cable of the old case fan from the motherboard or fan controller. Unscrew any screws or fasteners securing the fan to the case, and carefully remove the fan.
5. Install the new fan: Position the new case fan in the same location where the old one was. Align the mounting holes of the fan with the screw holes on the case. Secure the fan in place using the appropriate screws or fasteners.
6. Connect the power cable: Attach the power cable of the new case fan to the appropriate fan connector on the motherboard or fan controller. Ensure a secure and snug connection.
7. Test the new fan: After installing the new fan, turn on your computer and check if the grinding noise has been eliminated. Listen for any unusual sounds or vibrations.
Replacing the case fan can be an effective solution if previous steps have not resolved the grinding noise issue. A new fan will provide better performance and airflow, ensuring optimal cooling for your computer system.
Remember, when purchasing a replacement fan, choose a reputable brand and consider factors such as noise level, airflow, and longevity. With the new fan in place, you can enjoy a quieter and more efficient computer system.
Conclusion
Fixing a case fan with a grinding noise is a crucial step in keeping your computer running smoothly and efficiently. By following the steps outlined in this guide, you can troubleshoot and resolve the issue, ensuring a quieter and more optimal operation for your computer system.
Throughout the process, we have covered various steps, including turning off and unplugging your computer, opening the computer case, locating the case fan causing the noise, cleaning the fan, checking for obstructions, tightening or replacing loose screws, lubricating the fan’s bearings, and if necessary, replacing the case fan altogether.
It’s important to remember that regular maintenance is key to preventing future issues. Keeping your computer clean from dust and regularly inspecting the case fans for any signs of damage or obstructions can go a long way in maintaining their performance and longevity.
If you encountered any challenges during the troubleshooting process or if the grinding noise persists even after following these steps, it’s advisable to seek professional assistance. They can diagnose any underlying hardware issues or help you find a suitable solution.
By addressing the grinding noise in your case fan promptly, you can prevent potential damage to your computer components and maintain the optimal cooling necessary for your system’s performance. With a quiet and properly functioning case fan, you can enjoy a smoother computing experience without unnecessary distractions.
Remember to refer back to this guide whenever you encounter a case fan grinding noise issue, and keep your computer running at its best.