Introduction
A case fan is an essential component in any computer system as it helps to maintain optimal operating temperatures by dissipating heat. However, over time, case fans can become worn out and start making noises, which can be incredibly annoying to users. Additionally, noisy case fans may indicate a potential problem that needs attention to prevent further damage to the computer.
There are several reasons why a case fan may start making noises. It could be due to accumulated dust and debris, worn-out bearings, or even a misaligned fan blade. These issues can lead to a range of noises, including rattling, grinding, whining, buzzing, or clicking sounds. It is crucial to address these noises promptly to avoid system overheating or complete fan failure.
In this article, we will explore the various noises that a case fan can make when it’s going bad. We will discuss the causes behind each sound and provide some troubleshooting steps to alleviate the issue. Whether you’re a novice computer user or a seasoned tech-savvy enthusiast, understanding these noises and knowing how to address them can help you maintain a quiet and properly functioning computer system.
Reasons for a Noisy Case Fan
A noisy case fan can disrupt your computing experience and cause frustration. Understanding the reasons behind a noisy case fan is essential for effectively troubleshooting the issue. Here are some common causes of a noisy case fan:
1. Accumulated Dust and Debris: Over time, dust and debris can accumulate on the fan blades, causing an imbalance and resulting in noise. This is especially common if your computer is placed in a dusty environment or if proper dust filters are not in place.
2. Worn-out Bearings: Case fans typically have either sleeve bearings or ball bearings to reduce friction and provide smooth operation. However, these bearings can wear out over time, leading to increased noise as the fan spins. This is particularly true if the fan has been in use for an extended period.
3. Misaligned Fan Blade: If a fan blade becomes loose or misaligned, it can cause vibrations and produce a rattling noise. This can happen due to regular wear and tear or accidental physical damage.
4. Fan Speed Control Issues: Some case fans come with adjustable speed settings or are regulated by the computer’s motherboard. If there are issues with the speed control mechanism, the fan may operate at higher speeds than necessary, resulting in increased noise.
5. Manufacturing Defects: Occasionally, a case fan may have manufacturing defects that can cause abnormal noises. This could include imbalanced fan blades, poor quality bearings, or other internal components that are not functioning properly.
These are the primary reasons why a case fan may become noisy. By identifying the specific cause of the noise, you can take appropriate steps to resolve the issue and restore the optimal performance and quiet operation of your computer system.
Types of Noises a Case Fan Makes When Going Bad
When a case fan is going bad, it can produce various types of noises that are indicative of specific issues. Identifying these noises can help you determine the underlying problem and take appropriate action. Here are the most common types of noises that a case fan makes when it’s going bad:
1. Rattling Noise: A rattling noise is often caused by loose or misaligned fan blades. This can happen due to wear and tear or physical damage. It’s important to address a rattling noise as it can lead to further damage to the fan or other components if left untreated.
2. Grinding Noise: A grinding noise typically indicates worn-out bearings. As the bearings deteriorate, the fan blades can rub against the housing, resulting in a grinding sound. This is a clear sign that the fan needs attention and potentially replacing to prevent complete failure.
3. Whining or Buzzing Noise: A high-pitched whining or buzzing noise can be caused by various factors, including worn-out bearings, excessive fan speed, or electrical interference. It’s essential to troubleshoot the issue to determine the root cause and eliminate the noise source.
4. Clicking Noise: A clicking noise usually suggests that there is an issue with the fan’s motor. It could be due to a loose rotor or a malfunctioning motor component. Ignoring the clicking sound can lead to further damage over time.
5. Air Whooshing Noise: While not always considered a “bad” noise, an excessive air whooshing sound can indicate that the fan is operating at high speeds or that there is inadequate airflow in the case. This can cause the fan to work harder than necessary, potentially shortening its lifespan.
Noise from a case fan is a clear indication that something is amiss. By identifying the specific type of noise, you can narrow down the possible causes and take the appropriate steps to resolve the issue before it leads to more significant problems.
Rattling Noise
A rattling noise coming from a case fan is a common issue that can be caused by various factors. It is essential to address this noise promptly, as it can indicate a problem with the fan that, if left unattended, may lead to further damage. Below are some potential causes of a rattling noise in a case fan:
1. Loose Fan Blades: Over time, the constant spinning of the case fan can cause the fan blades to become loose. This can lead to a rattling noise as the blades vibrate against the fan housing. It may also result from physical impact or mishandling, causing the blades to become misaligned or loose.
2. Worn-out Bearings: The bearings inside the case fan can wear out over time, causing the fan blades to wobble and produce a rattling sound. This is particularly common in sleeve-bearing fans, where the lubrication can dry up or become ineffective, leading to increased friction and instability.
3. Damaged or Bent Fan Blades: If a case fan blade is damaged or bent, it can create an uneven airflow and produce a rattling noise. This can occur due to mishandling or accidental contact with objects inside the computer case.
4. Improper Installation: A rattling noise may also occur if the case fan is not properly installed or secured in its mounting position. If the fan is loose or not aligned correctly, it can vibrate and make noise during operation.
To address a rattling noise in a case fan, you can try the following troubleshooting steps:
– Check the fan blades for any signs of damage or misalignment. If necessary, gently adjust the blades or replace the fan if the damage is severe.
– Ensure that the fan is properly installed and secured in its mounting position. Tighten any screws or fasteners if they are loose.
– If the fan has sleeve bearings, try lubricating them with a lightweight machine oil according to the manufacturer’s instructions.
– If the rattling noise persists after troubleshooting, it may be a sign that the fan is nearing the end of its lifespan and needs to be replaced.
By addressing a rattling noise in a case fan timely and effectively, you can restore the smooth and quiet operation of your computer system.
Grinding Noise
A grinding noise coming from a case fan is a clear indication of a problem that needs to be addressed promptly. It is important to identify and resolve the issue causing the noise to prevent further damage and potential failure of the fan. Here are some potential causes of a grinding noise in a case fan:
1. Worn-out Bearings: In many cases, a grinding noise is caused by worn-out bearings inside the case fan. The bearings are designed to reduce friction and provide smooth operation. However, with continuous use, the lubrication can wear out or dry up, leading to increased friction between the bearings and the fan components. This can result in a grinding sound as the fan blades spin.
2. Misaligned Fan Blades: If the fan blades become misaligned or damaged, they can rub against the housing, causing a grinding noise. This can occur due to accidental impact or wear and tear over time. Misaligned fan blades can also lead to decreased airflow and reduced cooling efficiency.
3. Physical Obstructions: The presence of foreign objects, such as dust, debris, or cable wires, can obstruct the movement of the fan blades, causing them to grind against these obstructions. This typically happens when the computer case is not properly maintained or if there are loose materials inside the case.
4. Fan Damage: Any physical damage to the fan, such as bent or broken blades, can result in a grinding noise during operation. This can occur due to mishandling, accidental impact, or improper cleaning techniques.
If you encounter a grinding noise in a case fan, it is important to take the following steps to resolve the issue:
– Power down the computer and unplug it from the power source before attempting any troubleshooting.
– Carefully inspect the fan blades for signs of damage or misalignment. If there are any issues, consider replacing the fan to prevent further complications.
– Clean the fan and its surrounding area to remove any obstructing debris or foreign objects that may be causing the grinding noise.
– If the grinding noise persists after cleaning, it may indicate that the bearings are worn out and need to be replaced. In such cases, consider replacing the fan entirely for optimal performance and noise reduction.
By addressing a grinding noise in a case fan promptly and effectively, you can ensure the smooth and quiet operation of your computer system.
Whining or Buzzing Noise
If you notice a whining or buzzing noise coming from your case fan, it’s important to investigate the issue and take appropriate action. Such noises can be indicative of underlying problems that, if left unaddressed, can result in further complications. Here are some potential causes of whining or buzzing noises in a case fan:
1. Worn-out Bearings: One common reason for whining or buzzing noises is worn-out bearings. As the bearings deteriorate, they can produce high-pitched whines or buzzing sounds. This can occur due to regular wear and tear over time or excessive use of the fan.
2. Excessive Fan Speed: In some cases, the whining or buzzing noise can be a result of the fan running at a higher speed than necessary. This can happen if the fan speed control settings are not calibrated correctly or if there are issues with the fan’s speed regulation mechanism.
3. Electrical Interference: Certain electrical components or wiring near the case fan can introduce interference, leading to whining or buzzing noises. This interference can occur due to improper grounding, crossed wires, or other electrical issues within the computer system.
4. Fan Blade Design: Some case fans may produce whining or buzzing noises due to their blade design. Certain fan models, particularly those with more aggressive blade shapes or configurations, can generate noise as they push air through the system. This is a design characteristic and may not necessarily indicate a faulty fan.
To address whining or buzzing noises from a case fan, consider the following steps:
– Ensure that the fan is properly mounted and securely fastened in its designated spot. Loose connections or vibrations can contribute to the noise.
– Check the fan speed control settings and adjust them if necessary. Lowering the speed may help reduce the noise, but be mindful of maintaining adequate cooling for your system.
– If the fan has worn-out bearings, consider replacing the fan as a long-term solution. Lubricating the bearings may provide temporary relief, but it may not resolve the underlying issue.
If the whining or buzzing noise continues despite troubleshooting efforts, it’s advisable to consult a professional or consider seeking a replacement fan to ensure optimal performance and minimize sound disturbances.
Clicking Noise
If you hear a clicking noise coming from your case fan, it is important to investigate the issue and resolve it to prevent further complications. Clicking noises can indicate a problem with the fan’s motor or other internal components. Here are some potential causes of a clicking noise in a case fan:
1. Loose Rotor: A clicking noise can occur if the fan’s rotor becomes loose. This can happen due to regular wear and tear, mishandling, or physical impact. When the rotor becomes loose, it can make contact with other components inside the fan, resulting in a clicking sound.
2. Malfunctioning Motor Component: Clicking noises can also originate from a malfunctioning motor component within the fan. This could be due to a faulty wire connection, a misaligned component, or damage to the motor itself. When the motor is not functioning properly, it can produce clicking sounds during operation.
3. Fan Blade Obstruction: A clicking noise may occur if there is an obstruction, such as a small object or debris, lodged between the fan blades. This can cause the blades to strike the obstruction as they spin, resulting in repeated clicking sounds.
4. Internal Fan Damage: Clicking noises can also indicate internal damage to the fan’s components. This could be the result of mishandling, excessive use, or a manufacturing defect. Internal fan damage can lead to irregular movements of the motor or rotor, causing the clicking sound.
To address a clicking noise in a case fan, consider the following steps:
– Turn off the computer and unplug it from the power source before attempting any troubleshooting.
– Inspect the fan carefully to identify any visible damage or loose components. If you find any, consider replacing the fan to prevent further complications.
– Check for any obstructions between the fan blades and remove them if present. Ensure that the fan blades can spin freely without making contact with any objects or debris.
– If the clicking noise persists after troubleshooting, it may indicate a more significant issue with the fan’s internal components. In such cases, it is recommended to replace the fan to ensure proper functionality and prevent further damage.
Addressing a clicking noise in a case fan promptly can help maintain optimal performance and extend the lifespan of your computer system.
Air Whooshing Noise
If you notice an air whooshing noise coming from your case fan, it’s important to understand the possible causes and address the issue to ensure proper functioning and minimize disturbances. Air whooshing noises can be a result of various factors related to the fan or overall airflow within the computer system. Here are some potential causes of an air whooshing noise:
1. High Fan Speed: Many case fans are designed to operate at high speeds to provide efficient cooling. This can result in an air whooshing noise as the fan blades rotate rapidly and move a significant amount of air. While this noise is normal to some extent, excessively high fan speeds can create a louder whooshing sound.
2. Inadequate Airflow: If the computer case has poor ventilation or the fan is obstructed by dust or other debris, it can lead to turbulent airflow and cause an air whooshing noise. This is often an indication that the fan is working harder than necessary to compensate for the lack of proper airflow.
3. Fan Placement: The location of the case fan within the computer system can also contribute to the air whooshing noise. Placing the fan too close to other components, such as cables or heatsinks, can disrupt the airflow and result in turbulent noise.
4. Fan Blade Design: The design of the fan blades can create different airflow characteristics and generate varying amounts of noise. Some fan models are specifically designed to provide high airflow, resulting in more noticeable whooshing sounds.
To address an air whooshing noise from a case fan, consider the following steps:
– Ensure that the computer case is properly ventilated, with sufficient intake and exhaust fans to maintain good airflow.
– Clean the fan and surrounding area regularly to remove any dust or debris that may be obstructing the airflow.
– Check the fan placement and ensure that it has adequate clearance from other components to allow for smooth airflow.
– Adjust the fan speed settings if possible, aiming for a balance between cooling performance and noise level that suits your needs.
If the air whooshing noise persists despite these efforts, consider replacing the fan with a model that offers quieter operation while maintaining sufficient airflow for proper cooling.
By addressing an air whooshing noise in a case fan, you can maintain a quieter computer system and ensure optimal cooling efficiency.
How to Troubleshoot a Noisy Case Fan
If you’re experiencing a noisy case fan, it’s important to troubleshoot the issue to identify the cause and take appropriate action. Here are some steps you can follow to troubleshoot a noisy case fan:
1. Identify the Source of the Noise: Start by pinpointing which case fan is causing the noise. Open up your computer case and visually inspect each fan. Listen carefully to determine which fan is producing the noise.
2. Check for Obstructions: Dust, debris, or cables near the fan blades can obstruct the airflow and cause noise. Clean the fan and its surrounding area to remove any obstructions. Ensure that there are no loose cables or objects hindering the fan’s movement.
3. Secure the Fan Mountings: Make sure that the case fan is securely mounted in its designated spot. Loose or improperly mounted fans can vibrate and produce noise. Tighten any screws or fasteners that may have come loose.
4. Lubricate the Bearings: If your case fan has sleeve bearings and is making noise, you can try lubricating the bearings with a lightweight machine oil. Follow the manufacturer’s instructions for proper lubrication techniques and avoid over-lubricating the bearings.
5. Adjust the Fan Speed: Some case fans have adjustable speed settings. Lowering the fan speed can reduce noise, but be mindful of maintaining adequate cooling for your system. Adjust the fan speed using BIOS settings or specialized software if available.
6. Monitor System Temperatures: Check your system temperatures to ensure that they are within the normal operating range. Excessively high temperatures can cause the fans to work harder and produce more noise. Consider improving overall system cooling if temperatures are consistently high.
7. Consider Replacing the Fan: If the troubleshooting steps above don’t resolve the noise issue, it may be time to replace the case fan. Opt for high-quality fans that offer quieter operation. Look for models with features such as advanced blade designs, anti-vibration mounts, or fluid dynamic bearings for improved noise reduction.
Remember, each case fan may have unique troubleshooting requirements, so be sure to consult the manufacturer’s instructions or online resources specific to your fan model for additional guidance. By troubleshooting a noisy case fan, you can determine the cause of the noise and take the appropriate steps to resolve the issue, resulting in quieter and more efficient computer operation.
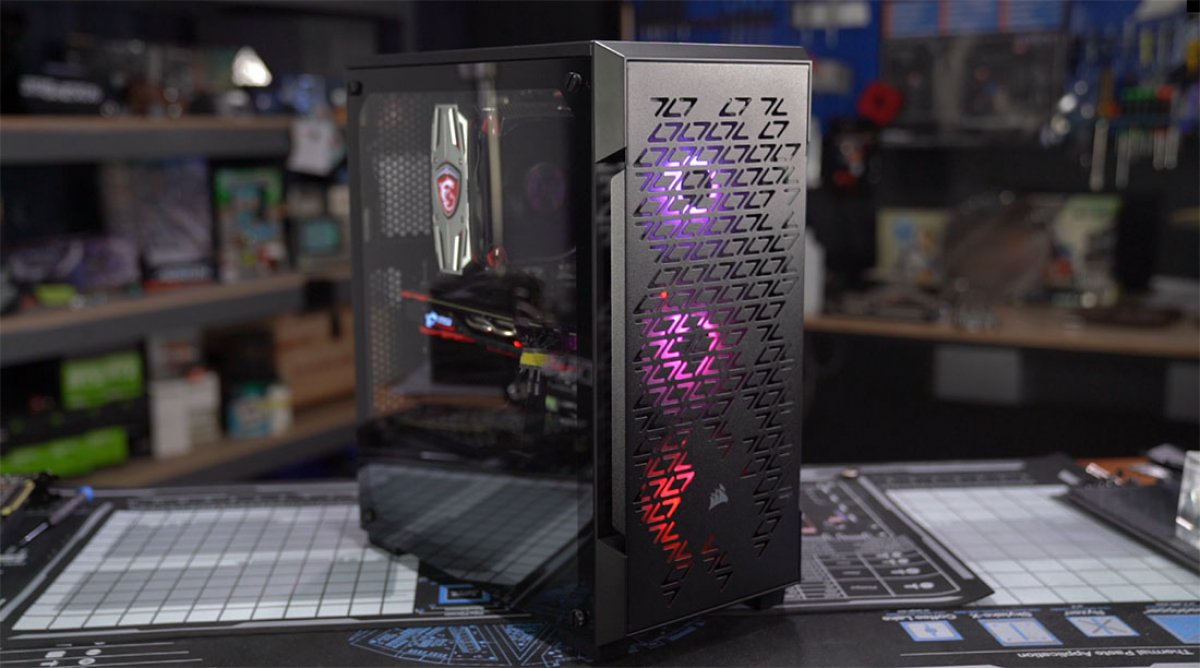
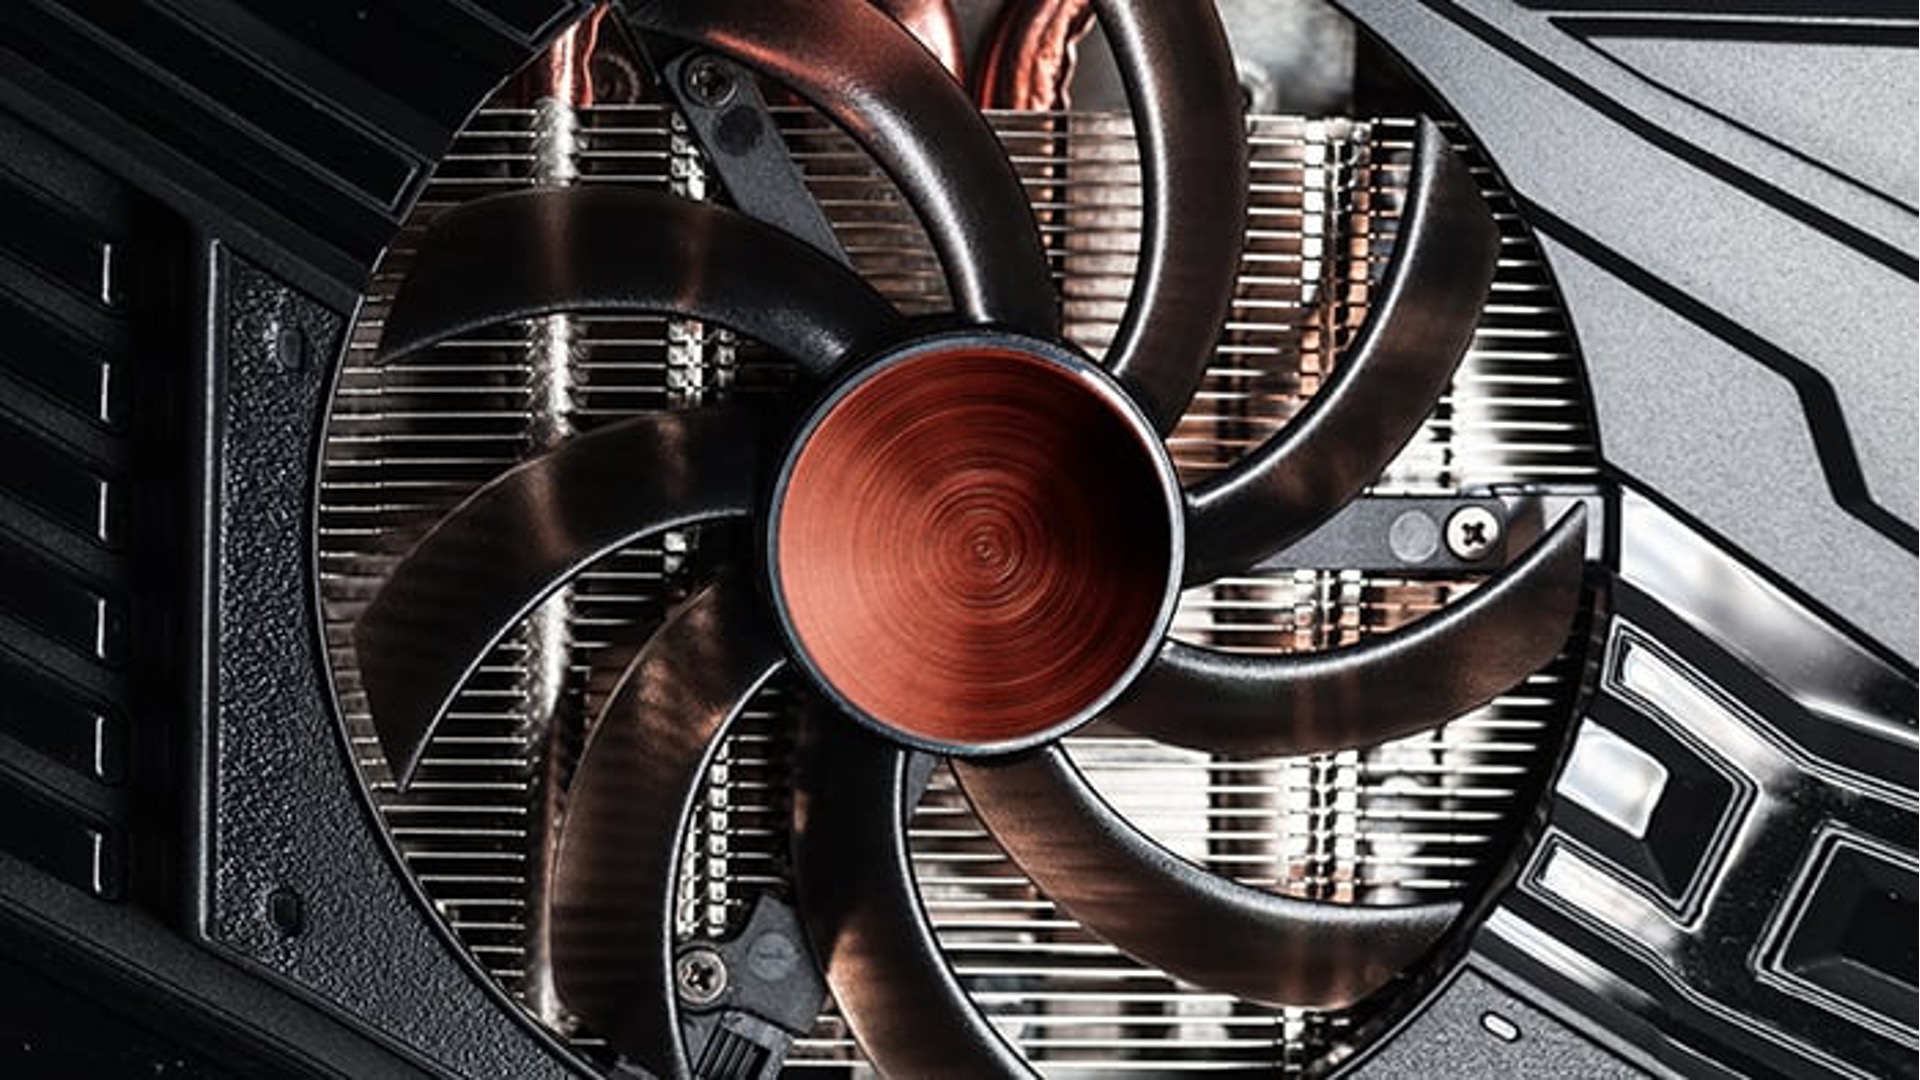
Cleaning the Case Fan
Regularly cleaning a case fan is essential for maintaining optimal performance and preventing excess noise caused by accumulated dust and debris. Here are the steps to clean a case fan:
1. Power Off and Unplug the Computer: Before cleaning the case fan, power off your computer and unplug it from the power source. This is important for safety reasons and to prevent any accidental damage to your computer components.
2. Open the Computer Case: Depending on your computer case design, you may need to remove a side panel or access the fan directly through a removable top or front panel. Refer to your computer’s user manual or online resources for specific instructions on how to open the case.
3. Identify the Case Fan: Locate the case fan or fans inside your computer case. You can visually identify them by their spinning blades and the cables connected to them. Take note of the type and size of the case fan for future reference.
4. Remove Dust and Debris: Using a can of compressed air or an anti-static brush, gently remove the dust and debris from the case fan. Hold the can of compressed air upright and spray short bursts of air onto the fan blades, fan housing, and around the motor. If using a brush, carefully sweep away the dust, taking care not to apply excessive pressure.
5. Clean the Fan Blades: If there is stubborn dirt or grime on the fan blades, you can use a soft, lint-free cloth lightly dampened with isopropyl alcohol or electronic cleaning solution. Gently wipe the blades, rotating them as you go, until they are clean. Be cautious not to get any liquid on the fan motor or any other electrical components.
6. Clean the Surrounding Area: Clean the area surrounding the case fan, including the grille or vent where the fan pulls in or exhausts air. Use a brush or can of compressed air to remove any dust or debris that may have accumulated in these areas.
7. Reassemble the Computer: Once the case fan and surrounding area are clean, carefully reassemble the computer case. Ensure that all connections are secure and that there are no loose cables obstructing the fan’s operation.
Regularly cleaning your case fan every few months or as needed can help maintain proper airflow, reduce noise, and extend the fan’s lifespan. It also aids in preventing dust buildup on other computer components, such as the CPU and GPU, which can impact system performance.
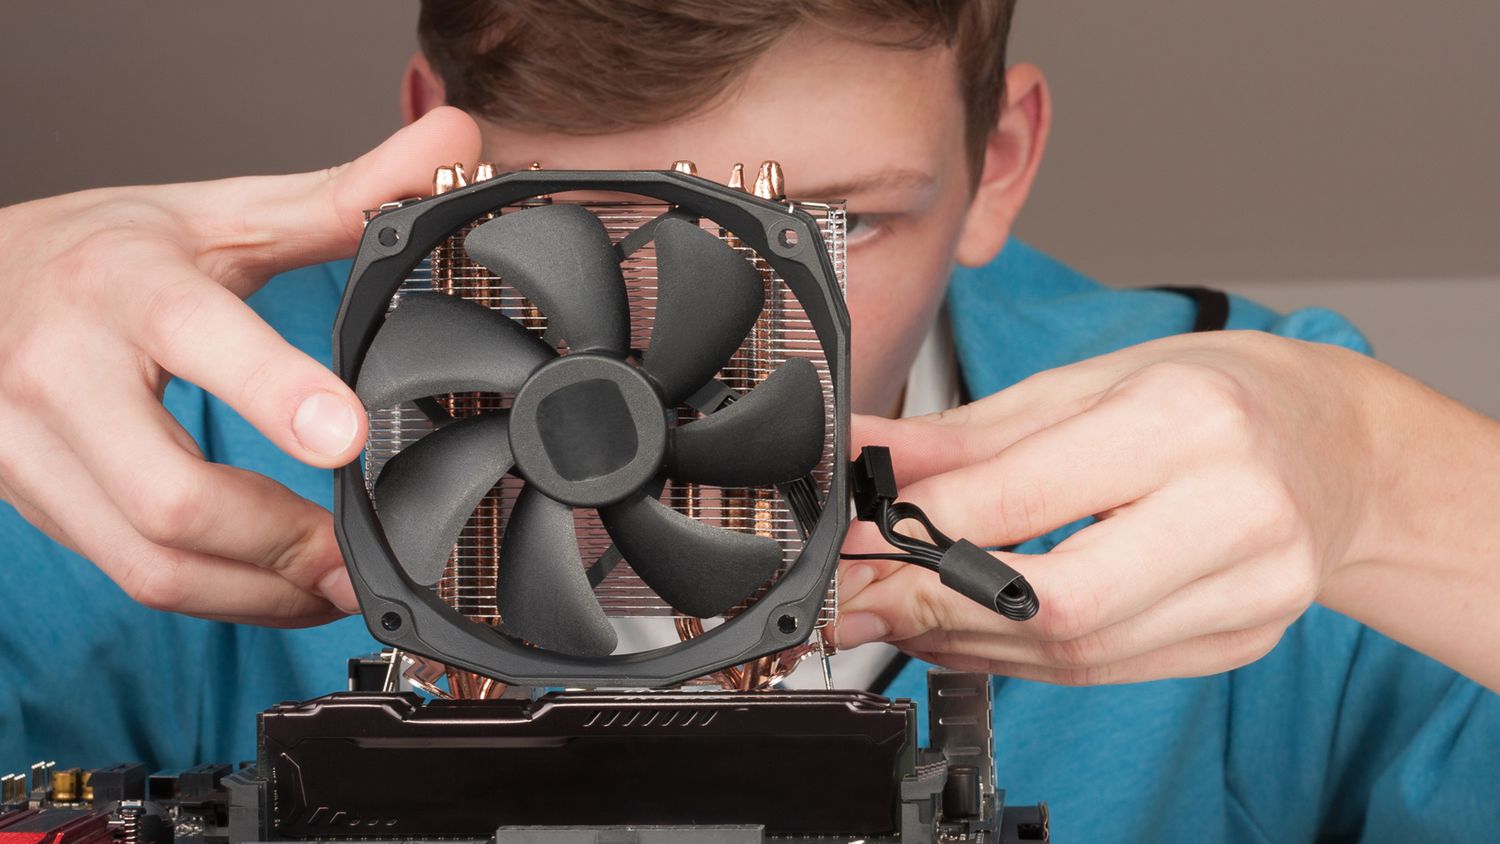
Replacing the Case Fan
If troubleshooting and cleaning efforts do not resolve the noise issue with your case fan, it may be necessary to replace the fan. Here are the steps to follow when replacing a case fan:
1. Determine the Specifications: Before purchasing a new case fan, identify the specifications of your existing fan, such as the size, airflow, and connector type. You can find this information on the fan itself or consult the computer or fan manufacturer’s documentation.
2. Purchase a Compatible Replacement: Once you have determined the specifications, find a replacement case fan that matches or exceeds the specifications of your current fan. Look for fans that offer quiet operation and consider features such as anti-vibration mounts or PWM (Pulse Width Modulation) control if desired.
3. Power Off and Disconnect: Ensure that your computer is powered off and unplugged from the power source. This is crucial for safety during the replacement process.
4. Open the Computer Case: Follow the necessary steps to open your computer case, exposing the fan you wish to replace. Refer to your computer’s user manual or online resources for specific instructions.
5. Disconnect the Old Fan: Locate the power connector of the old case fan and gently disconnect it from the corresponding port on the motherboard. Some fans may have additional connectors for fan speed control or RGB lighting, if applicable. Take note of how the fan is mounted for reference during the installation of the new fan.
6. Remove the Old Fan: Unscrew or unclip the old fan from its mounting location. Ensure that you do not damage any other components or cables while removing the fan.
7. Install the New Fan: Place the new case fan in the same mounting location, aligning it with the screw or clip holes. Secure the fan in place, taking care not to overtighten the screws. Connect the power cable to the appropriate port on the motherboard.
8. Reassemble the Computer: Ensure that all connections are secure and that there are no loose cables obstructing the new fan’s operation. Carefully reassemble the computer case and ensure it is properly closed.
9. Test the Replacement: Power on your computer and observe the newly installed fan. Check for any unusual noise or vibrations. Monitor the system temperatures to ensure that the new fan is providing adequate cooling.
Replacing a case fan may require some basic knowledge of computer hardware, but it is generally a straightforward process. If you are unsure or uncomfortable with performing the replacement yourself, it is recommended to seek assistance from a professional technician.
Conclusion
A noisy case fan can be a frustrating and disruptive issue for computer users. However, by understanding the various reasons behind the noise and knowing how to troubleshoot and address them, you can restore the quiet and efficient operation of your computer system.
In this article, we discussed the common noises that a case fan makes when it’s going bad, including rattling, grinding, whining, buzzing, clicking, and air whooshing sounds. We explored the potential causes of each noise and provided troubleshooting steps to help you identify and resolve the noise issue.
Cleaning the case fan and ensuring proper airflow are crucial for preventing noise caused by dust and debris accumulation. In some cases, lubricating the fan bearings or adjusting the fan speed can help reduce noise levels. However, if these steps do not resolve the issue, you may need to consider replacing the case fan with a high-quality, quiet model that meets your system’s requirements.
Remember to exercise caution when working with computer components and follow proper safety protocols. If you are uncertain about any aspect of troubleshooting or replacing the case fan, it is advisable to seek assistance from a professional technician.
By addressing noisy case fans promptly and effectively, you can enjoy a quieter computing experience, extend the lifespan of your components, and maintain optimal cooling for your system. Keeping your case fans well-maintained and functioning properly ensures the overall longevity and performance of your computer system.