Introduction
When it comes to keeping your computer cool and running efficiently, one important component that often gets overlooked is the case fan. Case fans are essential for maintaining proper airflow within your computer case, preventing overheating and ensuring optimal performance of your hardware.
In this article, we will explore the different areas within a computer case where you can strategically place case fans to maximize cooling efficiency. By understanding the various options available, you can make informed decisions about fan placement and improve the overall airflow in your system.
Before we dive into the specific areas where case fans can be installed, it’s important to note that the exact fan placement may vary depending on the specific case model and configuration. However, the general principles we discuss here will apply to most computer cases.
Having a good airflow design in your computer case can help dissipate heat generated by components such as the CPU, GPU, and power supply. Proper airflow can also help reduce noise levels by keeping components running at optimal temperatures, preventing the need for fans to spin at higher speeds.
Now, let’s explore some of the key areas within your computer case where you should consider placing case fans to achieve optimal cooling:
Front Panel Fans
The front panel of your computer case is an ideal location for installing case fans. These fans can draw in fresh air from the outside and direct it towards the internal components, promoting better airflow throughout the case.
Typically, computer cases are designed with ventilation holes or mesh panels on the front panel to facilitate the intake of air. By placing case fans in these areas, you can ensure a steady flow of cool air into the case. This is particularly beneficial for components such as hard drives and the lower section of the motherboard, which often generate heat.
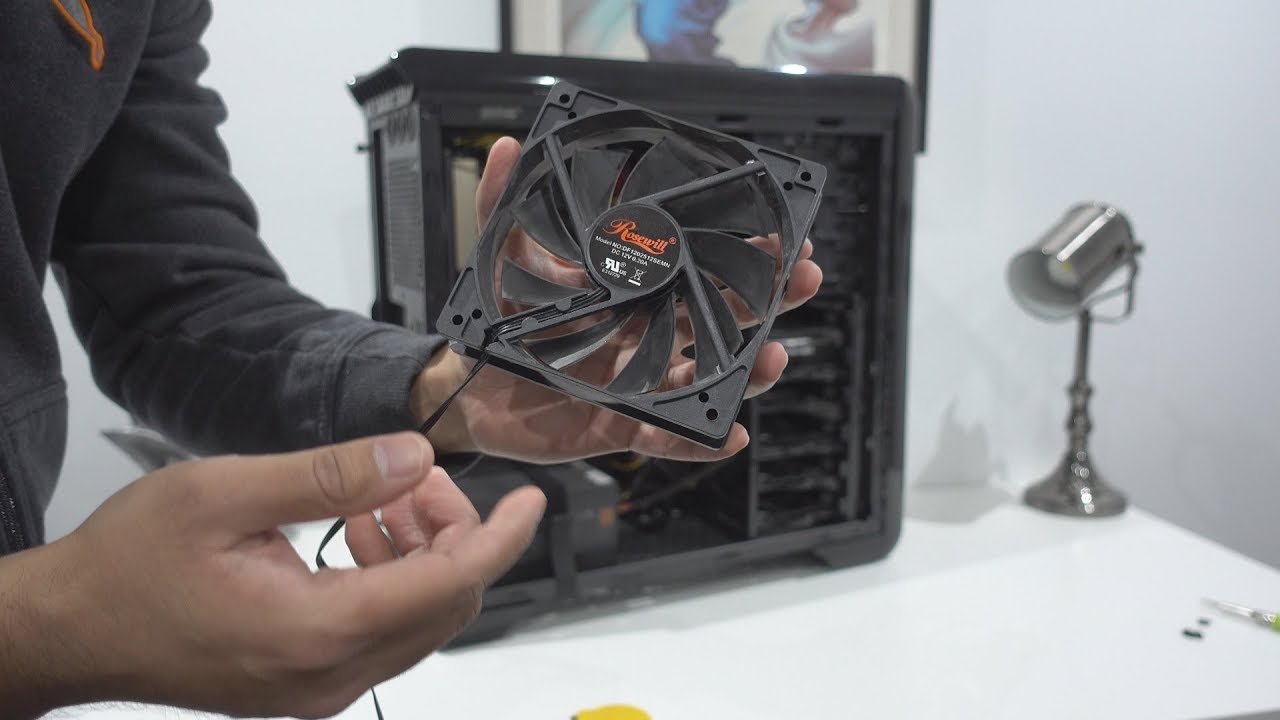
When installing front panel fans, you should consider the size and number of fans based on your specific case dimensions. Most cases allow for the installation of 120mm or 140mm fans, but larger cases may accommodate 200mm or even 230mm fans. The number of fans you choose to install will depend on the airflow requirements of your system.
It’s worth noting that some computer cases come with pre-installed front panel fans, so you may only need to add additional fans if necessary. If you’re adding or replacing front panel fans, make sure to position them evenly to distribute airflow effectively across the entire case.
One essential consideration when installing front panel fans is the direction of airflow. In most cases, the fans should be set up to intake air into the case. However, some cases may allow you to configure the front panel fans as exhaust fans, expelling warm air from the case. Consult your case manual or manufacturer’s instructions to determine the optimal airflow configuration for your specific model.
Front panel fans can significantly improve the overall cooling performance of your computer case. By taking advantage of the intake capabilities of these fans, you can ensure a steady supply of cool air to keep your components running smoothly and prolong their lifespan.
Top Panel Fans
The top panel of your computer case is another ideal location for installing case fans. These fans can help expel hot air that rises naturally to the top of the case, ensuring efficient heat dissipation and preventing it from stagnating within the system.
Top panel fans work best in conjunction with front panel fans, creating a directional airflow that moves cool air in from the front and pushes warm air out through the top. This setup promotes efficient heat transfer and prevents pockets of warm air from forming near the motherboard and CPU.
When considering top panel fan placement, you’ll need to balance the number and size of fans with the available space and the layout of your components. Most cases will support 120mm or 140mm fans in the top panel, but larger cases may allow for 200mm or 230mm fans. Additionally, some cases feature multiple fan mounting points, giving you the flexibility to configure the airflow according to your needs.
It’s important to note that if you choose to install top panel fans, you’ll need to consider dust filtration. Since hot air naturally rises, it can carry dust particles with it. To prevent excessive dust buildup, look for cases that have removable dust filters on the top panel or invest in aftermarket filters. Regular cleaning and maintenance of these filters will help keep your system running smoothly.
Another consideration is noise. Top panel fans can be quite effective at dissipating heat but may generate more noise compared to other fan placements. If noise is a concern for you, consider using fans with lower RPM or investing in high-quality, quieter fans.
Before installing top panel fans, double-check the airflow direction. In most cases, you’ll want them configured as exhaust fans to expel hot air. However, depending on your specific case and system configuration, you may need to experiment to find the best airflow setup for your needs.
Adding top panel fans can significantly improve the cooling performance of your computer case, especially when combined with front panel intake fans. By expelling hot air and promoting efficient airflow, these fans help maintain lower temperatures and protect your components, ensuring stable and reliable operation.
Rear Panel Fans
The rear panel of your computer case is an essential location for installing case fans. Rear panel fans work in tandem with front and top panel fans to create a well-defined airflow pathway that promotes efficient cooling and heat dissipation.
Rear panel fans typically function as exhaust fans, expelling hot air from the case. As warm air rises, front and top panel fans bring in fresh, cool air, while the rear fan helps push out the heated air. This continuous flow of air helps maintain a stable and cool environment for your components.
Most computer cases have a designated spot for a 120mm or 140mm rear panel fan. Some cases also feature a larger 200mm or 230mm fan option for increased airflow. When choosing a fan size, consider factors such as the available space, compatibility with your case, and the airflow requirements of your system.
It’s important to ensure that the rear panel fans are installed correctly for optimal performance. They should be positioned as close to the CPU and graphics card as possible to draw heat away from these critical components. If your case allows, mounting the rear fan slightly higher can create a better airflow path, drawing air from the lower section of the case and directing it upwards.
When installing rear panel fans, pay attention to the direction of airflow. In most cases, the fans should be set up as exhaust fans, expelling hot air from the case. However, depending on your specific case and airflow setup, you may need to adjust the configuration to achieve the best results. Consult your case manual or manufacturer’s instructions for guidance on optimizing the fan placement.
In addition to exhaust function, rear panel fans also play a crucial role in preventing dust buildup in your system. Many cases are equipped with removable dust filters at the rear panel to prevent debris from entering the case. Regularly cleaning these filters will help maintain optimal airflow and reduce the risk of overheating.
By strategically placing rear panel fans in your computer case, you can improve overall airflow and thermal management. These fans work in conjunction with other intake and exhaust fans to maintain lower temperatures, enhance system stability, and prolong the life of your components.
Bottom Panel Fans
The bottom panel of your computer case provides yet another potential location for installing case fans. While not all cases have dedicated fan mounts on the bottom, if your case has this feature, it can offer several benefits for cooling and overall system performance.
Bottom panel fans primarily function as intake fans, drawing in cool air from the outside. This airflow helps to improve the overall ventilation and promotes the circulation of fresh air throughout the case. By providing additional cool air to the system, bottom panel fans can help regulate the temperature of components such as the power supply and hard drives.
When considering bottom panel fans, it’s important to take into account the size and layout of your case. Common fan sizes for the bottom panel include 120mm and 140mm, but some larger cases can accommodate larger fan sizes like 200mm or 230mm. Choose the fan size that appropriately fits your case and maximizes airflow while considering the available space and compatibility.
One consideration when installing bottom panel fans is the clearance between the case and the surface it sits on. Ensure that there is sufficient space for the fan to draw in air without obstruction. Many cases have feet or raised platforms to allow for proper airflow and clearance.
It’s also important to note that not all cases have proper dust filtration on the bottom panel. If you decide to install bottom panel fans, regularly check and clean the dust filters (if present) to prevent dust buildup and maintain optimal airflow. Accumulated dust can restrict the efficiency of the fans and lead to overheating.
Lastly, when installing bottom panel fans, it’s essential to consider the overall airflow and balance of your fan setup. Bottom panel fans can work in conjunction with other intake and exhaust fans to create an uninterrupted and effective airflow path within the case. Consider the placement of other fans in your system to ensure a consistent and efficient flow of air throughout.
Bottom panel fans can significantly enhance the cooling capabilities of your computer case. By drawing in cool air and circulating it throughout the case, these fans help regulate temperatures and maintain optimal performance for your components, especially the power supply and hard drives.
Side Panel Fans
The side panel of your computer case presents a unique opportunity for installing case fans. Side panel fans can provide additional cooling directly to components such as the CPU and graphics card, which are often the main contributors to heat buildup.
Side panel fans work as intake fans, drawing in fresh air from the outside and directing it towards the internal components. By positioning fans on the side panel, you can provide a direct source of cool air to critical components that may otherwise be subjected to higher temperatures.
When considering side panel fan placement, it’s important to choose a fan size that fits the available space and provides optimal airflow. Most cases can accommodate 120mm or 140mm side panel fans, but larger cases may support 200mm or 230mm fans. Determine the appropriate fan size based on your case dimensions and the cooling requirements of your system.
It’s worth noting that side panel fans can create a localized area of improved cooling, focusing on specific components like the CPU and graphics card. This can be especially beneficial if you have a high-performance system that generates a significant amount of heat. However, be mindful that side panel fans may not always be necessary for all setups, and the need for them depends on factors such as the overall airflow design of your case and the components you are using.
When installing side panel fans, consider the direction of airflow. In most cases, side panel fans should be set up as intake fans, drawing cool air into the case. However, depending on your specific case and system configuration, you may need to experiment with the fan orientation to achieve optimal results.
Additionally, it’s important to evaluate the noise level of side panel fans. Side panel fans can potentially generate more noise due to their proximity to components. Consider using fans with lower RPM or investing in high-quality, quieter fans if noise is a concern for you.
Lastly, keep in mind that not all computer cases have provisions for installing side panel fans. Some cases may have transparent side panels for aesthetic purposes, reducing the space available for fan mounts. Ensure that your case supports side panel fans before considering their installation.
Side panel fans can be a valuable addition to your cooling setup, providing targeted cooling to critical components within your computer case. By directing cool air towards the CPU and graphics card, these fans can help maintain lower temperatures and enhance the performance and longevity of your system.
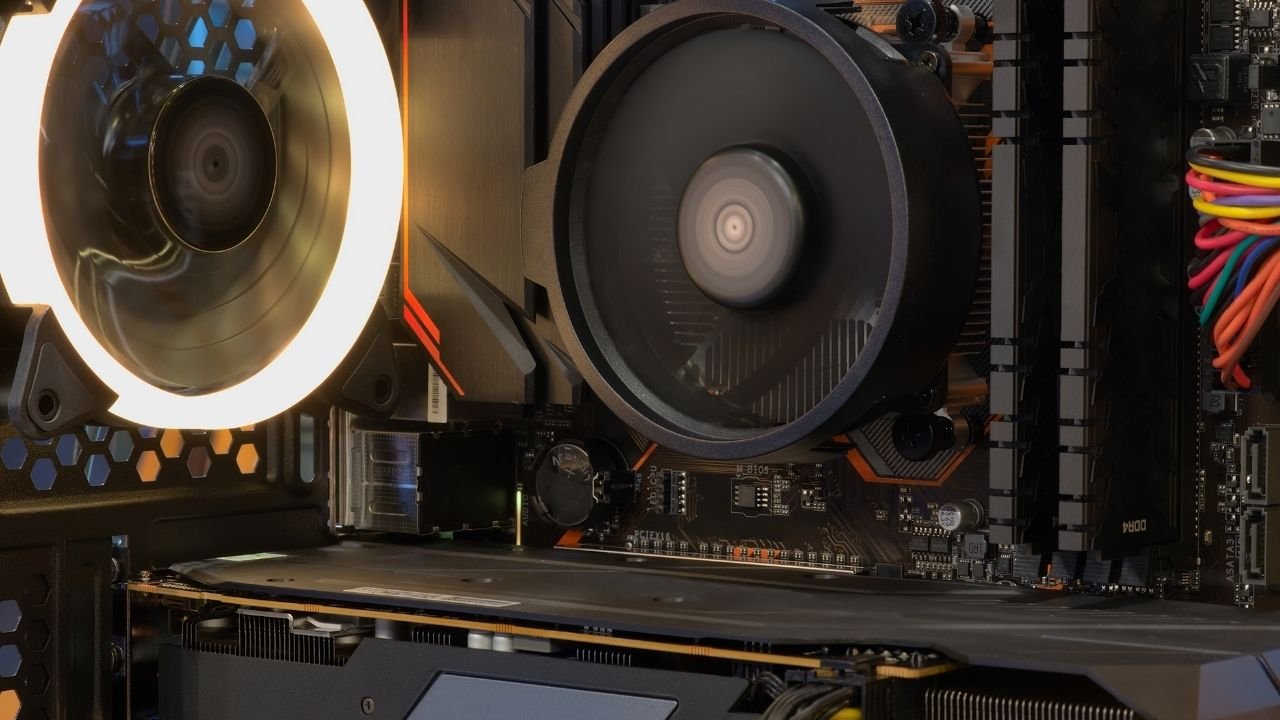
CPU Cooler Fans
The CPU cooler plays a vital role in maintaining the temperature of your CPU, and the associated cooling fans are an integral part of this setup. CPU cooler fans are specifically designed to dissipate the heat generated by the CPU and ensure optimal performance and stability.
Most CPU coolers come with their own built-in fans, which are typically positioned directly above the CPU. These fans work in conjunction with the heatsink to efficiently transfer heat away from the CPU and into the surrounding air.
The size and number of CPU cooler fans can vary depending on the specific cooler model and its compatibility with your CPU socket. It’s essential to choose a CPU cooler that is compatible with your CPU and provides sufficient cooling capacity for its power and thermal requirements.
When installing a CPU cooler fan, it’s crucial to ensure proper airflow and orientation. In most cases, the fan should be positioned to extract hot air away from the CPU heatsink. This setup allows the cooler to effectively dissipate heat and maintain lower CPU temperatures.
Some CPU coolers also offer the option of dual-fan configurations or additional fan mounts. Adding an extra fan can provide further cooling capabilities, especially for high-performance CPUs that generate more heat. However, it’s important to make sure that the additional fans do not obstruct other components or interfere with the overall airflow in the case.
One consideration when it comes to CPU cooler fans is noise. CPU cooler fans can sometimes be the primary source of noise in a system, especially if they operate at high RPMs. If noise is a concern, look for CPU cooler models that have quieter fan designs or consider using fan control software to adjust the fan speed and find a balance between noise and performance.
Regular maintenance is essential for CPU cooler fans to ensure optimal performance. Over time, dust and debris can accumulate on the fan blades and heatsink, affecting airflow and heat dissipation. Routinely cleaning the CPU cooler fans will help maintain their efficiency and prevent overheating issues.
CPU cooler fans are a critical component in keeping your CPU cool and running smoothly. By choosing the right CPU cooler and ensuring proper fan placement and maintenance, you can maintain optimal CPU temperatures and prolong the life of your processor.
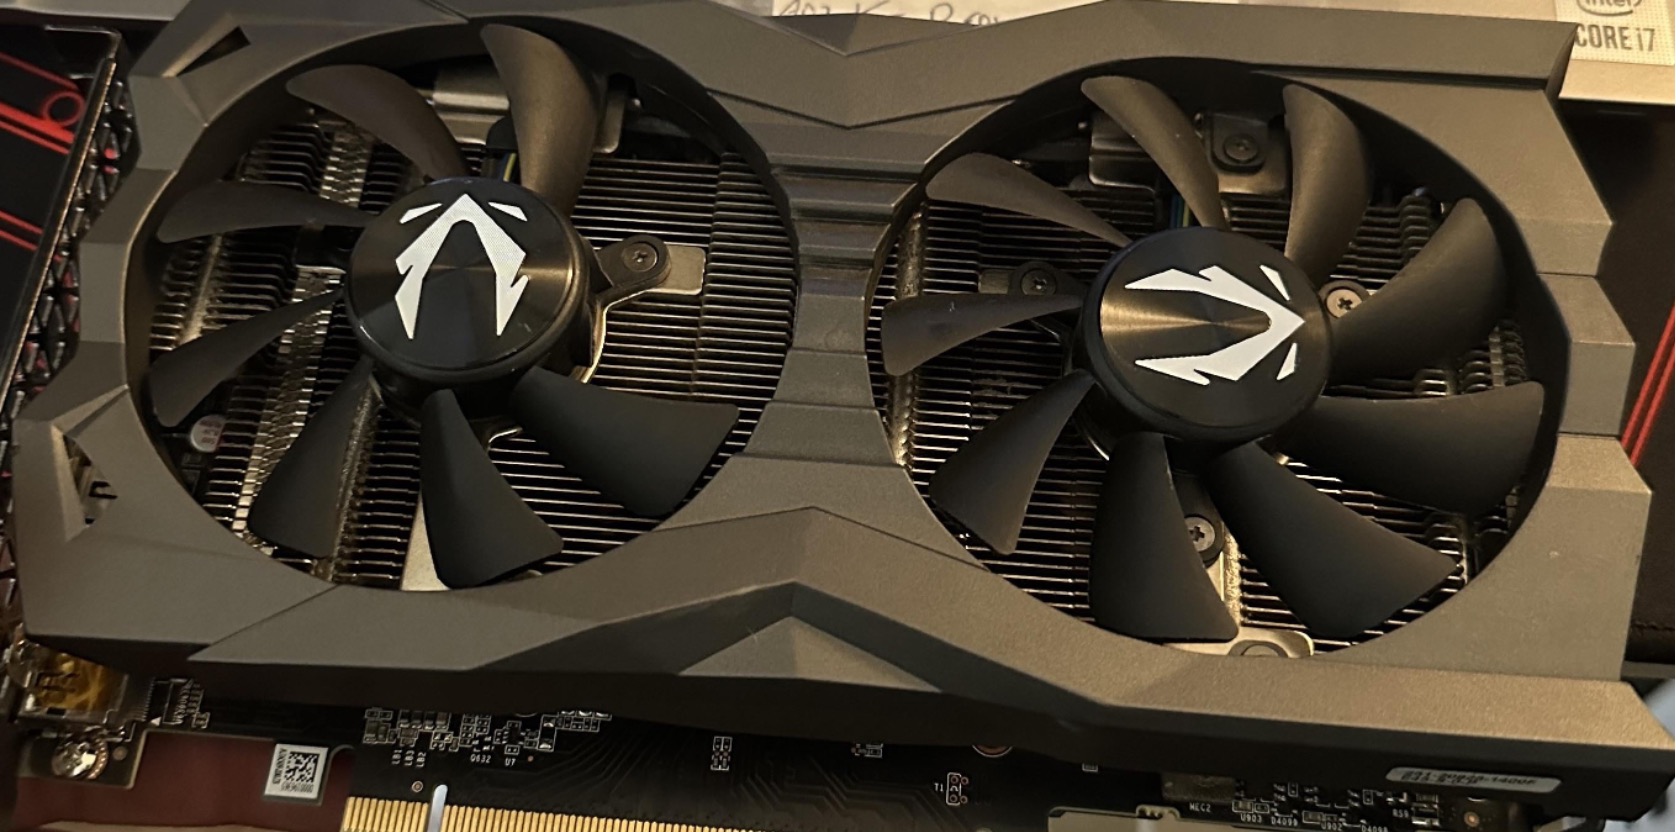
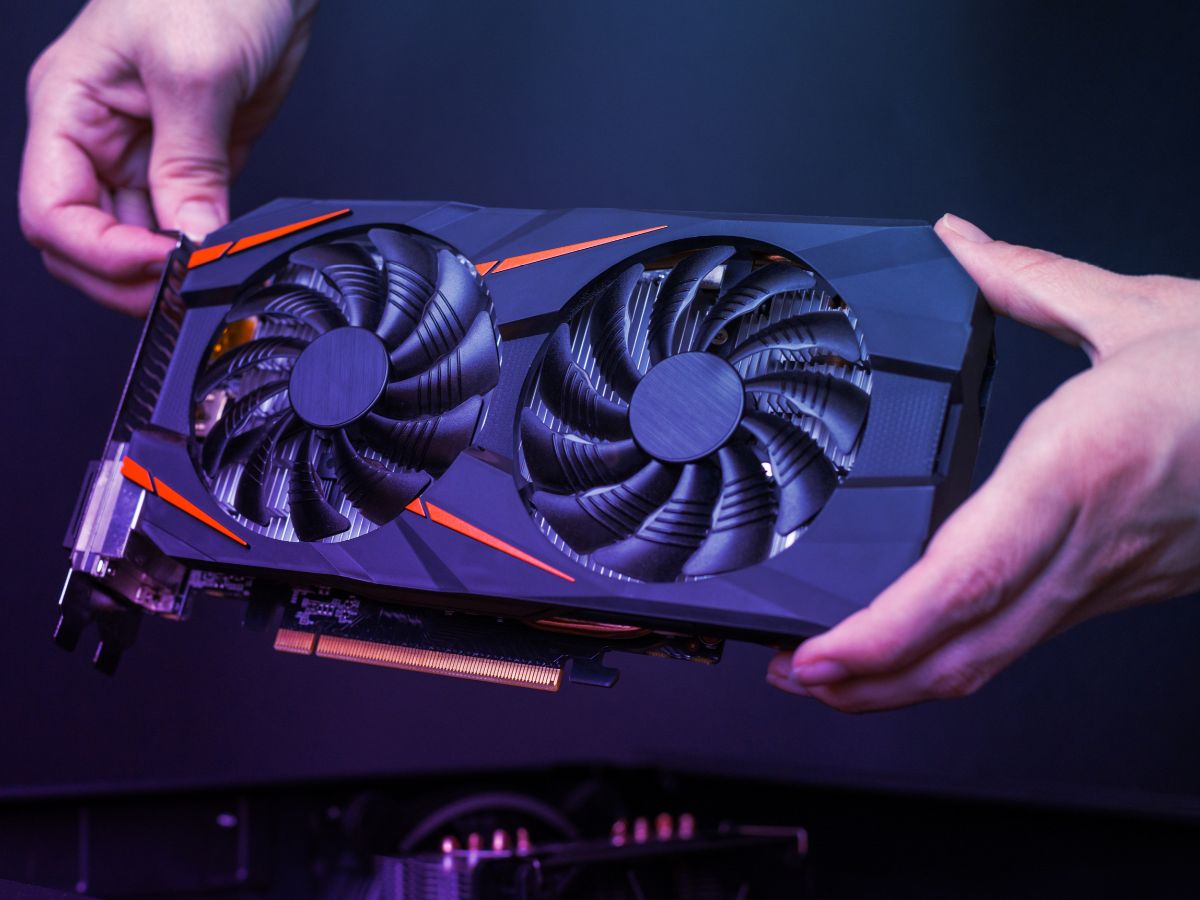
GPU Cooler Fans
The GPU (Graphics Processing Unit) in your computer is responsible for rendering and processing graphics-intensive tasks. Like the CPU, the GPU generates a significant amount of heat during operation. To regulate its temperature and prevent overheating, GPU cooler fans are crucial for optimal performance and longevity.
Most modern graphics cards come equipped with their own cooling solution, which includes one or more fans. These fans are strategically positioned atop the GPU and work in tandem with the heatsink to dissipate the heat generated by the graphics card.
The size, number, and design of GPU cooler fans vary depending on the specific graphics card model. High-performance GPUs often come with larger fans or multiple fans to provide sufficient airflow and cooling capacity. It’s essential to choose a graphics card with an appropriate cooling solution that matches your performance and thermal requirements.
When installing a graphics card, ensuring proper airflow and orientation of the GPU cooler fans is crucial. The fans should be positioned to exhaust hot air away from the GPU and towards the rear of the computer case. This setup helps facilitate the efficient removal of heat and ensures optimal cooling performance.
Some enthusiasts may choose to modify their GPU cooling setup by removing the default fans and installing aftermarket GPU cooler fans. These fans offer enhanced cooling capabilities and better thermal management, especially for overclocked or high-end graphics cards. However, modifying the cooling system should be done carefully, ensuring compatibility and proper installation to avoid any damage or voiding warranties.
Noise is a common concern with GPU cooler fans, especially when running demanding graphics applications or playing intensive games. High RPMs and aggressive fan profiles can result in increased noise levels. Consider choosing a graphics card with advanced cooling features or using GPU fan control software to adjust the fan speed and strike a balance between cooling performance and noise.
Regular maintenance is important to ensure the optimal performance of GPU cooler fans. Over time, dust and debris can accumulate on the fan blades and heatsink, reducing airflow and heat dissipation efficiency. Periodically cleaning the GPU cooler fans will help maintain maximum cooling performance and prevent thermal throttling or overheating issues.
GPU cooler fans are vital for cooling your graphics card and ensuring its optimal performance. By choosing a graphics card with an effective cooling solution, positioning the fans correctly, and performing regular maintenance, you can keep your GPU running at optimal temperatures, extending its lifespan and allowing for smooth and reliable graphics processing.
Hard Drive Cooler Fans
Although hard drives do not generate as much heat as CPUs or GPUs, maintaining an optimal operating temperature is still crucial for their longevity and performance. Hard drive cooler fans, also known as HDD cooler fans, can help dissipate heat and improve overall airflow within your system.
Hard drive cooler fans are designed to be positioned near the hard drives to provide additional airflow and cooling. They ensure that the hard drives stay within a safe temperature range, reducing the risk of overheating and potential data loss.
Installing hard drive cooler fans is particularly beneficial in cases where your system has multiple hard drives or when using high-performance hard drives that generate more heat. By providing targeted cooling to the hard drives, these fans can help prolong their lifespan and maintain consistent read and write speeds.
When selecting hard drive cooler fans, ensure compatibility with your hard drive size and mounting options. Some hard drive cooler fans are specifically designed to be installed directly onto the hard drive cage, while others may require additional brackets or adapters.
In terms of fan size, most hard drive cooler fans are 80mm or 120mm, but this may vary depending on the specific model and the available space in your case. Choose a fan size that allows for effective airflow without obstructing other components.
Hard drive cooler fans are typically set up as intake fans, bringing cool air into the hard drive area. This helps counteract the heat generated by the hard drives, preventing them from reaching critical temperatures. However, it’s important to ensure proper airflow in the case, as excessive airflow directed solely towards the hard drives may disrupt the overall balance of the system’s cooling setup.
One consideration when installing hard drive cooler fans is noise. Although hard drive cooler fans tend to be smaller and operate at lower RPMs compared to CPU or GPU fans, they can still contribute to the overall noise level of your system. Look for fans that have higher airflow-to-noise ratio or use fan control software to adjust their speed to a comfortable level.
Regular maintenance is essential for hard drive cooler fans to ensure optimal performance. Dust and debris can accumulate on the fan blades or in the hard drive bays over time, reducing airflow and cooling efficiency. Regularly clean the fans and hard drive area to prevent heat buildup and maintain proper cooling.
Adding hard drive cooler fans to your system can provide an extra layer of cooling and protection for your hard drives. By maintaining lower temperatures, these fans help improve the overall reliability and lifespan of your hard drives, ensuring optimal performance and safeguarding your valuable data.
Power Supply Fan Orientation
The power supply unit (PSU) in your computer is responsible for converting AC power from the wall outlet into DC power that your components can use. Most modern power supplies come equipped with a cooling fan to help dissipate the heat generated during this process.
When installing a power supply, one important consideration is the orientation of the PSU fan. The orientation can affect the airflow and cooling performance within your system, as well as the overall noise level.
There are two main orientations for PSU fans: top-mounted and bottom-mounted.
Top-mounted PSU fans draw in air from within the case and exhaust it out of the back of the power supply. This setup is common in cases where the PSU is situated at the top of the case. Top-mounted PSU fans can help expel hot air from the case, reducing the overall temperature inside.
On the other hand, bottom-mounted PSU fans draw in cool air from the outside of the case and exhaust it out of the back. This configuration is typically found in cases with a dedicated compartment for the power supply at the bottom. Bottom-mounted PSU fans allow for direct intake of cooler air from beneath the case, enhancing cooling efficiency.
The choice between top-mounted and bottom-mounted PSU fans depends on various factors, including the case design, airflow requirements, and personal preference.
In cases with adequate ventilation at the top or bottom, both orientations can be effective. However, it’s important to ensure that the PSU fan is not obstructed and has sufficient clearance to draw in air or exhaust it without restriction.
One consideration with top-mounted PSU fans is that they may introduce warmer air into the power supply if the case has poor overall ventilation. This can potentially lead to higher PSU temperatures. In contrast, bottom-mounted PSU fans benefit from cooler air intake, improving thermal performance.
Noise is another factor to consider. Top-mounted PSU fans may be slightly noisier, especially under heavy load, as the fan noise can resonate throughout the case. Bottom-mounted PSU fans, on the other hand, may provide better noise insulation as the PSU is located at the bottom away from the main component area.
It’s worth noting that some modern power supplies utilize a hybrid fan mode where the fan operates only when necessary, reducing noise and increasing energy efficiency. This feature can help minimize the impact of noise from either a top-mounted or bottom-mounted PSU fan.
Ultimately, when choosing the orientation of your PSU fan, consider factors such as case ventilation, system cooling needs, noise preferences, and overall compatibility with your specific case. By selecting the appropriate orientation, you can optimize cooling performance, reduce noise levels, and ensure the power supply operates within safe temperature ranges.
Additional Considerations
While the placement of case fans in specific areas is crucial for effective cooling, there are a few additional considerations to keep in mind to optimize the overall airflow within your computer case.
Dust Management: Dust accumulation can hinder airflow and impact cooling performance. It’s essential to regularly clean the dust filters, fan blades, and inside of the case to maintain optimal airflow and prevent overheating. Consider using aftermarket dust filters for areas without built-in filtration.
Fan Speed and Control: Some computer cases and motherboards offer fan speed control features. Adjusting the fan speed can help balance cooling and noise levels. Consider utilizing software or hardware controls to optimize the performance of your case fans based on the specific cooling requirements of your system.
Cable Management: Proper cable management within your case can promote better airflow and prevent cables from obstructing the movement of air. Use cable routing features in your case, tie up loose cables, and ensure they are not blocking the airflow paths to maximize cooling efficiency.
System Monitoring and Temperature Management: Keep track of system temperatures using monitoring software or hardware. Monitoring temperature levels can help identify any potential heat-related issues and determine if additional cooling measures are required.
Fan Placement and Fan Configuration: Experiment with different fan placements and configurations to find the setup that works best for your specific case and components. Optimizing the airflow path, ensuring an even distribution of air, and balancing intake and exhaust fans can help maximize cooling efficiency.
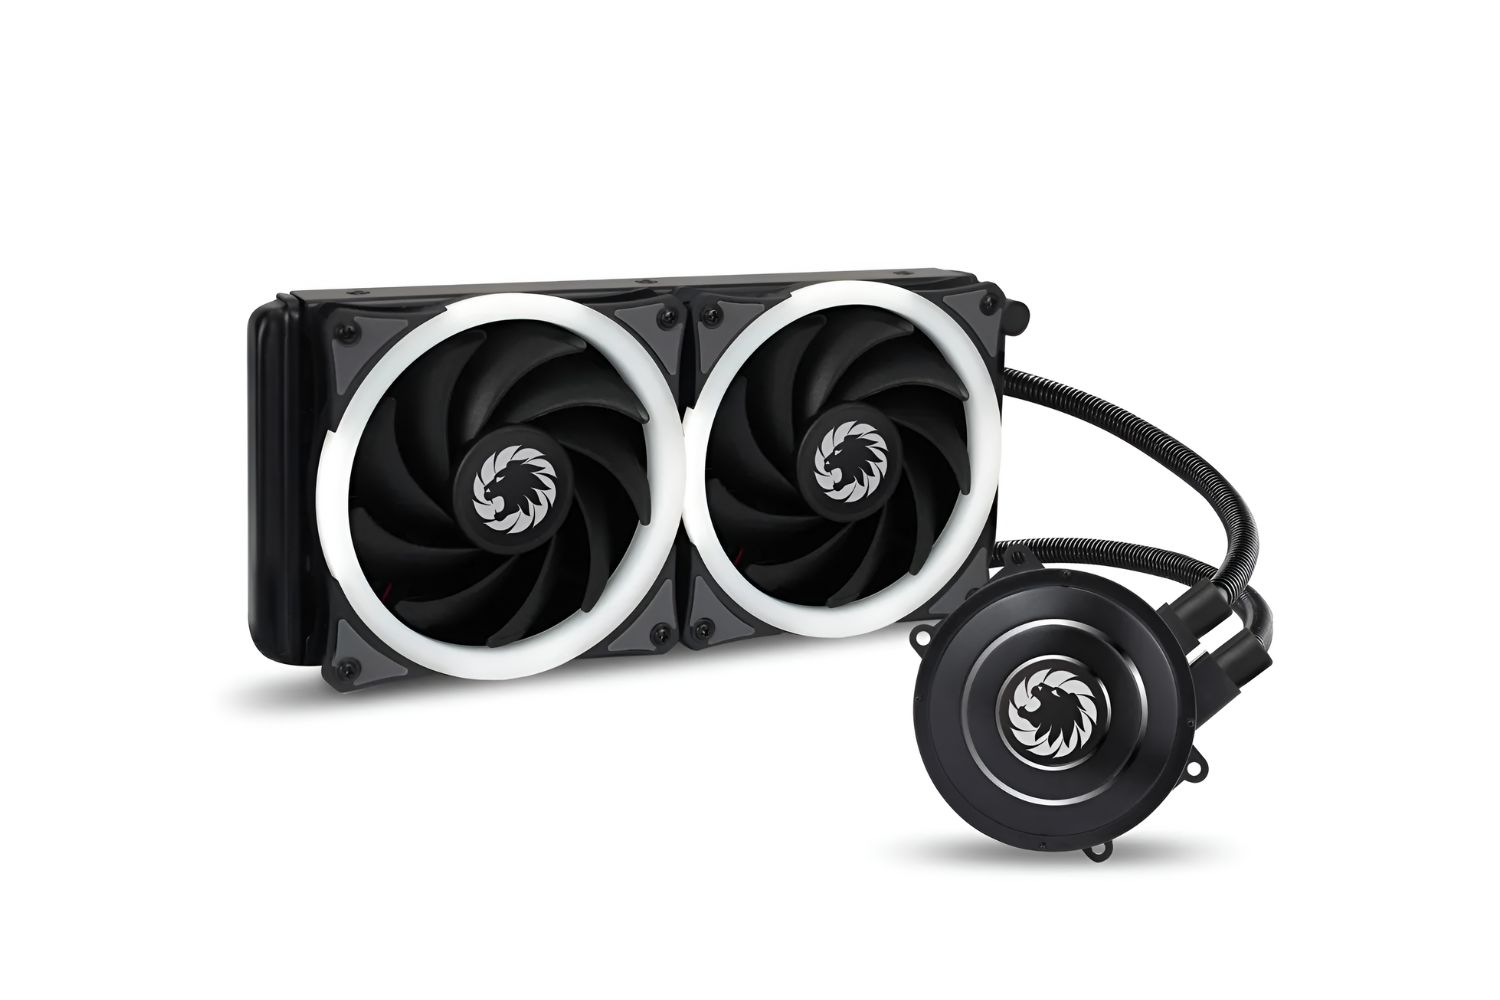
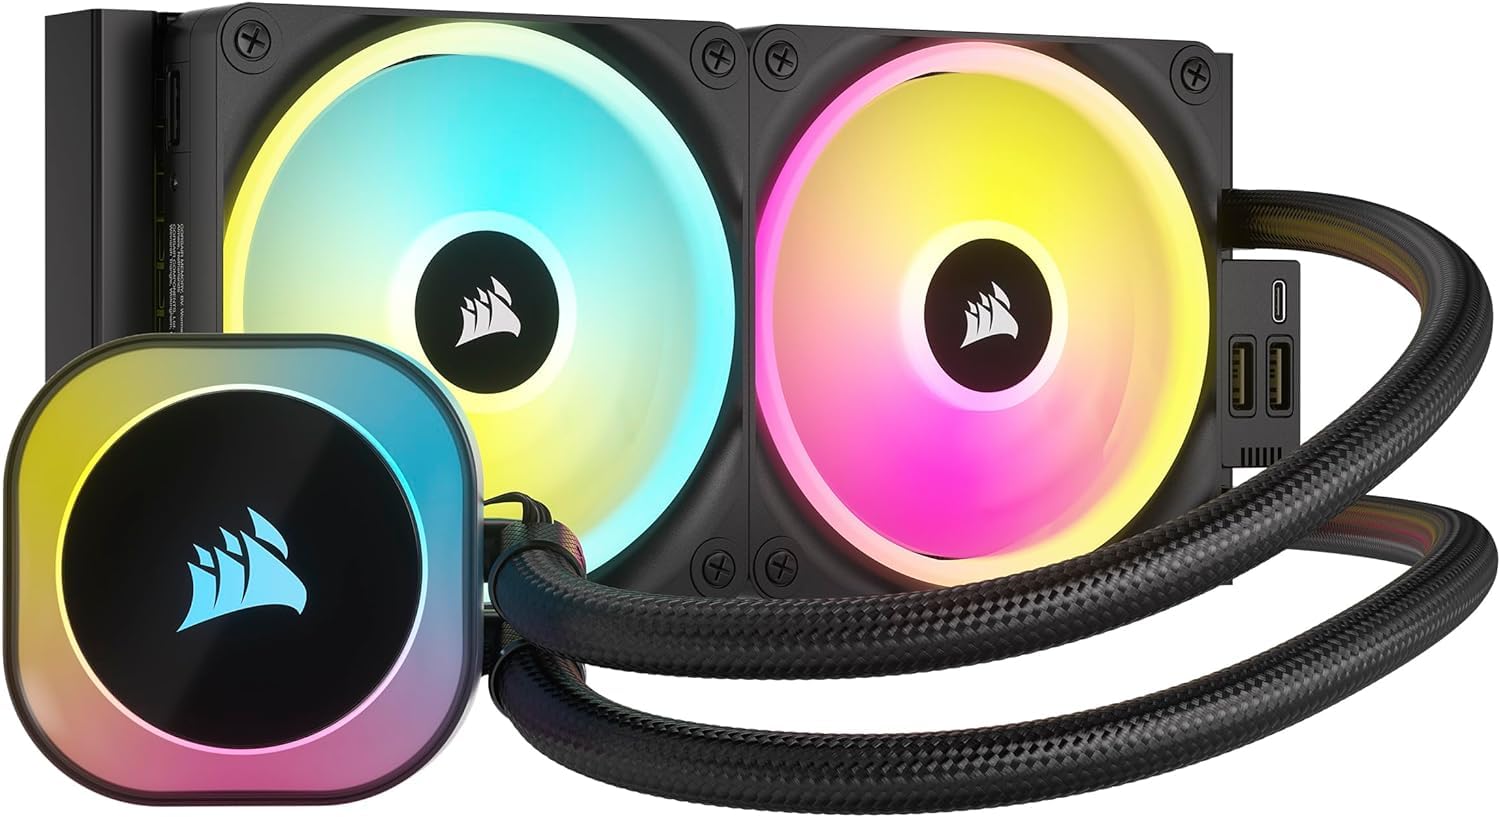
Consider Liquid Cooling: For high-performance systems or extreme overclocking, liquid cooling solutions can provide superior cooling compared to traditional air cooling. These systems utilize radiators and water blocks to transfer heat more efficiently, resulting in lower temperatures and quieter operation.
System Load and Ambient Temperature: Keep in mind that the cooling requirements of your system may vary depending on the load placed on your components and the ambient temperature of your environment. During intensive tasks or in warmer climates, additional cooling measures may be necessary to maintain optimal temperatures.
Manufacturer Guidelines: Always refer to the manufacturer’s guidelines and instructions when installing or configuring fans in your computer case. They may provide specific recommendations based on the design and airflow characteristics of your case.
By considering these additional factors and implementing appropriate measures, you can ensure the optimal airflow and cooling performance of your computer case, keeping your components running efficiently and extending their lifespan.
Conclusion
Proper fan placement and configuration within your computer case is essential for maintaining optimal airflow and cooling performance. By strategically installing case fans in key areas, such as the front panel, top panel, rear panel, bottom panel, side panel, and CPU and GPU coolers, you can effectively dissipate heat and keep your components running at optimal temperatures.
Front panel fans draw in cool air from the outside, while top panel and rear panel fans help expel hot air from the case. Bottom panel fans provide additional cooling for hard drives, and side panel fans offer targeted cooling for the CPU and graphics card.
Considerations such as fan size, orientation, noise levels, dust management, and cable management should also be taken into account. Ensure proper fan speed control, monitor system temperatures, and explore liquid cooling solutions for more advanced setups.
Remember to refer to manufacturer guidelines and instructions for specific recommendations on fan placement and setup, as well as to avoid any potential warranty issues.
By maintaining a well-ventilated and properly cooled system, you can optimize the performance, stability, and longevity of your components. Regular cleaning and maintenance of your fans and case will help prevent dust buildup and ensure consistent airflow.
Choose fans that offer the right balance between cooling power and noise levels, and consider investing in high-quality fans for better performance and reliability.
In conclusion, by carefully considering fan placement, fan size, orientation, and additional factors such as dust management, cable management, and temperature monitoring, you can create an efficient cooling setup for your computer case. This will result in improved system performance, reduced risk of overheating, and prolonged lifespan for your valuable components. Invest the time to optimize your cooling solution, and you’ll enjoy a cooler and quieter computing experience.